Unlock Your Creativity: The Ultimate Guide to Making Homemade Clay (DIY Recipes & Tips)
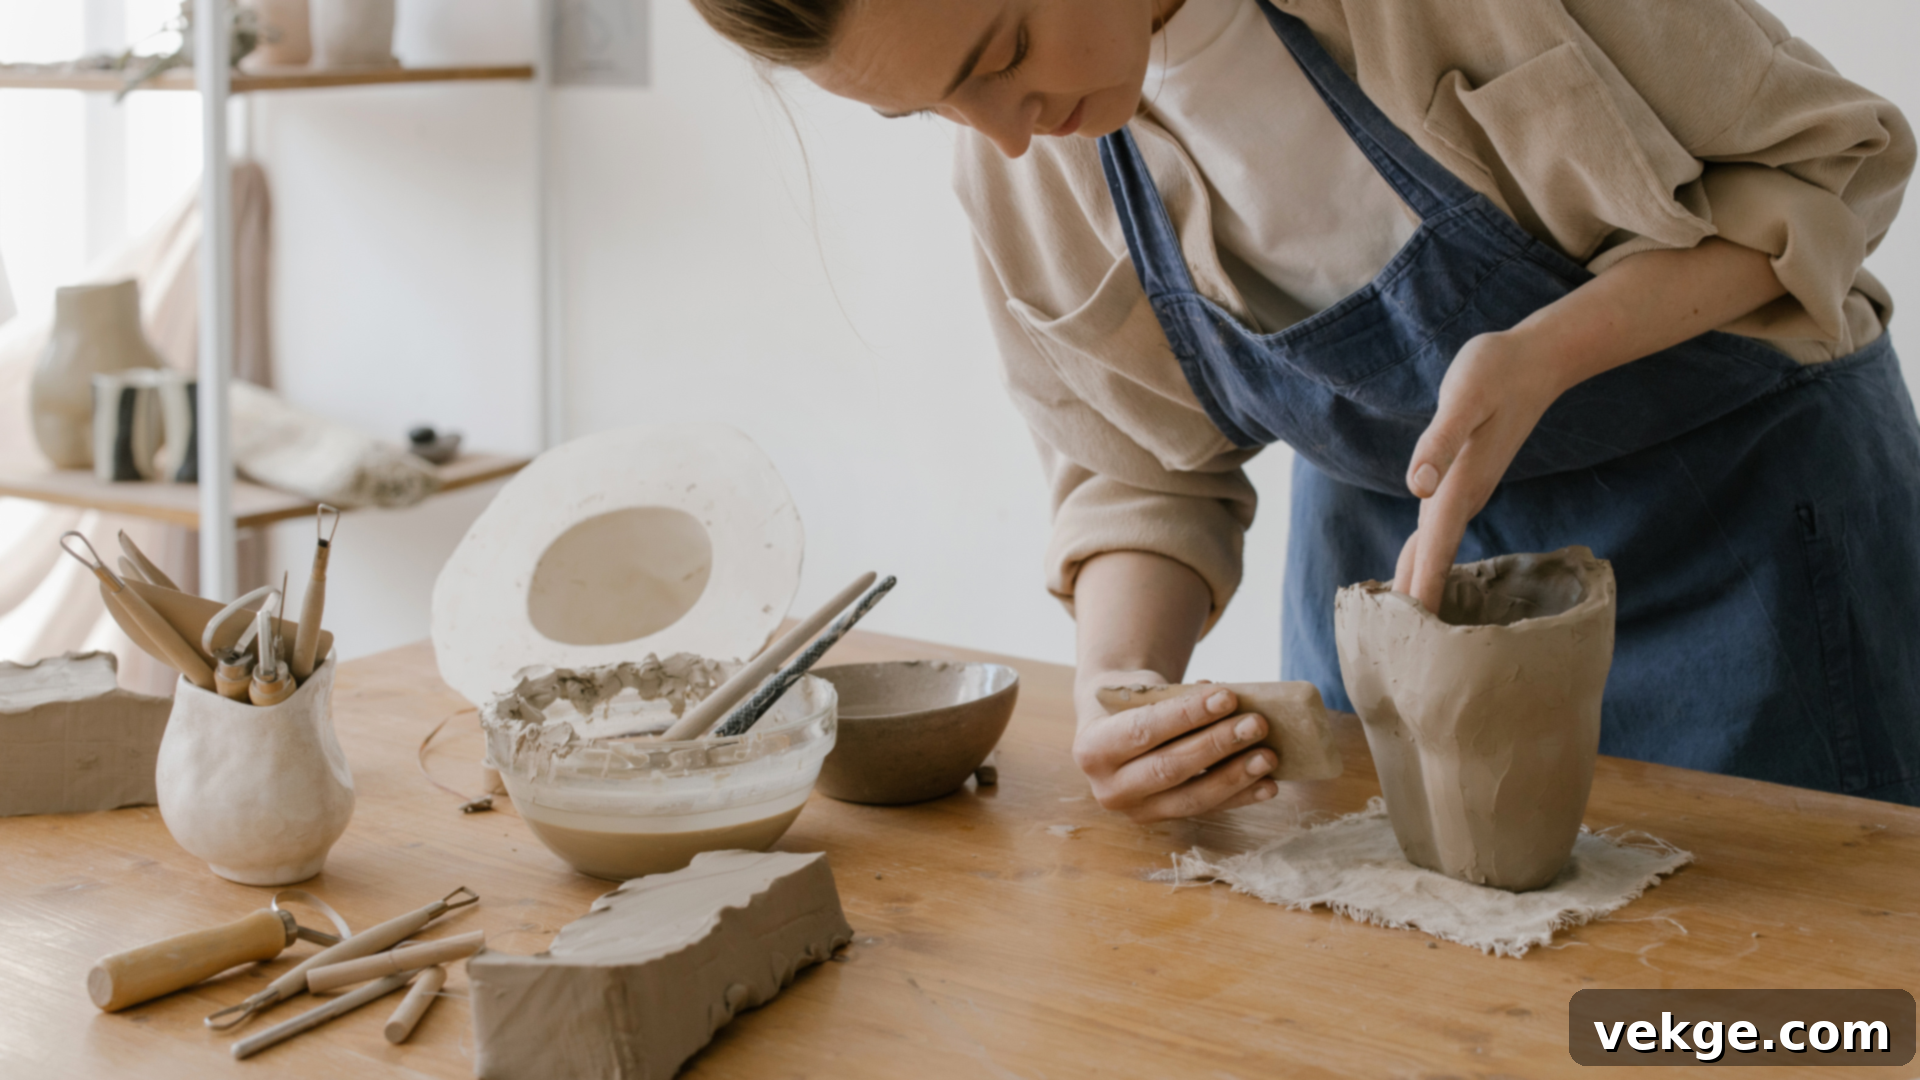
Diving into the world of creative crafting doesn’t have to be a complicated, messy, or expensive endeavor. In fact, making your own clay at home offers a wonderfully accessible and engaging hands-on activity suitable for all ages. Whether you’re preparing for a school project, planning a fun weekend craft session, or simply seeking an outlet for artistic expression, homemade clay provides an excellent medium to explore.
This comprehensive guide will equip you with simple, safe, and effective recipes for creating various types of DIY clay, all without the need for harsh chemicals. We’ll explore everything from super kid-friendly options to more refined versions that offer unique textures and vibrant colors. Beyond the recipes, you’ll find invaluable tips for troubleshooting common issues like dry or crumbly clay, along with smart storage solutions to ensure your creations last longer. Get ready to transform basic kitchen ingredients into versatile crafting material and unleash your imagination!
Understanding the Versatility and Benefits of Homemade Clay
Homemade clay serves a multitude of purposes in the crafting world, making it a favorite for both casual creators and dedicated artists. Its malleability and ease of use make it ideal for a wide array of hands-on projects, including intricate crafts, charming small sculptures, playful kids’ activities, and even personalized holiday ornaments. The ability to shape it into countless forms means it excels in both straightforward and highly detailed creative ventures.
One of the foremost advantages of making clay at home is the enhanced safety it offers, particularly for households with children. Most homemade clay recipes rely on common, non-toxic ingredients such as flour, salt, and water. This eliminates the concerns associated with harsh chemicals often found in some commercial art supplies, providing peace of mind as children engage in tactile play and creation.
Beyond safety, cost-effectiveness is another significant draw. The price of store-bought clay can quickly add up, especially for larger projects or frequent crafting sessions. In contrast, homemade clay utilizes ingredients that are typically already available in your kitchen pantry, transforming everyday staples into a valuable crafting resource. This budget-friendly approach makes artistic exploration accessible to everyone.
Furthermore, DIY clay offers unparalleled customization. You have complete control over the color, scent, and even the texture of your clay, allowing you to tailor it precisely to the specific requirements and aesthetic of your project. This level of personalization fosters unique and deeply satisfying creative outcomes. Ultimately, crafting your own clay is a smart, economical, and incredibly fun way to spark innovation and bring your artistic visions to life.
Essential Recipes: Easy Ways to Make Homemade Clay at Home
Creating soft, pliable, and workable clay is surprisingly simple when you have a few basic household ingredients on hand. These four distinct recipes are designed to be straightforward to follow, yielding different types of clay tailored to various project needs. Whether your goal is a durable material for detailed work, a super-safe option for children’s crafts, or an allergy-friendly alternative, you’ll find a perfect fit here.
1. Classic Salt Dough Clay: The Kid-Friendly Favorite
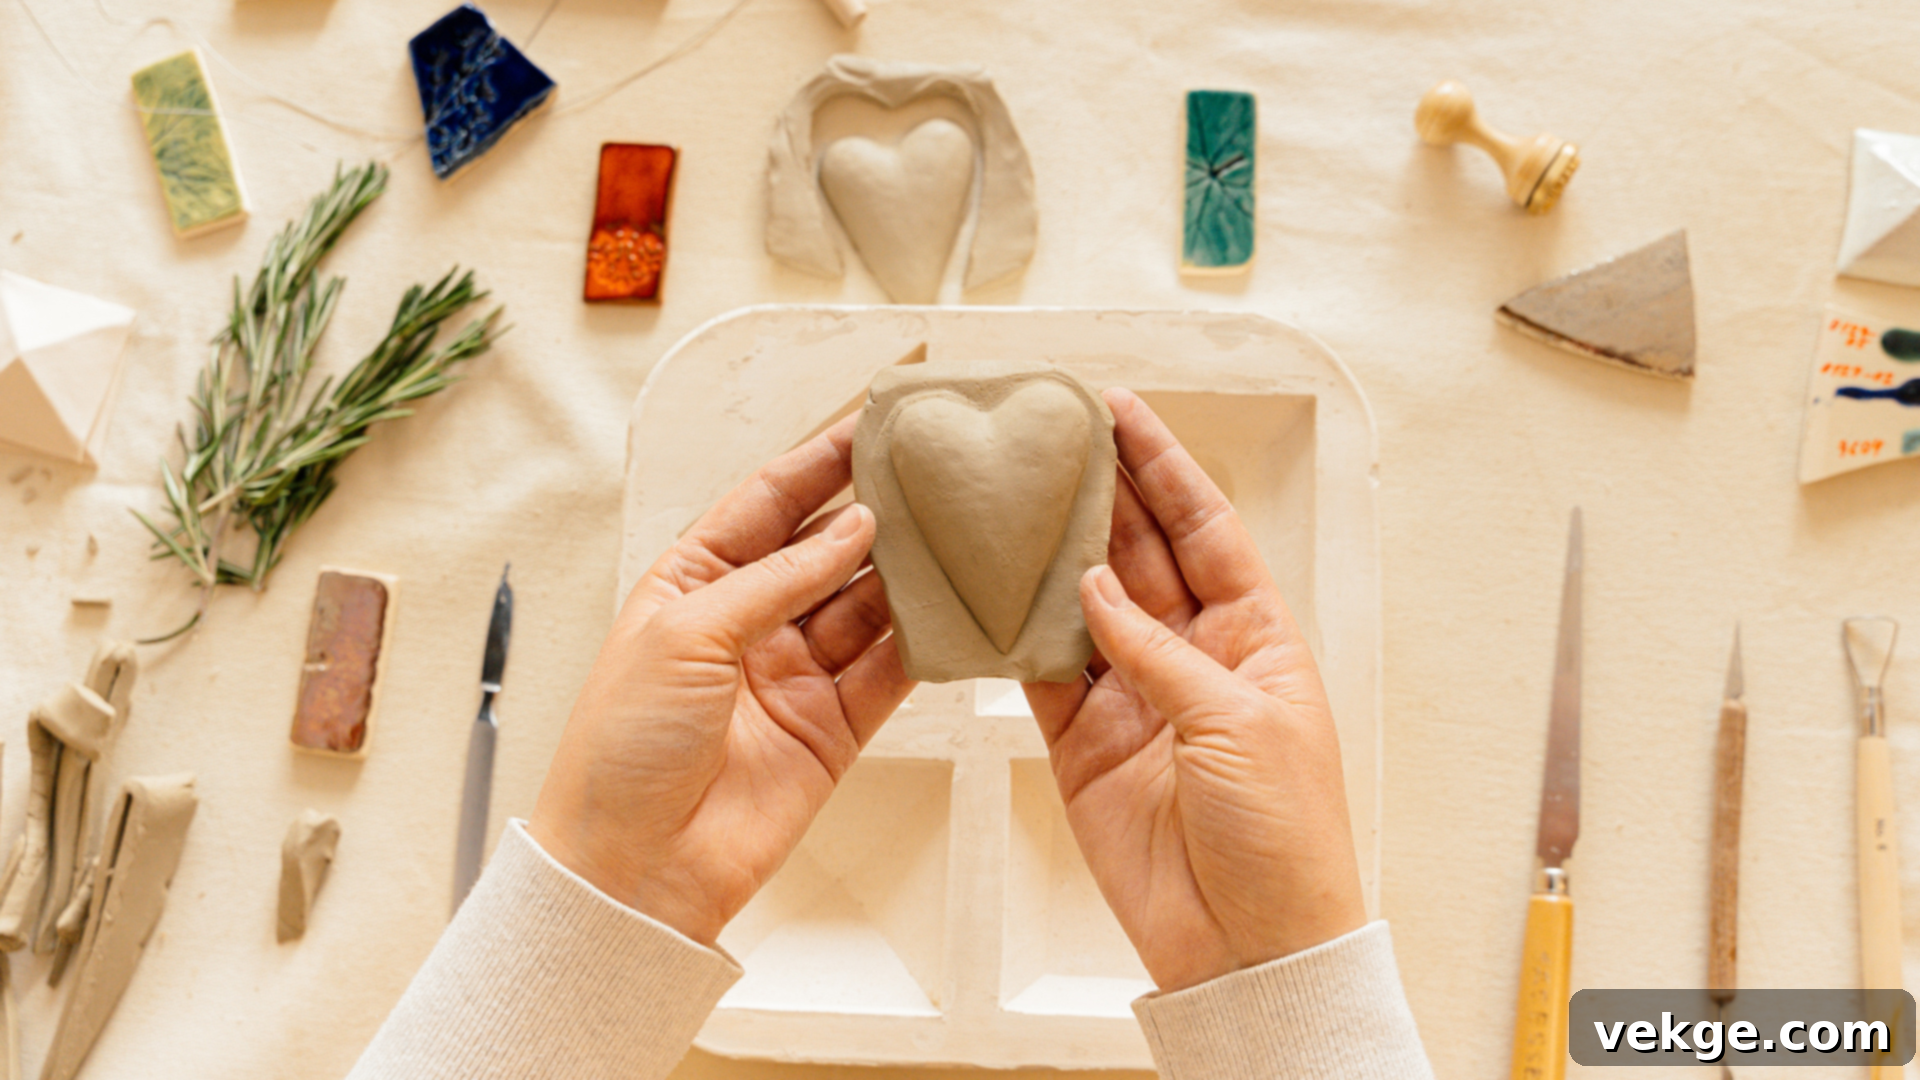
Salt dough clay is an absolute staple for beginners and a perennial favorite for children due to its robust nature and ease of use. Its thick, firm texture holds its shape exceptionally well, making it ideal for creating lasting keepsakes such as handprints, decorative ornaments, or playful, sculpted shapes. It’s incredibly forgiving and simple to roll, cut with cookie cutters, or mold into a myriad of fun designs. This clay bakes hard, allowing for long-lasting projects that can be painted and displayed for years.
Ingredients:
To embark on your salt dough journey, you’ll only need three foundational items likely already residing in your kitchen. For the best results, take a moment to measure them accurately before you begin the mixing process.
- 1 cup all-purpose flour
- 1 cup fine salt (table salt works best)
- ½ cup warm water (add gradually)
Instructions:
Follow these straightforward steps to combine your ingredients and quickly produce smooth, pliable, and ready-to-use salt dough clay. The entire process takes just a few minutes of active preparation.
- In a large mixing bowl, thoroughly combine the flour and salt. Ensure there are no lumps in the dry mixture.
- Gradually add the warm water, stirring continuously with a spoon or your hands. Start with about half the water, then add more as needed.
- Once the mixture begins to come together, transfer it to a clean, floured surface.
- Knead the dough for 5-10 minutes until it becomes soft, smooth, and no longer sticky. If it’s too sticky, add a tiny bit more flour; if too dry, a few drops of water.
- Your salt dough is now ready! Store any unused clay tightly wrapped in plastic wrap and then placed in an airtight container to prevent it from drying out, or use it immediately for your project.
2. Smooth and Versatile Air-Dry Clay
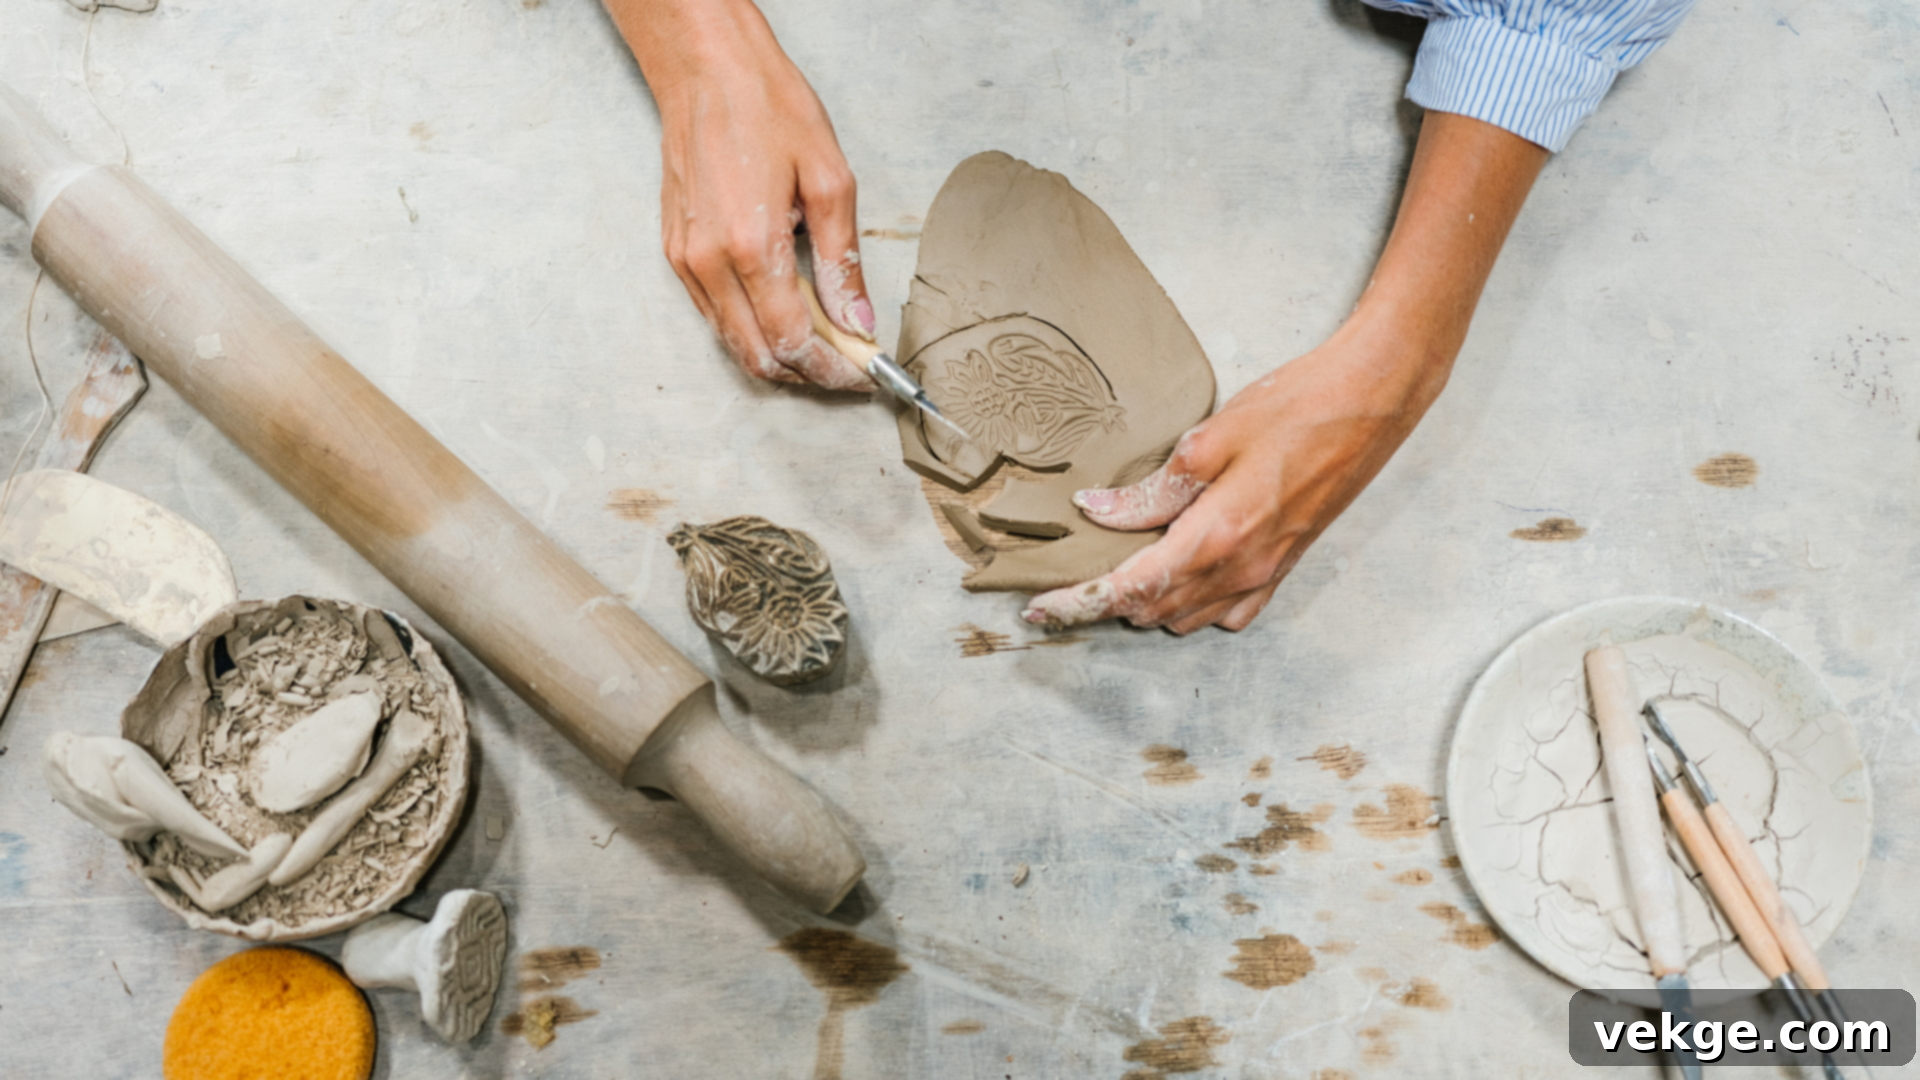
Air-dry clay offers a wonderfully smooth consistency and the convenient benefit of drying naturally without the need for an oven. This makes it an excellent choice for projects intended for painting or for items that might be delicate. You can effortlessly shape it into intricate keepsakes, decorative figures, or functional items, then simply allow it to air dry at room temperature over a period of one to two days, depending on thickness. Its fine texture allows for a cleaner finish, perfect for more detailed artistry.
Ingredients:
This popular air-dry clay recipe requires just three readily available ingredients and involves a simple stovetop cooking process. Precise measurements are crucial to achieve the ideal smooth and pliable texture.
- 1 cup baking soda
- ½ cup cornstarch (also known as cornflour)
- ¾ cup cold water
Instructions:
These detailed steps will guide you through the cooking and kneading process, resulting in a soft, smooth, and perfectly malleable clay that’s ready for shaping.
- In a non-stick saucepan, combine the baking soda, cornstarch, and cold water. Whisk thoroughly until the mixture is smooth and all powders are dissolved.
- Place the saucepan over medium heat, stirring constantly. The mixture will gradually thicken, first resembling a paste, then a mashed potato consistency.
- Continue stirring until the mixture forms a ball and pulls away from the sides of the pan. This usually takes about 5-10 minutes. Do not overcook, or it will become crumbly.
- Remove the pan from the heat and transfer the dough to a plate or a clean surface. Cover it with a damp cloth or plastic wrap to cool down completely to room temperature.
- Once cool, knead the clay for several minutes until it becomes smooth and elastic. If it’s a bit sticky, dust your hands with a tiny bit of cornstarch.
- Store any unused clay in an airtight container or zip-top bag, ensuring as much air is removed as possible. It can last for several days.
3. Elegant Cold Porcelain Clay: For Fine Details
Cold porcelain clay is an exceptional medium for crafting small, exquisitely detailed items such as delicate flowers, intricate miniature figures, or elegant charms. It dries to a hard, porcelain-like finish and is highly receptive to paint, allowing for beautiful customization. This unique recipe incorporates white glue, which plays a crucial role in giving the clay its remarkable elasticity and durability, helping it maintain its intricate shape while remaining soft and workable enough for fine pressing and molding.
Ingredients:
Gather these readily available ingredients to craft a remarkably smooth, durable, and long-lasting clay that is perfectly suited for projects requiring fine detail work and a refined finish.
- 1 cup cornstarch
- 1 cup white school glue (PVA glue, like Elmer’s Glue-All)
- 1 tablespoon mineral oil or baby oil
- 1 tablespoon white vinegar or lemon juice (acts as a preservative)
Instructions:
Follow these careful steps to gently cook and prepare cold porcelain clay, ensuring it achieves a firm yet flexible consistency that is ideal for detailed artistry.
- In a non-stick saucepan, thoroughly mix all the ingredients until smooth. Make sure there are no lumps of cornstarch.
- Cook the mixture over very low heat, stirring continuously with a spatula. The mixture will gradually thicken and start to pull away from the sides of the pan, forming a dough. This process typically takes about 5-10 minutes. Do not allow it to stick or burn.
- Once a ball of dough forms, remove it from the heat and immediately transfer it to a plate or a clean surface.
- Cover the hot dough tightly with plastic wrap, ensuring no air can get in. This allows it to “sweat” and cool down without drying out.
- Once completely cool, remove the plastic wrap and knead the clay for 5-10 minutes until it becomes smooth, elastic, and free of lumps. You can apply a tiny bit of hand cream or oil to your hands if it’s too sticky.
- Store the finished cold porcelain clay in an airtight container or a double-wrapped plastic bag to maintain its softness and workability. It can last for weeks or even months when stored properly.
4. Allergy-Friendly Gluten-Free Clay
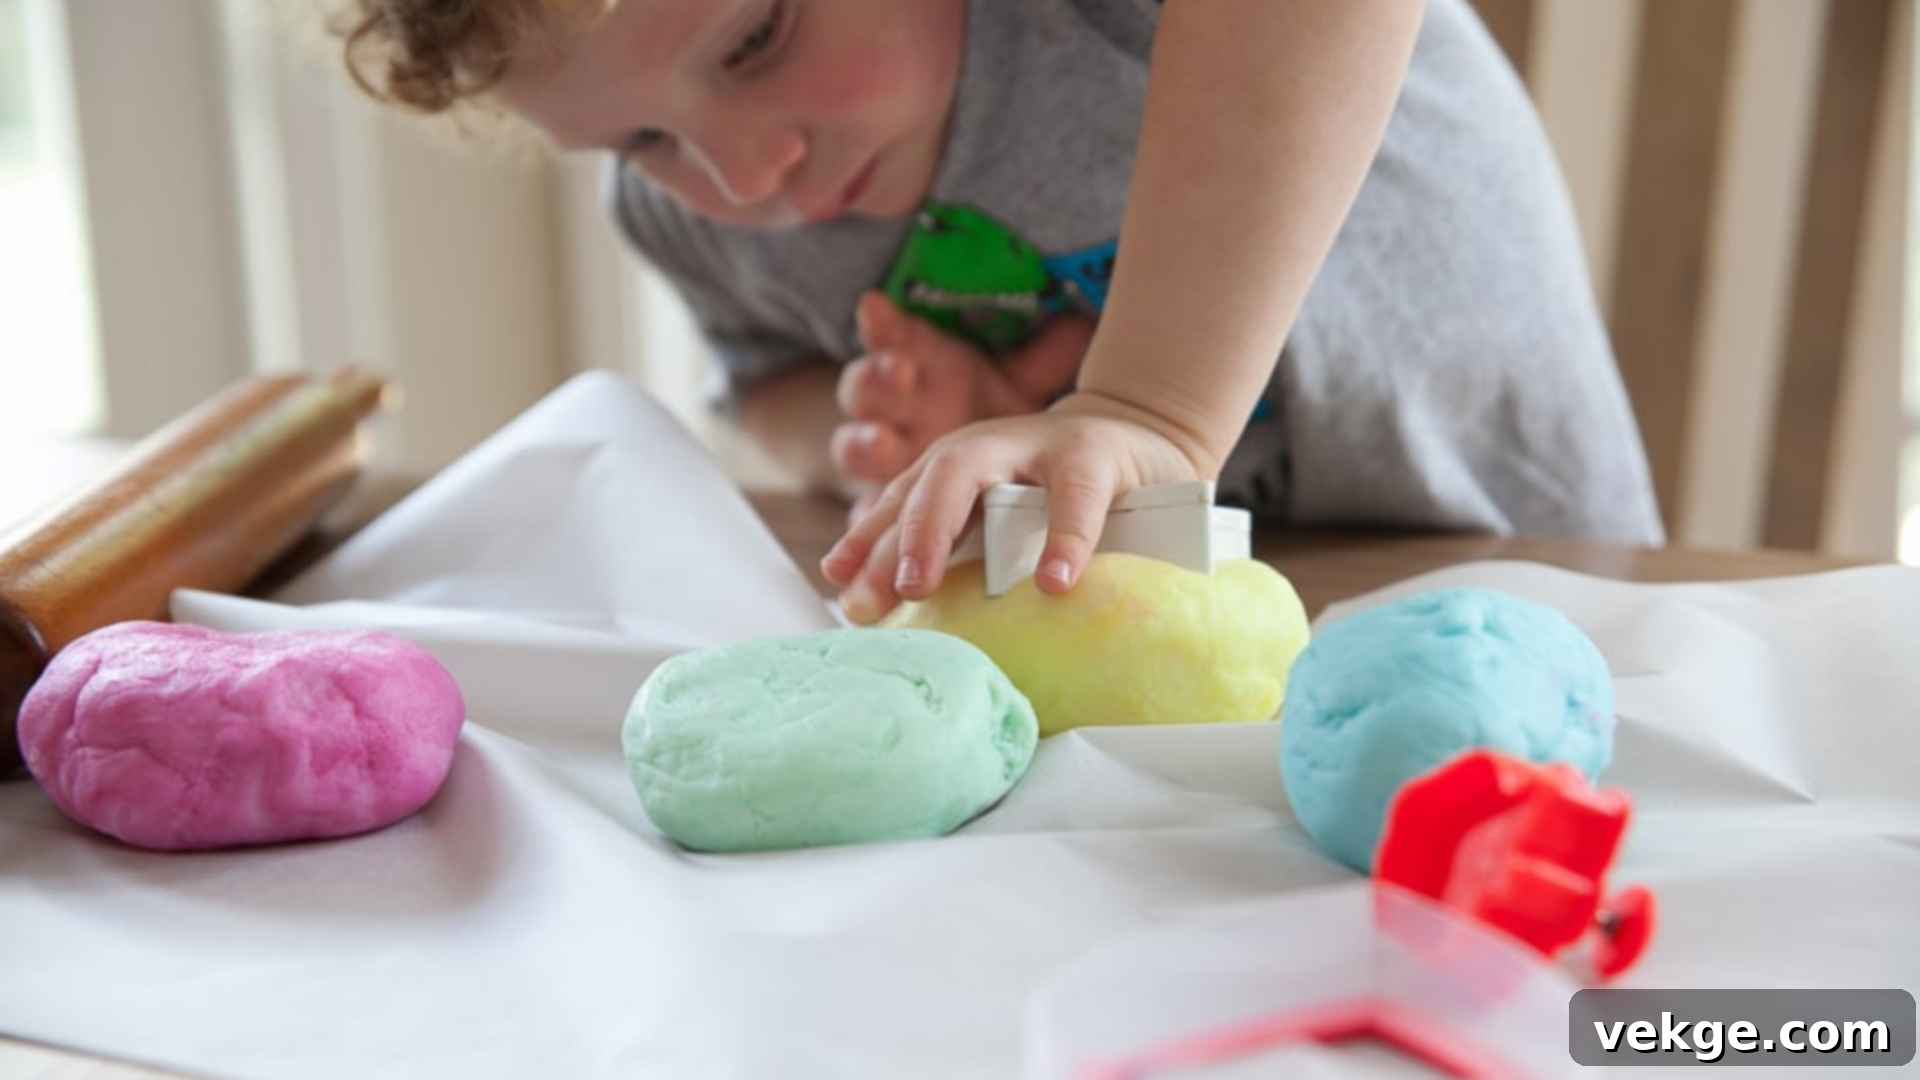
For households where wheat allergies or gluten sensitivities are a concern, this gluten-free clay recipe offers an excellent and safe alternative. It’s incredibly straightforward to prepare, remarkably easy to clean up after, and provides the same tactile, moldable fun as traditional dough-based clays. Children and adults alike can enjoy rolling, shaping, and playing with this safe option, ensuring everyone can participate in the creative process without worry.
Ingredients:
This flour-free clay recipe utilizes safe, widely available ingredients that still deliver fantastic results in terms of texture and workability, making it a reliable choice for allergy-conscious crafting.
- 1 cup rice flour or cornstarch (or a blend of both)
- 1 cup fine salt
- ½ cup warm water (adjust as needed)
Instructions:
Follow these simple steps to mix and knead a wonderfully soft, gluten-free clay that will be ready for shaping, playing, and storing in no time.
- In a large bowl, thoroughly combine the dry ingredients (rice flour/cornstarch and salt), ensuring they are well mixed.
- Gradually add the warm water, stirring constantly with a spoon. Add a little at a time until the mixture starts to come together.
- Once a rough dough forms, transfer it to a clean surface and knead it for several minutes.
- Continue kneading until the clay is smooth, pliable, and consistent in texture. If it feels too dry and crumbly, add a few drops of water; if too sticky, dust with a little more rice flour or cornstarch.
- Store the finished gluten-free clay in a sealed bag or an airtight container to keep it fresh and prevent it from drying out, ready for your next crafting adventure.
How to Pick the Right Homemade Clay Recipe for Your Needs
Understanding the unique characteristics of each homemade clay recipe is key to ensuring your project’s success. Not all clays are created equal, and choosing the right one can make all the difference in achieving your desired outcome. Here’s a guide to help you select the perfect clay for your specific crafting endeavors:
- For Young Children & Simple Keepsakes: Salt Dough Clay is your go-to option. Its robust, forgiving nature and non-toxic ingredients make it ideal for little hands. It’s perfect for capturing handprints, making durable holiday ornaments, or simple cut-out shapes that can be baked for permanence.
- For Detailed Sculptures & Paintable Projects: Air-Dry Clay offers a smoother finish and greater detail retention once dry. If you plan to create figures, intricate sculpted designs, or items you wish to paint with fine artistic detail, air-dry clay will provide a clean canvas and a relatively strong final piece without the need for an oven.
- For Delicate Miniatures & Refined Art: Cold Porcelain Clay is unparalleled. Its exceptional elasticity and ability to hold fine details make it perfect for crafting delicate items such as lifelike miniature flowers, tiny charms, or realistic dollhouse accessories. It dries hard and has a beautiful, smooth finish that closely mimics actual porcelain.
- For Allergy-Sensitive Crafters: Gluten-Free Clay ensures everyone can safely participate in the fun. If you or someone in your home has a wheat allergy or gluten sensitivity, this flour-free version provides a safe and enjoyable alternative that still allows for all the rolling, shaping, and creative play of traditional clay.
Each recipe has its distinct strengths and optimal applications. By matching the clay’s properties with your project’s goals, you’ll set yourself up for a rewarding and successful crafting experience.
Enhance Your Creations: Simple Add-Ons for Clay Projects
Once you’ve prepared your homemade clay, you can elevate its appeal and functionality by incorporating a variety of simple add-ins. These extra elements can dramatically alter the clay’s sensory properties, such as its feel, scent, or visual appearance, making your projects even more unique and engaging. This customization is a fantastic way to tailor your clay for specific themes, special occasions, or just to add an extra layer of fun to your crafting. Many of these add-ins can be found right in your kitchen, keeping the process budget-friendly and accessible. The key is to mix them in thoroughly and evenly to ensure the clay remains smooth, cohesive, and easy to work with.
Fun Add-Ins to Transform Your Clay:
- Food Coloring: Just a few drops of liquid or gel food coloring can transform plain clay into virtually any color of the rainbow. Add sparingly and knead well for even distribution.
- Glitter: For projects that demand a little sparkle, mixing in fine glitter creates a magical, playful effect. It’s particularly popular for ornaments or whimsical figures.
- Essential Oils: Infuse your clay with delightful, subtle aromas using essential oils like soothing lavender, invigorating lemon, or refreshing peppermint. This adds an extra sensory dimension to the crafting and playing experience.
- Coffee Grounds or Oats: To achieve a natural, earthy, or textured look, finely ground coffee or quick oats can be mixed in. This is great for mimicking natural stone or adding a rustic appeal.
- Spices like Cinnamon or Turmeric: Beyond adding a warm, inviting scent, spices such as cinnamon (for browns) or turmeric (for yellows) can impart natural colors to your clay, creating an organic aesthetic.
- Small Beads or Sequins: For a tactile or decorative element, tiny beads or sequins can be kneaded into the clay, adding sparkle and texture that’s visible on the surface.
Experiment with different combinations to discover new possibilities and personalize your homemade clay for truly one-of-a-kind creations!
Mastering Homemade Clay: Essential Tips for Success
Working with homemade clay is an enjoyable and rewarding experience, but adopting a few smart habits can significantly enhance your results. Whether you’re in the process of shaping, drying, storing, or finishing your clay pieces, these practical tips will help ensure your projects turn out beautifully and stand the test of time.
Preventing Cracks and Unwanted Shrinkage
One common challenge with homemade clay is the tendency for pieces to crack or shrink during the drying process, often due to rapid or uneven moisture loss. To effectively prevent this, aim to keep your clay creations relatively small and ensure their thickness is as consistent as possible throughout. Avoid placing your drying pieces in direct sunlight, near heat sources (like radiators or vents), or in excessively drafty areas, as these conditions accelerate drying unevenly.
The optimal drying method is slow and gradual, at room temperature, in a location with stable humidity. If your clay begins to feel dry or stiff while you’re still working with it, gently mist it with a fine spray of water and thoroughly knead it again to reintroduce moisture. Be especially mindful of thick areas, which are more prone to shrinking and cracking; try to maintain an even form. For larger or more intricate pieces, covering them loosely with a damp cloth or plastic wrap while you work can help retain moisture and prevent premature drying.
Effective Storage for Lasting Freshness
To keep any leftover homemade clay soft, pliable, and ready for future use, proper storage is paramount. Immediately after each crafting session, ensure your clay is sealed as tightly as possible. The best method is to wrap it snugly in plastic cling wrap, making sure there are no air bubbles trapped, and then place the wrapped clay into an airtight container or a heavy-duty zip-top bag. Squeeze out as much air as you can before sealing.
Store the sealed clay in a cool, dry place, away from any direct heat or sunlight, which can cause it to dry out prematurely. If you find your stored clay has started to dry out or become stiff, don’t despair! You can often revive it by kneading in a small amount of water (a few drops at a time) or a tiny bit of vegetable oil until it regains its desired softness and consistency. With diligent storage practices, your homemade clay can remain fresh and workable for several days, and some recipes, like cold porcelain, even for weeks or months.
Painting and Sealing Your Finished Clay Masterpieces
Once your homemade clay project has completely dried and hardened (which can take anywhere from 24 hours to several days, depending on thickness and recipe), it’s ready for its artistic finish. You can beautifully paint your creations using water-based paints, with acrylics being a popular and versatile choice due to their vibrant colors and good coverage. Before painting, ensure the entire surface of your clay piece is clean, dust-free, and thoroughly dry.
For enhanced durability, protection, and a professional-looking finish, consider applying a clear sealer once the paint has dried completely. A clear acrylic sealer (available in matte, satin, or gloss finishes) will protect the painted surface from wear and tear, moisture, and UV damage, making your project last significantly longer. Apply the sealer with a soft brush in thin, even layers, allowing each layer to dry fully before applying the next. Always let the final layer of sealer cure completely before handling, displaying, or storing your finished artwork.
Ignite Your Imagination: What Can You Make With Homemade Clay?
Homemade clay is a fantastically versatile medium that combines simplicity with immense creative potential. It’s not only fun to make but also incredibly rewarding to transform into a wide array of useful items, charming decorations, and engaging playtime crafts. Here are some inspiring ideas to help you kickstart your journey and unleash your creative spirit.
1. Delightful Kid-Friendly Projects
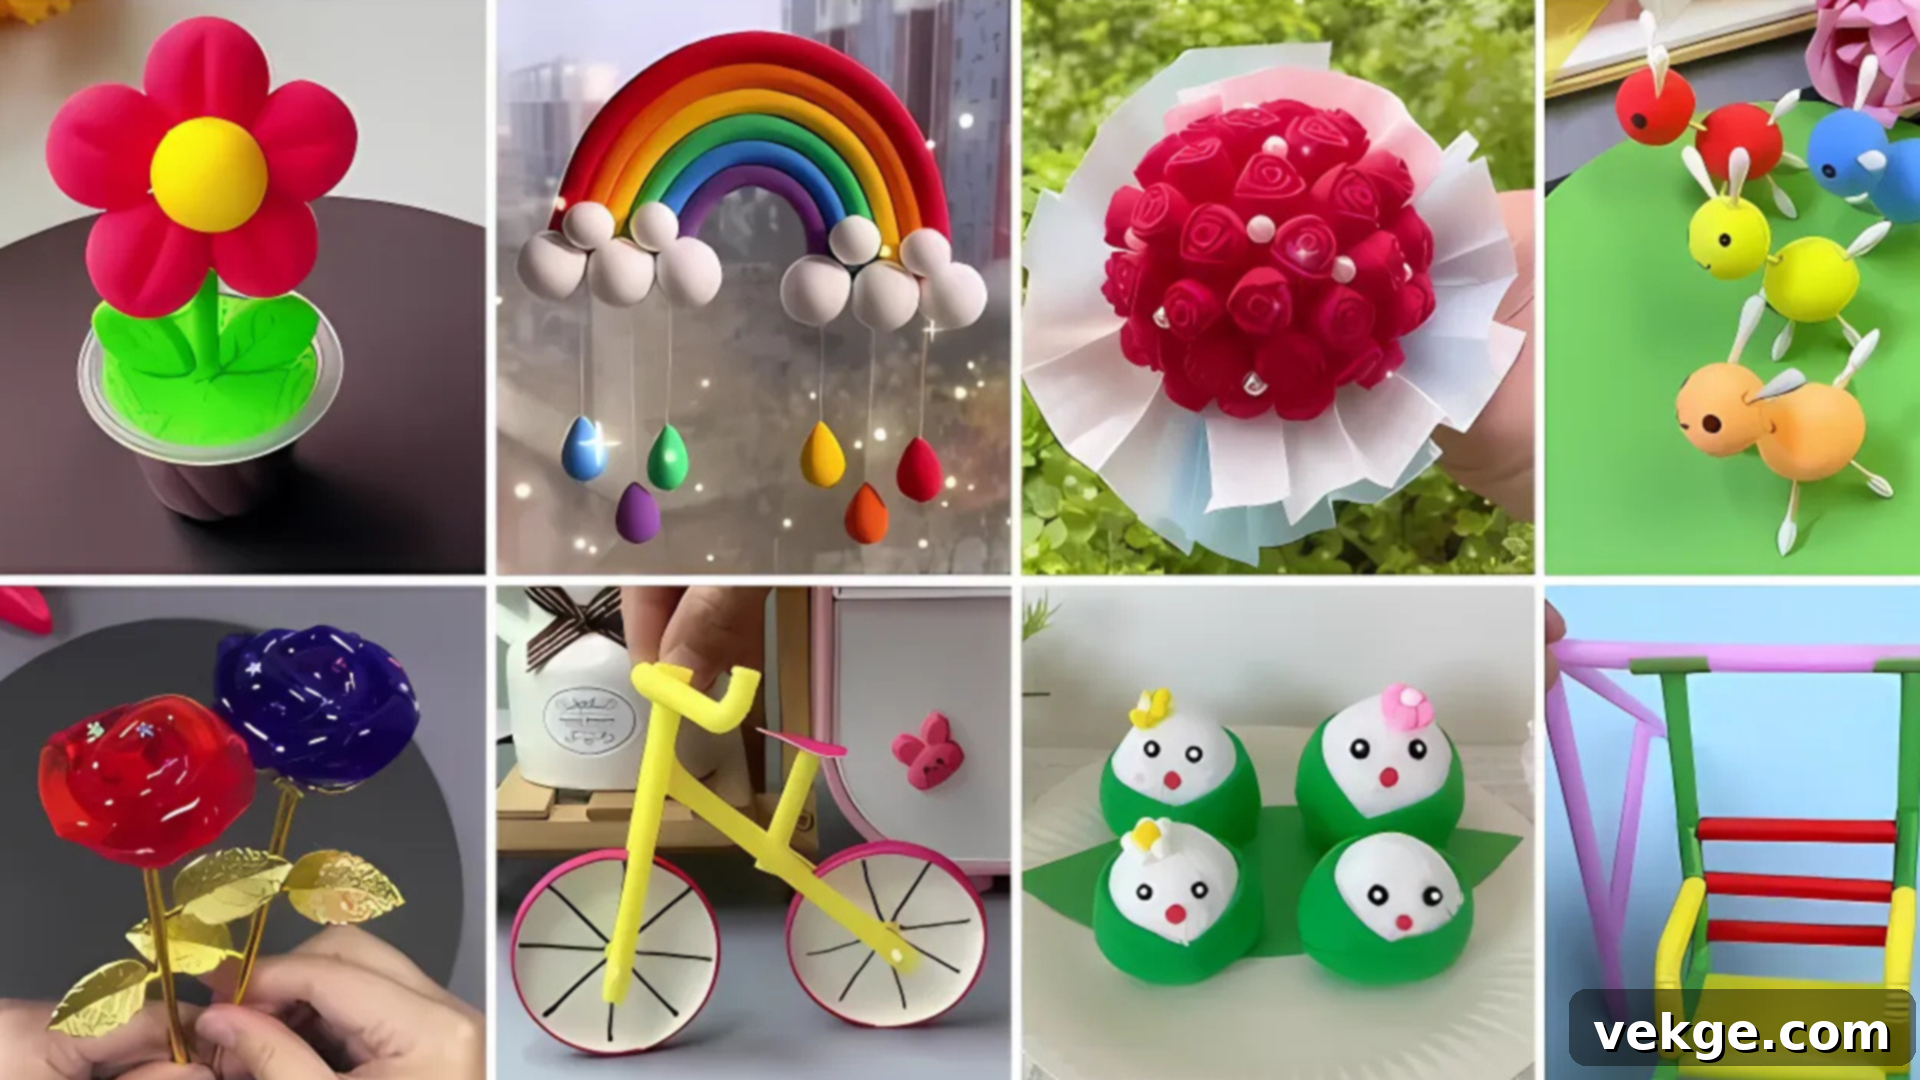
Homemade clay is an ideal material for fostering creativity and tactile development in young children, offering endless hours of hands-on enjoyment. You can guide them in pressing their hands or feet into the soft clay to create precious keepsake handprints or footprints, perfect for gifts or memory boxes. Encourage them to roll out the clay using a small rolling pin and then use cookie cutters to make a variety of fun shapes, such as stars, hearts, animals, or seasonal figures.
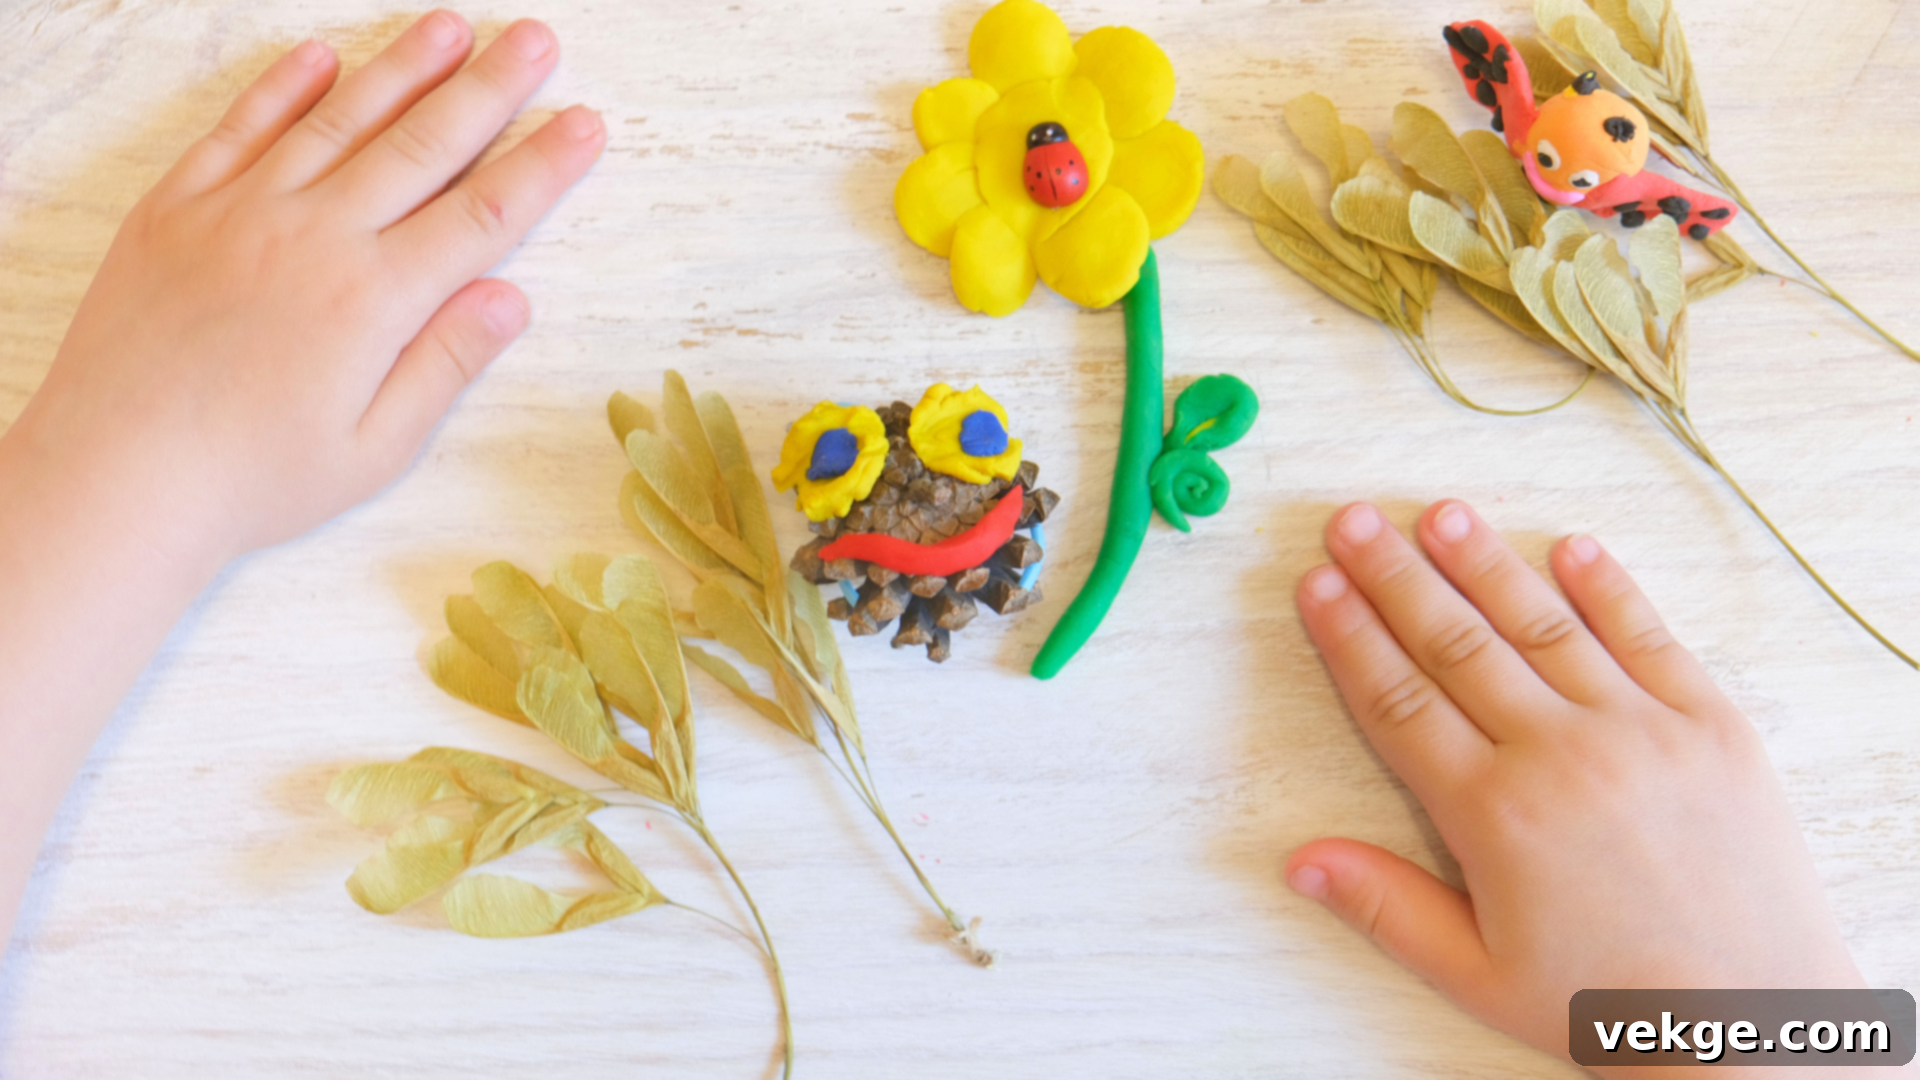
Crafting small, whimsical clay animals, funny monster faces, or simple pinch pots can also keep children happily engaged and busy for extended periods. These straightforward projects are wonderful for celebrating birthdays, enhancing school craft activities, or providing quiet, imaginative fun on a rainy afternoon at home. They are not only enjoyable and easy to execute but also perfectly safe for kids to explore and enjoy.
2. Personalized Jewelry and Charming Accessories
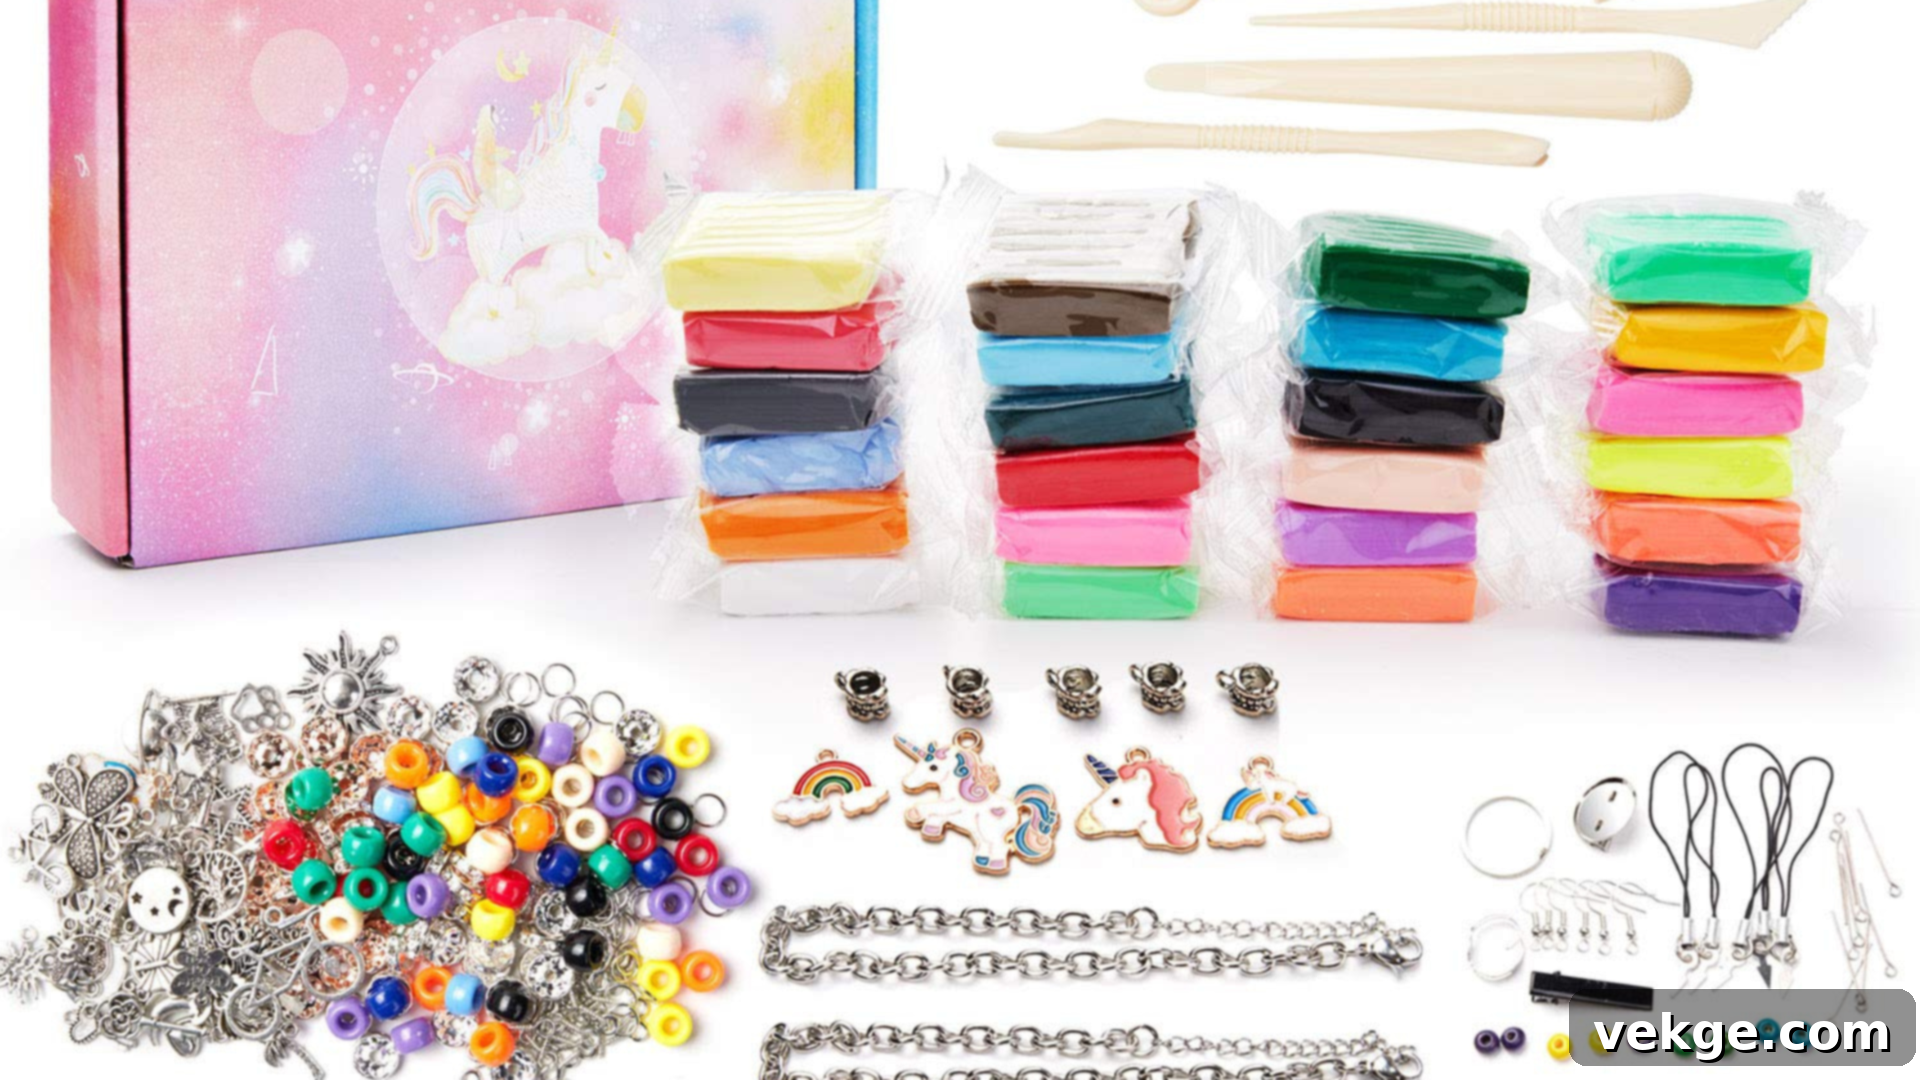
Unleash your inner jewelry designer using homemade clay to craft small, lightweight, and truly unique accessories. Experiment with shaping various forms like round beads, flat pendants, or intricate charms using just your hands or a few simple sculpting tools. Once your clay pieces are fully dry, you can personalize them further with paint, fine markers, or even by embedding small decorative elements.
If you intend to string your creations onto necklaces, bracelets, or keychains, remember to carefully use a toothpick or a fine skewer to poke holes through the clay before it dries and hardens. These handmade pieces make incredibly thoughtful, personalized gifts for friends and family, or they can become cherished additions to your own accessory collection. Homemade clay offers a fantastic and budget-friendly entry point into jewelry making, bypassing the need for expensive materials or specialized equipment. Simply shape, dry, and decorate!
3. Unique Sculptures and Custom Home Decor
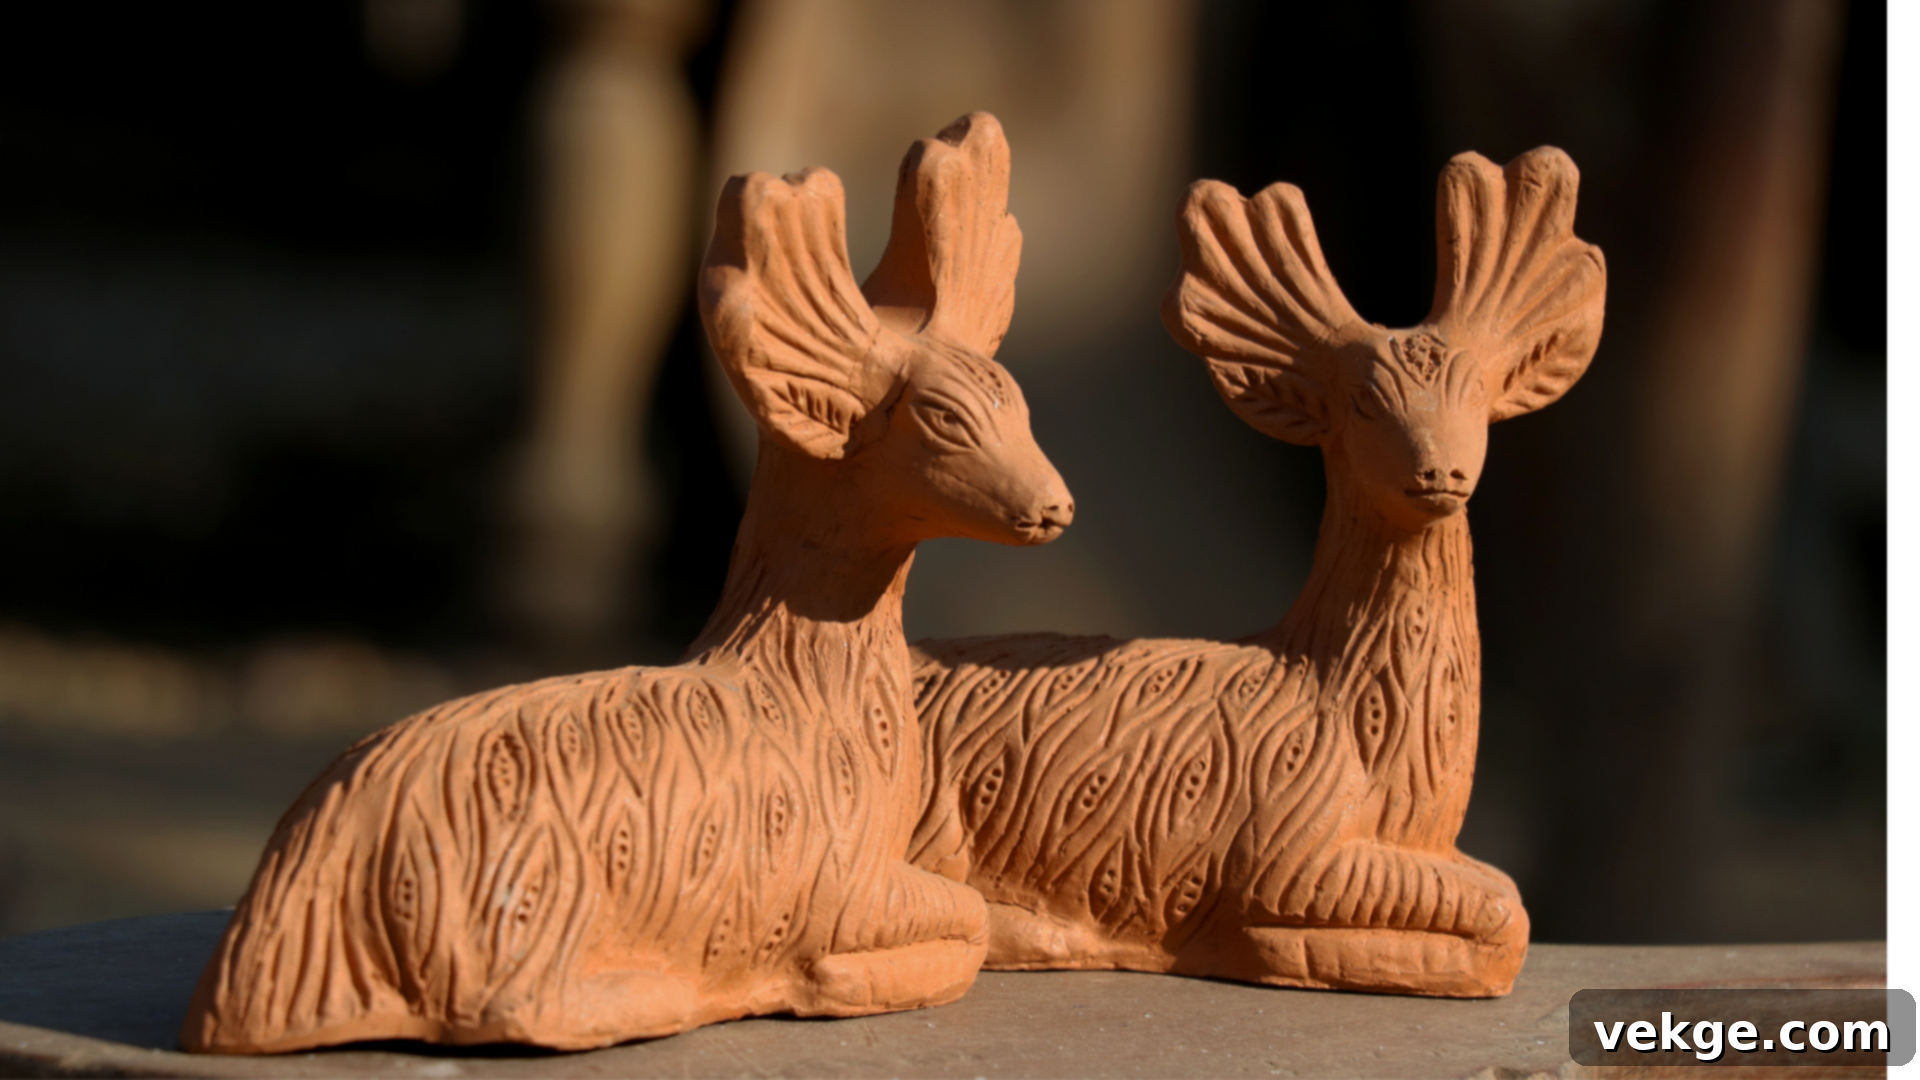
Transform your living space with custom-made decorations crafted from homemade clay, perfect for your room, office desk, or any holiday table. Get creative by shaping small decorative planters for succulents, elegant candle holders, or whimsical animal figurines to adorn your shelves and tabletops. Homemade clay is also excellent for crafting seasonal items such as miniature pumpkins for autumn, delicate snowflakes for winter, or bright stars for festive celebrations, adding a personal touch to any occasion.
After allowing your clay creations to dry completely, bring them to life with paint and then proudly display your unique artwork. These small sculptures and decorative pieces inject personality into any space and serve as thoughtful, handcrafted gifts for loved ones. It’s a wonderfully engaging way to merge artistic expression with practical home styling, allowing you to create decor that truly reflects your personal taste and creativity.
Troubleshooting Common Problems with Homemade Clay and Their Fixes
While homemade clay is generally straightforward to prepare, occasional issues can arise if the ingredient ratios aren’t perfectly balanced or if environmental conditions aren’t ideal. Understanding these common problems and knowing how to fix them will save you frustration and ensure successful crafting.
- Problem: Cracking During Drying
Cause: This often happens if the clay mixture was too dry to begin with, or if the piece dries too quickly and unevenly. Rapid evaporation of moisture causes stress within the clay, leading to cracks.
Fix: When making the clay, ensure it’s well-hydrated and pliable, not crumbly. If cracks appear during shaping, try covering the piece with a damp cloth to slow down drying, or gently mist the surface with a little water and carefully press the cracks together. During the drying phase, avoid placing clay in direct sunlight, near heaters, or in very drafty areas. Allow it to air dry slowly at room temperature, ideally on a non-stick surface, turning it occasionally to ensure even exposure. - Problem: Clay is Too Sticky or Gummy
Cause: This indicates an excess of water in your mixture, or sometimes not enough dry ingredients like flour or cornstarch.
Fix: Gradually incorporate a small amount more of the main dry ingredient (flour, cornstarch, or rice flour, depending on the recipe) into the clay. Knead it thoroughly until the stickiness disappears and the clay achieves a smooth, workable consistency. For cooked clays, ensure you’ve cooked it long enough for it to pull away from the pan. - Problem: Clay is Too Dry and Crumbly
Cause: Not enough water, or the clay has been left exposed to air for too long, causing it to dehydrate.
Fix: For dry clay, knead in a tiny amount of water (a few drops at a time) or a very small amount of vegetable oil (for cold porcelain or some air-dry recipes). Be patient and work it in gradually until the clay becomes pliable again. If you’re preparing the clay and it’s crumbly, add water in very small increments until it comes together. - Problem: Uneven Drying or Warping
Cause: Thick and thin sections drying at different rates can lead to warping or structural instability.
Fix: Try to keep your clay projects as even in thickness as possible. If working on a larger piece with varying thicknesses, consider hollowing out thicker sections (if possible) to promote more even drying. Ensure airflow around all sides of the piece during drying, and turn it periodically.
Most issues with homemade clay can be resolved with small adjustments and a bit of patience. Observing your clay and making these minor corrections will lead to much better results.
When to Opt for a Store-Bought Clay Option Instead
While homemade clay is a fantastic, versatile, and budget-friendly option for countless projects, there are specific scenarios where a store-bought alternative might be a more suitable choice. Understanding these distinctions can help you achieve the best possible results for your particular creative endeavor.
- For Professional-Grade Detail and Smoothness: If your project demands exceptionally fine detail, intricate sculpting, or an absolutely flawless, glass-smooth finish, commercial polymer clay or professional-grade air-dry clays often provide superior results. Their consistent composition and refined texture are designed for precision.
- For Enhanced Strength and Durability: Store-bought clays, especially those designed for baking (like polymer clay) or professional ceramic clays, tend to be significantly stronger and more durable once cured or fired. If you need a long-lasting piece that will withstand handling, stress, or potential impacts, commercial options are generally more robust than homemade versions.
- For Waterproof or Weather-Resistant Projects: Homemade clays, particularly those based on flour or baking soda, are generally not waterproof and can degrade when exposed to moisture or outdoor elements. If your project requires water resistance, weather durability, or will be used in damp environments (e.g., outdoor decor, functional pottery), purpose-made store-bought clays or ceramic glazes are essential.
- For Projects Requiring Specific Baking or Firing: Certain artistic techniques, such as creating durable jewelry with polymer clay or traditional pottery, necessitate specific baking temperatures or high-temperature firing in a kiln. Homemade clays are not designed for these intense processes.
- For High Precision and Minimal Shrinkage: Commercial clays are engineered for minimal shrinkage and dimensional stability, which is crucial for projects where exact measurements and consistent size are paramount. Homemade clays can sometimes exhibit more variable shrinkage during drying.
- When Time or Convenience is a Factor: If you’re short on time, prefer not to mix ingredients, or need a large quantity of clay immediately, buying pre-made clay offers unmatched convenience and consistency.
Ultimately, while homemade clay excels in many areas, particularly for educational and recreational crafting, store-bought options are often the better choice for highly specialized, durable, or professional-grade artistic applications.
Summing Up Your Homemade Clay Journey
Congratulations! You now possess a comprehensive understanding of how to make a variety of homemade clays, empowering you to embark on countless crafting adventures with confidence. Whether your aim is to keep young minds engaged and creatively active, or to immerse yourself in a satisfying personal project, homemade clay stands out as a wonderfully simple, flexible, and immensely rewarding medium.
It’s not only incredibly budget-friendly, utilizing common household ingredients, but also wonderfully safe for all ages, making it an ideal choice for family crafting sessions. The ease with which it can be shaped and molded means your imagination is the only limit to what you can create. Just remember to select the most appropriate recipe for your specific project, implement effective storage techniques to prolong its freshness, and apply the troubleshooting tips to effortlessly overcome any minor challenges.
Feeling inspired? Don’t hesitate any longer! Pick one of these easy-to-follow recipes, gather your ingredients, and let your creative ideas take tangible form. For more insightful guides, innovative craft ideas, and helpful tips like these, be sure to explore our other blog posts and keep your artistic vision alive and thriving!
