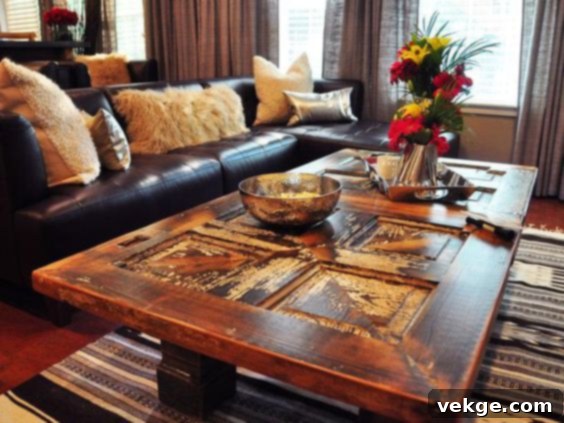
Craft Your Dream Space: Ultimate Guide to DIY Boho Coffee Tables
A beautifully crafted boho coffee table can instantly become the vibrant and refreshing centerpiece of your living room or bedroom. Far from being just a functional surface, it acts as a canvas for your personal style and a reflection of a free-spirited, eclectic aesthetic. Achieving that perfect bohemian touch for your home doesn’t require extensive design knowledge or a big budget. In fact, it’s easily attainable through creative DIY projects that allow you to infuse your unique personality into every detail.
The bohemian style is renowned for its incredible diversity, not only in the materials it embraces but also in the methods of creation. There are no strict rules or rigid guidelines when it comes to crafting boho art, which is precisely what makes it so appealing and accessible. This creative freedom means anyone with a passion for design and a desire to create a piece of artistic furniture can embark on a DIY boho coffee table project. You can customize a basic coffee table layout or start from scratch, adding a distinctive bohemian flair that transforms an ordinary item into a true statement piece.
Embracing the DIY approach for your boho coffee table offers numerous benefits. It’s an excellent way to express your individuality, giving your furniture a story and a soul that mass-produced items simply can’t match. It can also be a more sustainable and budget-friendly option, allowing you to repurpose materials or create something truly unique without breaking the bank. That’s why we’ve curated these inspiring ideas to help you kickstart your boho coffee table DIY journey. Get ready to unleash your inner artist and craft a masterpiece that perfectly complements your bohemian chic decor!
1. Bright White Elegance: The Stacked Wood & Marble Boho Coffee Table
If you envision a coffee table that exudes both sophistication and a subtle bohemian vibe, this bright white design is an excellent starting point. It merges the clean lines of modern design with natural textures, creating an airy and inviting feel. This project focuses on simplicity and natural materials, making it a wonderful entry point for DIY enthusiasts.
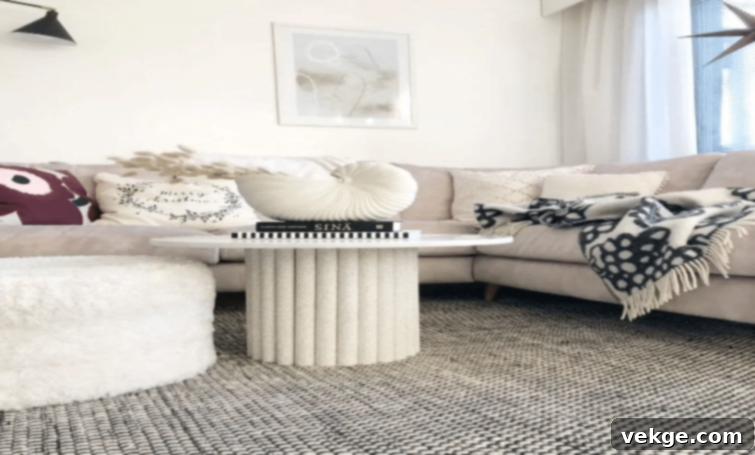
- Step 1: Procure Your Materials. For the tabletop, select a high-quality white marble slab or a sturdy piece of white painted wood that will serve as your functional surface. Consider the size and shape that best fits your space and design preferences.
- Step 2: Prepare the Base. Gather an adequate number of white wood sticks. These could be birch branches, dowel rods, or even painted pine pieces. Ensure they are of a consistent size and cut them evenly. The number of sticks will depend on the desired stability and aesthetic of your base.
- Step 3: Assemble the Support Structure. Carefully arrange and pile the white wood sticks together to form a stable and visually appealing base for your tabletop. You can secure them with a strong adhesive or small fasteners to prevent shifting. This creates a visually dynamic support system that adds to the boho charm.
- Step 4: Secure the Tabletop. Gently place the flat marble or wooden top over the assembled stick base. Use a strong, clear adhesive specifically designed for bonding wood and stone (or wood to wood) to secure the top safely and firmly. Allow ample time for the adhesive to cure completely.
The result is a classy, elegant coffee table with a subtle boho inspiration, perfect for brightening any room. Its neutral palette allows it to blend seamlessly with various decor styles while still offering a distinctive, handcrafted feel. Pair it with woven rugs and natural textiles for a truly harmonious look.
2. The Ottoman Fabric Boho: Comfort Meets Style
Transforming a simple wooden box into a luxurious, fabric-covered ottoman coffee table is a fantastic way to introduce softness, texture, and a touch of global inspiration into your living area. This DIY project offers incredible versatility, allowing you to match or contrast your existing decor with your chosen fabric.
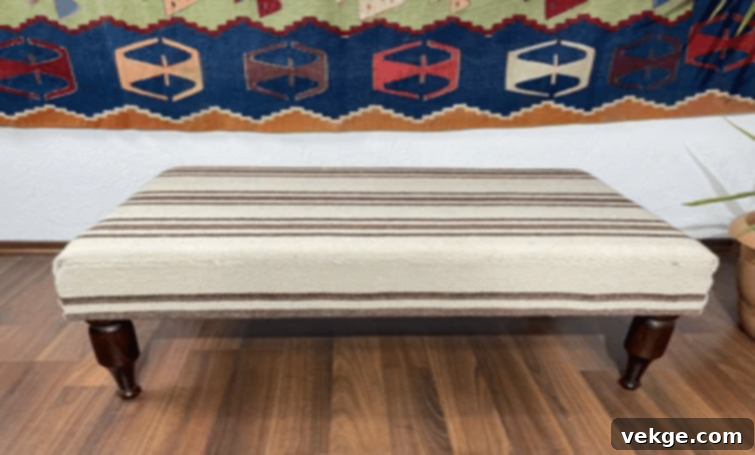
This coffee table is essentially a solid wood box (which you can build or repurpose) covered with a fine fabric, designed to evoke the plush, inviting style of an Ottoman. Here, your fabric choice is key. You can select any material you desire to create a striking contrast or harmonious blend with your other living room furniture. Consider durable upholstery fabrics like linen, velvet, or even a richly textured woven material with a bohemian pattern.
Before applying the fabric, you might want to add a layer of foam or batting to the wooden box for a softer, more luxurious feel. Then, carefully cut and fit your chosen fabric, securing it neatly with a staple gun on the underside of the box. For an extra special touch, you can add decorative elements like a patterned ribbon, tassels, or braided trim along the border. Imagine a bright floral fabric for a charming country house theme, or opt for plain satin or velvety lighter tones to complement modern and sleek living areas. This piece not only serves as a coffee table but also as a comfortable footrest or extra seating, embodying the versatility inherent in boho design.
3. Boho Coffee Table with Hairpin Legs: A Fusion of Modern and Rustic
For those who appreciate minimalist design combined with natural textures, a boho coffee table featuring elegant hairpin legs is an absolute delight. This DIY project perfectly balances industrial chic with bohemian warmth, creating a piece that is both visually striking and incredibly sturdy. The beauty lies in its simplicity and the contrast between the organic wood and the sleek metal.
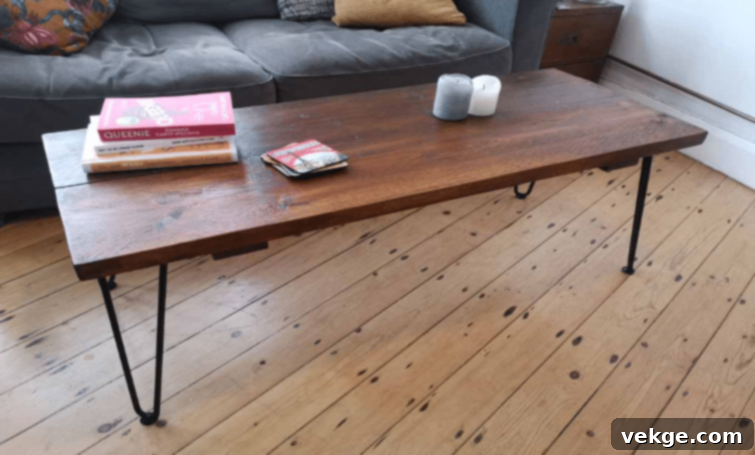
This project requires a beautifully polished light wood slab for the tabletop and stylish hairpin metal legs. The assembly process is straightforward, often requiring just a few screws and basic tools.
- Step 1: Choose and Prepare Your Wood Top. Select a wooden plank that embodies the natural, organic feel of boho design. This could be a solid piece of reclaimed wood, a beautiful live-edge slab for added uniqueness, or even a well-sanded piece of plywood that you’ll finish yourself. Cut it to your desired dimensions and ensure it is thoroughly sanded for a smooth finish. You might choose to stain the wood to enhance its natural grain or simply seal it with a clear coat to preserve its raw beauty.
- Step 2: Attach the Hairpin Legs. Once your tabletop is prepared and finished, carefully position the hairpin metal legs on the underside of the plank. Mark the screw holes, pre-drill pilot holes to prevent splitting the wood, and then securely attach the legs using appropriate screws and brackets. Ensure they are evenly spaced and firmly secured for optimal stability.
This chic table will undoubtedly catch your breath once it takes its place in your living space. The neutral tones of natural wood and metal make it incredibly versatile, suited to almost any vibe you wish to create in your home, from urban jungle to coastal bohemian. It’s a testament to how simple elements can combine to form a truly elegant and functional piece of furniture.
4. DIY for the Artist Inside You: Personalized Painted Coffee Tables
For those who possess an artistic flair, the possibilities for creating a bespoke boho coffee table are truly limitless. This DIY approach invites you to turn any simple, pre-existing coffee table into a one-of-a-kind masterpiece that speaks volumes about your creativity and personal style. It’s about transforming the mundane into the magical through the power of paint and imagination.
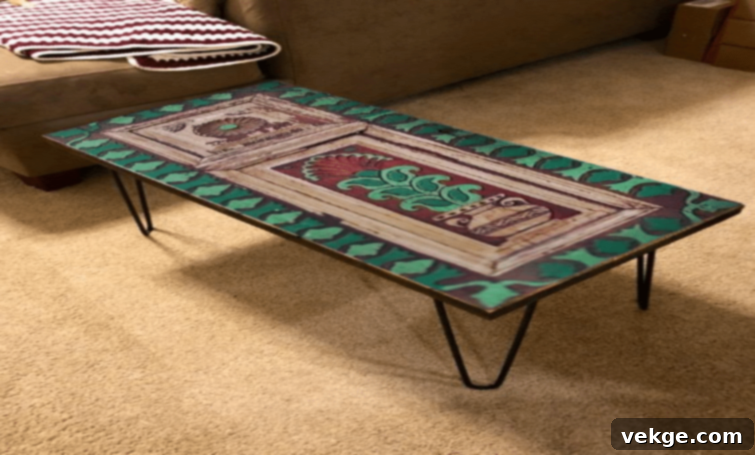
If you have an existing basic coffee table, or you’ve completed a simpler DIY build like the hairpin leg table, you’re already halfway there. Now, it’s time to unleash your artistic vision and turn it into a classic boho coffee table.
- Step 1: Prepare Your Canvas. Ensure your DIY coffee table is clean, smooth, and ready for painting. Sand down any rough areas, wipe away dust, and apply a primer if necessary, especially if you’re painting over a dark or glossy surface.
- Step 2: Infuse with Color and Design. Now, let your imagination run wild! Give your coffee table a vibrant splash of colors with your favorite painting techniques. This could involve intricate mandala patterns, abstract designs, bold geometric shapes, or even delicate floral motifs. Experiment with different types of paint – acrylics for vivid colors, chalk paint for a matte, vintage look, or even stencils for uniform patterns.
- Step 3: Seal for Longevity. Once your artistic creation is complete and thoroughly dry, apply a durable varnish or a clear sealant coating. This step is crucial to protect your artwork from spills, scratches, and everyday wear and tear, ensuring that your masterpiece stays vibrant and beautiful for years to come.
With your personal touch, this DIY coffee table will truly stand out from all your home decorations, becoming a focal point that expresses your talent and personality. It’s more than just furniture; it’s a statement of individuality.
5. Resin Wood Coffee Table: Capturing Nature’s Beauty
Have you recently been captivated by the mesmerizing art of resin design? This is your chance to try your hand at creating a stunning resin wood coffee table, a perfect blend of natural elements and modern artistry. This project allows you to embed various decorative elements within a crystal-clear, durable resin layer, creating a truly unique and captivating surface.
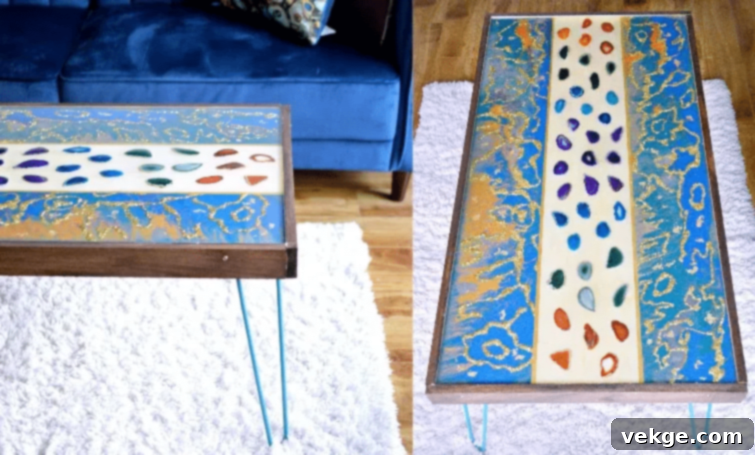
You can begin by gathering your materials, such as striking agate crystal slices, fine glitters, various metallic paints, and, of course, high-quality epoxy resin. Remember to work in a well-ventilated area and wear appropriate safety gear, including gloves and eye protection.
- Step 1: Lay the Foundation. Carefully arrange and fix the agate slices (or other decorative elements like dried flowers, small pebbles, or even pressed leaves) in the desired pattern on the surface of your table. A common and visually stunning approach is to create a “river” effect by arranging them along the horizontal line of the table. Use a small amount of clear glue to secure them in place temporarily.
- Step 2: Introduce Colors. Pour some of your chosen metallic paints (or other resin-compatible pigments) on both sides of your agate arrangement. You can gently blend the colors or keep them distinct. Don’t forget to isolate the sections with tape or barriers if you want to create clear, defined areas for your final look, preventing colors from mixing where not intended.
- Step 3: Add Sparkle and Depth. Before the paint fully dries, add a lavish spread of glitter over the painted areas. This will create shimmering effects and add depth to your design. Allow everything (agate, paint, glitter) to dry perfectly according to the manufacturer’s instructions for the paints used.
- Step 4: The Resin Pour. Prepare your two-part epoxy resin according to the instructions on the package – usually, this involves mixing equal parts of resin and hardener thoroughly. Carefully pour the mixed resin evenly over the entire coffee table, ensuring it covers all the decorative elements and creates a smooth, level surface. Use a heat gun or torch (held at a safe distance) to gently remove any air bubbles that rise to the surface.
- Step 5: Cure and Finish. Allow the resin to cure fully. This typically takes around 24-72 hours, depending on the resin type and environmental conditions. Once cured, you can sand and polish the surface for an even smoother, glass-like finish. Finally, consider applying a wood stain to the exposed wooden corners or edges of your table to provide a refined, finishing touch that complements the resin design.
Now, your unique, marble-patterned (or crystal-rivered) DIY boho coffee table is ready to use, boasting a personalized design that will be a constant source of admiration.
6. Tickets on Your Table: A Memento-Filled Masterpiece
Do you have a cherished hobby of collecting tickets from concerts, movies, travels, or special events? Are you someone who struggles to throw away a single memento from previous experiences? This DIY boho art project is tailor-made for your satisfaction, allowing you to beautifully display a lifetime of memories right on your coffee table, turning it into a conversation starter and a true reflection of your adventures.
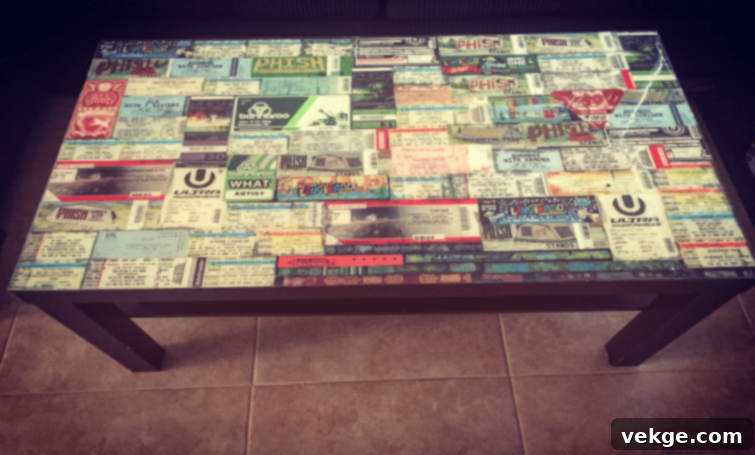
- Step 1: Collect and Arrange Your Treasures. Gather all the tickets you’ve meticulously saved from your closet, backpack, pockets, or memory boxes, and bring them to your coffee table. Begin to arrange them across the tabletop. You can overlap them, create a mosaic pattern, or lay them out neatly in rows – the choice is yours and contributes to the overall boho aesthetic. Use a thin layer of clear, fast-drying glue (like Mod Podge or a craft adhesive) to carefully glue the tickets all over the table, ensuring there are no significant gaps. Be mindful not to spill excessive glue over the tickets themselves, as we want the art to remain crisp and visually captivating.
- Step 2: Prepare for Sealing. Once all your tickets are securely glued down and the adhesive has dried completely, carefully tape off the edges of your coffee table using painter’s tape or masking tape. This will create a clean line and protect the sides of your table when you apply the sealant.
- Step 3: Apply a Durable Protective Layer. Now, it’s time to seal your work. A generous coat of clear, pourable polyurethane or a clear epoxy resin is an excellent choice for this. It offers superior durability and a high-gloss finish that will beautifully encapsulate and protect your tickets. Simply pour the mixture evenly over the entire surface, ensuring it covers all the tickets. This method often provides a smoother, more even coat than brushing varnish. Work in a well-ventilated area.
- Step 4: Eliminate Bubbles and Cure. Immediately after pouring, inspect the surface for any air bubbles. You can gently remove these by using a heat gun or even a hairdryer on a low, warm setting, sweeping it lightly across the surface. This helps the bubbles rise and pop. Ensure the table is perfectly level during this crucial drying phase. Polyurethane or resin typically requires 24-48 hours (or even up to 72 hours for full cure, depending on the product) to set and harden completely. Protect it from dust during this time.
- Step 5: Final Touches. Once the polyurethane or resin is fully cured, carefully peel off the masking tape. You may wish to gently sand around the corners and edges to remove any small drips or sharp spots, ensuring a smooth, polished finish. Wipe clean, and admire your work.
Now, your DIY boho coffee table, brimming with personal momentum and cherished memories, is ready to catch the eye and become the center of attraction in your living area. It’s more than just a piece of furniture; it’s a personal timeline and a testament to your life’s adventures.
Conclusion: Embrace Your Inner Boho Creator
The concept of a DIY boho coffee table is not merely about decorating; it’s an advantageous theme for anyone who seeks to infuse their living space with personality, warmth, and a unique, handcrafted touch. These bohemian coffee tables are more than just functional surfaces; they are an authentic display of the inner energy and warmth you wish to share with your family and guests. They serve as a constant reminder of your creativity and the love you pour into making your house a home.
Whether you prefer a project focused on carpentry and construction, like building a stacked wood base, or you’re more inclined to express yourself through artistic embellishments like painting or resin work, the boho style offers unparalleled flexibility. Perhaps you want to try your hand at upholstery with an Ottoman-style table, or preserve cherished memories under a sleek surface. Everything is cool and permissible with boho design because its essence lies in being flexible, personalized, and deeply reflective of your individual taste.
We hope you’ve found these ideas inspiring and empowering. Have you discovered an interesting idea from this guide that resonates with your aesthetic? Don’t hesitate to embark on your own DIY journey. Share your experience, the creative process, and all the fun you had while making your very own boho coffee table with your unique personal touch of magic! Your home will thank you for the extra soul and character you bring into it.
