Create a Stunning Corn Husk Wreath: Your Ultimate DIY Guide for Fall Decor
As autumn leaves begin to fall and the air turns crisp, our thoughts often turn to cozy home decor that celebrates the season. Among the myriad of fall decorations, the humble yet elegant corn husk wreath stands out as a timeless piece of natural beauty. With its soft, earthy tones and charming rustic appeal, a homemade corn husk wreath brings warmth and a touch of agricultural heritage right to your doorstep.
These beautiful wreaths offer more than just aesthetic appeal; they connect us to a rich past, echoing a time when families gathered after a bountiful harvest. In those days, every part of the crop was valued, and husks, often considered waste, were ingeniously transformed into useful and decorative items. This tradition speaks volumes about resourcefulness and community spirit.
Are you eager to infuse your home with this classic, farm-fresh charm? Our detailed guide is designed to walk you through the entire process of crafting your very own corn husk wreath. You’ll learn the simple steps to turn basic dried husks into a magnificent focal point for your front door or an inviting accent for your interior walls. The best part? This rewarding DIY project can often be completed in less than an hour, making it perfect for an afternoon craft session.
From selecting the ideal materials to the final flourish of hanging your finished masterpiece, we’ll cover everything you need to know. We’ll also share invaluable tips to ensure your beautiful corn husk wreath not only looks stunning but also lasts through many enchanting autumn seasons. Let’s embark on this creative journey and craft something truly special and personal for your home this fall.
What Exactly Is a Corn Husk Wreath?
A corn husk wreath is a distinctive piece of natural home decor, typically fashioned from dried leaves (husks) of corn plants, artfully arranged in a circular form. These decorative pieces are celebrated for their understated beauty and their authentic, farm-fresh appeal. Unlike mass-produced wreaths, corn husk wreaths offer a unique texture and character that can instantly add a layer of warmth and organic charm to any wall, mantel, or door.
What truly sets these natural wreaths apart from store-bought alternatives is their reliance on real, unprocessed plant materials. Each corn husk possesses its own subtle variations in color, size, and texture, ensuring that no two wreaths are ever exactly alike. This inherent uniqueness results in a piece of decor that feels personal and handcrafted, reflecting the natural world.
The gentle, muted tones of dried corn husks – ranging from soft tans and creams to light browns and even hints of pale green – make them incredibly versatile. They seamlessly complement a wide array of interior design styles, from rustic country homes and traditional farmhouses to more contemporary and minimalist spaces seeking an organic touch. Their natural elegance allows them to serve as a stunning focal point or a subtle, harmonious accent, bringing the serene beauty of the harvest season indoors.
Historical and Cultural Significance of Corn Husk Crafts
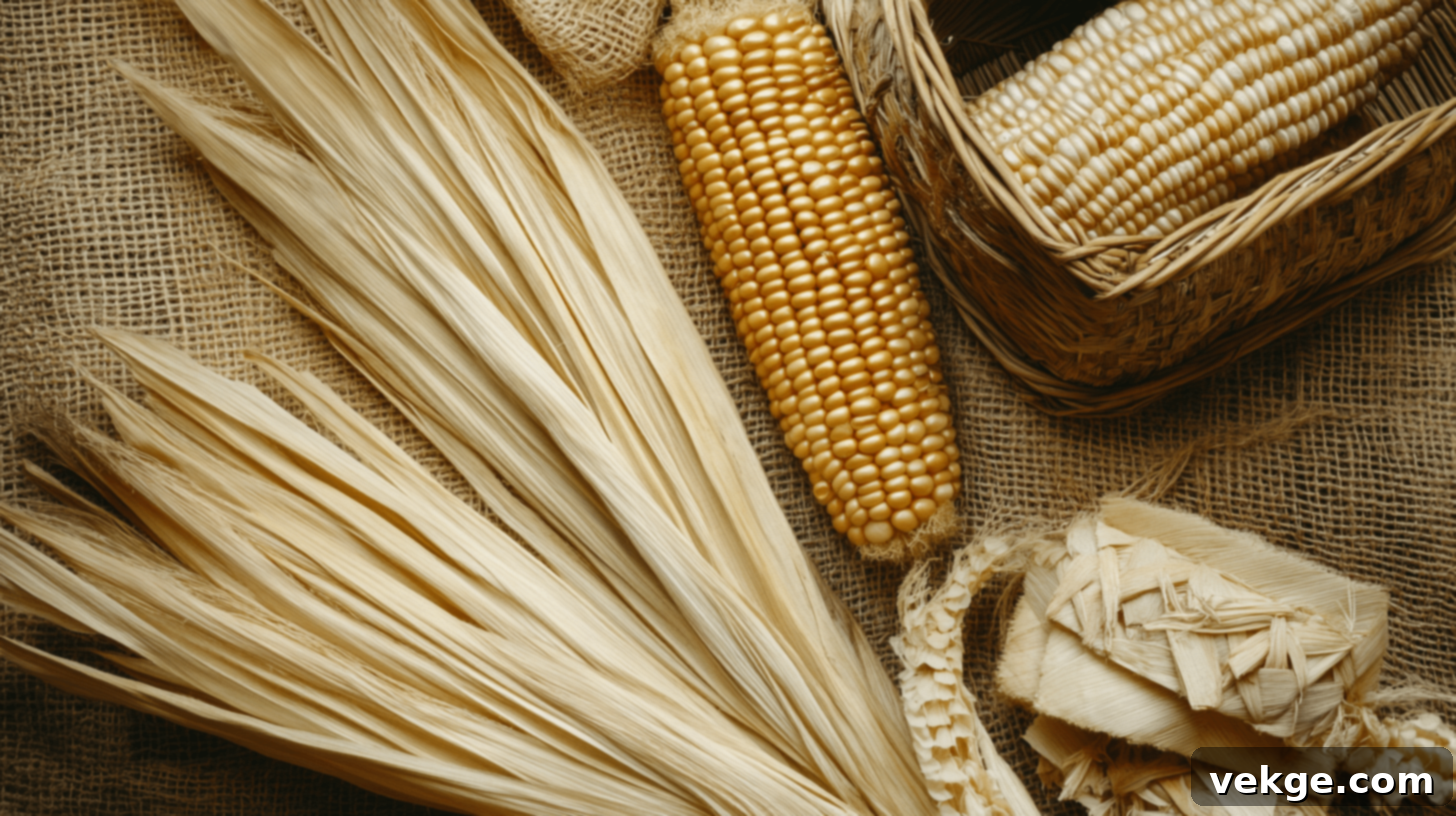
The tradition of creating corn husk decorations, including the beloved wreath, is deeply rooted in early American farm life, a testament to the ingenuity and resourcefulness of past generations. In agrarian societies, nothing was wasted. After the annual corn harvest, when the golden kernels were gathered for food and feed, the remaining husks, often considered byproducts, were creatively repurposed by farmers and their families.
This widespread practice began in countless farming communities where families would gather, not just for the arduous task of corn picking, but also for social occasions centered around crafting. These gatherings transformed simple husks into a myriad of practical household items and charming decor. From durable door mats and sturdy baskets to intricate dolls and decorative wall hangings like wreaths, these items embodied the early settlers’ profound value for utilizing every part of their crops, reflecting a sustainable way of life born out of necessity.
Indeed, in many rural areas, making corn husk items evolved into a cherished social event, often referred to as “husking bees” or “corn frolics.” Neighbors would meet, sharing stories, laughter, and meals while their hands busily worked to transform the husks. These communal crafting sessions played a vital role in building strong community bonds and fostering camaraderie during the busy harvest season, intertwining practicality with social connection.
Long before European settlers arrived, Native American tribes were the original masters of corn husk utility. They expertly taught the early settlers about the myriad uses of corn husks, demonstrating how these pliable plant parts could be crafted into items ranging from functional mats and storage containers to toys and ceremonial objects. Their profound wisdom and knowledge of the land significantly shaped how corn husks continue to be used in crafting today, passing down techniques and an appreciation for this versatile material.
As more people witnessed the durability and natural beauty of corn husk items, their popularity soared. Corn husk wreaths, in particular, became a favored choice for home decor due to several compelling reasons:
- Cost-Effectiveness: They required very little, if any, monetary investment to create, often utilizing materials that were readily available and free.
- Accessibility of Materials: Corn husks were an abundant byproduct of one of the most vital agricultural staples, making them easy for almost anyone to obtain.
- Durability: When properly dried and cared for, these natural wreaths proved incredibly resilient, lasting through many seasons, making them a sustainable decor choice.
- Bringing Nature Indoors: They offered a simple yet effective way to incorporate natural elements into the home, connecting interiors with the surrounding landscape and seasonal changes.
Craft Your Own Corn Husk Wreath: A Comprehensive DIY Guide
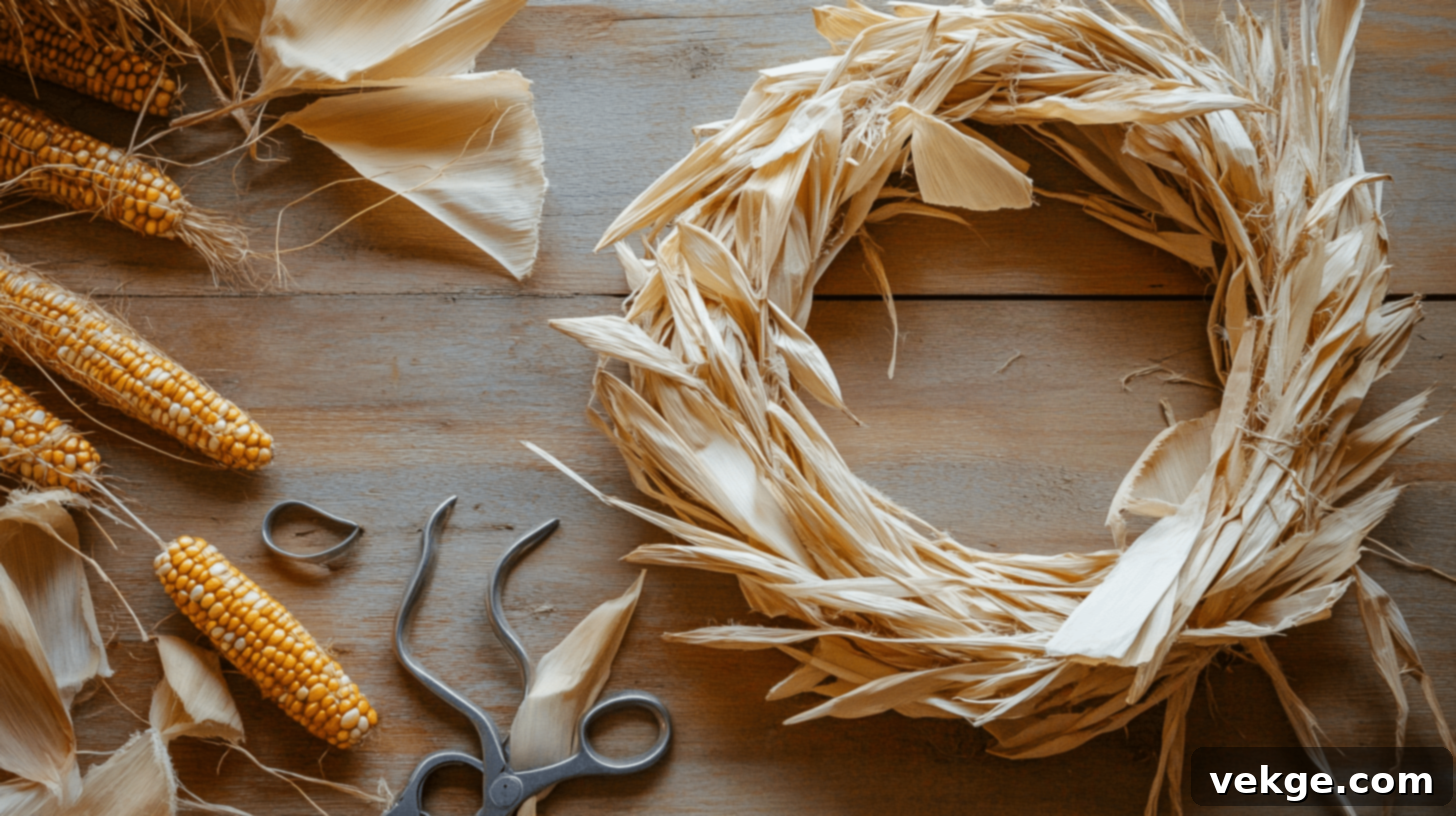
Creating a beautiful corn husk wreath is not only a rewarding endeavor but also a perfect weekend project that adds a bespoke touch to your home. With our easy-to-follow instructions, you can finish this charming piece in under an hour, ready to enhance any space with its understated elegance.
Materials and Tools Needed for Your Corn Husk Wreath
Before you begin, gather all your supplies. Having everything at hand will make the crafting process smooth and enjoyable.
Basic Supplies You’ll Need:
- Wreath Frame: A 12-inch metal wreath frame is ideal for beginners and offers a sturdy base. Alternatively, you can repurpose a wire hanger by shaping it into a circle. The frame provides the structure and durability for your wreath.
- Corn Husks: You’ll need approximately 2-3 bags if purchasing pre-packaged husks from a store. If using farm-fresh husks, aim for about 30-40 individual pieces. Look for husks that are clean and pliable after preparation.
- Strong String or Twine: Natural jute twine or floral string works best. This will be used to secure your husk bundles to the frame, so choose something durable that won’t easily fray or snap.
- Sharp Scissors: Essential for trimming husks, cutting twine, and any other modifications. A good pair of craft scissors will make the job much easier.
- Hot Glue Gun and Glue Sticks: A low-temp hot glue gun is sufficient and safer. Hot glue is perfect for securing individual husks and adding final embellishments, providing a strong, quick bond.
- Floral Wire or Zip Ties (optional, but recommended): These can offer extra security for bundles, especially if you want a very robust wreath. Zip ties are quick and easy to use.
- Ribbon (optional): Choose a ribbon in an autumnal color or a natural fabric like burlap to create a hanging loop or a decorative bow.
- Small Corn Cobs or Dried Flowers (optional): For an extra decorative touch, consider adding small, dried decorative corn cobs, dried berries, or preserved flowers for unique texture and color.
Where to Find Your Corn Husks:
Sourcing your husks is the first step. Depending on your location and the season, you have several options:
- Local Farms: During the harvest season (late summer to early fall), many local farms may sell husks directly, often at a very affordable price or sometimes even free. This is an excellent way to get fresh, high-quality husks.
- Grocery Stores: Check the ethnic or Mexican food section of larger grocery stores. Dried corn husks are commonly sold for making tamales and are perfect for crafting.
- Farm Markets/Farmer’s Markets: These markets are a fantastic resource for seasonal produce and often have vendors selling dried husks or whole cornstalks.
- Online Sellers: Websites like Amazon, Etsy, or craft supply stores offer dried corn husks year-round, making them a convenient option if local sources are scarce.
- Your Own Garden: If you grow corn, simply harvest the husks after enjoying the corn kernels. Ensure they are thoroughly dried before use.
Step-By-Step Guide on Crafting Your Corn Husk Wreath
Follow these steps carefully to ensure a beautiful and long-lasting wreath:
1. Prepare Your Base
- If you’re using a wire hanger, carefully bend and shape it into a perfectly round circle. Ensure it’s sturdy and holds its form.
- If you have a metal wreath frame, simply set it up on your workspace. This will be the foundation upon which your husks will be attached.
2. Prepare Your Husks
- Before starting, you may want to soak your husks in warm water for about 10-15 minutes. This makes them pliable and easier to work with without tearing. Once softened, pat them dry with a towel, but ensure they remain flexible.
- Sort through your husks, picking pieces that are similar in size and shape for a uniform look, or vary them for a more organic feel.
- Remove any husks that are visibly damaged, heavily discolored, or show signs of mold.
- For wider husks, you can carefully split them lengthwise into two or three thinner strips. This gives you more material and allows for finer layering.
3. Create Husk Bundles
- Take 5-7 prepared corn husks and layer them together. You can fold them in half lengthwise or keep them flat, depending on the desired fullness and texture.
- Gather the husks together at their natural “stem” end (the narrowest part).
- Tightly tie them at their base or center with a piece of strong twine or floral wire. Ensure the knot is secure so the bundle doesn’t fall apart.
- Repeat this process until you have approximately 15-20 bundles. The exact number will depend on the size of your frame and how full you want your wreath to be.
4. Attach Bundles to the Frame
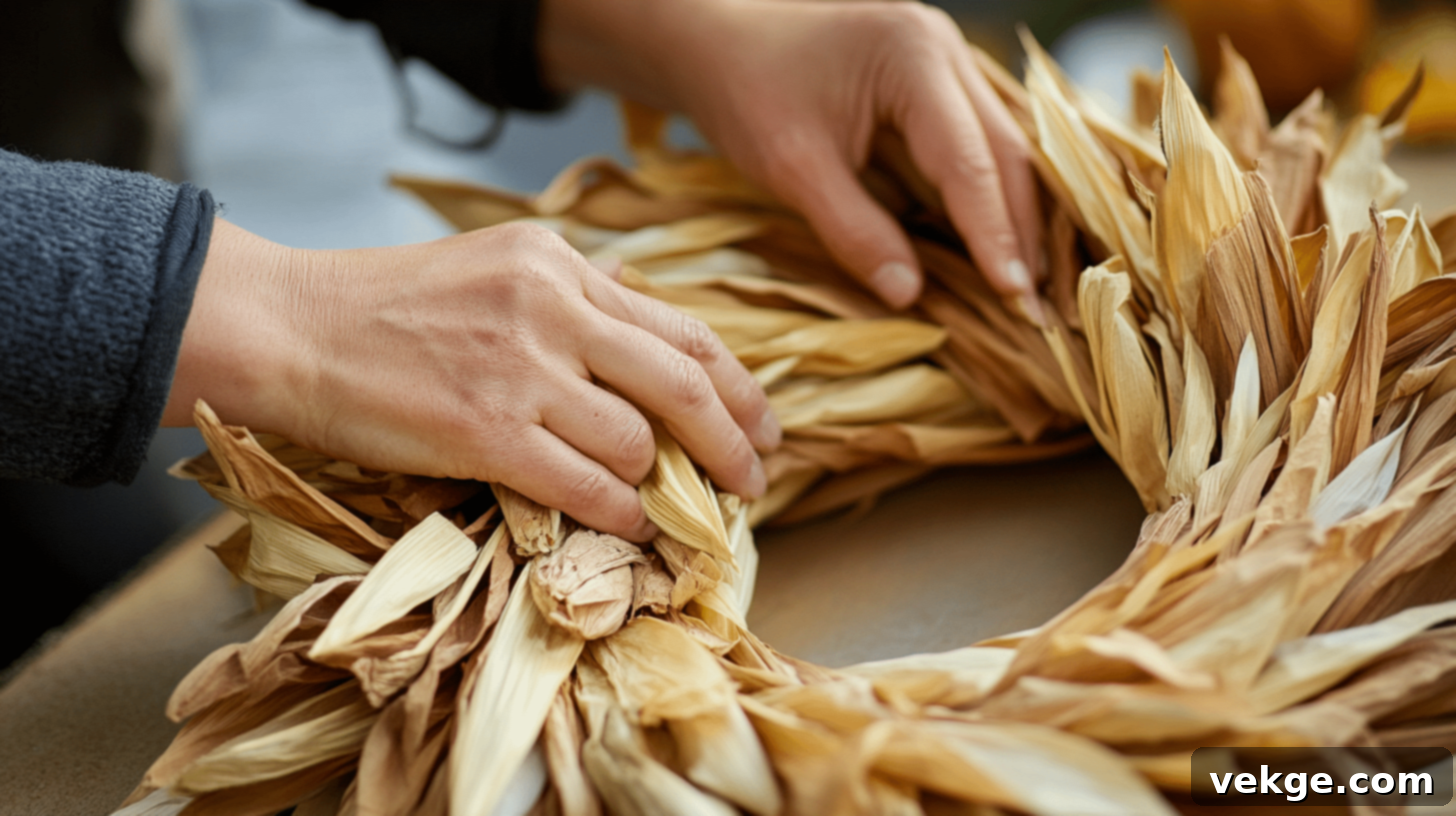
- Begin attaching your husk bundles around the wreath frame. Lay a bundle over the frame, with the fanned-out husks pointing outwards.
- Using twine or floral wire, firmly secure the tied end of each bundle to the frame. Wrap the twine around both the bundle’s base and the frame several times, tying it off securely at the back.
- Space your bundles evenly around the frame, overlapping them slightly to create a full, continuous look. Ensure all husks are pointing in the same direction, typically clockwise or counter-clockwise, for a cohesive flow.
- Continue adding bundles, working your way around the entire frame until it’s completely covered.
5. Fill Any Gaps and Finish
- Once all bundles are attached, hold your wreath up and inspect it for any bare spots or areas that look less full than others.
- Take single husks or smaller bundles, fold them if necessary, and carefully tuck them into these gaps.
- Use a hot glue gun to secure these additional husks firmly in place. Apply a small dab of glue to the base of the husk and press it firmly into the wreath, holding until the glue sets.
- Ensure the entire frame is concealed and the wreath looks lush and even. Trim any overly long or stray husks with sharp scissors to create a neat edge.
- Allow all glue to dry completely before handling or hanging your finished corn husk wreath.
For more visual guidance and detailed tips, check out the comprehensive video tutorial by Hymns and Verses. Their step-by-step demonstration can be incredibly helpful for first-time wreath makers.
What You’ll Spend (Cost Considerations)
One of the many appealing aspects of crafting a corn husk wreath is its affordability. It’s a project that delivers significant aesthetic value without breaking the bank. Here’s a breakdown of the typical costs:
| ITEM | PRICE RANGE |
|---|---|
| Wire Wreath Frame | $2-4 (Often available at dollar stores or craft stores) |
| Dried Corn Husks | $3-5 per bag (A single bag is usually enough for one wreath, sometimes two) |
| Twine/Floral Wire | $1-2 (Often already on hand, or a small spool is inexpensive) |
| Hot Glue Sticks | $1-2 (A small pack is very affordable) |
| Total Estimated Cost | $6-13 |
As you can see, the total investment is minimal, especially when compared to the price of store-bought wreaths, which can often range from $20 to $50 or more for similar sizes. Crafting your own allows for personalization and a sense of accomplishment, all while being kind to your budget.
Important Rules to Follow and Avoid for Perfect Wreath Crafting
Creating a beautiful and lasting corn husk wreath involves more than just following steps; it requires attention to detail and a few crucial considerations. Heeding these do’s and don’ts will ensure your wreath is a success.
The Do’s for Crafting a Corn Husk Wreath:
- Do Store Husks Properly: Always keep your corn husks in a dry, well-ventilated space before and during crafting. This prevents moisture buildup, which can lead to mold or mildew.
- Do Prepare Husks: Gently soak your husks in warm water for 10-15 minutes to make them pliable. This significantly reduces tearing and makes them much easier to fold and attach. Pat them dry until they are flexible but not dripping wet.
- Do Test Your Glue: If using a hot glue gun, test it on a spare piece of husk first to ensure the temperature is right and it bonds well without damaging the material.
- Do Tie Bundles Tightly: When creating your husk bundles, pull the twine or floral wire taut. A firm, secure tie prevents the husks from slipping or loosening over time, ensuring your wreath maintains its shape.
- Do Space Bundles Evenly: Visually estimate and space your bundles uniformly around the frame. This creates a balanced, aesthetically pleasing wreath that looks professionally made.
- Do Overlap for Fullness: Overlap each successive bundle slightly over the previous one. This technique hides the twine or wire used to attach them and builds a lush, full appearance.
- Do Check Frame Weight: Before hanging, always test the stability of your frame and its ability to hold the finished weight of the husks. A flimsy frame might warp or break.
- Do Unify Husk Direction: For a clean, cohesive appearance, ensure all husks point in the same direction (e.g., all clockwise). This creates a harmonious flow around the wreath.
- Do Save Extra Husks: Keep a small stash of prepared husks aside for touch-ups or fixes later. This allows you to fill any unforeseen gaps or replace damaged pieces easily.
- Do Work in a Bright Area: Choose a well-lit workspace. Good lighting helps you spot gaps, ensure evenness, and make precise adjustments.
- Do Allow Glue to Set: Be patient. Allow all hot glue to cool and fully set before moving or hanging your wreath. Rushing this step can cause pieces to shift or detach.
The Don’ts for Crafting a Corn Husk Wreath:
- Don’t Use Moldy Husks: Never use husks that show any signs of mold, mildew, or rot. These can spread, ruin your wreath, and pose health risks. Discard them immediately.
- Don’t Rush Drying: If you’ve soaked your husks, don’t rush the drying process before assembly. Ensure they are sufficiently pliable but not overly wet, or they will mold after assembly.
- Don’t Leave Gaps: Avoid leaving noticeable bare spots between bundles. A full, dense wreath looks much more professional and finished. Take the time to fill every space.
- Don’t Use Weak String: Steer clear of thin or weak threads for tying bundles. They can break easily, causing your bundles to unravel. Opt for strong twine or floral wire.
- Don’t Expose to Moisture: Keep your finished wreath away from rain, high humidity, or damp environments. Moisture is the enemy of dried husks and will cause them to soften, mold, or decay.
- Don’t Stack Items on Top: When storing your wreath, do not pile other items on top of it. This can crush and damage the delicate husks, compromising its shape and appearance. Store it flat in a protective box.
- Don’t Be Rough: Handle the husks gently, especially when bending or positioning them. They can be brittle, even after soaking, and too much force can cause them to tear.
- Don’t Mix Wet and Dry: Keep prepared (damp) husks separate from fully dry ones until they are ready for use. Mixing them can introduce moisture to dry husks and encourage mold.
- Don’t Forget Safety: Always be mindful of hot glue gun drips and sharp wire tips. Work on a protected surface, and keep all crafting tools out of reach of small children and pets.
- Don’t Work on a Crumpled Surface: Ensure your workspace is clean and flat. Working on an uneven surface can lead to an unevenly shaped wreath.
Expert Tips and Tricks for a Masterful Corn Husk Wreath
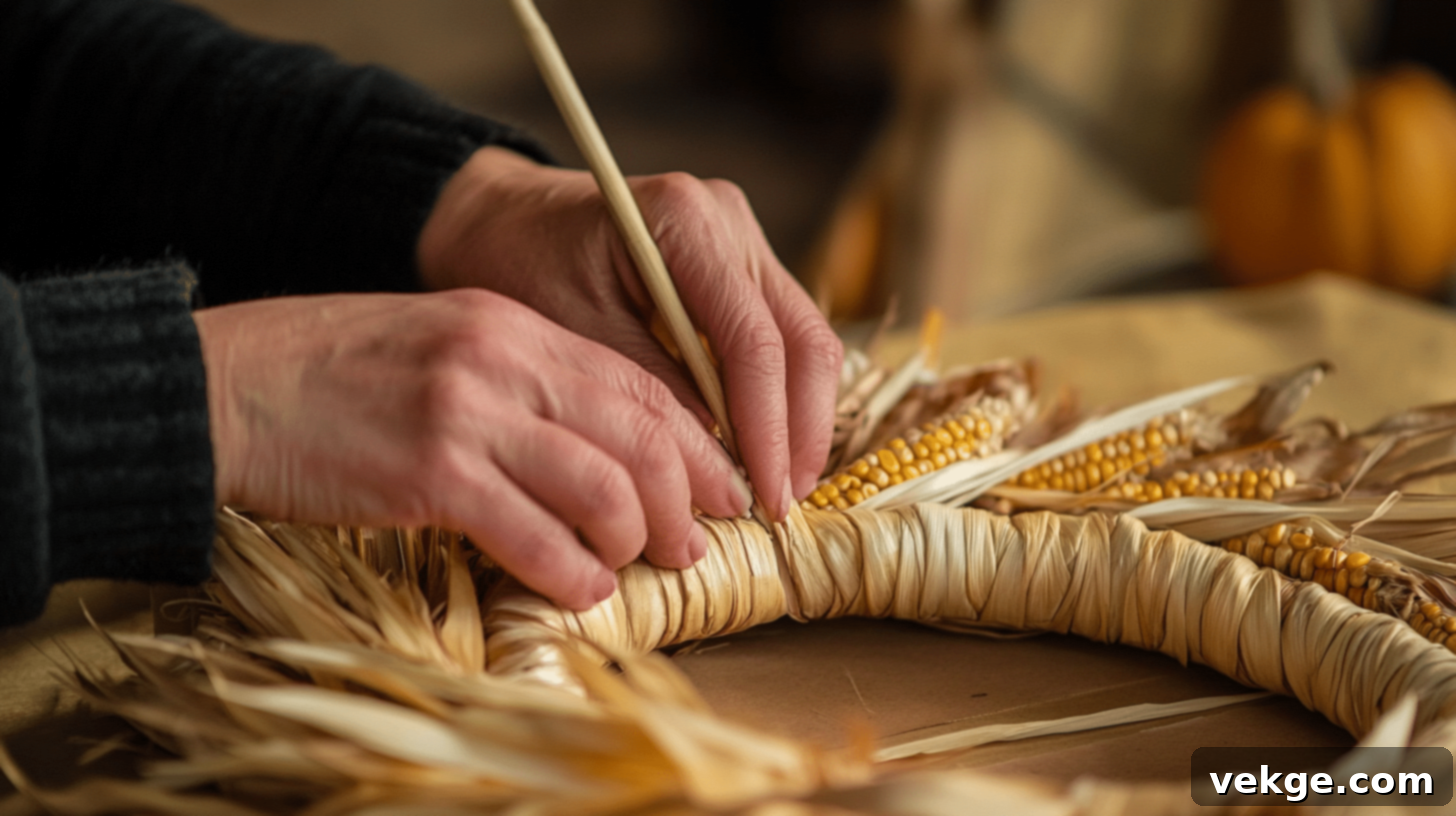
While the basic steps for making a corn husk wreath are straightforward, achieving truly outstanding results often comes down to incorporating a few clever techniques and insights. These expert tips, gleaned from seasoned crafters, will help elevate your project from good to exceptional.
Pick Your Husks Wisely for the Best Foundation:
- Freshness Matters: If possible, opt for fresh farm husks over those that have been stored for a very long time. Fresher husks tend to be more pliable and have better color retention.
- Inspect for Quality: Look for husks with even color and minimal imperfections or tears. Avoid pieces with dark spots, which can indicate mold. Wider husks are particularly valuable as they allow you to create fuller, more luxurious bundles, contributing to a denser wreath.
- Pre-Sort by Size: Before you even start soaking, sort your entire supply of husks by size. This allows you to select similar-sized pieces for specific sections of your wreath, ensuring uniformity, or deliberately mix sizes for a more organic, varied texture.
- Conditioning is Key: After soaking, don’t just pat dry; allow them to “sweat” in a sealed plastic bag for 15-20 minutes. This distributes moisture evenly and makes them even more flexible without being soggy.
Perfect Your Technique for a Professional Finish:
- Maximize Each Husk: For very large or thick husks, don’t hesitate to split them lengthwise into two or even three thinner strips. This clever trick maximizes your material, gives you more pieces to work with, and allows for more intricate layering and texture.
- Strategic Bundling: When creating your husk bundles, tie them firmly in the middle or slightly towards the base, rather than too close to the fanned-out ends. This gives the bundle stability while allowing the ends to flare out beautifully.
- Consistency in Bundles: Strive to make each bundle roughly the same size and fullness. This consistency is crucial for creating a uniformly textured and balanced wreath.
- Close Placement: Position your bundles as close together as possible on the frame. The denser the bundles, the fuller and more luxurious your wreath will appear, effectively hiding the frame beneath.
Make It Last: Proper Care and Maintenance:
- Regular Dusting: Dried husks can attract dust. Gently brush off any accumulated dust once a month using a soft, dry cloth, a feather duster, or even a soft-bristled paintbrush.
- Prompt Repairs: As soon as you notice any loose husks or pieces, address them immediately with a small dab of hot glue. Timely repairs prevent further unraveling and maintain the wreath’s integrity.
- Smart Storage: When the season ends, store your corn husk wreath flat in a sturdy, breathable box. Avoid airtight containers, which can trap moisture. Place acid-free tissue paper between layers if storing multiple wreaths. Keep it in a cool, dry place away from direct sunlight and humidity.
- Protective Coating (Optional): For added durability and dust resistance, you can apply a light, clear matte or satin sealant spray specifically designed for dried florals or crafts. Test on a spare husk first to ensure it doesn’t alter the color or texture.
Size and Shape Tips for Optimal Aesthetics:
- Start Small: If you’re new to wreath making, begin with a smaller frame. A 12-inch frame is a fantastic size for beginners as it’s manageable and yields a charming finished product without being overwhelming.
- Unify Direction: Reiterate the importance of ensuring all husk tips point consistently in the same direction. This creates a visually pleasing flow and a professional, intentional look.
- Layering for Coverage: Master the art of layering. Each new bundle should slightly overlap the one before it, ensuring that the entire wreath frame and any visible ties are completely hidden.
- Step Back and Evaluate: Frequently step back from your work as you progress. This allows you to assess the overall shape, fullness, and balance of your wreath from a distance, making it easier to spot and correct uneven areas.
Color and Style for Personalization:
While the natural beauty of undyed husks offers a clean, rustic, and fresh look, you can also get creative with these customization options:
- Mix and Match Shades: Play with the natural variations in husk color. Mix lighter cream-colored husks with darker, more tan or slightly green-tinged ones to add depth and visual interest.
- Incorporate Dried Botanicals: Tuck small dried flowers (like lavender, strawflowers, or statice), dried berries, or sprigs of dried herbs into your wreath for bursts of color and texture.
- Add Festive Ribbons: Introduce thin ribbons made from burlap, plaid fabric, or satin in autumnal hues (deep reds, oranges, golds, forest greens) to tie a bow or create a hanging loop.
- Tiny Corn Cobs: Secure small, decorative corn cobs (often called “Indian corn”) directly onto the wreath using hot glue or floral wire for a truly authentic harvest feel.
- Colored Twine: Experiment with different colored twine (e.g., rustic brown, natural green) to add a subtle pop of color that complements your husks and other embellishments.
- Paint or Dye Husks: For a bold statement, you can carefully dye your husks using fabric dye or gently paint them with watered-down acrylics before assembly. Ensure they are completely dry before use.
Fun Facts Related to Corn Husk Wreaths and Their Legacy
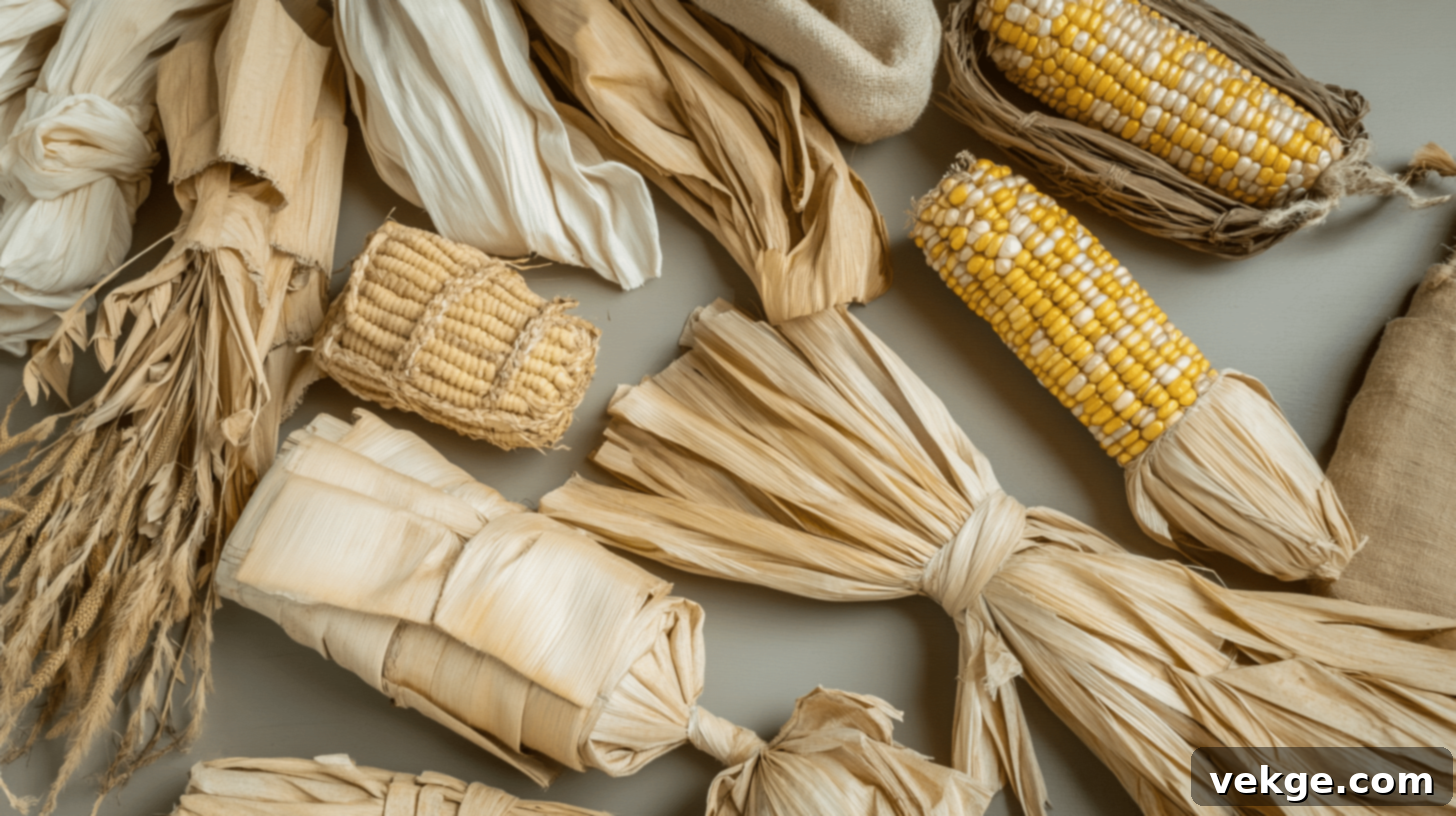
Beyond their aesthetic appeal, corn husk wreaths carry fascinating stories and reveal much about the resourcefulness of previous generations. Did you know that the creation of corn husk crafts was often a cherished winter pastime for farm families in early America?
During the long, cold winter months, when outdoor farm work slowed, families would gather indoors to make useful and charming items from the abundant corn husks. These handmade goods not only filled their homes with rustic charm but also showcased their impressive skill and ingenuity in making the most of every available resource. It was a tangible expression of self-sufficiency and creativity.
Historically, corn husks were incredibly versatile and found myriad uses in daily life. People would meticulously stuff mattresses with husks to create bedding, weave them into durable seats for chairs, and craft them into practical baskets for storage and carrying. In times when paper was a scarce commodity, some resourceful individuals even used dried husks as a surface for writing letters or notes. Truly, almost every part of the corn plant held a significant use in the daily existence of early American communities.
The art of making items from corn husks isn’t confined to a single culture; it spans many traditions across the globe. Mexican families, for instance, have a long-standing tradition of using corn husks to beautifully wrap tamales, enhancing both flavor and presentation. Native American tribes, as mentioned, were pioneers in teaching settlers how to expertly weave strong, functional mats and other items from husks. In the southern regions of the United States, stiff corn husks were ingeniously fashioned into practical brooms and scrub brushes, highlighting their utility.
Even today, contemporary craft makers continue to discover new and exciting uses for corn husks, valuing their natural texture and eco-friendly nature. Here are some interesting numerical facts:
- A single healthy corn plant typically yields about 8-10 good quality husks suitable for crafting, making it a sustainable material.
- The absolute best husks for crafting come from corn that is picked late in the fall season, as they tend to be tougher and larger.
- Freshly harvested husks require approximately three weeks of air-drying in a cool, well-ventilated area to dry fully and become ready for crafting, preventing mold.
- When properly prepared and stored, corn husk wreaths and other crafts can last for up to 2 years, often even longer, making them a durable decor investment.
- A medium-sized corn husk wreath (around 12-14 inches) typically utilizes about 30-40 individual husks, depending on the desired fullness.
- Most crafters can complete a basic corn husk wreath in a surprisingly quick 45 minutes to an hour, making it an accessible project.
- Once dried, corn husks are incredibly lightweight, often weighing less than a sheet of paper, which makes wreaths easy to hang.
- For those with access to farms, obtaining farm-fresh husks can be up to 75% less expensive (or even free!) compared to purchasing pre-packaged, store-bought options.
Final Words: Embrace the Harvest Season with Handcrafted Beauty
Are you now feeling inspired and ready to create your very own corn husk wreath? You’ve been equipped with all the essential steps, expert tips, and historical insights needed to craft a beautiful, unique piece for your home. Remember to start with the basic instructions, and as you gain confidence and familiarity with the craft, feel free to infuse your personal style and creative flair into your designs.
We absolutely love seeing your creations! Please don’t hesitate to share photos of your finished corn husk wreaths in the comments section below. Your unique work could serve as wonderful inspiration and provide fresh ideas for other readers eager to embark on their own DIY projects.
Looking for more engaging seasonal DIY guides and home decor inspiration? Be sure to sign up for our weekly newsletter! You’ll receive a curated collection of craft tips, innovative home decor ideas, and exclusive first looks at our newest projects directly in your inbox. And don’t forget to follow us on our social media channels – we regularly post quick tips, behind-the-scenes glimpses, and feature amazing creations from our reader community every week.
Thank you for joining us on this creative journey today. Here’s to making your home feel extra cozy, inviting, and beautifully handcrafted this enchanting fall season!
Frequently Asked Questions (FAQs) About Corn Husk Wreaths
How long should I soak the corn husks before using them?
Soak your corn husks in warm water for approximately 10-15 minutes. This duration is usually sufficient to make them pliable and easy to work with without becoming overly saturated, which could lead to longer drying times or potential mold issues.
Can I use colored corn husks for my wreath?
Absolutely! You can certainly use naturally colored corn husks if you can find them (e.g., from Indian corn varieties). Additionally, you have the option to dye plain corn husks using fabric dye or food coloring before assembly to achieve a specific color palette for a truly unique and personalized look.
How do I prevent my corn husk wreath from molding?
To prevent molding, ensure two critical steps are followed: First, make certain that your corn husks are thoroughly dried before you begin the assembly process. If you’ve soaked them, allow them to air dry sufficiently until they are pliable but not damp. Second, always store your finished wreath in a dry, well-ventilated area away from any sources of moisture or high humidity. Avoid storing in sealed plastic bags, as this can trap moisture.
What’s the best way to clean a corn husk wreath?
To clean a corn husk wreath, gently brush off dust and cobwebs using a soft, dry cloth, a feather duster, or a soft-bristled paintbrush. Avoid using water or any liquid cleaners, as moisture can damage the husks and encourage mold growth.
Can I hang my corn husk wreath outdoors?
While corn husk wreaths add a beautiful touch to outdoor decor, they are best suited for sheltered outdoor areas, such as a covered porch or entryway. Direct exposure to rain, snow, or excessive humidity can cause the husks to soften, mold, or lose their shape. If your outdoor area is exposed, consider bringing the wreath indoors during inclement weather.
