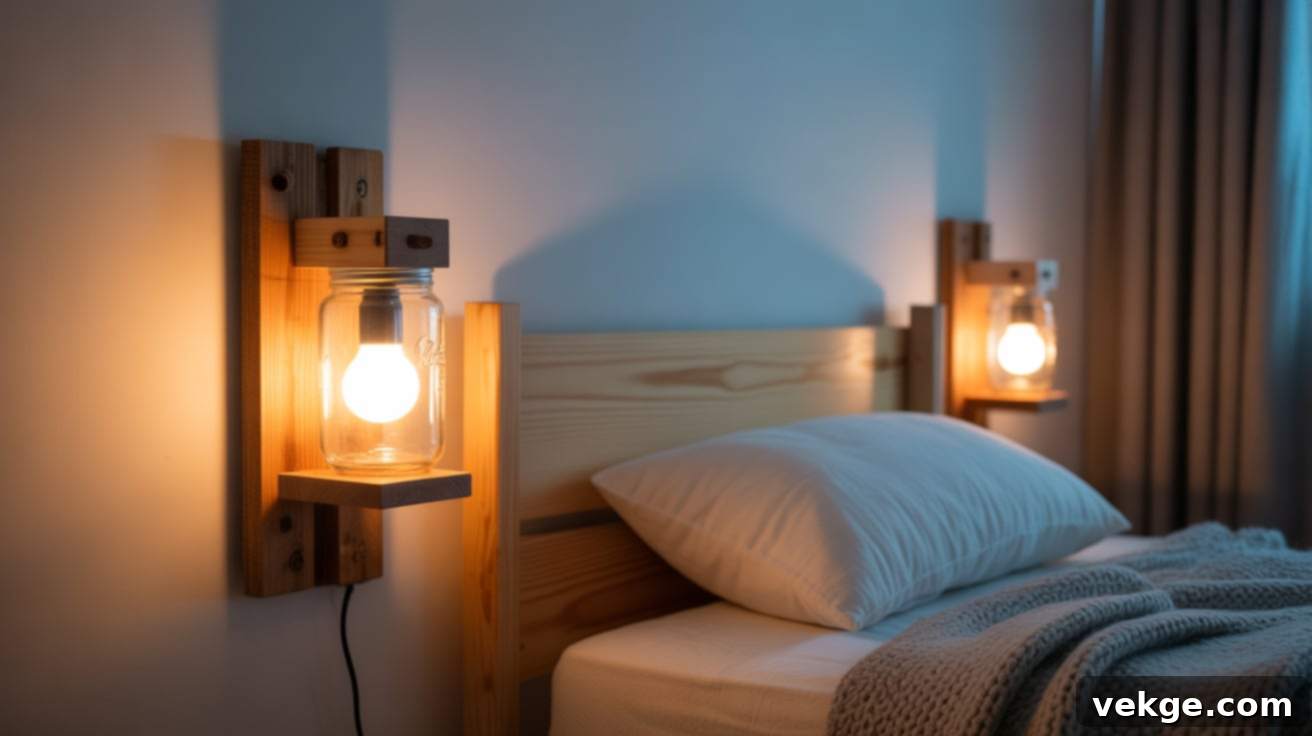
Illuminate Your Home: 10+ Creative & Affordable DIY Wall Sconce Ideas for Every Style
Are you yearning to infuse your living space with unique, artistic lighting but find yourself disheartened by the limited, often overpriced options available in stores? You are certainly not alone in this dilemma. Many homeowners and renters struggle to find wall sconces that truly resonate with their personal style or fit within their budget, often settling for generic designs that lack character.
However, there’s fantastic news! You don’t need to break the bank or compromise on your aesthetic vision. The secret lies in the power of DIY. By leveraging simple tools, everyday items from a dollar store, or materials you already have around your home, you can craft beautiful and functional wall sconces that perfectly complement your decor.
In this comprehensive guide, we’ll explore a wealth of easy-to-follow, creative DIY wall sconce ideas designed to cater to various needs and skill levels. Whether you’re a renter looking for non-permanent solutions, a budget-conscious decorator, or simply someone who loves the satisfaction of a handmade project, you’ll find inspiration here.
We’ll delve into different types of sconces, outline the essential tools and materials, and provide detailed step-by-step instructions. From ingenious battery-powered hacks that require no wiring to more robust hardwired options, you’re sure to discover a project that not only brightens your walls but also adds a personalized touch and a sense of accomplishment to your home. Ready to transform your walls with light without emptying your wallet?
Choosing the Perfect DIY Sconce for Your Space
Before you dive into the exciting world of crafting, it’s beneficial to consider which type of wall sconce best suits your specific space, your available tools, and your comfort level with DIY projects. Making an informed choice ensures a smoother, more enjoyable building experience and a result you’ll truly love.
Match Your DIY Sconce to Your Skill Level
- Beginner-Friendly: Battery-Operated Sconces or Dollar Tree Hacks
If you’re new to DIY or prefer projects with minimal complexity, battery-operated sconces are an ideal starting point. They are incredibly simple to assemble, inherently safe as they involve no electrical wiring, and require only basic tools (or none at all). These projects are perfect for gaining confidence and seeing quick, satisfying results.
- Intermediate Enthusiast: Plug-In Designs
For those with some DIY experience who are looking for a bit more light output and design versatility without tackling electrical work, plug-in sconces are an excellent choice. You can often create unique pieces by repurposing thrifted lamp parts or converting existing wall-mounted fixtures. This level offers greater creative freedom and more substantial lighting solutions.
- Experienced Crafter: Hardwired Sconces
If you’re an experienced DIYer or ready for a more challenging and permanent installation, a hardwired sconce offers a polished, professional, and integrated look. These projects provide superior illumination and a seamless aesthetic. However, it’s crucial to prioritize safety, follow all electrical guidelines meticulously, and consider consulting or hiring a qualified electrician if you’re ever unsure about the wiring process.
Select Your Sconce Based on Your Room and Specific Needs
- For Renters, Dorms, and Flexible Lighting: Battery-Operated Sconces
Battery-powered sconces are an absolute godsend for renters, dorm residents, or anyone who needs lighting without drilling holes, running visible cords, or altering existing electrical systems. They offer incredible flexibility in placement, making them perfect for hallways, accent lighting in living rooms, or temporary event decor. Just be mindful of battery life and light output.
- For Bedside, Reading Nooks, and Areas Near Outlets: Plug-In Sconces
Plug-in sconces are wonderfully versatile for spaces where you need reliable, brighter light and have easy access to an electrical outlet. They are particularly effective for bedside lighting, illuminating a cozy reading nook, or adding ambient light in a living area. Their mobility means you can easily relocate them if you redecorate or move, offering a great balance between permanence and flexibility.
- For Bathrooms, Entryways, and Permanent Updates: Hardwired Sconces
Hardwired sconces are the ultimate choice for a truly built-in, clean, and professional aesthetic. They are ideal for areas like bathrooms (where a sleek, permanent fixture is often desired), entryways, or as part of a long-term home renovation project. While they require a more involved installation, the result is a seamless, integrated lighting solution that enhances your home’s value and visual appeal.
Types of Wall Sconces You Can DIY
Understanding the different categories of DIY sconces is key to selecting the right project. Your choice should align with your crafting skills, available budget, and how permanent you wish your new lighting solution to be.
1. Battery-Operated Sconces: The Ultimate in Flexibility and Simplicity
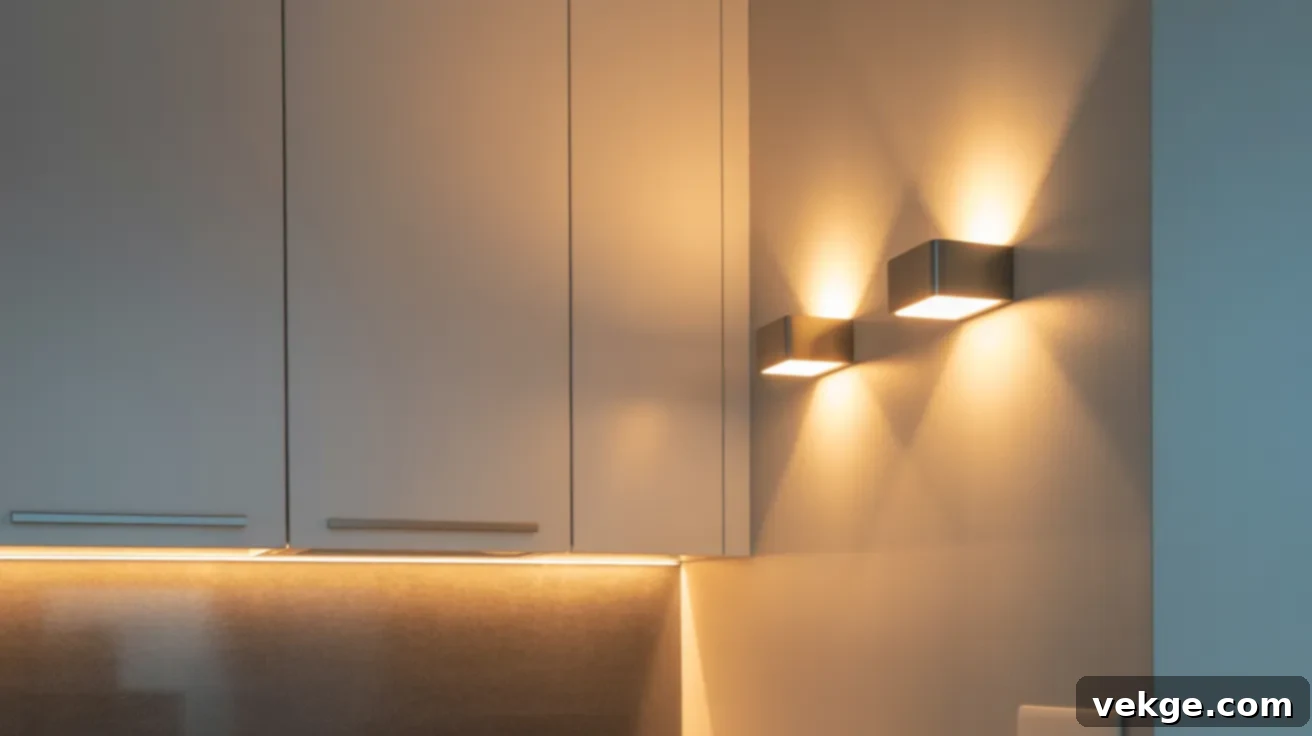
Battery-operated sconces are celebrated for their unparalleled ease of installation. With no electrical wiring involved, they typically attach to your wall using damage-free Command strips or a few small screws, making them ideal for renters or anyone who wants to avoid the complexities of tools and electrical work. These types of sconces often utilize battery-powered puck lights, LED strips, or flameless LED candles to produce a soft, inviting glow.
Advantages: The primary benefit is absolute freedom of placement; you can install them virtually anywhere without worrying about outlets or power sources. They are perfect for temporary setups, accent lighting, or providing a gentle night light. Installation is quick, easy, and often requires no drilling.
Disadvantages: The main drawback is the need for periodic battery changes, which can be an ongoing expense and a minor inconvenience. Additionally, the light output is generally lower compared to wired options, meaning they are best suited for ambient or accent lighting rather than primary illumination.
2. Plug-In Sconces: Bridging the Gap Between Ease and Brightness
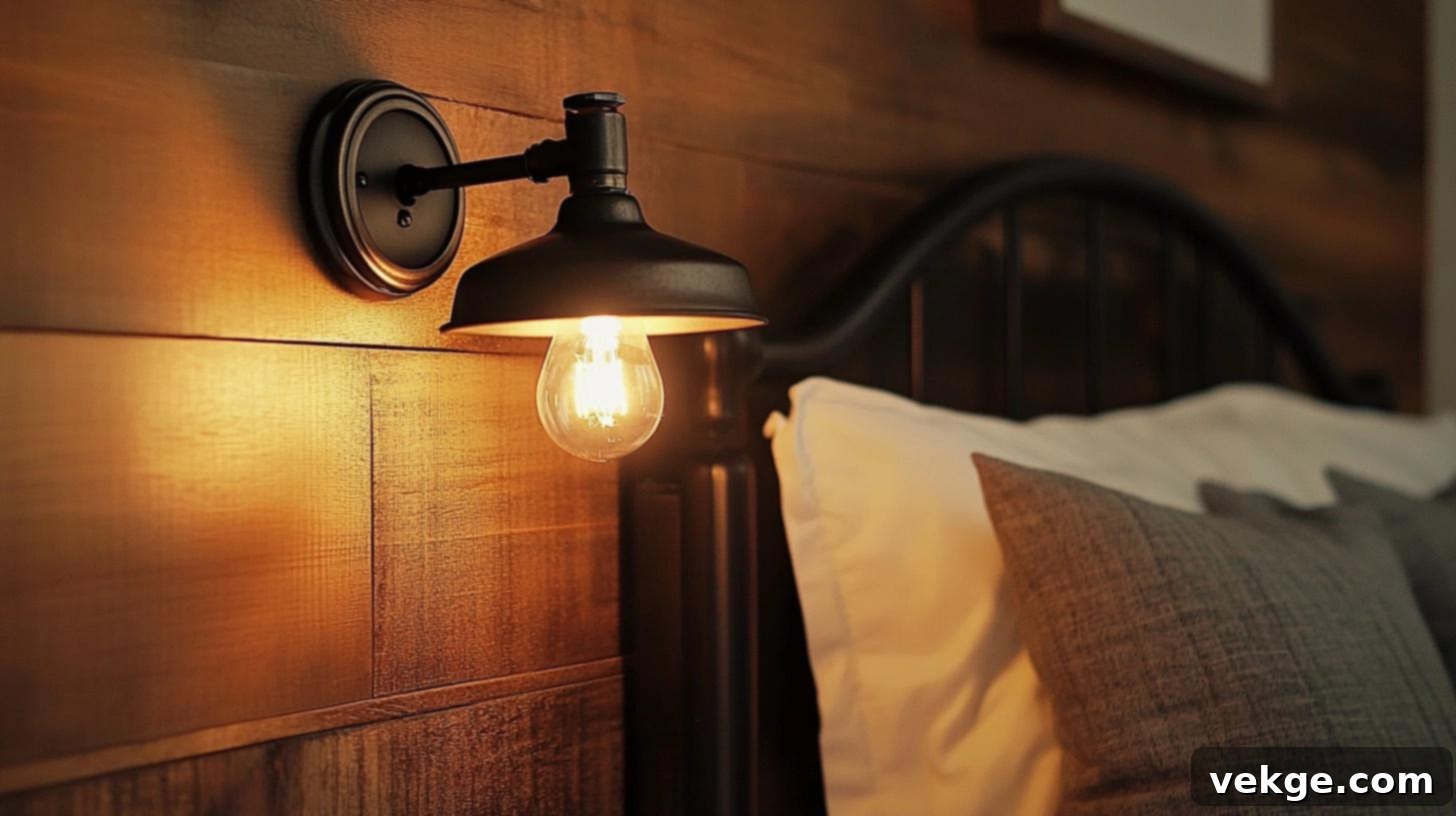
Plug-in sconces offer a fantastic middle ground, providing more brightness and reliability than battery-powered options without requiring any complex hardwiring. You can easily DIY these using readily available plug-in light kits, thrifted lamp parts, or by converting existing fixtures into wall-mounted designs. This approach allows for greater customization and a more substantial lighting presence.
Advantages: They provide brighter, more consistent light than battery units and eliminate the hassle of changing batteries. Installation is relatively simple, as you only need to mount the fixture to the wall and plug it in. Many designs are easily movable, offering flexibility if you rearrange your decor. You can also incorporate smart bulbs for added functionality.
Disadvantages: The visible cord can sometimes detract from the aesthetic. To maintain a tidy look, you might need to invest in cord covers, paint the cord to match your wall, or strategically route it behind furniture. Proximity to an electrical outlet is also a requirement, limiting placement somewhat.
3. Hardwired Wall Sconces: The Professional, Permanent Solution
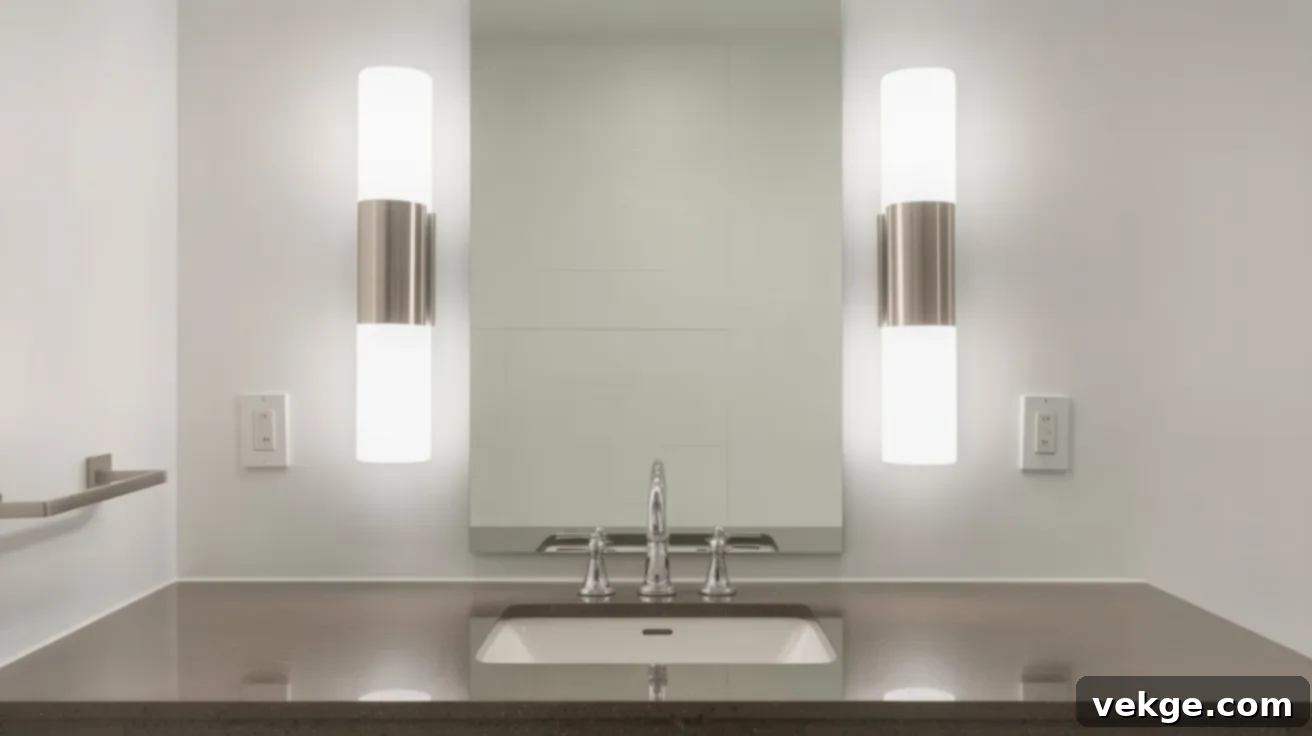
Hardwired sconces offer the most polished and permanent lighting solution, integrating seamlessly into your home’s electrical system. They are the ideal choice if you aim to match your home’s existing lighting setup, desire a truly custom and built-in look, or wish to enhance your property’s resale appeal with high-quality fixtures.
Advantages: Once installed, hardwired sconces provide reliable, consistent, and often brighter illumination. There are no visible cords or batteries to manage, resulting in a very clean and sophisticated aesthetic. They are perfect for creating primary or task lighting in bathrooms, hallways, or entryways, and can often be controlled by a wall switch for ultimate convenience.
Disadvantages: This option requires significant electrical work. While you can DIY the fixture itself, connecting it to your home’s wiring system demands a good understanding of electrical safety and local building codes. If you’re not experienced or comfortable with electrical wiring, it is always recommended to hire a licensed electrician to ensure a safe and code-compliant installation.
DIY Wall Sconce: Step-by-Step Instructions for Your Project
Crafting your own wall sconce is often simpler than you might imagine. These detailed, step-by-step guides will walk you through the process of building, decorating, and safely installing your chosen style, ensuring a beautiful and functional result.
1. Simple Battery Sconce Tutorial: Instant Ambiance
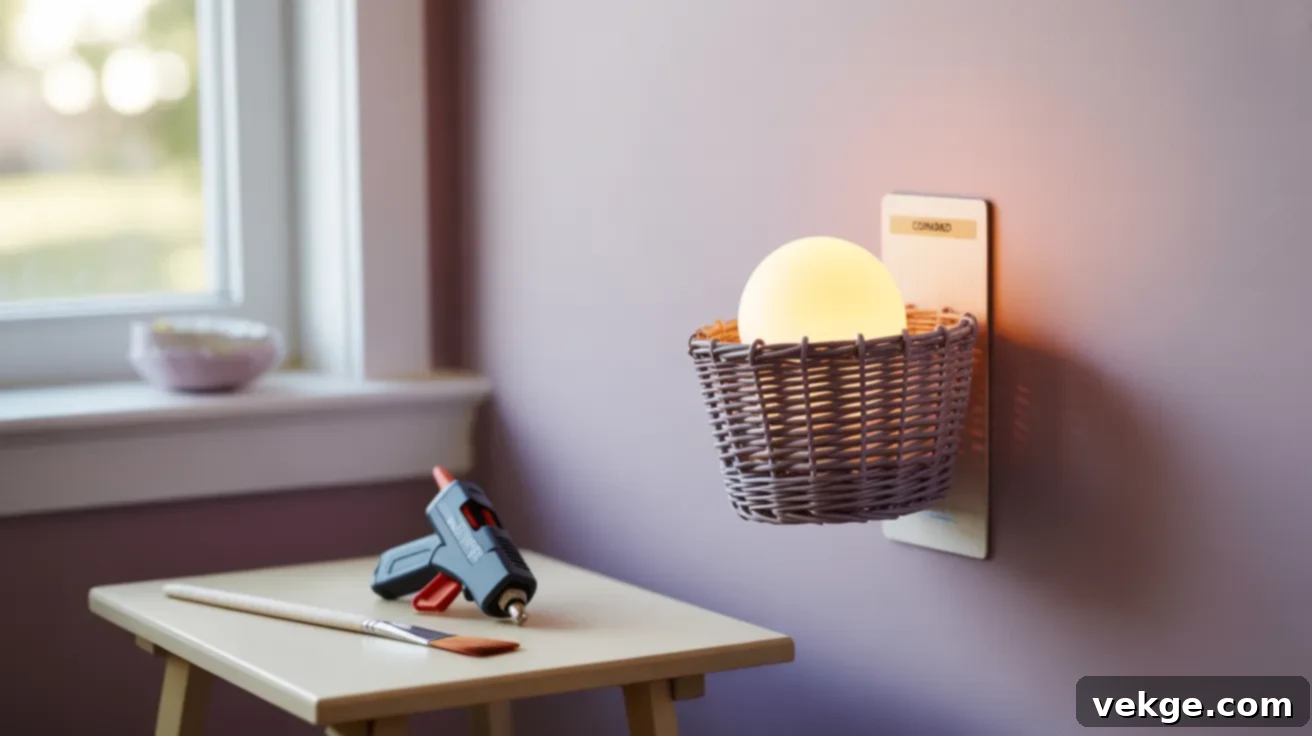
This project is an excellent no-wire option, perfect for beginners, renters, or anyone needing quick, temporary lighting. It’s incredibly fast to make and easy to hang, making it ideal for apartments, dorm rooms, or adding a soft glow to any corner.
Materials List:
- Battery-operated LED puck lights (with remote control for convenience is a plus!)
- Small decorative elements: consider mini baskets, glass jars (mason jars, old candle jars), decorative metal containers, or even sturdy cardboard tubes.
- Strong double-sided mounting tape or Command strips (for damage-free hanging)
- Optional: Craft paint, spray paint, fabric scraps, twine, decorative ribbon, or adhesive gems for personalization
- Basic craft tools: Scissors, hot glue gun and glue sticks, ruler or measuring tape.
Assembly Steps:
- Prepare Your Base: If using a basket, jar, or other container, clean it thoroughly. Now is the time to personalize it! Paint it to match your room’s color scheme, wrap it with decorative fabric or twine, or add embellishments. Let any paint or glue dry completely before proceeding.
- Secure the Light Source: Take your battery-operated puck light. Apply strong mounting tape or a few dots of hot glue to the back of the puck light. Carefully position and press the puck light inside your chosen decorative base. Ensure it’s securely attached but still accessible for battery replacement. Some puck lights come with their own adhesive pads, which can also be used.
- Ensure Easy Maintenance: Design your sconce so that the puck light can be easily removed or opened for battery changes. For instance, if using a jar, you might place the light on the lid or a removable insert. If using a basket, ensure it’s just tucked in place or lightly secured with velcro dots.
- Mounting to the Wall: Once your sconce is assembled and dry, attach Command strips or heavy-duty mounting tape to the back of the decorative base. Choose your desired spot on the wall, ensure it’s clean and dry, and firmly press the sconce into place according to the adhesive product’s instructions. If using screws, pre-drill small pilot holes and secure the sconce with appropriate wall anchors if not screwing into a stud.
2. Plug-In Wall Sconce With Fabric Shade: Style and Function
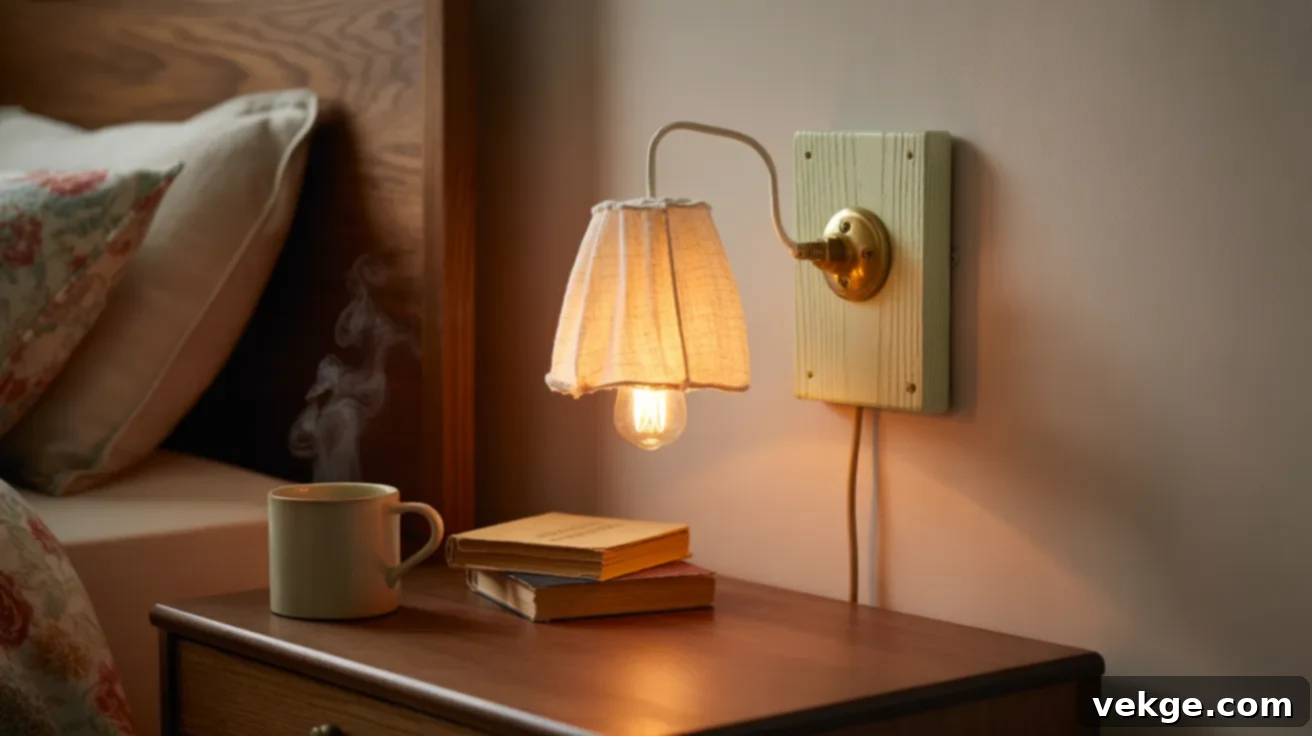
This project elevates your space with a touch of elegance, combining style with practical function. By utilizing a plug-in light kit and a custom fabric shade, you can create a soft, cozy glow that enhances any room, especially perfect for bedside lighting or a reading nook.
Materials List:
- Plug-in light socket with cord and switch (often sold as “pendant light conversion kits”)
- Wood board for the base (approx. 10″ tall and 4–5″ wide, thickness around 3/4″ for stability)
- Wood stain, paint, or sealant to finish the base
- Wire rings or an old lampshade frame (to create the shade structure)
- Fabric of your choice for the shade (consider texture, color, and translucency)
- Hot glue gun and plenty of glue sticks
- Small LED light bulb (energy-efficient and produces less heat)
- Mounting hardware: Wood screws (appropriate length for your wall type) and optional wall anchors.
- Optional: Cord covers or raceways for a clean look.
How to Build the Base and Shade:
- Prepare the Wood Base: Cut your piece of wood to the desired dimensions (e.g., 10″ tall x 4–5″ wide). Sand all edges and surfaces thoroughly until smooth. Apply your chosen wood stain, paint, or sealant. Allow it to dry completely, following the product instructions.
- Attach the Light Socket: Once the wood base is dry, position the plug-in light socket assembly onto the board. Mark the screw holes for the mounting bracket or hardware that comes with your light kit. Drill pilot holes and securely attach the light socket to the wood base. Ensure the cord exits cleanly from the bottom or side.
- Craft Your Fabric Shade: If you’re starting with wire rings, determine the desired size and shape of your shade. Cut your fabric to size, allowing extra for wrapping around the rings. Securely attach the fabric to the wire rings using a hot glue gun, creating a drum, bell, or empire-style shade. Alternatively, dismantle an old lampshade and recover it with your chosen fabric. Ensure the shade can fit around your light socket and bulb.
- Assemble and Test: Carefully attach the fabric shade to the light socket assembly. Screw in a small LED bulb. Plug in the sconce and test the light to ensure everything is working correctly and the bulb is secured.
- Mounting and Cord Management: Choose your desired wall location. Using a level, mark the mounting points for the wood base. Drill pilot holes and use appropriate wall anchors if you’re not drilling into a stud. Mount the wood base securely to the wall. To achieve a polished look, consider using self-adhesive cord covers (raceways) to conceal the cord running down to the outlet, or strategically hide it behind furniture.
3. Hardwired Wood Frame Sconce: Permanent Elegance
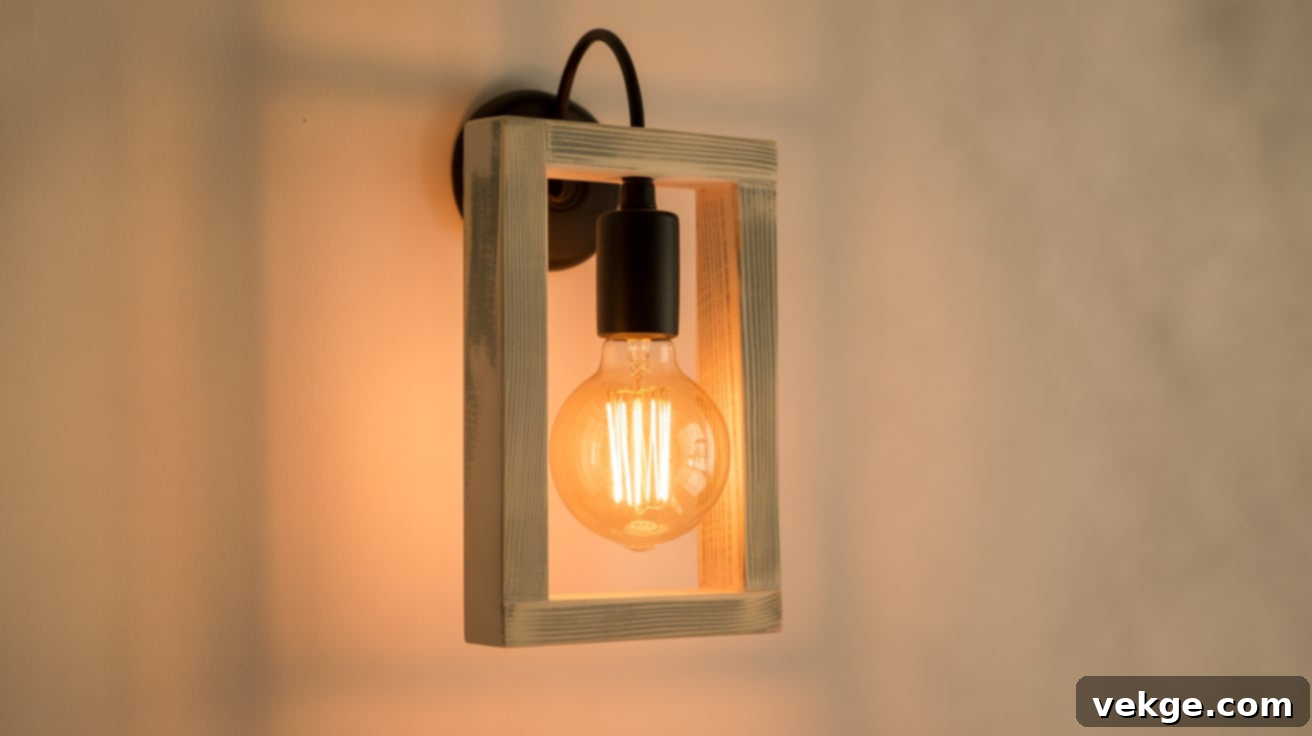
This project is designed for long-term use and offers a professional, built-in aesthetic. While the DIY aspect is rewarding, this option requires careful attention to electrical safety. If you are not entirely confident with electrical wiring, it is strongly advised to seek assistance from a qualified professional electrician for the wiring portion.
Materials List:
- Light fixture designed for hardwiring (e.g., a simple flush-mount or a decorative fixture you wish to modify)
- Wood frame or mounting board (sized to fit your chosen fixture and desired aesthetic)
- Mounting screws or brackets suitable for securing the wood frame to the wall
- Electrical supplies: Wire nuts, electrical tape, circuit tester (essential for safety)
- Basic tools: Screwdriver set, drill with appropriate bits
- Optional: Drywall saw (if you need to cut into the wall for a new electrical box)
- Safety Gear: Insulated gloves, safety glasses.
Prepping the Wall for Installation:
- Choose Placement and Mark: Select the exact location for your sconce. Consider height (typically 60-72 inches from the floor) and proximity to other architectural features or furniture. Mark the precise spot where the electrical box or wiring will be located.
- CRITICAL SAFETY STEP: Turn Off Power! Locate your home’s main circuit breaker panel. Identify the breaker that controls the power to the area where you will be working. FLIP THIS BREAKER TO THE “OFF” POSITION. Tag it so no one accidentally turns it back on.
- Verify Power is Off: Use a non-contact voltage tester or a circuit tester to double-check that there is absolutely no power running through the wires in the designated area. TOUCHING LIVE WIRES CAN BE FATAL.
- Access Wiring: If you are replacing an existing fixture, simply remove the old one. If you are installing a new hardwired sconce where there was no previous electrical box, you will need to carefully cut a hole in the drywall (using a drywall saw) to install a new electrical box. Ensure the box is securely mounted to a stud or using a special “old work” box that anchors to the drywall.
Wiring Basics (WITH EXTREME SAFETY WARNINGS):
- Identify Wires: From your wall opening, you should find three wires (if your home is wired to modern standards):
- Black wire (Hot): Carries live current.
- White wire (Neutral): Carries current back to the breaker.
- Green or bare copper wire (Ground): Safety wire.
Your sconce fixture will have corresponding wires.
- Make Connections:
- Black to Black: Connect the black wire from the sconce to the black (hot) wire from the wall.
- White to White: Connect the white wire from the sconce to the white (neutral) wire from the wall.
- Ground to Ground: Connect the green or bare copper wire from the sconce to the green or bare copper (ground) wire from the wall/electrical box.
Twist the ends of corresponding wires together securely.
- Secure Connections: Cap each twisted wire connection with a wire nut, twisting it clockwise until tight. Gently tug on the wires to ensure they are secure and won’t pull out. Wrap each wire nut connection with electrical tape for extra insulation and security.
- Mount the Fixture: Carefully tuck the wired connections into the electrical box. Mount your wood frame or direct fixture to the wall using appropriate screws or brackets, ensuring it is level and secure.
- Final Check and Power On: Once everything is mounted and wires are neatly tucked away, turn the power back on at the circuit breaker. Test your new hardwired sconce.
IMPORTANT SAFETY NOTE: If at any point you are unsure or uncomfortable with the wiring process, PLEASE STOP. Electrical work can be dangerous and potentially life-threatening if done incorrectly. It is always safest to hire a licensed and qualified electrician to complete the installation. Ensure all installations comply with local electrical codes.
Creative DIY Wall Sconce Ideas: Beyond the Basics
Unleash your inner designer with these simple yet stylish wall sconce ideas. Using everyday materials, you can craft unique pieces that perfectly fit a rustic, modern, vintage, or glamorous aesthetic, adding character and warmth to your home.
1. Upcycled Wall Sconces: Giving New Life to Old Treasures
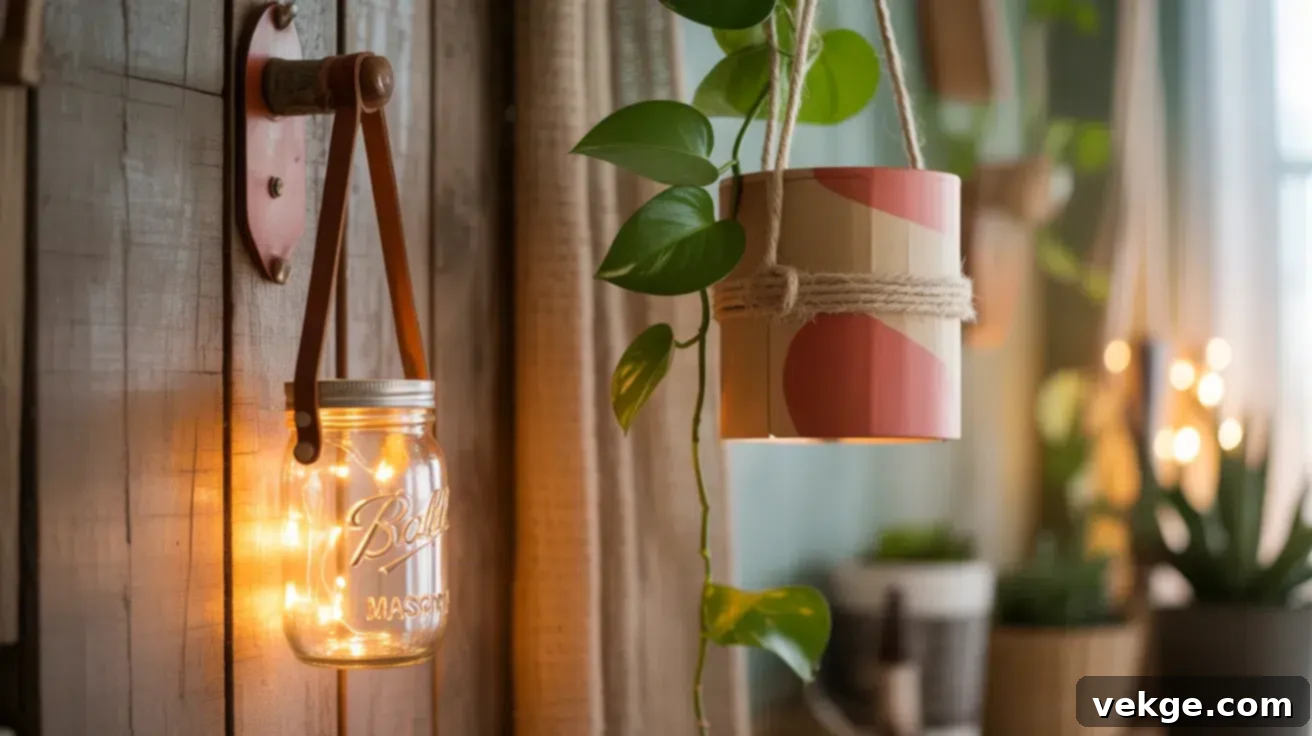
Embrace sustainability and creativity by transforming discarded or forgotten items into charming wall sconces. Think outside the box: old mason jars, wooden bowls, tin cans, cardboard mailing tubes, vintage colanders, or even old grates can be given a new purpose. For a rustic touch, you can use natural twine, leather straps, or reclaimed wood for mounting.
Illuminate these upcycled beauties with delicate fairy lights (battery-operated for ultimate flexibility) or safe LED candles for a warm, inviting glow. These types of sconces are particularly well-suited for bohemian-style rooms, cozy entryways, or any corner that could benefit from a unique, handmade accent. You can paint the materials to match your decor, distress them for an antique look, or leave them raw to celebrate their natural charm. It’s an easy, affordable, and eco-friendly way to infuse personality into your space.
2. Dollar Tree Sconce Hacks: Budget-Friendly Brilliance
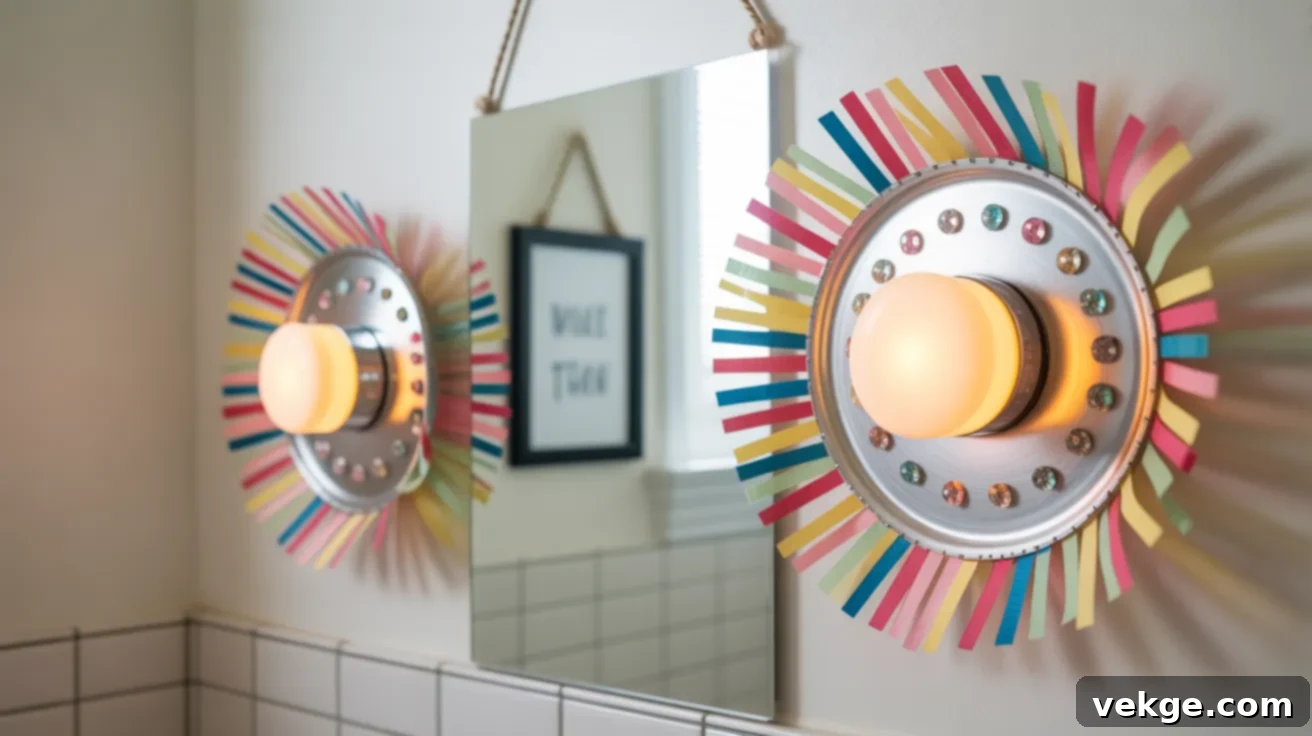
Who knew stylish lighting could cost so little? Head to your local dollar store and gather supplies like decorative ribbons, small metal trays, plastic containers, faux flowers, or battery-operated puck lights. The possibilities are endless!
A popular and simple hack involves gluing a puck light to the center of a metal tray. You can then wrap the edge of the tray with decorative ribbon, paint it a chic metallic color, or adorn it with adhesive gems for added sparkle. These ultra-budget-friendly sconces work wonders in small rooms, hallways, bathrooms, or even as temporary party decor. This is a fantastic weekend project that proves you don’t need to spend a lot to achieve stylish and functional lighting.
3. Glam and Fluted DIY Sconces: Modern Elegance on a Dime
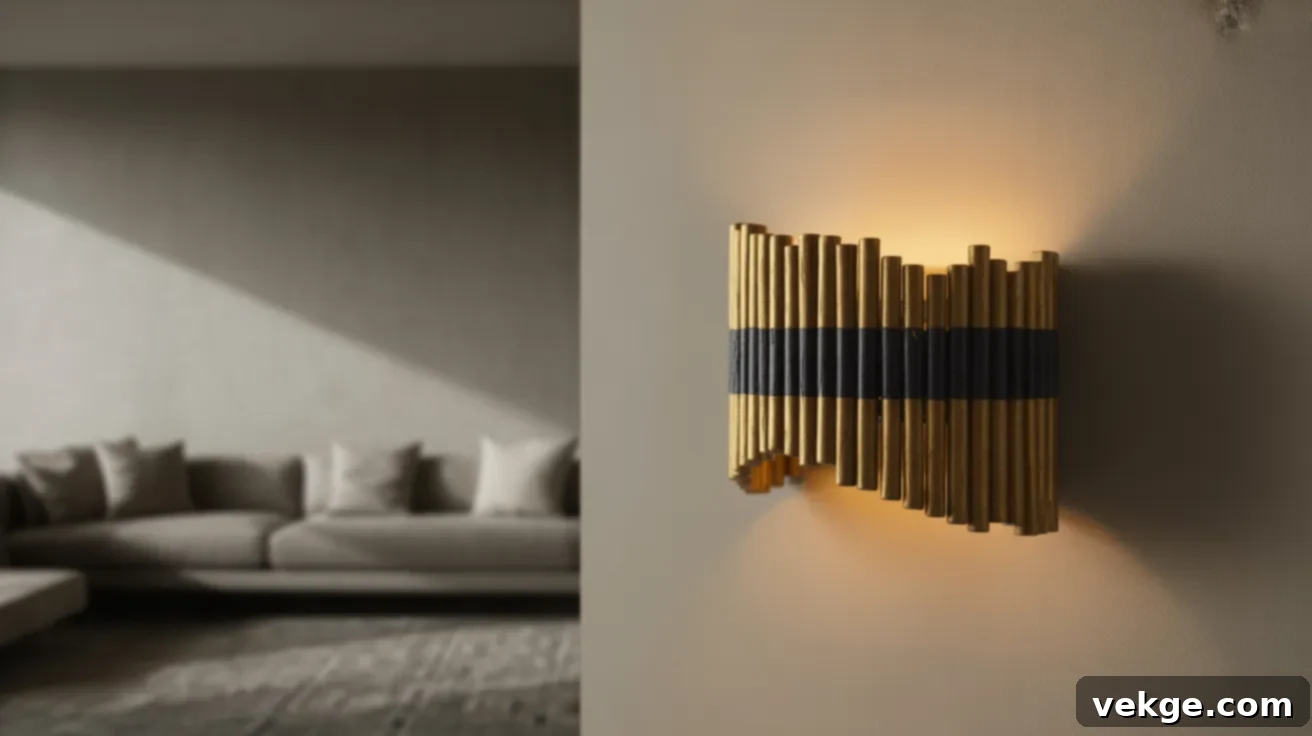
Achieve a high-end, contemporary look with these glamorous fluted sconces. You’ll use readily available materials like half-round wooden dowels and textured paint to mimic expensive designer pieces. The process involves gluing the dowels side-by-side onto a sturdy wooden board, creating a beautiful, ribbed, or fluted surface.
Once the dowels are secured, paint the entire structure in luxurious shades like shimmering gold, sophisticated matte black, or minimalist plaster white for a truly luxe finish. Mount a battery-operated puck light discreetly behind the top edge, or for a more prominent look, add a decorative globe bulb if using a plug-in kit. These modern sconces are perfect for bedrooms, living rooms, or any area where you want to make a chic, bold statement. They are surprisingly easy to construct with simple materials, offering significant visual impact.
4. Candle and Vintage Sconces: Timeless Charm and Soft Glow
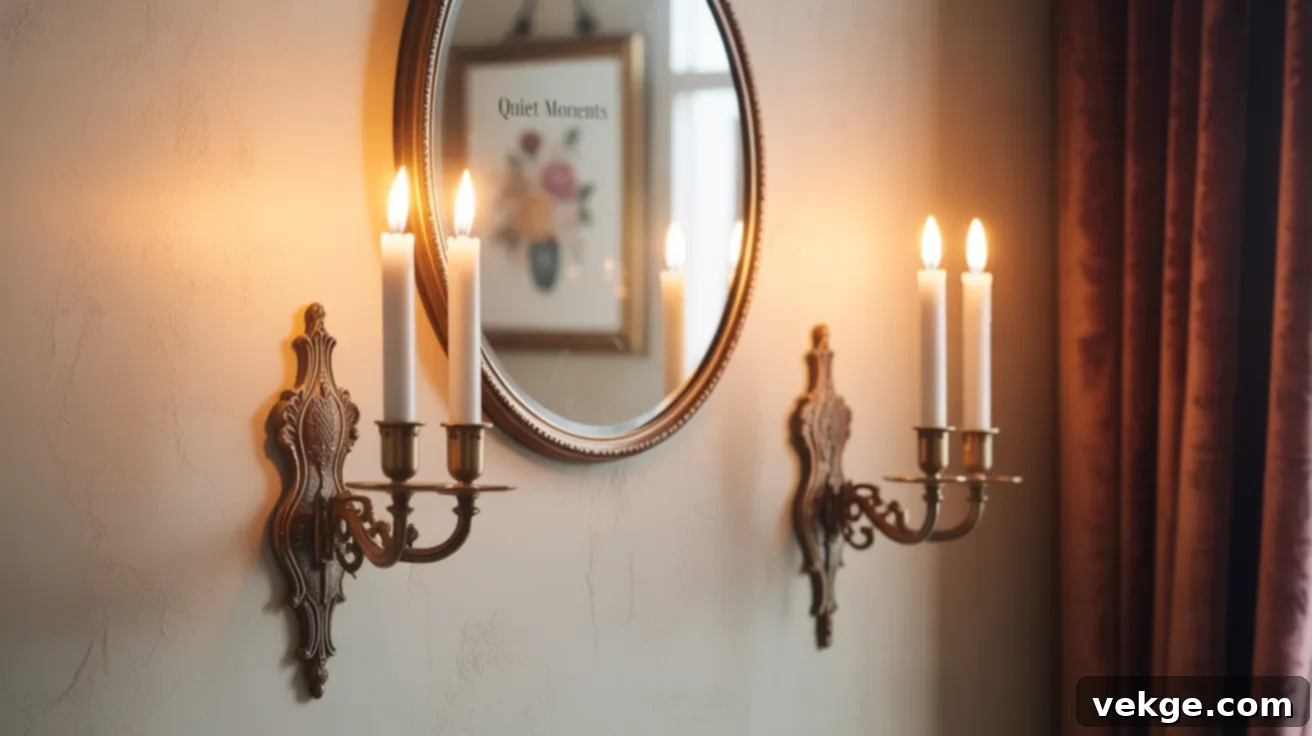
For those who adore antique aesthetics and a warm, inviting atmosphere, candle and vintage sconces are the perfect choice. Hunt for antique-looking candle holders, ornate wall brackets, or even old wrought iron pieces at thrift stores, flea markets, or antique shops. These items instantly add character and history to your walls.
To illuminate, you have a few options: classic taper candles (ensure they are placed in a safe, sturdy holder away from flammable materials), small glass votives, or for ultimate safety and convenience, high-quality battery-powered flameless candles. These non-electric sconces are fantastic for bringing an old-world charm and a soft, flickering light to hallways, bathrooms (for a spa-like feel), or cozy reading nooks. Pair them with vintage mirrors, botanical prints, or floral artwork to enhance that timeless, romantic, and truly unique ambiance.
Essential Tips for Hanging Your Wall Sconces Successfully
Properly installing a wall sconce isn’t just about aesthetics; it’s crucial for safety and ensuring your creation looks its best for years to come. Here are some key tips to help you get it right:
- Optimal Height Placement: As a general rule, mount sconces so their center is approximately 60 to 72 inches (5 to 6 feet) from the floor. This height typically aligns with eye level for most people, ensuring the light source is neither too low nor too high for comfortable viewing. For specific tasks like reading, adjust as needed.
- Strategic Spacing in Hallways: In long hallways or corridors, space sconces about 6 to 8 feet apart. This creates a consistent and welcoming ambient light path without creating overly bright or dark spots. Use a measuring tape and pencil to mark evenly.
- Balance Around Mirrors or Artwork: When flanking a mirror, piece of artwork, or a fireplace, place sconces approximately 12–18 inches from the edge of the item they are accenting. This creates a balanced visual frame without the lights feeling too close or too far, allowing both the art and the light to shine.
- Secure Mounting for Heavy Fixtures: Always use wall studs whenever possible for mounting any sconce, especially heavier ones. If a stud isn’t available, employ appropriate drywall anchors (toggle bolts, self-drilling anchors, or expansion anchors) designed for the weight of your fixture. Never rely solely on small nails or screws into drywall alone.
- Always Turn Off Power for Wiring: For any hardwired or plug-in sconce installation that involves connecting to an electrical outlet or box, the first and most critical step is to turn off the power at your main circuit breaker. This prevents electric shock and potential hazards.
- Verify Power is Off with a Tester: After flipping the breaker, use a non-contact voltage tester or a circuit tester to double-check that the wires you are working with are completely dead. This extra step is vital for your safety and should never be skipped.
- Avoid Wet Areas Without Protection: Never install electrical sconces in bathrooms, near sinks, or in other damp environments unless the fixture is specifically rated for wet or damp locations (look for IP ratings). Moisture and electricity are a dangerous combination, and special precautions and code requirements apply to these areas.
- Use a Level: For a professional and aesthetically pleasing result, always use a spirit level or laser level to ensure your sconces are mounted perfectly straight and even.
- Consider Bulb Type: Choose bulbs that complement your sconce’s style and your room’s needs. LED bulbs are energy-efficient and come in various color temperatures (warm white, cool white). Edison bulbs add a vintage touch.
Final Thought: Embrace Your Creative Journey
The journey of creating your own home lighting is incredibly rewarding. You truly don’t need a massive budget or a collection of sophisticated tools to design and build lighting solutions that feel perfectly tailored to your home and reflect your unique personality. From my own experience, embarking on these DIY projects – whether it’s a simple battery-powered accent or a more ambitious hardwired build – genuinely transforms a space, adding warmth, character, and a touch of handmade charm.
If any of these innovative ideas have sparked your interest, I wholeheartedly encourage you to give them a try. Start with a project that feels manageable for your current skill level, allow yourself to enjoy the creative process, and witness the remarkable difference a personalized lighting fixture can make in your environment. These projects are about more than just saving money; they’re about imbuing your home with a sense of self, making it truly feel like yours, one carefully crafted step at a time.
And if this guide has inspired you, please consider sharing it with a friend or family member who might also be ready to add their own unique DIY touch to their living space. Sharing inspiration makes the creative journey even more enjoyable and fulfilling!
