DIY Dog Food Stand: Build a Custom, Raised Pet Feeder for Comfort & Style
Creating your very own dog food stand is a delightful and fulfilling project that offers numerous benefits for both you and your beloved canine companion. Far more than just a simple place to put bowls, a custom-built feeder can significantly improve your dog’s eating experience, maintain a cleaner feeding area, and even enhance your home’s aesthetic.
Unlike generic store-bought options, a DIY dog food stand allows for complete customization. You can tailor its height precisely to your dog’s size, preventing neck strain and promoting better digestion. Furthermore, you have the creative freedom to design a stand that perfectly complements your home décor, whether you prefer a rustic, modern, or classic look. This guide will walk you through every step, from selecting materials to adding unique features, ensuring you create a functional, stylish, and durable feeding station that perfectly meets your pet’s needs.
Why Build a DIY Dog Food Stand?
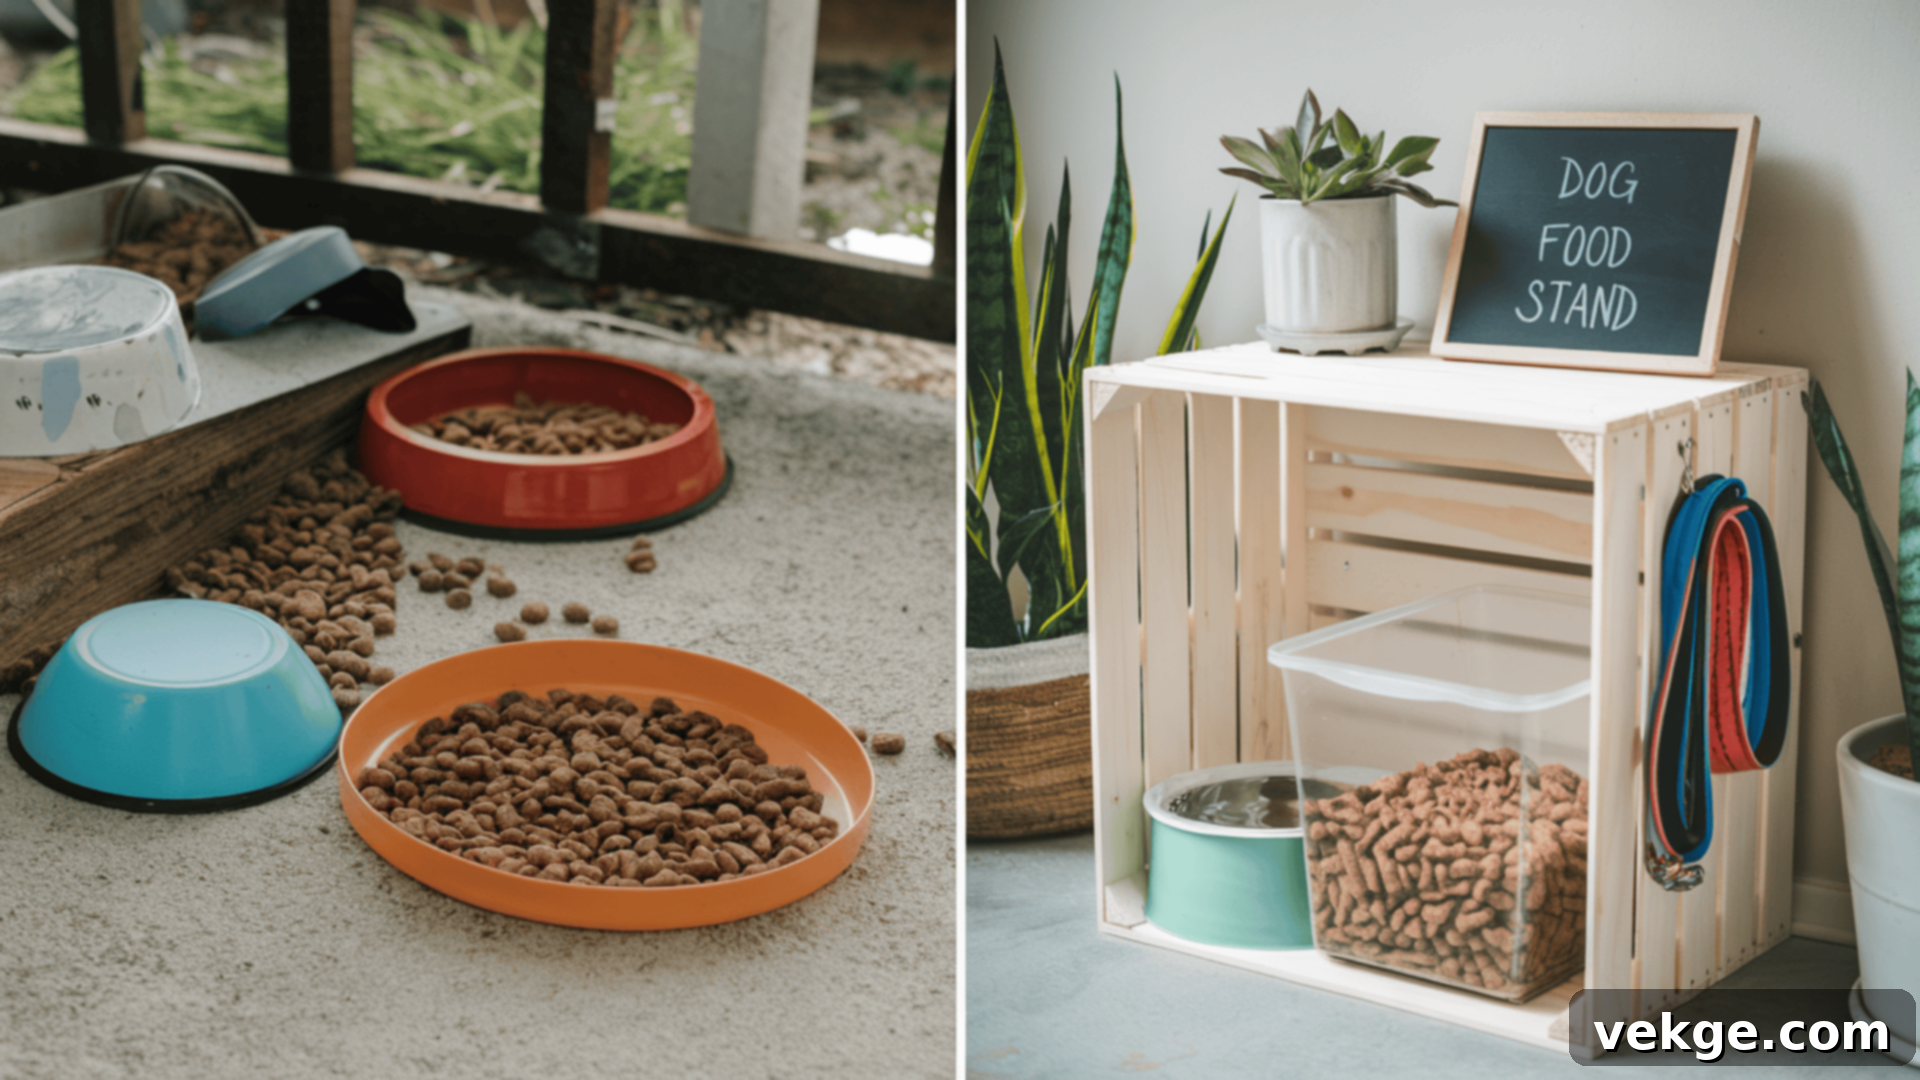
Customized to Fit Your Dog’s Needs
One of the primary advantages of building your own dog food stand is the ability to customize it to your dog’s specific needs. A custom-height stand ensures your dog eats in a comfortable, natural posture, which is crucial for their long-term health. For larger breeds, senior dogs, or those with conditions like arthritis or megaesophagus, a raised feeder can significantly reduce strain on their neck, back, and joints. This elevated position promotes better digestion and can help prevent issues like bloat, a serious condition in many deep-chested dogs. By measuring your dog’s elbow height, you can create an ergonomically perfect feeding station that enhances their comfort and overall well-being.
Beyond height, you can also tailor the size and design to accommodate multiple bowls, specific feeding habits, or even unique bowl shapes. This level of personalization guarantees a comfortable and convenient eating experience, making meal times more enjoyable for your furry friend.
Cost-Effective
Opting for a DIY dog food stand is a smart financial decision. Pre-made feeders, especially those with custom features or stylish designs, can be surprisingly expensive. By building it yourself, you can significantly cut down on costs. You have the flexibility to choose affordable materials from your local hardware store, or even repurpose wood you already have lying around, such as old pallets or scrap lumber.
Materials like pine or plywood are relatively inexpensive yet sturdy enough for this project. This one-time investment in materials and a bit of your time results in a durable stand that will last for years, saving you money compared to continuously replacing cheaper, less robust store-bought alternatives. It’s a rewarding way to get a high-quality, custom product without the premium price tag.
Aesthetic and Functional Appeal
A homemade dog food stand isn’t just practical; it can also be a stylish addition to your home décor. Unlike many standard pet products that might clash with your interior design, a DIY stand can be stained, painted, or finished to seamlessly blend with your existing furniture and color scheme. Whether your home has a modern minimalist vibe, a cozy rustic feel, or a classic elegance, you can design a feeder that looks like a custom-made piece of furniture rather than just a pet accessory.
Beyond aesthetics, you can greatly enhance the stand’s functionality. Incorporating built-in storage for dog food, treats, leashes, or toys helps keep your pet’s essentials organized and reduces clutter in your home. Features like a non-slip surface for the bowls prevent spills and messes, making the feeding area safer and much easier to clean. Adding rubber or cork pads to the bottom of the stand’s legs also protects your floors and prevents the stand from sliding around during mealtime, ensuring stability and a tidier space.
Materials and Tools Required for the Project
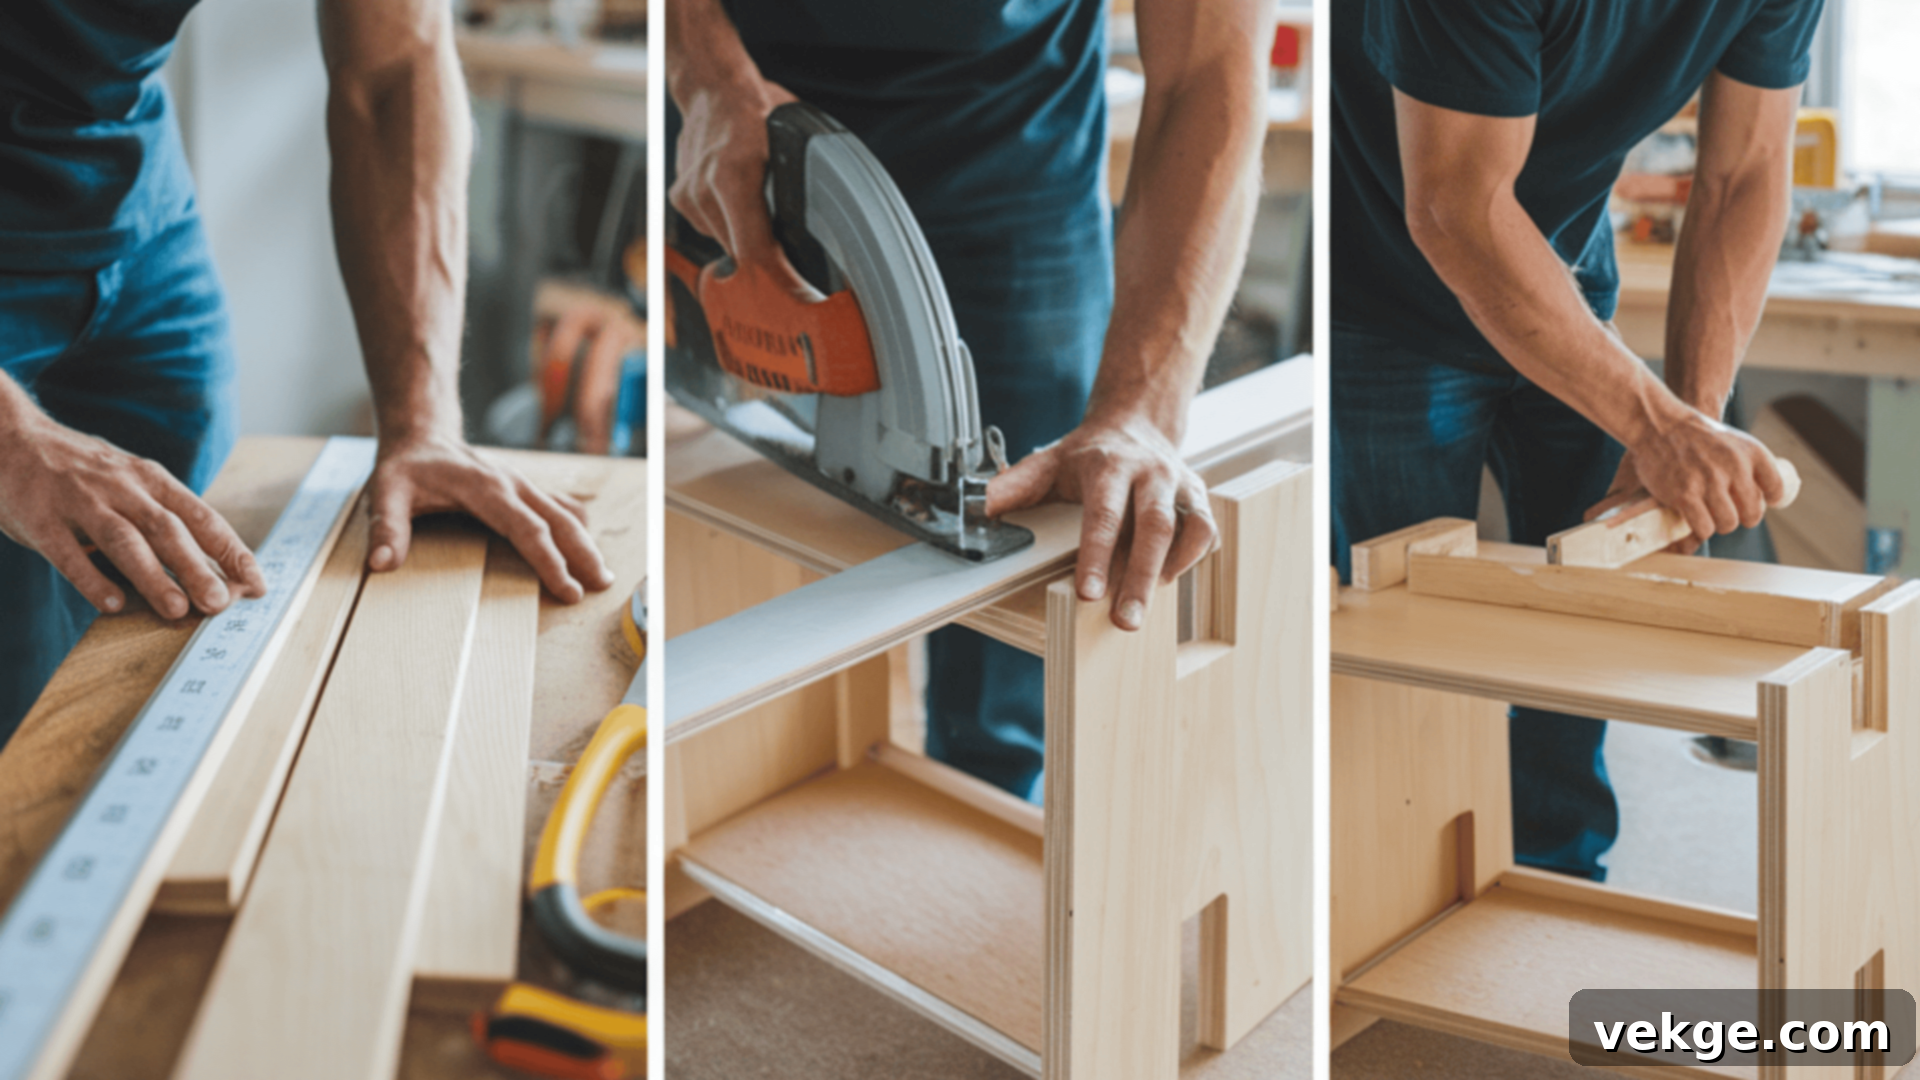
Materials
- Wood: Pine, poplar, oak, or even reclaimed wood are excellent choices for a sturdy and appealing stand. Consider the wood’s grain, ease of working, and how it will take stain or paint. For outdoor use or areas prone to moisture, consider treated lumber or naturally resistant woods.
- Screws: Use wood screws of an appropriate length and gauge to securely fasten the different components of the stand. For stronger joints, consider using wood glue in conjunction with screws.
- Wood Filler: Essential for filling any small gaps, cracks, or imperfections in the wood, creating a smooth, professional finish before sanding and painting/staining.
- Stain/Paint: Choose a stain or paint color that complements your home’s existing decor. Look for pet-safe, low-VOC (volatile organic compound) options if possible, especially for surfaces near food.
- Protective Sealant: A clear coat of polyurethane, lacquer, or a food-safe wax will protect the wood from moisture, spills, and wear, making the stand durable and easy to clean.
- Non-Slip Material: Rubber, cork, or silicone sheets are ideal for the base of the stand (to protect floors and prevent sliding) and for the bowl cutouts (to keep bowls from moving). Look for food-grade silicone or rubber for bowl inserts.
- Dog Bowls: Ensure you have the exact bowls you intend to use for accurate measurements during the planning stage. Stainless steel or ceramic bowls are typically recommended for hygiene and durability.
Tools
- Saw: A miter saw is perfect for making precise, straight, and angled cuts. A circular saw or even a hand saw with a miter box can also be used, depending on the complexity of your design. Safety goggles are a must when operating any saw.
- Drill with Bits: Essential for drilling pilot holes to prevent wood splitting when inserting screws, and for driving screws efficiently. Ensure you have drill bits appropriate for wood and a screwdriver bit for your chosen screws.
- Measuring Tape and Pencil: Accurate measurements are crucial for a well-built stand. Use a reliable measuring tape and a pencil for clear marking of all cuts and assembly points.
- Sandpaper: Begin with a coarser grit (e.g., 80-100) to smooth rough edges and shape, then move to finer grits (e.g., 180-220) for a silky-smooth finish before applying stain or paint. A sanding block or orbital sander can make this task easier.
- Screwdriver: While a drill can drive most screws, a hand screwdriver might be needed for delicate areas or for final tightening to avoid over-tightening.
- Wood Clamps: Highly recommended for holding pieces securely in place while gluing or screwing, ensuring square and strong joints.
- Safety Glasses and Gloves: Always prioritize safety when working with power tools and handling wood or chemicals.
Step-by-Step Guide to DIY a Dog Food Stand

Step 1: Measure and Plan Your Design
- Begin by meticulously measuring your dog’s food and water bowls. Note their diameter (especially at the rim and base) and height. This ensures the cutouts are perfectly sized and the bowls fit snugly without wobbling.
- Determine the ideal height for your stand. A widely accepted guideline is to position the top of the stand so that it aligns with your dog’s elbow or the lower part of their chest. This allows them to eat comfortably without bending excessively or straining their neck.
- Decide on your stand’s overall design. Do you want a simple elevated platform, or are you looking for extra features like storage compartments, a tilted bowl design, or decorative elements? Sketch out a detailed plan, including dimensions for all wood pieces and placement of joints. This visual guide will prevent errors and ensure all components fit together perfectly.
- If you plan to have bowl cutouts, use your dog’s bowls to trace the exact circles onto your base piece template. Consider leaving a small lip or rim to prevent the bowls from falling through.
Step 2: Cut the Wood Pieces
- Carefully cut the main base piece of the stand. This should be large enough to comfortably accommodate your dog’s bowls, with sufficient space between them and around the edges to prevent spills. Use a straight edge and a saw for clean, precise cuts.
- Cut four legs to the height you determined in Step 1. Ensure all legs are exactly the same length to guarantee a level and stable stand. Use a miter saw for accuracy if available.
- If your design includes additional features such as side panels, a back panel, or internal dividers for storage, cut these pieces now according to your plan. Double-check all measurements before making your final cuts.
Step 3: Assemble the Stand
- Begin by attaching the legs to the base. For optimal strength and stability, drill pilot holes through the base and into the top of each leg before inserting screws. This prevents the wood from splitting. Apply a bead of wood glue to the joints before screwing for an even stronger bond. Use clamps to hold pieces in place while the glue dries and screws are inserted.
- Once the legs are securely attached, check the stand for squareness and stability. Ensure all legs are firmly in place and the stand doesn’t wobble. Make any necessary adjustments now.
- If you are adding extra features like a storage compartment, side supports, or decorative panels, attach them following your design plan. Again, use pilot holes and wood glue for durable construction.
- For stands with bowl cutouts, carefully make these cuts using a jigsaw. Sand the edges of the cutouts smooth to prevent splinters and ensure bowls slide in easily.
Step 4: Sand and Finish the Stand
- Thoroughly sand all surfaces and edges of the assembled stand. Start with a medium-grit sandpaper (e.g., 100-120 grit) to remove any rough spots, splinters, or pencil marks. Then, move to a finer grit (e.g., 180-220 grit) for a perfectly smooth finish that is safe for your pet and pleasant to touch. Wipe away all sawdust.
- Apply your chosen finish. If using paint, apply a primer first for better adhesion and a smoother final coat. Then, apply two or more thin coats of paint or stain, allowing adequate drying time between coats as per product instructions. Lightly sand with a very fine grit (e.g., 220-320) between coats for an even smoother finish.
- Once the paint or stain is completely dry, apply a protective sealant. A clear polyurethane or a food-safe protective wax will shield the wood from water damage, food spills, and general wear and tear, making the stand much more durable and easier to clean.
Step 5: Add the Non-Slip Surface
- To prevent your dog’s bowls from sliding and rattling, attach rubber, cork, or silicone pads to the surface of the stand where the bowls will sit. You can cut these materials to fit inside the bowl cutouts or simply place them underneath the bowls. Use a strong, non-toxic adhesive to secure them in place. For added floor protection and stand stability, attach similar non-slip pads to the bottom of the stand’s legs.
Step 6: Place the Bowls and Test the Stand
- Insert your dog’s food and water bowls into their designated spots. Ensure they fit securely and do not move excessively.
- Perform a final stability check. Gently push and prod the stand to check for any wobbling or instability. Place some weight in the bowls (e.g., actual food and water) to simulate real-world use. If you notice any movement, reinforce the joints by tightening screws or adding additional bracing until the stand is completely steady and safe.
Once these comprehensive steps are complete, you’ll have a beautifully crafted, functional, and stylish DIY dog food stand that your furry friend will love for years to come!
Design Variations and Customization Ideas
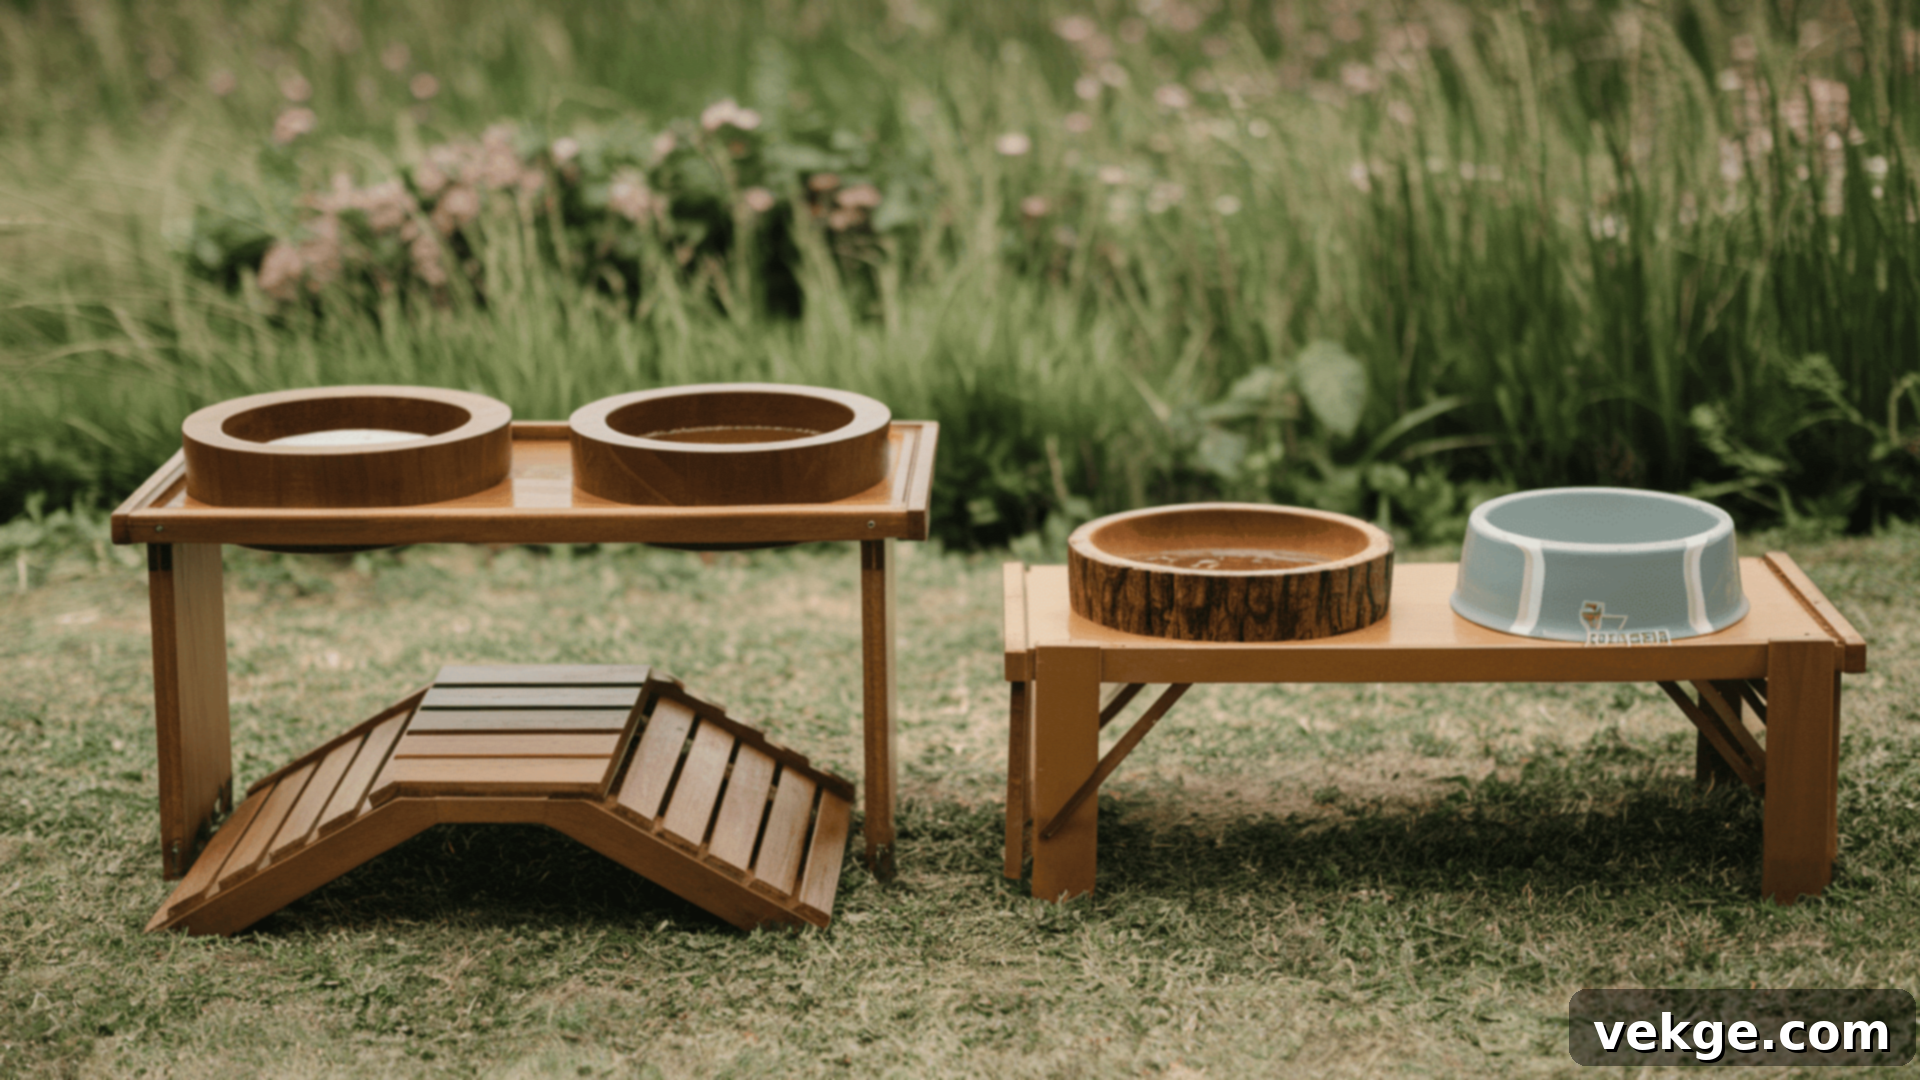
Raised vs. Standard Stands
The choice between a raised and standard stand largely depends on your dog’s size and health. Raised stands are particularly beneficial for larger breeds, senior dogs, and those with certain medical conditions like arthritis, joint issues, or megaesophagus, as they reduce the need for dogs to bend down, alleviating strain on their neck, back, and hips. This elevated feeding position can also aid in digestion and reduce the risk of bloat. To create a raised stand, simply adjust the leg height during your planning phase. For even greater adaptability, consider building an adjustable-height stand, which can grow with puppies or accommodate different dogs.
While standard stands might be suitable for very small dogs or puppies, a raised design often offers more comfort and health benefits across the board. It encourages a more natural and comfortable eating posture, making meal times much more pleasant.
Adding Storage
Maximizing functionality is key for a truly useful dog food stand. Consider incorporating a drawer, an open shelf, or a hidden compartment directly under the feeding surface. This additional storage is perfect for keeping dog food, treats, toys, leashes, or grooming supplies neatly organized and out of sight. It centralizes all your dog’s essentials, reducing clutter in your home and making it easy to grab what you need.
You can use simple hinges for a lid-style compartment, or invest in sliding mechanisms for a pull-out drawer. Beyond practical storage, these features elevate the stand from a simple feeder to a piece of functional pet furniture, contributing to a tidier and more organized living space.
Non-Slip Features
Ensuring stability is paramount for any dog feeder. To prevent the stand itself from sliding across the floor, especially on smooth surfaces, attach durable rubber, cork, or felt pads to the bottom of the legs. These not only provide excellent grip but also protect your floors from scratches.
Furthermore, to keep the actual dog bowls from rattling, spinning, or being pushed out of the stand, consider using non-slip mats or rubberized rings within the bowl cutouts. These small but significant adjustments greatly improve the safety and stability of the feeding area, minimizing spills and making mealtime less chaotic for your dog.
Creative Design Ideas
The beauty of a DIY project lies in the endless possibilities for customization. Don’t be afraid to let your creativity shine! Paint or stain the stand to perfectly match your home’s color palette and decor style. For a modern look, choose sleek lines and a bold, solid color. For a rustic or farmhouse feel, opt for natural wood tones, distressed finishes, or reclaimed wood with unique textures.
You can also add decorative elements to personalize the stand further. Consider attaching stylish handles, applying stenciled designs, or even carving or adding a personalized nameplate for your dog. Different leg styles (e.g., tapered, turned, or hairpin legs) can also drastically alter the stand’s appearance. These creative touches not only make the stand truly unique but also allow it to seamlessly integrate into your home as a cherished piece of custom furniture, showcasing both your craftsmanship and your love for your pet.
Maintenance and Care Tips for Your Dog Food Stand
Regular Cleaning
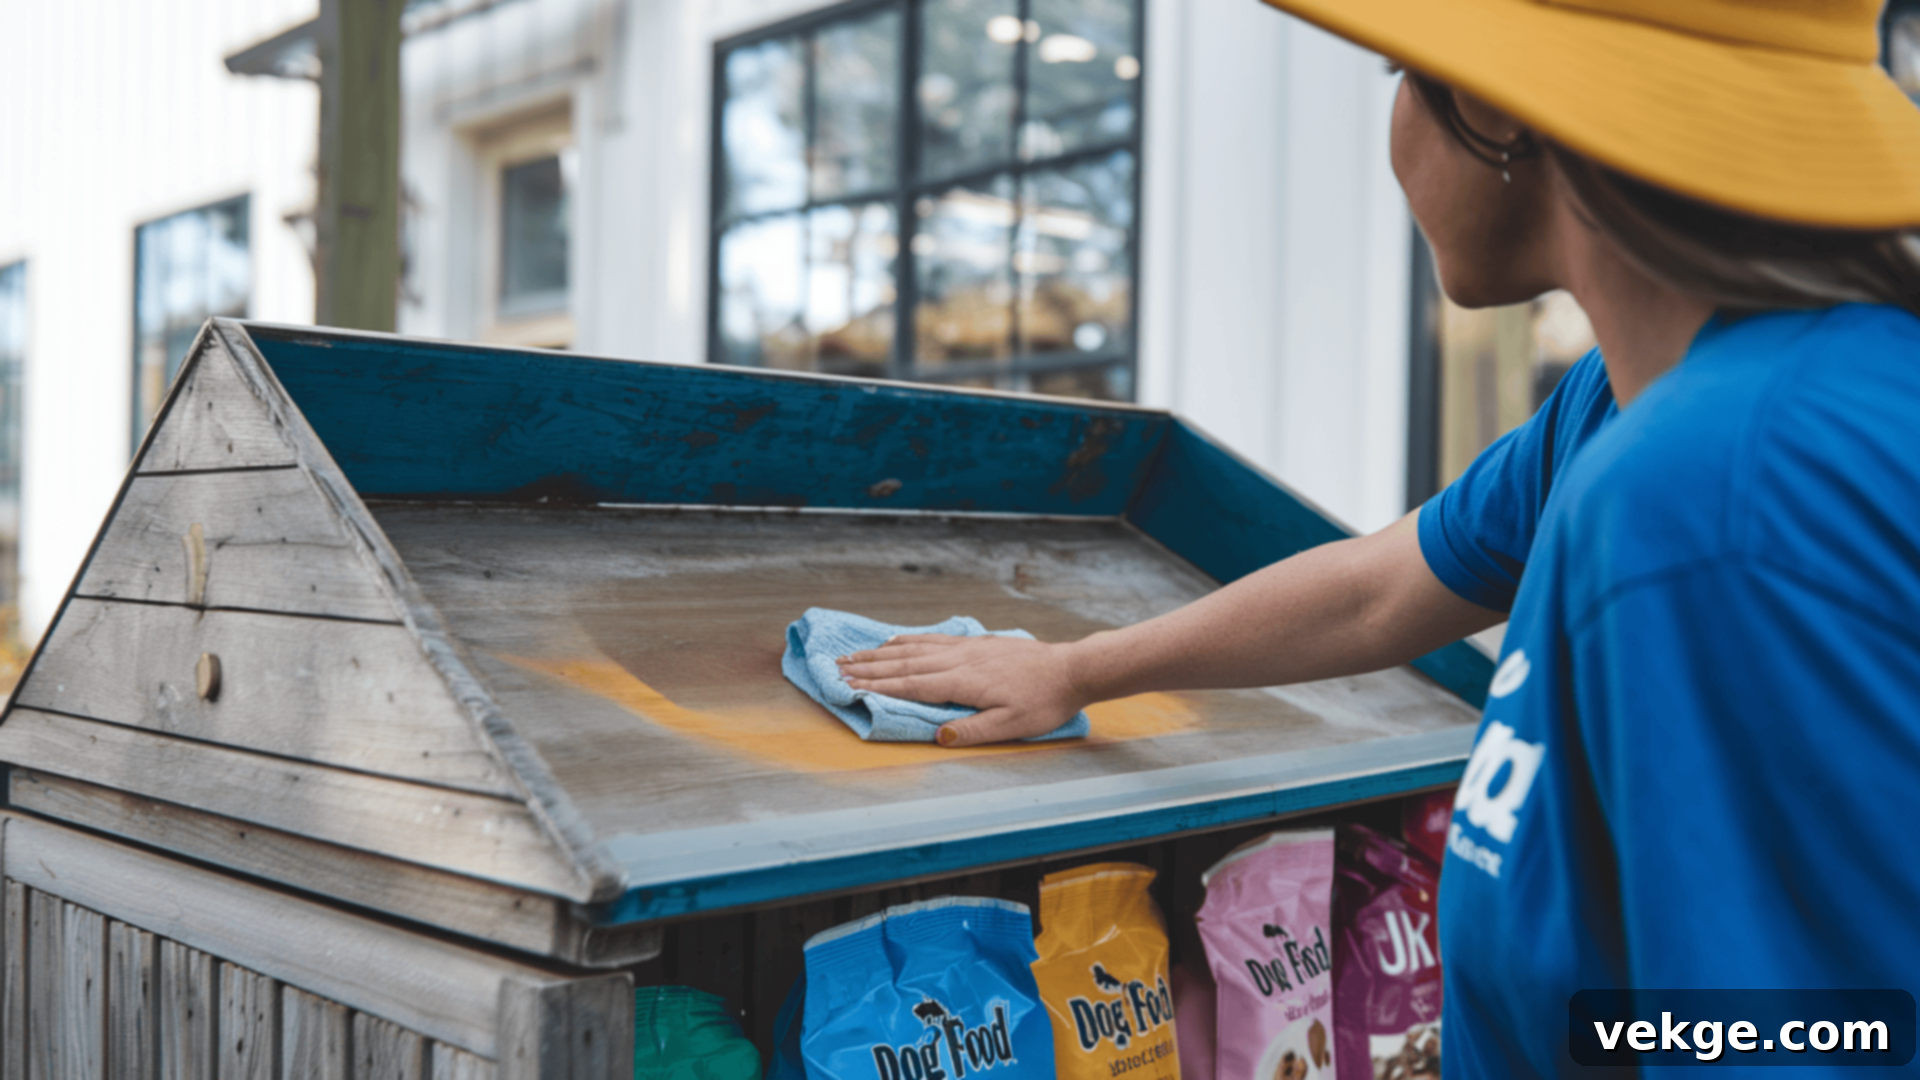
To maintain hygiene and extend the life of your DIY dog food stand, regular cleaning is essential. Wipe down the entire surface of the stand and the bowls after each use, or at least daily, to remove any food debris, water splashes, or dust. Use a mild, pet-safe soap and water solution, avoiding harsh chemical cleaners that could leave residues harmful to your dog. For tougher grime, a diluted vinegar solution can be effective. Ensure the stand is thoroughly dried after cleaning to prevent water damage or the growth of mold and mildew, especially around the bowl cutouts.
Sanding and Refinishing
Over time, even the most durable wood can show signs of wear, such as scratches, dings, or a dulling finish. Periodically inspect your stand for these issues. If you notice rough spots or splinters, lightly sand them down with fine-grit sandpaper to restore smoothness and safety. If the protective finish starts to wear off, or if you simply want to refresh its look, consider applying a fresh coat of stain or paint followed by a new layer of sealant. Refinishing every few years, or as needed, will protect the wood from moisture, maintain its aesthetic appeal, and significantly extend the stand’s lifespan.
Inspection for Stability
The safety of your dog food stand relies on its stability. Make it a habit to regularly inspect the stand for any signs of instability. Check all joints, screws, and glued connections to ensure they are still secure. Look for any wobbles, loose components, or cracks in the wood. If you find any loose screws, tighten them immediately. If joints appear weak, consider reinforcing them with additional screws or wood glue and clamps. Dogs can be enthusiastic eaters, and frequent bumps or movements can gradually loosen components. Regular, proactive inspections ensure the stand remains safe, sturdy, and functional for your dog for many years.
Common Mistakes to Avoid
Incorrect Height for Your Dog
One of the most critical errors to avoid is building a stand that is the wrong height for your dog. A stand that is too low can force your dog to hunch over, leading to neck and back strain, poor posture, and potentially impacting digestion. Conversely, a stand that is too high can cause discomfort and make eating difficult. To get it right, measure your dog’s elbow height and aim for the top of the stand to be at or just below this level. This ergonomic placement ensures your dog can eat comfortably, promoting better digestion and preventing unnecessary stress on their joints and spine. Always prioritize your dog’s comfort and health above all else when determining height.
Forgetting to Measure Bowls
It might seem obvious, but rushing the planning phase and forgetting to precisely measure your dog’s bowls is a common oversight. Without accurate measurements, your bowl cutouts might be too large (causing bowls to fall through or wobble) or too small (making them difficult to insert or remove). This can lead to messy spills, frustration, and an unstable feeding experience for your pet. Before making any cuts, double-check the diameter of the bowls at both the rim and base. Ensure there’s enough room for them to sit securely with a slight lip, preventing movement while your dog eats and keeping the feeding area tidy and safe.
Choosing the Wrong Wood
The type of wood you choose impacts the stand’s durability, safety, and ease of construction. Selecting soft, weak, or splinter-prone wood is a common mistake that can lead to a flimsy stand that won’t last. Avoid untreated woods that might be susceptible to rot from moisture or mold. Instead, opt for sturdy, pet-safe hardwoods or dense softwoods like pine, poplar, or oak. These woods are easier to work with, less likely to splinter, and provide the necessary strength and stability to support the bowls and food. Always ensure the wood is smooth and free of sharp edges. A robust wood choice ensures your DIY dog food stand remains safe, functional, and aesthetically pleasing for years to come.
By carefully avoiding these common pitfalls, you can ensure your custom-built dog food stand is a stable, comfortable, and long-lasting addition to your home that perfectly serves both you and your cherished pet.
Conclusion
Building your own DIY dog food stand is a truly rewarding and straightforward project that offers an exceptional custom solution for your beloved pet. Not only does it provide significant cost savings compared to purchasing store-bought alternatives, but it also guarantees a feeding space perfectly tailored to your dog’s unique size, health needs, and eating habits. From preventing neck strain with an ergonomically raised design to offering convenient built-in storage, a homemade stand enhances both comfort and practicality.
By following our easy, step-by-step guide and carefully selecting the right materials and tools, you can craft a durable, stylish, and highly functional feeder that seamlessly integrates with your home’s decor. This project is more than just woodworking; it’s an expression of love and care for your furry family member, creating a dedicated space that promotes their well-being and makes meal times more enjoyable for everyone.
Ready to embark on this fulfilling journey? Gather your materials, unleash your creativity, and start building your perfect custom dog food stand today! For more ingenious DIY ideas and helpful home improvement tips, be sure to explore the other insightful blogs on our website.
