Mastering Your Floor Remodel: A Comprehensive Guide to New Flooring Installation & Design
A floor remodel is one of the most impactful home improvement projects you can undertake, offering a dramatic transformation of your living space with surprisingly minimal disruption. Updating your floors can instantly refresh your home’s aesthetic, enhance comfort, and significantly increase its market appeal and resale value, all without the extensive cost and inconvenience of a full-scale renovation.
Many homeowners choose to replace worn-out, outdated flooring to create more inviting, modern environments. Beyond the aesthetic benefits, quality new flooring can improve daily livability, offering better insulation, easier maintenance, and enhanced durability. While cost considerations vary widely based on your material choices and the scope of your project, investing in new flooring is consistently recognized as a smart decision. Real estate professionals frequently highlight that updated, high-quality flooring is a major draw for potential buyers, often leading to quicker sales and higher selling prices. This makes a floor remodel a practical and rewarding choice for anyone looking to enjoy an improved home now and benefit from a stronger investment later.
Factors to Consider Before Starting Your Floor Remodel Project
Embarking on a floor remodel requires careful planning to ensure a smooth, successful outcome. Before you even think about tearing up old floors, take the time to consider a few crucial factors that will guide your decisions and prevent costly mistakes.
1. Room Type and Functionality
The specific room you are remodeling is paramount in determining the best flooring choice. Different areas of your home have distinct needs and traffic patterns. For example, kitchens and bathrooms demand highly water-resistant and durable flooring materials that can withstand spills, humidity, and frequent cleaning. Entryways and hallways, as high-traffic zones, benefit from exceptionally robust and easy-to-clean options. Living rooms and bedrooms, on the other hand, often prioritize comfort, warmth, and aesthetic appeal. Understanding each room’s primary purpose and exposure to moisture, sunlight, and wear will significantly narrow down your material options and ensure long-term satisfaction.
2. Budget Planning and Cost Considerations
Your budget will naturally play a significant role in your flooring choices. Flooring costs vary substantially, influenced by the material type, quality, brand, and installation complexity. More budget-friendly options like basic vinyl planks or laminate flooring typically have a lower upfront cost, making them accessible for many homeowners. In contrast, premium materials such as engineered hardwood, high-end porcelain tile, or natural stone command a higher price point. It’s essential to not only factor in the material cost but also consider potential expenses for subfloor preparation, removal of old flooring, delivery fees, and professional installation if you choose that route. Accurately measure your space, obtain multiple quotes from suppliers and installers, and always allocate an additional 15-20% for unforeseen circumstances to plan your budget properly.
3. Choosing Between DIY and Professional Remodeling
Deciding whether to tackle your floor remodel as a DIY project or hire professionals is a critical step. While a do-it-yourself approach can save on labor costs, professional installation often yields superior results, especially for complex materials or large areas. Consider your personal skill level, the availability of specialized tools, and the amount of time you can realistically dedicate to the project. Simple click-and-lock laminate or luxury vinyl plank installations might be manageable for an experienced DIYer. However, projects involving intricate tile patterns, solid hardwood, or extensive subfloor repairs are typically best left to experts who possess the necessary experience, tools, and efficiency to complete the job correctly and more quickly, ensuring a professional finish and warranty protection.
Step-by-Step Guide to Remodeling Your Floors
Once you’ve considered the essential factors, you’re ready to dive into the practical steps of updating your floors. This streamlined process covers the key stages, whether you’re handling it yourself or working with skilled professionals.
Step 1: Preparing the Room for Flooring Installation
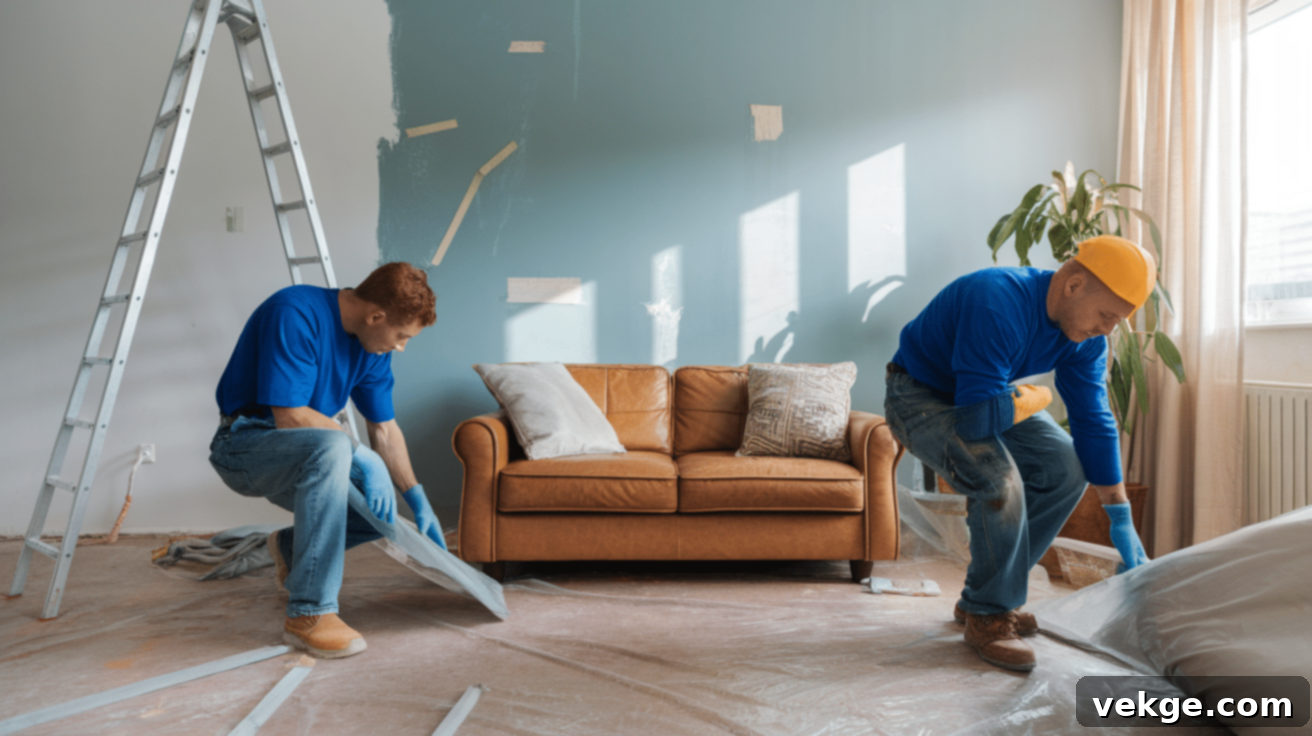
Thorough preparation is the foundation of a successful flooring project. Skipping this crucial step can lead to future issues and diminish the quality of your new floor.
- Clear the Space: Remove all furniture, decor items, and appliances from the room. It’s also important to carefully remove existing baseboards and trim, as they will typically need to be reinstalled or replaced after the new flooring is laid. Labeling baseboards can help with reinstallation.
- Protect Adjacent Areas: Cover nearby doorways, furniture, and vents with plastic sheets or painter’s tape to prevent dust and debris from spreading throughout your home. Turn off your HVAC system during dusty work to avoid circulating particles.
- Document the Space: Take photos of the room before and during the process. This can be helpful for furniture placement later and serves as a record of your renovation.
- Subfloor Inspection: Once the room is cleared, thoroughly inspect the subfloor. Ensure it is clean, dry, level, and structurally sound. Address any squeaks, loose boards, or damaged areas before proceeding.
Step 2: Removing Old Flooring Safely and Efficiently
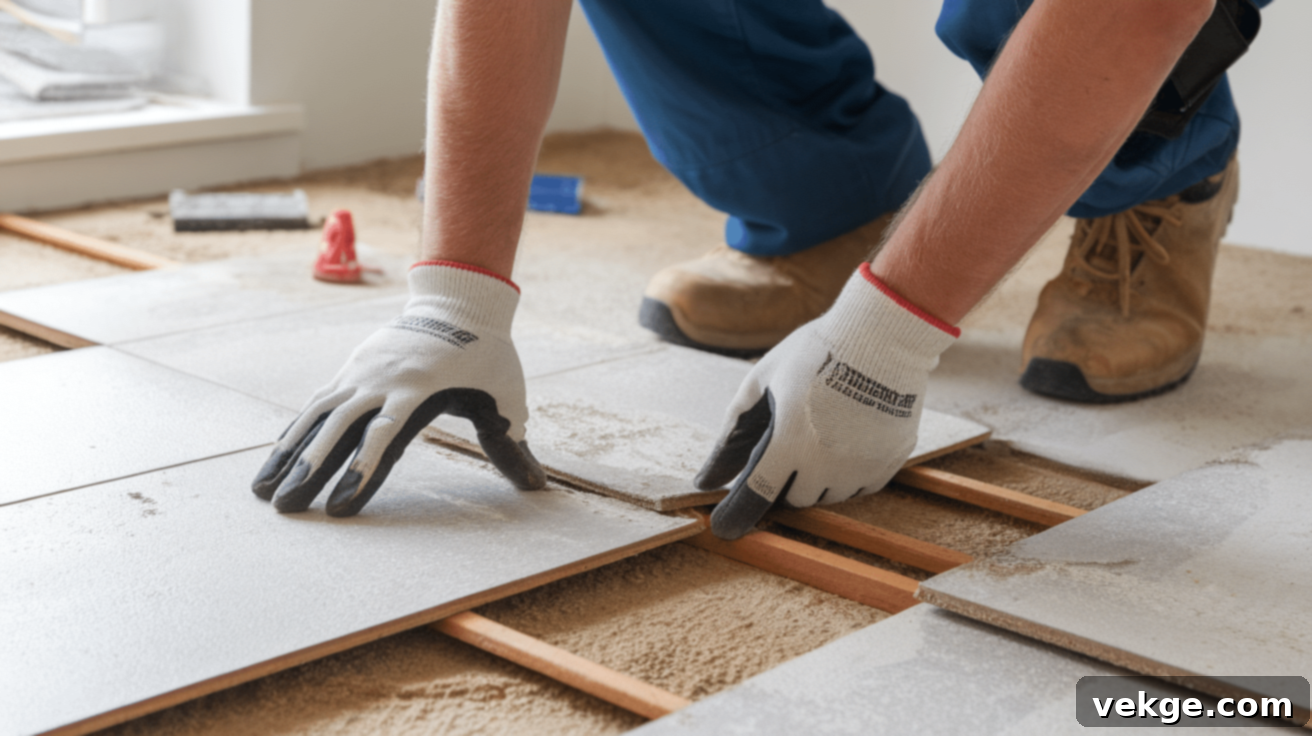
Removing old flooring can be the most labor-intensive part of the process, but it’s essential for a clean slate.
- Prioritize Safety: Always wear appropriate personal protective equipment, including heavy-duty gloves, a dust mask or respirator, and eye protection. Depending on the material, old flooring can release dust, sharp edges, or contain hazardous materials.
- Use the Right Tools: Employ tools specific to your old floor type. A pry bar and hammer work well for carpet and tack strips, while a flooring scraper or specialized machine might be needed for tile or glued-down vinyl.
- Check and Prepare Subfloor: After removal, re-inspect the subfloor. Repair any imperfections, fill gaps, sand rough spots, and ensure it’s perfectly clean and ready for installation. This might involve patching with a leveling compound.
- Allow Ample Time: This step often takes longer than anticipated. Factor in extra time for removal, subfloor preparation, and proper disposal of the old materials.
Step 3: Installing Your New Flooring Material
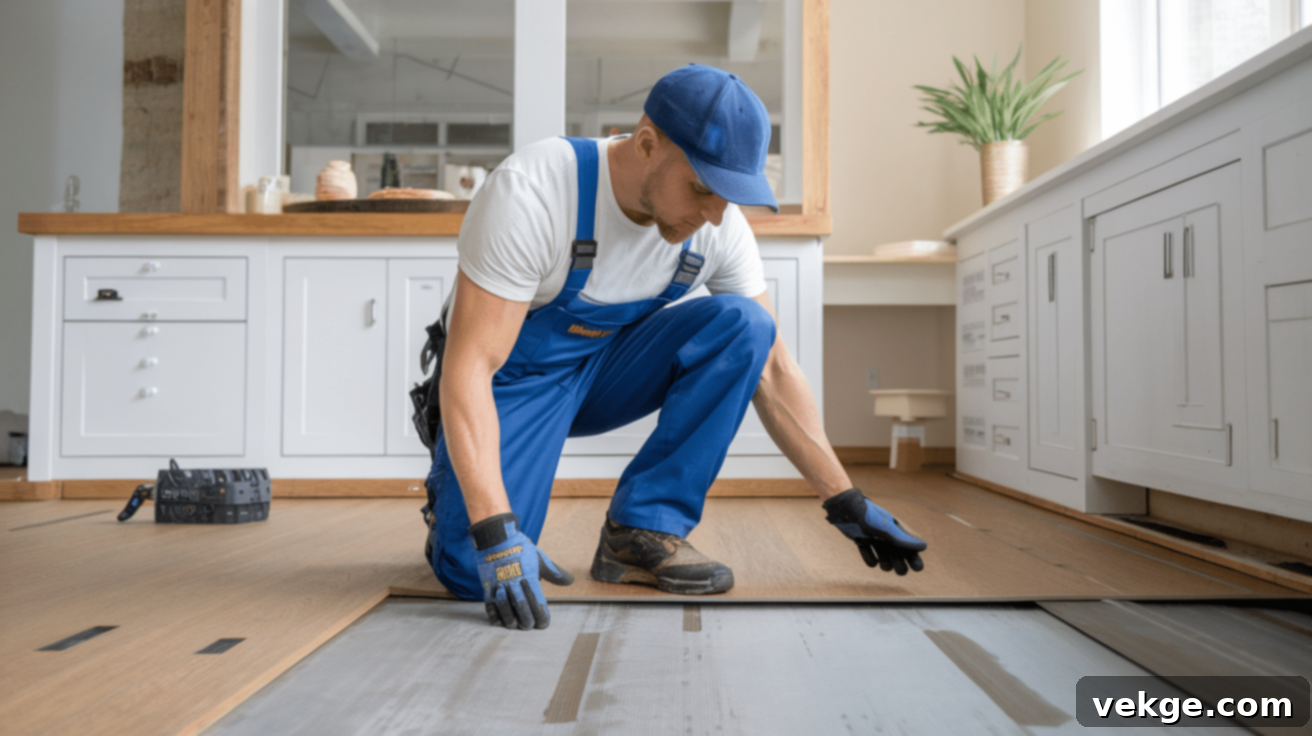
This is where your vision starts to come to life. Precision and adherence to manufacturer guidelines are key.
- Follow Manufacturer Instructions: Always refer to the specific installation guidelines provided by the manufacturer of your chosen flooring product. These instructions are tailored to the material and crucial for warranty validation.
- Vinyl and Laminate: For floating floors like luxury vinyl plank (LVP) or laminate, maintain proper expansion gaps around the perimeter of the room. This allows the flooring to expand and contract with changes in temperature and humidity without buckling.
- Tile: When installing ceramic or porcelain tile, use tile spacers to ensure consistent, even grout lines. Plan your layout carefully, often starting from the center of the room to achieve symmetry.
- Hardwood: Allow hardwood materials to acclimate to your home’s humidity and temperature for several days before installation. This prevents warping or gapping after installation. Use appropriate fasteners or adhesives as recommended.
Step 4: Adding the Finishing Touches and Cleanup
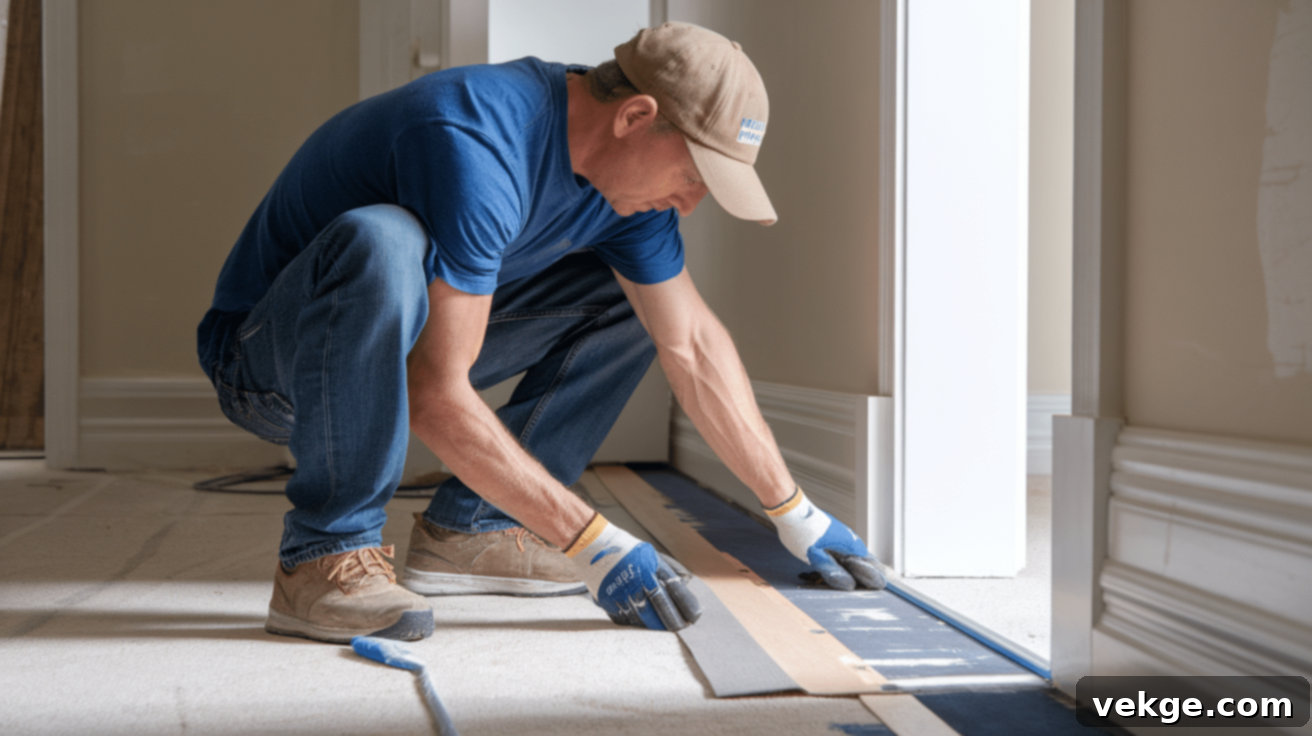
The final steps bring the project to a polished conclusion.
- Install Baseboards and Transition Strips: Reinstall or replace your baseboards and add transition strips where your new flooring meets another type of flooring or at doorways. These elements provide a clean, professional look and protect the edges of your new floor.
- Apply Sealants and Caulk: Depending on your flooring material (e.g., natural stone, grout lines, or in moisture-prone areas like bathrooms), apply appropriate sealants and caulk according to product guidelines to protect against moisture and stains.
- Thorough Cleaning: Perform a comprehensive clean-up. Remove any dust, debris, adhesive residue, and construction materials. Vacuum or sweep thoroughly, then follow with a damp mop or appropriate cleaner for your new floor type.
- Return Furniture: Once the floor is fully dry and cured, you can carefully move furniture back into the room. Use felt pads under furniture legs to prevent scratches and scuffs on your brand-new floor.
Inspiring Floor Remodeling Ideas for Every Home and Style
Are you looking for ways to update your floors? Here are some of the most popular and versatile flooring options that can profoundly change how your home looks and feels, with choices designed to suit nearly every budget, lifestyle, and design aesthetic.
1. Luxury Vinyl Plank (LVP) and Luxury Vinyl Tile (LVT)
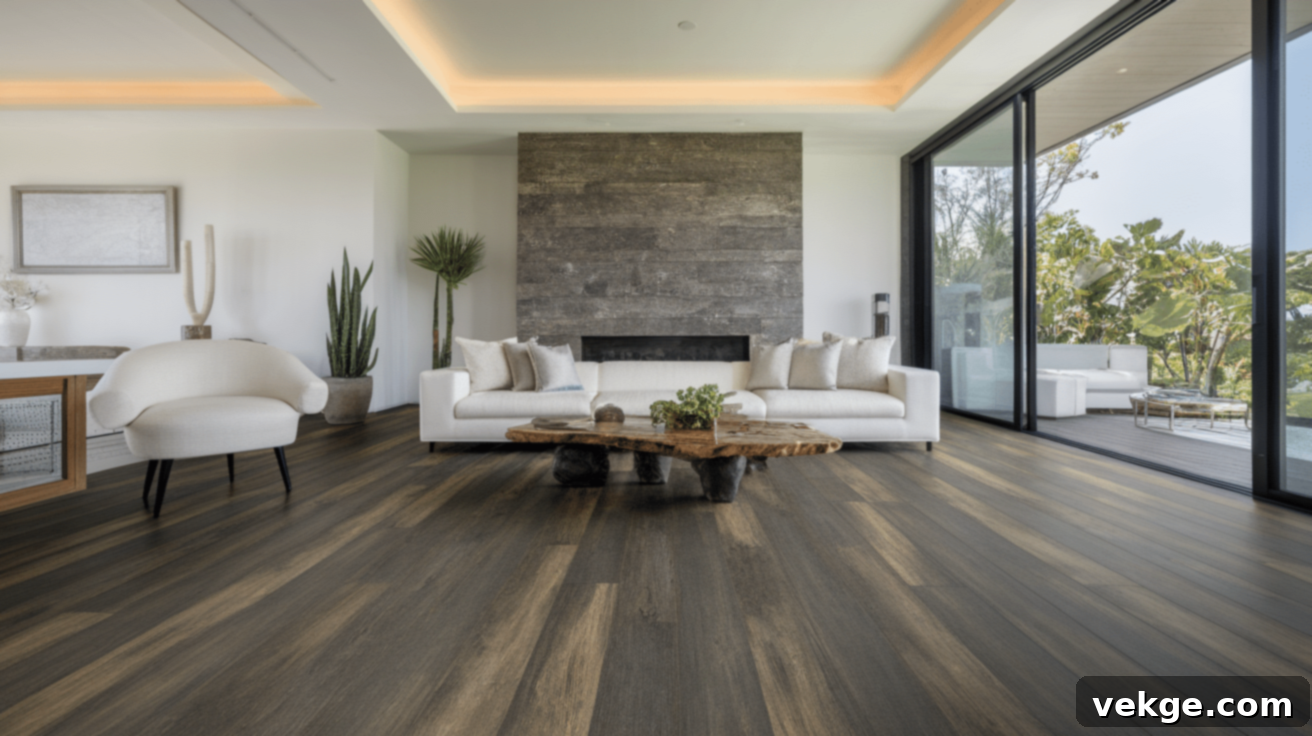
LVP and LVT offer an incredibly realistic imitation of natural wood or stone at a significantly lower price point. Engineered for durability, these multi-layered vinyl products boast exceptional resistance to scratches, spills, and heavy foot traffic, making them ideal for busy households with children or pets. Many modern versions are 100% waterproof, extending their versatility to moisture-prone areas like kitchens, bathrooms, and basements where real wood or some laminates might not be suitable. The click-and-lock installation system often makes LVP/LVT a popular choice for confident DIY enthusiasts looking for a satisfying weekend project.
2. Engineered Hardwood Flooring
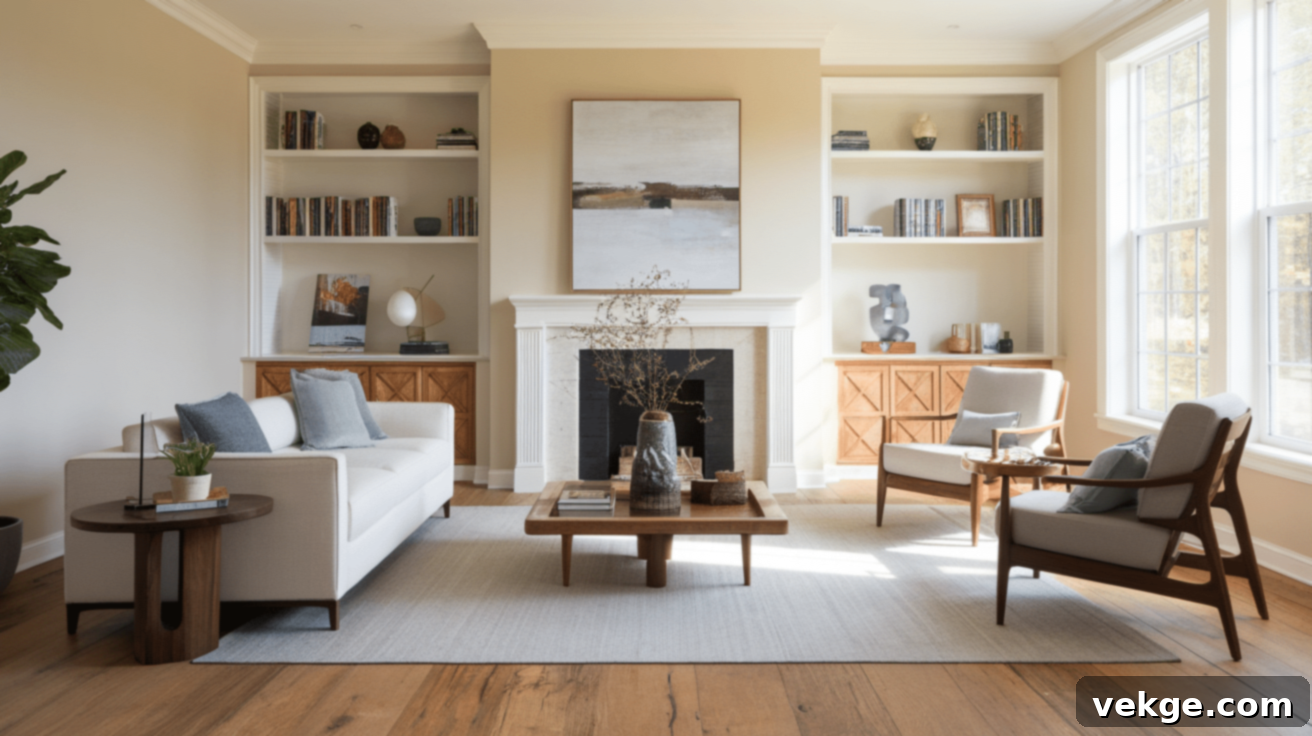
Engineered hardwood offers the timeless beauty and warmth of real wood with enhanced stability. It’s constructed with a top layer of genuine hardwood veneer bonded to multiple layers of plywood or high-density fiberboard underneath. This layered design makes it less susceptible to warping and gapping in areas with fluctuating humidity, a common issue with solid hardwood. You get the authentic look and feel of traditional hardwood, often available in a wider range of plank sizes and finishes, with added resilience. It’s an excellent choice for living rooms, dining rooms, and bedrooms, bringing natural elegance to your interior.
3. Ceramic or Porcelain Tile
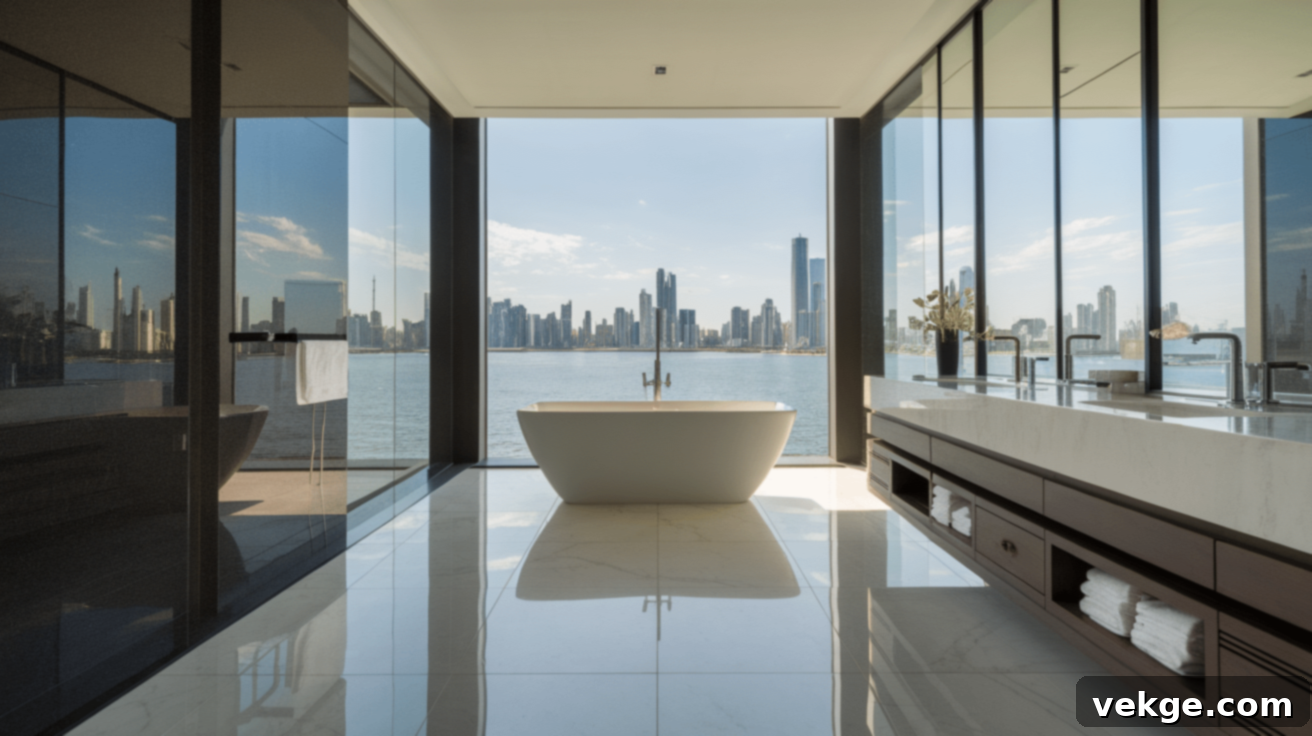
These incredibly hard-wearing and versatile tiles are champions of durability. Ceramic and porcelain tiles are impervious to water, highly resistant to stains, and can easily withstand heavy use in any area of the home. They remain cool underfoot, making them a perfect option for warmer climates or areas where a refreshing feel is desired. Available in an almost infinite array of colors, patterns, shapes, and sizes, from classic squares to intricate mosaics, they can mimic the look of natural stone, wood, or even concrete, allowing for immense creative freedom in your design.
4. Laminate Flooring
Laminate flooring provides a highly budget-friendly alternative to more expensive materials, using a photographic image layer to realistically mimic the appearance of hardwood, stone, or ceramic tile. Modern laminate products have significantly improved in quality, offering better scratch and dent resistance than older generations. Its click-together design is a key selling point, making it one of the most DIY-friendly flooring options available, often requiring only basic tools and a bit of patience. While generally not fully waterproof, many newer lines offer enhanced water resistance, making them suitable for most dry areas of the home.
5. Bamboo Flooring
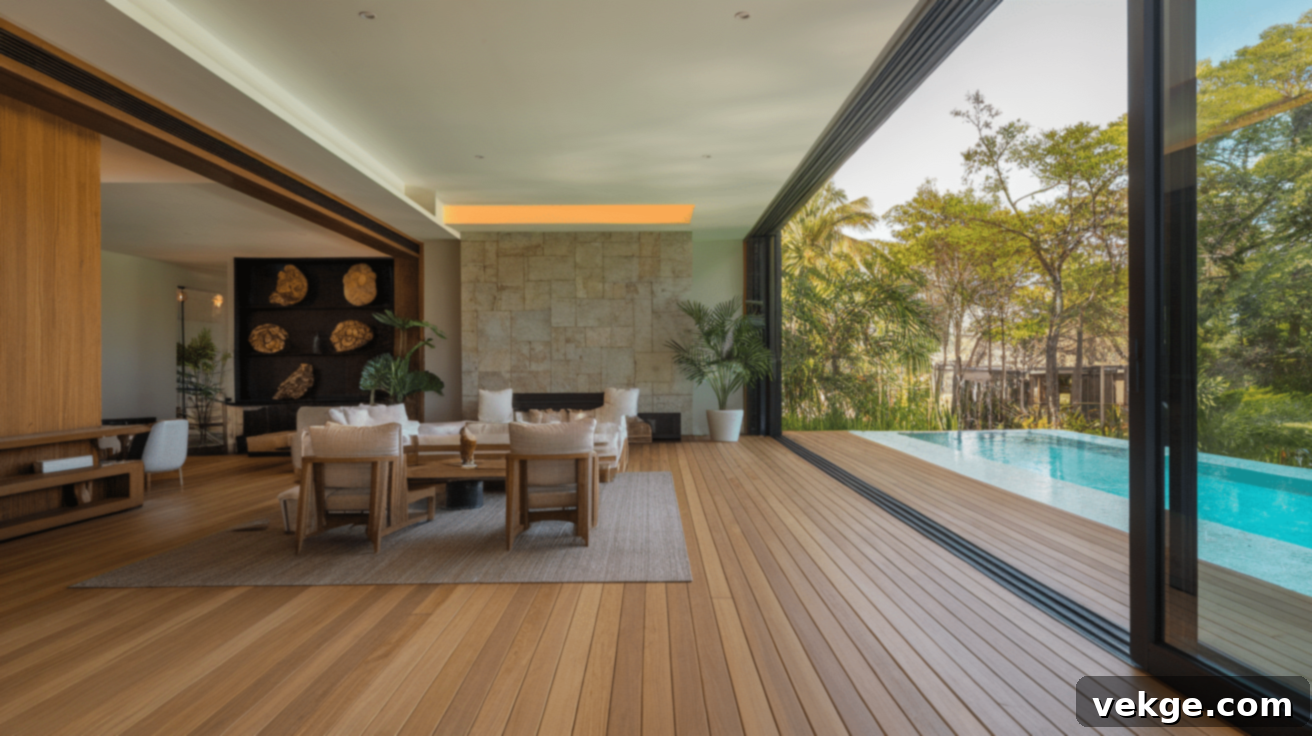
As a rapidly renewable resource, bamboo flooring offers an excellent eco-friendly alternative to traditional hardwood. It boasts a distinctive, clean, and often light appearance that complements modern and minimalist interior designs. While often harder than many traditional wood species, giving it good durability against general wear, it can still be susceptible to dents from heavy furniture or high heels. Its unique grain patterns and subtle color variations bring a natural, sophisticated touch to any room.
6. Cork Flooring
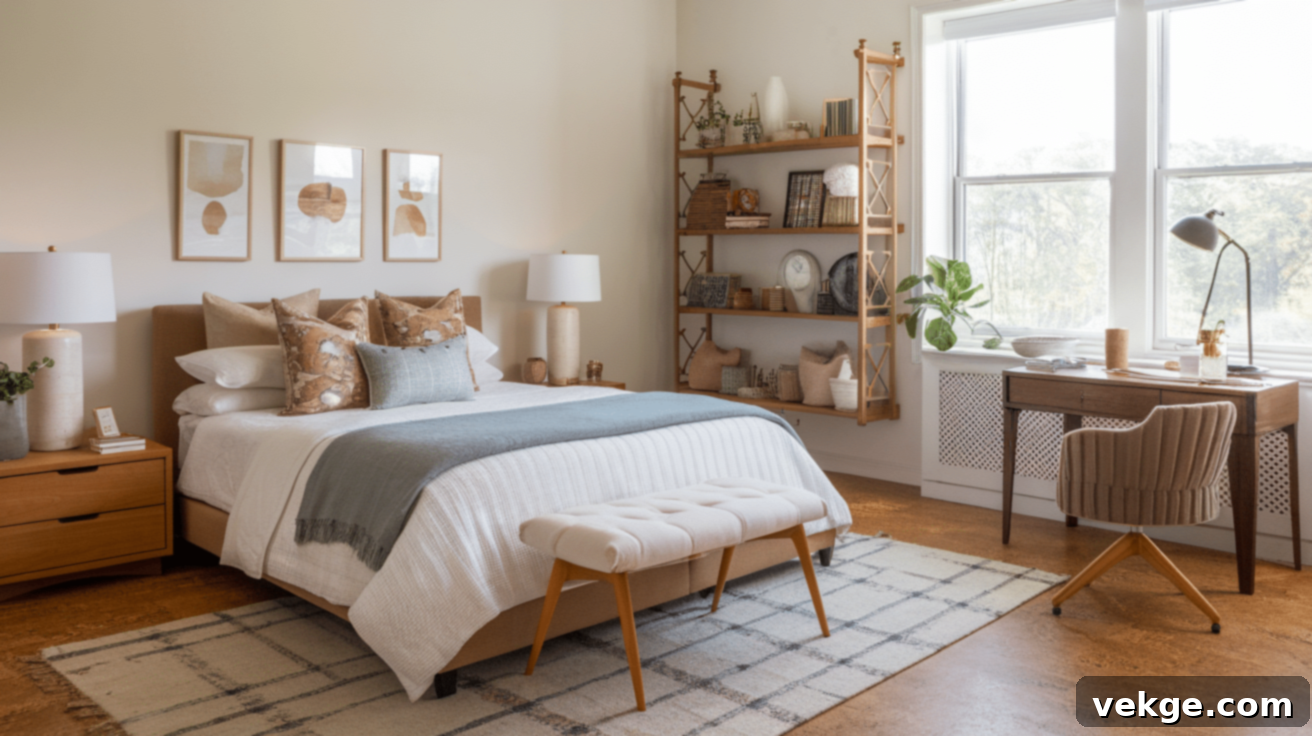
Harvested from the bark of cork oak trees (without harming the tree), cork flooring is celebrated for its unique combination of comfort and sustainability. This soft, resilient material feels exceptionally pleasant underfoot, providing a natural cushion that absorbs sound, making rooms quieter and more serene. Its natural springiness also reduces strain on joints when standing for extended periods, making it ideal for kitchens or home offices. Additionally, cork retains warmth better than tile or stone, contributing to a cozy ambiance. It offers a distinct, earthy aesthetic with varying shades and patterns.
7. Polished Concrete Flooring
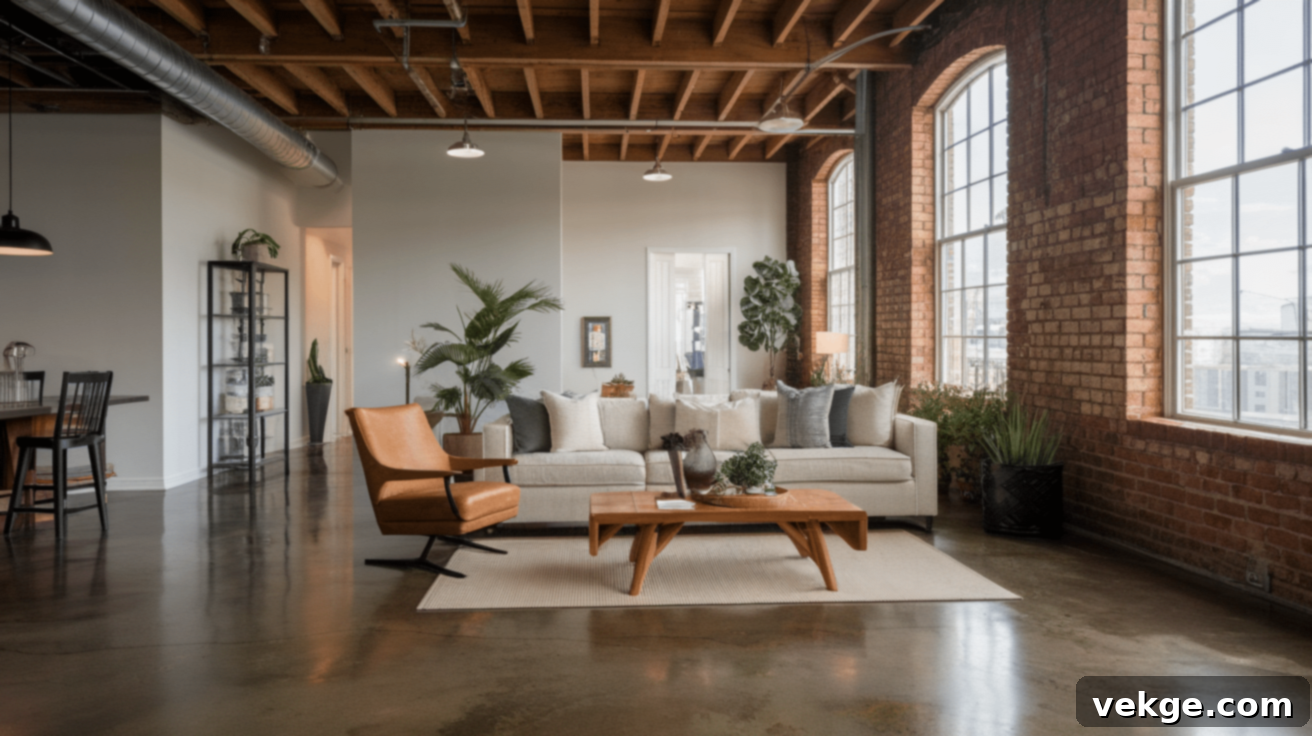
Once relegated to industrial spaces, basements, and garages, polished concrete has emerged as a stylish and highly durable flooring option for contemporary homes. Its raw, minimalist aesthetic can be customized through various colors, stains, and stamping techniques to achieve unique looks, from industrial chic to refined elegance. This incredibly strong and long-lasting flooring can withstand virtually anything, requiring minimal care and lasting for decades. It’s an excellent choice for open-plan living areas, modern kitchens, or basements, offering both functionality and a bold design statement.
8. Marble or Granite Flooring
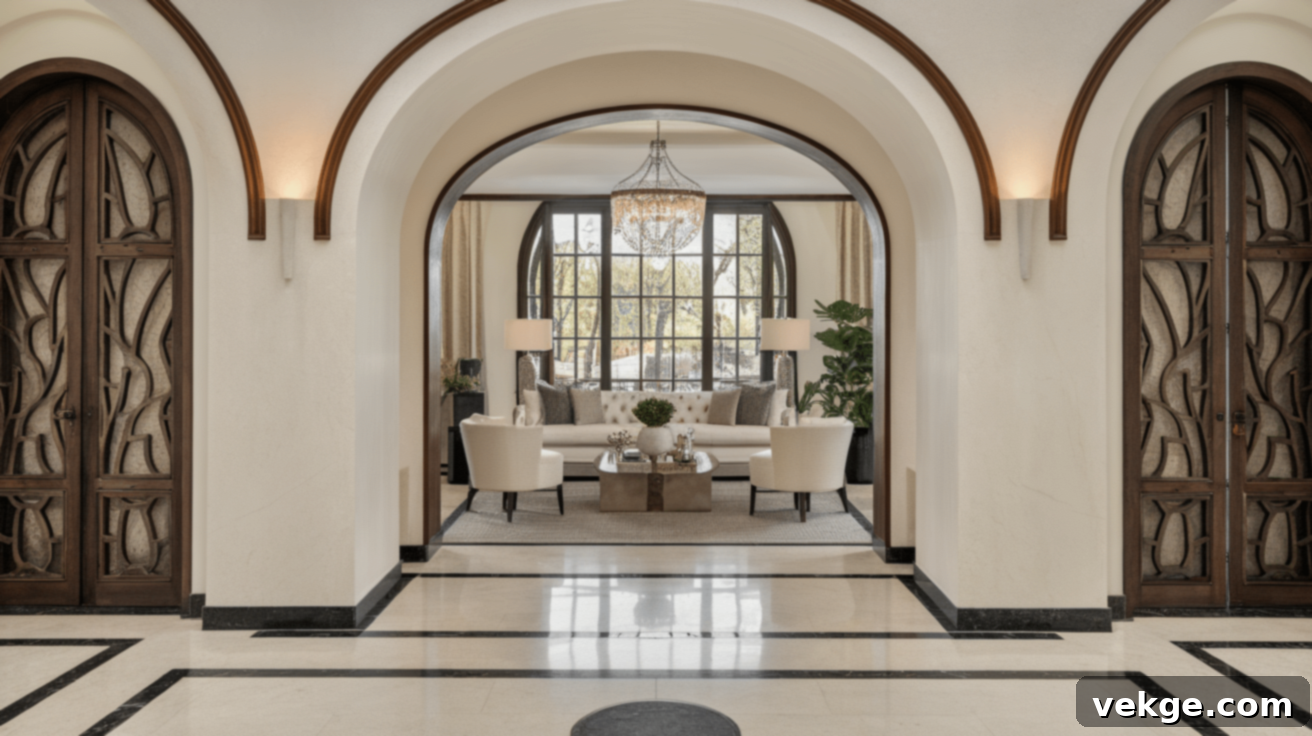
For unparalleled luxury and sophistication, natural stone floors like marble or granite are exceptional choices. Each slab features unique veining and patterns, ensuring your floor is a one-of-a-kind work of art. These materials are incredibly durable and can last for generations, provided they receive proper care. While they represent a significant investment and require regular sealing to protect against stains and moisture, their timeless beauty and inherent elegance elevate any special area in your home, such as grand entryways, formal dining rooms, or opulent bathrooms.
9. Carpet Tiles
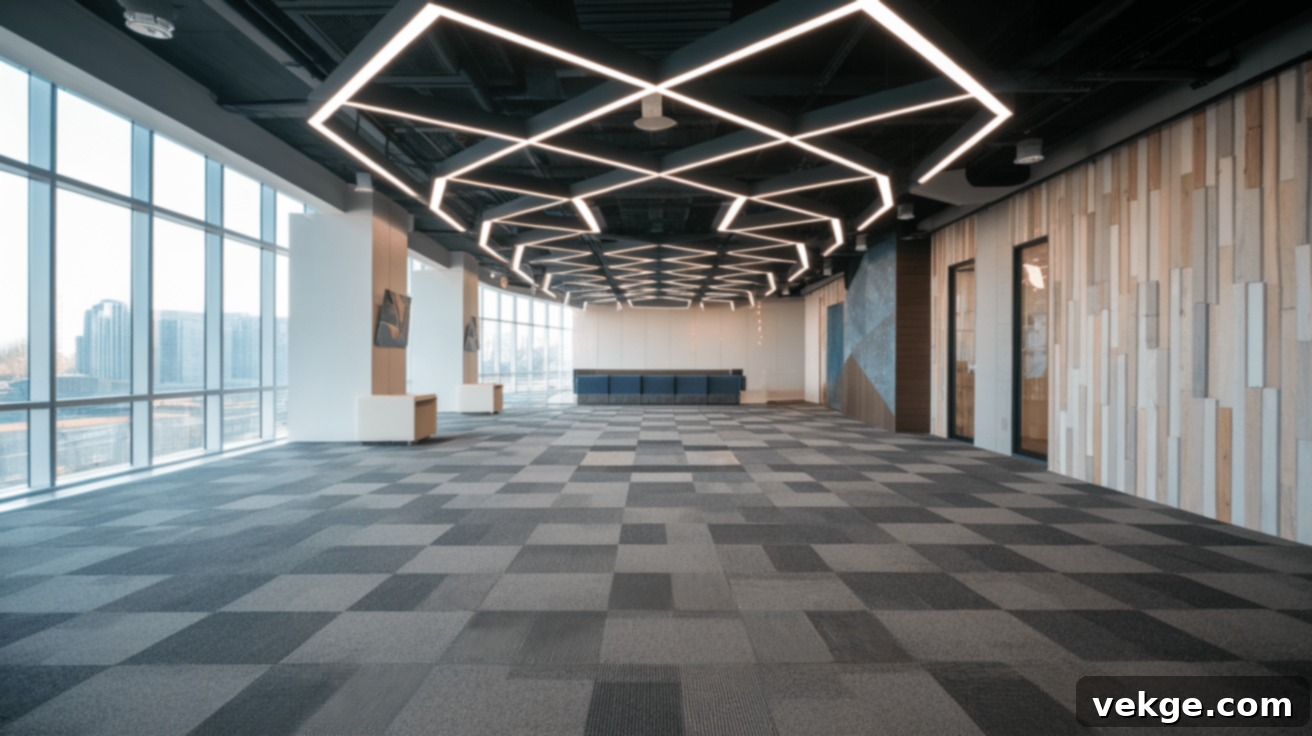
Carpet tiles offer a practical and versatile alternative to traditional wall-to-wall carpeting. These individual squares are installed one at a time, providing exceptional flexibility in design and maintenance. If a section becomes stained, damaged, or heavily worn, you can simply replace that specific tile rather than the entire floor, saving time and money. Available in a vast array of colors, textures, and patterns, carpet tiles allow for creative custom designs, from checkerboard layouts to abstract arrangements, or a simple, uniform look that provides comfort and sound absorption in bedrooms, offices, or playrooms.
10. Reclaimed Wood Flooring
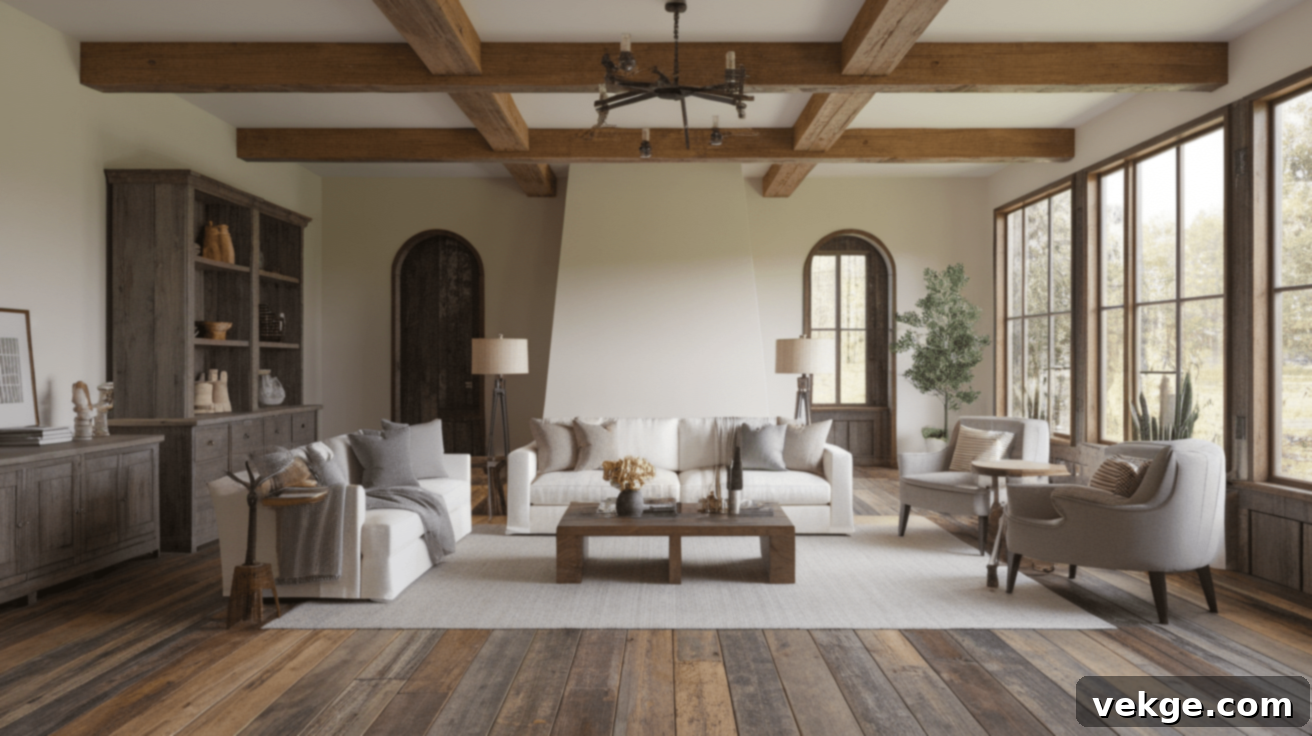
Reclaimed wood flooring brings a unique sense of history and character into your home. Sourced from old barns, factories, warehouses, and other historical structures, each board carries a story, visible in its distinct wear patterns, nail holes, rich patina, and unique coloring. It’s not only a highly attractive and distinctive design choice but also an environmentally conscious way to reuse existing materials, reducing demand for new timber. Reclaimed wood adds warmth, depth, and an authentic, rustic charm that cannot be replicated by new materials, making it a focal point in any room.
11. Rubber Flooring
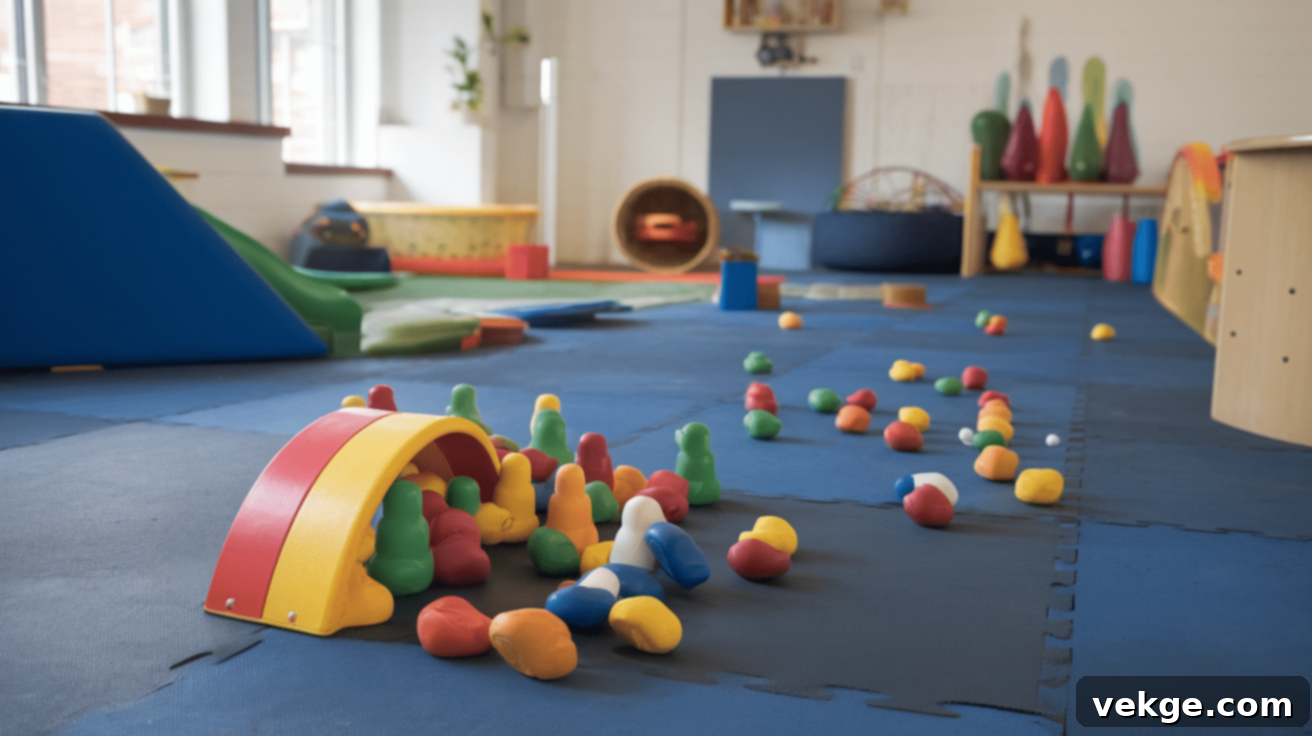
While often associated with gyms and commercial spaces, rubber flooring is gaining popularity in certain residential applications due to its exceptional durability and unique properties. Its shock-absorbing quality makes it an excellent choice for children’s playrooms, home gyms, or workshops, providing a safe and comfortable surface that cushions falls and reduces fatigue. The bouncy surface also makes it comfortable for standing for long periods. Available in a variety of colors and textures, either as interlocking tiles or large rolls, rubber flooring is easy to clean and maintains its integrity even under heavy use.
Expert Floor Remodeling Design Tips for a Cohesive Home
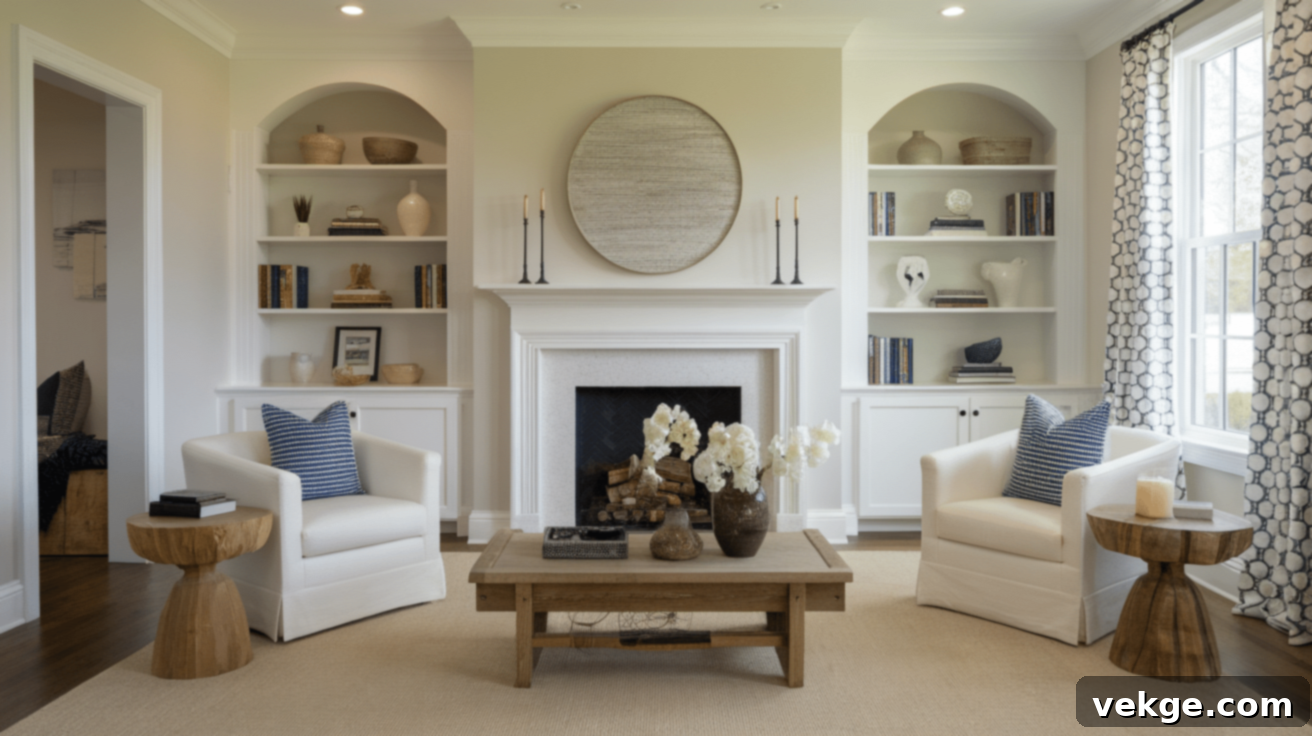
The right flooring choice is more than just a functional covering; it’s a fundamental design element that sets the tone for your entire home. Thoughtful design decisions ensure your new floors enhance your existing decor and suit your lifestyle. Here are some expert suggestions to guide you.
How to Match Flooring with Your Home Decor and Style
Your new flooring should seamlessly integrate with and elevate your existing home decor, rather than clashing with it. Begin by assessing your current color scheme, furniture style, and the overall ambiance you wish to achieve. Choose flooring materials and finishes that complement these elements. For example, warm wood tones pair beautifully with traditional or rustic decor, while lighter, cooler tones often suit modern or Scandinavian styles. Always obtain samples of your preferred flooring and view them in your actual space under different lighting conditions – natural daylight, evening lamps, and overhead fixtures – as colors can appear drastically different. Neutral tones for flooring offer the most flexibility, allowing you to easily update wall colors, furniture, and accessories as your style evolves over time.
Choosing the Best Flooring for Different Rooms and Their Needs
Each room in your home presents a unique set of requirements that should influence your flooring selection. Living areas and dining rooms, as central gathering spots, benefit from warm, inviting options like hardwood, engineered wood, or high-quality luxury vinyl plank, which can withstand moderate traffic while adding elegance. Kitchens and bathrooms, prone to moisture and spills, demand truly waterproof and slip-resistant materials such as porcelain or ceramic tile, or certain types of waterproof LVP. Bedrooms should prioritize comfort underfoot and sound absorption, making carpet, cork, or even softer engineered wood good choices. Basements, often susceptible to humidity, require products specifically rated for below-grade installation, such as certain concrete finishes, waterproof vinyl, or specially treated engineered products.
Popular Flooring Design Trends for Modern Homes
Staying current with design trends can inspire your choices and ensure your home feels contemporary. Current popular flooring trends include the widespread use of wider planks in both real wood and wood-look products, which create a sense of spaciousness and modern appeal. Light, natural wood tones and muted gray-beige (greige) options continue to dominate, offering a bright, airy feel that pairs well with most decor styles and color palettes. Many homeowners are also opting for a cohesive look by running the same flooring material throughout connected living spaces. This creates visual flow, makes rooms feel larger, and simplifies cleaning. Patterned tiles, from geometric designs to intricate mosaics, are also popular for adding personality and a focal point in smaller spaces like bathrooms, laundry rooms, or entryways.
Common Mistakes to Avoid During Your Floor Remodel
Even the most carefully planned flooring projects can encounter unexpected challenges. Being aware of these common pitfalls will help you navigate your remodel more smoothly, avoid costly errors, and ensure you’re delighted with the final result.
- Underestimating Your Budget: Hidden Costs: Many homeowners only budget for the material and basic installation, overlooking crucial hidden costs. Always add at least 15-20% to your initial budget for contingencies. This buffer accounts for potential subfloor repairs (which are very common once old flooring is removed), necessary tool rentals, delivery fees, waste disposal charges, and unexpected material shortages or damage. Ignoring these can lead to significant financial stress mid-project.
- Rushing Through Subfloor Preparation: This is arguably the most critical mistake. A perfectly level, clean, and dry subfloor is the bedrock of any successful flooring installation. Rushing or neglecting this step can lead to numerous future problems, including uneven surfaces, squeaks, buckling, cracking, premature wear, and even voided warranties. Take the time to properly clean, repair, level, and dry the subfloor according to manufacturer specifications for your chosen material.
- Ignoring Acclimation Requirements: Especially for wood, engineered wood, and some laminate products, failing to allow the materials to acclimate to your home’s temperature and humidity levels for the recommended period (usually 48-72 hours) before installation can lead to expansion, contraction, gapping, or buckling issues after the floor is laid.
- Not Ordering Enough Material: It’s always better to order slightly more material than you calculate. Account for cuts, waste, and potential mistakes by adding an extra 10-15% to your square footage. Running out of material mid-project can cause delays, and matching dye lots for a second order can be challenging.
- Neglecting Maintenance Requirements: Before making a final material choice, fully understand the long-term maintenance requirements. Hardwood needs periodic refinishing, natural stone requires regular sealing, and some materials may fade in direct sunlight. Choose flooring that aligns with your willingness and ability to maintain it over time to preserve its beauty and longevity.
Maintenance Tips for Your New Floors: Keeping Them Pristine
Once your beautiful new floors are installed, proper and consistent care is essential to ensure they stay looking their best for many years to come. Different flooring materials have specific cleaning and maintenance needs, and understanding these will help you preserve your investment.
How to Clean and Care for Different Flooring Materials
- Wood and Engineered Hardwood Floors: For daily care, use a soft-bristled broom or a vacuum cleaner with a floor-specific attachment to remove dirt, dust, and debris. For deeper cleaning, use a damp (not wet) mop with a wood-specific cleaner. Avoid excessive water, which can cause swelling, warping, or damage to the finish. Promptly wipe up spills to prevent water damage or staining.
- Tile Floors (Ceramic and Porcelain): These highly durable floors can handle more moisture. Regularly sweep or vacuum, then mop with warm water and a mild, pH-neutral soap or tile cleaner. For stubborn grime in grout lines, use a non-abrasive brush with a gentle grout cleaner. Remember to rinse thoroughly to prevent soap residue buildup.
- Luxury Vinyl Plank (LVP) and Laminate Flooring: These synthetic floors are relatively easy to maintain. A simple sweep or vacuum with a soft brush attachment is usually sufficient for daily upkeep. For spills and light cleaning, mop with water and a mild, non-abrasive cleaner. Avoid harsh chemicals, abrasive scrubbers, or excessive water, as they can damage the protective wear layer or seep into seams.
- Natural Stone Floors (Marble, Granite): These luxurious floors require specific care. Always use a pH-neutral cleaner specifically designed for natural stone. Sweep or dust mop daily to prevent scratching from grit. Natural stone should also be professionally sealed periodically (every 1-5 years, depending on traffic and stone type) to protect against stains and moisture penetration.
Protecting Your Floors from Everyday Wear and Tear
- Use Area Rugs and Mats: Place area rugs in high-traffic spots like entryways, hallways, and living areas. Use doormats at all exterior entrances to trap dirt and moisture before it tracks onto your floors.
- Furniture Protection: Attach felt pads or glides to the legs of all furniture (chairs, tables, sofas) to prevent scratches and dents when items are moved. For heavy furniture, use caster cups or wider glides to distribute weight.
- No-Shoes Policy: Consider implementing a “no-shoes in the house” policy, especially for delicate or high-end flooring materials. Outdoor footwear can track in dirt, grit, and moisture that can abrade or stain your floors.
- Trim Pet Nails: Keep your pets’ nails trimmed short to prevent scratches, especially on softer wood or laminate surfaces.
- Clean Spills Immediately: Attend to spills as soon as they happen. The longer a liquid sits, the more likely it is to stain or seep into the flooring material.
- Control Sunlight: Prolonged exposure to direct sunlight can cause some flooring materials (especially hardwood and laminate) to fade or discolor. Use curtains, blinds, or UV-protective window films to mitigate this.
Regular and appropriate care not only preserves the beauty of your floors but also extends their lifespan, saving you money on costly repairs or early replacements, and keeping your home looking pristine and well-maintained.
Conclusion: Investing in Your Home’s Future with a Floor Remodel
A floor remodel is a powerful way to transform your home’s appearance, enhance its functionality, and significantly boost its overall value. By choosing new flooring, you’re not just refreshing a space; you’re making a strategic investment that pays dividends in both daily enjoyment and potential resale profits.
The best flooring choice for your home will always be a thoughtful balance between aesthetic appeal, practical durability, and your specific budget constraints. Remember that each room presents unique demands: kitchens and bathrooms require exceptional water resistance, while bedrooms benefit from soft, comfortable options underfoot. When making your decision, consider not only the immediate costs of materials and installation but also the long-term commitment to maintenance and care.
Whether you decide to embrace the challenge of a DIY installation or opt for the expertise of professional contractors, meticulous planning is paramount. Proper preparation prevents costly mistakes and ensures a flawless finish. Take the time to thoroughly research various materials, prepare your subfloor correctly, and always budget for unexpected issues that may arise during the project.
With careful consideration and informed choices, your new floors will not only elevate your home’s style but also enhance your daily life, providing comfort, beauty, and lasting value for many years to come.
