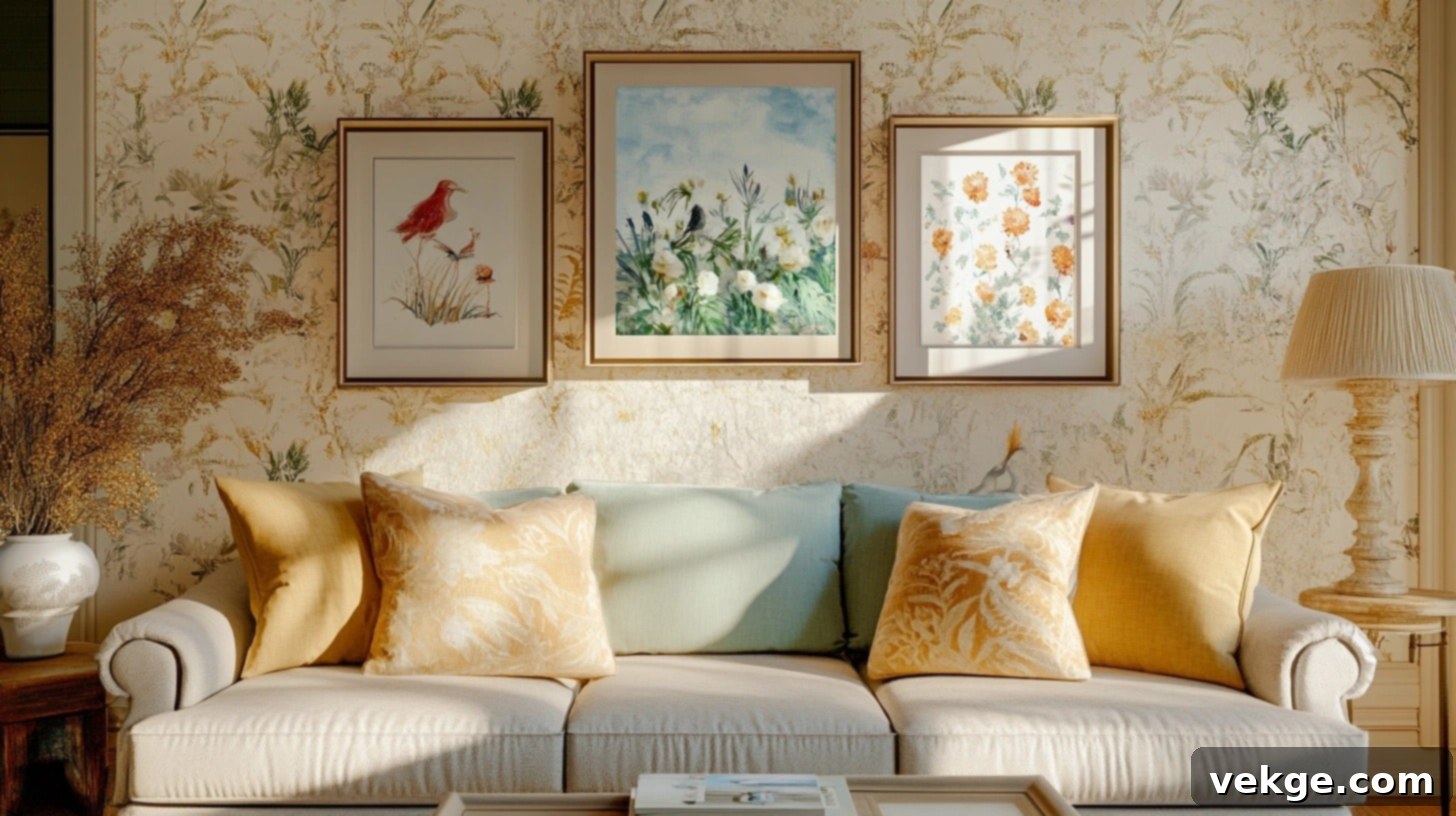
Transform Your Walls: The Ultimate Guide to DIY Wallpaper Hacks & Budget-Friendly Makeovers
Are you tired of looking at those same bland, blank walls day after day? I completely understand the feeling. For years, I found myself staring at my uninspired white walls, constantly wishing for a dramatic change without having to spend a fortune or hire expensive professionals. The good news is, you don’t have to!
Here’s a little secret that might surprise you: wallpaper isn’t just for professional decorators or complicated, messy projects anymore. With incredible advancements in materials and simple, user-friendly techniques, anyone can achieve stunning wall designs and truly transform their living space. I’ve personally experimented with various methods and learned practical tricks that will empower you to create beautiful, eye-catching rooms without the headaches often associated with traditional wallpapering.
These proven tips and clever hacks are designed to save you precious time and hard-earned money. More importantly, they’ll help you avoid common frustrations like unsightly air bubbles, misaligned patterns, and sticky messes. My goal is to share my favorite wallpaper hacks that will enable you to give your room a complete makeover, perhaps even this upcoming weekend! I promise, these straightforward methods work wonders – even if you’ve never attempted to hang wallpaper before.
Decoding Wallpaper Types: Choosing the Right Option for Your Home
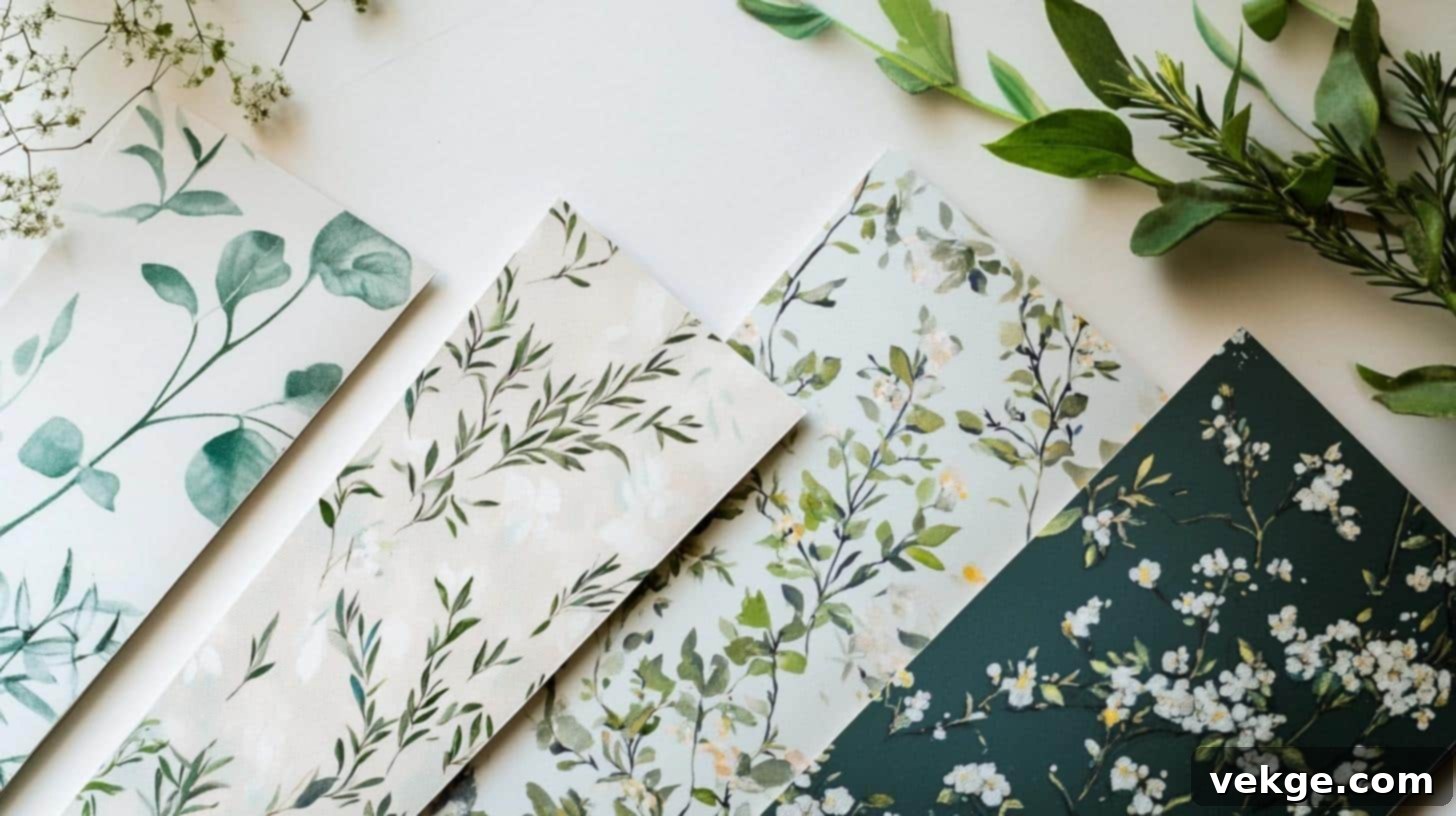
Before diving into the fun part of installation, it’s crucial to understand the different types of wallpaper available. After extensive research and trying all three main types in my own home, I can confidently tell you what works best for various situations, ensuring you pick the perfect material for your DIY project.
1. Traditional Wallpaper: The Enduring Classic
Traditional wallpaper, often made from sturdy paper or durable vinyl, requires a separate paste or water activation to adhere to your walls. I’ve found that once properly applied, it offers a remarkably long-lasting finish, making it a fantastic choice for permanent style. This type is ideal for rooms that don’t experience high levels of moisture, such as living rooms, dining areas, or bedrooms, where its elegance can truly shine.
While it demands a bit more effort and a few basic tools – specifically wallpaper paste, a smoothing tool, and a good dose of patience – the investment is well worth it. With careful application and proper maintenance, traditional wallpaper can beautifully adorn your walls for 10 to 15 years, offering an exceptional return on your design efforts.
Pros: Durable, long-lasting, wide range of designs, often offers texture.
Cons: More involved installation, permanent commitment, can be challenging to remove.
2. Peel-and-Stick Wallpaper: The Modern Renter’s Dream
As someone who has rented various properties, I absolutely adore peel-and-stick wallpaper. Imagine a giant, high-quality sticker for your wall – that’s essentially what it is! This revolutionary option comes with an adhesive backing that’s protected by a paper layer; you simply peel and stick. Its greatest advantage is its removability: you can pull it off cleanly when you move out or want a change, without causing any damage to your walls or leaving behind sticky residue. This makes it perfect for temporary decor or for those who love to frequently update their aesthetic.
I’ve successfully used peel-and-stick wallpaper in my kitchen and bathroom, and it holds up remarkably well against moisture and humidity. The absolute best part? If you happen to make a mistake during application, you can gently peel it off and reposition it, making the process incredibly forgiving and stress-free. No mess, no fuss, just instant gratification.
Pros: Easy to install and remove, no paste needed, renter-friendly, great for DIY beginners, repositionable.
Cons: Can be more expensive per square foot than traditional, sometimes less durable in high-traffic areas over very long periods.
3. Wall Decals and Creative Alternatives: Small Touches, Big Impact
Sometimes, you don’t need to cover an entire wall to make a statement. I’ve often used wall decals and other creative alternatives to add personality and unique flair to specific areas of my home. These options are incredibly versatile and budget-friendly, perfect for injecting a pop of design without the commitment of full wallpapering.
They’re perfect for:
- Creating a small, impactful statement on a single wall or a focal point.
- Adding intricate patterns or playful designs to furniture, like dressers or tabletops.
- Designing fun, themed, and easily changeable kid-friendly spaces.
- Testing out patterns and colors to visualize designs before committing to full wallpaper.
- Adding seasonal decor that can be updated effortlessly.
It’s also important to consider the cost differences associated with each type. While traditional wallpaper might have a higher upfront cost, its longevity often makes it a more cost-effective choice in the long run. Peel-and-stick options typically cost less per roll and are ideal for short-term projects or experimental designs. Decals, offering the most flexibility and smallest commitment, usually provide the most budget-friendly choice for making targeted, small-scale changes.
Flawless Foundation: Essential Wallpaper Surface Preparation Hacks
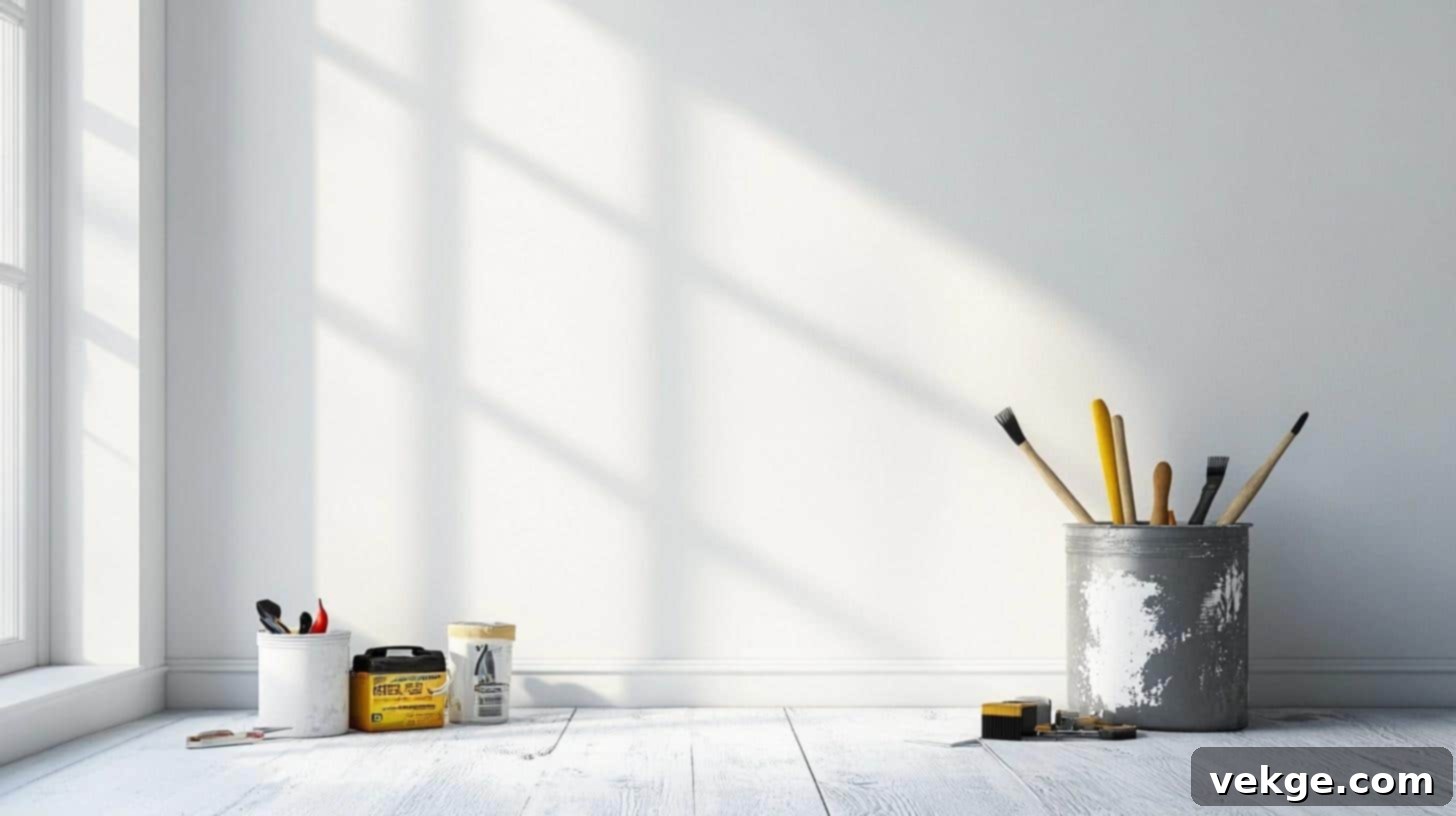
Before you even think about unrolling your beautiful new wallpaper, let me share some invaluable tricks I’ve learned about getting your walls perfectly ready. Trust me, skipping these crucial surface preparation steps can drastically impact how your wallpaper looks and how long it lasts. A little effort now saves a lot of headaches later!
1. The Critical Cleanse: Preparing Your Canvas
First and foremost, your walls need to be immaculately clean. Any dust, grease, or grime can prevent the wallpaper from adhering properly, leading to peeling or bubbling. Here’s my tried-and-true method for a perfectly clean surface:
- Mix a Gentle Solution: In a bucket, combine warm water with a small amount of mild dish soap (or a specialized wall cleaner). Avoid harsh chemicals that could damage your paint or leave residue.
- Wipe Down Thoroughly: Use a soft sponge or a clean microfibre cloth to wipe down every inch of your walls, working from top to bottom. Pay extra attention to corners, edges, and areas near light switches or outlets where grime tends to accumulate.
- Rinse if Necessary: If you used a soapy solution, follow up with a clean cloth dampened with plain water to remove any soap residue.
- Allow for Complete Drying: This step is non-negotiable. Let your walls dry completely – I usually wait a full 24 hours to ensure there’s no lingering moisture that could compromise adhesion. Using a fan can help speed up the process.
2. Smooth Operator: Patching and Repairing Imperfections
I learned the hard way that even the smallest bumps or holes can show through wallpaper, creating an uneven and unprofessional finish. Taking the time to patch and sand your walls makes a huge difference. Here’s what I do:
- Fill Small Holes: Use a lightweight spackling paste to fill nail holes, small cracks, or any minor imperfections. Apply with a putty knife, ensuring the paste is flush with the wall surface.
- Smooth Once Dry: Once the spackling paste is completely dry (check the product’s instructions, usually a few hours), gently sand the patched areas with fine-grit sandpaper (120-180 grit) until they are perfectly smooth and level with the surrounding wall.
- Clean Up Dust: Wipe away any sanding dust with a slightly damp cloth. Dust can act as a barrier to adhesion.
- Inspect Thoroughly: Use a strong light, like a flashlight held at an angle to the wall, to check for any remaining bumps, dents, or rough spots. This angled light will highlight imperfections you might otherwise miss.
3. The Primer Power-Up: Ensuring Optimal Adhesion
For the best possible adhesion and easier future removal, priming your walls is a step you should never skip, especially with traditional wallpaper. Primer creates a consistent surface for the adhesive to stick to, prevents paste from being absorbed too quickly by the drywall, and seals old paint, preventing stains from bleeding through.
- Choose the Right Primer: Select a primer specifically designed for wallpaper application. Some primers are tinted to match your wallpaper’s base color, which can help camouflage any tiny gaps between seams.
- Apply Evenly: Use a paint roller for smooth, consistent coverage across the entire wall. Use a brush for corners and edges.
- Allow Ample Drying Time: Always refer to the primer label for specific drying times. Rushing this step can lead to poor adhesion. Often, 2-4 hours is sufficient, but sometimes overnight is best.
- Test a Small Spot: If you’re unsure about the primer or wallpaper, test a small, inconspicuous area (like behind a door) to see how the wallpaper adheres and if the primer works as expected.
Quick tip from my own mistakes: Never skip the primer on new drywall or freshly painted surfaces. I once did, thinking I could save time, and my wallpaper struggled to stick properly, leading to frustrating peeling edges. Primer is your best friend for a professional-looking, long-lasting finish.
Your Wallpaper Toolkit: Essential Tools for a Successful Installation
Having the right tools can make all the difference between a frustrating project and a smooth, enjoyable one. Based on my numerous wallpaper adventures, I’ve compiled an organized list of essential tools you’ll need. Think of this as your DIY wallpaper arsenal – each item plays a crucial role in achieving a professional finish.
| Tool Name | What It’s For | Do I Really Need It? |
|---|---|---|
| Smoothing Brush / Smoother | Removes air bubbles, creases, and helps the paper lay perfectly flat against the wall. | Yes – Essential for a bubble-free finish. |
| Utility Knife (with plenty of spare blades) | Makes precise, clean cuts around edges, outlets, windows, and trim. Frequent blade changes are key! | Yes – Absolutely essential for neat edges. |
| Measuring Tape | For accurate wall measurements and precise cutting of wallpaper strips. | Yes – Essential for preventing waste and ensuring proper fit. |
| Level (or Laser Level) | Ensures your first strip is perfectly plumb, which is critical for keeping patterns straight across the wall. | Yes – Essential for professional alignment. |
| Pencil | Marks cutting lines, placement guides, and makes notes directly on the wall or paper. | Yes – Basic but indispensable. |
| Clean Cloths (damp and dry) | Wipes down surfaces, removes excess paste immediately, and cleans tools. | Yes – Keep several handy for cleanup. |
| Seam Roller | Gently presses and flattens seams between wallpaper panels for a seamless look. | For traditional wallpaper only; optional for peel-and-stick. |
| Spray Bottle (with water or solution) | Adds moisture for paste activation or to loosen repositionable wallpaper. | For traditional (water-activated) and some peel-and-stick papers. |
| Paint Tray or Paste Bucket | Holds wallpaper paste, making it easy to apply evenly to traditional paper. | For traditional wallpaper only. |
| Paste Brush or Roller | Spreads adhesive uniformly onto traditional wallpaper sheets or directly onto the wall. | For traditional wallpaper only. |
| Step Stool or Ladder | Provides safe and stable access to reach the top sections of your walls. | Yes – if walls are taller than you can comfortably reach. |
| Metal Ruler or Straight Edge | Guides your utility knife for perfectly straight and clean cuts. | Yes – for precise, professional-looking cuts. |
Quick Tip: To keep everything organized and ready for your next project, I highly recommend dedicating a plastic storage bin solely for your wallpaper tools. This makes setup and cleanup incredibly efficient!
Mastering the Art: Advanced Wallpaper Installation Hacks and Tips
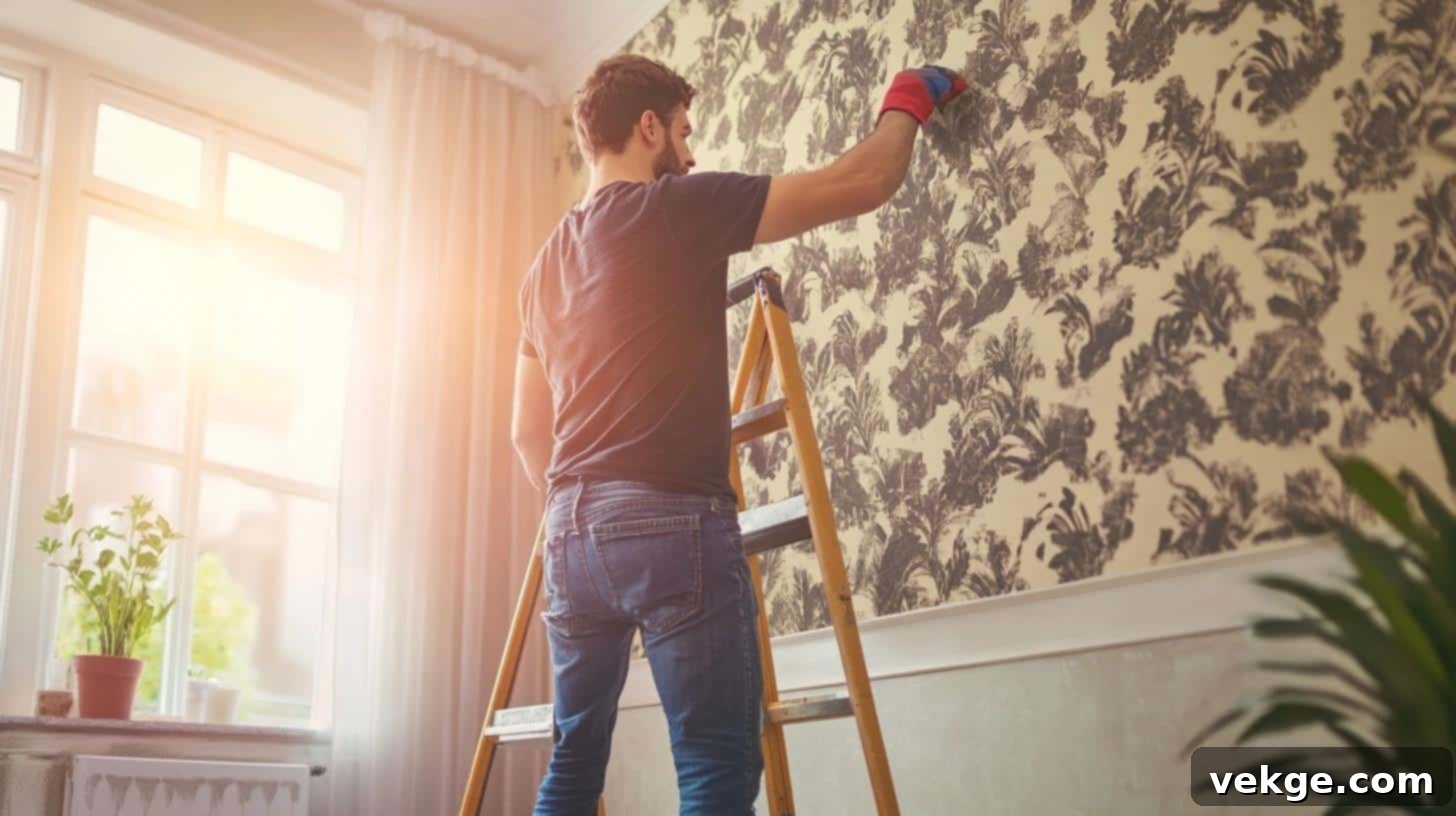
Now for the main event: applying the wallpaper! These are the tried-and-true installation hacks and tips that I’ve gathered over the years, designed to make the process smoother, more efficient, and produce results you’ll be proud of.
1. Easy Installation Techniques for a Seamless Finish
The “Reverse Roll” Trick: Taming Curly Wallpaper
Have you ever struggled with wallpaper that seems determined to curl back on itself, making it impossible to align? I certainly have, especially with my first few projects. But I’ve discovered a simple, yet highly effective fix: the reverse roll trick. This technique helps relax the wallpaper’s “memory” from being tightly wound on the roll, making it much more pliable and cooperative.
Key steps:
- Unroll and Reverse: Take your pre-cut wallpaper strip and gently unroll it. Then, carefully roll it back up in the opposite direction from how it was originally on the roll.
- Secure and Relax: Use light rubber bands or painter’s tape to hold the reversed roll in place.
- Wait it Out: Leave it like this for about 10 to 15 minutes. This simple step allows the material to “relax” and lose its tendency to curl.
- Unfurl Before Hanging: Just before you’re ready to hang, unroll it and let it lay flat on a clean surface for a minute or two. You’ll notice it’s much more willing to lay flat against the wall.
The “Center-Out” Bubble-Free Method
Achieving a bubble-free finish is often considered the holy grail of wallpapering. My secret? Always start smoothing from the middle of your wallpaper panel and work your way outwards. This method changed everything for me, significantly reducing trapped air. Think of it like smoothing a bed sheet or applying a screen protector to your phone.
My proven steps for a flawless application:
- Lightly Position: Once your panel is roughly aligned at the top, let it hang loosely on the wall without pressing firmly yet.
- Locate the Center: Gently find the center point of the wallpaper panel, both horizontally and vertically.
- Initial Press: Place your smoothing tool (brush or plastic smoother) firmly at this center point.
- Work Outward: With steady, even pressure, sweep the tool in small, overlapping strokes, moving from the center towards the top and bottom edges. Then, repeat this motion from the center towards the left and right edges.
- Systematic Smoothing: Continue working outward in small, manageable sections, always pushing air bubbles and excess paste towards the nearest edge.
- Maintain Pressure: Consistent, firm pressure is key. Regularly check for any trapped bubbles as you go, and immediately work them out before the adhesive fully sets.
2. Dealing with Tricky Areas Like a Pro
Some areas of a room can be challenging, but with these focused techniques, you’ll tackle them with confidence:
Corners (Inside and Outside):
- Measure and Overlap: When you reach a corner, measure the distance from the last applied strip to the corner, and add about 1-2 inches. Cut your strip to this width. Apply it, pressing firmly into the corner.
- Score and Trim: Use a plastic smoothing tool to firmly press the paper into the corner crease. Then, with a very sharp utility knife and a metal ruler, make a clean cut along the corner, removing the excess overlap. This creates a crisp, professional corner.
- Fresh Blades: Always use a fresh blade tip when cutting in corners; dull blades tear the paper.
Around Fixtures (Outlets, Switches, Windows, Doors):
- Safety First: ALWAYS turn off the power to any electrical outlets or switches at the circuit breaker before you begin. Remove the cover plates.
- Strategic Cuts: Apply the wallpaper over the outlet or switch opening. Carefully feel for the edges of the box underneath. Cut a small “X” shape over the center of the opening.
- Trim and Smooth: Gently push the wallpaper into the opening, then carefully trim the edges around the box using your utility knife. Ensure the cuts are neat so the cover plate will fully conceal the edges.
- Replace Covers: Once the wallpaper is dry, replace the cover plates. For windows and doors, trim the paper neatly around the frame, using a straight edge for crisp lines.
3. The Art of Finishing Touches: Polishing Your Project
Small details can make a huge difference in the overall look and feel of your newly wallpapered room. These finishing touches elevate your DIY project to a professional standard.
Achieving Clean, Crisp Edges:
- Razor Sharp: This cannot be stressed enough: use a brand-new, sharp utility knife blade for every major cut, or change it frequently. A dull blade will tear and fray your wallpaper, ruining the clean edge.
- Angle Your Cut: When trimming along baseboards, ceilings, or door frames, hold your utility knife at a slight angle (around 30-45 degrees) rather than straight on. This creates a beveled edge that sits more flush and is less likely to lift.
- Use a Straight Edge: Always press firmly against a metal ruler or a wide putty knife as a guide for your utility knife. This ensures perfectly straight and precise cuts.
Perfecting Seams for a Seamless Look:
- Pattern Matching: Before applying the next strip, always dry-fit it to ensure the pattern aligns perfectly with the previous one. This is crucial for a professional look.
- Work One Seam at a Time: After applying a new strip, carefully butt its edge against the previous one, ensuring no overlap (unless specifically instructed by the wallpaper type).
- Gentle Pressure: Use a seam roller (for traditional paper) or a soft smoothing tool to gently press the edges together. Avoid pressing too hard, which can squeeze out excess paste and create a shiny line.
- Immediate Wipe-Down: If any paste oozes out of the seams, immediately wipe it away with a clean, damp cloth. Dried paste is much harder to clean and can leave permanent marks.
My top tip for a clean finish: Keep a dedicated bucket of clean water and several clean, damp cloths handy at all times. Wipe off any excess paste or adhesive as soon as you see it – it’s infinitely easier to clean while wet than after it has dried and hardened!
Effortless Removal: Tips for Removing Old Wallpaper Without Damage
Removing old wallpaper can seem like a daunting task, often conjuring images of torn drywall and endless scrubbing. Want to know how I learned to remove old wallpaper without turning it into a weekend-long, frustrating project? After a disastrous first attempt that nearly damaged my walls, I discovered some incredibly useful methods that work every single time. Let me share the steps that not only saved my walls but also preserved my sanity.
- Score the Surface: Use a wallpaper scoring tool (it looks like a small spiked wheel) to make tiny perforations in the wallpaper surface. Don’t press too hard – you only want to penetrate the wallpaper, not the drywall underneath. These holes allow your removal solution to soak in effectively.
- Prepare Your Solution: For a natural and effective removal solution, mix equal parts hot water and white vinegar in a spray bottle. You can also add a few drops of dish soap to help break down the adhesive. For tougher wallpapers, consider a commercial wallpaper stripper for quicker results.
- Generous Application and Soaking: Apply your chosen solution generously to the scored wallpaper using the spray bottle. Ensure the paper is thoroughly saturated. Let it soak for at least 15-20 minutes. This allows the solution to penetrate the adhesive and loosen its grip.
- Start Peeling: Begin peeling from a bottom corner or seam where the paper might already be lifting. Pull the wallpaper slowly at a 45-degree angle. This angle often helps the paper come off in larger strips.
- Use the Right Tools: Employ a plastic scraper tool to help lift stubborn areas. Avoid metal scrapers, as they can easily gouge and damage your walls, requiring more repair work later.
- Keep it Moist: If you encounter stubborn spots or areas that are drying out, keep spraying them with your solution as you work up the wall. Continuous moisture is key for effective removal.
- Clean Residue: After removing all the wallpaper, there will likely be some adhesive residue left on the wall. Clean this off with warm water and a soft sponge, or a diluted wallpaper stripper solution, ensuring the wall is completely clean and smooth.
- Thorough Drying: Allow the wall to dry completely for at least 24 hours before applying new wallpaper, primer, or paint. Any residual moisture can cause new coverings to fail.
- Test an Area: If you’re unsure about the best removal method for your specific wallpaper, always test a small, hidden area first (e.g., behind a large appliance or in a closet). This will give you an idea of how easily it comes off and what tools/solutions work best.
- Work in Sections: Tackle removal in manageable sections, about 3-4 feet at a time. This ensures the solution doesn’t dry out before you have a chance to remove the paper.
- Ensure Ventilation: Open windows and doors for good air circulation, especially if using commercial strippers. This helps with drying and disperses any strong fumes.
- Protect Your Floors: Have plenty of drop cloths or old sheets ready on the floor. Wallpaper removal can get quite messy with water, old paper, and adhesive residue.
Smart & Stylish: Budget-Friendly Wallpaper Hacks and Creative Solutions
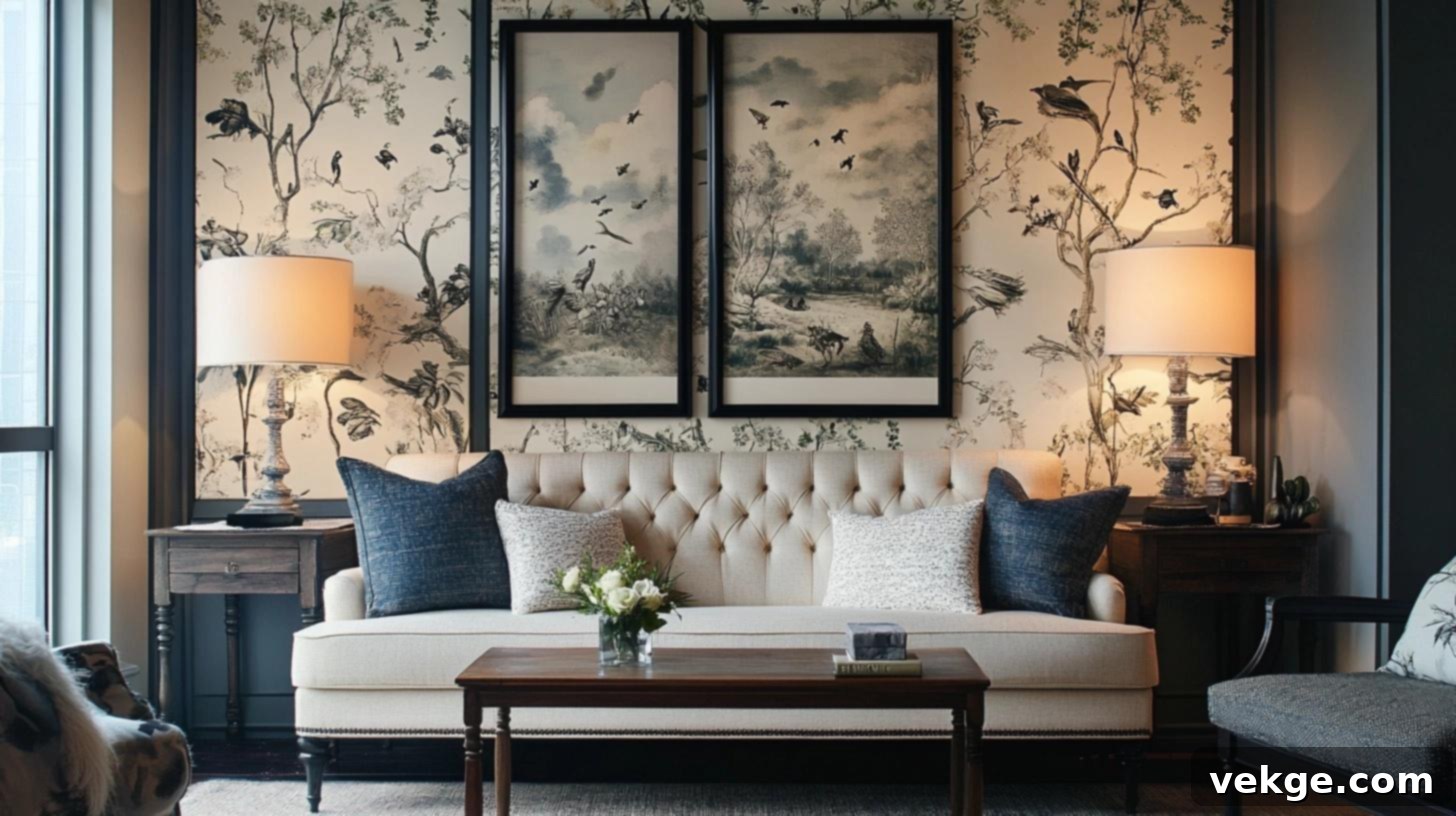
Transforming your home with wallpaper doesn’t have to drain your bank account. Over the years, I’ve discovered numerous money-saving tips and clever tricks that allow you to achieve stunning results without breaking your budget. Let me share some of these insights that helped me create beautiful, personalized walls affordably.
1. Smart Shopping Strategies: Finding the Best Deals
- Hunt for Sales: Always keep an eye out for end-of-season sales, holiday promotions, or clearance events. I once saved a whopping 40% on the perfect peel-and-stick paper for my kitchen by buying it during an off-season sale.
- Online Marketplaces: Check platforms like eBay, Etsy, Facebook Marketplace, or local DIY forums for leftover rolls from other people’s projects. You might find high-quality wallpaper at a fraction of the original price.
- Newsletter Sign-ups: Subscribe to email newsletters from your favorite home decor or DIY stores. They often send out exclusive flash sales, discount codes, or early bird offers that can lead to significant savings.
- Sample Rolls and Remnants: Don’t underestimate the power of sample rolls or remnant bins. These are perfect for testing patterns and textures before committing to full rolls, or for small accent projects.
- Buy Slightly More (Strategically): While the goal is to save money, it’s often wise to buy one extra roll than your measurements suggest, especially for traditional wallpaper. Matching dye lots (batch numbers) for additional rolls purchased later can be incredibly difficult, leading to color discrepancies.
2. Clever Uses for Less Paper: Maximizing Every Roll
You don’t always need to wallpaper an entire room to make a big impact. Get creative with smaller quantities of wallpaper:
- Accent Wall Power: Instead of wallpapering the whole room, choose a single accent wall (like behind your bed or sofa) to add a dramatic pop of pattern and color. This uses far less paper and makes a strong statement.
- Lined Shelves and Drawers: Use wallpaper remnants to line the backs of open bookshelves, the insides of drawers, or cabinet backs. It’s an unexpected detail that adds charm and personality.
- Framed Wallpaper Art: Cut a beautiful section of wallpaper and frame it as wall art. You can create a gallery wall with different patterns or a large, singular piece.
- Furniture Facelift: Cover the fronts of cabinet doors, drawer fronts, or even an old tabletop with wallpaper for an instant, budget-friendly furniture refresh.
- Headboard Hack: Create a faux headboard by cutting out a decorative shape from wallpaper and applying it directly to the wall behind your bed.
- Split Rolls: If you have a larger roll, consider splitting it between two small projects in different rooms (e.g., a powder room and a closet accent).
3. Money-Saving Application Tips: Reducing Waste
- Measure Twice, Cut Once: This old adage is critical for wallpaper. Accurate measurements prevent costly mistakes and unnecessary waste. Factor in pattern repeats when cutting.
- Strategic Cutting: Plan your cuts carefully, especially with patterned wallpaper. Try to use offcuts from one strip to start a new strip in a less visible area (like above a door) if the pattern allows.
- Save Scraps: Keep any larger wallpaper scraps. They can be invaluable for small touch-ups later on, should any damage occur, or for future small craft projects.
- Multi-Purpose Tools: Invest in basic, good-quality tools that can be used for multiple home improvement projects, not just wallpapering.
- Borrow or Share: If you have friends or family who also enjoy DIY, consider sharing tools. This reduces individual costs for specialized items you might not use frequently.
4. Low-Cost Wallpaper Alternatives: Creative Wall Treatments
- Paint Techniques: Explore creative painting techniques that mimic wallpaper, such as stripes, geometric patterns, or ombre effects. All you need are different paint colors and painter’s tape.
- Stenciling: Use stencils to apply intricate patterns directly onto your walls. This offers endless design possibilities and is fully customizable with paint colors.
- Fabric Wall Hangings: Drape beautiful fabrics as wall hangings or create large framed fabric panels for a soft, textural alternative to wallpaper.
- Contact Paper: For very small, temporary projects or furniture accents, inexpensive contact paper can provide a similar patterned effect to peel-and-stick wallpaper.
- DIY Starch and Fabric Wallpaper: For a truly temporary and budget-friendly option, use liquid starch to adhere lightweight fabric directly to your walls. It’s easily removable with water.
Wrapping It Up: Your Journey to Beautiful Walls
Looking at bare, uninspiring walls used to fill me with a sense of dread and indecision. But now, with these wallpaper hacks and creative tips firmly in my toolkit, I feel completely ready to take on any room makeover challenge. My hope is that these insights empower you to feel the same way – confident, creative, and ready to transform your home.
Remember, the foundation of any successful wallpaper project lies in thorough surface preparation and equipping yourself with the right tools. These initial steps are non-negotiable for a professional, long-lasting finish.
Whether you’re drawn to the enduring charm of traditional wallpaper for a classic, permanent style, or the versatility and ease of peel-and-stick for quick, renter-friendly changes, your walls are a canvas waiting for your personal touch. Embrace the process, because with these hacks, your dream room is well within reach.
Ready to embark on your wallpapering adventure? Take a moment to plan your approach carefully. Gather all your tools, prepare your walls meticulously, and work step by step, enjoying the transformation unfold. And don’t forget – if you encounter any bumps along the way (literally or figuratively!), you can always refer back to this guide for a quick refresher or troubleshooting tips.
I’d absolutely love to see your creative endeavors! Share your wallpaper success stories, before-and-after photos, or even your own favorite hacks in the comments section below. Let’s inspire each other to create stunning, personalized spaces!
