Master DIY Deck Building: 6 Rookie Mistakes to Avoid for a Safe and Stunning Outdoor Space
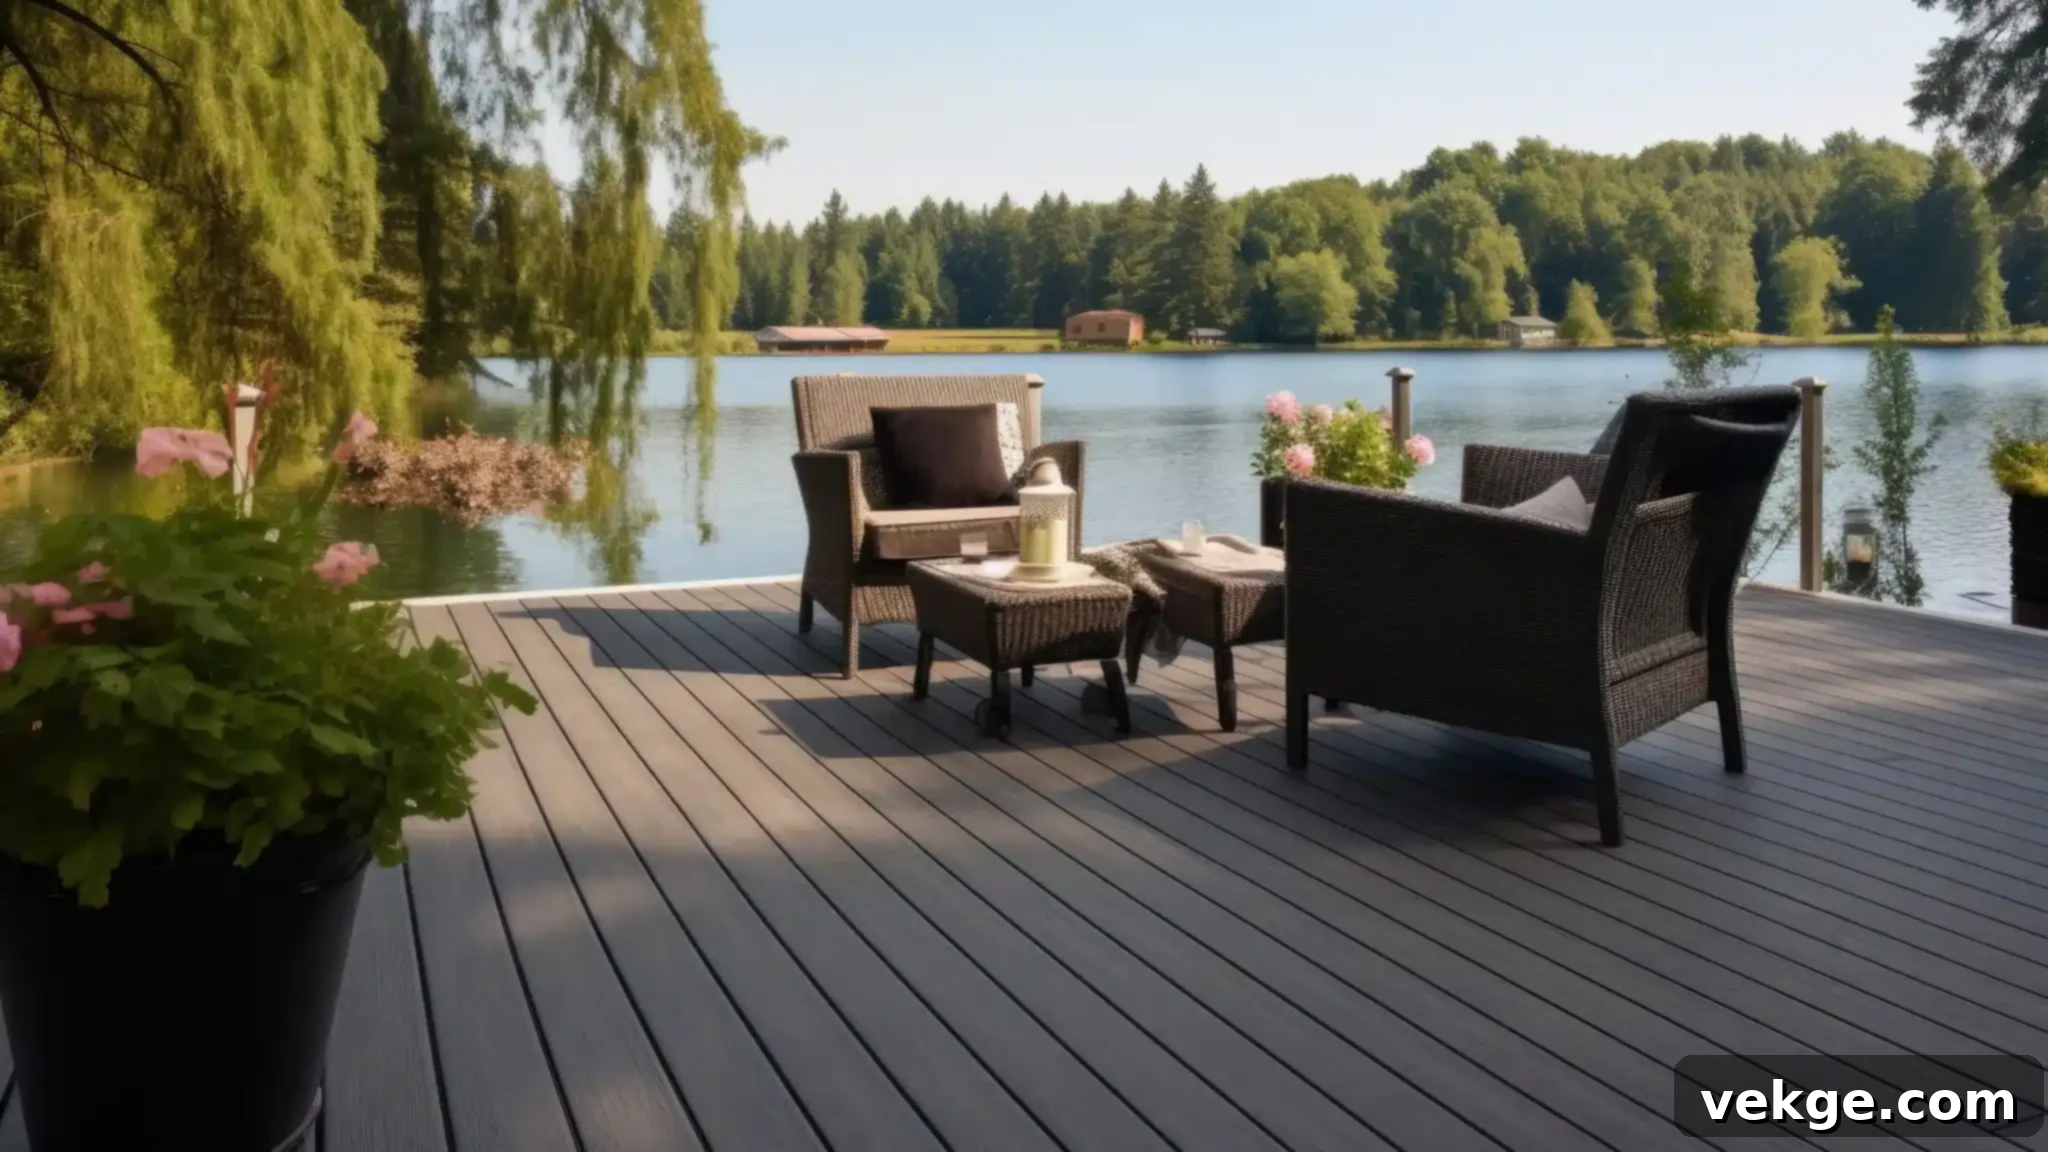
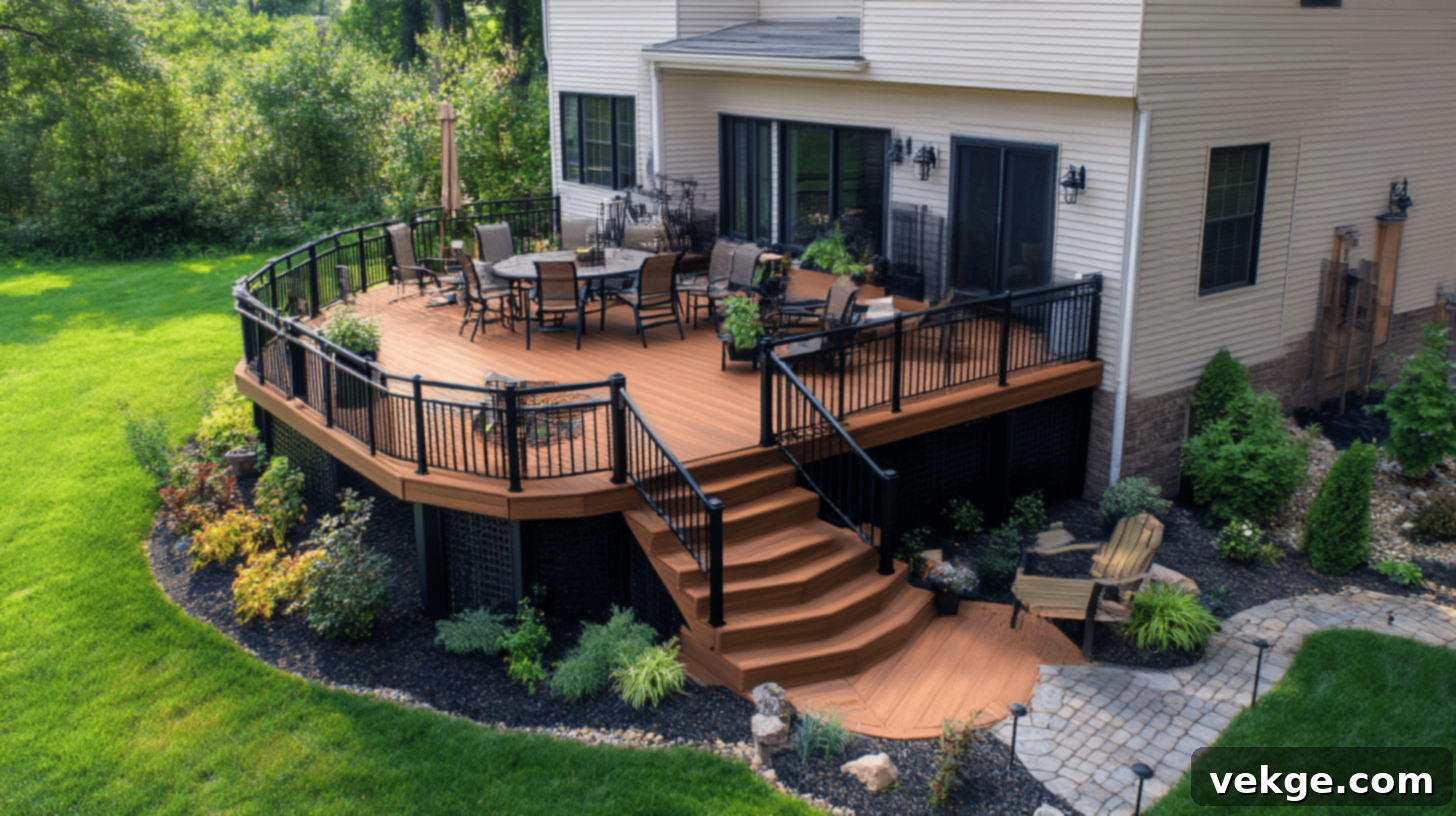
Building a deck is a rewarding home improvement project that can significantly enhance your property’s value, extend your living space, and create a fantastic area for entertaining guests or simply relaxing outdoors. Imagine enjoying a morning coffee, hosting a summer barbecue, or watching your kids play in the yard from the comfort of your beautifully constructed deck. While the allure of creating something with your own hands is strong, tackling such a project without proper guidance can lead to costly mistakes, safety hazards, and frustration.
Embarking on a DIY deck construction journey is a substantial undertaking, and even the most enthusiastic beginners can encounter unforeseen problems. To help you achieve a professional-quality, safe, and long-lasting deck, we’ve compiled a list of six common rookie mistakes that aspiring deck builders frequently make. By understanding and actively avoiding these pitfalls, you can ensure your hard work pays off and your new outdoor oasis brings joy for years to come.
1. Forgetting Your Building Permit and Local Regulations
Before you even think about picking up a hammer or purchasing materials, your absolute first step should be to investigate local building codes and obtain any necessary permits. This might seem like a bureaucratic hurdle, but it’s a critical foundation for a safe and compliant structure. Building regulations vary significantly from one jurisdiction to another – a deck that’s perfectly fine in one county might violate codes just a few miles away.
Typically, factors such as the deck’s height above grade, its size, whether it’s attached to the house, and its proximity to property lines can all trigger permit requirements. For instance, as highlighted, in Leon County, Florida, a permit is mandatory if your deck is 30 inches or more above grade on any side. These regulations are not arbitrary; they are designed to ensure structural integrity, safety, and adherence to environmental and neighborhood standards. Failing to secure the proper permits can lead to significant problems down the line, including:
- Fines and Penalties: Local authorities can issue substantial fines.
- Forced Demolition: You might be required to tear down your newly built deck.
- Difficulty Selling Your Home: Unpermitted structures can complicate or even prevent the sale of your property.
- Insurance Issues: Your homeowner’s insurance might not cover damages or injuries related to an unpermitted structure.
The process generally involves contacting your city or county’s building department, submitting detailed plans, and arranging for inspections at various stages of construction. While this step requires time and patience, it’s an investment in your deck’s safety, longevity, and your peace of mind. Always consult with your local building department for the most accurate and up-to-date information regarding permits and specific building codes in your area.
2. Not Picking Quality Materials for Durability and Safety

A deck is a long-term investment, and its longevity, safety, and aesthetic appeal hinge on the quality of the materials you choose. Opting for cheaper, inferior materials might save a few dollars upfront, but it almost guarantees premature wear, structural issues, and the need for costly repairs or even full replacement within just a few years. Imagine the frustration of dealing with wobbly railings, rotting boards, or a sagging structure during your morning yoga or a lively summer party.
When selecting building materials for your deck, prioritize those known for their strength, durability, and resistance to the elements. Here’s a breakdown of common choices and what to consider:
- Pressure-Treated Lumber: This is a popular and cost-effective choice. It’s chemically treated to resist rot, fungal decay, and insect infestation. Ensure you select lumber treated for ground contact if any part of your deck will touch the soil. Be aware that treated lumber needs time to dry out before staining or sealing.
- Hardwoods (e.g., Ipe, Cedar, Redwood): These woods offer exceptional natural beauty, durability, and resistance to rot and insects. Cedar and Redwood are naturally resistant and age beautifully. Exotic hardwoods like Ipe are incredibly dense and durable but come at a higher price point. Always look for sustainably sourced (e.g., FSC-certified) options.
- Composite Decking: Made from a blend of wood fibers and recycled plastics, composite decking is a low-maintenance option that resists rot, splinters, and insect damage. It comes in a wide range of colors and textures, often mimicking natural wood. While the initial cost is higher, its longevity and minimal maintenance can offset this over time. Be aware that some composites can get hot in direct sunlight.
- Fasteners: This is where many DIYers cut corners. Always use high-quality, corrosion-resistant fasteners, such as stainless steel or hot-dipped galvanized screws and bolts. Standard nails or untreated screws will rust, stain your deck, and compromise its structural integrity, especially when used with treated lumber which contains chemicals that accelerate corrosion.
Avoid softwood with low density or lumber treated with harmful chemicals. Invest time in researching and selecting materials that are appropriate for your local climate and intended use, ensuring your deck remains safe, stable, and attractive for decades.
3. Messing up Ledger Board Installation and Flashing
The ledger board is arguably the most critical structural component of an attached deck. It’s the primary connection point between your deck and your house, literally supporting half of your deck’s weight. A correctly installed ledger board is paramount for safety; a miscalculation or improper installation can compromise the entire structure, potentially leading to catastrophic failure.
One common rookie mistake is incorrect spacing or attachment. The American Wood Council (AWC) provides detailed guidelines for safe deck construction, including proper ledger board attachment methods. It recommends specific fastener types, sizes, and spacing to ensure a secure connection. Simply nailing a ledger board to the rim joist of your house is a recipe for disaster; it must be securely attached to the house’s band board or rim joist using appropriate lag screws or through-bolts, often with washers or spacers to allow for drainage.
Another frequently overlooked, yet vital, element is flashing. Just as flashing protects your roof from water intrusion, it is indispensable for your deck’s ledger board. Flashing is a waterproof material (typically aluminum, copper, or PVC) installed over the top of the ledger board and behind your house’s siding, extending down over the face of the ledger. Its purpose is to direct water away from the critical junction where the deck meets the house. Without proper flashing, water can seep into the ledger board and the house’s rim joist, leading to:
- Wood Rot: Both the ledger board and the house’s framing are highly susceptible to rot when constantly exposed to moisture.
- Mold and Mildew: Damp conditions create an ideal environment for mold growth, which can spread to your home.
- Structural Damage: Rot can severely weaken the integrity of the deck and the house’s structure, potentially leading to collapse.
- Pest Infestations: Rotting wood attracts insects like termites and carpenter ants.
Ensure that flashing is installed correctly, overlapping properly, and sealed where necessary to create a continuous waterproof barrier. This small detail provides massive protection and prevents expensive, preventable damage down the line.
4. Selecting the Wrong Screws and Fasteners for Structural Integrity
The saying “a chain is only as strong as its weakest link” perfectly applies to deck construction and its fasteners. The type, size, and material of screws, bolts, and nails you use are crucial for the structural integrity and longevity of your deck. Relying on general-purpose wood screws or common nails for a structure that will bear significant weight and endure harsh weather conditions is a serious error.
Each part of your deck demands specific fasteners designed for its particular load and environmental exposure:
- Ledger Board Fasteners: As mentioned, these are critical. You’ll typically need heavy-duty lag screws or through-bolts (carriage or hex bolts) that are long enough to penetrate the house’s rim joist and secure the ledger board firmly. The length often needs to extend at least half an inch beyond the band board for maximum grip, as highlighted by fastener experts like FMW Fasteners.
- Deck Board Screws: These are specifically designed for fastening decking planks. They are usually corrosion-resistant (stainless steel or ceramic-coated), have self-tapping tips, and often come with a bugle head to sit flush with the deck surface. Avoid drywall screws or standard wood screws, which are brittle and prone to breaking or rusting.
- Structural Connectors and Hangers: Joist hangers, post bases, and beam hangers require specific structural nails or screws (often shorter, thicker, and hot-dipped galvanized) that fit the pre-drilled holes in the connectors. Using incorrect fasteners here can negate the strength benefits of the connectors.
- Post-to-Beam Connections: For securing posts to beams or other heavy structural elements, carriage bolts or hex bolts with large washers are typically required to provide maximum shear strength and prevent loosening. Ensure holes are pre-drilled accurately to avoid splitting the wood and ensure proper alignment.
Crucially, consider material compatibility. If you’re using pressure-treated lumber, you absolutely must use fasteners rated for treated wood (hot-dipped galvanized or stainless steel). The chemicals in treated lumber are highly corrosive to standard steel, leading to premature rust, black stains on your wood, and dangerous structural failure over time. Always double-check product specifications to ensure your chosen fasteners are appropriate for both the application and the type of wood you’re using.
5. Unevenly Building the Steps and Neglecting Stair Safety

While much of the focus during deck construction is naturally on the large, flat surface, the steps leading to and from your deck are equally critical for safety and compliance. Unevenly built steps are a major tripping hazard, leading to falls and potential injuries for you and your guests. Moreover, improperly constructed stairs are a common cause of building code violations.
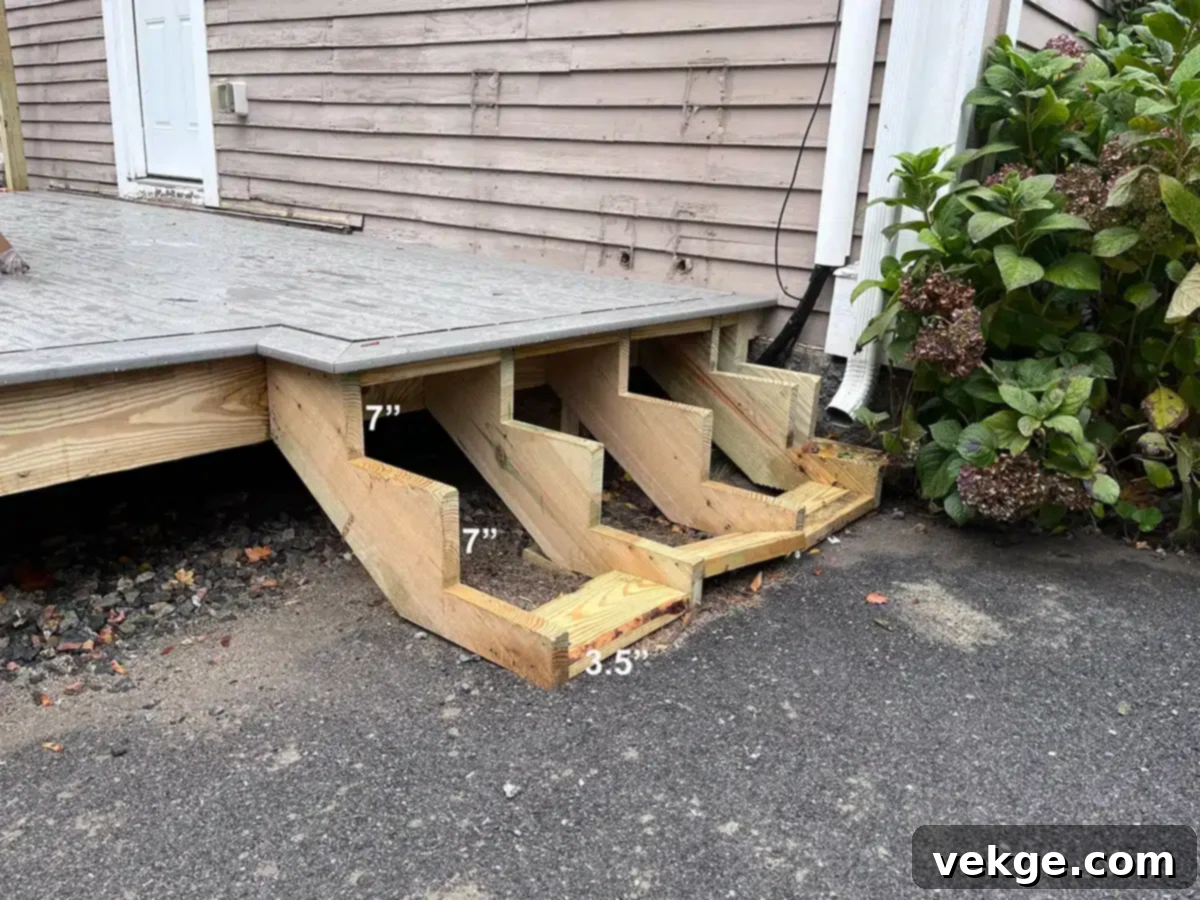
The key principle for safe stairs is consistency in riser height and tread depth. Human gait relies on predictable steps; even a quarter-inch difference in riser height can cause someone to trip. Building codes typically specify maximum and minimum riser heights (e.g., 7 ¾ inches maximum) and minimum tread depths (e.g., 10 inches minimum, including nosing). All risers on a single flight of stairs must be within a very small tolerance (often 3/8 inch or less) of each other.
A common mistake and a specific detail to pay attention to is the bottom step. While all other risers should be equal, the very bottom step might need to be slightly different to account for the thickness of the decking material and the foundation it rests upon. It should be low and consistent to the ground or landing. Calculating and cutting stair stringers accurately is a precise task that requires careful measurement and often a stair calculator tool. Any error in cutting the stringers will propagate across all steps, creating unevenness.
Beyond the risers and treads, consider other stair safety elements:
- Handrails: Required on stairs with more than a certain number of risers (often four or more), handrails must be continuous, graspable, and at a consistent height (typically 34-38 inches).
- Guardrails: If the sides of your stairs are open and more than 30 inches above grade, guardrails with balusters spaced no more than 4 inches apart are necessary to prevent falls.
- Adequate Lighting: For decks used after dark, ensure there is sufficient lighting for the stairs.
Paying meticulous attention to stair construction is not just about aesthetics; it’s about preventing accidents and ensuring your deck is safe for everyone who uses it.
6. Neglecting Maintenance After Your Deck is Complete
Completing your deck building project can feel like a huge accomplishment, but the job isn’t truly “finished” once the last board is screwed down. Decks, like your car, your home, and any other significant investment, require ongoing maintenance throughout their lifespan. Neglecting this crucial step can drastically shorten your deck’s life, diminish its appearance, and eventually lead to costly repairs that could have been avoided.
Deck maintenance is even more critical if you live in an area prone to harsh weather conditions such as heavy rain, intense sun, humidity, snow, or extreme temperature fluctuations. Prioritizing deck maintenance as a year-round home improvement project, as suggested by lifestyle guides, will protect your investment.
Here’s a comprehensive maintenance checklist to keep your deck in pristine condition:
- Regular Cleaning: The most immediate need. Inspect the wooden surface regularly for dirt, leaves, debris, and pollen buildup. Mold and mildew can quickly grow from precipitation, making the deck slippery and unsightly. A simple cleaning solution of water, white vinegar, and a few drops of dish soap can effectively remove surface grime. For tougher stains, consider a dedicated deck cleaner and a power washer (used carefully at a low-pressure setting to avoid damaging the wood).
- Staining and Sealing: This is vital for protecting your deck from moisture, UV rays, and general wear. Wood sealers and stains repel water, prevent graying, and resist rot and mildew. The frequency depends on the product used and your climate, but typically, decks should be re-stained or sealed every 1 to 3 years. Ensure the deck is thoroughly clean and dry before application.
- Annual Inspections: Dedicate time each spring and fall to a thorough inspection. Look for:
- Loose or corroded fasteners.
- Splintering, cracked, or rotting boards.
- Wobbly railings, posts, or steps.
- Insect damage (e.g., small holes, sawdust).
- Signs of water damage or inadequate drainage around the ledger board.
Address any issues promptly to prevent minor problems from escalating into major repairs.
- Seasonal Care:
- Summer: Sweep regularly, spot clean spills, and check for drying or fading due to the hot sun and harsh UV rays.
- Fall: Clear all leaves and debris, which can trap moisture and promote mold. Consider applying a fresh coat of sealant before winter.
- Winter: If you live in a snowy climate, carefully remove snow with a plastic shovel to avoid scraping the deck surface. Avoid using rock salt or ice melt directly on the wood, as these chemicals can be corrosive and damaging. Covering your deck with a breathable tarp can offer protection, but ensure proper ventilation to prevent moisture buildup.
Consistent maintenance not only keeps your deck looking beautiful but also ensures its structural integrity, providing a safe and enjoyable outdoor space for many years to come.
Building Your Deck Like a Professional: Key Takeaways for DIY Success
For those who relish the satisfaction of a challenging home improvement project, building a deck can indeed “scratch that itch.” This versatile outdoor area serves as a fantastic extension of your home, perfect for basking in the sun, hosting memorable dinners, or simply watching your children and pets enjoy the yard. However, as rewarding as it is, deck construction is not without its complexities.
Achieving a safe, durable, and aesthetically pleasing deck requires more than just basic carpentry skills; it demands meticulous planning, adherence to regulations, careful material selection, and precision in execution. Overlooking any of the common rookie mistakes discussed—from neglecting crucial building permits and skimping on quality materials to botching ledger board installation, using incorrect fasteners, creating unsafe steps, or ignoring vital ongoing maintenance—can compromise the entire structure. These missteps can lead to costly repairs, potential safety hazards, and significant disappointment.
By taking the time to thoroughly research, plan every detail, invest in quality components, and perform regular upkeep, you’re not just building a deck; you’re creating a cherished, long-lasting outdoor living space. Approach your DIY deck project with diligence, an eye for detail, and a commitment to best practices, and you’ll soon be enjoying the fruits of your labor on a deck that stands strong and beautiful for decades.
