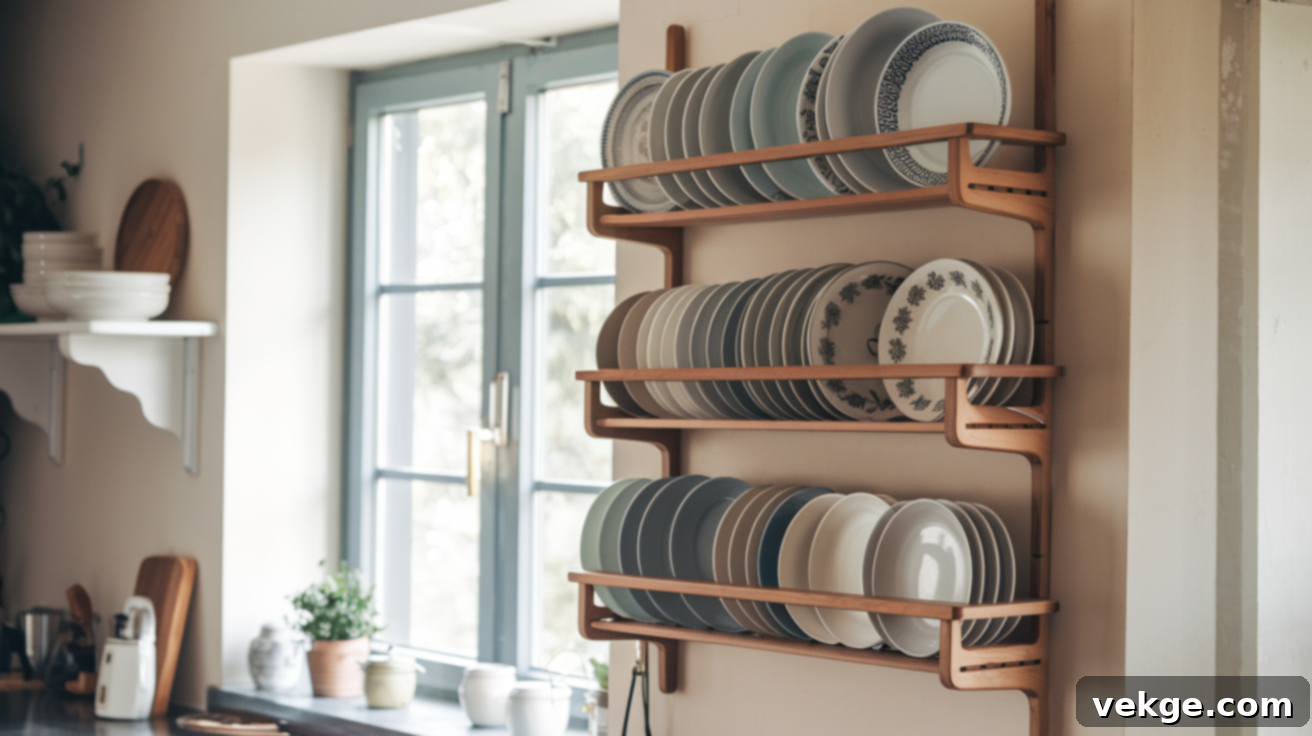
DIY Plate Rack: A Step-by-Step Guide to Building Custom Kitchen Storage
A plate rack is more than just a storage solution; it’s a stylish addition to any kitchen, designed to beautifully hold and display your dinnerware. Whether you’re looking to save precious cabinet space, showcase a collection of antique plates, or simply add a touch of rustic charm or modern elegance to your culinary haven, a wall-mounted plate rack offers both functionality and aesthetic appeal.
You’ll often find these practical pieces in kitchens where space is at a premium or in homes where owners love to feature their favorite dishes as part of the decor. Instead of hiding away your beautiful plates, a rack allows them to become a focal point, readily accessible and admired.
The exciting news? Making one yourself is a straightforward and incredibly rewarding project. If you enjoy woodworking, home improvement tasks, or simply love the satisfaction of creating something with your own hands, building a DIY plate rack can be an ideal weekend endeavor. It doesn’t require advanced carpentry skills, just some basic tools and a bit of enthusiasm.
One of the biggest advantages of a DIY approach is complete customization. You get to choose every detail: the perfect size to fit your unique space, the type of wood that complements your existing decor, and the finish that brings your vision to life. This ensures your plate rack is not just functional, but also a perfect reflection of your personal style and kitchen aesthetic.
This comprehensive guide is designed for anyone with a few basic tools and a little time on their hands. Even if you’re new to DIY projects, the steps outlined here are clear, simple, and easy to follow. We’ll walk you through the entire process, from initial planning to the final installation, ensuring you create a sturdy, beautiful, and perfectly tailored plate rack for your home.
What is a DIY Plate Rack and Why Build One?
A DIY plate rack is a custom-built storage unit, typically made of wood, designed to hold and display plates, bowls, and sometimes even mugs or cookbooks. Unlike mass-produced alternatives, a homemade rack is specifically tailored to your needs and preferences, often mounted on a kitchen wall or above a counter.
The beauty of building your own lies in its versatility. You can adapt the design to various styles and functions:
- Open-shelf racks: These are a popular choice, allowing plates to lean back and rest securely in grooved shelves or against dowels. They offer easy access and a light, airy feel, perfect for everyday use.
- Framed racks: Often resembling a shallow, open-front cabinet, framed racks provide a more contained look. They might feature multiple shelves and back panels, offering a more structured display for your dinnerware.
- Wall-mounted display styles: Some racks are designed to hold plates upright, like pieces of art, using rails or dowels. These are ideal for showcasing decorative plates or simply adding a unique visual element to your kitchen wall.
Beyond the practical benefits of extra storage, a DIY plate rack adds significant character and warmth to your kitchen. It transforms an ordinary wall into a curated display, reflecting your taste and adding a touch of bespoke craftsmanship to your home.
Things to Consider Before You Build Your Plate Rack
Before you dive into cutting wood, a thoughtful planning phase will save you time, effort, and potential headaches. Taking the time to consider these aspects ensures your plate rack perfectly meets your needs and expectations.
Intended Space and Placement
The first and most crucial step is to meticulously evaluate the space where your plate rack will reside. Grab a measuring tape and carefully note the width, height, and depth of the wall or area. Don’t just measure the wall; envision the rack in place, ensuring there’s ample clearance for plates to be easily removed and placed back without bumping into adjacent cabinets, light fixtures, or countertops.
You’ll want to leave a little breathing room around the sides so the rack doesn’t feel cramped or out of proportion. Consider the practical aspects: Will it be above your sink, near your dining area, or in a less-used corner? Think about how it integrates with your daily kitchen flow.
Crucially, identify what’s behind the wall. Locating wall studs is paramount for securely mounting your rack, especially if it will hold a significant amount of weight. A stud finder is an invaluable tool for this. If studs aren’t ideally placed, plan to use heavy-duty drywall anchors or consider alternative mounting methods like a French cleat system for maximum stability.
If you’re integrating the rack above a counter or between existing cabinets, pay close attention to alignment. You want it to look intentional and balanced with nearby fixtures and architectural lines.
Style Preferences and Aesthetics
Your plate rack should seamlessly blend with, or thoughtfully complement, your kitchen’s existing aesthetic. Do you envision a rustic farmhouse look, a sleek modern design, a cozy cottage feel, or something more industrial? The style you choose will dictate your material selection and finishing techniques.
Consider the type of wood: pine or poplar are budget-friendly and easy to work with, while oak or maple offer greater durability and a more premium look. Reclaimed wood can provide unique character and a sustainable touch. You can leave the wood bare for a natural, minimalist look, or apply a clear protective finish to highlight its grain. Alternatively, paint it to match your existing cabinets or add a pop of contrasting color. Distressing techniques can create an aged, vintage appeal, while clean lines and a smooth finish evoke modern sophistication.
Don’t forget decorative details. Simple trim pieces can add architectural interest, while subtle routed grooves can enhance the visual appeal. Even the choice of dowels (round vs. square, thick vs. thin) can influence the overall feel. The goal is for your DIY plate rack to feel like it’s always been a part of your kitchen, rather than an afterthought.
Finishing and Decorating Your Plate Rack
Once your plate rack is assembled, the finish is what truly brings it to life and protects it for years to come. Choose a finish that not only looks good but is also practical for a kitchen environment. A clear stain can beautifully enhance the natural wood grain, adding depth and warmth. If you prefer a more uniform look, paint it to match or complement your existing cabinetry, walls, or shelves.
Crucially, after applying paint or stain, seal the entire rack with a durable clear coat, such as polyurethane or a water-based topcoat. This protective layer is essential in a kitchen, shielding the wood from moisture splashes, grease, and general wear and tear, making it easy to clean and maintain.
Once completely dry and cured, it’s time for the fun part: decorating! Start by arranging your plates, playing with different sizes and patterns. But don’t limit yourself to just plates! This is an opportunity to add personality. Integrate bowls, cups, small decorative vases, framed recipe cards, miniature cookbooks, or even small potted herbs. You can easily swap items out seasonally to keep the space feeling fresh and dynamic. Your plate rack can evolve from practical storage to a captivating display that reflects the changing moods of your home.
Tools and Materials Checklist
Before embarking on your DIY plate rack project, ensure you have all the necessary tools and materials on hand. A well-prepared workspace with everything within reach will make each step smoother, safer, and more enjoyable. The good news is you don’t need a professional workshop; a few basic items will suffice to build a strong and simple plate rack.
Essential Tools:
- Measuring Tape and Pencil: For accurate measurements and marking cuts.
- Circular Saw or Hand Saw: To cut your wood pieces to the desired lengths and shapes. A miter saw offers even greater precision for angled cuts if available.
- Drill/Driver: For pre-drilling holes and driving screws. A cordless drill offers convenience.
- Clamps: Essential for holding pieces securely in place while gluing or screwing, ensuring square and tight joints.
- Wood Glue: Provides additional strength to your joints, making the rack more robust.
- Sandpaper or Orbital Sander: To smooth wood surfaces and edges for a professional finish and proper adhesion of paint or stain. Start with a coarser grit (e.g., 80-120) and finish with a finer grit (e.g., 180-220).
- Level: Crucial for ensuring your rack is straight during assembly and perfectly level when mounted on the wall.
- Stud Finder: To locate wall studs for secure mounting.
- Safety Glasses and Gloves: Always prioritize safety when working with tools and wood.
Materials List:
| Item | Purpose |
|---|---|
| Wood (pine, poplar, reclaimed wood, plywood) | Used for the side panels, back panel (optional), shelves, and any decorative trim. Choose a type that matches your desired aesthetic and budget. |
| Dowels or Notched Grooves | These are critical for holding plates securely in place. Dowels are round wooden rods, while notched grooves are cut directly into the shelves. |
| Wood Screws (1.5″ – 2″ recommended) | To securely fasten the main structural parts of the rack together during assembly. Ensure they are appropriate for your wood thickness. |
| Brad Nails (optional, for trim) | Can be used for attaching thinner decorative trim pieces for a cleaner look than screws. |
| Kreg Jig (optional but highly recommended) | A pocket-hole jig creates strong, concealed joints, making assembly cleaner and more robust. |
| Wood Filler (optional) | To fill any gaps, screw holes, or imperfections before finishing. |
| Paint or Wood Stain | Adds color or enhances the wood’s natural beauty. Choose a color or shade that complements your kitchen. |
| Clear Protective Topcoat (polyurethane, lacquer, or varnish) | Seals and protects the wood from moisture, scratches, and wear, essential for a kitchen environment. |
| Paint Brushes, Rollers, or Rags | Used for applying paint, stain, or clear finish evenly. |
| Wall Anchors or French Cleat Hardware | For securely mounting the finished rack to your wall, especially if not drilling into studs. |
Step-by-Step Guide for Building Your DIY Plate Rack
This section will walk you through the entire process of building your own custom plate rack. These steps are designed to be straightforward, using basic tools you might already have at home. Taking your time with each stage will ensure a high-quality, durable, and beautiful finished product. Let’s get started!
Step 1: Plan and Measure Your Design
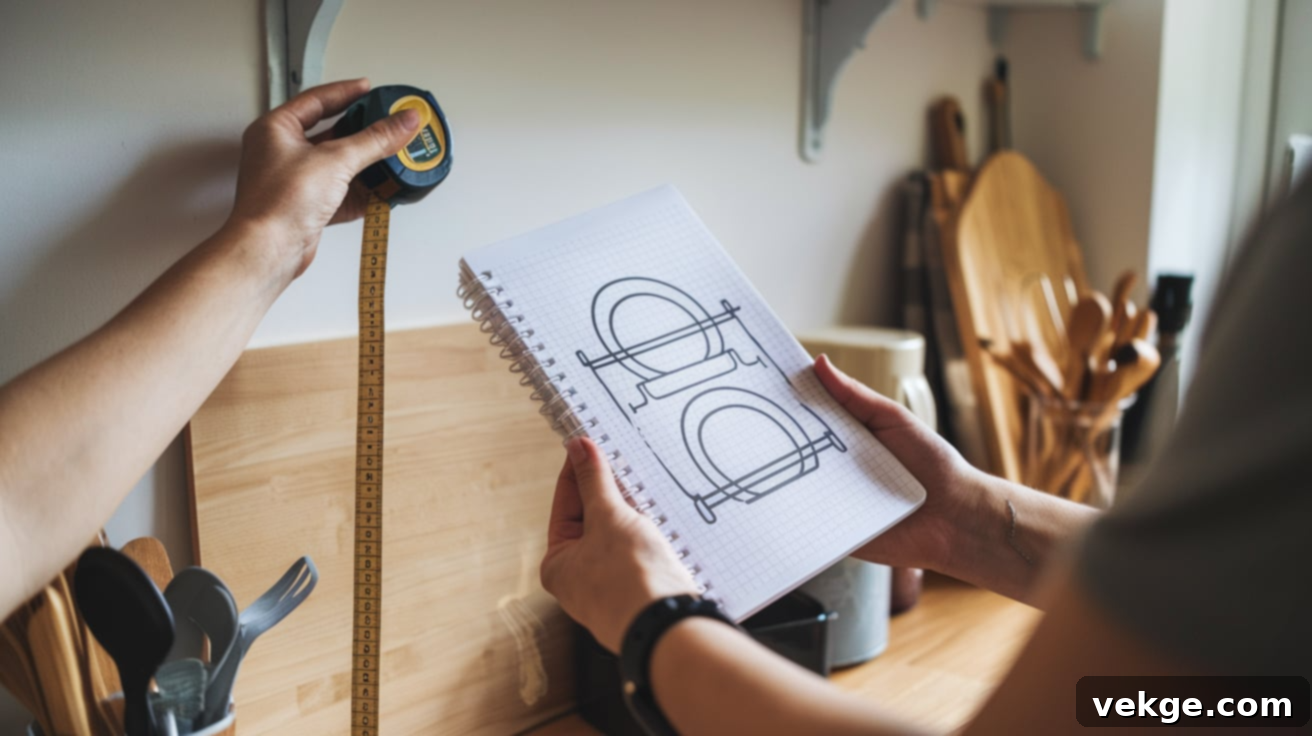
Begin by meticulously measuring your chosen wall space. Determine the exact height, width, and depth your rack will be. For plate storage, a depth of approximately 8-10 inches is usually sufficient for standard dinner plates, but always measure your largest plate to ensure adequate clearance. Factor in any overhang from decorative edges or trim.
A helpful tip is to use painter’s tape on the wall to outline the exact shape and size of your planned rack. This visual aid makes it much easier to visualize how it will fit, plan the spacing of your shelves, and see how it interacts with other elements in your kitchen. This is also the ideal stage to make any adjustments to the design before you cut any wood, saving you potential material waste and frustration.
Step 2: Cut and Prepare Your Materials
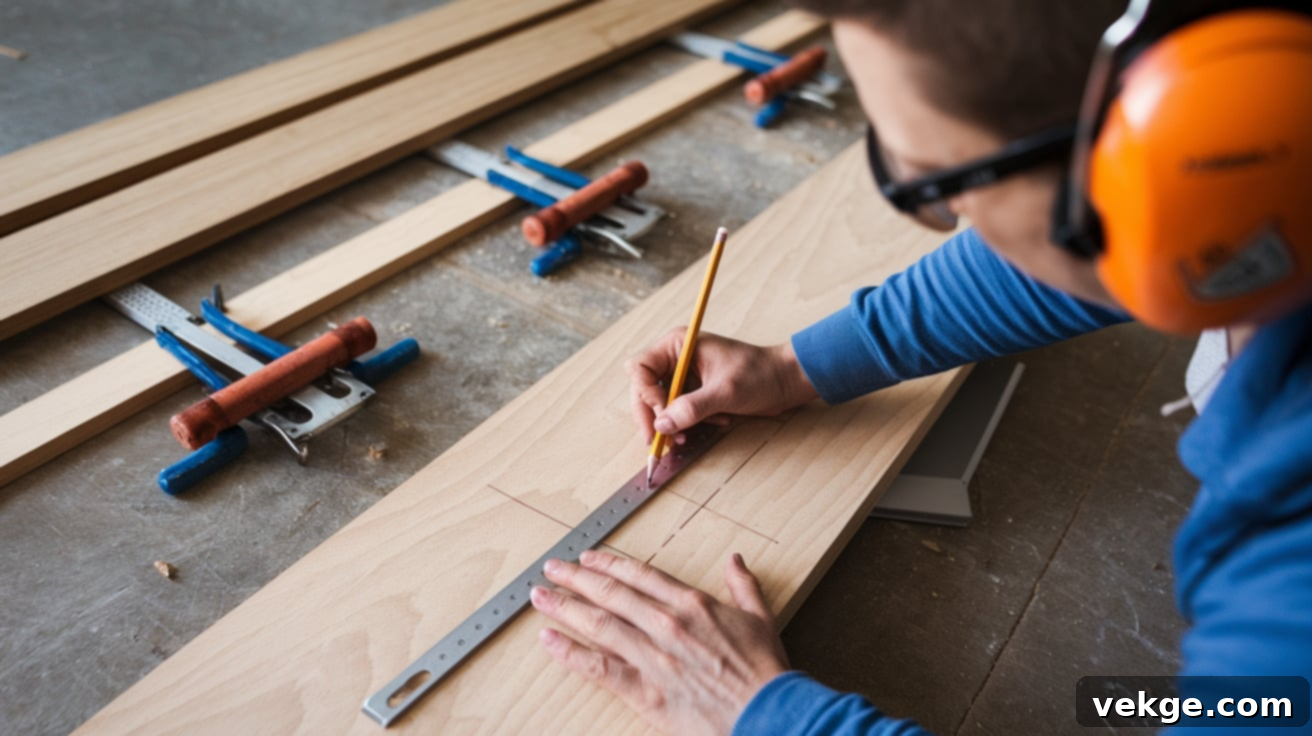
With your plan finalized, it’s time to cut your wood. Using a circular saw, miter saw, or even a good hand saw, carefully cut your pieces to the exact dimensions you determined in Step 1. You’ll typically need two side panels (for the vertical structure), a back panel (optional, but adds stability and a finished look), and two to three shelves, depending on the desired height of your rack and the number of plates you wish to store. If your design includes decorative trim pieces, cut those now as well.
Once all your pieces are cut, the next crucial step is sanding. Sand every edge and face of each piece. Start with a medium-grit sandpaper (around 120-grit) to remove any rough spots or saw marks, then follow up with a finer grit (180-220-grit) for a smooth finish. Sanding not only prevents splinters but also creates a perfect surface for your chosen paint or stain to adhere to evenly. Do not skip this step; quality sanding is key to a professional-looking finished product.
Step 3: Assemble the Rack Structure
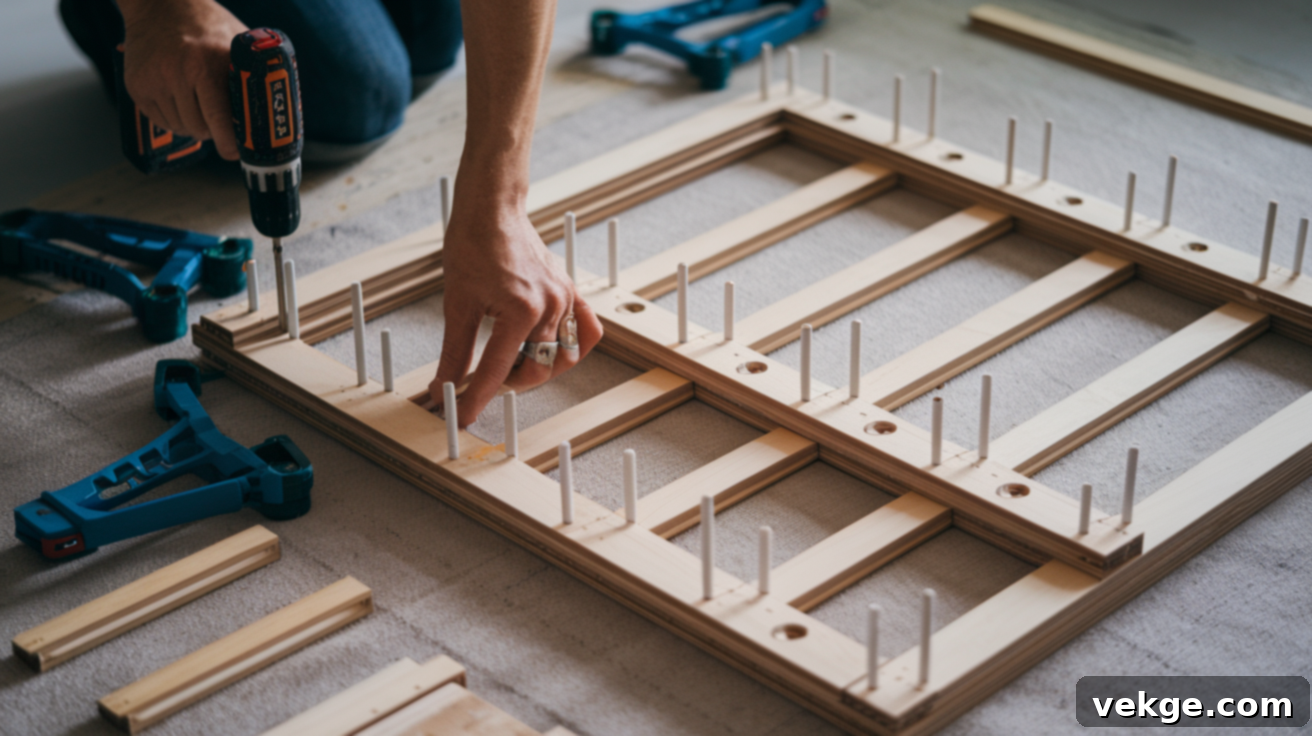
Begin assembling the main frame of your plate rack. Attach the side panels to the back panel (if you’re using one) using wood glue and screws. For maximum strength and a clean finish, consider using a Kreg jig to create pocket holes, or simply pre-drill pilot holes to prevent splitting the wood. Ensure everything remains perfectly square using a carpenter’s square and clamps during this process to ensure your shelves will fit neatly and the rack will hang straight.
Next, carefully mark the positions where you want your shelves to go. These markings should be precise and level. Then, attach the shelves. You have a few options here: you can use dowels (drilling holes into the side panels and shelves), create dado joints (grooves cut into the side panels for the shelves to slide into), or simply use support strips underneath the shelves. If using dowels, ensure they are spaced correctly to hold your plates securely without them touching or rattling. Add any decorative trim pieces to the top, bottom, or sides of the rack at this stage, securing them with wood glue and brad nails.
Allow the wood glue to dry completely according to the manufacturer’s instructions before moving or installing the rack. A flat, level surface is extremely helpful during the assembly phase to keep everything aligned.
Step 4: Finishing and Mounting the Rack
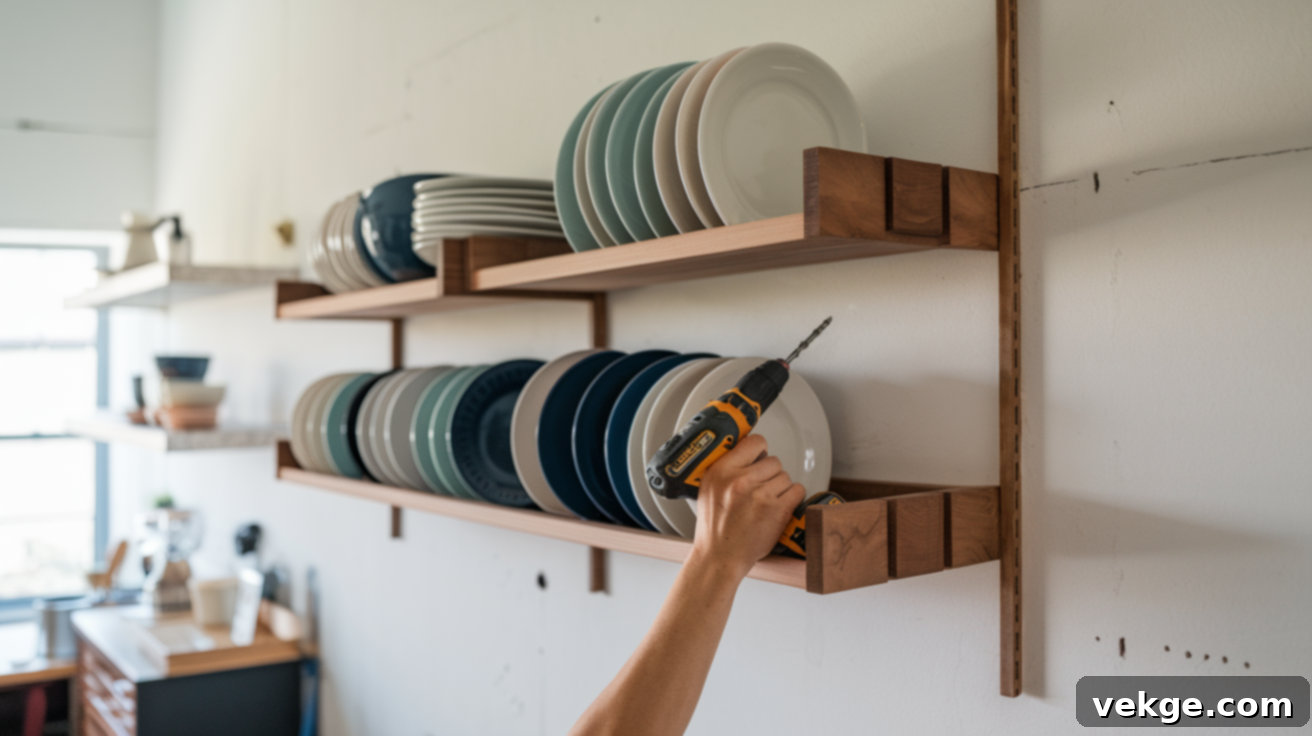
Before mounting, apply your chosen finish (paint or stain) and then the clear protective topcoat. Follow the product instructions for drying times and multiple coats. Once fully cured, it’s time to mount your completed plate rack to the wall.
For a strong, flush-to-the-wall installation capable of holding significant weight, a French cleat system is highly recommended. This involves two interlocking pieces of wood, one attached to the wall studs and one to the back of your rack. If a French cleat isn’t feasible or desired, heavy-duty wall anchors or screws drilled directly into wall studs will also work well. Always ensure your mounting hardware is rated for the combined weight of your rack and the dishes it will hold.
Before making any final holes, hold the rack against the wall at your desired height and use a level to ensure it is perfectly straight. Mark your drill points precisely. A level rack is essential not only for aesthetics but also to prevent your plates from tipping forward or sliding off. This final step of careful mounting is just as critical as the quality of your build; it ensures safety and longevity for your beautiful new DIY plate rack.
Alternatives to a Traditional Plate Rack
While a full-fledged DIY plate rack offers comprehensive storage and display, sometimes a simpler solution is all you need, or perhaps you’re looking for a different aesthetic. There are many creative ways to display your plates without building an entire shelf unit. These alternatives are often quicker to implement and can be adapted to various spaces and styles.
You don’t always need a full shelf to achieve a similar decorative and functional effect. Consider these easy-to-implement ideas:
- Hooks and Wire Displays: Instead of shelving, use decorative wall hooks or specialized plate hangers to hang individual plates directly against the wall. This turns your dinnerware into a captivating art display, taking up zero shelf space. You can create geometric patterns or a staggered arrangement for visual interest.
- Shadow Box Frames: For one or two truly special or antique plates, a deep shadow box frame can create an elegant, museum-like display. This protects the plate while highlighting its beauty, making it a focal point in any room, not just the kitchen.
- Repurposed Bookshelves or Crates: Small, unused bookshelves or sturdy wooden crates can be easily transformed into plate holders. Simply turn them on their side, add a few strategically placed dowels (or even just strips of wood) to create grooves, and you have instant, rustic plate storage. This is a fantastic way to upcycle and add character.
- Decorative Plate Stands: For countertop display, simple individual plate stands can be used. These come in various materials and styles and are perfect for showcasing a few select plates without any wall installation.
- Pegboards: A pegboard with various hooks and shelves can be a highly versatile solution. You can arrange and rearrange pegs to hold plates, cups, and other kitchen items, making for a flexible and customizable display.
These alternative ideas are simple to try, work well in many types of spaces, and allow you to creatively showcase your plates with minimal effort, offering flexibility if a large, traditional rack isn’t the right fit for your home.
Conclusion
By now, you have a clear, step-by-step plan to build a beautiful and functional plate rack that perfectly fits your unique space and style. From carefully measuring your wall and choosing the ideal materials to the meticulous cutting, assembly, and secure mounting, every part of the process has been broken down to feel simple and achievable.
Even if you’re relatively new to woodworking or home DIY projects, these detailed steps are designed to guide you forward with confidence, minimizing stress and maximizing your chances of success. You’ve also explored various ways to personalize your rack, from selecting the perfect wood and finish to choosing the most suitable wall-mount options.
This project offers more than just practical kitchen storage. It provides the immense satisfaction of creating something useful and beautiful with your own hands, adding a bespoke touch that reflects your personal taste and craftsmanship. Now, it’s your turn to bring this vision to life and build a plate rack that feels just right for your home, enhancing both its functionality and its charm.
Ready for more simple, impactful builds? Don’t stop here! Explore our other DIY guides for easy and rewarding projects that will continue to add function, style, and a personal touch to every corner of your living space.
Frequently Asked Questions About Building a Plate Rack (FAQ)
- What type of wood is best for a DIY plate rack?
- Pine and poplar are excellent choices for beginners due to their affordability and ease of working. For more durability and a premium look, oak or maple are great. Plywood can also be used for shelves and back panels. Consider reclaimed wood for a unique, rustic aesthetic.
- How deep should a plate rack be?
- A typical plate rack depth is between 8 to 12 inches. It’s crucial to measure your largest dinner plate to ensure it fits comfortably without excessive overhang or being too shallow. Allow for at least an inch or two of extra depth beyond your plate’s diameter.
- How do I make sure my plate rack is strong enough?
- Strength comes from several factors: using wood glue in addition to screws for all joints, ensuring proper joinery (e.g., pocket holes, dado joints), selecting appropriate thickness of wood (¾-inch is common), and most importantly, securely mounting the rack into wall studs or using heavy-duty wall anchors. Always estimate the total weight of the rack and your dishes.
- Can I paint or stain a plate rack?
- Absolutely! Painting or staining is highly recommended. It protects the wood and allows you to customize the look to match your kitchen decor. Always apply a clear protective topcoat (like polyurethane) afterward, especially in a kitchen environment, to protect against moisture and wear.
- What are dowels for in a plate rack, and how do I space them?
- Dowels are round wooden rods that are installed into the shelves to create slots for plates to rest against, preventing them from sliding forward. The spacing depends on the diameter of your plates. A common practice is to space them approximately 1 to 1.5 inches apart from the back rail or previous dowel, ensuring your plates sit at a slight angle and are secure.
- How do I clean a wooden plate rack?
- If sealed properly with a protective topcoat, a wooden plate rack can be easily wiped down with a damp cloth and mild soap. Avoid harsh chemicals or excessive water, which can damage the finish or wood over time. Regular dusting will also keep it looking fresh.
