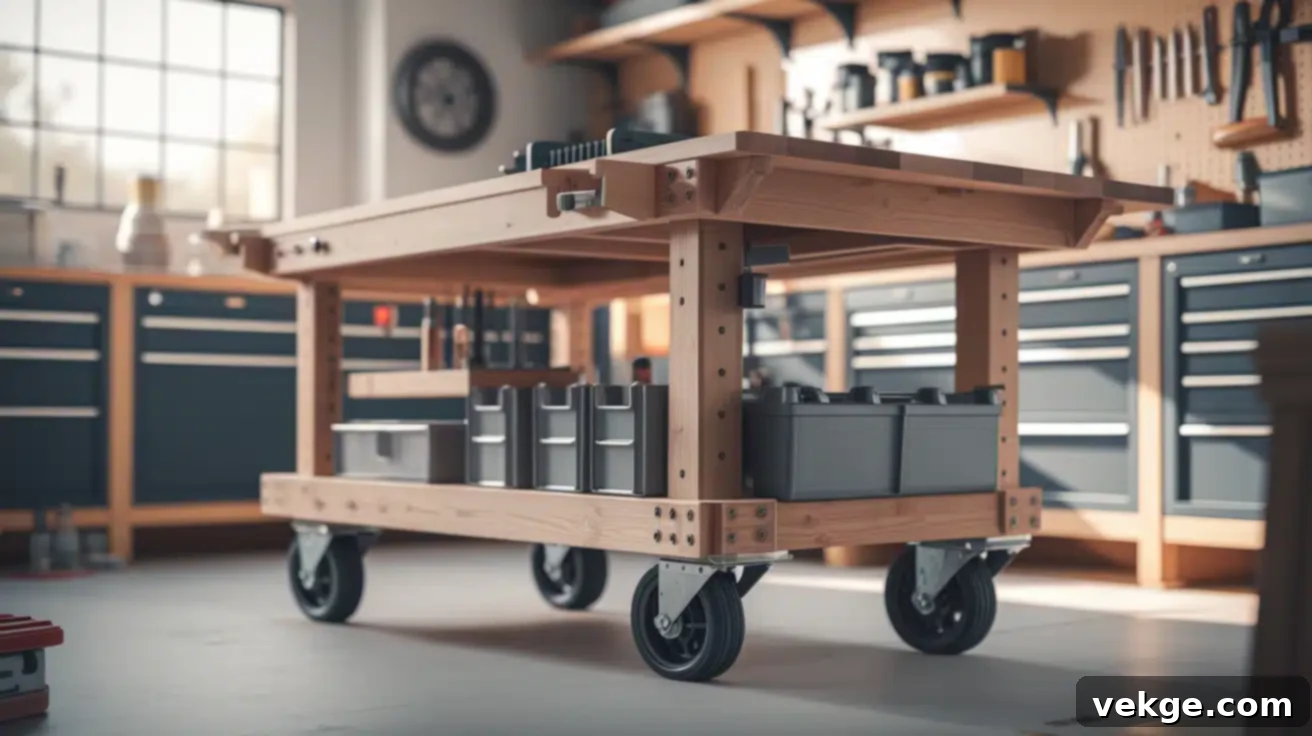
Build Your Own DIY Rolling Workbench: The Ultimate Guide to a Portable Workshop
Transforming your garage or workshop into a highly efficient and adaptable workspace is easier than you think. The secret? A well-designed DIY rolling workbench. Imagine effortlessly moving your heavy tools and materials exactly where you need them, eliminating countless trips across your workspace and drastically cutting down on project time. This comprehensive guide will walk you through building a sturdy, movable, and incredibly functional workbench that won’t break the bank.
Whether you’re a seasoned woodworker, a passionate DIYer, or just starting to build your tool collection, a mobile workbench is an essential addition. It enhances your workflow, improves organization, and makes your projects more enjoyable and less strenuous. We’ll cover every detail, from selecting the right materials and gathering the necessary tools to following clear, step-by-step assembly instructions. Plus, you’ll discover clever ways to customize your bench to suit your specific needs and learn how to avoid common pitfalls. Get ready to create a cornerstone for your productivity and make your work easier and more fun!
Planning Your Rolling Workbench

Before you even think about grabbing a saw or drill, taking the time to meticulously plan your project is crucial. A thoughtful plan is your best defense against wasted materials, frustrating do-overs, and those inevitable “I wish I had done it differently” moments. This initial phase sets the foundation for a workbench that truly meets your needs and stands the test of time.
Choosing the Right Size for Your Space
The size of your rolling workbench is perhaps the most critical decision. Start by carefully measuring your available work area. Consider not just where the bench will sit while in use, but also where it will be stored when not needed. Will it tuck away neatly against a wall? Do you need to maneuver it through narrow doorways or around other equipment? A common mistake is building a bench that’s too large for your garage or workshop, hindering movement and access.
Think about the typical dimensions of your projects. A standard workbench often measures around 4 feet by 2 feet (48″ x 24″), offering a good balance of workspace and portability. However, if you frequently work on larger items, a 6-foot bench might be more appropriate. Conversely, for smaller spaces, a 3-foot bench could be ideal. Ensure you have at least 2-3 feet of clearance around the bench when it’s in its primary working position, allowing you to move freely and access all sides.
Features to Consider for Enhanced Functionality
A basic flat surface on wheels is functional, but integrating smart features can elevate your rolling workbench to an indispensable tool. Think about what would genuinely streamline your work and improve your efficiency. Here are some ideas to ponder:
- Integrated Storage: Do you need dedicated shelves for bulky power tools like circular saws or sanders? Drawers are perfect for organizing smaller items such as screws, drill bits, and safety glasses, keeping them out of the way but always within reach. Consider open cubbies for quick access or enclosed cabinets for dust protection.
- Tool Integration: If you use a specific tool constantly, like a miter saw or a table saw, a custom cutout for flush mounting can create a seamless and stable workstation. This eliminates the need to constantly set up and take down your tools, saving valuable time and space.
- Vise Mounting: A sturdy woodworking or metalworking vise is invaluable. Plan for a reinforced area where you can securely mount a vise, ensuring it won’t wobble during heavy use.
- Electrical Outlets: Integrating a power strip or a few strategically placed outlets directly into your bench means you’ll always have power where you need it, reducing cord clutter and tripping hazards.
- Pegboard or French Cleat System: A vertical back panel equipped with a pegboard or a French cleat system provides instant, customizable storage for hand tools, keeping them visible and accessible.
- Dog Holes: Incorporating a grid of dog holes into your workbench top allows for versatile clamping and hold-down options, especially useful for woodworking projects.
By carefully considering these features during the planning stage, you can design a workbench that perfectly matches your workflow and the types of projects you tackle most often. Don’t be afraid to sketch out a few designs to visualize the possibilities!
Materials & Tools Needed
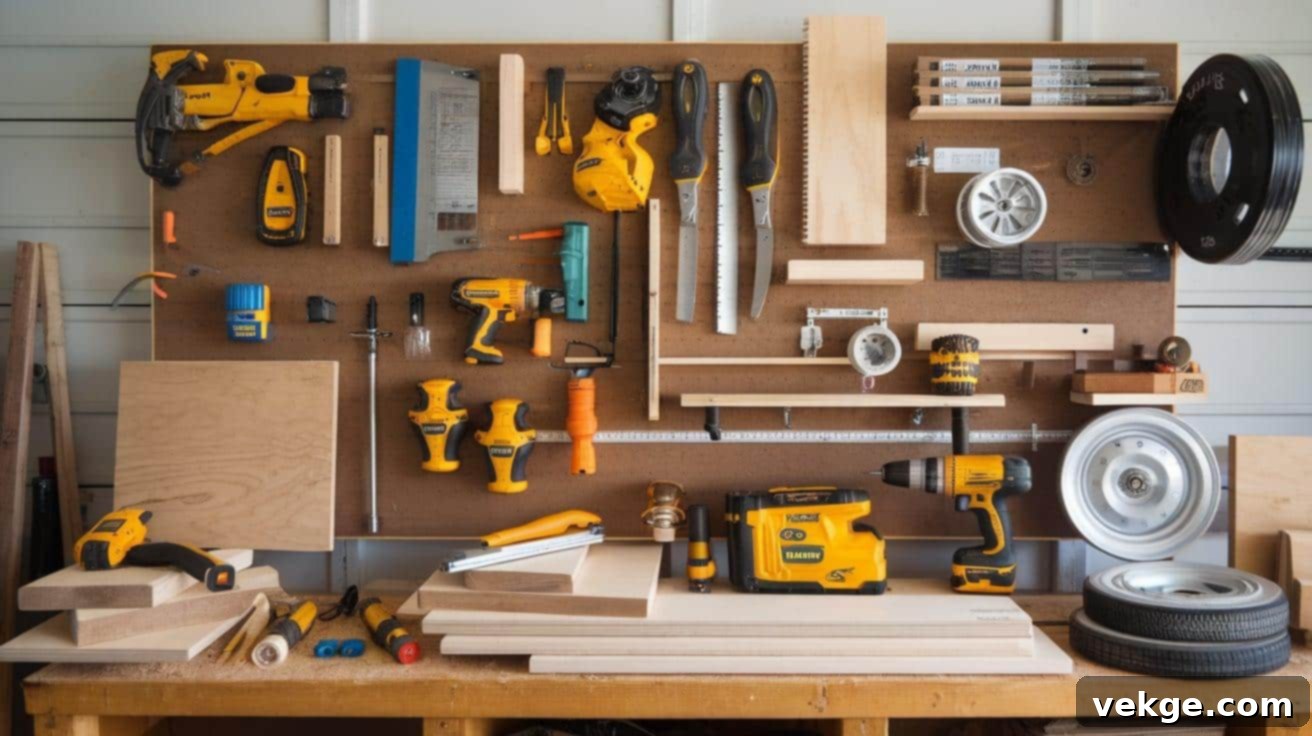
Gathering all your materials and tools beforehand ensures a smooth and uninterrupted building process. Opt for quality materials where it counts, as they will directly impact the durability and stability of your workbench. While the following list provides a solid foundation, feel free to adapt it based on your desired features and budget.
Materials List:
- 4 pieces of 2×4 lumber (8 feet long): These will form the robust structural frame of your workbench. 2x4s are strong, readily available, and cost-effective, providing excellent support for heavy loads.
- 1 sheet of 3/4″ plywood (4×8 feet): This single sheet will be used for the workbench top and any shelves you plan to incorporate. 3/4″ plywood is highly durable, resists warping, and provides a stable, impact-resistant surface. Avoid thinner plywood for the top, as it may sag under weight or heavy use.
- 4 heavy-duty caster wheels (at least 3″ diameter): These are crucial for mobility. Look for wheels with a high weight capacity (rated for at least 50% more than your anticipated total workbench weight, including tools) and, importantly, locking mechanisms to prevent unwanted movement while you work. Larger diameter wheels roll more easily over uneven surfaces.
- Box of 2.5″ wood screws: Ideal for fastening the 2×4 frame components securely. Ensure they are strong enough to hold structural joints.
- Box of 1.5″ wood screws: Perfect for attaching plywood shelves and other lighter components to the 2×4 frame.
- Wood glue: An absolute must for strengthening every joint. When combined with screws, wood glue creates a bond that is often stronger than the wood itself, preventing wobbles and increasing the longevity of your workbench.
- 16 corner brackets (optional but recommended): Metal corner brackets add significant reinforcement to the key structural joints, particularly if you plan for your workbench to handle very heavy loads or intense use.
- Sandpaper (medium and fine grit, e.g., 80, 120, 220): Essential for smoothing rough edges and preparing surfaces for finishing.
- Primer and paint or wood stain/finish (optional): To protect the wood from moisture, wear, and tear, and to give your workbench a professional look.
Essential Tools:
- Power drill with drill bits: For pre-drilling pilot holes (to prevent wood splitting) and driving screws.
- Circular saw or table saw: Necessary for making accurate, straight cuts on your lumber and plywood. A table saw offers more precision for larger sheets.
- Measuring tape: Precision is key. A reliable measuring tape is invaluable for accurate measurements.
- Carpenter’s square: Crucial for ensuring all your corners are perfectly square, which is vital for a stable and non-wobbly workbench.
- Clamps (at least 4): Used to hold pieces firmly in place while you glue and screw them together, ensuring tight, strong joints.
- Pencil for marking: For all your measuring and cutting lines.
- Impact driver (optional but highly recommended): Drives screws more efficiently and with less effort than a standard drill, especially for longer screws.
- Kreg jig for pocket holes (optional but highly recommended for stronger joints): A pocket hole jig allows you to create incredibly strong, hidden joints quickly and easily, significantly enhancing the structural integrity and aesthetic of your bench.
- Level: To ensure your workbench top and shelves are perfectly flat and true.
- Workbench or sawhorses: A stable surface to build your new workbench on is critical for safety and accuracy.
- Sander (orbital or detail sander): For quick and efficient sanding of all surfaces and edges.
Steps to Building Your DIY Rolling Workbench
Now that you have your materials and tools ready, let’s dive into the exciting part: constructing your mobile workbench! Approach each step methodically and take your time. Rushing through the process often leads to avoidable mistakes and can compromise the integrity of your finished product. Safety first, always wear appropriate safety gear.
Step 1: Cutting the Wood Pieces
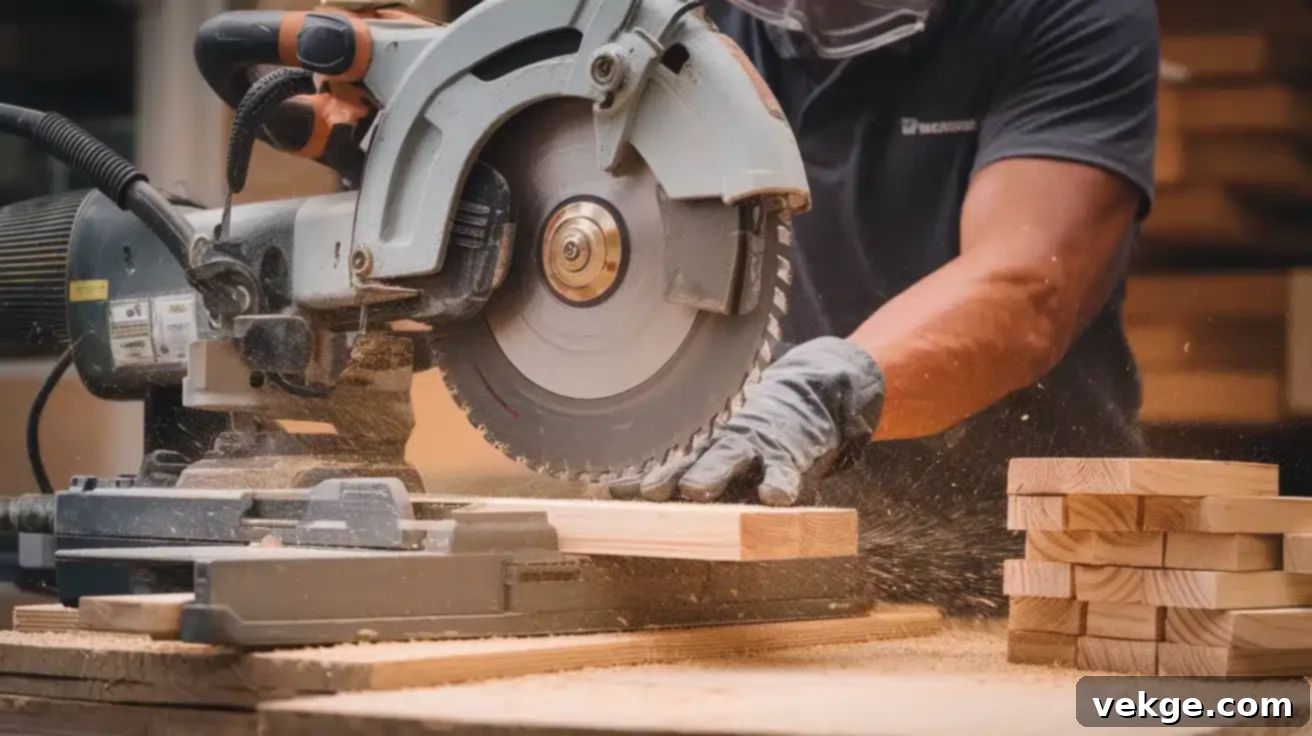
Accurate cuts are the foundation of a stable workbench. Start by making your longest cuts first from your 2×4 lumber. This strategy helps you maximize your material and minimize waste. Always measure twice and cut once!
For a standard 4′ x 2′ (48″ x 24″) workbench:
- Cut four 48″ pieces from 2x4s: These will form the long sides of your top and bottom frames.
- Cut eight 21″ pieces from 2x4s: Four of these will be the short sides of your top and bottom frames, and the other four will serve as vertical legs/supports. (Note: A 24″ deep bench minus the two 1.5″ thickness of 2x4s for the long sides equals 21″ for the short cross pieces).
- Cut your plywood to 48″ x 24″ for the top: Use a circular saw with a straight edge guide or a table saw for a perfectly square and straight cut.
- Cut another piece of plywood (e.g., 45″ x 21″) for the bottom shelf: Adjust dimensions based on your frame’s internal measurements.
When cutting, use a carpenter’s square to ensure all ends are perfectly square. Uneven cuts, even by a small margin, can lead to a wobbly bench. Practice proper saw safety, ensuring your workpiece is securely clamped and you’re wearing eye and ear protection.
Step 2: Assembling the Frame
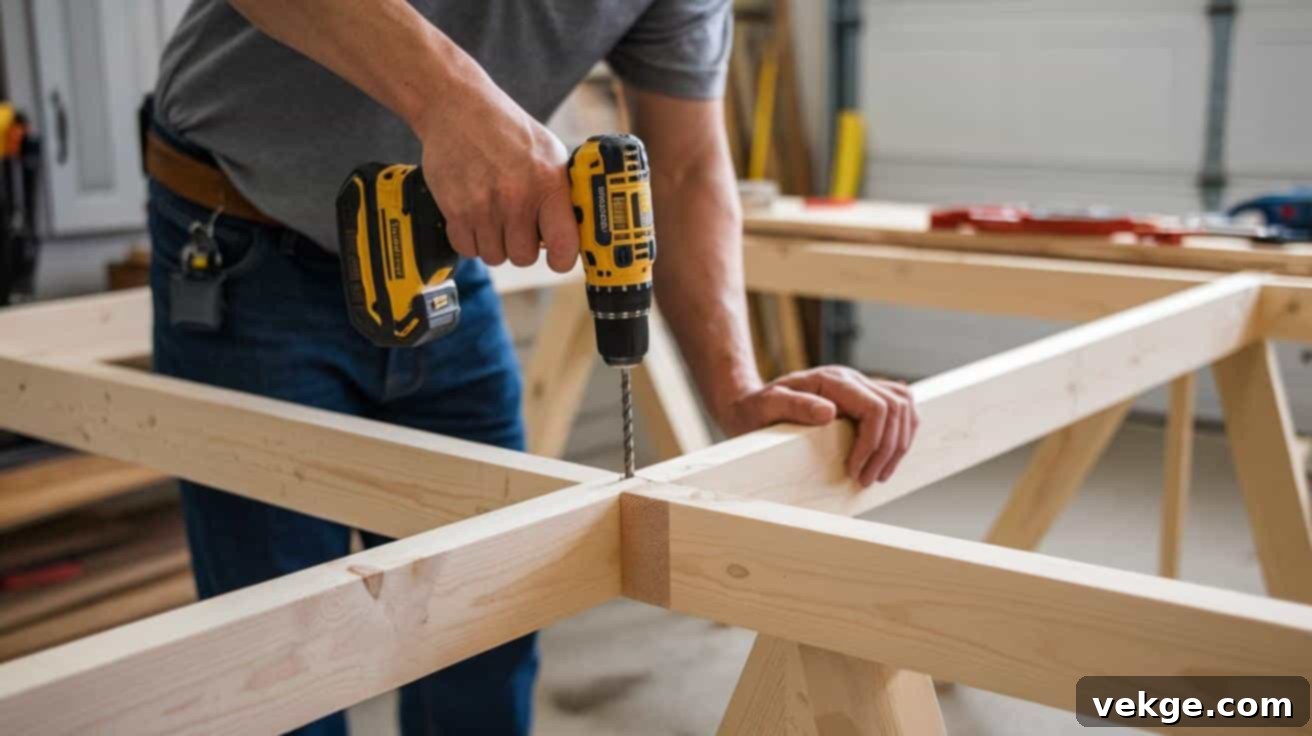
The frame is the skeleton of your workbench, providing all its structural integrity. A combination of wood glue and screws will create a rock-solid assembly. For optimal strength and a professional finish, consider using pocket holes created with a Kreg jig. Otherwise, pre-drilling pilot holes for your screws is essential to prevent splitting the wood.
- Build the Top and Bottom Rectangular Frames: Take two 48″ 2x4s and two 21″ 2x4s. Apply a generous bead of wood glue to the ends of the shorter pieces, then join them to the inside of the longer pieces, forming a rectangle. Use 2.5″ wood screws to secure these joints. Repeat this process to build a second identical rectangle for the bottom frame. Ensure each corner is perfectly square using your carpenter’s square before the glue dries and while tightening screws. Clamps are invaluable here to hold pieces firmly.
- Attach the Legs: Stand one of your rectangular frames (this will be the top frame) on its edge on a flat surface. Position four 21″ 2×4 pieces vertically at each corner, flush with the outside edges of the frame. Apply glue to the joining surfaces and attach them using 2.5″ screws, driving them through the top frame into the leg pieces.
- Connect the Bottom Frame: Once the legs are securely attached to the top frame, carefully lift and place the second rectangular frame (the bottom frame) onto the bottom ends of the legs. Ensure it’s level and square. Glue and screw this bottom frame to the legs, mirroring the attachment method used for the top frame. This forms a complete box-like structure.
- Add Diagonal Bracing (Highly Recommended): For superior rigidity and to prevent any side-to-side sway, add diagonal braces to the back and/or sides of your frame. Cut short 2×4 pieces at a 45-degree angle to fit snugly in the corners. Glue and screw these into place. This detail significantly enhances stability, especially when you’re working aggressively on the bench.
Step 3: Adding the Workbench Top
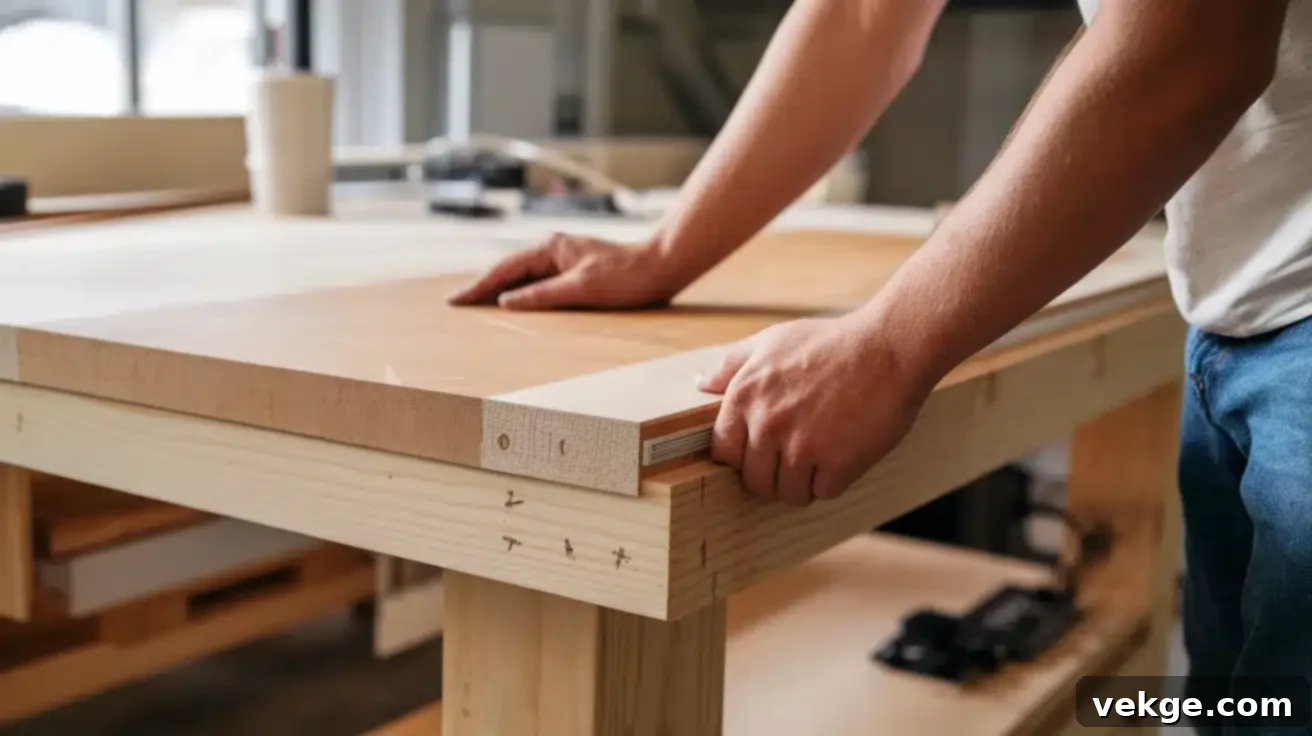
The workbench top is your primary work surface, so its material and attachment are crucial. While 3/4″ plywood is an excellent, cost-effective choice, you might consider alternatives based on your needs:
- Plywood: Durable, strong, and relatively inexpensive. Easy to replace if damaged.
- MDF (Medium-Density Fiberboard): Offers a very smooth surface, ideal for fine woodworking, but it’s heavier and highly susceptible to water damage.
- Butcher Block: A beautiful and extremely durable option, excellent for heavy-duty work, but significantly more expensive.
- Layered Tops: Some builders add a sacrificial layer (e.g., hardboard or thinner plywood) on top of the main plywood, which can be easily replaced when worn out.
To attach your chosen top material:
- Position the Top: Carefully place your cut plywood top (48″ x 24″) onto the assembled frame. Ensure it’s centered, allowing for a slight overhang on all sides. A common practice is to leave about 1″ of overhang. This small but important detail provides a lip for easily clamping items to your bench, which is incredibly useful for a variety of tasks.
- Secure from Underneath: The best way to attach the top is from underneath, using 1.5″ wood screws driven up through the top frame members into the plywood. This keeps your primary work surface clean, smooth, and free of visible screw heads, which can interfere with projects or collect debris. Apply wood glue to the top edges of the frame before positioning the plywood for an even stronger bond. Use plenty of screws, spaced every 6-8 inches around the perimeter and across any internal supports, to prevent any lifting or warping of the top.
Step 4: Installing the Bottom Shelf
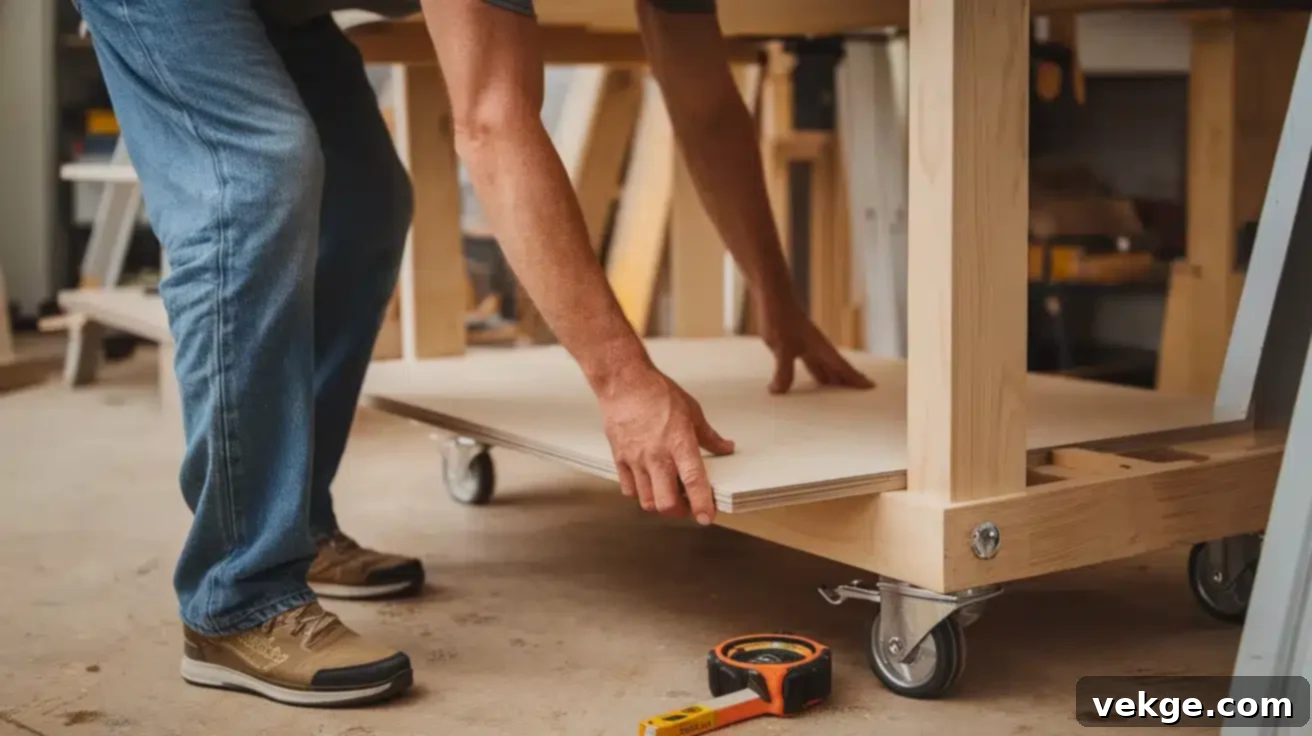
The bottom shelf is more than just extra storage; it significantly contributes to the overall strength and rigidity of your rolling workbench. By turning previously wasted space into useful storage for heavier tools, lumber, or materials, it also helps to lower the center of gravity, making your bench more stable and less prone to tipping, especially when loaded with equipment.
- Measure Accurately: Carefully measure the internal dimensions of the space where your bottom shelf will sit. This is crucial for a snug fit. You might need to adjust the pre-cut 45″ x 21″ plywood piece slightly.
- Create Support Cleats (Optional but Recommended): While you can screw directly into the bottom frame, adding small 2×2 or 1×2 wooden cleats horizontally along the inside of the bottom frame provides more surface area for the shelf to rest on and be secured to, distributing weight more effectively. Glue and screw these cleats in place first.
- Fit the Shelf: Cut your plywood shelf to fit perfectly. It should fit snugly without requiring excessive force, which could distort the frame.
- Secure the Shelf: Once the shelf is in place, apply wood glue to the edges that contact the frame or cleats. Then, secure it with 1.5″ wood screws, driving them up from underneath the frame into the shelf or down through the cleats into the shelf. This method keeps the shelf surface smooth and free of screw heads, making it easier to slide tools and materials in and out.
Step 5: Attaching the Casters
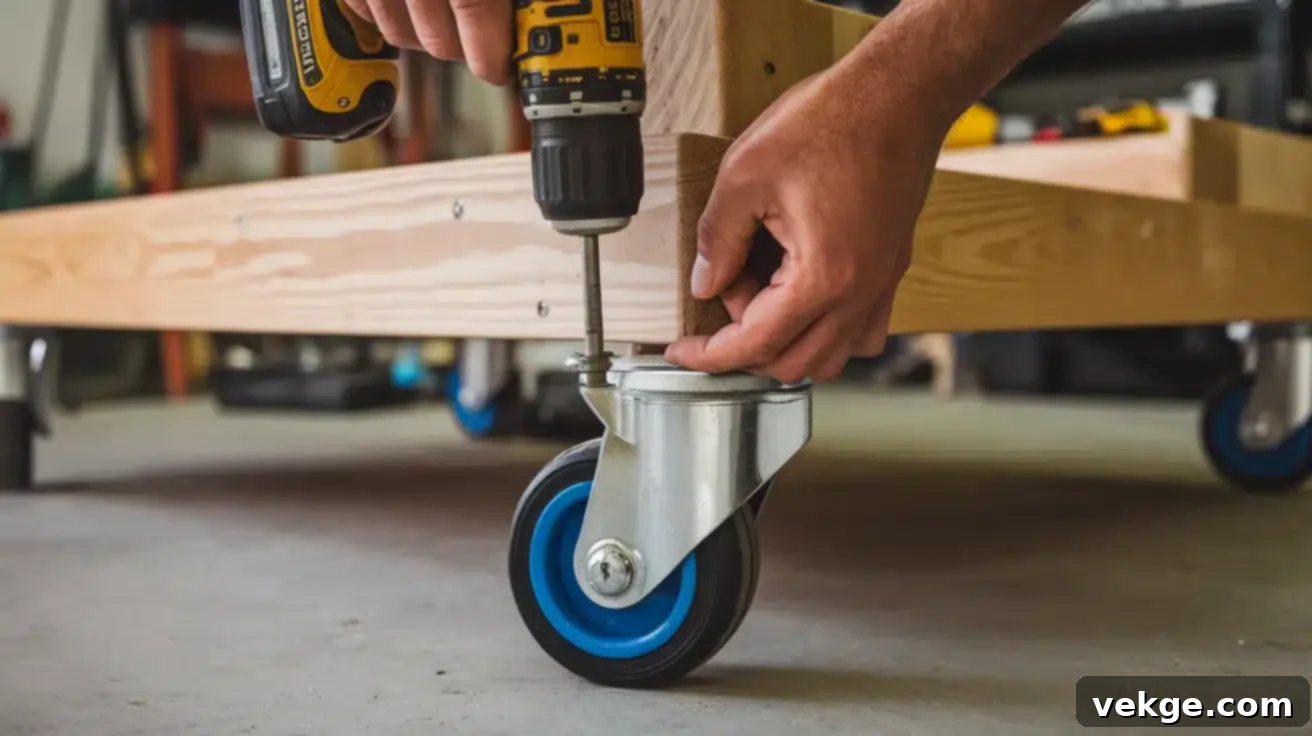
The casters are what give your workbench its defining mobility. Choosing and attaching them correctly is vital for ease of movement and safety. There are different types of casters, and a smart combination can offer the best control:
- Swivel Casters: Allow the wheel to rotate 360 degrees, offering maximum maneuverability in any direction.
- Fixed (Rigid) Casters: Only roll in a straight line, providing directional stability.
- Locking Casters: Essential for any rolling workbench. They prevent the wheel from rotating and often prevent the swivel action as well, ensuring your bench stays put when you’re working.
For the best balance of maneuverability and straight-line control, a common setup is to use two swivel casters (with locks) on one end and two fixed casters (with locks) on the other. Alternatively, four swivel casters with reliable locks provide ultimate flexibility. Ensure all casters chosen have an adequate weight rating for your fully loaded workbench.
- Position the Casters: Turn your workbench upside down on a stable surface (like sawhorses). Position each caster near the bottom corner of each leg. Ensure the mounting plate of the caster is flush with the bottom of the leg and squared up.
- Pre-drill and Attach: Mark the screw holes on the legs. Pre-drill pilot holes to prevent splitting the wood, especially important when working close to the end grain of the 2x4s. Then, using appropriate wood screws (usually included with the casters or robust 1.5″ screws), securely attach each caster to the bottom of the legs. Use all available mounting holes on the caster plate for maximum strength.
- Test and Level: Once all casters are attached, flip the workbench upright. Push it around to test how smoothly it rolls. Engage the locks on all casters to ensure they hold firm. Nothing is more frustrating (or dangerous) than your bench rolling away while you’re cutting or carving. If the bench wobbles, double-check that all casters are securely attached and that the mounting plates are level. Sometimes shims might be needed if your floor is extremely uneven or if casters are slightly different heights.
Want it stationary sometimes? Consider adding adjustable leveling feet or blocks that can be lowered below the wheel height when needed. This allows you to lift the wheels off the ground, effectively locking the bench in a perfectly stable, non-mobile position, ideal for tasks requiring extreme stability or precise work.
Customization Options for Rolling Workbench
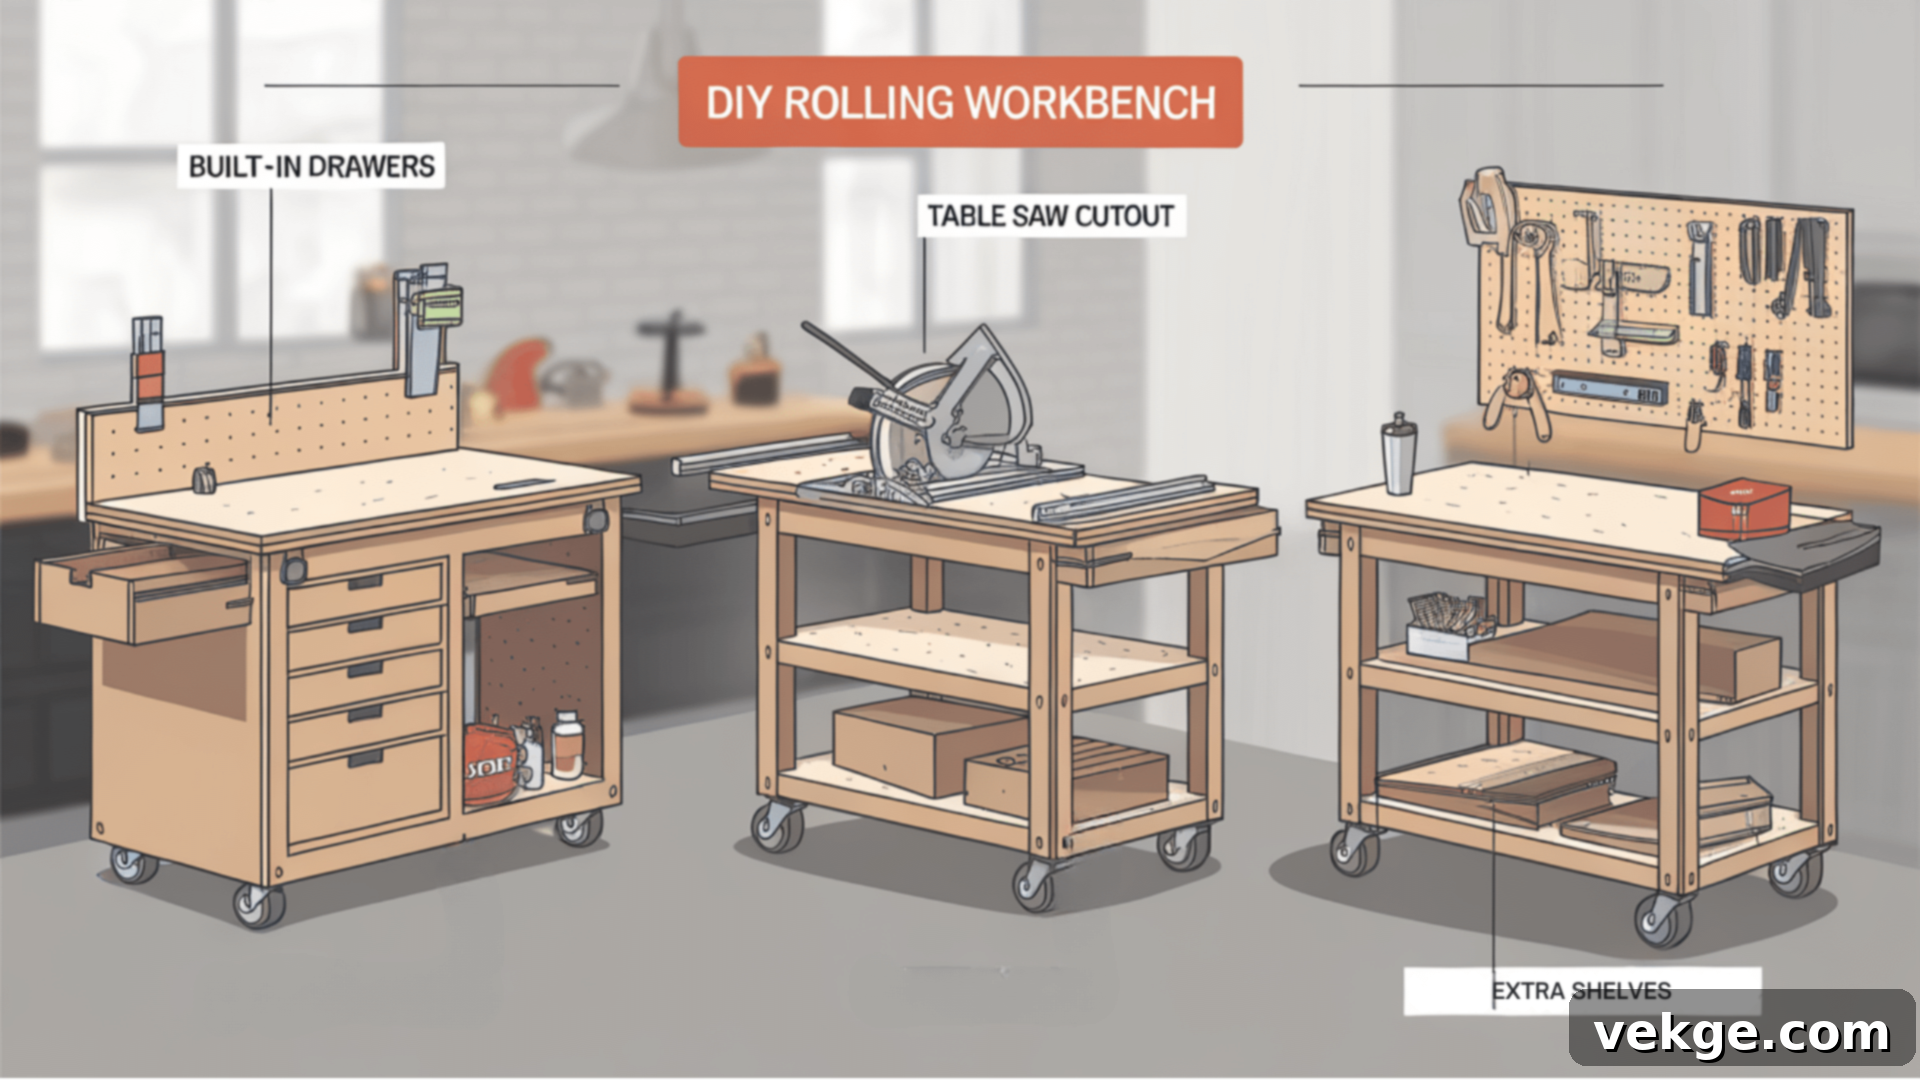
Now that you’ve built the solid foundation of your rolling workbench, it’s time to truly make it your own! These thoughtful customizations can transform a good bench into one that feels tailor-made for your unique projects and workflow, boosting your efficiency and enjoyment in the workshop.
1. Adding a Table Saw Cutout
Integrating your table saw directly into your workbench is a game-changer for saving space and creating an extended outfeed support. This makes cutting large sheets of plywood or long boards much safer and easier.
- Precise Measurements: Measure the base dimensions of your table saw carefully. You’ll want the cutout to be just slightly larger than the saw’s footprint to allow for easy insertion and removal. Consider if you want the saw top to be flush with your workbench top or slightly recessed.
- Support the Edges: The area around the cutout becomes a weak point if not reinforced. Add sturdy support bars (e.g., 2x4s or metal brackets) directly underneath the cutout edges, securely fastened to the workbench frame. This ensures the remaining countertop remains strong and stable.
- Removable Insert (Optional): For even more versatility, design the cutout so that you can create a removable insert that fills the void when the saw isn’t in use, giving you a continuous work surface.
- Dust Collection: If possible, plan for how you’ll connect your table saw to a dust collection system, as dust control is crucial.
2. Integrating Storage Solutions
Effective storage is the hallmark of an organized and productive workshop. Your rolling workbench is an excellent platform for integrated storage that keeps tools and supplies exactly where you need them.
- Pegboard or French Cleat Back Panel: Attach a piece of pegboard or build a French cleat system on the back or sides of your workbench. This provides vertical storage for frequently used hand tools, clamps, and power tools, keeping them visible and easily accessible.
- Custom Drawers: Build simple wooden box drawers for small, easily lost items like screws, nails, drill bits, and sandpaper. You can use drawer slides for smooth operation or simple wooden runners for a more rustic approach.
- Adjustable Shelves: Install additional shelves at various heights within the frame. This allows you to accommodate tools of different sizes, from small electric sanders to larger, bulkier items.
- Power Strips and Cord Management: Mount a power strip to the side of your bench to easily power multiple tools. Add hooks or cleats to manage cords and prevent tangles.
- Magnetic Strips: Install magnetic strips for holding small metal tools, drill bits, or screws, keeping them secure and within reach.
- Integrated Vise: Securely mount a sturdy woodworking or metalworking vise to the corner of your workbench for clamping projects during assembly, sanding, or cutting. Reinforce the mounting area to handle heavy forces.
3. Adjusting Height for Different Uses
Ergonomics play a huge role in comfort and preventing fatigue or injury. The ideal workbench height allows you to work with your wrists straight and your back comfortably upright. Too high, and your shoulders will ache; too low, and your back will suffer.
- Standard Heights: For general standing work, a common height is between 36-38 inches. For more precise work where you might be leaning in, a slightly lower bench (around 32-34 inches) might be better. If you plan to use it primarily for seated work, aim for a height around 30 inches.
- Test and Adjust: Before finalizing the height (if you’re not using adjustable legs), stand at your bench and simulate typical tasks. Your elbows should be bent at a comfortable 90-degree angle, with your hands resting naturally on the surface.
- Adjustable Feet/Legs (Advanced): For ultimate versatility, consider building a workbench with adjustable legs. This could involve using heavy-duty threaded inserts and bolts, or even more complex systems like hydraulic lifts, allowing you to quickly change the height for various tasks or users.
Common Mistakes and Troubleshooting
Even the most experienced builders can encounter unexpected challenges. Knowing how to identify and fix common problems will save you time and frustration, ensuring your rolling workbench remains a reliable and safe tool for years to come.
Wobbly Workbench: Fixes and Reinforcements
A shaky or wobbly workbench is not only annoying but can also be dangerous, especially when operating power tools. This is often a sign of insufficient bracing or uneven weight distribution.
- Add Corner Braces: The simplest and most effective fix. Install metal corner brackets or wooden gussets (triangular plywood pieces) at all critical joints, particularly where legs meet the top and bottom frames. These significantly enhance rigidity.
- Check for Squareness: Use your carpenter’s square to ensure all corners are still at a perfect 90 degrees. If they’ve shifted, you might need to loosen some screws, re-square the frame, apply more glue, and re-tighten.
- Ensure Even Ground Contact: Verify that all four casters (or legs, if stationary) are making even contact with the ground. If your floor is uneven, consider shimming under one or more casters, or better yet, using adjustable leveling feet in conjunction with your casters.
- Tighten All Screws: Over time, wood can expand and contract, causing screws to loosen. Periodically go through your entire workbench and tighten every screw. For extra security, remove a few screws at a time, apply wood glue to the hole, and re-insert the screw.
- Diagonal Bracing: If you skipped this step during initial assembly, now is the time to add diagonal braces (2x4s cut at angles) across the back and sides of your frame. This is a highly effective method for preventing racking and sway.
Choosing the Wrong Wheels: What to Look For
Weak or inappropriate casters can quickly ruin the functionality and safety of your mobile workbench, leading to difficult movement, floor damage, or even collapse.
- Weight Capacity: This is paramount. Always choose casters with a total weight rating that is significantly higher than the maximum anticipated weight of your workbench, including all your tools and materials. A good rule of thumb is to select casters rated for at least 50% more than your estimated loaded bench weight. For example, if your bench might weigh 400 lbs, aim for casters with a combined capacity of 600 lbs or more.
- Wheel Material:
- Rubber wheels: Excellent for smooth floors (like concrete or epoxy), offering good grip, quiet operation, and floor protection.
- Polyurethane wheels: Ideal for rougher surfaces, resistant to oil and chemicals, and generally more durable than rubber.
- Cast Iron wheels: Extremely durable and high-capacity, but can damage delicate floors and are noisy. Best for industrial settings or very rough concrete.
- Locking Mechanisms: Ensure the casters have robust locking mechanisms. A full lock (locking both the wheel and the swivel) is best for keeping the bench completely stationary and safe during use.
- Diameter: Larger diameter wheels (3″ or 4″ minimum) roll more easily over small obstacles, cracks, and debris on your workshop floor.
Strengthening Joints for Durability
While screws provide initial holding power, wood glue is the real hero in creating lasting, robust joints. Over time, screws alone can loosen, especially with the vibrations and stresses of workshop use.
- Always Use Wood Glue: Apply a liberal amount of wood glue to all mating surfaces before driving screws. The glue fills tiny gaps, creating a solid, cohesive bond that dramatically increases the strength and longevity of the joint. Wipe away excess squeeze-out immediately.
- Pilot Holes and Proper Screws: Always pre-drill pilot holes slightly smaller than the screw shank to prevent wood splitting. Use appropriate screw lengths (e.g., 2.5″ for 2x4s) to ensure sufficient penetration into both pieces of wood.
- Washers: For connections involving bolts or lag screws (if reinforcing with metal plates), use washers under the heads of fasteners to distribute the load over a wider area and prevent the fastener from digging into the wood.
- Pocket Holes (Kreg Jig): As mentioned earlier, pocket hole joinery is an excellent way to create incredibly strong and secure joints with minimal visible fasteners. It pulls the pieces together tightly, making a very rigid connection.
- Metal Corner Brackets/Gussets: For areas under high stress (like leg-to-frame connections), supplementing wood glue and screws with metal corner brackets or custom-cut plywood gussets will provide exceptional reinforcement.
Final Touches
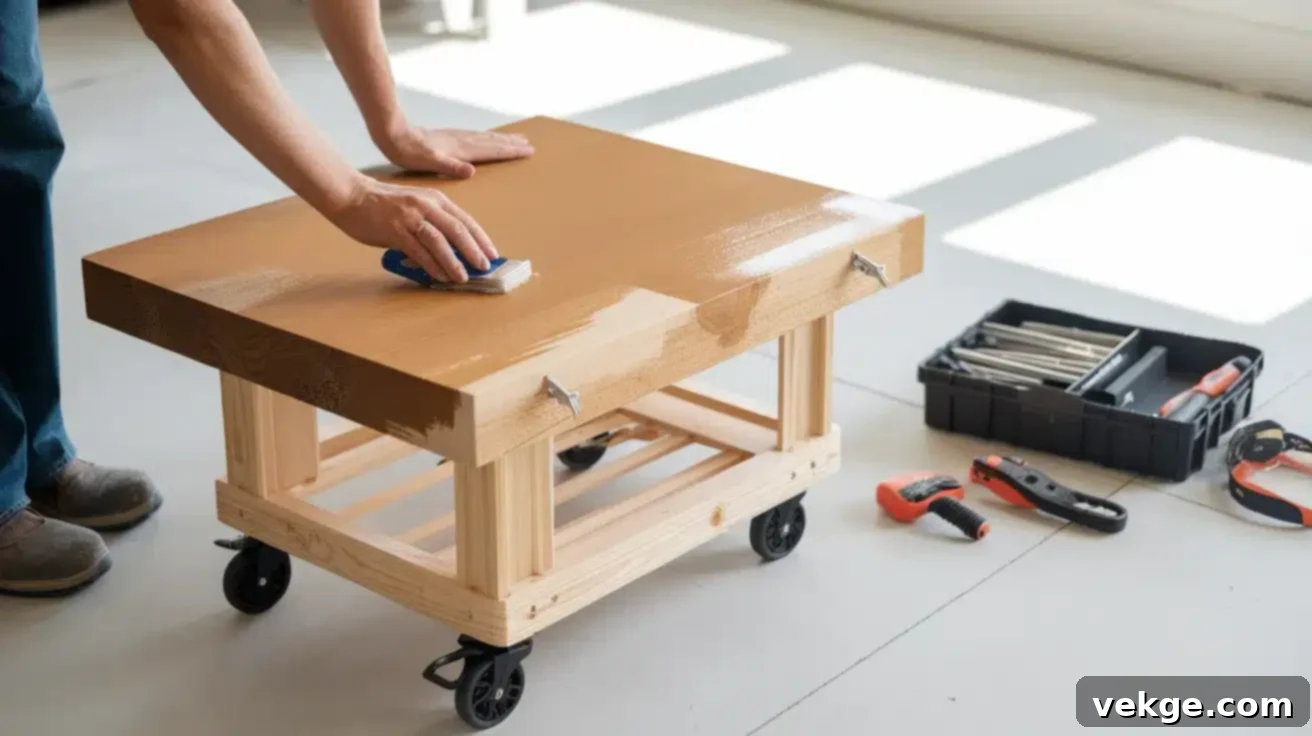
You’re almost there! These final steps might seem like minor details, but they make a monumental difference in how your rolling workbench looks, performs, feels, and endures over time. Don’t skip these crucial finishing touches.
Sanding and Finishing
Neglecting to sand can result in splinters, rough surfaces that snag materials, and a finish that doesn’t adhere properly. Your hands, and your projects, will thank you for taking the time to sand.
- Sanding Process: Start with a medium-grit sandpaper (e.g., 80 or 100 grit) to remove any major imperfections, saw marks, or glue residue. Work your way up to a finer grit (120, then 150 or 220 grit) for a smooth, splinter-free surface. Pay special attention to all edges, rounding them slightly to prevent sharp corners and enhance comfort.
- Clean Thoroughly: After sanding, use a shop vacuum or tack cloth to remove all dust before applying any finish. Dust left on the surface will create a gritty finish.
- Choosing Your Finish: The right finish protects your workbench from moisture, chemicals, and general wear and tear, while also enhancing its appearance.
- Oil Finish (e.g., Linseed Oil, Tung Oil): Penetrates the wood, highlighting its natural grain. Offers some protection but won’t be as durable against spills or heavy impacts as a film finish. Requires reapplication.
- Paint: Excellent for hiding imperfections and providing good protection against moisture. Offers a wide range of color options, allowing you to match your workshop aesthetic. Apply a good primer first for best adhesion and durability.
- Polyurethane (Water-based or Oil-based): Provides the best protection against scratches, impacts, and moisture. Oil-based polyurethane is generally more durable and amber-toned, while water-based is faster drying and clearer. Apply at least two to three thin coats, sanding lightly with a fine grit (220-320) between coats for optimal adhesion and smoothness.
Testing Mobility and Stability
Before putting your workbench to full use, give it a thorough test run. This helps you identify and address any hidden issues.
- Roll It Around: Push your workbench across your entire workshop floor. Does it roll smoothly? Does it catch on any uneven spots or debris? Observe how the casters perform under different conditions.
- Load It Up: Place a significant portion of the weight you expect it to carry (e.g., heavy tools, bags of cement) onto the bench, particularly on the top surface. Then, push it around again. Does it still roll easily? Does it feel top-heavy or unstable? This tests the casters’ real-world performance.
- Test the Locks: Engage the locks on all casters. Try to push and pull the bench. It should remain firmly in place with no discernible movement. Rock the bench from side to side and front to back. If it still sways too much, revisit the “Wobbly Workbench” troubleshooting section for additional bracing.
- Simulate Work: Perform a few typical tasks on the bench, such as hammering, clamping, or making small cuts. Pay attention to any vibrations, movements, or discomfort. This “dry run” can help you spot potential issues before starting a critical project.
Maintenance Tips
A little regular maintenance will ensure your DIY rolling workbench serves you well for many years to come.
- Regular Fastener Check: Every few months, go over all screws, bolts, and hardware. Tighten anything that has loosened. Vibrations from power tools and daily use can cause fasteners to back out over time.
- Caster Care: Inspect your caster wheels and bearings periodically. Clean any debris (sawdust, metal shavings, lint) that may have accumulated around the axles. Apply a few drops of lubricating oil (like 3-in-1 oil) to squeaky wheels or stiff swivel mechanisms to keep them rolling smoothly.
- Surface Cleaning: Clean your workbench surface regularly. Wipe off sawdust, spills, and grime. For finished surfaces, a damp cloth is usually sufficient. For unfinished wood, use a stiff brush or scraper. This prevents buildup that can interfere with your work or damage the wood.
- Finish Touch-ups: Inspect the finish annually. If you notice any worn spots, chips, or areas where the wood is exposed, lightly sand the area and apply a touch-up coat of your chosen finish. This protects the wood from moisture and extends the life of your bench.
- Weight Distribution: Always try to keep heavier items on the bottom shelf. This lowers the workbench’s center of gravity, making it inherently more stable and less likely to tip, especially when moving it.
Conclusion
Congratulations! You now possess all the knowledge and instructions needed to build your very own robust and highly functional DIY rolling workbench. From the initial planning stages to selecting the right materials, meticulously following each assembly step, and adding those crucial final touches, we’ve covered everything you need to create a portable workstation that will undoubtedly improve your DIY life.
Your back and feet will thank you for this upgrade, as the days of constantly walking back and forth for tools will be a thing of the past. Imagine the efficiency gained and the sheer convenience of having your entire project move with you, bringing your tools and materials directly to the task at hand.
Remember, no first build has to be absolutely perfect. Each project is a learning experience, and the beauty of DIY is that you can always make modifications and improvements as you go. The best workbench isn’t necessarily the most elaborate one, but rather the one that perfectly fits your individual working style, your projects, and your workshop’s unique demands.
We’d be thrilled to see what you create! Share photos of your finished rolling workbench, or tell us about any ingenious features or customizations you added to make it uniquely yours. Happy building!
