Transform Your TV into a Masterpiece: The Ultimate DIY Frame TV Guide for Any Budget
Are you dreaming of giving your television a sophisticated, gallery-like makeover without spending thousands? Many of us covet the sleek look of high-end frame TVs, which seamlessly blend into your home decor, appearing as beautiful artwork when not in use. However, the premium price tag often makes them an unattainable luxury.
Here’s a secret that will delight your wallet and unleash your inner decorator: you can create your own stunning framed TV setup right at home for a fraction of the cost. I embarked on this exciting DIY journey myself, and the results were beyond my expectations – a truly custom, high-end look achieved on a budget.
In this comprehensive guide, I’ll walk you through every step of transforming your ordinary television into an elegant, framed display that doubles as a captivating piece of wall art. You’ll learn all about the essential materials, clever ways to source them affordably, and how to assemble everything with ease, even if you consider yourself a novice with tools. Get ready to elevate your living space and make your TV look expensive without the luxury price tag!
Unlock Elegance: The DIY Frame TV Advantage Explained

Let me share why I firmly believe the DIY route is superior to purchasing a store-bought frame TV. Most people aren’t aware of the significant price difference: a standard, off-the-shelf frame TV can easily cost anywhere from $1,000 to an astounding $3,000 or more. When I first encountered those figures, my budget-conscious mind immediately searched for alternatives!
Through my own experience, I discovered that building a DIY frame TV typically costs between $100 and $300, depending on the materials and tools you already own. That’s an incredible saving that makes achieving that sophisticated look genuinely accessible. Beyond the monetary benefits, a DIY project offers unparalleled creative freedom.
When you choose to make your own frame TV, you gain several distinct advantages:
- Unrestricted Style Choice: You can select any frame style, finish, and color that perfectly complements your existing room decor, creating a truly cohesive aesthetic.
- Utilize Your Current TV: There’s no need to invest in a brand-new television. Your existing flat-screen TV is the perfect canvas for this transformation.
- Effortless Customization: Fancy a change? You can easily update or swap out your frame whenever your style evolves or you want to refresh your space seasonally.
- Simple Maintenance & Repairs: Should any part of your frame get damaged, fixing or updating it is straightforward and inexpensive, unlike proprietary store-bought options.
- The Satisfaction of Creation: There’s immense pride in knowing you crafted a beautiful, functional piece for your home with your own hands.
While commercial versions do offer integrated features like “Art Mode” and specialized slim-fit mounts, these often come with proprietary limitations. If your goal is to achieve a high-end, artistic television display without the exorbitant price tag, and you appreciate the value of custom craftsmanship, the DIY route is undoubtedly the most rewarding and intelligent choice for you.
Your Blueprint to Beauty: Step-by-Step Guide to Building Your DIY TV Frame
Tools & Materials Required
Before you begin, gather these essential items. Having everything ready will make the process smooth and enjoyable.
- Measuring Tape: Crucial for accurate dimensions. A metal tape measure offers the best precision.
- Decorative Trim Pieces: Choose wood trim that reflects your desired style – from ornate mouldings to simple, clean-lined lumber. Consider the depth and width you want for your frame.
- Wood Stain (Gel Stain Recommended): Gel stains are fantastic for beginners as they provide more even coverage and control, minimizing blotchiness. Pick a shade that complements your room’s aesthetic.
- Corner Hinges (4 pieces): These are key for easy assembly and allowing the frame to open or be removed if needed. Look for decorative or subtle options depending on your preference.
- Elastic Bands/Strips: Strong, flat elastic bands (like those used for sewing or garment construction) will secure the frame to your TV.
- Staple Gun and Staples: Essential for attaching the elastic securely to the back of the frame.
- Wood Filler: To fill any small gaps or imperfections where the frame pieces meet, ensuring a seamless finish.
- Sandpaper: Various grits (e.g., 120-grit for initial smoothing, 220-grit for fine finishing) for preparing the wood and smoothing filler.
- Wood Glue: For extra strong bonds, especially if you’re not using hinges or want a more permanent structure.
- Scissors: For cutting elastic bands and other materials.
- Protective Gear: Gloves for staining, safety glasses for cutting.
Stepwise Process for Making the DIY TV Frame
1. Measure Your TV Screen with Precision
- Carefully measure only the visible screen area of your television, from edge to edge.
- It’s crucial not to include the TV’s bezel (the plastic or metal border around the screen) in your measurements. The frame will rest on or just over this bezel, so you want your inner frame dimensions to match the screen’s edge.
- Write down your precise width and height measurements. Double-check them to avoid costly mistakes later on. Accuracy here is paramount for a professional look.
2. Cut the Frame Pieces Accurately
- Acquire your chosen decorative trim pieces. You’ll need two pieces for the width and two for the height.
- Using your precise screen measurements, mark each trim piece for cutting. Clearly label them as ‘top’, ‘bottom’, ‘left’, and ‘right’ to avoid confusion.
- Cut the pieces. For a hinged frame, straight cuts are sufficient. If you prefer mitered corners (45-degree angles), a miter saw will give you the cleanest, most precise cuts. Remember the phrase: “measure twice, cut once.”
- Ensure all cuts are clean and free of splinters for a polished finish.
3. Assemble the Frame Structure
- Arrange your cut trim pieces on a flat, stable surface to form a rectangle, mimicking your TV screen.
- Attach the corner hinges to each of the four corners. These hinges simplify assembly and allow the frame to slightly open, making it easier to place on the TV. Ensure they are aligned correctly.
- Apply wood filler to any small gaps or imperfections at the joints. This creates a smooth, professional appearance once stained or painted.
- Allow the wood filler to dry completely according to the manufacturer’s instructions. This usually takes a few hours.
4. Sand and Apply Your Desired Finish
- Once the wood filler is dry, gently sand the corners and any rough spots until smooth. Start with a medium-grit sandpaper (e.g., 120-grit) and finish with a finer grit (e.g., 220-grit) for a silky smooth surface.
- Thoroughly wipe down the frame to remove all dust before applying any finish.
- Apply your chosen gel stain (or paint) evenly across the entire frame. Gel stain is forgiving and provides rich color. Use long, even strokes.
- Consider applying multiple thin coats to achieve a deeper, more consistent color.
- Allow a full 2 days for the stain to dry completely and cure. Rushing this step can lead to a sticky finish or uneven results. Good ventilation is key during this period.
5. Attach Elastic Straps for Secure Mounting
- Lay your finished frame face down. Cut several elastic strips to a length that will allow them to wrap around the back of your TV bezel with a slight tension. The goal is for the elastic to be taut, not loose, to hold the frame snugly.
- Strategically place the elastic strips on the back of the frame, ensuring they won’t cover any TV vents or ports. Usually, 2-3 strips on the top and bottom, and 1-2 on each side are sufficient.
- Use a staple gun to firmly secure each end of the elastic strips to the back of the wood frame. Ensure staples are flush and won’t scratch your TV.
- The elastic bands will act as the primary attachment mechanism, gently gripping the back of your TV bezel.
6. Mount Your Custom Frame onto the TV
- Carefully lift your finished frame and slide the elastic straps over the edges of your TV. The frame should sit flush against the TV’s bezel.
- Adjust the frame position until it is perfectly centered and aligned with your TV screen. Take your time to get this right for a polished look.
- Crucially, test your TV remote’s functionality. Ensure the frame does not block the infrared sensor (usually located at the bottom center or bottom right of the TV). If it does, you might need to adjust the frame slightly or consider a small notch in the frame (though typically, this isn’t necessary with careful measurement).
- Make any final micro-adjustments for perfect alignment. Once satisfied, your DIY Frame TV is complete!
DOWNLOAD THE ENTIRE DIY TV FRAME GUIDE FROM THIS PDF
CLICK HERE
Affordable Elegance: An Approximate Cost Analysis of Your DIY Project
One of the most compelling reasons to build your own frame TV is the incredible cost savings. Here’s a breakdown of what you can expect to spend, contrasting sharply with the price of store-bought alternatives:
| Item | Cost (Approx.) |
|---|---|
| Basic Materials | |
| Decorative trim pieces | $17 – $40 (depending on length & complexity) |
| Elastic bands | $3 – $5 |
| Corner hinges | $4 – $7 |
| Finishing & Assembly Items | |
| Wood stain (or paint) | $8 – $15 |
| Staple gun (if not owned) | $15 – $25 |
| Wood filler | $5 – $8 |
| Sandpaper | $3 – $5 |
| Wood glue | $4 – $7 |
| Total (including new tools) | $60 – $107 |
| Total (if you own basic tools) | $25 – $70 |
Money-Saving Tips for Your DIY TV Frame:
- Shop Smart for Trim: Always check your local hardware stores, lumberyards, or even craft stores for sales and clearance on trim pieces. Sometimes, you can find remnants at a deep discount.
- Borrow, Don’t Buy: If you don’t own tools like a staple gun or miter saw, ask friends, family, or neighbors if you can borrow theirs. Many communities also have tool libraries.
- Simpler is Cheaper: Opt for simple, straight-edged wood trim instead of highly decorative mouldings to significantly cut down on material costs. You can always enhance it with paint or stain.
- Bundle Supplies: Look for combo packs of sandpaper, wood filler, and even stain samples to get a better value.
- Check Second-Hand: Sometimes you can find wood pieces or even small tools at thrift stores or online marketplaces like Facebook Marketplace for a fraction of the retail price.
When you compare these minimal expenses to the $1,000 to $3,000 price tag of a factory-made frame TV, the financial benefits of the DIY approach are overwhelmingly clear. I personally spent less than the cost of a nice dinner out to achieve a custom look that brings me joy every day. This project truly embodies smart, budget-friendly home improvement!
Prioritize Safety: Essential Considerations for Your DIY TV Frame Project
While building your DIY TV frame is a rewarding project, ensuring the safety and longevity of both your TV and your new frame is crucial. Following these simple precautions will help you avoid common pitfalls and enjoy your finished product without worry:
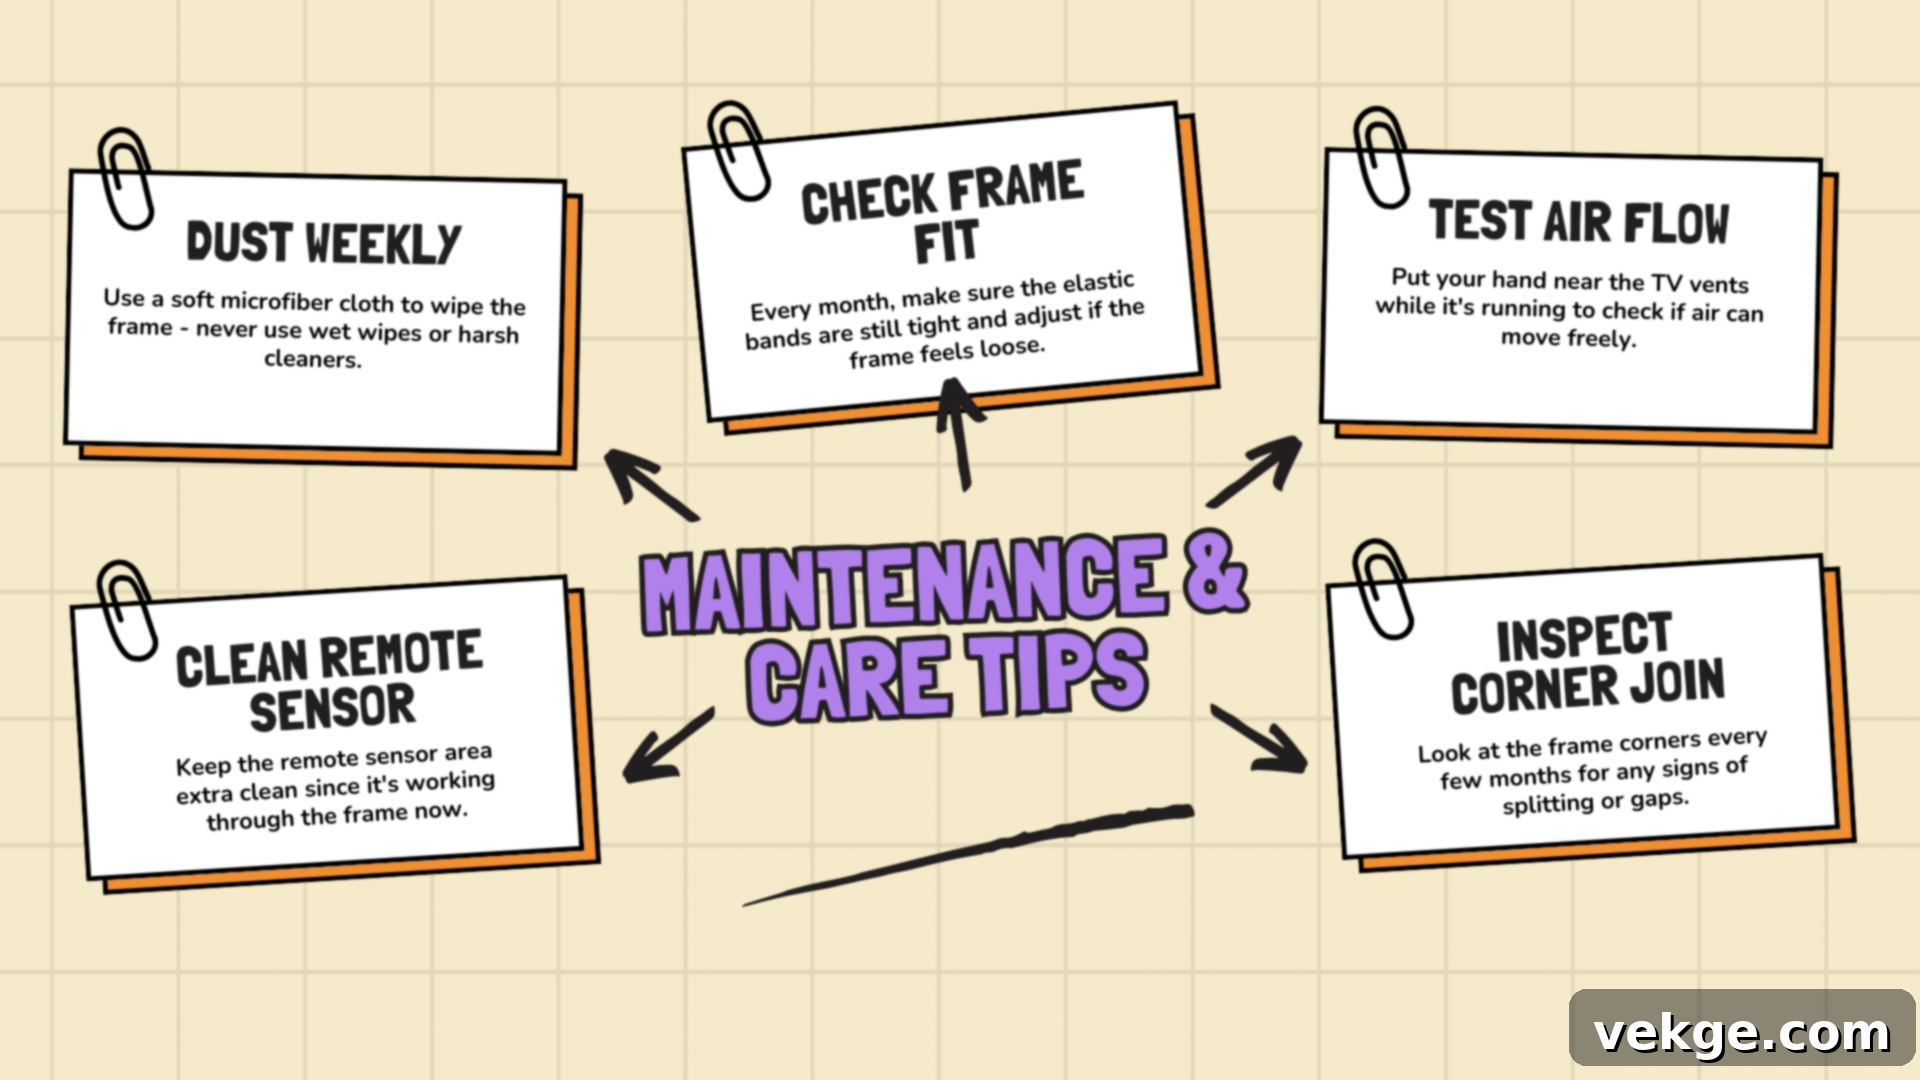
- Consult Your TV Manual: Before you start, always have your TV’s user manual handy. Pay close attention to the location of ventilation grilles and ports. Blocking these can lead to overheating, potentially damaging your TV or shortening its lifespan.
- Protect Cables and Cords: Design your frame so that it doesn’t exert any pressure on the TV’s power cord, HDMI cables, or any other connections. Kinked or pinched cables can be a fire hazard or lead to signal loss.
- Maintain a Stable Workspace: Always work on a clean, flat, and stable surface when cutting and assembling your frame. This prevents slips, inaccurate cuts, and potential accidents with sharp tools or heavy wood pieces.
- Ensure Proper Ventilation: Your TV generates heat, and good airflow is essential. Make sure to leave small, unobtrusive gaps around the edges of your TV frame to allow for adequate air circulation. Your TV needs to “breathe” to function optimally and prevent overheating.
- Assess Weight Balance: If your TV is wall-mounted, confirm that your existing TV mount can safely support the additional weight of the new frame. While typically light, an ill-supported frame could cause the TV to sag or even fall.
- Verify Remote Functionality: After the frame is mounted, double-check that it does not obstruct the infrared (IR) sensor of your TV remote. Test all remote functions thoroughly before securing everything permanently. If needed, you might make a small, discreet cutout for the sensor, though careful frame placement usually avoids this.
By diligently following these safety measures, my own DIY frame TV project went off without a hitch. Paying attention to these details from the outset guarantees a smooth process and a beautiful, functional addition to your home that you can enjoy with peace of mind.
Unleash Your Creativity: Best Customization Options to Try Out

The true beauty of a DIY frame TV lies in its endless customization possibilities. Unlike pre-made frames, you have complete creative control to make it uniquely yours and perfectly suited to your home’s aesthetic. Here are some fantastic ideas to spark your imagination:
1. Frame Styles You’ll Love
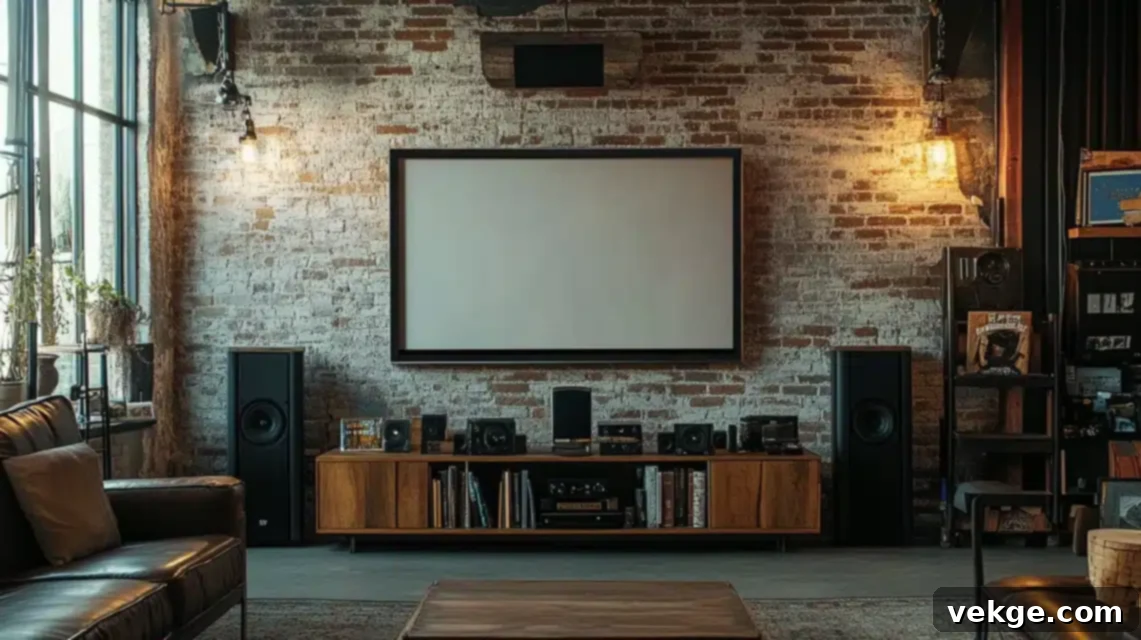
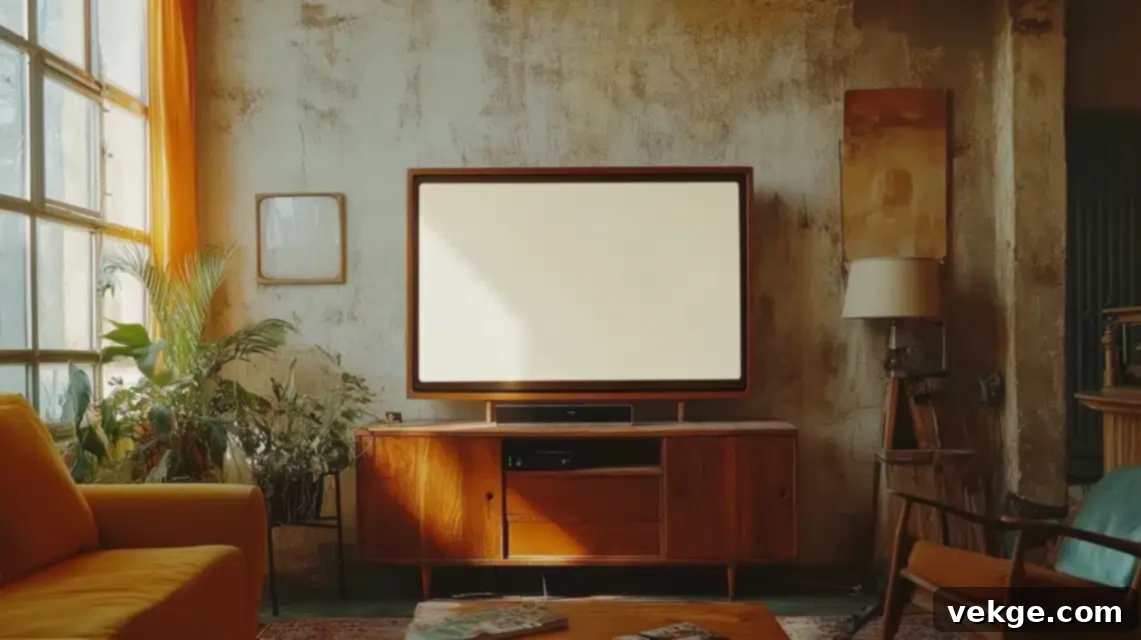
Choosing the right trim pieces can drastically alter the overall look of your frame. For a classic, elegant, or traditional feel, select ornate trim pieces with intricate patterns like floral motifs, carved details, or decorative fluting. If your style leans towards modern, minimalist, or contemporary, opt for sleek, straight-edged trim pieces in a simple profile, perhaps finished in a matte black or crisp white. Rustic charm can be achieved with distressed wood or rough-hewn planks. The possibilities are vast – consider the architectural style of your home and let it guide your choice.
2. Paint and Finish Options to Define Your Space
The finish you apply sets the entire mood of your room. Dark wood stains (like deep walnut or rich mahogany) impart a traditional, luxurious, and grounded feel. Bright white or light gray paint creates a clean, airy, and modern aesthetic. For a soft, velvety, and vintage-inspired finish, consider using chalk paint. Don’t shy away from metallic paints (gold, silver, bronze) for a touch of glamour and shine, or even a bold primary color for a vibrant statement. Always remember to apply a protective topcoat or sealer to ensure your chosen finish is durable and long-lasting.
3. Thoughtful Size Adjustments for Visual Impact
You have the freedom to make your frame wider or slimmer than the TV’s edge. A wider frame creates more visual presence and can make your TV feel like a grander piece of art, especially in larger rooms. Conversely, a slimmer frame offers a more subtle, understated look that integrates seamlessly without dominating the wall. Experiment with different widths (even by holding up cardboard cutouts) to visualize the impact before making your final cuts. Always measure twice, ensuring the inner edge still perfectly frames your screen.
4. Innovative Material Mix-Ups
Don’t limit yourself to just one material! Mixing and matching can create truly unique and sophisticated effects. Consider combining wooden trim with brushed metal corner pieces for an industrial-chic vibe. Some DIY enthusiasts add fabric or wallpaper inserts along the inner edges of the frame for added texture and pattern. You could even use different types of wood trim on each side for an eclectic, custom look. These small, creative touches can make your frame a standout feature in your home.
5. Effortless Seasonal Updates
One of the brilliant aspects of a DIY frame is the ability to easily swap it out. Consider making two or three frames in different styles, colors, or finishes. You can then switch them out with the seasons, for holidays, or whenever you crave a fresh new look for your living space. This is a much more affordable and impactful way to refresh your room’s aesthetic than buying new furniture or large decor items, keeping your home feeling vibrant and dynamic throughout the year.
6. Enchanting Lighting Add-ons
To truly elevate your TV frame into an art piece, consider adding small LED strip lights to the back of the frame. This creates a beautiful, soft ambient glow around your TV, providing a halo effect that enhances the “artwork” illusion. Choose warm white LEDs for a cozy ambiance or RGB lights for customizable color schemes to match your mood. Ensure the lights are carefully placed so they don’t interfere with your viewing experience or TV functionality. The right lighting can transform your framed TV into a captivating focal point, especially in the evenings.

Conclusion: Your TV, Reimagined as Art
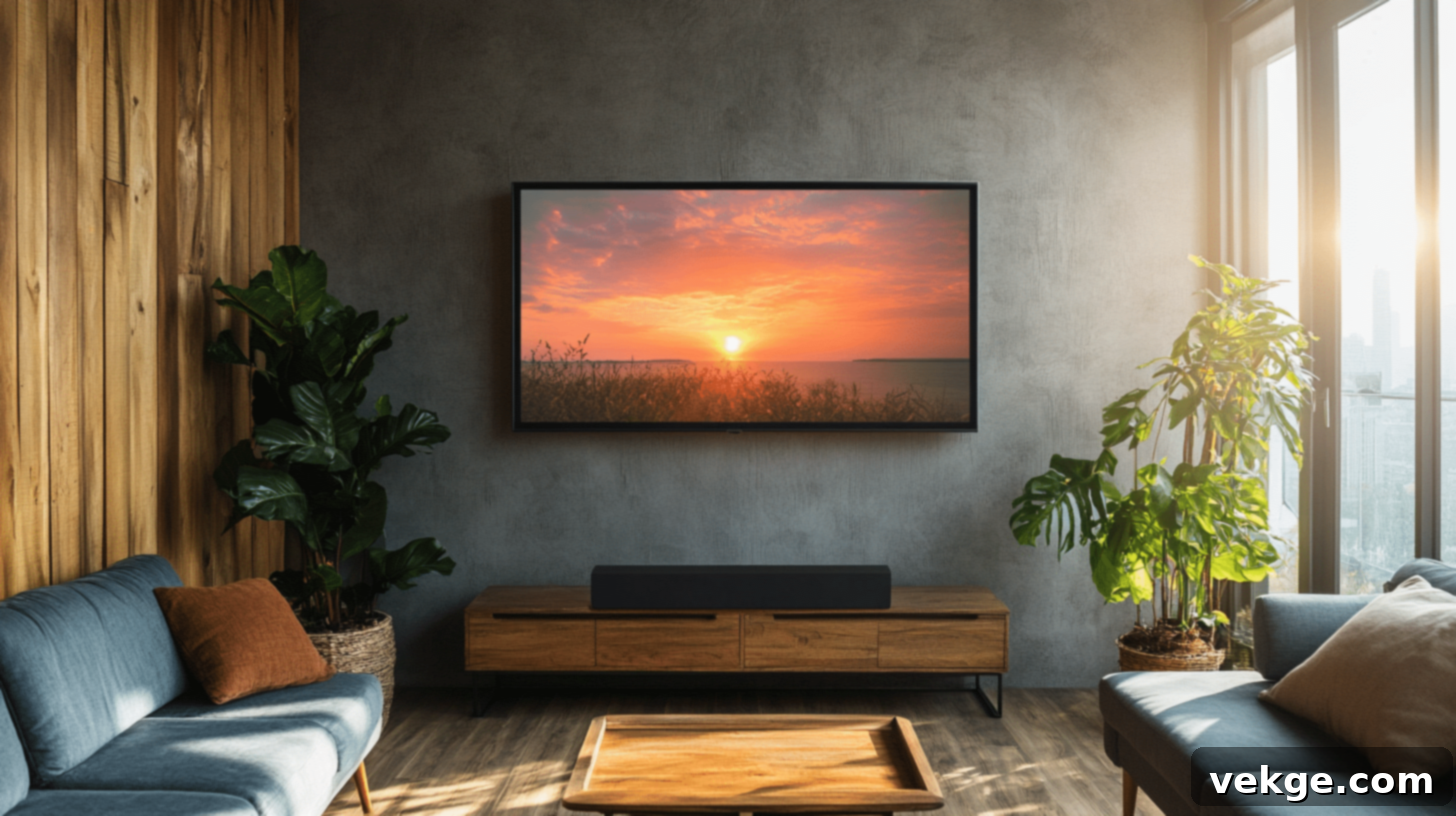
It’s time to take control of your home’s aesthetic and turn your ordinary television into an extraordinary piece of art! I sincerely hope this detailed guide empowers you to embark on your own DIY frame TV project with confidence and excitement. I completed my own frame last month, and the visual transformation it brought to my living room still brings a smile to my face every single time I walk in. It’s more than just a frame; it’s a statement of personal style and smart savings.
And here’s a thought to spark even more creativity: why stop at just one frame? The beauty of DIY means you can create multiple looks for different seasons or moods. If you’re eager for more inspiration or practical advice, I’ve crafted additional guides designed to further fuel your decor ambitions:
- Dive into “How to Choose TV Frames Under $50” if you’re still refining your design ideas or hunting for the absolute best budget-friendly options.
- Or, explore “Different Types of DIY TV Frames” for an even broader array of style concepts and construction methods.
Give this immensely satisfying project a try—it’s genuinely simpler and more rewarding than you might imagine! Once you’ve completed your masterpiece, I’d absolutely love to hear about it. Share your unique frame design or any questions you have in the comments section below. Let’s build a community of DIY enthusiasts and showcase how our TVs can look incredibly fancy without the fancy price tag!
Frequently Asked Questions (FAQ) About DIY Frame TVs
Are There Cost-Effective Alternatives to Buying a Samsung Frame TV?
Absolutely! Building your own DIY frame TV is a highly cost-effective and superior alternative. While branded frame TVs like Samsung’s can range from $1,000 to $3,000+, a custom DIY frame typically costs only $25-$70 if you own basic tools, or $60-$107 if you need to purchase a few. This allows you to achieve the same sophisticated aesthetic for a fraction of the price, plus you can use your existing television and create a truly personalized frame around it.
How Difficult Is the DIY Process, and Do I Need Advanced Skills?
The DIY frame TV project is surprisingly straightforward and does not require advanced woodworking skills. If you can accurately measure, cut (even straight cuts are fine with corner hinges), apply stain or paint, and use a staple gun, you possess all the necessary skills. The trickiest part often involves making clean, precise corner cuts for a seamless look, but even this can be simplified with the right tools or techniques. This project is highly accessible for beginners and offers immense satisfaction.
Will Adding a Frame Affect My TV’s Functionality or Ventilation?
When properly constructed, a DIY frame will not negatively affect your TV’s functionality or ventilation. The key is to design the frame with adequate airflow in mind, ensuring small gaps are left around the TV’s edges and that no vents are blocked. Additionally, ensure the frame does not obstruct the TV’s remote sensor. I’ve used my own framed TV for many months without any issues, enjoying flawless performance and an enhanced aesthetic. Always consult your TV manual for specific ventilation requirements.
How Long Does a DIY Frame TV Typically Last?
The longevity of your DIY frame TV largely depends on the quality of materials used and the craftsmanship of the build. With proper care, a well-constructed wooden frame can last for many years, enduring as long as the TV itself, or even longer if maintained. Using durable wood, good quality glue, and applying a protective finish will ensure your frame remains beautiful and sturdy for a long time. The beauty is, if styles change or parts wear, it’s easy to update or repair your custom frame.

