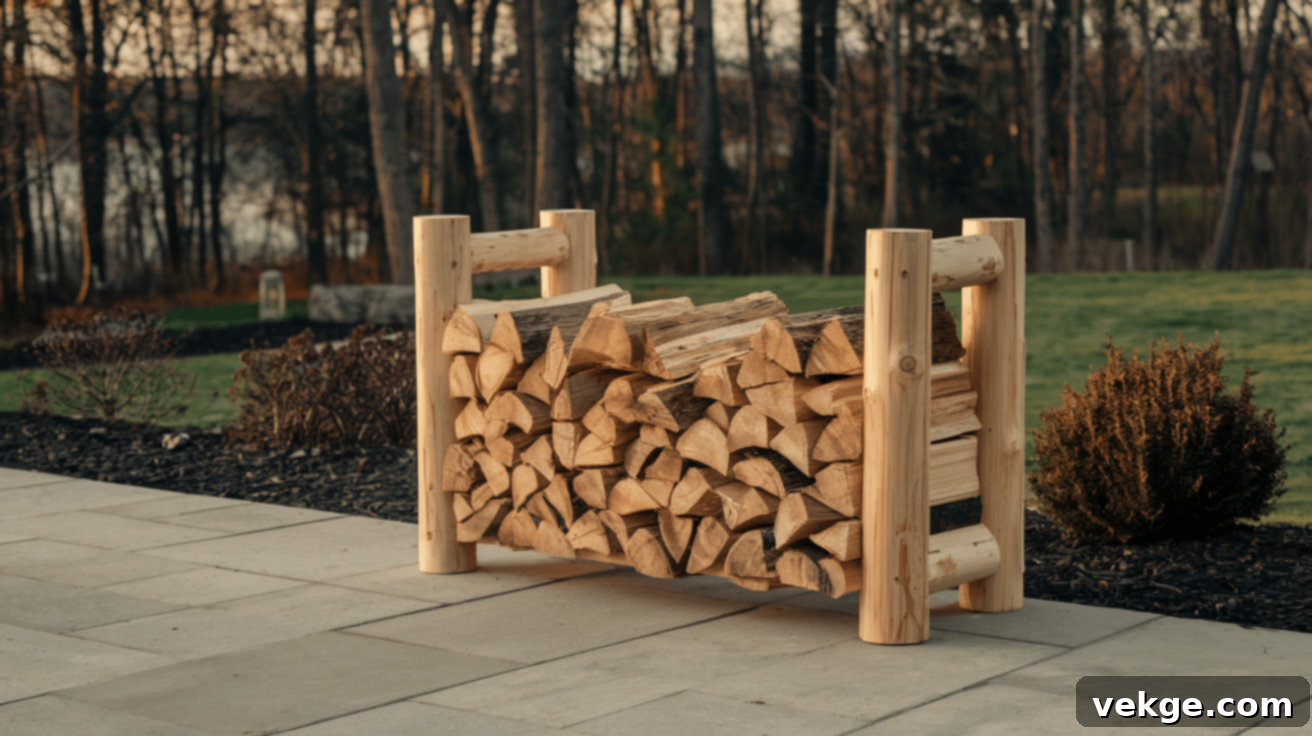
Build Your Own DIY Firewood Holder: The Ultimate Guide for Organized Log Storage
Keeping your firewood neatly stacked, dry, and readily accessible doesn’t have to be a daunting task. A simple, well-constructed DIY firewood holder can transform your log storage from a messy pile into an organized and efficient system. This essential project helps keep your logs elevated off the damp ground, protecting them from moisture, rot, and pests, while ensuring they are always easy to grab when you’re ready to light a cozy fire.
This comprehensive guide is perfect for anyone seeking a robust, budget-friendly, and practical solution to manage their firewood supply. You won’t need specialized tools or advanced carpentry skills to bring this project to life – just a few common materials, some basic tools, and a willingness to create something useful with your own hands. Whether you plan to store wood outdoors near your fire pit or indoors by your fireplace, this versatile design is strong enough to withstand the elements and compact enough to fit comfortably in your living space.
If you’ve been searching for a reliable, cost-effective, and straightforward way to neatly stack your firewood, this easy-to-build solution is designed to meet your needs, providing durable storage you can count on season after season. Let’s dive in and learn how to build a log holder that keeps your wood dry, seasoned, and ready for use.
Essential Materials and Tools for Your DIY Firewood Holder Project
To construct a sturdy and dependable DIY log holder, you’ll need a selection of basic tools and materials. These items are generally inexpensive and can be found at any local hardware store or home improvement center. Investing in quality materials from the start will ensure your firewood holder lasts for many years.
The core structure will primarily utilize pressure-treated wood, robust screws, and a reliable drill. A saw will be indispensable for accurately cutting all your lumber to the required dimensions. With these fundamental supplies, you’ll be well-equipped to create a functional log holder that keeps your firewood perfectly stacked and securely stored.
Wood Options for Durability and Longevity
Choosing the right wood is crucial for your firewood holder’s longevity, especially if it will be exposed to the elements. Here are the recommended lumber types and quantities:
- 2×4 Lumber: You’ll need four pieces, each 8-10 feet long. These will form the essential base and vertical supports, providing the structural integrity for your holder.
- 1×6 Boards: Three pieces, each 6 feet long, will serve as the base slats. These slats support the firewood and are designed with gaps to promote airflow.
- 3-inch Deck Screws: A box of 50. These longer screws are essential for securely fastening the main structural components, providing excellent holding power against heavy loads and outdoor conditions.
- 2-inch Wood Screws: A box of 50. These shorter screws are perfect for attaching the base slats, ensuring a firm connection without piercing through the thicker lumber.
When selecting your lumber, consider its intended placement. If your log holder will be permanently outdoors and exposed to rain or snow, pressure-treated lumber is highly recommended. It’s infused with chemicals that resist moisture, rot, and insect infestation, significantly extending its lifespan. For log holders that will remain under cover (like on a porch or inside a garage) or if you plan to apply a thorough weatherproof finish yourself, regular untreated lumber can be used. Just be sure to treat it diligently for outdoor use.
Essential Tools Required for Assembly
Having the right tools makes the building process smoother, safer, and more accurate. Here’s what you’ll need:
- Circular Saw or Hand Saw: For making precise cuts to your lumber. A circular saw is faster and more efficient for straight cuts, while a hand saw works well for smaller adjustments or if electricity isn’t available.
- Drill with Screwdriver Bits: Absolutely essential for driving screws efficiently. Ensure you have bits that match your screw heads (Phillips or Square drive are common).
- Measuring Tape: Accuracy is key! A reliable measuring tape ensures all your pieces are cut to the correct length.
- Pencil: For marking cut lines and screw pilot holes.
- Square (Speed Square or Framing Square): Crucial for marking straight cut lines and ensuring your corners are perfectly 90 degrees, leading to a stable structure.
- Sandpaper (Medium Grit): For smoothing out any rough edges or splinters after cutting, improving safety and appearance.
Materials Checklist for Your Shopping Trip
To make your trip to the hardware store hassle-free, print this convenient checklist:
- 2×4 lumber (8-10 feet each) – Quantity: 4
- 1×6 boards (6 feet each) – Quantity: 3
- 3-inch deck screws – Box of 50
- 2-inch wood screws – Box of 50
- Exterior wood sealer or stain (optional, but highly recommended for outdoor use)
- Safety glasses (Non-negotiable for eye protection!)
- Work gloves (To protect hands from splinters and improve grip)
Step-by-Step Guide to Building Your Own DIY Log Holder
Follow these detailed instructions to construct your sturdy and functional firewood holder. Take your time with each step, prioritize accuracy, and remember that careful work leads to a durable result.
Step 1 – Measure and Cut Your Wood Pieces Precisely
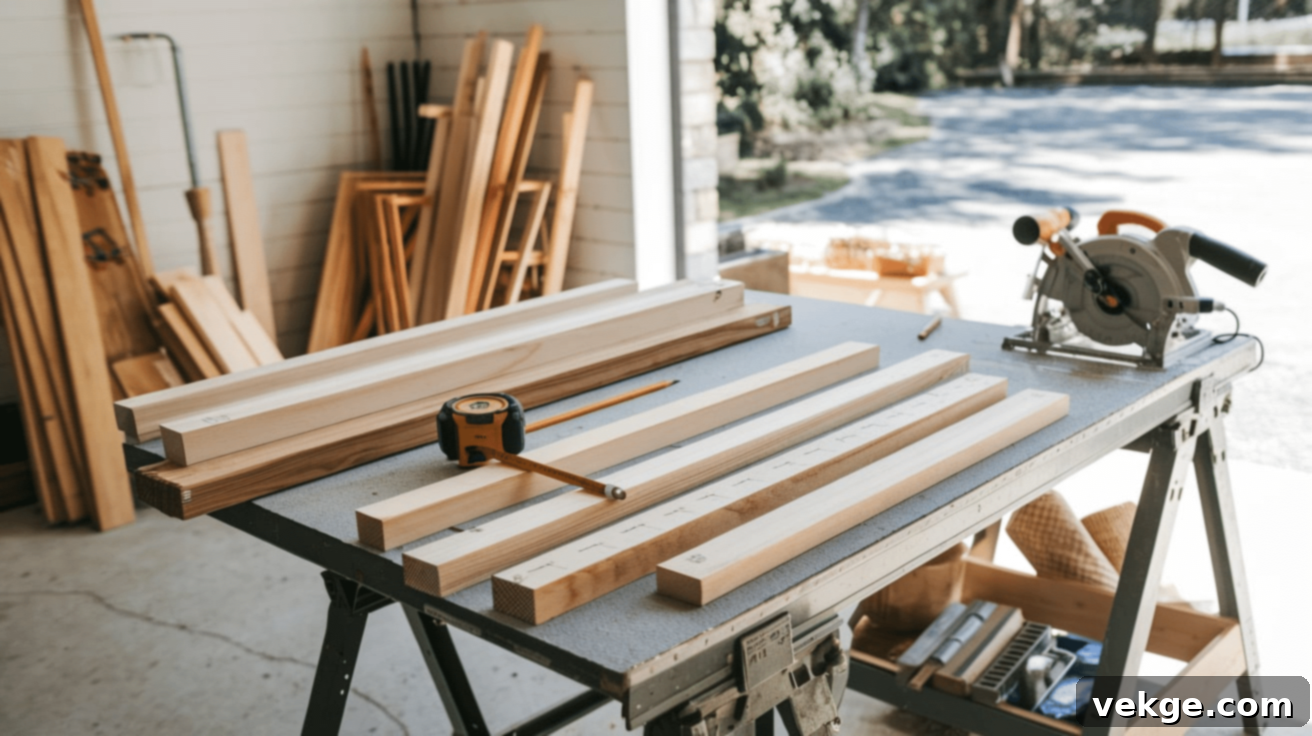
Accurate measurements are the foundation of a successful build. Always use a square to mark your cut lines to ensure they are perfectly straight. Remember the old adage: “Measure twice, cut once.”
For a Standard-Sized Log Holder (approximately 3 feet tall, holding a good amount of firewood):
- Back Legs: Cut two 2x4s to 36 inches long. These will provide the height at the back, supporting a sloped design for better weather shedding.
- Front Legs: Cut two 2x4s to 24 inches long. These shorter legs will create the downward slope from front to back, allowing water to run off.
- Base Slats: Cut three 1×6 boards to 24 inches long. These form the bed where your firewood will rest.
- Base Depth Supports: Cut four 2x4s to 16 inches long. These pieces define the depth of your holder and connect the base slats.
For a More Compact Version (suitable for smaller spaces or less firewood):
- Back Legs: Cut two 2x4s to 24 inches long.
- Front Legs: Cut two 2x4s to 18 inches long.
- Base Slats: Cut three 1×6 boards to 18 inches long.
- Base Depth Supports: Cut four 2x4s to 12 inches long.
Once you’ve marked all your pieces, carefully make your cuts using either a circular saw or a hand saw. If using a circular saw, ensure the wood is securely clamped or held stable on a workbench to prevent movement and ensure safety. After cutting, lightly sand the ends of each piece to remove any splinters or rough edges.
Step 2 – Construct the Sturdy Base of Your Firewood Holder
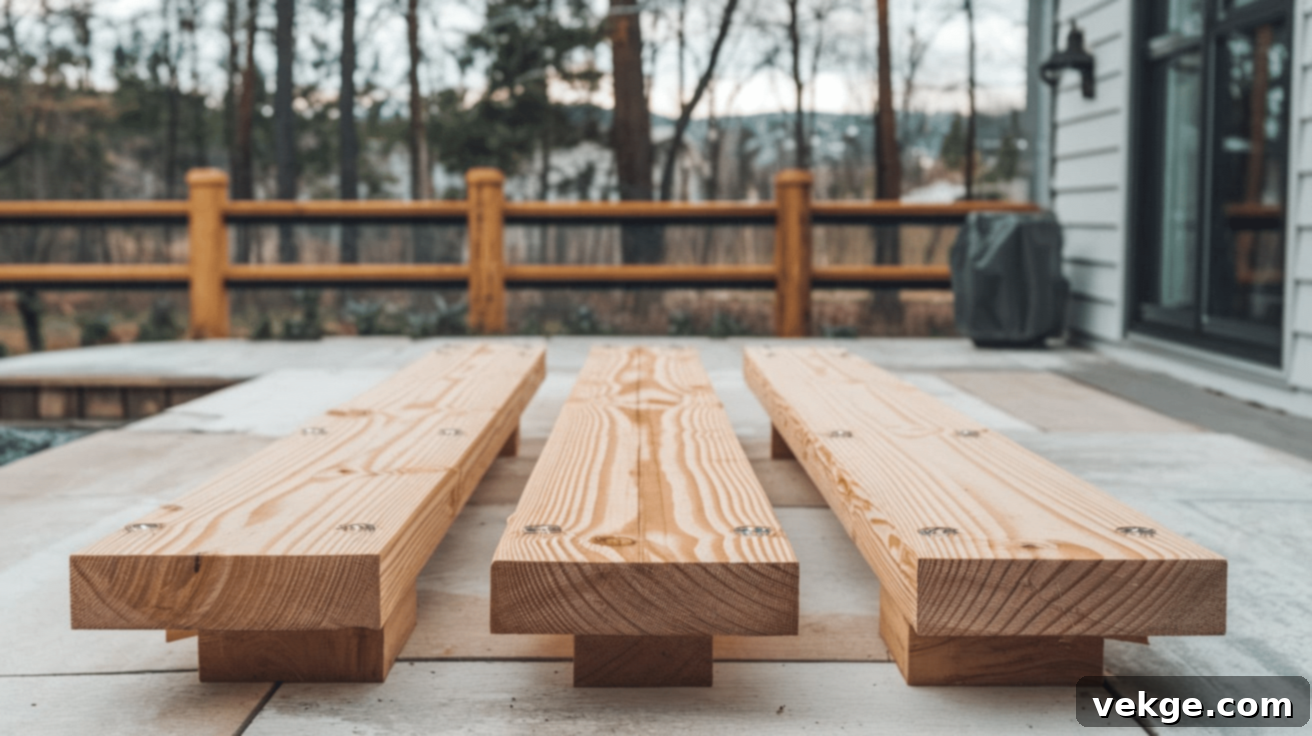
The base is the foundation that will support the entire weight of your firewood, so it needs to be robust and well-assembled.
- Lay out your three 1×6 base slats side by side on a flat, level surface. Maintain an even space of approximately 1/2 inch between each slat. These gaps are crucial for promoting airflow, which helps dry your firewood and prevents moisture buildup.
- Take two of your 16-inch 2×4 base depth supports (or 12-inch for the compact version). Place one across the slats at what will be the front edge and the other at the back edge. Ensure these 2x4s are perpendicular to the slats and aligned with their ends.
- Using your drill and 2-inch wood screws, attach each 1×6 slat to both 16-inch 2×4 supports. Drive two screws through each slat into each 2×4 at every meeting point. Pre-drilling pilot holes for your screws is highly recommended, especially when working close to the edges of the wood, as this significantly reduces the risk of splitting.
- Once secured, double-check that the base is square and that all connections are firm. The spaces between slats are a key feature, allowing air circulation around your firewood, which is vital for seasoning and keeping it dry.
Step 3 – Integrate the Legs and Create the Side Frame
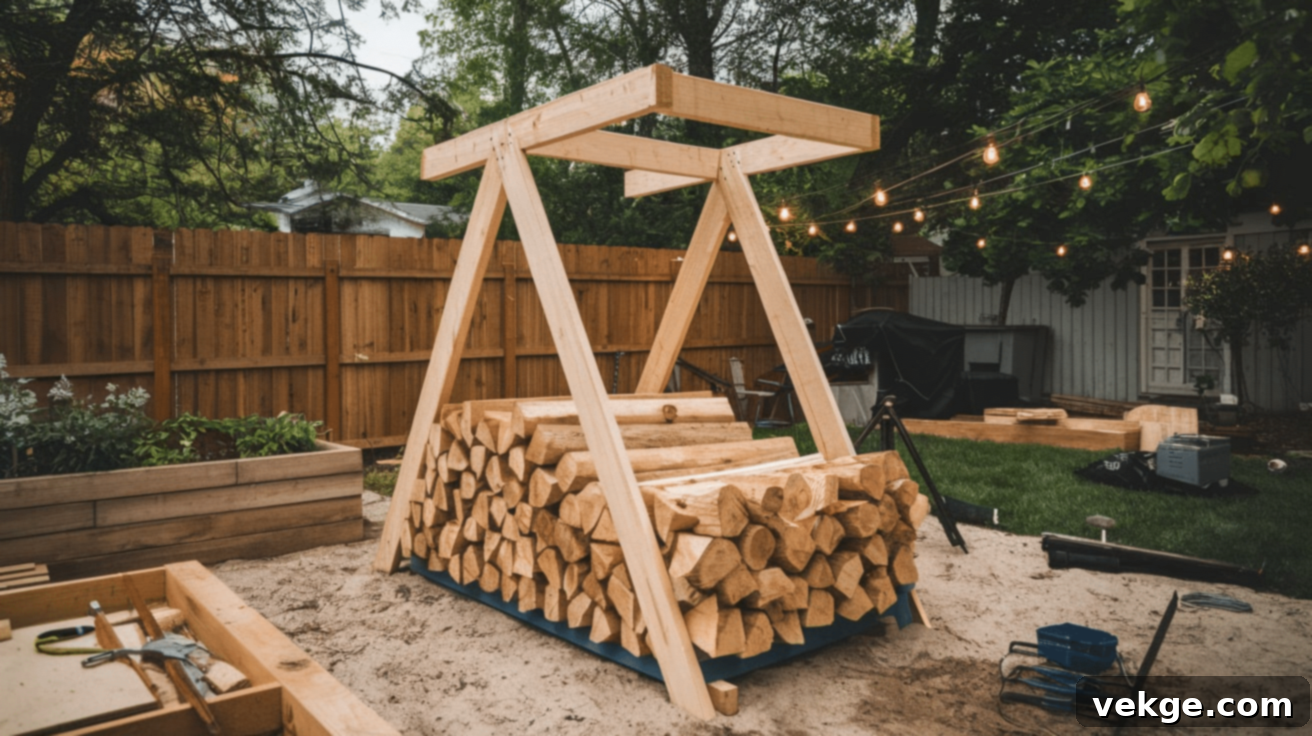
With the base complete, it’s time to add the vertical structure that will hold your stacked wood.
- Position the two 36-inch 2x4s (your back legs, or 24-inch for compact) at the back corners of your assembled base. Ensure they are plumb (standing perfectly straight up) and flush with the outer edges of the base. Secure each leg to the base using two 3-inch deck screws, driving them through the 2×4 base depth support into the bottom end of each leg. Again, pilot holes will prevent splitting.
- Next, attach the two 24-inch 2x4s (your front legs, or 18-inch for compact) to the front corners of the base using the same method. Make sure they are also plumb and securely fastened. The difference in leg height will naturally create a forward-sloping top frame, which is excellent for shedding rain.
- Now, take the remaining two 16-inch 2x4s (your other base depth supports, or 12-inch for compact) and connect them horizontally between the tops of the front and back legs on each side. These pieces will form the top side rails of your log holder, creating a rectangular or trapezoidal box frame. Use two 3-inch screws at each joint, driving them through the side 2x4s into the ends of the legs.
- After all legs and side rails are attached, carefully inspect the entire structure. Gently push and pull on different sections to ensure all parts are firmly attached and the overall frame is stable and free from excessive wobble. A square can be used to verify that your corners are as close to 90 degrees as possible.
Step 4 – Reinforce the Structure and Apply a Protective Finish
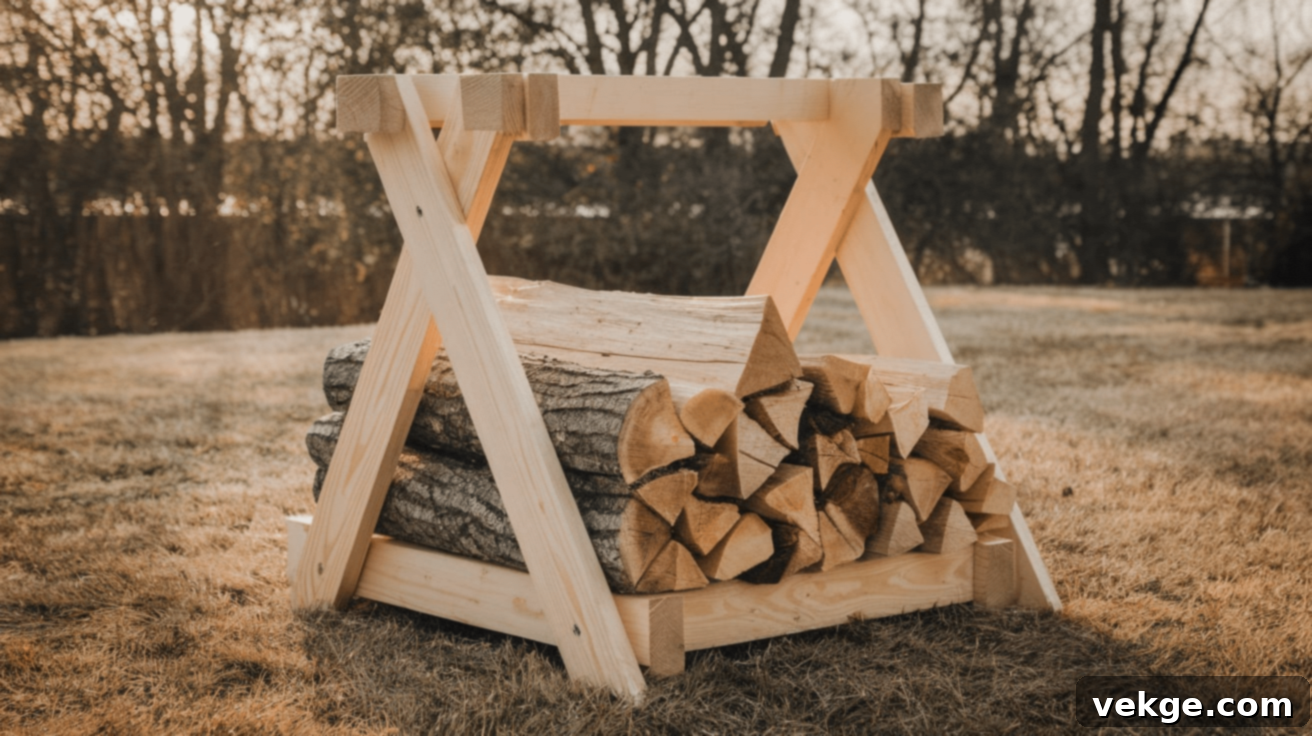
This final construction step adds crucial strength and prepares your firewood holder for years of service.
- For significantly enhanced stability and resistance to racking (sideways movement), add diagonal braces to the sides. Cut two short 2x4s at a 45-degree angle on both ends to fit snugly between the back and front legs on each side. These braces effectively triangulate the corners, distributing weight and preventing collapse under heavy loads.
- Secure these diagonal supports firmly with 3-inch screws. Drive at least two screws into each end of the brace, ensuring they are well-seated in both the leg and the side rail.
- Once the structural work is complete, take a moment to sand any remaining rough edges or surfaces. This prevents painful splinters when you handle your firewood and gives your holder a more finished, professional look.
- If you used untreated lumber and your holder will be exposed to outdoor weather, this is the critical step to protect your investment. Apply an exterior-grade wood sealer or stain according to the product’s instructions. Two coats are generally recommended for optimal weather protection. This barrier will shield the wood from rain, snow, UV rays, and moisture-related decay, drastically extending the life of your firewood holder.
Customization Tips to Tailor Your Firewood Holder to Your Needs
One of the great advantages of a DIY project is the freedom to customize. You can easily adjust your log holder’s design to perfectly match your specific storage requirements, whether you’re dealing with varying log sizes or planning for heavy loads.
Consider adding simple enhancements like side rails to better contain smaller pieces or kindling, or strategically reinforce the center with extra posts if you anticipate stacking exceptionally heavy logs. Even minor adjustments can significantly improve both the stability and functionality of your holder without adding much complexity or cost to the build.
Designing for Heavy Loads and Increased Capacity
If your goal is to stack a substantial amount of firewood, making a few strategic modifications to the basic design will ensure your holder remains strong and stable over many seasons, resisting sagging or structural fatigue.
- Add a Middle Base Support: For racks that will bear significant weight, install an additional 2×4 support directly beneath the 1×6 base slats, running parallel to the front and back base supports. This central support helps prevent the base from sagging or bending under the immense pressure of a full load of wood, distributing the weight more evenly.
- Upgrade Base Slats to Thicker Wood: Instead of using standard 1×6 boards for the base slats, consider upgrading to thicker 2×6 boards. This simple change dramatically improves the base’s inherent strength and durability, making it far more resilient to heavy, long-term loads.
- Incorporate a Second Stacking Level: To maximize storage space and keep logs organized, you can easily include a second row of base slats positioned halfway up the frame. This creates two distinct stacking levels, allowing you to separate different types of wood, such as smaller kindling on top and larger logs below, or simply double your capacity. Ensure you add adequate vertical and horizontal supports for this second level.
These thoughtful upgrades are straightforward to implement and can make your log holder significantly sturdier, more efficient, and better suited for high-volume storage.
Optimizing for Small Logs or Kindling Storage
To enhance the utility of your DIY log holder, you can easily add features that boost functionality and help maintain a tidy, organized woodpile. Preventing smaller pieces from slipping out and keeping kindling separate is key.
- Attach Side Rails: Install 1×4 boards horizontally along the open sides of the holder. These simple rails act as barriers, effectively containing smaller pieces of firewood or kindling that might otherwise fall out. You can add one or two rails per side, depending on the size of the wood you typically store.
- Create Internal Dividers: Use spare wood pieces to create vertical dividers within the holder. This allows you to separate kindling from larger logs, making it much easier to find exactly what you need when preparing a fire. These can be removable or permanently fixed.
- Include a Small Shelf: For added convenience, integrate a small, sturdy shelf at one end of the log holder. This shelf can be used to keep essential fire-starting supplies, such as fire starters, matches, lighters, or even a small axe, within easy reach.
These quick and easy additions require minimal extra effort but significantly increase the practicality and organization of your firewood storage solution.
Essential Weatherproofing Techniques for Outdoor Firewood Holders
Protecting your log holder from the elements is vital for its longevity, especially if it’s placed outdoors. Proper weatherproofing ensures your structure remains sound and your firewood stays dry.
- Use Pressure-Treated Lumber: As mentioned, this is your first line of defense. Pressure-treated wood is specifically designed to resist moisture, rot, and fungal decay, making it ideal for outdoor applications.
- Apply Exterior-Grade Sealer or Stain: Even pressure-treated wood benefits from an additional protective layer. Apply two generous coats of a high-quality exterior-grade wood sealer or stain. These products create a barrier against rain, snow, and UV radiation, which can otherwise cause wood to gray, crack, and eventually rot. Reapply every few years as recommended by the product manufacturer.
- Elevate the Base: To prevent ground moisture from wicking up into the wood, consider adding small, rot-resistant feet or concrete pavers underneath the base of your holder. Lifting the entire structure a few inches off the ground creates an air gap, greatly reducing moisture absorption and protecting the wood from soil-borne fungi and insects.
- Strategic Placement: While your holder is designed to be robust, placing it in a location that offers some natural protection, such as under a roof overhang, against a shed wall, or beneath a tarp, will further reduce its exposure to heavy rain, snow, and direct sunlight. Ensure good air circulation, however, to prevent mold.
Implementing these simple weatherproofing measures will significantly extend the life of your log holder and ensure your firewood remains in optimal condition, ready to burn.
Beginner Builder Tips for a Smooth DIY Firewood Holder Project
If you’re new to woodworking or building projects, approaching this DIY firewood holder with patience and a methodical mindset will set you up for success. Don’t feel pressured to rush through any step.
Take your time with every measurement, double-checking each cut line before you even pick up your saw. Using woodworking clamps can be incredibly helpful for holding boards steady while you drill and screw them together, freeing up your hands and ensuring more precise connections. Remember, working at a steady, deliberate pace not only helps you maintain accuracy but also significantly enhances safety throughout the entire building process.
Prioritizing Safety Above All Else
Safety should always be your number one concern when tackling any DIY project, especially one involving power tools. A few simple precautions can prevent accidents and ensure a positive building experience.
- Wear Safety Glasses: This is non-negotiable. Always wear safety glasses or goggles to shield your eyes from flying sawdust, wood chips, or accidental debris while cutting, drilling, or sanding.
- Use Work Gloves: Protect your hands from splinters, sharp edges, and general wear and tear. Work gloves also improve your grip on tools and lumber.
- Secure Your Workpiece: Before making any cuts with a saw or drilling, ensure your wood is firmly clamped to a workbench or held securely. Never attempt to cut or drill freehand, as this significantly increases the risk of the wood shifting or kicking back.
- Maintain Safe Distance from Blades: Always keep your hands and fingers well clear of all saw blades and drill bits. Understand the direction of blade rotation and plan your cuts carefully.
- Unplug Tools When Changing Bits/Blades: Before making any adjustments, changing blades, or performing maintenance on your power tools, always unplug them from the power source to prevent accidental startup.
These simple yet crucial safety practices will help you stay safe and focused while efficiently getting the job done right.
Common Beginner Mistakes to Proactively Avoid
Even simple projects can encounter hiccups, especially for those new to building. Being aware of common mistakes can help you prevent them and achieve a better final product.
- Rushing Measurements: This is perhaps the most frequent error. Hastily marked or inaccurate measurements lead to uneven cuts, pieces that don’t fit together properly, and a wobbly or misaligned final structure. Always measure twice, mark clearly, and verify before cutting.
- Skipping Pilot Holes: Forgetting to pre-drill pilot holes for your screws, especially when screwing close to the edge of a board or into hardwood, is a surefire way to cause the wood to split. Pilot holes guide the screw and relieve pressure, ensuring a clean, strong connection.
- Not Checking for Squareness: Throughout the assembly process, repeatedly check that your corners are perfectly square (90 degrees) using a framing square or speed square. A log holder that isn’t square will be unstable, prone to twisting, and won’t stack firewood neatly.
- Over-tightening Screws: While you want screws to be snug, over-tightening can strip the screw head, damage the wood, or even cause the screw to break. Tighten until the screw head is flush with the surface, then stop.
Taking a little extra time and care on these foundational steps can save you considerable frustration later on and result in a much stronger, more attractive, and long-lasting firewood holder.
Smart Time-Saving Techniques for Efficient Building
While patience is key, there are several ways to streamline your building process without sacrificing accuracy or quality. These techniques are particularly helpful for beginners.
- Batch Your Cuts: Before you start cutting, mark all your dimensions on the lumber and plan out your cuts. Group all pieces that are the same length and cut them together. This saves time by minimizing adjustments to your saw settings and reduces the chance of errors.
- Pre-Drill All Holes in Advance: Once all your pieces are cut, identify where screws will go. Use a drill bit slightly smaller than your screw threads to pre-drill all pilot holes. This not only prevents wood splitting but also makes the assembly phase much quicker and smoother, as screws will glide into place.
- Assemble in Sub-assemblies: Instead of trying to build the entire structure at once, break it down into smaller, manageable sub-assemblies. For instance, build the base completely, then attach the legs, then add the side rails. This systematic approach reduces complexity.
- Get an Extra Pair of Hands: If possible, enlist a friend or family member to help. Having someone nearby to hold pieces steady while you secure them with screws can be an immense time-saver and makes assembly safer and easier, especially with larger or awkward components.
Implementing these small but effective steps can make the overall building process for your DIY firewood holder significantly quicker, more enjoyable, and less prone to errors.
Common Mistakes to Avoid for a Durable Firewood Holder
Building a DIY log holder is a rewarding project, but certain missteps can compromise its strength and longevity. Being aware of these common errors can help you ensure your holder stands the test of time and effectively protects your firewood.
- Using Untreated Wood Outdoors Without Protection: If your log holder will be exposed to the elements, using untreated lumber without applying a robust exterior sealer or stain is a critical mistake. Untreated wood will quickly absorb moisture, leading to rot, mildew, and insect damage, significantly shortening its lifespan. Always opt for pressure-treated wood or thoroughly weatherproof untreated wood.
- Inadequate Fastening: Simply using too few screws, or not securing them deeply and evenly, can lead to a wobbly and unstable structure. Ensure you use the recommended screw lengths and quantities, and drive them in squarely for maximum holding power. Loose connections will eventually fail under the weight of firewood.
- Neglecting Cross Supports or Bracing: Skipping the diagonal braces or other cross supports, especially on the sides, is a common error that can compromise the structural integrity. These components are vital for preventing the holder from racking or collapsing sideways, particularly when it’s fully loaded or subjected to external forces like wind.
- Poor Drainage or Ground Contact: Allowing the base of your firewood holder to sit directly on damp ground is detrimental. Moisture will wick up into the wood, accelerating decay. Always elevate the holder with feet or pavers, and ensure the design allows for proper airflow around and under the wood.
- Rushing Measurements and Cuts: As highlighted earlier, this leads to an ill-fitting and weaker structure. Precision is paramount for woodworking projects.
Taking your time, carefully checking each step, and adhering to these best practices will help you build a firewood holder that is not only strong and steady but also serves you reliably for many seasons to come.
Final Thoughts: Enjoy Your Hand-Built Firewood Solution
Congratulations on embarking on and completing your DIY firewood holder! A well-built, custom-made log holder is far more than just a place to stack wood; it’s a practical, elegant solution that keeps your firewood neat, dry, properly seasoned, and conveniently close by whenever you need it. This project embodies the satisfaction of creating something functional and enduring with your own hands.
It’s a testament to practical craftsmanship, bringing real value and organization to your outdoor space, garage, or indoor hearth area. With just basic tools, readily available materials, and a little dedicated effort, you’ve constructed a piece that is designed to last through countless seasons, standing strong against the elements and heavy loads.
Remember, while this guide provides a solid framework, the beauty of DIY lies in its flexibility. Feel empowered to adjust the dimensions, materials, or aesthetic finishes based on your specific needs, the tools you have available, the space you’re working with, and your personal style. Perhaps you’ll add decorative elements, a specific stain to match your home, or even a small roof for extra protection.
Once you’ve experienced the satisfaction of building your first one, you might find yourself inspired to construct another – perhaps a smaller version for kindling, a larger one for a backyard woodpile, or even a thoughtful, handmade gift for a friend or family member. Adding small personal touches makes each holder uniquely yours.
Ultimately, a simple DIY log holder does more than just hold wood; it showcases your skills, your care for your home, and your commitment to an organized and efficient living space. Enjoy the warmth and convenience your new firewood holder brings!
Frequently Asked Questions About DIY Firewood Holders
Can I Use Pallets to Build a Log Holder?
Yes, pallet wood can indeed be a cost-effective and eco-friendly option for building a log holder. However, it’s crucial to ensure the pallets are heat-treated (marked with an “HT” stamp) rather than chemically treated (“MB” for methyl bromide). Chemically treated pallets can release harmful fumes. Always clean the pallet wood thoroughly and sand it down to remove any splinters or rough patches before use. You’ll likely need to deconstruct the pallets first to get usable boards.
How Much Wood Does This Standard Design Hold?
The standard-sized log holder described in this guide (with 24-inch base slats and 16-inch depth supports) is designed to hold approximately 1/6 to 1/4 of a face cord of firewood. A face cord typically measures 4 feet high by 8 feet long, with logs cut to 16-24 inches in length. This capacity is generally sufficient for several fires, depending on the frequency of use, the size of your fireplace or stove, and how long you burn each time. For larger storage needs, consider the customization tips for heavy loads and increased capacity.
Do I Need to Treat the Wood if It Stays Outdoors?
Absolutely, yes. If your firewood holder will be placed outdoors and exposed to the elements, it is essential to treat the wood unless you used pressure-treated lumber from the start. Untreated wood is highly susceptible to moisture absorption, which leads to rot, mold, mildew, and insect infestation. Apply at least two coats of a high-quality exterior wood sealer, stain, or paint. Regularly inspect the finish and reapply every 1-3 years, or as recommended by the product manufacturer, to maintain optimal protection. Even with treatment, covering your log holder with a tarp or placing it under an overhang can significantly extend its lifespan and keep your firewood drier.
How Long Does It Take to Build This Firewood Holder?
For a beginner, building this DIY firewood holder typically takes between 3 to 5 hours. This estimate includes time for measuring, cutting, assembling, and applying a basic finish. Experienced builders might complete it faster, possibly in 1-2 hours. Factors like having all tools and materials ready, prior woodworking experience, and whether you have an extra pair of hands to help can influence the total time. Rushing, however, often leads to mistakes, so it’s always better to take your time and ensure accuracy.
What’s the Best Location for an Outdoor Firewood Holder?
The ideal location for an outdoor firewood holder is a spot that balances protection from the elements with good air circulation. Choose an area that’s relatively level and well-drained, preferably off direct ground contact (using pavers or feet). Placing it against the side of a shed or garage, or under a porch overhang, can provide some shelter from rain and snow. However, avoid placing it too close to your house, as it can attract pests like termites or rodents. Ensure there’s ample space around the holder for air to circulate, which is crucial for seasoning the wood and preventing mold growth. A sunny spot can also aid in drying the wood faster.
