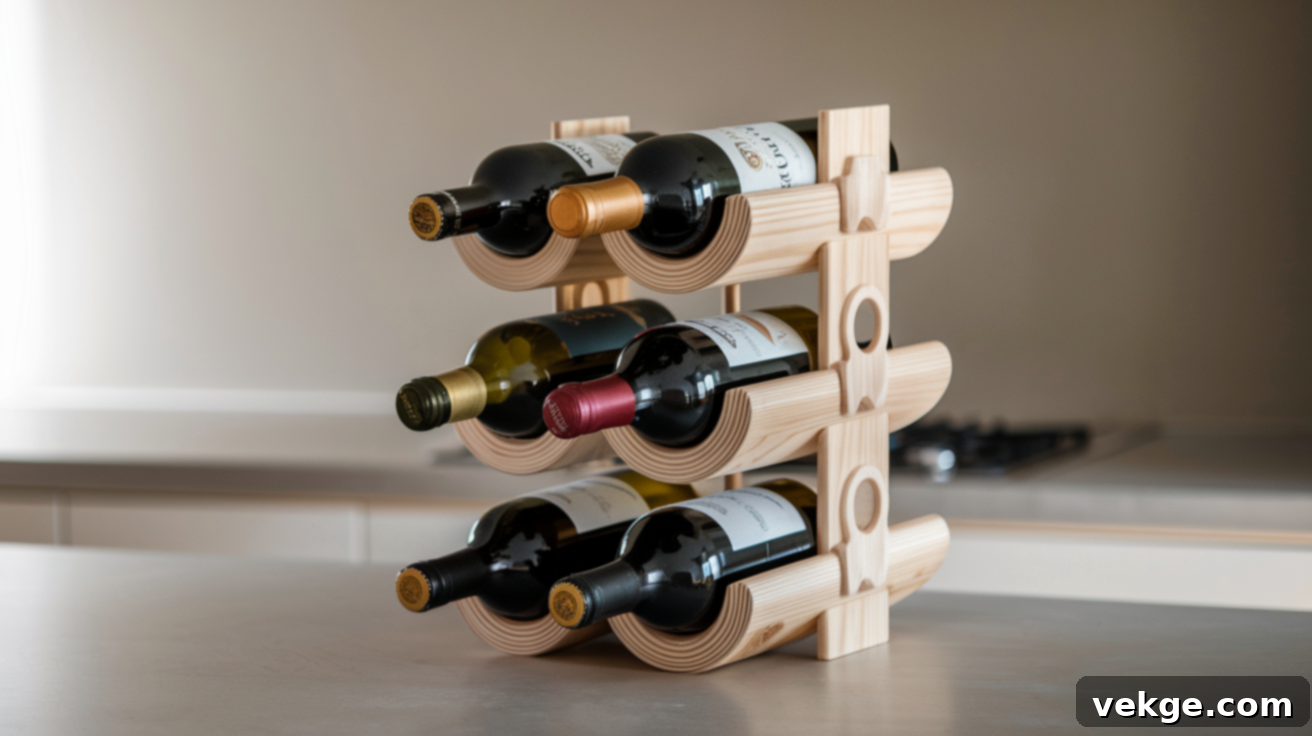
Build Your Own Custom DIY Wine Rack: A Step-by-Step Guide for Beginners
Are you searching for a rewarding project that combines utility with a personal touch? Building your own wine rack is an excellent place to start! This hands-on project allows you to create something simple yet perfectly tailored to your space and unique style. You don’t need years of woodworking experience or a workshop full of expensive tools. With just a few basic materials, some common household tools, and a bit of dedicated time, you can craft a beautiful and functional piece of furniture.
This comprehensive guide will walk you through every step of the process in an easy-to-follow manner. From initial planning and material selection to precise cutting, assembly, and finishing, you’ll learn everything required to build a sturdy rack that cradles your favorite wine bottles with care. It’s more than just a task; it’s a creative endeavor that culminates in a tangible result. Every time you gaze upon your finished wine rack, you’ll feel a sense of pride and accomplishment, knowing it was crafted by your own hands.
Essential Materials for Your DIY Wine Rack Project
Choosing the right wood is crucial for a successful wine rack build. For those new to woodworking, softwoods like pine or poplar are highly recommended. They are incredibly forgiving, making them easy to cut, drill, and shape without much resistance. Softwoods also readily accept wood glue and screws, which simplifies the assembly process, especially when you’re still learning to align pieces accurately. Their workability allows for smoother progress and builds confidence as you go.
Conversely, hardwoods such as oak or maple offer superior strength, durability, and a longer lifespan. They can also provide a more premium aesthetic. However, hardwoods are significantly tougher to cut and drill, and their density can be challenging for beginners. If you’re looking for a more robust or heirloom-quality piece and have some prior experience, hardwoods are an excellent choice. Otherwise, sticking with softwoods for your first project is a smart move.
Regardless of the wood type you select, safety should always be your top priority. Woodworking involves tools that can be dangerous if not handled correctly. Always protect your eyes with safety glasses when operating saws, drills, or any power tools, as flying debris can cause serious injury. If you plan to sand indoors or generate a significant amount of dust, a dust mask is essential to protect your respiratory system from fine wood particles. Furthermore, if your tools produce considerable noise, such as circular saws or drills, wearing ear protection is a wise precaution to prevent hearing damage over time.
Quick Safety and Material Tips:
- Softwoods (Pine, Poplar): Easier to cut, drill, and handle, making them ideal for beginners.
- Hardwoods (Oak, Maple): Offer greater strength and longevity but are more challenging to work with.
- Safety Glasses: Mandatory for all cutting, drilling, and power tool operations.
- Dust Mask: Wear when sanding or when fine dust is present, especially indoors.
- Ear Protection: Use with loud tools like saws and drills to safeguard your hearing.
Tools Required for Building Your Wine Rack
Before you even make your first cut, it’s incredibly helpful to gather all your necessary tools and have them organized in one place. This simple step can significantly streamline your project, allowing you to move from one task to the next without interruptions to search for a specific item. You don’t need a professional-grade setup; most basic tools that many people already own or can easily borrow will suffice. Having everything ready not only makes the building process more efficient but also contributes to a safer and more comfortable working environment.
Basic Tools for Your Wine Rack:
- Saw: A hand saw is perfect for smaller cuts and tight spaces, offering excellent control. For longer, straighter cuts, a circular saw can save a lot of time and effort.
- Power Drill with Drill Bits: Essential for creating pilot holes and driving screws. Ensure you have a variety of bit sizes.
- Wood Glue: Provides strong, lasting bonds between wood pieces. Don’t skimp on quality.
- Clamps: Crucial for holding glued pieces together firmly while the adhesive dries, ensuring strong joints.
- Sandpaper or a Sanding Block: For smoothing rough edges and preparing the wood for finishing. Start with a coarser grit and move to finer ones.
- Measuring Tape: Accuracy is key in woodworking; a reliable tape measure is indispensable.
- Pencil: For marking cuts and drill points clearly.
- Screwdriver or Screw Gun: To secure components with screws, a screw gun (cordless drill) will significantly speed up this process.
Optional Tools to Enhance Your Build:
- Kreg Jig (Pocket Hole Jig): This tool allows you to drill angled holes that hide screws, creating incredibly strong and clean-looking joints without visible fasteners. It’s a game-changer for many woodworking projects.
- Miter Saw: Ideal for making precise, repeatable angled cuts, ensuring perfect corners and joints, especially for the frame of your wine rack.
- Wood Filler: Useful for patching up small gaps, nail holes, or imperfections in the wood, creating a seamless finish before sanding and staining.
Planning Your Wine Rack: Design and Dimensions
Before any wood is cut or drilled, a thorough planning phase is essential for a successful and satisfying build. This is where you envision your finished wine rack and define its purpose and aesthetic. Consider where the rack will reside in your home; some prefer a compact countertop design, while others might need a larger unit that can hang on a wall or stand freely on the floor. Your chosen location will significantly influence the overall size and style of your rack. Additionally, determining the approximate number of bottles you intend to store is critical for sizing the structure appropriately, ensuring it’s both functional and visually balanced.
Choose Your Style and Placement
Take a moment to truly consider the intended location for your wine rack. If you’re working with limited space, a sleek, wall-mounted, or floating design can be an excellent solution, saving valuable counter or floor area. For those with more generous room, a classic freestanding floor rack or a robust countertop unit might be more suitable. Beyond practicality, think about your existing home decor. Do you desire a modern, minimalist look? A rustic, farmhouse-inspired piece? Or perhaps something simple and traditional that blends seamlessly? Matching your rack’s style to your room’s aesthetic will ensure it feels like a natural and integrated part of your home.
Determine Size and Bottle Capacity
To accurately plan your rack’s dimensions, it’s helpful to remember the standard wine bottle size: typically around 12 inches (30 cm) tall and 3 inches (7.5 cm) in diameter. However, wine bottles can vary, especially for champagne or larger formats, so always measure your most common bottles. Ensure your rack design provides ample space for each bottle to sit securely without touching its neighbors, allowing for easy access. Next, count the number of bottles you typically keep on hand or anticipate storing. Build with this number in mind, and it’s always a good idea to add a little extra capacity to accommodate future additions to your collection or unexpected gifts.
Wine Rack Angle and Spacing Considerations
For optimal long-term wine storage, bottles are traditionally stored at a slight downward angle, with the neck tipped slightly. This critical detail ensures that the cork remains continuously moist, which is vital for preventing it from drying out and allowing air to seep into the bottle. Air exposure can prematurely oxidize wine, ruining its flavor. Aim for a storage angle between 10 to 15 degrees to achieve this. Additionally, when planning the supports, ensure you leave at least 3.5 to 4 inches (9-10 cm) between them. This spacing will comfortably accommodate the width of most standard wine bottles while allowing for slight variations.
Step-by-Step Guide for Building Your DIY Wine Rack
Building a wine rack can be a straightforward and enjoyable process when approached systematically. Breaking the project down into manageable steps helps keep it simple, organized, and stress-free. You’ll begin by accurately measuring and cutting your wood pieces, then move on to preparing and joining them together. Each part of the build is dependent on the last, so taking your time and ensuring precision at every stage will make a significant difference in the final outcome. The key is to maintain steady hands, prioritize safety, and follow the steps in the correct order.
Step 1: Measure and Cut Your Wood Pieces
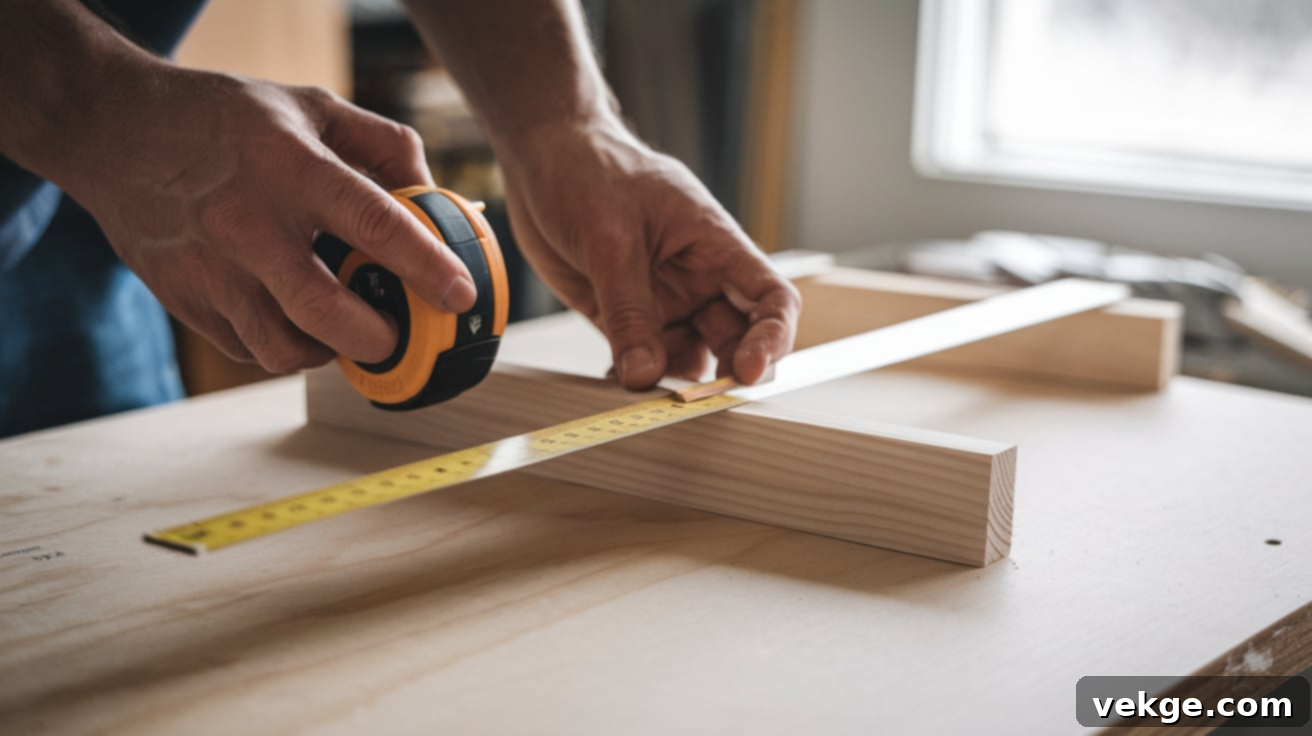
Your first task is to determine the exact number of bottles your rack will hold, as this dictates the dimensions for all your wood pieces. Using a reliable tape measure, carefully mark each cut line on your chosen wood with a sharp pencil. Clear and accurate markings are essential to minimize errors. A golden rule in woodworking is “measure twice, cut once” – meticulously verify your measurements before making any cuts.
If you’re using a handsaw, maintain a slow and steady pace to ensure greater control and straighter cuts. A miter box can be an invaluable aid here, guiding your saw blade for precise 90-degree or angled cuts. Before making all your final cuts, it’s often helpful to lay out your marked pieces to visualize the design and make any last-minute adjustments. This thoughtful approach at the cutting stage will significantly contribute to a smoother and more accurate assembly later on.
Step 2: Drill and Prepare Joints for Assembly
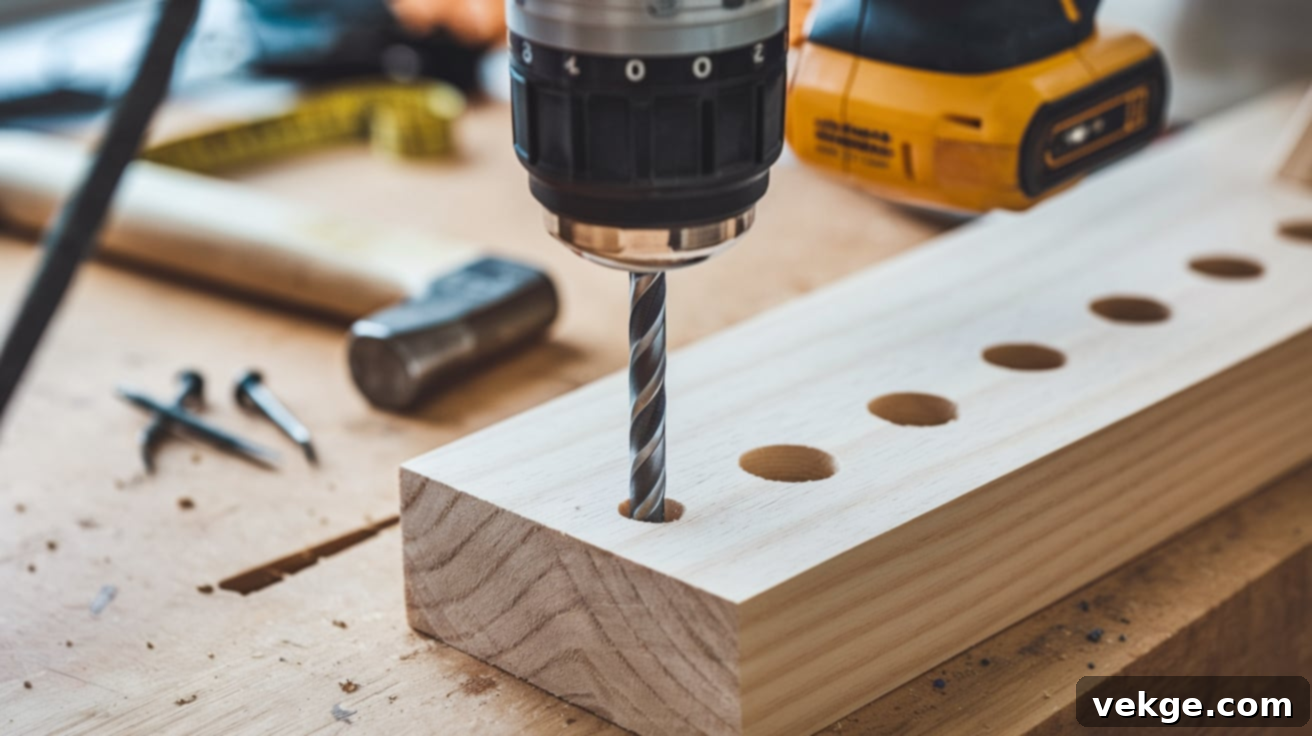
Drilling accurate holes is a critical step to ensure that your wood components fit together seamlessly and securely. For exceptionally strong and aesthetically clean connections, consider using pocket holes with a Kreg Jig, as these conceal the screws. However, if you don’t have specialized tools, a combination of wood glue and screws, driven into pre-drilled holes, will still yield robust and reliable results.
Pre-drilling pilot holes is vital as it prevents the wood from splitting, especially near edges or ends, and provides a clear, unhindered path for your screws. Take care to keep each hole perfectly aligned so that the pieces meet squarely when joined. After applying glue, promptly wipe away any excess with a damp cloth before it dries to avoid unsightly residue. Before making any permanent connections, always perform a “dry-fit” – temporarily assemble the pieces without glue or screws to confirm they fit together correctly and identify any necessary adjustments.
Step 3: Assemble Your Wine Rack Frame and Supports
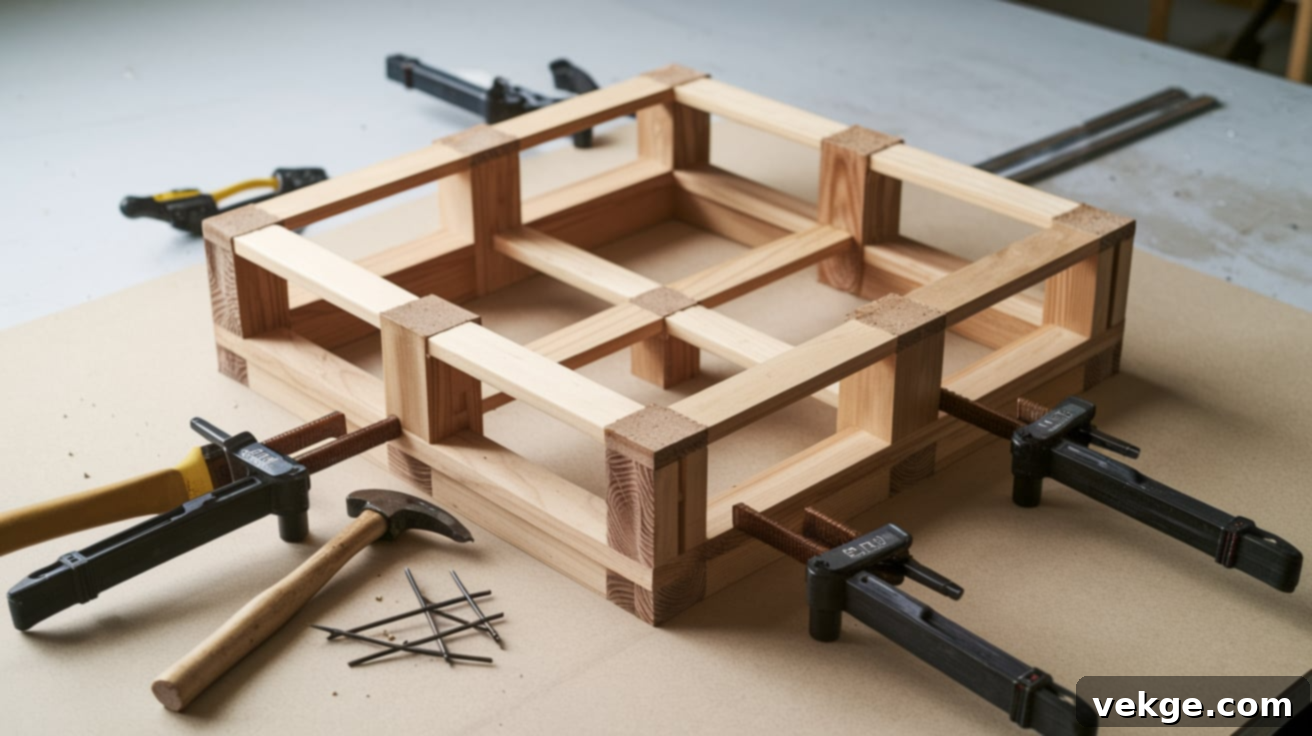
With all your wood pieces cut and prepared, it’s time for assembly. Begin by constructing the main outer frame of your wine rack. Lay the frame components on a flat, level surface and carefully ensure that all corners and edges align perfectly. Use clamps to hold the frame pieces firmly in place while the wood glue sets. Patience is key here; allow adequate drying time for the glue before proceeding, as rushing this step can compromise the structural integrity of your rack.
Once the main frame is secure, begin adding the inner rails or bottle supports one by one. As you attach each support, diligently check your spacing and alignment to ensure consistency throughout the rack. A carpenter’s square or a reliable ruler will be your best friend here, helping you maintain perfect right angles and even intervals. Periodically step back and observe the overall shape and balance of your rack. Making small adjustments early in the assembly process can save a lot of time and frustration later on, ensuring a professional-looking finished product.
Step 4: Sanding and Finishing Your Wine Rack

Sanding is a crucial step that transforms rough wood into a smooth, inviting surface, significantly enhancing the final appearance and feel of your wine rack while preventing potential splinters. Pay particular attention to all edges, corners, and joints where two pieces of wood meet, ensuring they are flush and smooth. You can use a sanding block for manual sanding, or an electric sander if you have one, which can speed up the process. Start with a medium-grit sandpaper (e.g., 120-grit) to remove imperfections, then move to a finer grit (e.g., 220-grit) for a silky-smooth finish. Once sanding is complete, use a clean, slightly damp cloth or a tack cloth to thoroughly wipe away all dust particles, ensuring the surface is perfectly clean for finishing.
When selecting a finish, you have several options to match your desired aesthetic. A light or dark wood stain can dramatically alter the wood’s color, highlighting its natural grain. Alternatively, a clear coat, such as polyurethane, varnish, or even wax, will protect the surface while allowing the natural beauty of the wood to shine through. Always follow the manufacturer’s directions on the product label for application, drying times, and subsequent coats. Ensure that your chosen finish is completely dry and cured before placing any bottles in the rack, to avoid any transfer or damage.
Step 5: Mounting or Placing Your Finished Wine Rack
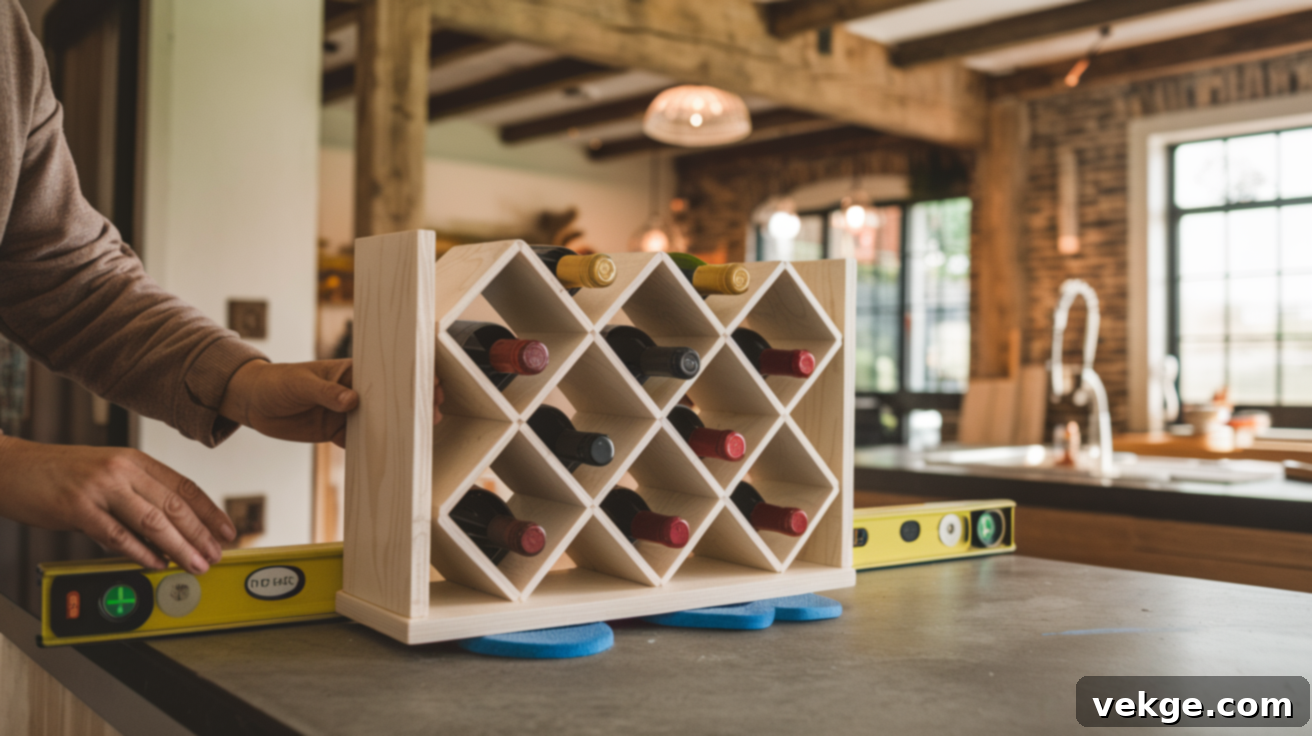
The final step is to securely position your newly built wine rack. Your method will depend on whether it’s designed to sit on a countertop, stand freely on the floor, or be mounted to a wall. If your design is wall-mounted, it is absolutely essential to drill into wall studs for maximum strength and safety. Using a stud finder will help you locate these structural supports accurately. A spirit level is indispensable for ensuring the rack hangs perfectly straight, and appropriate wall anchors can provide additional support, especially if studs are not ideally spaced.
For freestanding racks, place them on a flat, stable surface and gently test for any wobbling. If it’s unstable, you might need to adjust the feet or add shims. Consider attaching rubber feet or felt pads to the bottom of your freestanding rack. These not only help to keep it steady on uneven surfaces but also protect your floors or countertops from scratches. Before fully loading your rack, perform a final safety check by placing one or two bottles in it. Observe how the rack responds and ensure everything feels solid and secure. Once you’re confident in its stability, your custom-built wine rack is ready to proudly display your collection!
Creative Design Ideas and Customizations for Your Wine Rack
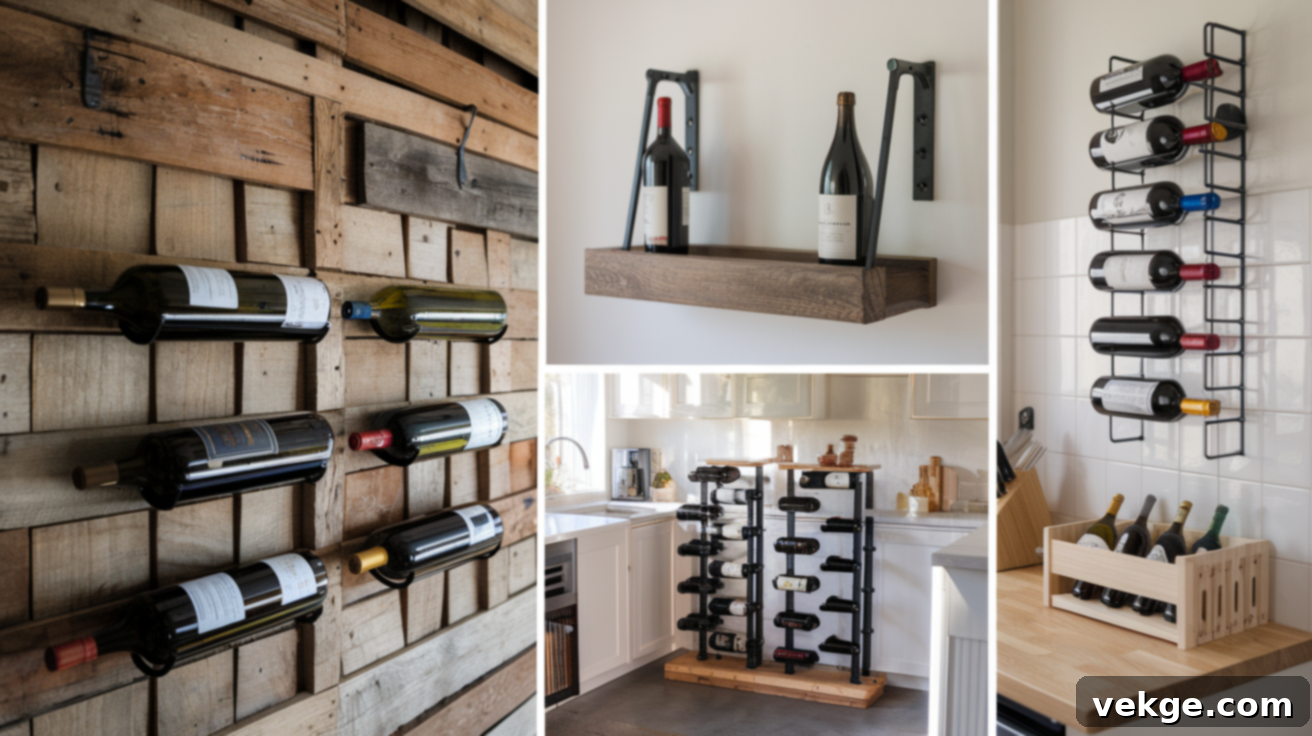
Building a wine rack offers a fantastic opportunity for personalization; you certainly don’t have to limit yourself to a single, rigid style. The possibilities for customization are vast, allowing you to tailor the look and feel based on your chosen materials, the amount of space you have available, and your personal aesthetic preferences. Some designs are perfectly suited for compact living spaces, while others are intended to be prominent showpieces that demand attention, or conversely, subtle additions that blend seamlessly into your existing decor.
Take time to consider what truly complements your home environment and how you typically utilize your space. These creative ideas can inspire you to transform a functional item into a truly unique and personal statement piece, reflecting your taste and adding character to any room:
- Pallet Wood Wine Rack: Embrace a wonderfully rustic and reclaimed feel by utilizing pallet wood. This option is not only environmentally friendly but also incredibly budget-friendly, as pallets can often be sourced for free or very cheaply.
- Floating Shelf Rack: For a sleek, modern, and space-saving solution, consider a floating shelf design. This keeps your wine bottles off precious counter space and can double as an artistic display or a minimalist wall feature.
- Industrial Pipe and Wood Rack: Combine the warmth of natural wood with the edgy, robust look of black iron pipes for a striking industrial-chic aesthetic. This blend of materials creates a durable and visually interesting piece.
- Compact Designs: Ideal for smaller kitchens, apartments, or cozy nooks, compact wine rack designs are designed to hold just a few bottles (typically 3-6) efficiently. These are perfect for everyday use or for showcasing a small, curated selection.
- Built-in Cabinet Integration: For a truly custom look, consider building a wine rack designed to fit perfectly within existing cabinetry or an unused section of a pantry, creating a seamless and integrated storage solution.
- Modular Wine Rack: Design individual units that can be stacked or arranged in various configurations, allowing you to expand your wine storage as your collection grows or your needs change.
Final Tips for First-Time Wine Rack Builders
As you embark on your first wine rack building adventure, remember that patience and precision are your greatest allies. Before you start fastening any pieces together permanently, always take the time for a “dry fit.” This crucial step involves assembling all the parts without glue or screws, allowing you to clearly see how everything aligns and what, if anything, needs adjustment. Dry fitting is a simple yet powerful technique that helps you catch potential mistakes before they become much harder, or even impossible, to fix.
Throughout the assembly process, keep a carpenter’s square close at hand. Regularly check that your corners and joints are perfectly square. Even slight deviations can compromise the stability and overall aesthetic of your finished rack. Consistent checking as you go will prevent major alignment issues later. Remember, woodworking is not a race. If you find yourself feeling rushed, tired, or if something simply doesn’t look right, don’t hesitate to take a break. Stepping away and returning with a fresh perspective can help you spot errors or find solutions that you might have missed in your haste. Learning from small mistakes is part of the process, and with these tips, your DIY wine rack will not only be functional but also a source of lasting pride.
- Don’t Rush: Take your time with each step, especially measuring and cutting.
- Check for Square: Use a carpenter’s square frequently to ensure straight lines and right angles.
- Dry Fit Everything: Assemble pieces without fasteners first to catch errors early.
- Safety First: Always wear protective gear (safety glasses, dust mask, ear protection).
- Learn from Mistakes: Every project is a learning opportunity. Don’t be afraid to try again if something doesn’t work out perfectly.
Conclusion
You now possess all the knowledge and instructions needed to build a practical and aesthetically pleasing wine rack, perfectly suited to your space and personal taste. From meticulously selecting your wood and gathering the right tools, through the detailed steps of cutting, drilling, assembly, and applying the final finish, every part of this exciting project has been clearly explained. This guide aims to empower you to complete your DIY wine rack with confidence and without confusion.
More than just a useful piece of furniture, this project represents a wonderful opportunity to engage your hands, unleash your creativity, and experience the satisfaction of making something from scratch. It’s about embracing the challenge, learning new skills, and watching your vision come to life. The sense of accomplishment that comes with a handmade item is truly unique and rewarding.
If this project has ignited your passion for DIY, we encourage you to explore more of our build ideas. There’s an abundance of exciting projects waiting for you to tackle, often utilizing the same basic tools and requiring just a bit of your time. You might even surprise yourself with the next amazing creation you bring to life!
