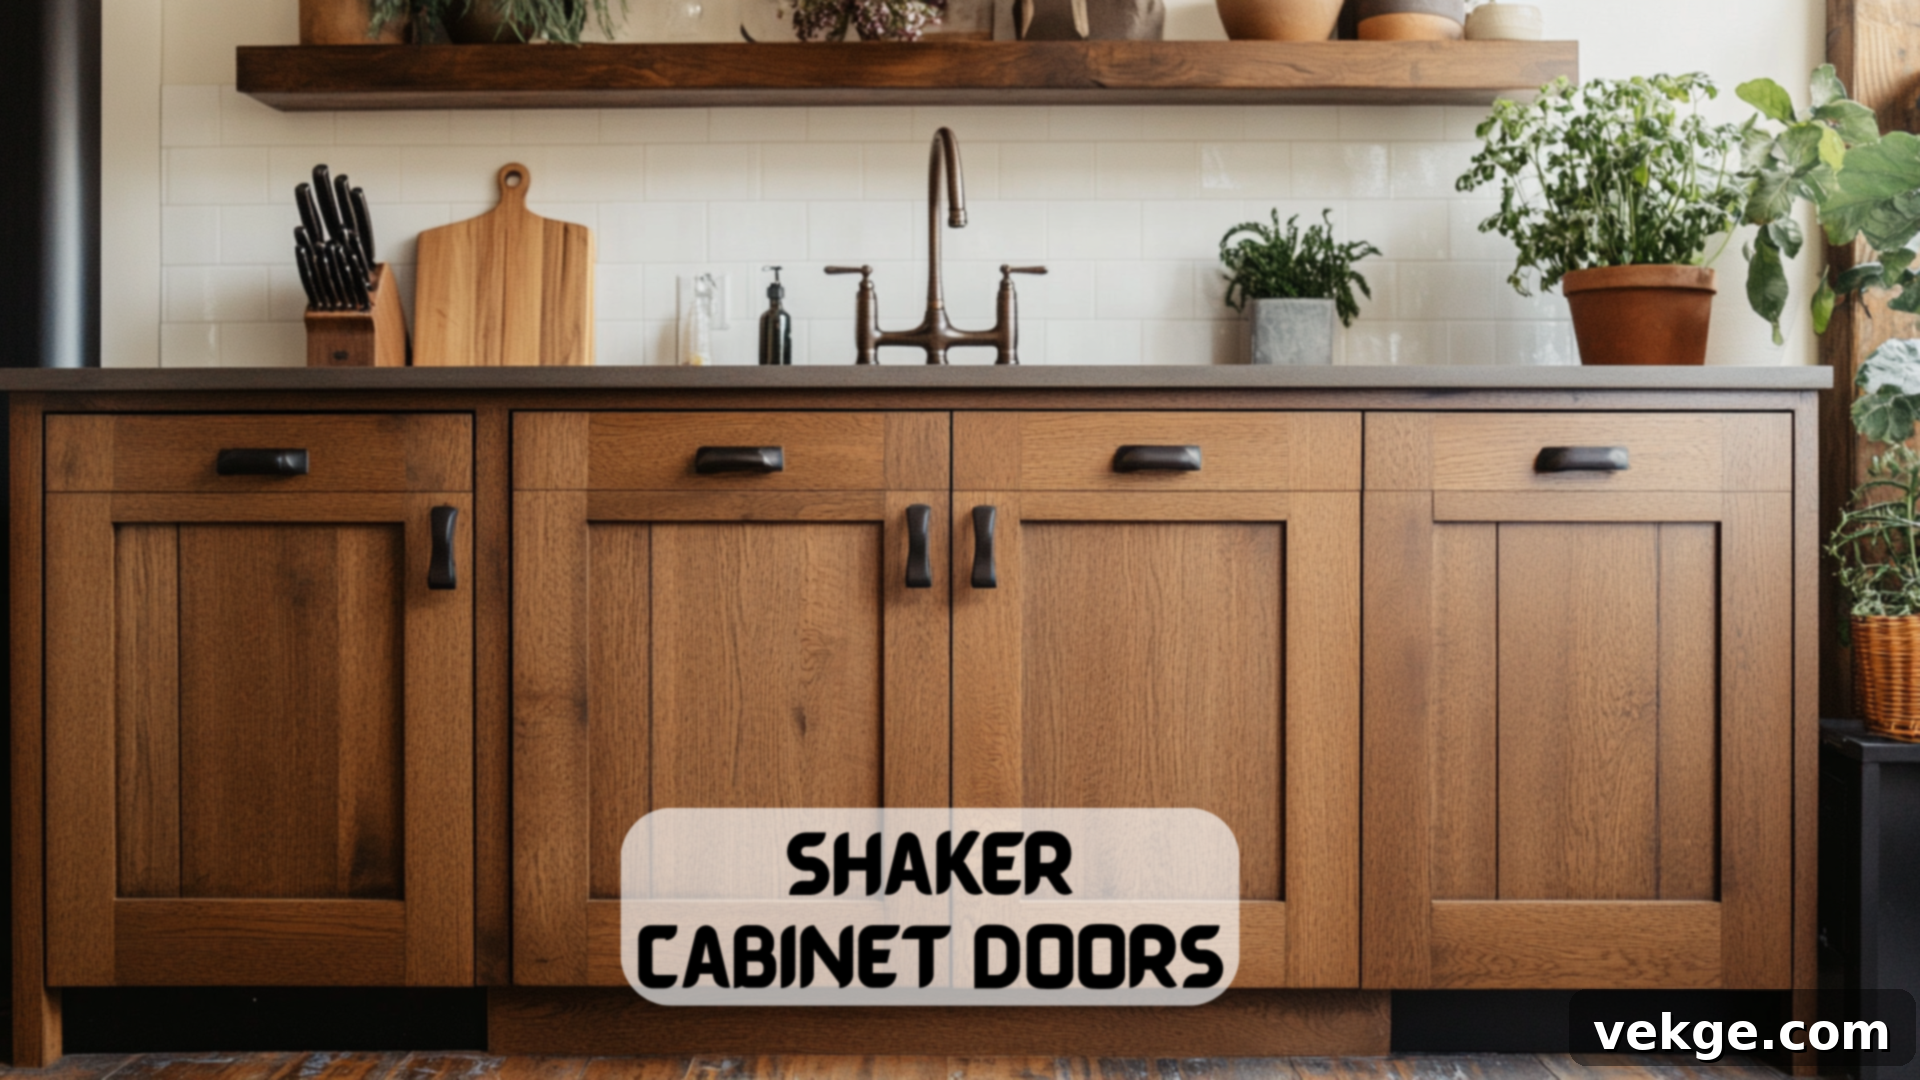
Build Your Own Shaker Cabinet Doors: The Ultimate DIY Guide to Savings & Style
Tired of generic, expensive cabinets that don’t quite fit your vision or budget? Imagine transforming your kitchen or bathroom with elegant, custom-made shaker cabinet doors crafted by your own hands. This comprehensive guide will empower you to learn exactly how to make shaker cabinet doors, offering significant savings and a deeply satisfying sense of accomplishment.
Shaker-style doors are a timeless classic, renowned for their clean lines, simple design, and versatile aesthetic that complements virtually any home décor, from modern minimalist to rustic farmhouse. In this detailed article, we’ll walk you through every essential step of building your own shaker doors, starting from the initial wood cuts all the way to applying the perfect finish. You’ll gain invaluable knowledge on selecting the right tools, mastering woodworking techniques, and even discovering unique finishing touches to make your doors truly unique.
Beyond the fundamental construction, we’ll delve into common pitfalls to avoid, ensuring your project runs smoothly and efficiently. We’ll also share practical maintenance tips to keep your new custom doors looking pristine and functioning flawlessly for many years to come. By the time you finish reading – and building – you’ll possess the confidence and expertise to create beautiful, durable cabinet doors that perfectly match your personal style and exacting budget.
Are you ready to elevate your home with custom craftsmanship and personal flair? Let’s roll up our sleeves and embark on this rewarding DIY journey!
Why Choose to DIY Your Shaker Cabinet Doors?
Opting to create your own shaker cabinet doors isn’t just a project; it’s an investment in your home, your skills, and your personal style. There are compelling advantages to taking the DIY route over purchasing pre-made or custom-ordered doors:
- Significant Cost Savings: This is often the primary motivator for many DIYers. The cost of materials alone is considerably less than buying ready-made doors, especially if you consider custom sizing or specific wood types. You effectively eliminate labor costs, which typically account for a large portion of professional cabinet making expenses. By doing it yourself, you can allocate your budget towards higher quality wood or premium hardware, still saving money in the process.
- Unmatched Customization and Control: When you build your own doors, you have complete creative freedom. You dictate every detail: the exact dimensions, the specific wood species, the width of the rails and stiles, and the precise finish. This allows you to achieve a look that perfectly harmonizes with your existing kitchen elements or a completely new design vision. No more compromising on aesthetics or trying to fit standard sizes into non-standard openings.
- Immense Personal Satisfaction: There’s an undeniable sense of pride and accomplishment that comes from creating something functional and beautiful with your own hands. Each time you enter your kitchen or bathroom, you’ll be reminded of your effort and skill. It’s a fantastic conversation starter and a testament to your capabilities.
- Quality You Can Trust: You control the quality of materials and craftsmanship. You can choose premium hardwoods, ensure precise cuts, and apply durable finishes, resulting in doors that are often superior in quality to mass-produced alternatives. You’ll know exactly how well they’re built because you built them.
- A Valuable Learning Experience: This project offers an excellent opportunity to expand your woodworking skills. From learning to safely operate power tools to understanding joinery and finishing techniques, you’ll gain practical knowledge that can be applied to future home improvement projects.
Your kitchen or bathroom will truly reflect your unique taste and the dedication you poured into every detail. The tangible effort you invest will shine through in the final product, creating a bespoke feel that elevates your entire living space.
Essential Materials and Tools Required
Before you begin, gathering all your materials and tools is crucial for a smooth and efficient building process. Having everything organized will save you time and frustration. Here is a comprehensive list of what you’ll need to construct your shaker cabinet doors:
- 1×3 Wood Stock: Poplar is highly recommended due to its stability, smooth grain, and affordability, making it an excellent choice for painting. However, you can opt for maple, birch, oak, or cherry if you plan to stain your doors. This will form the frame (styles and rails) of your doors.
- 1/4″ Plywood: Birch plywood is preferred for its smooth surface, which takes paint and stain very well. This will serve as the recessed center panel of your shaker doors.
- Table Saw: An absolute workhorse for this project, essential for making long, precise, and consistent rip cuts for your styles and rails, as well as cutting the grooves for the panel.
- 10-inch Saw Blade (Standard): A sharp, standard combination blade suitable for both ripping and cross-cutting on your table saw. Ensure it’s clean and in good condition for the best results.
- Miter Saw: Perfect for making accurate cross-cuts, especially when sizing your rails and styles to length. It ensures perfectly square ends.
- Drill and Drill Bits: Necessary for various tasks, including pre-drilling pilot holes for hardware and general assembly.
- Clamps: Essential for holding your door components tightly together during the glue-up process, ensuring strong and stable joints. You’ll need several bar clamps or pipe clamps.
- Wood Glue: A high-quality wood glue designed for strong, durable bonds. Titebond II or III are excellent choices for woodworking projects.
- Sandpaper: You’ll need a range of grits. Start with 120-grit for initial shaping and smoothing, then move to 180-grit for finer sanding before finishing. You might want 220-grit for an even smoother final surface.
- 35mm Forstner Bit: Specifically required if you plan to use European-style concealed hinges, as it drills a clean, flat-bottomed hole for the hinge cup.
- Measuring Tape: Crucial for accurate measurements throughout the entire project. Don’t skimp on a good, reliable tape measure.
- Pencil and Marking Gauge: For marking cut lines and reference points on your wood.
- Safety Glasses and Hearing Protection: Always prioritize safety when working with power tools!
Step-by-Step Guide to Making Shaker Cabinet Doors
Now that you have all your materials and tools ready, let’s dive into the core of the project. This section provides a detailed, step-by-step guide to help you construct beautiful, custom shaker cabinet doors for your home. Follow these instructions carefully, taking your time with each stage, and you’ll achieve professional-looking results.
Step 1: Accurately Cut the Styles and Rails
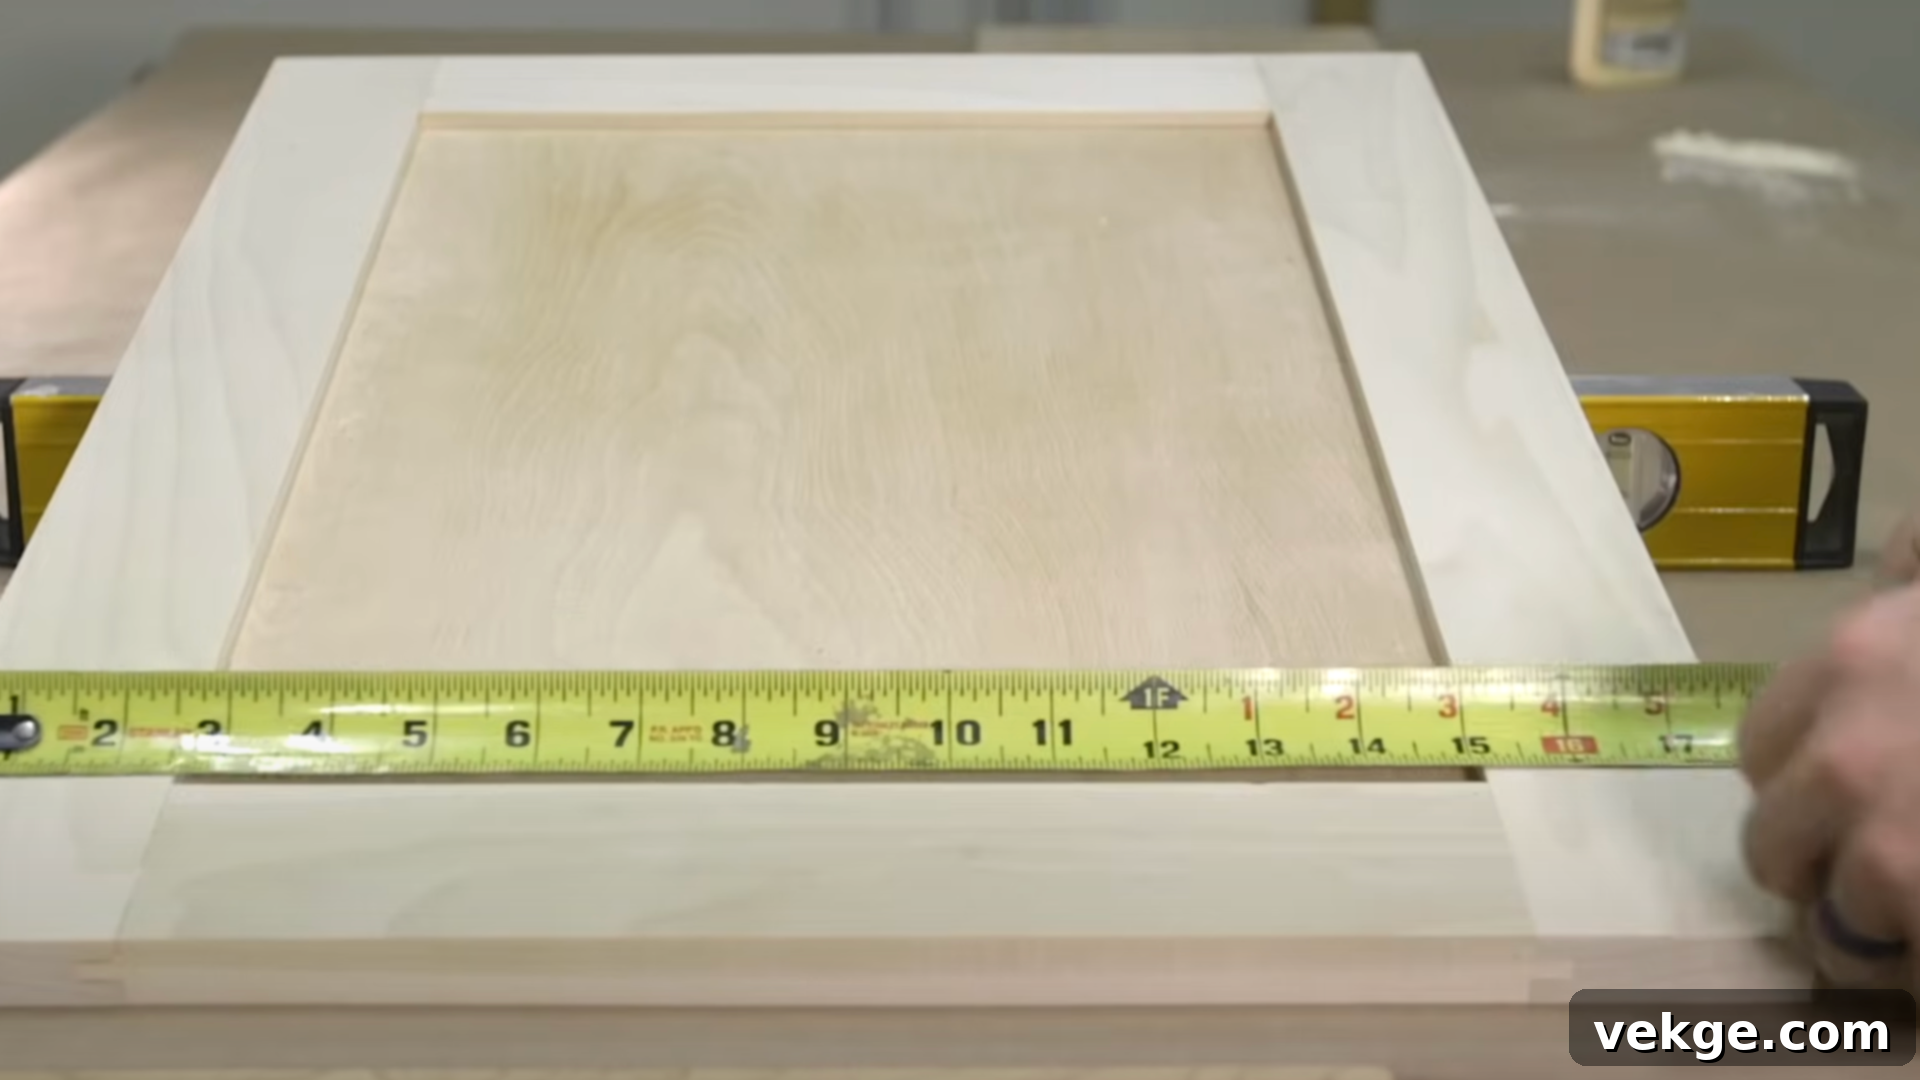
The foundation of your shaker door lies in its frame, composed of two vertical “styles” and two horizontal “rails.” Precision here is paramount for a perfectly square and well-fitting door.
- Cutting the Styles: Begin by cutting two pieces of your 1×3 wood for the styles. These are the long, vertical sides of the door. Measure your cabinet opening height and subtract about 1/4 to 1/2 inch to allow for proper clearance and a consistent gap. For example, if your cabinet opening is 24 inches high, your styles might be 23.5 inches long. Use your miter saw for clean, square cuts.
- Cutting the Rails: Next, cut two pieces for the rails, which are the top and bottom horizontal pieces. To determine their length, first measure your total desired door width (e.g., 17.5 inches). From this, subtract the combined width of both styles (e.g., if each style is 2.25 inches wide, you subtract 4.5 inches). Then, add 3/4 inch to account for the tenons – the parts that will fit into the grooves of the styles. So, for a 17.5-inch wide door with 2.25-inch styles, your calculation would be: 17.5″ – (2 * 2.25″) + 0.75″ = 17.5″ – 4.5″ + 0.75″ = 13.75″ for each rail.
- Standard Width: Most shaker cabinet door frames are made with styles and rails that are about 2.25 inches wide, but you can adjust this dimension to suit the scale of your cabinets or your aesthetic preference. Double-check all measurements before making your final cuts. Accuracy in this step will prevent issues later on.
Step 2: Create the Groove for the Plywood Panel
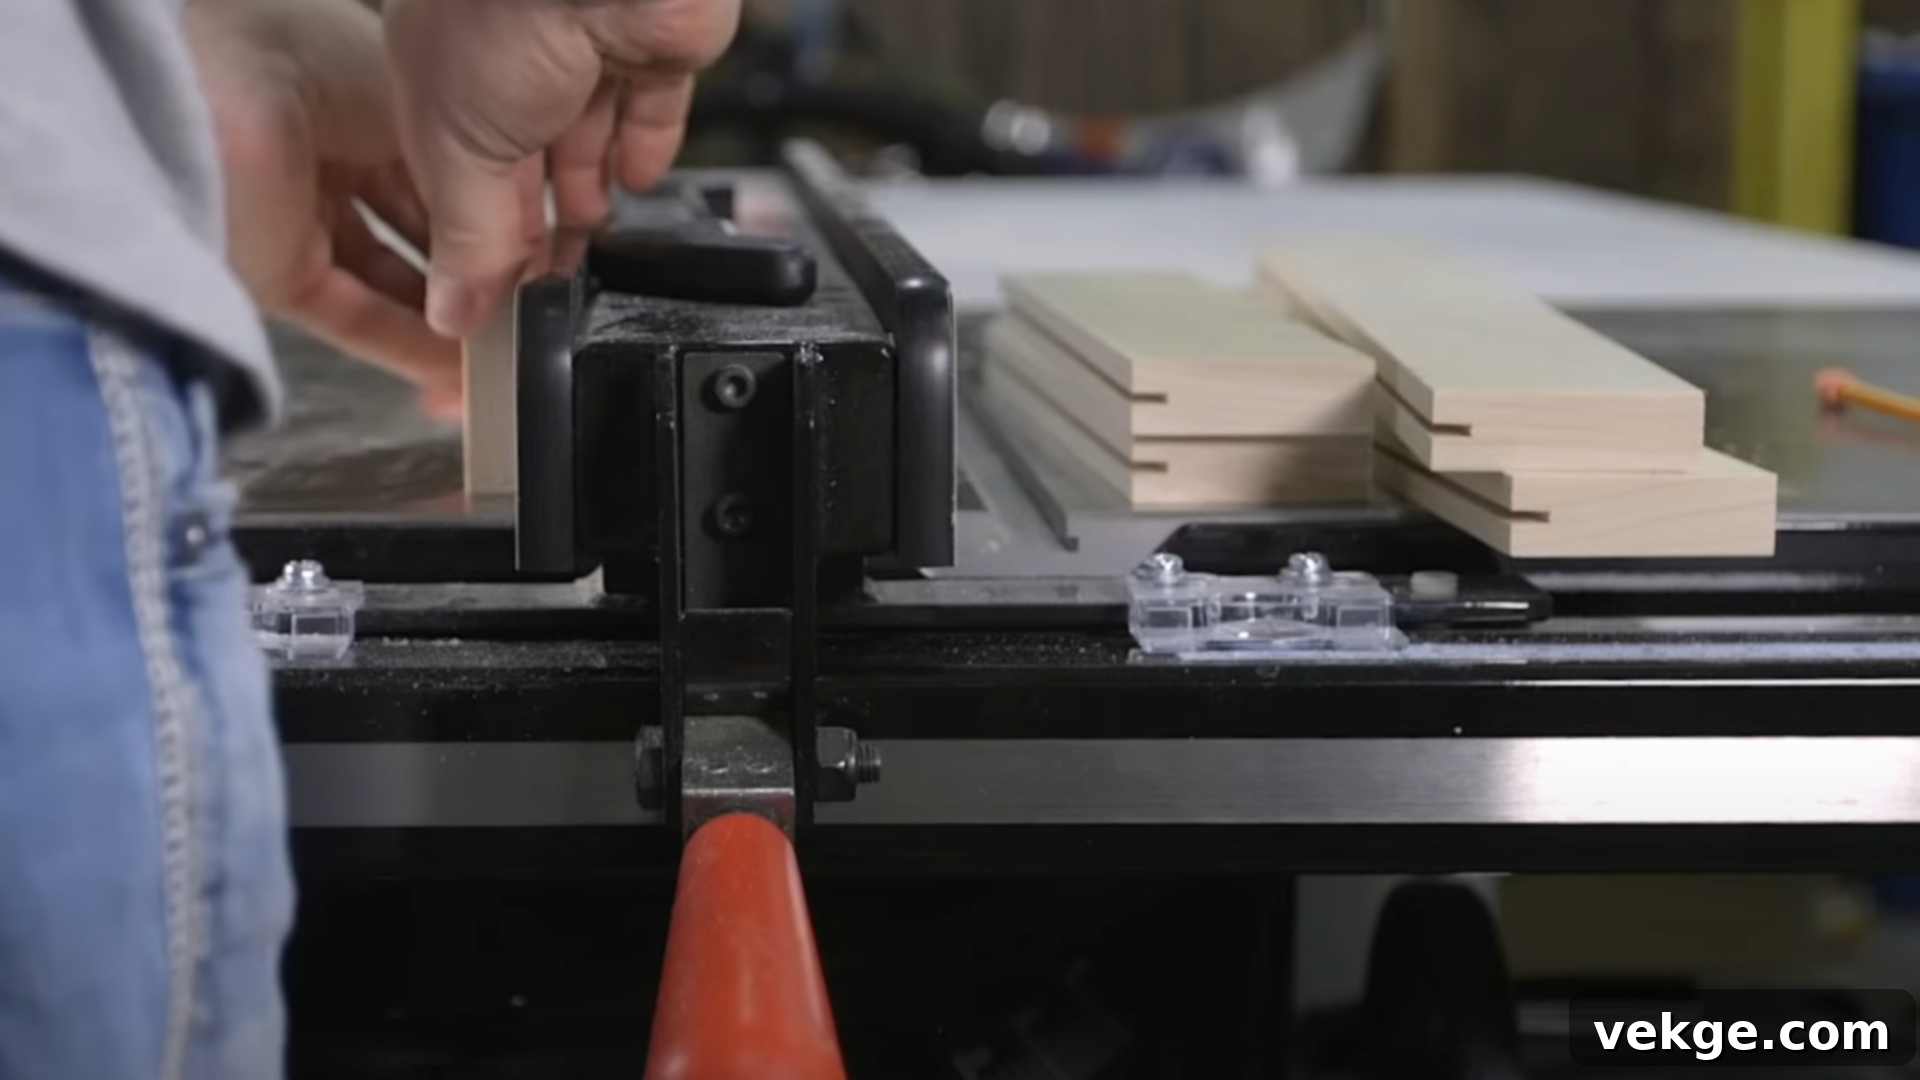
Now, you’ll create a consistent groove along the inside edge of all four frame pieces (two styles, two rails). This groove will securely house the 1/4-inch plywood center panel.
- Table Saw Setup: Set your table saw blade to extend approximately 3/8 inch above the table. This depth provides sufficient material for a strong tenon joint while leaving enough wood on the outside face of the frame. Position your fence so that the blade will cut a groove precisely in the middle of your board’s 2.25-inch width. This typically means setting the fence about 1 inch from the blade, but always measure from the blade to the fence to ensure it’s centered.
- Test Cut: Before cutting your good wood, always perform a test cut on a scrap piece of the same material. Once the groove is cut, try fitting a piece of your 1/4-inch plywood into it. The panel should slide in easily but without excessive play – it shouldn’t be too loose or too tight.
- Adjust and Cut: If the fit isn’t perfect, make tiny adjustments to your fence position and try again. A slightly too-tight groove can be widened with another pass, while a too-loose one requires adjusting the fence closer to the blade. Once you achieve the ideal fit, carefully cut the groove into one edge of all four styles and rails. This meticulous step ensures a durable and professional-looking door.
Step 3: Precisely Mill the Tenons on the Rails
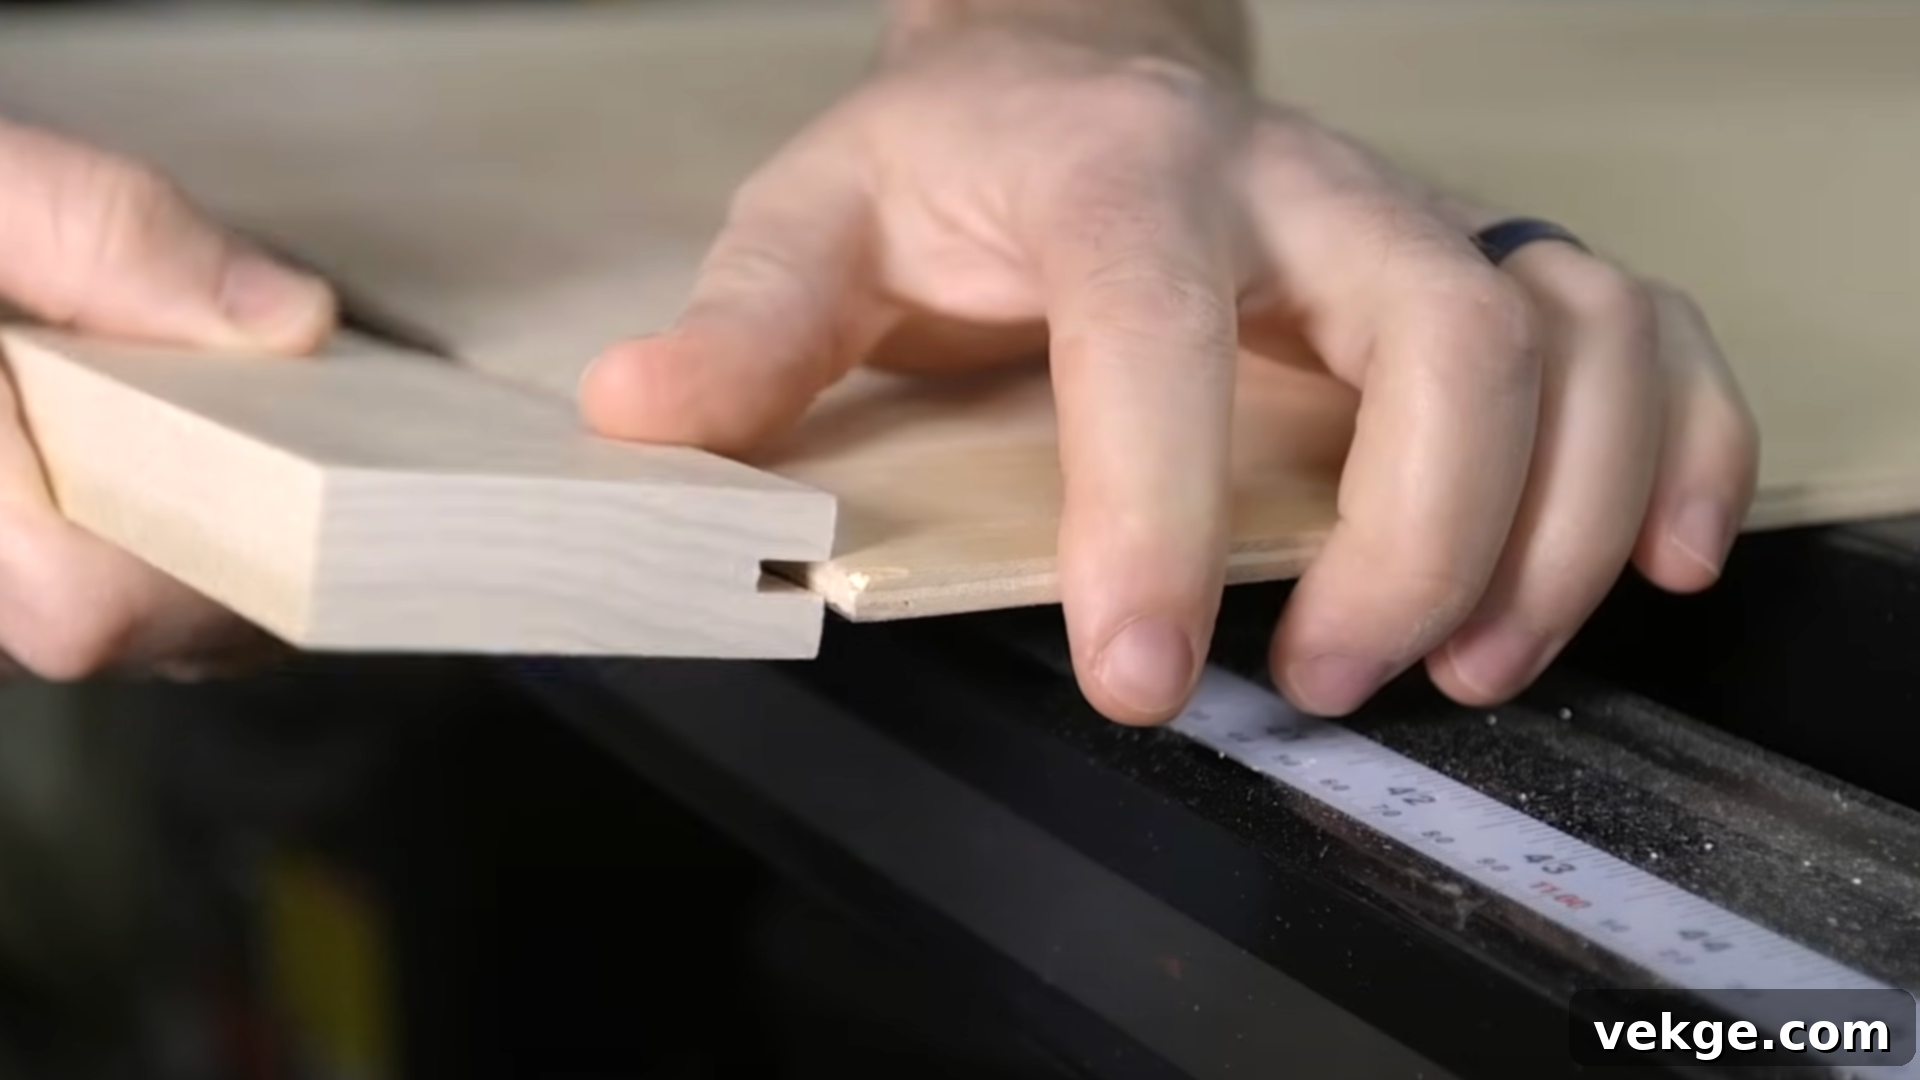
The tenons are the protruding parts at the ends of your rails that will fit snugly into the grooves you just cut in the styles, forming a robust mortise and tenon-style joint. This joint is fundamental to the shaker door’s strength and longevity.
- Marking and Setup: Place a scrap block of wood against your table saw fence. Use one of your rails to mark where the tenons should begin and end. Lower your saw blade to the exact height of the groove you previously cut (3/8 inch). Set your fence to cut a 3/8-inch deep shoulder on the tenons. This means the blade will remove wood from the face of the rail, leaving a tongue that is 3/8 inch thick.
- Cutting the Tenons: Carefully run each end of your rails through the saw, making multiple passes to remove the waste wood and form the tenon. You’ll cut both faces of the rail ends.
- Testing the Fit: After cutting, take one of your rails and attempt to fit the newly formed tenon into the groove of a style. It should slide in with a firm push, but without requiring excessive force. The goal is a snug fit that holds without being overly tight.
- Refinement: If the tenons are too tight, make minor adjustments to your saw blade height or fence position and re-cut. If they’re too loose, you may need to cut new rails, as adding wood back is nearly impossible. This precise fit is crucial for the structural integrity of your door, so take your time to get it right.
Step 4: Dry-Fit All the Styles and Rails
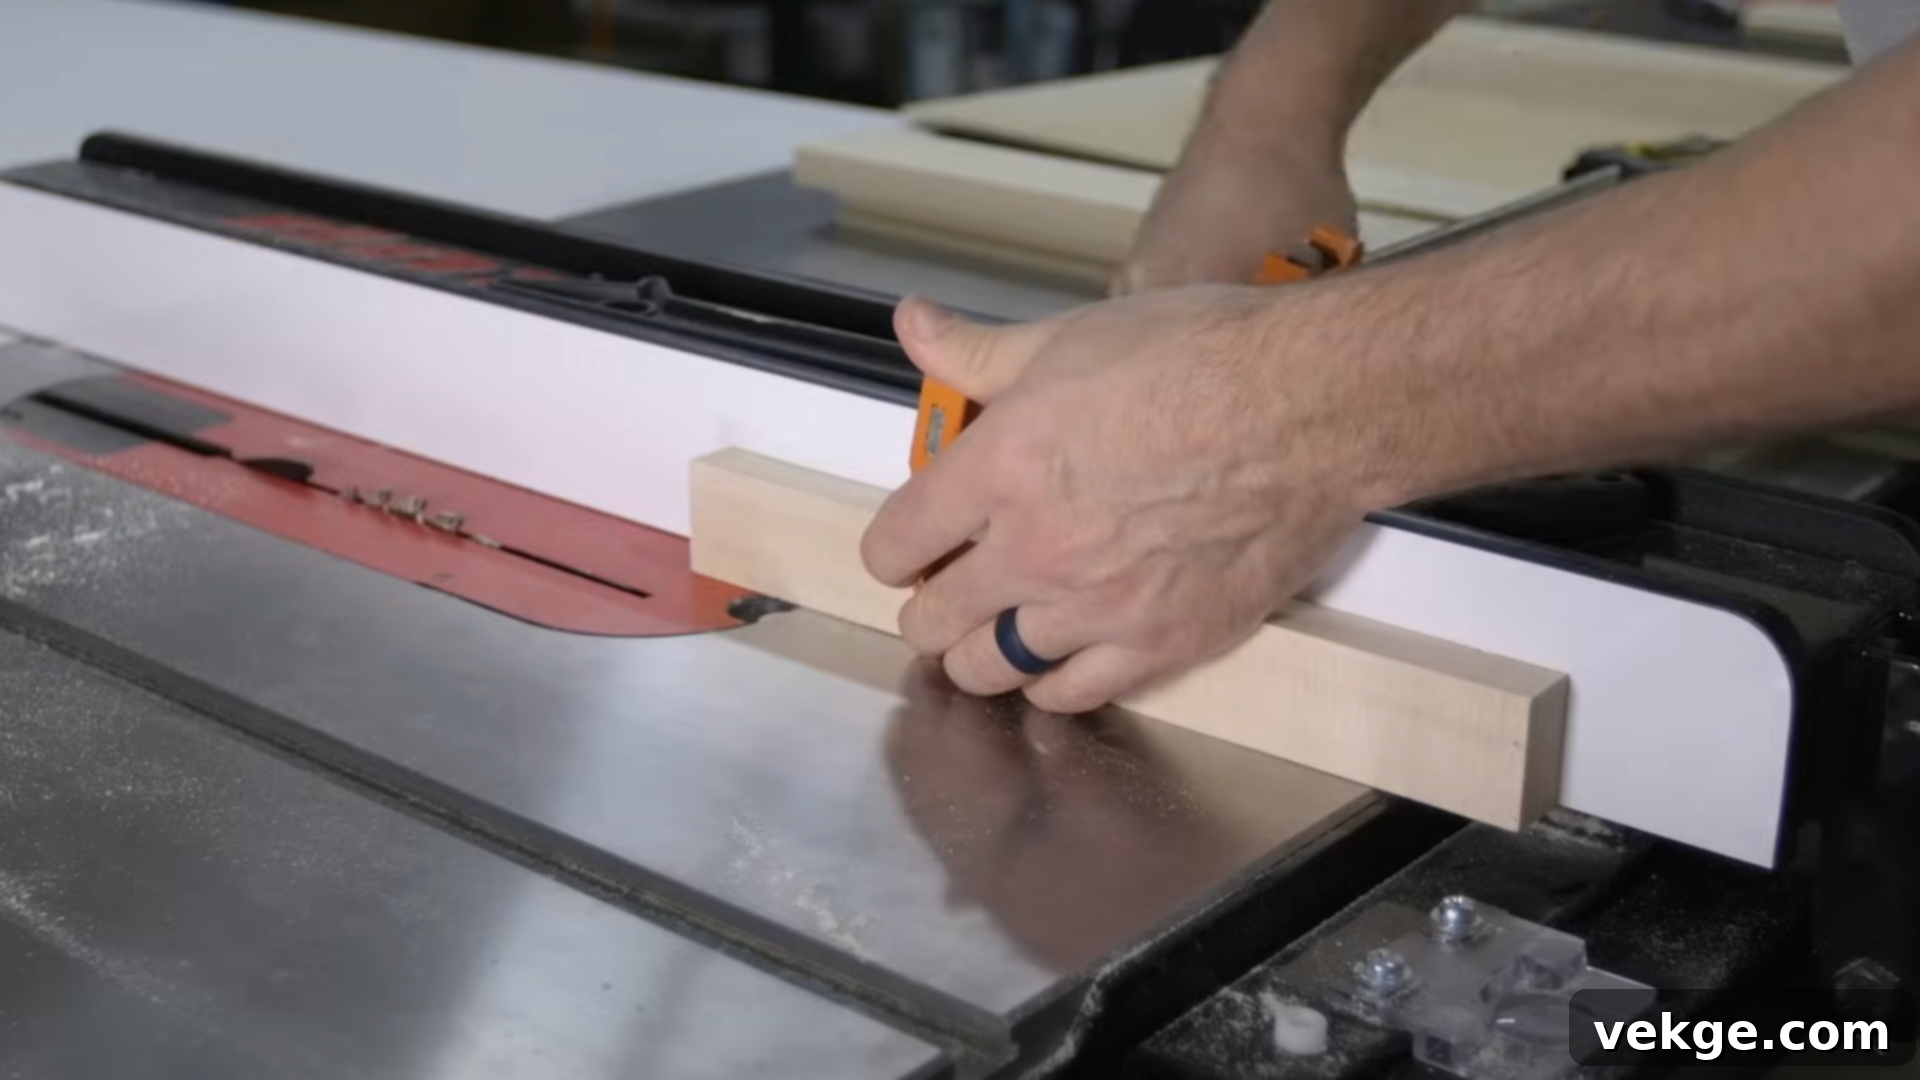
Before applying any glue, conduct a “dry-fit” of all your frame components. This is a critical step that allows you to identify and correct any fit issues before they become permanent problems.
- Assemble Without Glue: Gently push the tenons of your rails into the grooves of your styles. All four pieces should come together to form a complete, square frame. The joints should feel snug but still allow you to easily disassemble the frame.
- Check for Squareness: Use a large framing square or measure diagonally from corner to corner. Both diagonal measurements should be identical. If they’re not, it indicates a problem with your cuts (likely uneven rail lengths or un-square ends).
- Troubleshooting:
- Too Tight: If the joints are too difficult to assemble, you might need to lightly sand the tenons or adjust your saw blade for a slightly thinner tenon cut.
- Too Loose: If the joints are wobbly or have excessive gaps, your tenons might be too thin, or your grooves too wide. This often requires re-cutting the affected pieces.
- Not Square: Recheck your rail lengths and ensure all ends are perfectly square.
Addressing these issues now, before glue is involved, will save you significant frustration and potentially wasted materials. A well-fitting dry assembly is a strong indicator of a successful final door.
Step 5: Prepare and Cut the Plywood Panel
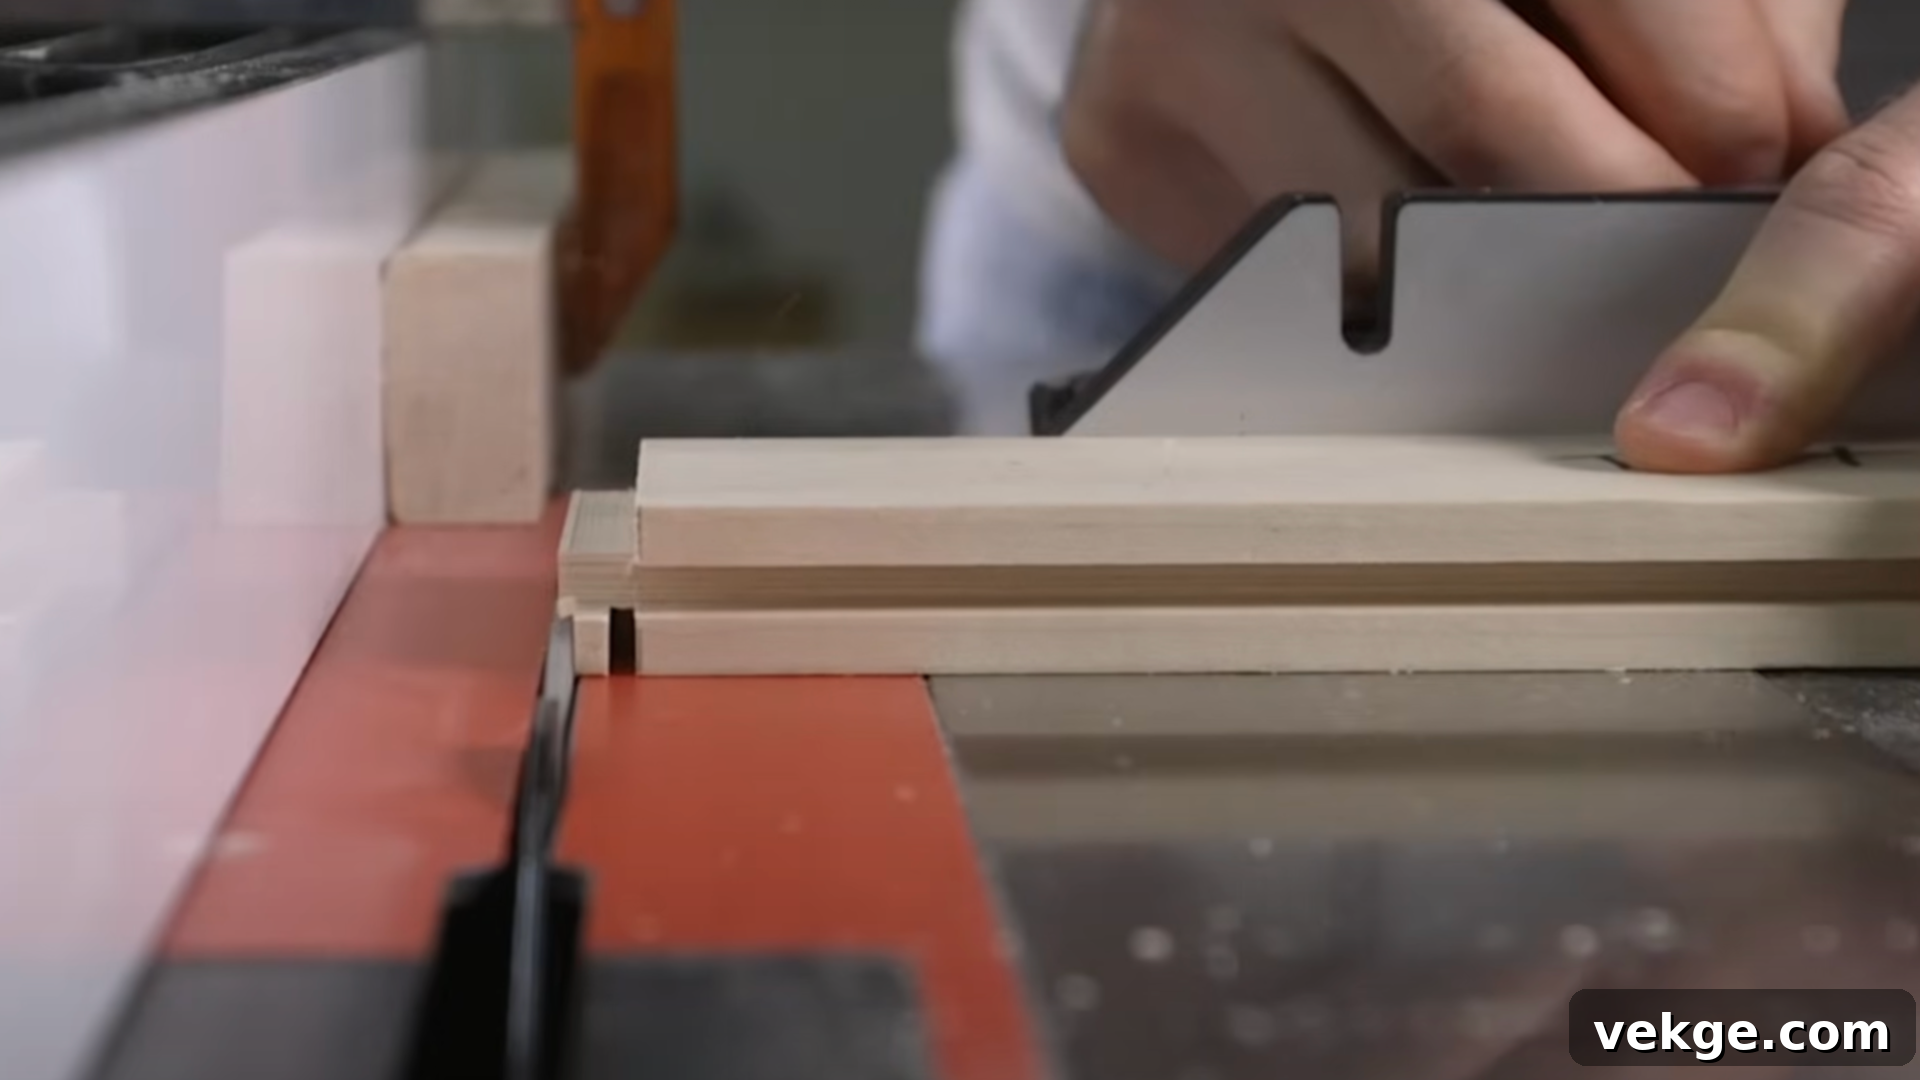
The recessed center panel is a defining feature of shaker doors. It’s typically made from 1/4-inch plywood, which is stable and less prone to warping than solid wood for this application. Birch plywood is an excellent choice for its smooth, paint-ready surface.
- Accurate Measurement: With your frame dry-fitted (or at least knowing the exact internal dimensions), measure the distance between the inside edges of the styles (for the panel’s width) and the inside edges of the rails (for the panel’s height).
- Allow for Wood Movement: Crucially, subtract approximately 1/8 inch from both your width and height measurements. This small allowance is vital for accommodating natural wood movement due to changes in humidity. If the panel is cut too tight, it can cause the frame to bow or crack over time.
- Cutting the Panel: Use your table saw or circular saw with a straight edge guide to cut the 1/4-inch plywood to these precise dimensions.
- Test Fit the Panel: Slide the newly cut plywood panel into the grooves of your dry-fitted frame. It should slide in easily and sit comfortably within the frame, with a small gap on all sides. It should not rattle excessively, but also not be so tight that you have to force it. If it’s too large, trim it down incrementally until it fits perfectly. If it’s too small, you’ll need to cut a new one. The panel is a prominent visual element, so ensure it looks clean and fits correctly.
Step 6: Assemble and Glue the Door Frame
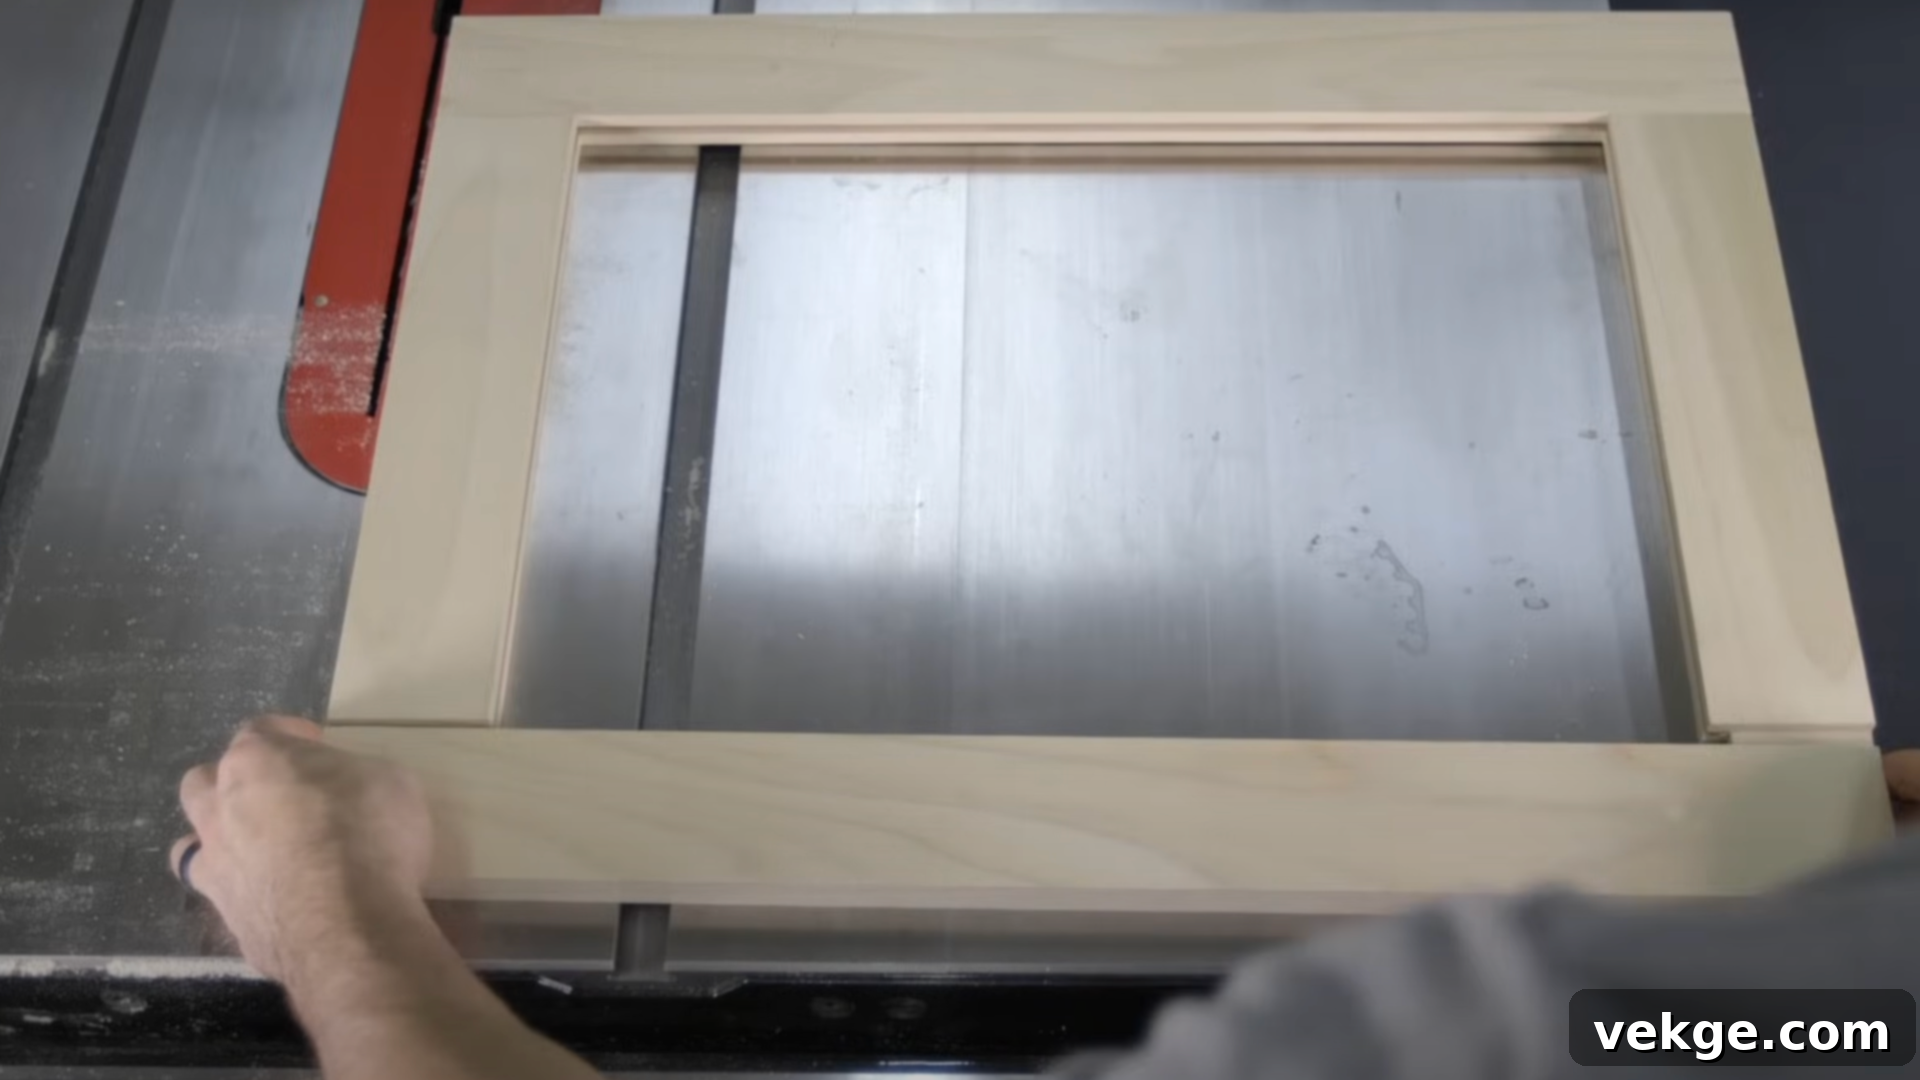
This is where your shaker door truly takes shape. The glue-up process is critical for the door’s structural integrity and squareness. Work efficiently but carefully, as wood glue sets relatively quickly.
- Apply Glue: Apply an even, thin coat of wood glue to the tenons on both ends of your rails. You can also apply a thin bead of glue inside the grooves of one style where the tenons will enter. Avoid applying glue to the edges of the plywood panel itself, as it needs to “float” within the frame to allow for movement.
- First Assembly: Push one rail’s tenons into the grooves of one style. Then, carefully slide your plywood panel into the grooves of this partially assembled frame.
- Complete Assembly: Apply glue to the remaining tenons of the rails and align the second style, pushing it firmly onto the exposed tenons. Ensure all joints are fully seated.
- Clamping: Immediately apply clamps (at least two per door, top and bottom) to hold the frame tightly together. Tighten the clamps until you see a small amount of glue squeeze out from the joints – this indicates good coverage. Avoid overtightening, which can bow the wood.
- Check for Squareness (Again!): While the glue is still wet and pliable, re-check the door for squareness by measuring diagonally from corner to corner. If the measurements are not equal, gently adjust the clamps or tap the corners with a rubber mallet until the door is perfectly square.
- Wipe Excess Glue: Use a damp cloth to wipe away any squeezed-out glue from the joints. Dried glue can prevent stain from absorbing evenly or create bumps under paint.
- Drying Time: Let the glue dry completely, following the manufacturer’s instructions on the glue bottle (typically several hours or overnight). Do not remove the clamps prematurely.
Step 7: Sand, Finish, and Install Hardware
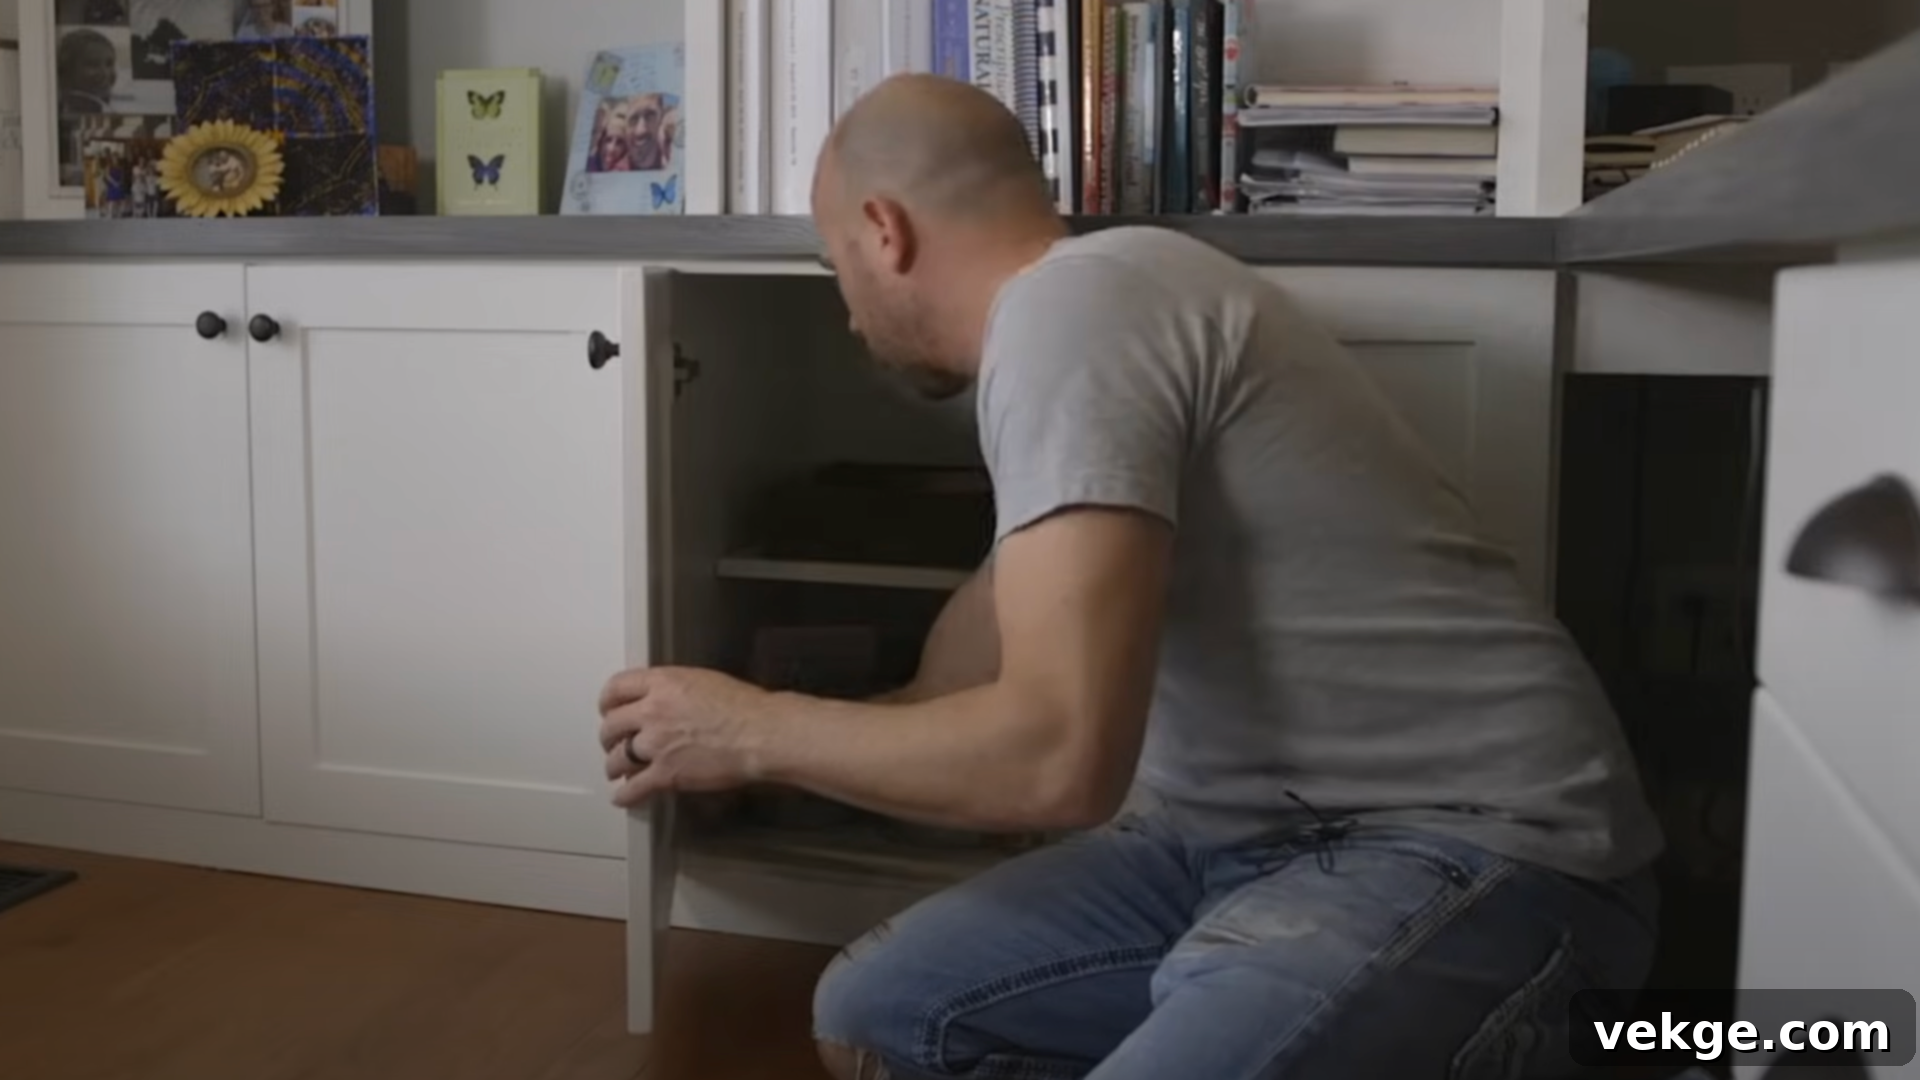
The final steps involve preparing your door for its aesthetic appeal and functionality. This stage transforms your raw wood assembly into a beautiful, ready-to-use cabinet door.
- Sanding for Smoothness: Once the glue is fully dry, remove all clamps. Begin sanding your entire door with 120-grit sandpaper to remove any glue residue, minor imperfections, or machine marks. Pay close attention to the joints to ensure they are perfectly flush. Once smooth, move to 180-grit sandpaper for a finer finish. If you desire a glass-smooth surface, you can follow with 220-grit. After sanding, thoroughly wipe down the door with a tack cloth or a damp cloth to remove all dust particles.
- Applying the Finish: Now, it’s time to apply your chosen paint or stain. If painting, a good quality primer is often recommended, especially for woods like poplar. Apply thin, even coats, allowing each coat to dry completely before applying the next. You might need two or three coats for optimal coverage and durability. If staining, test your stain on a scrap piece of the same wood first. Apply it evenly, wipe off excess, and then apply a protective topcoat (like polyurethane or lacquer) for durability.
- Installing Hinges: For European-style concealed hinges, use your 35mm Forstner bit to drill holes for the hinge cups on the back of the door, typically about 1/2 inch deep, following the hinge manufacturer’s template for placement. Screw the hinges into these holes.
- Mounting and Adjustment: Attach the hinge mounting plates to your cabinet frame according to the hinge instructions. Then, carefully hang your door. Most European hinges offer three-way adjustability, allowing you to fine-tune the door’s position. Adjust the screws until the door opens and closes smoothly, sits flush with adjacent doors, and has even gaps all around.
- Add Pulls/Knobs: Finally, install any desired pulls or knobs to complete your custom shaker cabinet door!
For a more detailed visual explanation, you can watch the YouTube video from Training Hands Academy here:
Unique Finishing Ideas for Your Shaker Doors
While a classic paint or stain finish looks fantastic, adding a unique touch can truly personalize your shaker cabinet doors and elevate your kitchen’s aesthetic. Here are some creative finishing ideas to consider:
Distressing for a Lived-In Look
If you desire a cozy, rustic, or vintage feel, distressing your cabinet doors is an excellent technique. This method gives the appearance of age and gentle wear, adding character and warmth to your space. To achieve this:
- Edge Wear: Lightly sand down the edges and corners of the door after the base coat of paint has dried. This will expose the wood underneath, mimicking natural wear from years of use. Focus on areas that would typically see the most contact.
- Subtle Marks: Gently tap the wood with a chain, a hammer (using the peen side), or even a set of keys to create small dents and imperfections. Don’t overdo it; the goal is subtle authenticity.
- Rub-Throughs: After applying your final paint coat, use fine-grit sandpaper (like 220-grit) to carefully rub through tiny spots on the surface, especially on raised areas, to reveal the underlying wood or primer.
This technique pairs beautifully with country, farmhouse, or shabby chic kitchen designs.
Creative Paint Techniques
Beyond a single, solid color, various painting methods can introduce depth and unique visual interest:
- Matte Finish: Opt for a matte paint for a sophisticated, contemporary look. Matte finishes absorb light rather than reflecting it, giving colors a richer, deeper appearance. They also tend to hide minor imperfections more effectively and offer a soft, luxurious feel. This finish is perfect for modern or minimalist kitchens.
- Two-Tone Design: A simple yet impactful technique is to use one color for the frame (styles and rails) and a complementary or contrasting color for the recessed center panel. This adds visual dimension, creates a subtle focal point, and can help tie together different color elements in your kitchen without being overly bold. For instance, a light frame with a darker panel, or vice-versa, can create a striking effect.
- Ombre Effect: For a truly distinctive and artistic touch, create an ombre effect by blending colors from light to dark (or vice versa) across your cabinet doors, either vertically or horizontally. This works best when using shades from the same color family to ensure a smooth, gradual transition. It’s a bold choice that certainly makes a statement.
Eco-Friendly Finishes for a Healthier Home
For those prioritizing a healthier indoor environment, choosing eco-friendly finishes is a smart decision. These options minimize volatile organic compounds (VOCs) and harsh chemicals, improving your home’s air quality.
- Low-VOC and Zero-VOC Paints: Look for paints clearly labeled “low-VOC” or “zero-VOC.” These formulations reduce the release of harmful fumes during and after application, making them safer for your family and the environment. Many brands now offer a wide range of colors in these eco-conscious options.
- Natural Oil Finishes: Consider natural alternatives like beeswax, tung oil, or linseed oil. These penetrate the wood, enhancing its natural grain and providing a durable, water-resistant finish without a thick film. They are derived from natural sources, non-toxic once cured, and create a beautiful, organic look and feel. While they may require more frequent reapplication than synthetic finishes, their natural beauty and health benefits are compelling.
While some eco-friendly options might have a slightly higher upfront cost, the long-term benefits for your health and the planet make them a worthwhile investment.
Essential Maintenance Tips for Your Newly Built Doors
Once you’ve poured your time and effort into building and finishing your custom shaker cabinet doors, proper maintenance is key to preserving their beauty and functionality for decades. A little care now can prevent costly repairs or replacements later. Here are some practical tips:
- Clean with Gentle Products: Always use a mild soap (like dish soap diluted in water) and a soft, damp cloth for cleaning your cabinet doors. Harsh chemical cleaners, abrasive scrubbers, or excessively wet cloths can damage the finish, discolor the wood, or even lead to warping. Wipe dry immediately after cleaning.
- Regular Hinge Checks: Twice a year, take a few minutes to inspect your cabinet hinges. Over time, screws can loosen due to repeated use. Tighten any loose screws with a screwdriver to ensure the doors close properly and hang straight. If you hear any squeaking, a tiny drop of lubricating oil (like silicone spray or mineral oil) on the hinge pivots can resolve it.
- Prompt Scratch and Ding Repair: Accidents happen. If you notice a small scratch or ding, address it quickly. For painted doors, a touch-up paint pen or a small brush with your leftover cabinet paint can work wonders. For stained doors, a matching wood marker or a specialized scratch repair kit can help conceal the damage. Early repair prevents the damage from worsening or allowing moisture to penetrate.
- Keep Doors Dry: Wood and moisture are not friends. Immediately wipe up any water spills, especially around the sink, dishwasher, or stove. Excessive moisture can cause wood to swell, finishes to bubble, or even lead to mold growth. Ensure good ventilation in areas prone to high humidity.
- Adjust for Seasonal Changes: Wood is a natural material that responds to changes in humidity and temperature. It can expand slightly in humid summers and contract in dry winters. You might find that your doors need minor hinge adjustments seasonally to maintain perfect alignment and smooth operation. This is normal and easily corrected with the hinge adjustment screws.
Common Mistakes to Avoid When Building Shaker Cabinet Doors
While the DIY process is incredibly rewarding, it’s also prone to certain common pitfalls that can derail your project, waste materials, and cause unnecessary frustration. Being aware of these mistakes beforehand can help you steer clear of them and ensure a successful build:
- Skipping or Rushing Measurements: This is arguably the most common and detrimental mistake. “Measure twice, cut once” is a golden rule in woodworking. Guessing dimensions or making hurried measurements almost always leads to doors that don’t fit, are out of square, or have unsightly gaps. Always use a reliable tape measure, double-check every dimension, and consider using a marking gauge for consistent line placement.
- Inadequate Sanding: Many DIYers underestimate the importance of thorough sanding. Rushing this step leaves behind rough surfaces, visible saw marks, and glue residue, all of which will be glaringly obvious once paint or stain is applied. A poor sanding job results in a rough, uneven, and unprofessional-looking finish. Take your time, progressively moving through different sandpaper grits, and inspect your work under good light.
- Using the Wrong Wood Species: Not all wood is created equal for cabinet doors. Some woods are naturally more prone to warping, twisting, or splitting, especially when cut into smaller frame pieces. While it might seem cheaper, using inferior or inappropriate wood (e.g., green lumber, very knotty pine) can lead to structurally unsound and aesthetically displeasing doors that won’t last. Stick to stable hardwoods like poplar, maple, birch, or oak.
- Forgetting About Wood Movement: Wood naturally expands and contracts with changes in humidity. If your plywood center panel is cut too precisely or glued into the frame, this movement can cause the entire door frame to bow, crack, or warp. Always leave a small “float” allowance (about 1/8 inch) around your plywood panel within the frame’s grooves to accommodate this natural process.
- Applying Finish Too Thickly: Whether it’s paint, stain, or a topcoat, applying overly thick layers is a common mistake. Thick coats tend to take longer to dry, are more prone to drips, brush marks, and are much more likely to crack, peel, or chip over time. The key to a durable and beautiful finish is multiple thin, even coats, with adequate drying time and light sanding (if recommended) between each application.
Wrapping Up: Your Journey to Custom Shaker Doors
Congratulations! You now possess a comprehensive understanding of how to make shaker cabinet doors, empowering you to create stunning, custom pieces that perfectly complement your home. This journey, while requiring patience and precision, culminates in beautiful doors you can truly be proud of.
Remember that woodworking is a skill developed through practice. Don’t be intimidated by the detailed steps; instead, approach them systematically. If you’re new to woodworking, consider starting with just one or two doors to get comfortable with the process before tackling an entire kitchen. Keep this guide handy as a reliable reference, revisiting each step as needed.
Document your progress with photos – seeing how far you’ve come from raw lumber to a finished door is incredibly motivating. And most importantly, don’t fear making mistakes. Every error is a valuable learning opportunity that refines your technique and builds your expertise. Perhaps even create a small test door from inexpensive scrap wood to practice your cuts and joinery before working on your final pieces.
With a little practice, dedication, and the detailed guidance provided here, you’ll soon have cabinet doors that rival those found in high-end custom cabinetry shops. Your dream kitchen, enhanced with your own handcrafted shaker doors, is now just a few precise cuts and a few coats of paint away. Get ready to transform your space and enjoy the immense satisfaction of a truly DIY success!
