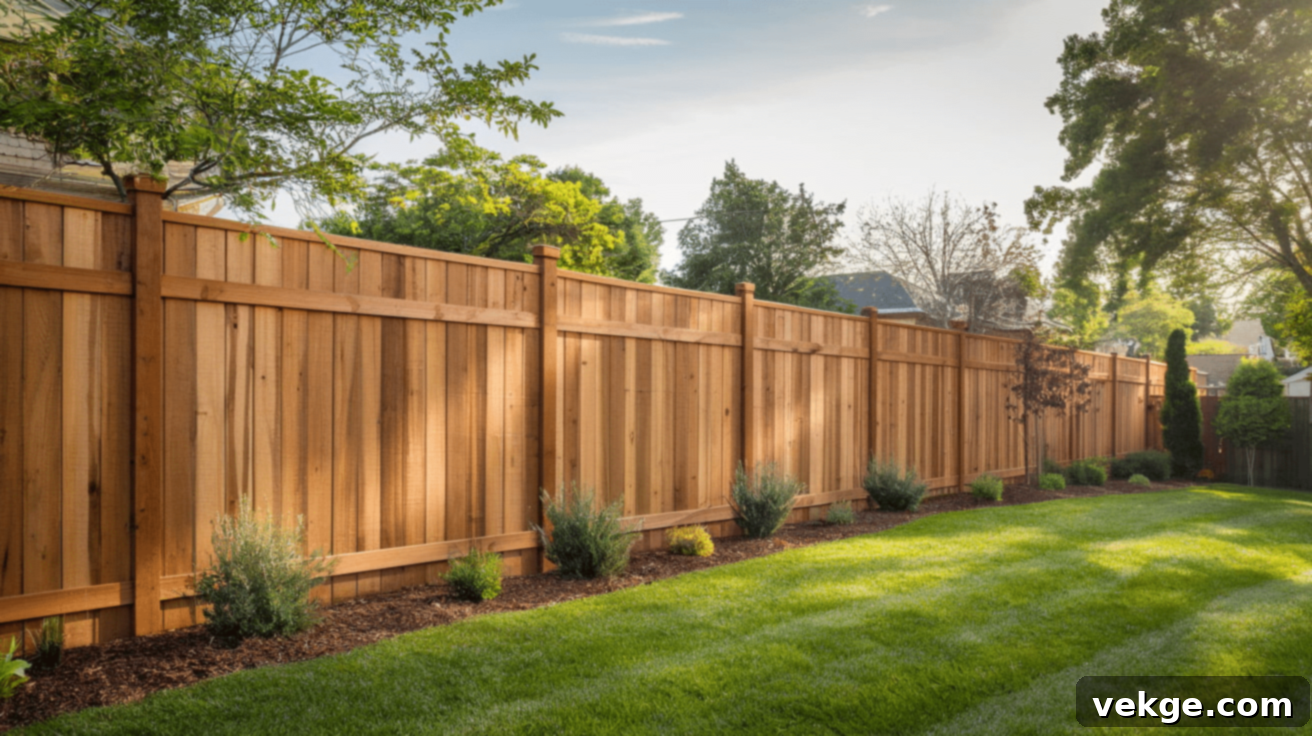
Ultimate Guide to Board-on-Board Fences: Privacy, Durability, and Style for Your Home
Are you searching for a fence that offers maximum privacy, exceptional durability, and a sophisticated aesthetic capable of withstanding diverse weather conditions? A board-on-board fence stands out as one of the most robust and reliable choices available to homeowners today.
Its ingenious overlapping design completely eliminates gaps, ensuring full visibility blockage. This makes it an ideal solution for backyards, swimming pool enclosures, and any outdoor area where privacy is a top priority. Beyond its practical benefits, this type of fence significantly enhances your property’s value and provides a clean, modern look that complements various architectural styles.
Whether you’re planning to replace an aging fence or embarking on a new landscaping project, board-on-board fencing offers a solid, long-lasting investment. This comprehensive guide will delve into its styles, material options, associated costs, and everything else you need to know to select the perfect fence that aligns with your space and specific needs.
What Exactly is a Board-on-Board Fence?
A board-on-board fence is a distinctive wooden fence design characterized by its alternating pattern of fence boards attached to both sides of the horizontal rails. In this construction, the boards are not simply placed side-by-side; instead, they are carefully arranged to slightly overlap each other. This ingenious overlapping mechanism is key to its functionality, as it effectively eliminates any potential gaps between the boards, regardless of wood shrinkage due to drying or weather changes.
This design creates a solid, impenetrable barrier that ensures complete visual privacy from both directions. Unlike a shadowbox fence, which intentionally leaves spaces between boards for light and airflow, or a traditional stockade fence, where boards are flushly placed next to each other, a board-on-board fence guarantees an opaque screen. This makes it a superior choice for homeowners prioritizing seclusion and a uniformly attractive appearance on both sides of the fence line.
Comparing Board-on-Board with Other Popular Fence Types
Understanding how a board-on-board fence stacks up against other common fence styles is crucial for making an informed decision. Let’s look at its differences from shadowbox and stockade fences.
Board-on-Board vs. Shadowbox Fence
The choice between a board-on-board and a shadowbox fence often comes down to the desired level of privacy and aesthetics. While both offer a “good neighbor” design, their core functionality differs significantly.
| Feature | Board-on-Board | Shadowbox |
|---|---|---|
| Privacy | Full coverage, no gaps at all, offering maximum privacy. | Some gaps are intentionally left between boards, allowing limited visibility and light to pass through. |
| Wind Resistance | Highly strong in windy areas; the overlapping design allows some air to pass, reducing solid wind pressure. | Good wind resistance due to gaps, but might feel slightly less robust in extreme conditions compared to board-on-board’s structural integrity. |
| Material Use | Uses more wood (approximately 20–30% more) to achieve the overlapping effect, which contributes to its solidity. | Uses less wood as boards are spaced, making it a more material-efficient option. |
| Cost | Generally higher due to the increased material requirement and potentially more intricate installation. | More budget-friendly due to less material and simpler board placement. |
Board-on-Board vs. Stockade Fence
Stockade fences are a classic, budget-friendly option, but they differ from board-on-board in terms of appearance, durability, and construction. These differences are vital for homeowners considering long-term appeal and maintenance.
| Feature | Board-on-Board Fence | Stockade Fence |
|---|---|---|
| Appearance | Presents an identical, finished look on both sides, making it a true “good neighbor” fence. | One side offers a smooth, finished appearance, while the other side exposes the fence posts and rails. |
| Durability | Less prone to warping and gapping over time due to the overlapping construction, potentially lasting longer with proper care. | May be more susceptible to warping and gapping as individual boards shrink, especially with significant weather changes. |
| Cost | Typically costs more due to higher material volume and the specific installation method. | Generally more budget-friendly due to simpler construction and less material. |
| Privacy | Blocks view effectively and completely, ensuring maximum seclusion. | Blocks view effectively, but gaps can appear over time if boards shrink, potentially compromising privacy. |
Essential Tools for a DIY Board-on-Board Fence Installation
Undertaking a DIY board-on-board fence project can be a rewarding experience. Having the right tools on hand is crucial for efficiency, accuracy, and safety. Here’s a breakdown of the common tools you’ll need:
- Post-hole digger: Indispensable for digging precise holes to securely set your fence posts. A manual digger is suitable for smaller projects, while a power auger can save significant time and effort for longer fence lines.
- Level: Absolutely critical for ensuring that all posts and horizontal rails are perfectly straight and plumb, which is vital for the fence’s structural integrity and aesthetic appeal. A long carpenter’s level or a post level is highly recommended.
- Drill: A powerful cordless drill/driver is essential for driving screws to attach rails to posts and boards to rails. Ensure you have appropriate bits for the fasteners you’re using.
- Circular saw: Used for cutting fence boards to the desired length and for making any necessary adjustments to the rails. A miter saw can offer even greater precision for clean, straight cuts.
- Measuring tape: For accurate measurements of post spacing, board lengths, and rail placement. Precision here prevents errors and ensures a professional finish.
- String line: Helps to maintain a straight line for your fence posts and ensures consistent alignment when installing horizontal rails and vertical boards. Essential for a professional-looking fence.
- Safety gear: Don’t forget safety glasses, work gloves, and ear protection, especially when using power tools.
Materials Breakdown: Wood vs. Vinyl Options
The material you choose for your board-on-board fence significantly impacts its appearance, durability, maintenance requirements, and overall cost. Both wood and vinyl offer distinct advantages.
Wood Options for Board-on-Board Fencing
Wood fences provide a classic, natural aesthetic that many homeowners prefer. Different wood species offer varying levels of natural resistance to pests and decay, as well as distinct visual characteristics.
| Wood Type | Key Features | Cost Level | Life Expectancy (with care) |
|---|---|---|---|
| Cedar | Naturally resistant to rot, decay, and insects due to its oils. Features a warm, reddish-brown color and a pleasant scent. Known for dimensional stability. | Moderate | 15–30 years |
| Pine (Pressure-Treated) | Budget-friendly option, chemically treated to resist decay and insect infestation. Often light green/brown. May be more prone to warping and splitting if not properly sealed and maintained. | Low | 10–20 years |
| Redwood | Offers superior natural resistance to rot and insects, similar to cedar but with a deeper, richer red hue. Known for its exceptional beauty and longevity, especially with regular sealing. | High | 20–30+ years |
| Cypress | Contains natural oils that provide good resistance to insects and moisture, making it suitable for humid climates. Has an attractive grain pattern and light to medium brown color. | Moderate to High | 15–25 years |
When selecting wood, remember that pressure-treated lumber is often used for posts and rails for added ground-contact durability, even if the fence boards themselves are a different wood type.
Vinyl Fence Options
For those seeking a low-maintenance alternative to wood, vinyl board-on-board fencing presents a compelling option. It offers a consistent look and long-term performance with minimal upkeep.
Pros of Vinyl Fencing
Vinyl board-on-board fences are renowned for their remarkably low maintenance requirements. Unlike wood, they do not need staining, painting, or sealing. Beyond occasional cleaning with mild soap and water to remove dirt or mildew, they demand very little upkeep, freeing up your time for other activities.
Since vinyl is a non-porous material, it does not absorb moisture, effectively eliminating the risk of rotting, warping, or splintering—common issues with wood fences. Furthermore, insects and pests are not a concern, which helps preserve the fence’s structural integrity and aesthetic appeal over many years. These fences are engineered for longevity, often lasting more than 30 years while maintaining their original appearance year after year. This makes vinyl a practical and cost-effective choice for homeowners seeking long-term performance without the burden of frequent repairs or treatments.
Cons of Vinyl Fencing
Despite its many advantages, vinyl fencing does come with certain downsides worth considering. One of the primary drawbacks is the higher upfront cost compared to some wood options. While it can lead to significant savings on upkeep over its lifespan, the initial investment can be a deterrent for homeowners operating on a tighter budget.
Another limitation is the typically fewer color and style choices available. While white, tan, and gray are common, the design preferences for homeowners looking for a more natural or specific color palette might be restricted. In regions experiencing extremely cold temperatures, vinyl can become brittle and more susceptible to cracking or breaking upon impact.
Finally, a common aesthetic concern is its synthetic appearance. Vinyl lacks the natural warmth, texture, and unique grain patterns that wood provides, which can be a significant factor for those desiring a more traditional, organic, or rustic look for their property.
Steps for Building a Board-on-Board Fence: A Detailed DIY Guide
If you enjoy hands-on projects and the satisfaction of building something lasting, constructing a board-on-board fence can be an incredibly rewarding endeavor. This type of fence is highly sought after for its exceptional privacy and attractive, robust design. With careful planning and execution, you can build a fence that not only enhances the curb appeal of your property but also stands strong for decades. Here’s a detailed, step-by-step guide to help you through the entire process:
Step 1: Mark Your Property Line and Check Local Regulations
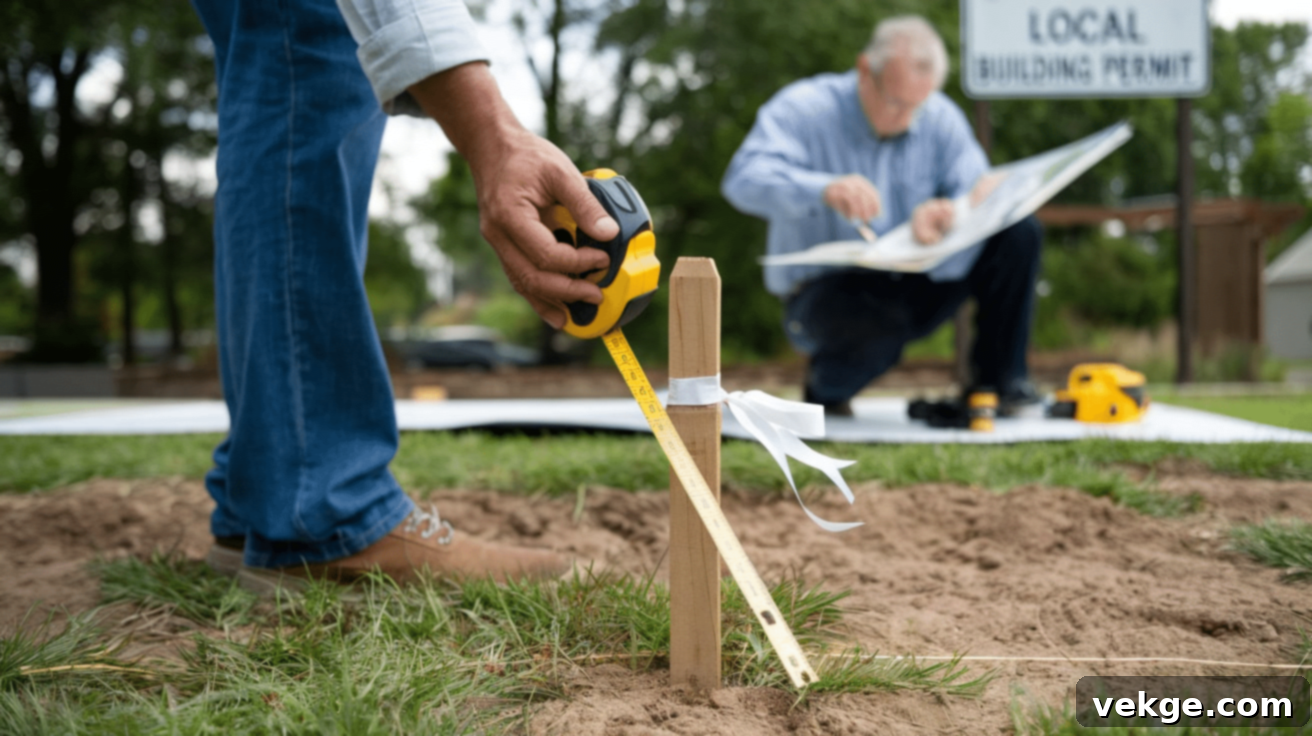
Before any digging begins, it’s absolutely crucial to accurately determine your property boundaries. This prevents disputes with neighbors and ensures your fence is legally placed. Use a measuring tape to confirm your land’s dimensions, and if there’s any uncertainty, consider hiring a professional surveyor to mark the exact property lines.
Simultaneously, thoroughly research and verify all local regulations, zoning laws, and homeowner association (HOA) rules regarding fence height, setback requirements (how far from the property line), and approved materials. Many municipalities require a permit before construction. Adhering to these guidelines from the outset will save you from potential fines, forced removal, or other costly issues down the line.
Step 2: Dig Post Holes for Stability
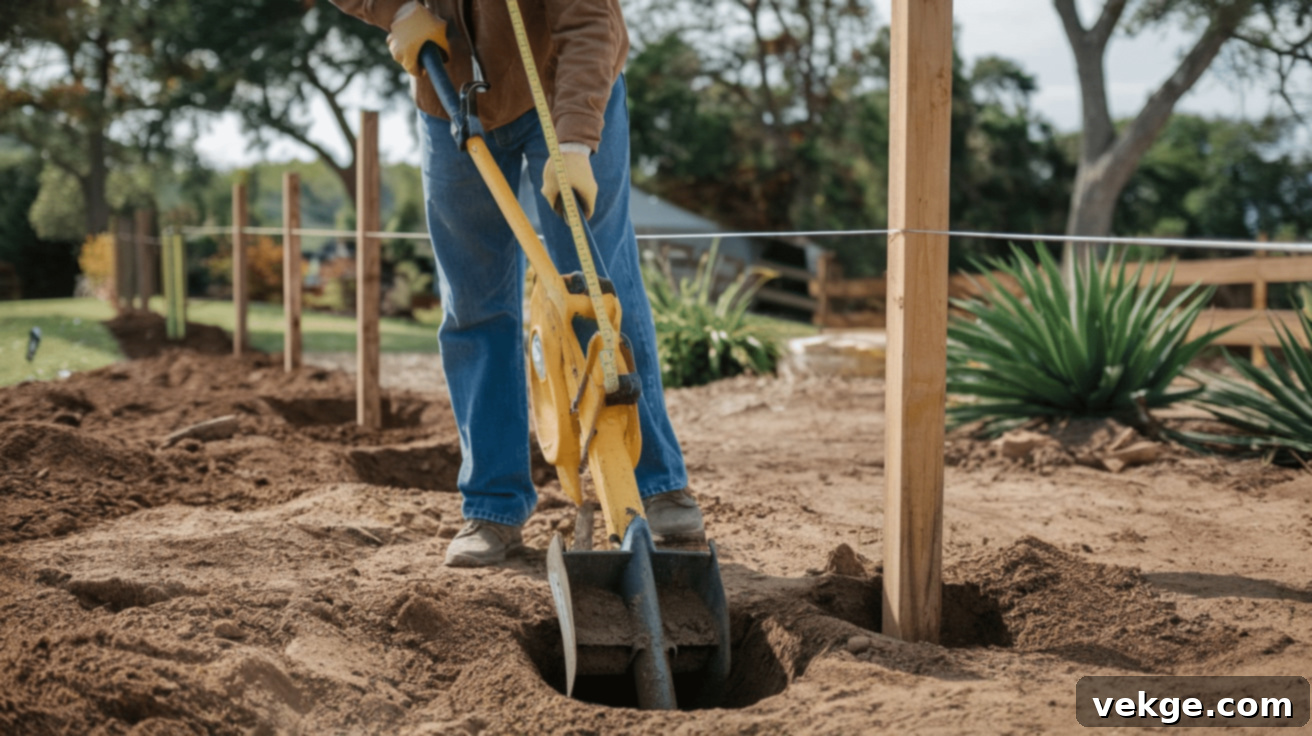
Once your property lines and regulations are clear, you can begin the physical work of digging holes for your fence posts. Use a post-hole digger to create holes that are sufficiently deep to provide stability for your fence – generally, about one-third of the post’s total length. For example, an 8-foot post would require a hole 2.5 to 3 feet deep. In colder climates, consider digging below the frost line to prevent post heaving.
Each hole should also be wide enough to allow for a generous amount of concrete around the post, typically 8-12 inches in diameter. The spacing between post holes depends on the length of your rails and the desired strength of the fence, usually 6 to 8 feet apart. Use a measuring tape and a stretched string line to ensure consistent spacing and perfect alignment along the entire fence run.
Step 3: Set Posts in Concrete
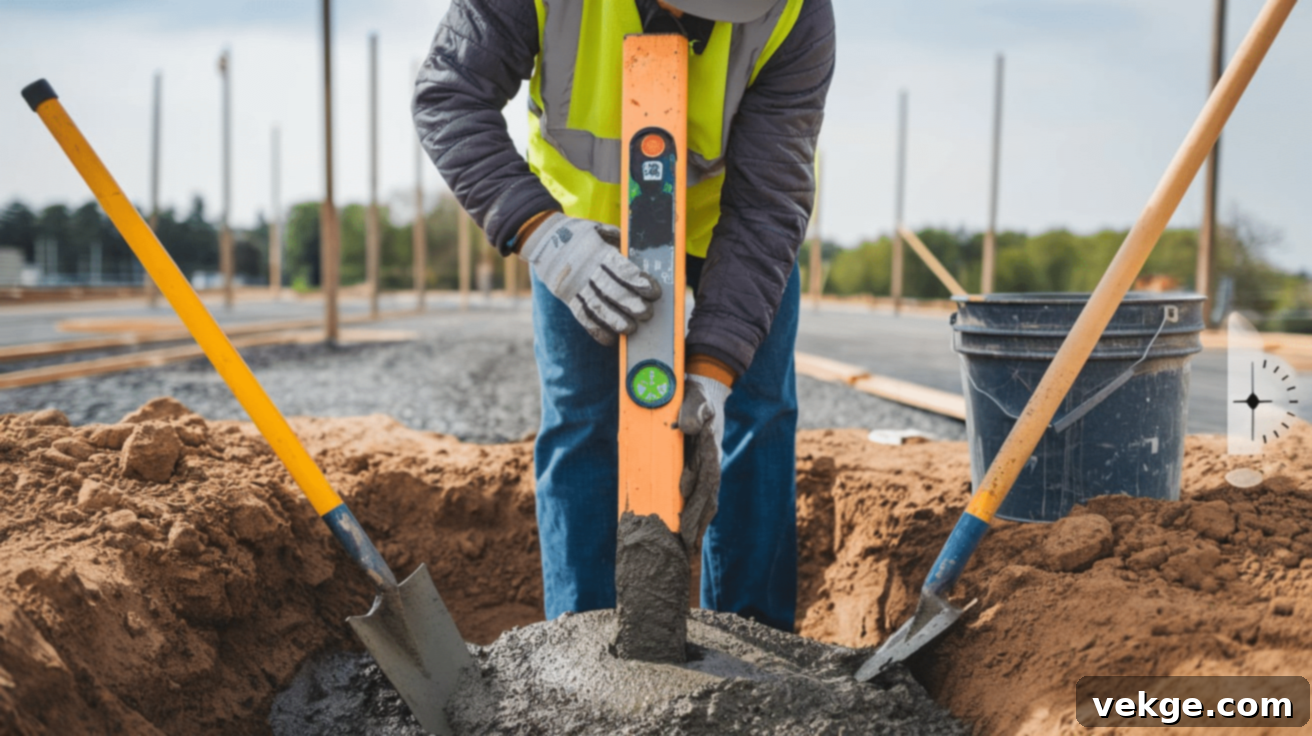
Carefully place your fence posts into the freshly dug holes. Before adding concrete, use a post level or a standard carpenter’s level to ensure each post is perfectly plumb (vertically straight) from all angles. Once aligned, secure the posts by pouring concrete into the holes. Mix the concrete according to the manufacturer’s instructions; quick-setting concrete can accelerate the process.
Fill the holes, mounding the concrete slightly at the top to shed water away from the post base. Recheck each post with your level immediately after pouring, as posts can shift. It’s crucial to allow the concrete to cure completely, which typically takes 24 to 48 hours (or longer in cool, damp conditions) before proceeding to the next step. Rushing this stage can compromise the stability and longevity of your entire fence.
Step 4: Attach Horizontal Rails
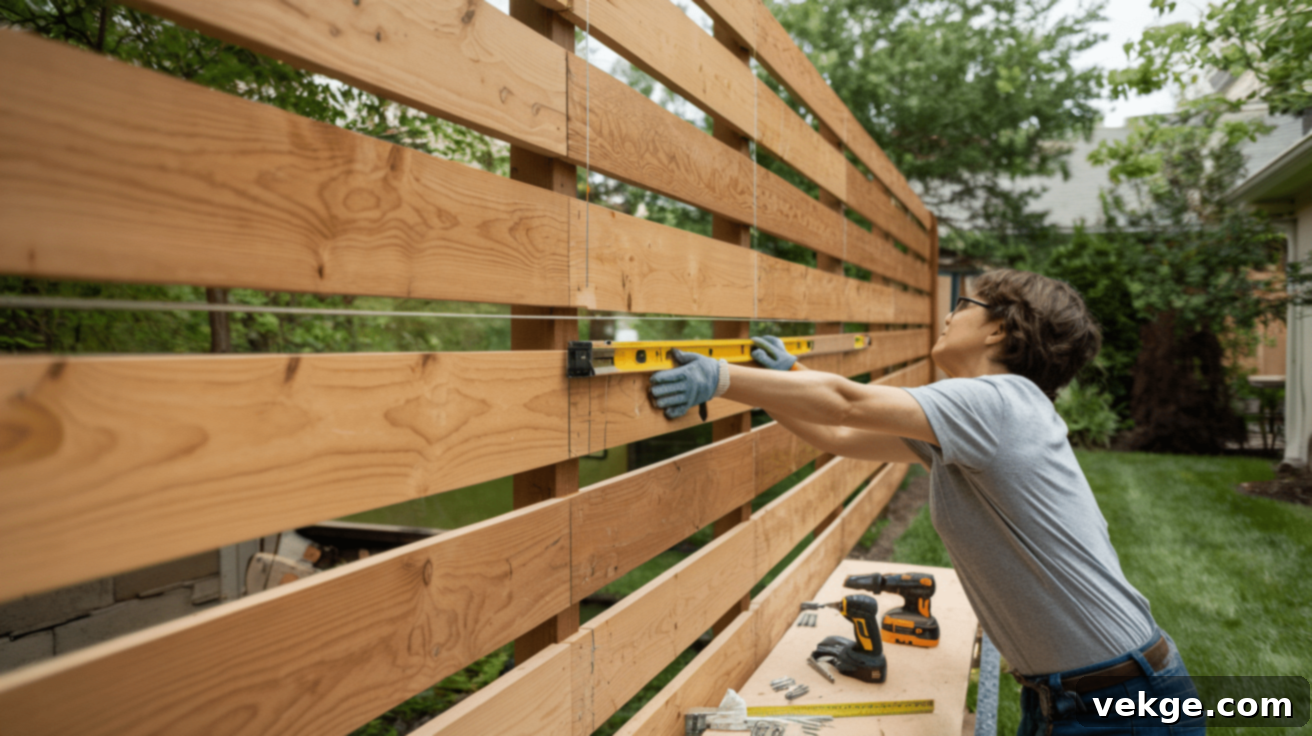
Once your posts are firmly set and the concrete is fully cured, it’s time to install the horizontal rails. These rails serve as the structural framework to which your vertical fence boards will be attached. Typically, a board-on-board fence will use two or three horizontal rails – a top rail, a bottom rail, and often a middle rail for taller fences or added rigidity.
Attach the rails to the posts using galvanized screws or nails that are resistant to rust and corrosion. Use your level to ensure each rail is perfectly horizontal across the span between posts. Evenly space the rails vertically; for example, if using three rails, position them near the top, middle, and bottom of where the fence boards will sit. This consistent spacing and alignment are essential for a uniform, professional-looking fence.
Step 5: Install the Vertical Boards (Base Layer)
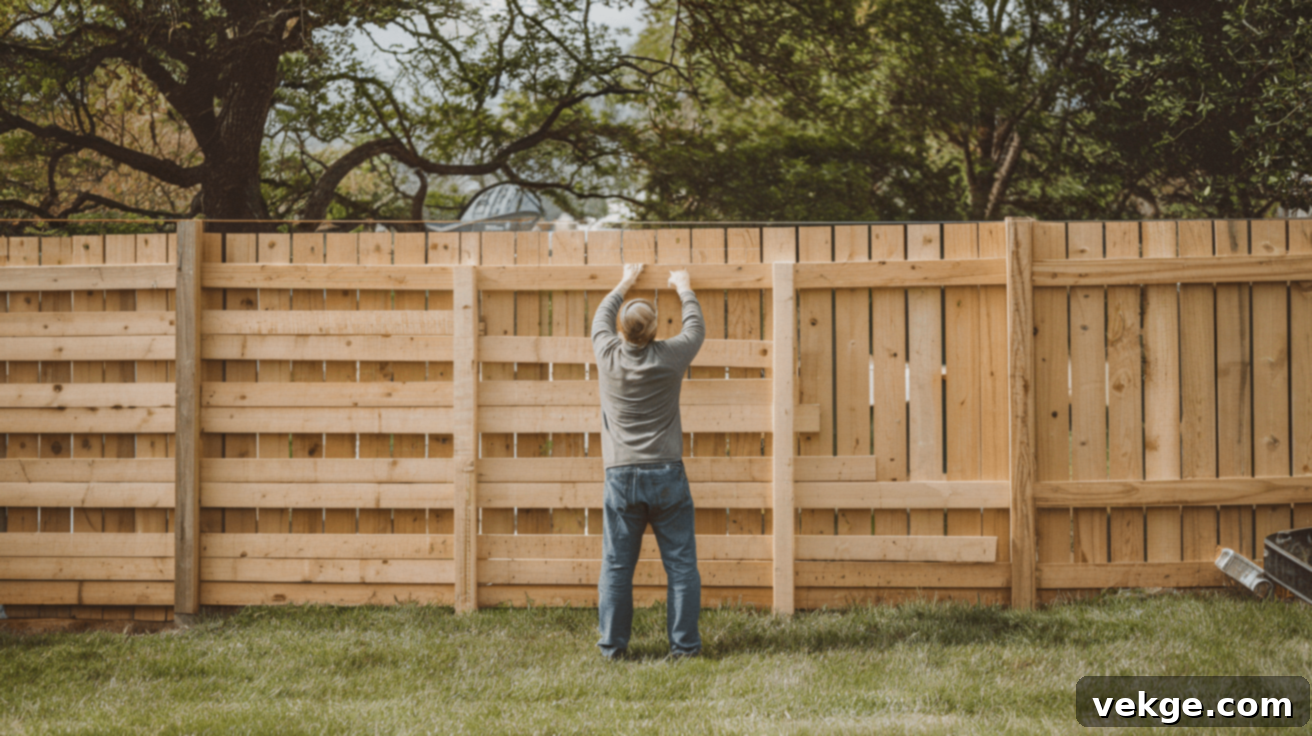
Now comes the unique part of the board-on-board design. Begin installing the first layer of vertical boards onto the horizontal rails. Start at one end of a fence section and work your way across. For the first layer, typically you’ll install boards with small, consistent gaps between them (e.g., 1/2 to 1 inch). These gaps will later be covered by the second layer of boards.
Use spacers or a measuring guide to maintain uniform gaps. Fasten each board securely to all horizontal rails with galvanized screws or nails. Throughout this process, regularly check that your boards are vertically plumb using your level and maintain a straight top edge using your string line. Consistency in this initial layer is crucial for the overall success and aesthetic of your fence.
Step 6: Install the Overlapping Vertical Boards
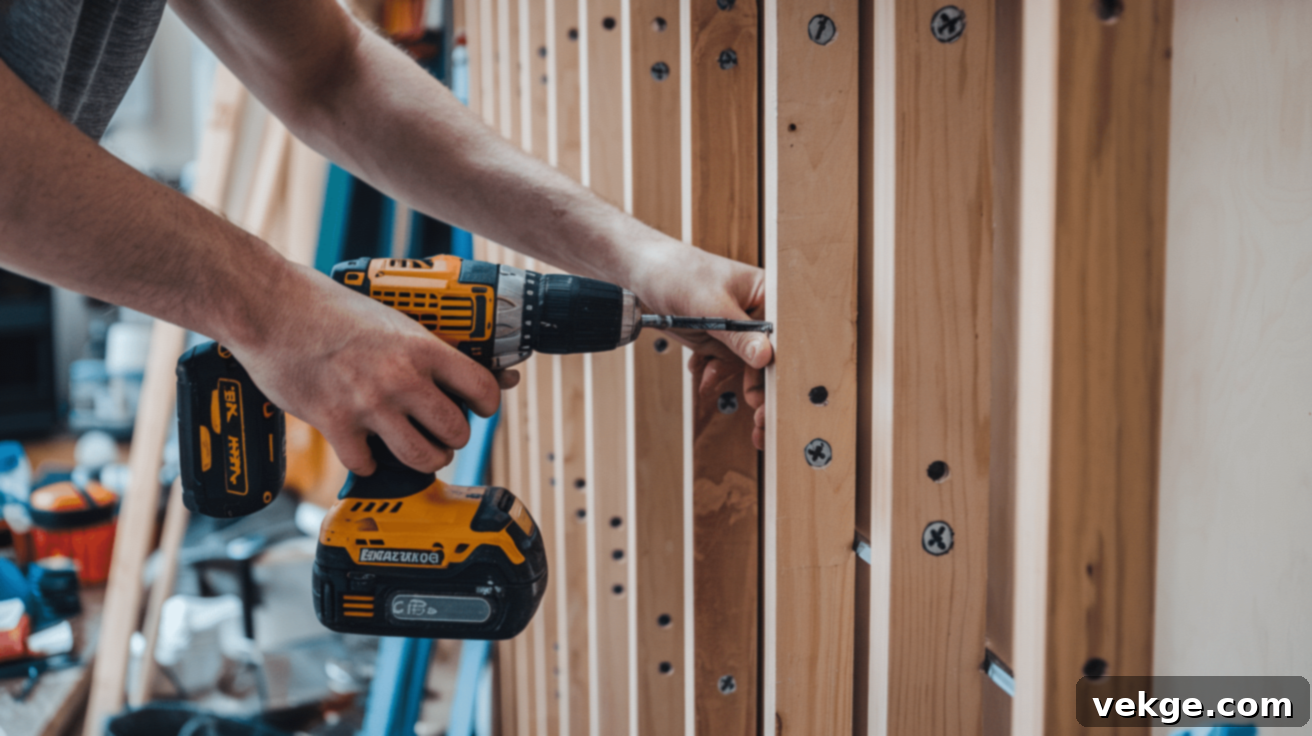
Once the first layer of vertical boards is complete, it’s time to install the second, overlapping layer. These boards will be installed on the opposite side of the fence (or sometimes staggered on the same side, depending on the specific style). The key is to position each new board directly over the gaps created by the first layer of boards. This creates the signature overlap that provides complete privacy and the distinctive look of a board-on-board fence.
Ensure that the overlapping boards are centered precisely over the gaps. Secure these boards to the horizontal rails as well, using fasteners that penetrate into the rails without going all the way through if possible. This layered approach not only blocks all visibility but also adds significant strength and rigidity to the fence structure, making it highly durable and resistant to warping.
Step 7: Finishing Touches and Protection
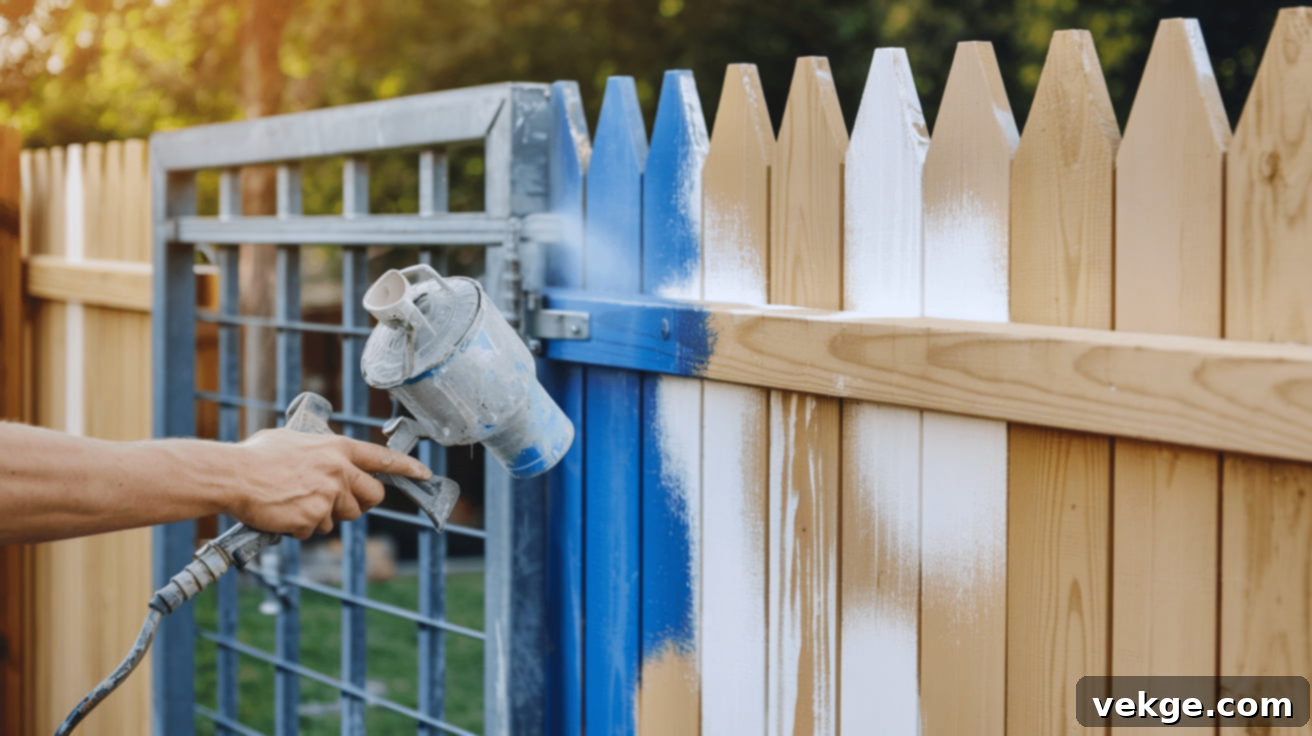
With all boards securely in place, it’s time for the finishing touches that protect your investment and enhance its beauty. If using wood, apply a high-quality outdoor-grade stain or sealant. This treatment will protect the wood from moisture, UV radiation (which causes fading and graying), and fungal growth. Staining can also deepen the natural color of the wood or add a new hue, giving your fence a polished and appealing finish. For large fences, using a paint sprayer can significantly speed up the application process.
Consider adding a top cap to the fence, which provides an extra layer of protection for the board ends from weathering. You can also install decorative post caps for a custom look. Finally, if desired, integrate a gate for easy access. This will require additional framing, hinges, and a latch mechanism, completing your functional and beautiful board-on-board fence.
Key Benefits of Choosing Board-on-Board Fencing
Homeowners choose board-on-board fences for a variety of compelling reasons, primarily centered around their superior performance in privacy, durability, and aesthetic versatility. This design truly offers the best of both worlds.
1. Unmatched and Complete Privacy
The most significant advantage of a board-on-board fence is the absolute privacy it provides. The clever overlapping design creates a solid, gap-free wall that effectively blocks all outside views. This makes it the ultimate choice for backyards, intimate patio spaces, swimming pool enclosures, or any area where you desire complete seclusion from curious onlookers and neighbors. Enjoy your outdoor living spaces with peace of mind, knowing your privacy is fully protected.
2. Superior Wind Resistance and Durability
Despite its solid appearance, the alternating and overlapping board pattern subtly allows a small amount of air to pass through, which significantly reduces the solid wind pressure exerted on the fence. Unlike solid panel fences that act like a sail and can be easily damaged in strong gusts, board-on-board fences are inherently more resilient. This design distributes wind load more effectively, making them less prone to structural damage and ideal for properties in windy regions.
3. Enhanced Aesthetic Appeal and Visual Interest
The overlapping pattern doesn’t just offer privacy; it also creates a rich, textured look that adds considerable visual interest and depth to your property line. This dimensional quality elevates the fence beyond a simple barrier, making it a design feature in itself. The play of light and shadow on the overlapping boards can create a dynamic and appealing facade.
4. The “Good Neighbor” Fence Design
One of the most appreciated aspects of a board-on-board fence is its “good neighbor” design. Because the fence looks equally attractive and finished from both sides of the property line, it eliminates the common issue of one neighbor having to look at the less appealing structural side of the fence. This symmetrical beauty fosters good relations with neighbors and ensures a harmonious aesthetic for everyone.
5. Increased Property Value
A well-built, attractive, and durable fence is a significant asset to any property. The inherent quality, privacy, and curb appeal of a board-on-board fence can substantially increase your home’s market value. It signals a well-maintained property and offers a desirable amenity that appeals to potential buyers, making it a wise investment.
Cost of Board-on-Board Fencing: What to Expect
The total cost of installing a board-on-board fence can vary widely depending on several factors, including the chosen material, fence height, length, specific design features, and whether you opt for professional installation or a DIY approach. Understanding these variables will help you budget effectively for your project.
Price per Linear Foot
For wood board-on-board fencing, you can generally expect material costs to range between $25 and $35 per linear foot. If you choose professional installation, which includes labor and additional expertise, the total cost can increase to $40-$75 per linear foot. This range depends heavily on:
- Your geographic location: Labor costs and material availability vary by region.
- Height of the fence: Taller fences require more material and labor.
- Wood type: Premium woods like redwood will be more expensive than treated pine.
- Complexity of installation: Difficult terrain, tight spaces, or extensive grading can increase labor costs.
Vinyl board-on-board fence options typically have a higher upfront material cost, ranging from $35-$60 per linear foot for materials alone. While the initial investment is higher, it’s important to factor in the long-term savings on maintenance and care compared to wood.
Additional Cost Factors
Beyond the basic linear footage, several extra features and components can influence the final price of your board-on-board fence:
- Posts: The foundation of your fence. Using durable cedar or pressure-treated posts, typically spaced every 6 to 8 feet, can add approximately $15 to $30 per post to your material costs.
- Gates: A necessary addition for access. A basic single gate can range from $150 to $400, depending on its size, design complexity, and the quality of hardware (hinges, latches) chosen. Custom or double gates will cost more.
- Top Cap: Adding a top cap, which provides a finished look and helps shield the vulnerable top ends of the vertical boards from weathering, can increase the price by about $3 to $5 per linear foot.
- Decorative Elements: For enhanced style and partial privacy, incorporating a lattice top section can add an additional $7 to $12 per linear foot. Other decorative elements like post caps or custom cut-outs will also contribute to the final cost.
- Stain or Sealant: For wood fences, applying a protective stain or sealant is crucial for longevity and appearance. Quality stains and sealants typically cost between $30 and $50 per gallon, with one gallon generally covering around 200 square feet. Factor in the cost of brushes, rollers, or a sprayer, and the labor if you’re not doing it yourself.
- Permits: Don’t forget to budget for any required building permits from your local municipality, which can range from $50 to a few hundred dollars.
DIY vs. Professional Installation: Weighing Your Options
Deciding whether to install your board-on-board fence yourself or hire professionals is a critical choice with implications for cost, time, and quality. Both approaches have distinct advantages and disadvantages.
| Feature | DIY Installation | Professional Installation |
|---|---|---|
| Cost | Significant savings (30–50%) on labor costs, paying only for materials and tool rentals. | Higher total cost due to professional labor, but often includes all materials and equipment. |
| Time Commitment | Can take 1–2 full weekends or more for a 100 ft fence, especially for beginners. Requires planning, sourcing, and execution time. | Much faster, typically 1–3 days for a 100 ft fence. Efficient due to experienced crews and specialized tools. |
| Skill Level Needed | Requires a good understanding of construction basics, comfort with power tools, and attention to detail. A learning curve is involved. | No prior skills are needed from the homeowner. The contractor brings all the necessary expertise and experience. |
| Risk of Errors | Higher risk of mistakes in measuring, leveling, or securing, which can affect the fence’s strength, longevity, and appearance. | Lower risk of errors due to professional experience and adherence to industry standards, leading to a higher quality finish. |
| Control | Full control over material selection, design specifics, and the entire building process. Personal customization is easier. | Less direct control over day-to-day decisions, but you collaborate on initial design choices and material specifications. |
| Satisfaction | A strong sense of accomplishment and pride in a project completed with your own hands. | Convenience, peace of mind, and the assurance of a professionally built, durable fence without the physical labor. |
| Warranty/Guarantees | Generally no labor warranty. Material warranties are provided by the manufacturer. | Often includes a 1–5 year warranty on labor and installation, providing protection against defects. |
Maintenance and Care for Your Board-on-Board Fence
Proper maintenance is key to extending the lifespan and preserving the aesthetic appeal of your board-on-board fence, regardless of whether it’s wood or vinyl. Regular care prevents minor issues from becoming costly repairs.
Regular Maintenance
For wood fences, regular cleaning is paramount. Aim to wash your fence once a year using a mild soap solution and a soft brush or a low-pressure washer to remove accumulated dirt, grime, and mildew. Conduct a thorough inspection twice a year (spring and fall) to check for loose boards, popping nails, or screws that may need to be re-secured. Also, meticulously look for any early signs of rot, decay, or insect damage, particularly near the ground. To prevent premature wear and moisture damage, ensure that soil, mulch, and landscaping are kept several inches away from the bottom of the fence boards.
Vinyl fences are significantly easier to maintain. A simple rinse with a garden hose is often sufficient to clear away most dirt and dust. For more stubborn stains, such as mildew or sap, a gentle solution of household cleaner or mild soap and water, applied with a soft brush, will usually do the trick. Annually, check for any loose connections, cracked panels, or damaged sections, and make any necessary repairs promptly to prevent further issues.
Staining and Sealing (Wood Only)
Wood fences require regular treatment to protect them from the elements and maintain their beauty. It’s recommended to apply a high-quality sealant or stain every two to three years, depending on your climate and the product used. Choose a sealant that offers robust UV protection to minimize color fading and graying from sun exposure, and one that contains water repellents to guard against moisture damage.
Before application, ensure the fence surface is clean, dry, and free of any loose debris or old peeling finish. Apply the sealant when the weather is dry, with no rain expected for at least 24-48 hours, and when temperatures are consistently between 50°F and 85°F for optimal curing. Proper application greatly enhances the wood’s resistance to weathering, rot, and insect damage.
Extending Your Fence’s Lifespan
To ensure your board-on-board fence remains in excellent condition for as long as possible, proactively manage moisture and surrounding vegetation. If water tends to pool around the base of your fence, consider installing a simple drainage solution, such as a gravel trench, to divert water away. Redirect any automatic sprinklers so they do not directly spray the fence boards, as constant moisture can accelerate decay in wood and promote mildew on vinyl.
Regularly trim back any plants, bushes, or tree branches that come into direct contact with the fence, as they can trap moisture against the material and create conditions conducive to rot or insect infestation. For wood fences, apply sealant before any visible signs of water damage appear – acting early is always more effective than reacting to damage. Addressing these environmental factors can significantly contribute to the longevity and structural integrity of your fence.
Final Thoughts: A Wise Investment in Privacy and Property Value
A board-on-board fence represents a sophisticated and highly functional choice for homeowners who prioritize unparalleled privacy, robust strength, and a consistently attractive appearance from every angle. Its distinctive overlapping design not only completely blocks outside views but also demonstrates remarkable resilience against strong winds and diverse weather conditions, making it a reliable option for both bustling urban environments and serene rural settings.
While the initial cost may be slightly higher due to the increased material requirements and the specialized installation process, countless homeowners find that the long-term value and benefits far outweigh the upfront investment. This type of fence imparts a polished, meticulously constructed feel to any yard, significantly boosting curb appeal and overall property value.
If you’re contemplating an upgrade to your outdoor living space and desire a fence that promises exceptional durability, complete privacy, and a timeless aesthetic, a board-on-board fence could very well be the perfect fit. It skillfully combines superior functionality with visual harmony, creating a beautiful and secure boundary for your property for many years to come.
