DIY Guide: Transform Your Home with Beautiful & Easy-to-Install Beadboard Walls
Are your walls looking plain, tired, and lacking personality? Many homeowners dream of adding character and style to their living spaces without breaking the bank or hiring expensive professionals. The good news is, a stunning transformation is more within reach than you might think!
I used to gaze at my own stark white walls, wishing for a simple yet impactful way to elevate their aesthetic. That’s when I discovered the magic of paintable fluted wall panels and classic beadboard wall panels. These versatile decorative elements offer an incredibly effective solution for enhancing any room, providing both visual appeal and practical benefits.
In this comprehensive DIY guide, I’m excited to show you just how straightforward it is to install beadboard and fluted wall panels in any room of your home. With a few basic tools, a dedicated weekend, and a bit of enthusiasm, you can create captivating walls that not only add charm but also significantly boost the value and appeal of your property. Forget drab walls; it’s time to unleash your inner interior designer and bring your vision to life!
Let me walk you through my proven step-by-step method for installing beadboard panels. I’ll also share some of my favorite trending beadboard wall ideas that are sure to inspire your next home improvement project. Ready to revitalize your space? Let’s dive right in!
What Is a Bead Board Wall?
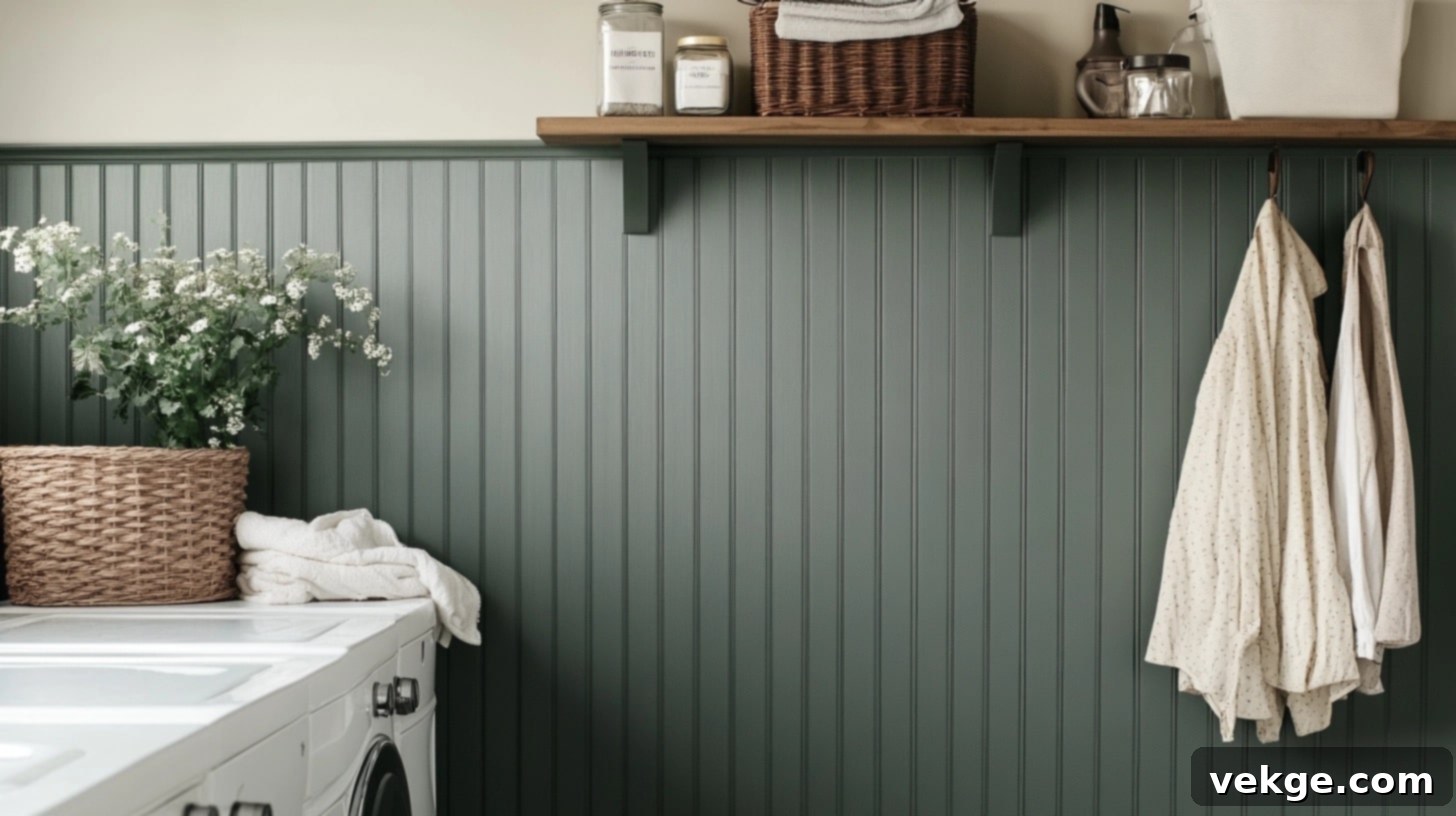
A beadboard wall is a classic form of paneling characterized by narrow wooden boards featuring small, decorative grooves, or “beads,” running vertically between each board. These panels are typically installed from the floor up to a certain height, or sometimes even floor-to-ceiling, creating a distinctive pattern of lines and textures that instantly adds architectural interest and a cozy, inviting feel to any room.
Originally, beadboard emerged in the 1800s as a practical and durable solution for protecting walls, particularly in high-traffic areas or spaces prone to moisture. Over time, its timeless charm and versatility transformed it from a purely functional element into a beloved design choice for adding character and style to homes across various aesthetics, from traditional farmhouse to coastal cottage and even modern interiors. Think of beadboard as the perfect accessory for your walls – it effortlessly enhances a room’s overall look, much like a stylish piece of clothing completes an outfit.
Today, you’ll find beadboard panels available in three primary types, each offering unique benefits:
- Traditional Wood Panels: Often made from pine or cedar, these offer authentic texture and can be stained or painted. They are durable but can be more prone to expansion and contraction with humidity.
- Medium-Density Fiberboard (MDF): A very popular choice, MDF beadboard is engineered wood that is stable, smooth, and excellent for painting. It’s affordable and easy to work with, making it ideal for DIY projects.
- PVC/Vinyl Options: Perfect for high-moisture environments like bathrooms and laundry rooms, these panels are completely waterproof, resistant to mold and mildew, and exceptionally easy to clean.
Each panel typically comes in convenient sheets, commonly 4 feet by 8 feet, making them efficient for covering large areas. The vertical lines inherent in beadboard design have a clever visual trick: they draw the eye upwards, creating an illusion of taller ceilings, which can make smaller rooms feel more spacious and open.
Beyond their aesthetic appeal, beadboard panels are incredibly practical and work exceptionally well in several key areas of the home, including:
- Bathrooms: Their moisture resistance (especially PVC/vinyl options) and easy-to-clean surface make them ideal for humid spaces.
- Kitchens: They add a charming backdrop, protect walls from splashes, and are easy to wipe down.
- Mudrooms: A durable shield against scuffs, dirt, and daily wear and tear from shoes and coats.
- Laundry Rooms: Practical for protecting walls from water, detergent spills, and general activity.
- Hallways & Staircases: Offers robust protection in high-traffic zones.
Beadboard adds a welcoming, cozy feel while simultaneously hiding minor wall imperfections, like small dents or uneven textures. It’s an effective way to give your room a fresh, revitalized start without the extensive labor or mess associated with plastering or drywall repair.
Benefits of Installing Bead Board in Your Home
Wall Protection
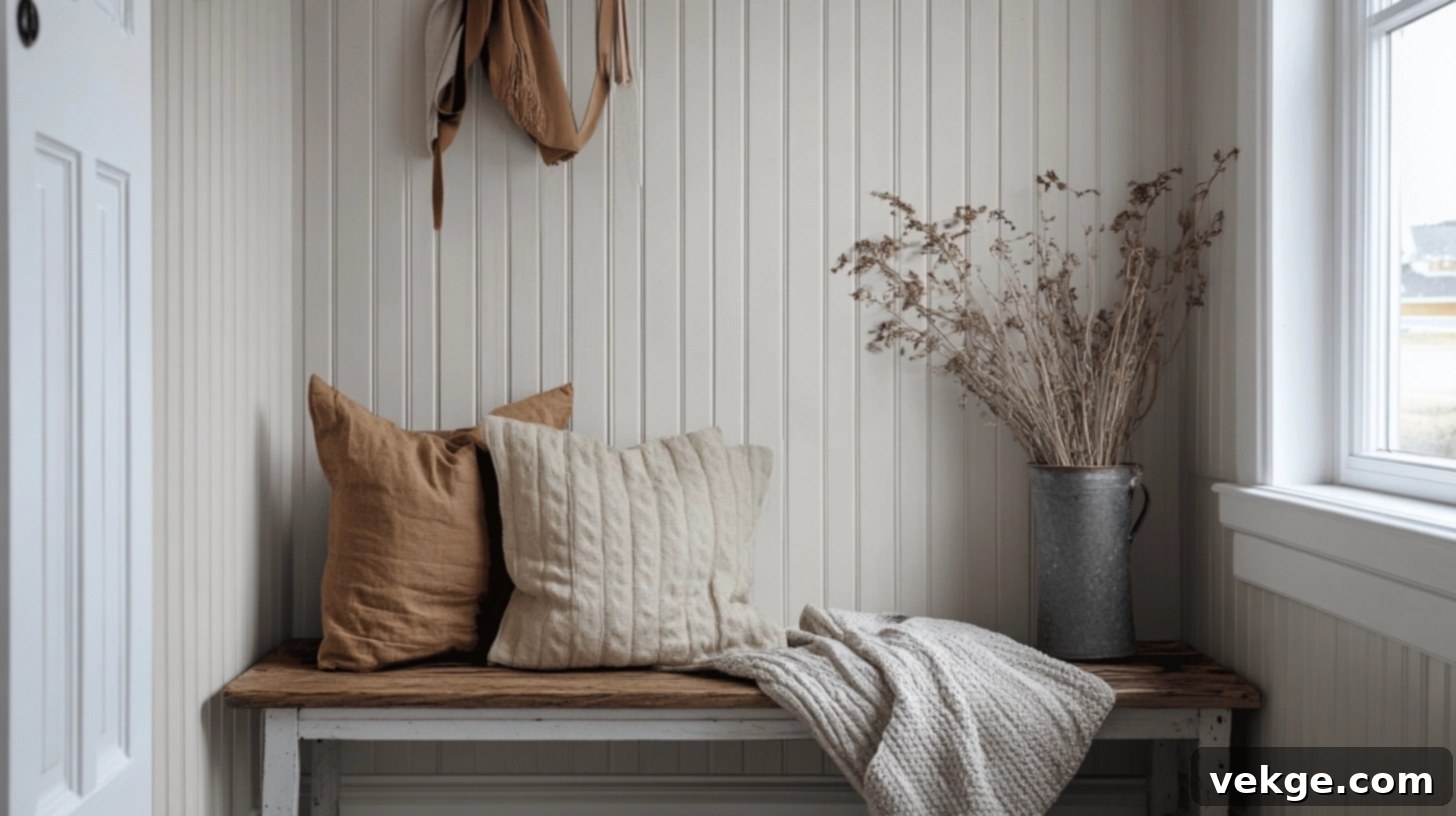
One of the most significant advantages of beadboard is its ability to act as a robust protective layer for your walls. In busy households, walls are constantly subjected to bumps, scuffs, and scrapes from kids playing, furniture moving, or daily traffic. Beadboard panels absorb these impacts, shielding your delicate drywall from damage. This translates into less frequent repair work, fewer touch-ups, and a longer lifespan for your underlying wall structure, saving you time and money in the long run.
Easy Cleaning
Maintaining the pristine appearance of beadboard walls is remarkably simple, making them an excellent choice for active homes. Unlike painted drywall, which often shows every smudge and scuff, beadboard’s durable surface (especially when painted with a semi-gloss or satin finish) can be quickly wiped clean. A damp cloth with a mild household cleaner is usually all you need to remove most dirt, fingerprints, and marks, keeping your walls looking fresh and inviting with minimal effort.
Quick Room Updates
If you’re looking for a fast, impactful way to refresh a room, beadboard offers an unbeatable solution. In just a single weekend, you can transform plain, uninspired walls into a feature that exudes character and charm. It’s a much quicker and less disruptive process compared to wallpapering, which requires extensive prep and removal, or applying textured finishes, which can be messy and time-consuming. Beadboard delivers instant visual gratification, making a dramatic difference in a short amount of time.
Increased Home Value
Investing in beadboard can subtly but effectively boost your home’s market value. Prospective buyers often appreciate homes that feature thoughtful architectural details and well-maintained finishes. Beadboard adds a touch of custom craftsmanship and perceived quality that can make your property stand out in a competitive market. It’s a relatively small investment in materials and time that delivers a significant return by enhancing your home’s aesthetic appeal and overall desirability to potential buyers.
Versatile Design Options
Beadboard’s design versatility is one of its greatest strengths. While often associated with farmhouse or cottage styles, it can be seamlessly integrated into a wide range of interior aesthetics. You have the freedom to paint your beadboard any color imaginable: classic white for a bright, airy bathroom; deep, moody shades for an elegant dining room; or soft, calming tones for a serene bedroom. Its simple yet structured vertical lines provide a beautiful backdrop that complements everything from rustic country homes to minimalist city apartments, allowing you to tailor its look to perfectly match your personal style and existing decor.
Step-by-Step Guide to Installing Bead Board Walls
1. Prepare the Wall and Materials
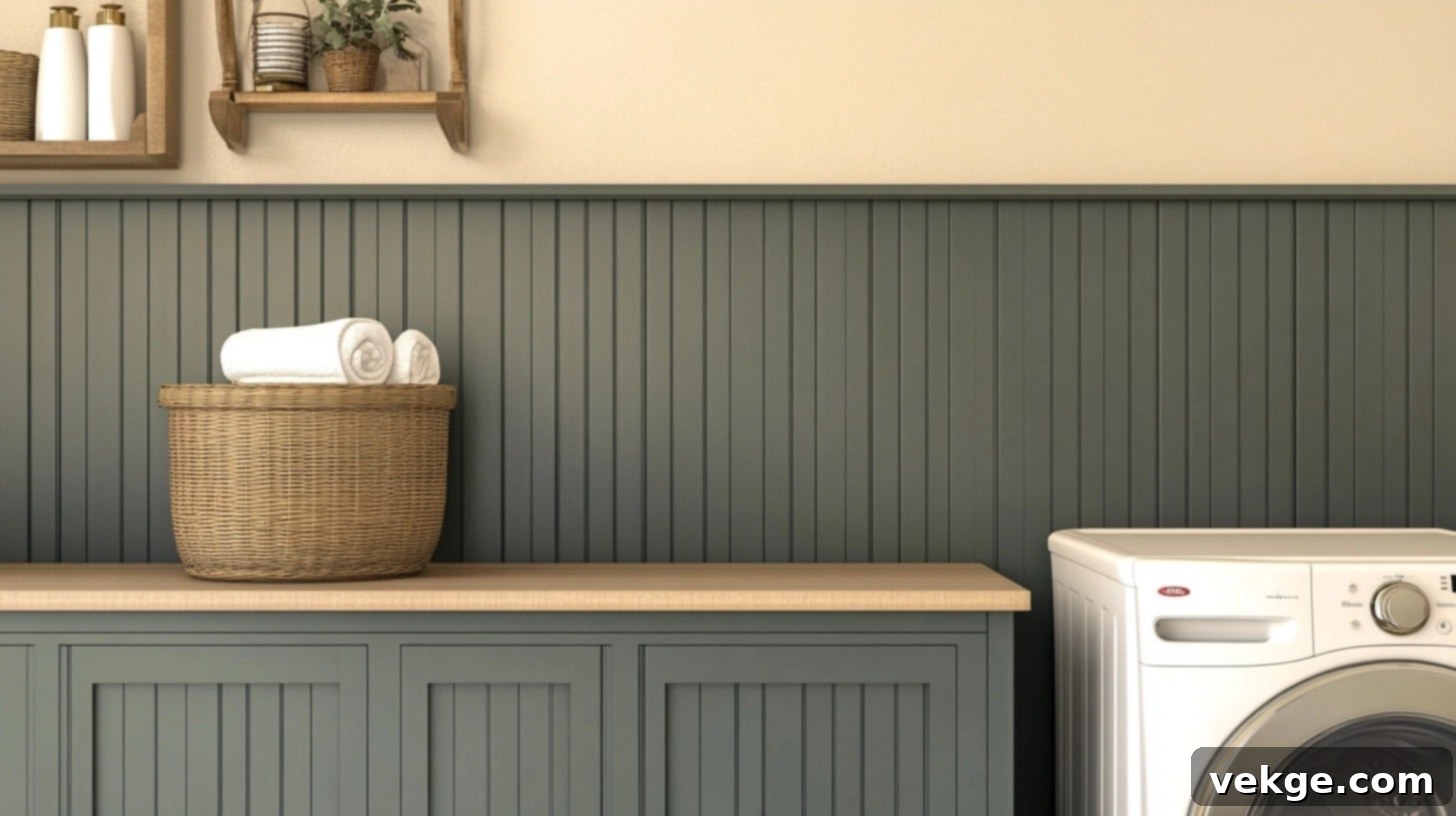
Thorough preparation is the foundation of a successful beadboard installation. Begin by clearing the room of furniture and laying down drop cloths to protect your floors. Remove any existing baseboards or trim from the wall section where the beadboard will be installed. Measure the entire length and height of the wall area you intend to cover, determining your desired beadboard height (a common choice is 36-48 inches, or even up to 5 feet for a dramatic effect). Use a stud finder to accurately locate and mark the positions of all wall studs with a pencil; these marks will be crucial for securely nailing your panels. Finally, ensure all your tools and materials are gathered and easily accessible, creating an efficient workspace.
Tools Needed for Bead Board Installation:
| Tools | Materials |
|---|---|
| Circular Saw (for straight cuts) | Beadboard Panels (MDF, wood, or PVC) |
| Jigsaw (for intricate cuts around outlets/switches) | 1×2 or 1×4 Trim Pieces (for top rail) |
| Nail Gun (brad nailer recommended) | Outside/Inside Corner Trim (as needed) |
| Caulk Gun | Paintable Caulk |
| Tape Measure & Pencil | Wood Filler or Nail Hole Filler |
| Level (long and short) | Painter’s Tape |
| Sandpaper (fine-grit) | Paint Sprayer or High-Quality Paint Brushes/Rollers |
| Stud Finder | Primer (if panels aren’t pre-primed) |
| Safety Glasses & Dust Mask | Paint (e.g., Clark+Kensington Gothic Iron, or your chosen color) |
| Construction Adhesive (optional, but recommended) | Plastic Sheeting/Drop Cloths (for overspray protection) |
2. Cut the Beadboard Panels
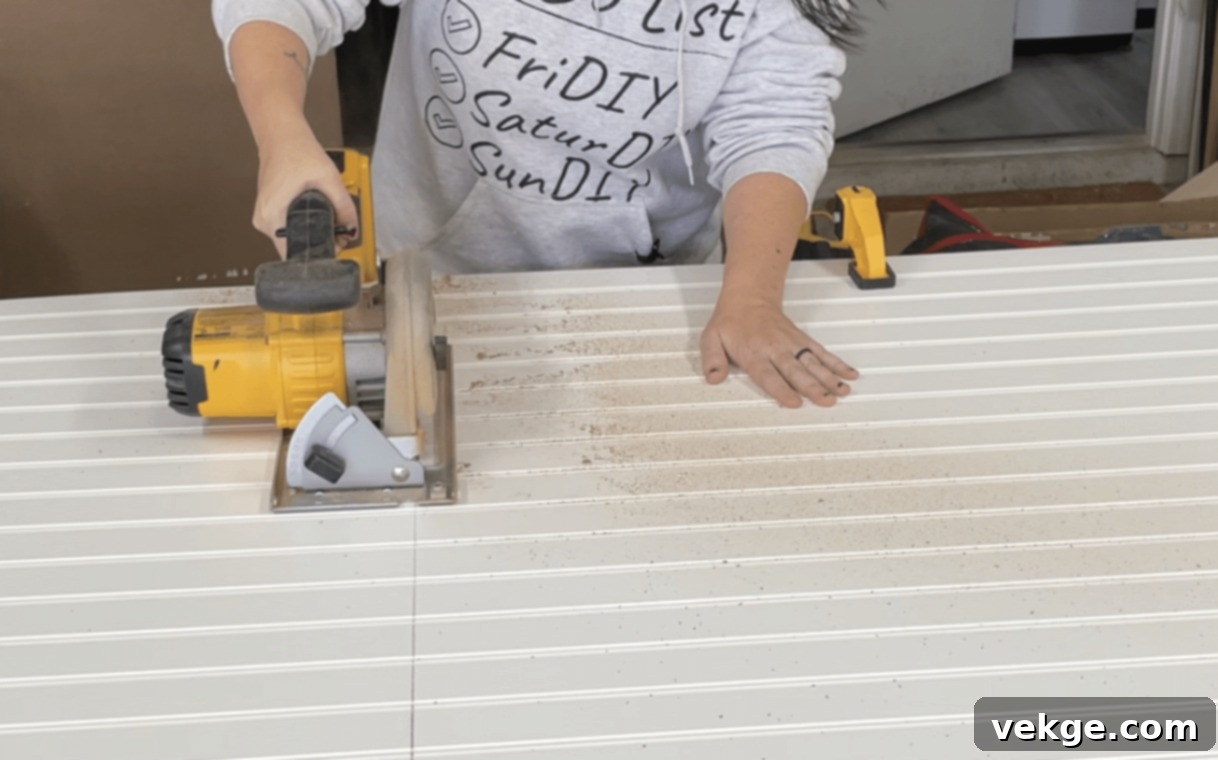
With your desired height determined, carefully measure and mark each beadboard panel. Use a circular saw for long, straight cuts across the width of the panels to achieve your chosen height. Always use safety glasses and ensure your cuts are precise. For areas with electrical outlets, light switches, or other wall fixtures, meticulously measure their positions on the wall and transfer these measurements to the beadboard panel. Use a jigsaw to create accurate and clean cutouts, ensuring that the panel will fit snugly around these obstacles.
3. Install the Beadboard
Begin installing your beadboard panels from a corner or a central point in the room, working outwards. Apply a generous bead of construction adhesive to the back of the first panel, then align it carefully with your marked stud lines and ensure it is perfectly level using a long level. Once positioned, secure the panel by nailing it into the studs using your nail gun. Place nails every 6-8 inches along the top, bottom, and vertical edges, as well as along the stud lines in the middle. Repeat this process for each subsequent panel, ensuring tight seams between panels and checking for levelness frequently to maintain a consistent installation.
4. Add Trim for a Polished Look
Adding trim pieces is essential for giving your beadboard a finished, professional appearance. Attach a 1×2 or 1×4 trim piece (often called a chair rail or cap rail) to the top edge of the beadboard panels. This trim covers the raw edge of the beadboard, provides a decorative accent, and creates a clean transition to the upper wall. For outside corners, use a dedicated outside corner trim piece to neatly cover the exposed edges of the beadboard panels. Cut all trim pieces to size, ensuring mitered corners for a seamless look, and secure them with your nail gun, again nailing into studs where possible or using adhesive for extra hold.
5. Fill and Smooth Seams
Achieving a flawless finish requires careful attention to seams and nail holes. Apply a continuous bead of paintable caulk along all seams where the beadboard panels meet each other, where they meet the baseboard, and where the top trim piece meets the wall. Smooth the caulk with a wet finger or a caulk tool for a clean line. Next, use wood filler or nail hole filler to cover all visible nail holes from your nail gun. Allow the filler to dry completely according to the manufacturer’s instructions, then gently sand the filled areas smooth with fine-grit sandpaper until they are flush with the panel surface. This step is crucial for a professional, seamless painted finish.
6. Prepare and Paint
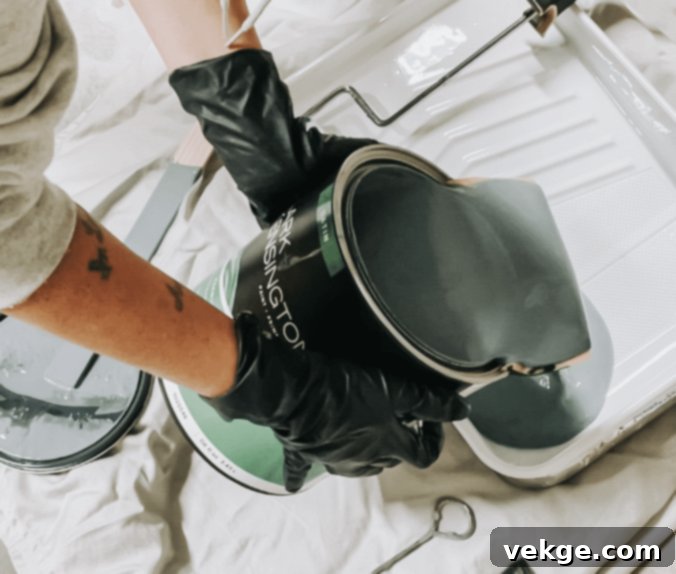
Before painting, carefully tape off any adjacent surfaces you want to protect, such as the upper wall, ceiling, or floors, using painter’s tape. If your beadboard panels are not pre-primed, apply a coat of high-quality primer to ensure excellent paint adhesion and a durable finish. Once primed (and dry), you can apply your chosen paint. For the smoothest, most professional finish, consider using a paint sprayer, thinning the paint as per the manufacturer’s instructions. If using brushes and rollers, use a high-quality roller for the flat surfaces and a brush to get into the grooves of the beadboard. A satin or semi-gloss finish paint is often recommended for beadboard, especially in high-moisture areas like laundry rooms and bathrooms, as it’s more durable and easier to clean. Apply two thin coats for optimal coverage and finish, allowing adequate drying time between coats.
7. Reinstall Fixtures and Accessories
Once the paint is completely dry and cured (which may take a day or two), you can carefully reinstall any utility sinks, electrical plates, light fixtures, or other accessories you removed during the preparation phase. Take your time to ensure everything is securely reattached. Finally, remove all painter’s tape, clean up any dust or debris from your workspace, and step back to admire the beautifully revamped look of your room. Your new beadboard walls are ready to enjoy!
Tips for Maintaining Your Beadboard Wall
Proper maintenance ensures your beadboard walls remain beautiful and durable for years to come. Here are some essential tips to keep them looking their best:
- Clean Regularly: Clean your beadboard walls monthly with mild soap (like dish soap) and warm water to prevent dirt and grime buildup.
- Use Soft Materials: Always use a soft cloth or sponge instead of abrasive brushes or harsh scrubbers when wiping the panels to avoid scratching the paint or surface.
- Inspect for Gaps: Every six months, visually inspect for any gaps or cracks that may appear between panels or at the trim lines and fill them promptly with paintable caulk to maintain a seamless look and prevent moisture ingress.
- Keep Dry: Especially in high-humidity areas like bathrooms and laundry rooms, ensure your beadboard stays dry to prevent warping, swelling, or mold growth. Address any leaks immediately.
- Fix Nail Pops: If you notice any nail pops, gently tap them back in and cover with wood filler. This prevents panels from loosening over time and maintains a smooth surface.
- Save Leftover Paint: Always save a small amount of your original paint for quick touch-ups. This makes repairing small scuffs or marks much easier and ensures a perfect color match.
- Watch for Mold: In humid environments, be vigilant for signs of mold or mildew. Clean any spots quickly with a diluted bleach solution or a mold-specific cleaner to prevent spreading.
- Dust Weekly: Dust your panels weekly with a microfiber cloth or a soft brush attachment on your vacuum cleaner to prevent dust from settling in the grooves and making the panels appear dull.
- Test Cleaning Products: Before using any new cleaning product, always test it on a small, inconspicuous area of the beadboard to ensure it won’t discolor or damage the finish.
- Avoid Steam Cleaners: Refrain from using steam cleaners on beadboard, as the moisture and heat can potentially loosen adhesive, warp the panels, or damage the paint finish.
- Reapply Paint as Needed: Apply a fresh coat of paint every 3-5 years, or as needed, to refresh the appearance, enhance durability, and keep the panels looking brand new.
- Check Bottom Edges: Regularly inspect the bottom edges of the beadboard near the floor for any signs of water damage, especially in splash-prone areas like around toilets, sinks, or laundry machines.
Top Beadboard Wall Design Ideas I Love
Beadboard isn’t just for traditional spaces; its versatility allows for endless creative design possibilities. Here are some inspiring beadboard wall ideas to spark your imagination and help you personalize your home:
1. Beadboard Behind Open Shelving
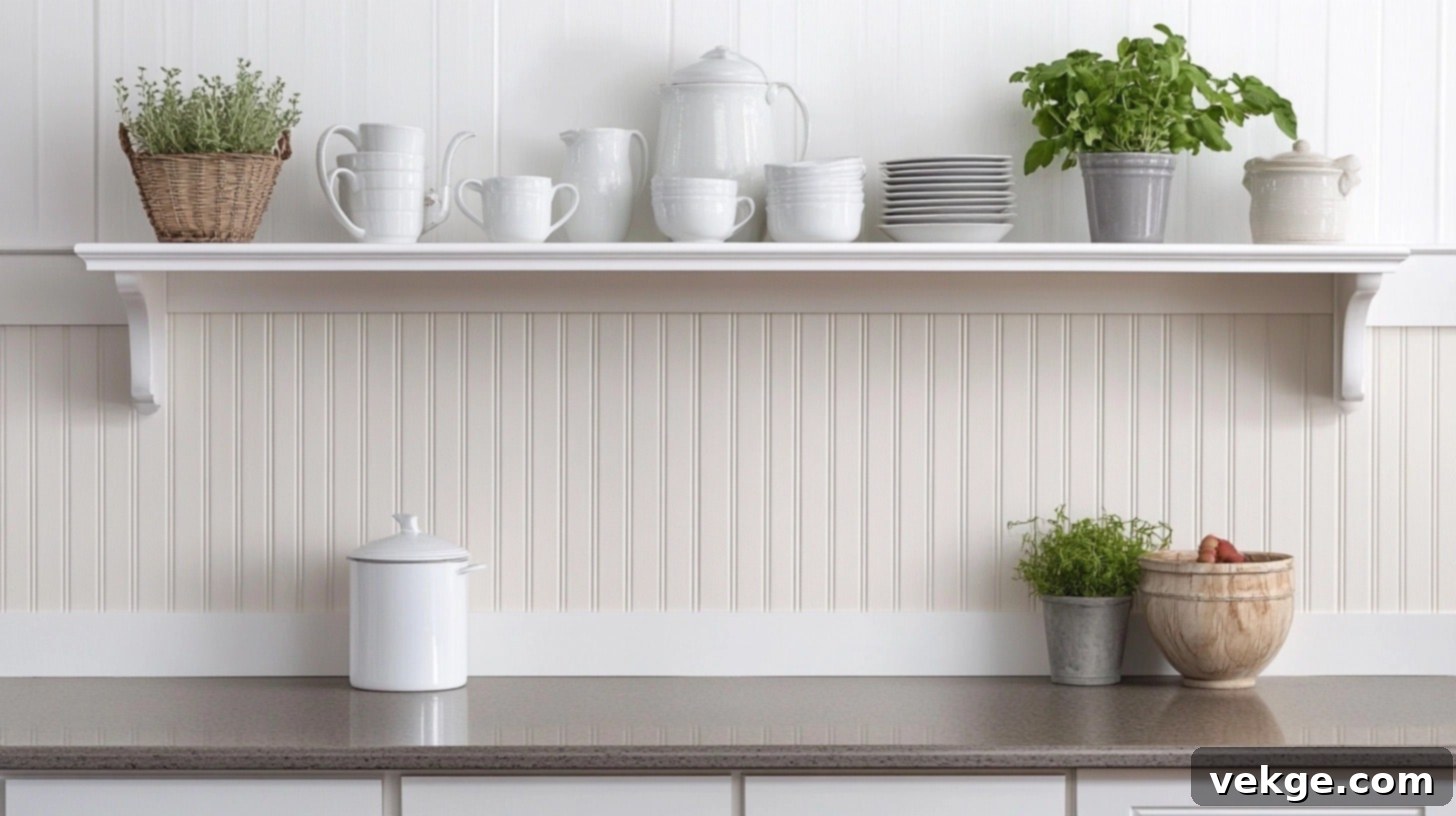
Elevate the look of open shelving by installing beadboard panels directly behind them. This creates a beautifully textured and visually appealing backdrop that highlights your displayed items, whether they’re dishes in the kitchen or decorative accents in a living room. You can paint the beadboard a contrasting color to make your shelves pop or a complementary shade for a cohesive look.
- Why It Works: Adds significant depth, texture, and a custom, built-in feel to plain walls; instantly enhances the aesthetic of functional or decorative shelves.
- Best Rooms/Where to Use This Idea: Kitchens, laundry rooms, mudrooms, home offices, and living room display areas.
- DIY Difficulty Level: Easy; involves basic panel cutting and installation, with careful consideration for shelf placement.
2. Two-tone Beadboard and Wallpaper Combination
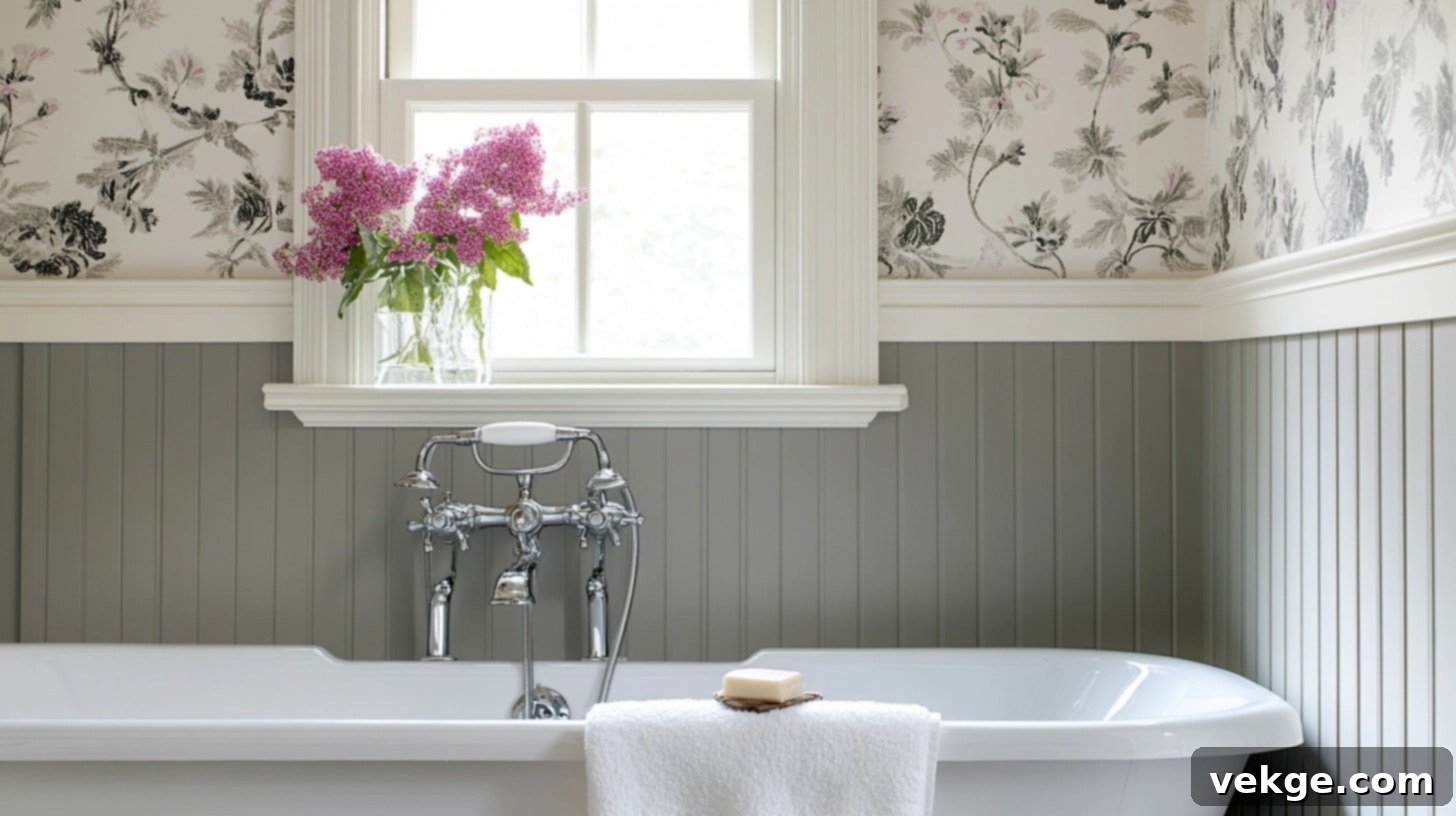
For a truly playful and stylish design, combine the classic appeal of beadboard on the lower half of your wall with a vibrant or subtly patterned wallpaper above. This two-tone approach adds layers of texture and visual interest, allowing you to incorporate bold colors or intricate designs in a balanced way, creating a sophisticated and personalized look.
- Why It Works: Masterfully blends texture (beadboard) with pattern/color (wallpaper) for a unique and dynamic interior; adds depth and character.
- Best Rooms/Where to Use This Idea: Powder rooms, bathrooms, kitchens, dining rooms, and children’s rooms.
- DIY Difficulty Level: Moderate; requires precise alignment of both wallpaper and beadboard, along with careful edge transitions.
3. Rustic Wood-Stained Beadboard
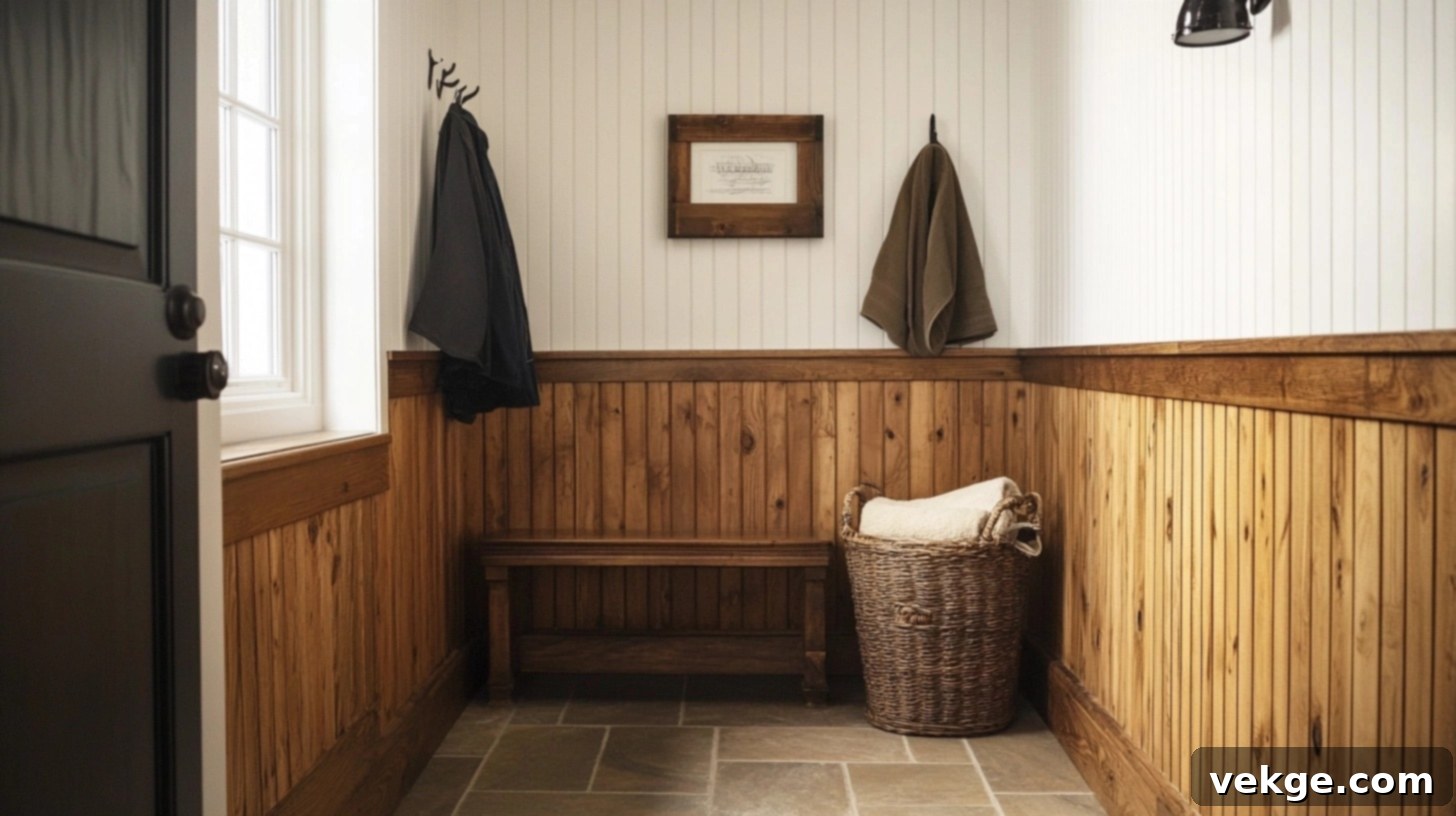
Instead of painting, embrace the natural beauty of wood by opting for real wood beadboard and finishing it with a rich stain. This approach creates a warm, authentic wood finish that is perfect for enhancing rustic, farmhouse, or cabin-style interiors. The stained wood provides a cozy, inviting atmosphere with a natural elegance that requires minimal upkeep.
- Why It Works: Introduces natural warmth, character, and a timeless, earthy aesthetic; less prone to showing wear than painted surfaces.
- Best Rooms/Where to Use This Idea: Mudrooms, laundry rooms, bathrooms, kitchens, and studies looking for a natural, rustic feel.
- DIY Difficulty Level: Moderate; requires careful sanding, staining, and sealing for optimal durability and appearance.
4. Beadboard Accent Wall
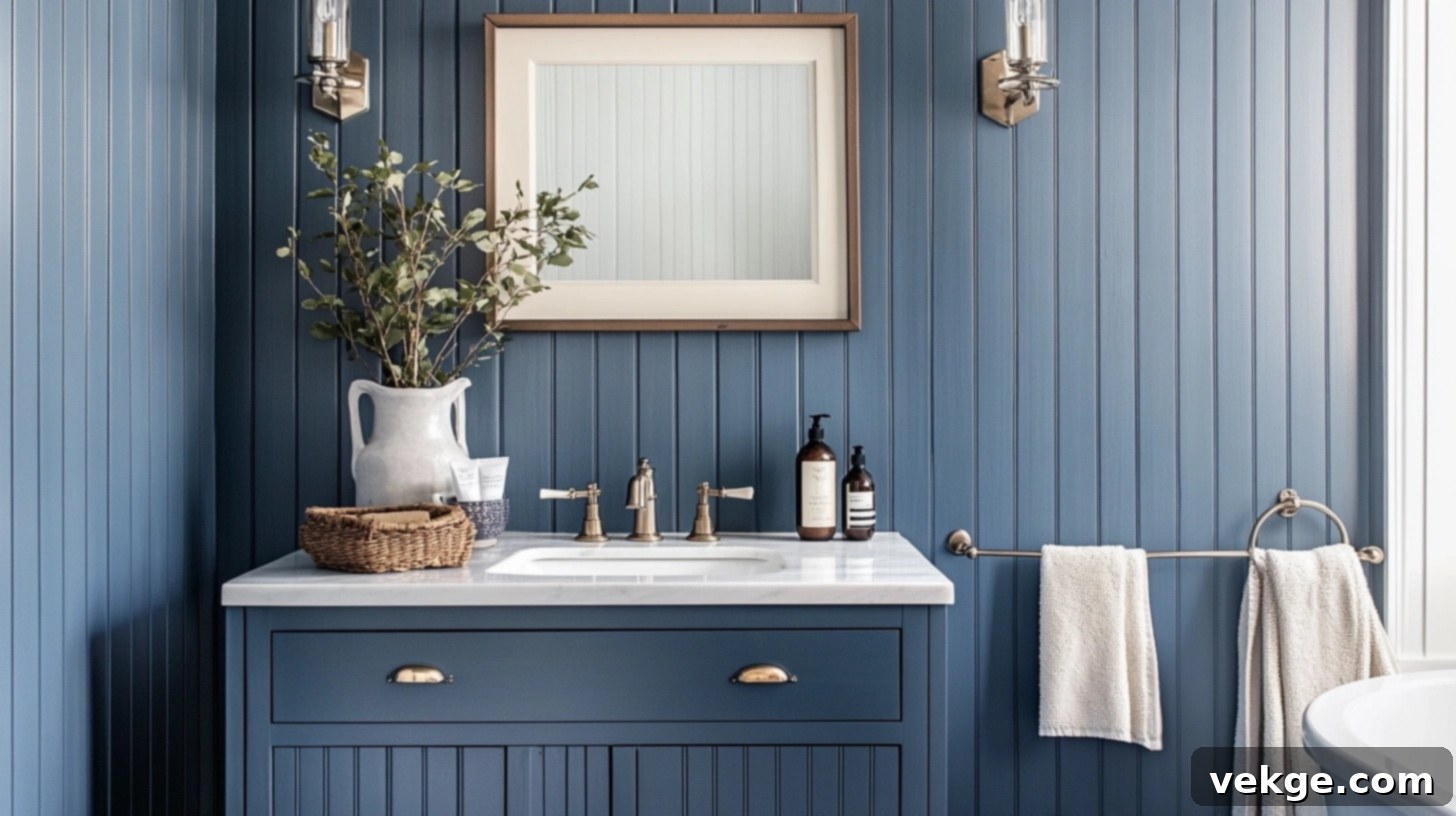
Instead of paneling an entire room, select one wall to transform into a dramatic feature piece using beadboard. Paint this accent wall in a bold or moody color like deep navy, emerald green, or charcoal gray to create a striking focal point. The vertical lines of the beadboard will add texture and depth, making the chosen wall truly stand out and define the room’s character.
- Why It Works: Creates a dramatic focal point, adds architectural interest, and introduces texture and color in a powerful yet sophisticated way.
- Best Rooms/Where to Use This Idea: Bathrooms, bedrooms (behind the headboard), living rooms, or home offices.
- DIY Difficulty Level: Easy; involves standard beadboard installation and painting, confined to a single wall.
5. Beadboard Ceiling Extension
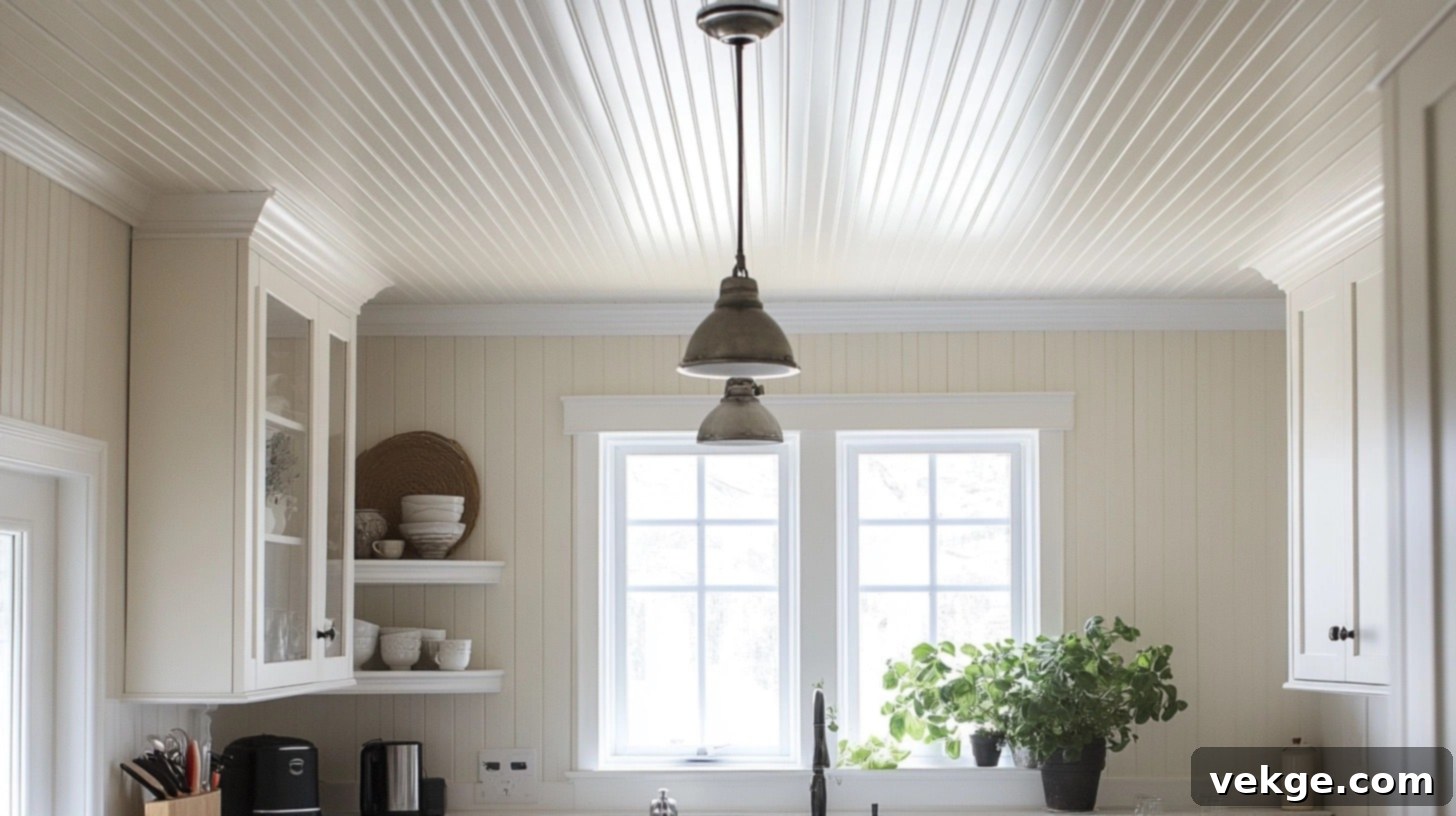
For a truly immersive and cohesive look, extend beadboard from the walls directly onto the ceiling. This design choice creates a wonderfully cozy, unified, and charming atmosphere, particularly effective in rooms with a rustic, farmhouse, or coastal aesthetic. It adds an unexpected architectural detail that makes the room feel more intentional and complete.
- Why It Works: Creates a unique, integrated design statement that wraps the room in texture; enhances the perception of warmth and enclosure.
- Best Rooms/Where to Use This Idea: Mudrooms, bathrooms, kitchens, sunrooms, or cozy bedrooms.
- DIY Difficulty Level: Moderate to Difficult; requires overhead work, precise measurements, and careful handling of panels for ceiling installation.
6. Beadboard Wainscoting with Chair Rail
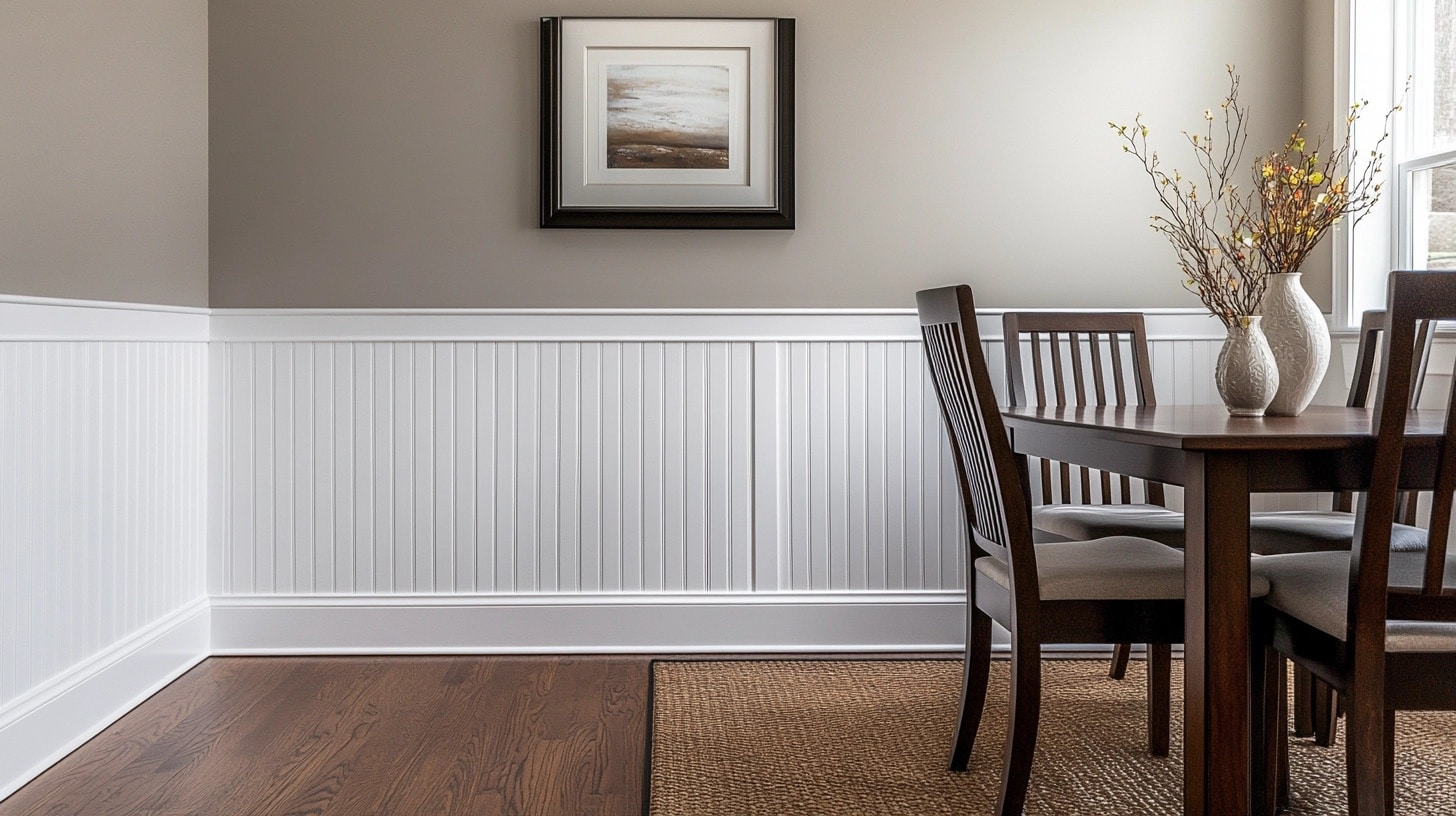
The classic application of beadboard is as wainscoting, typically covering the lower third or half of a wall. Enhance this traditional look by topping it with a stylish chair rail. This combination not only defines the height of the beadboard but also adds a layer of architectural elegance and protection, perfect for dining rooms, hallways, and entryways. You can paint the beadboard and chair rail the same color or use different shades for contrast.
- Why It Works: A timeless design choice that adds architectural elegance, protects walls from scuffs, and creates a clear visual division, enhancing perceived height.
- Best Rooms/Where to Use This Idea: Dining rooms, hallways, entryways, bathrooms, and living rooms.
- DIY Difficulty Level: Moderate; requires careful measurement and alignment of both the beadboard panels and the chair rail for a polished finish.
7. Dark and Defined Beadboard
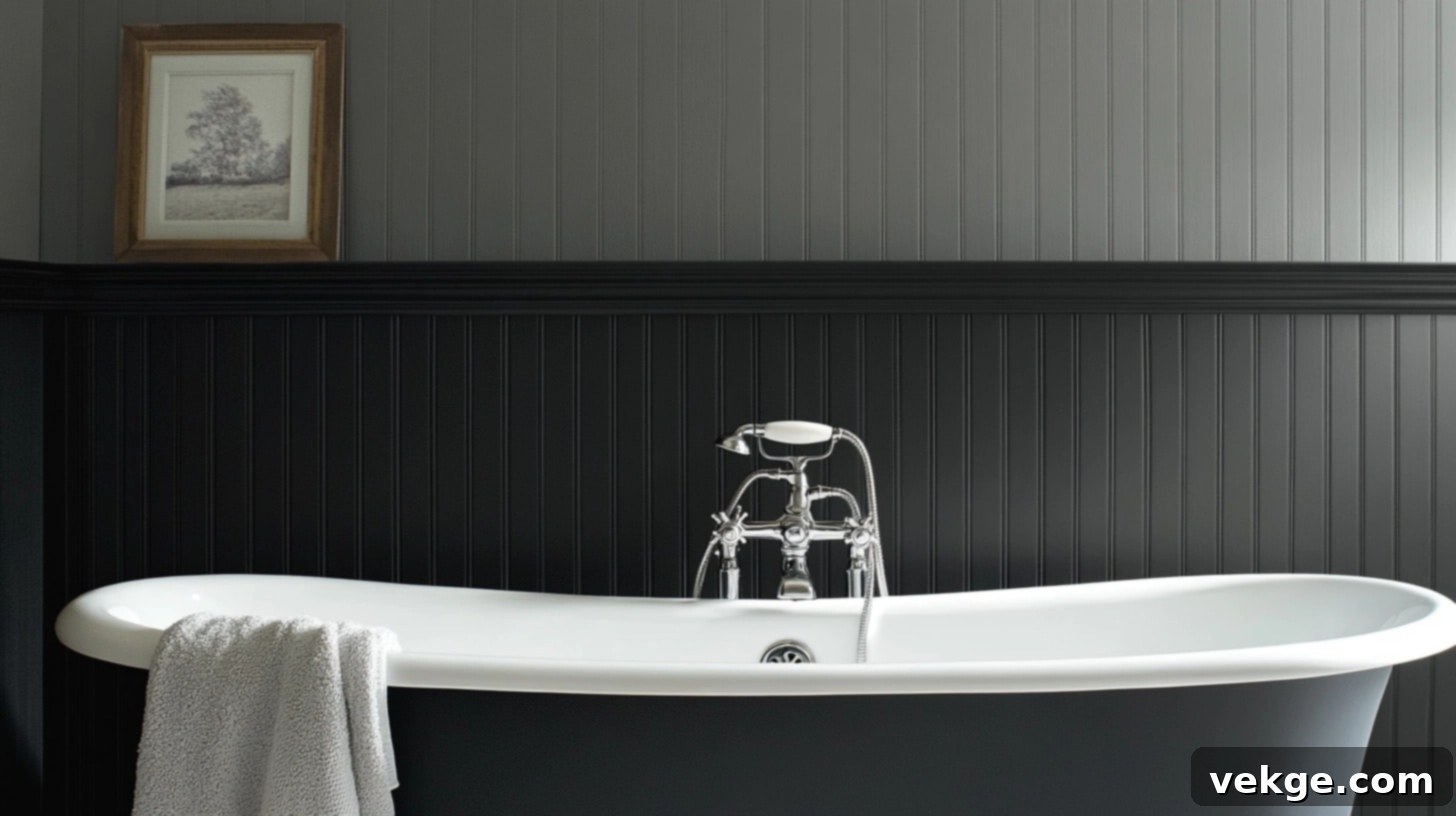
Break away from traditional white beadboard by painting it in deep, bold colors like charcoal gray, forest green, or even black. This creates a striking and modern appearance, adding drama and sophistication to any room. Paired with lighter walls above, dark beadboard can ground a space and provide a contemporary twist on a classic element.
- Why It Works: Adds depth, sophistication, and a dramatic, modern aesthetic; perfect for creating contrast and a strong design statement.
- Best Rooms/Where to Use This Idea: Bathrooms, powder rooms, dining rooms, mudrooms, and hallways.
- DIY Difficulty Level: Easy; involves standard installation and careful painting (dark colors may require more coats).
8. Painted Beadboard Island
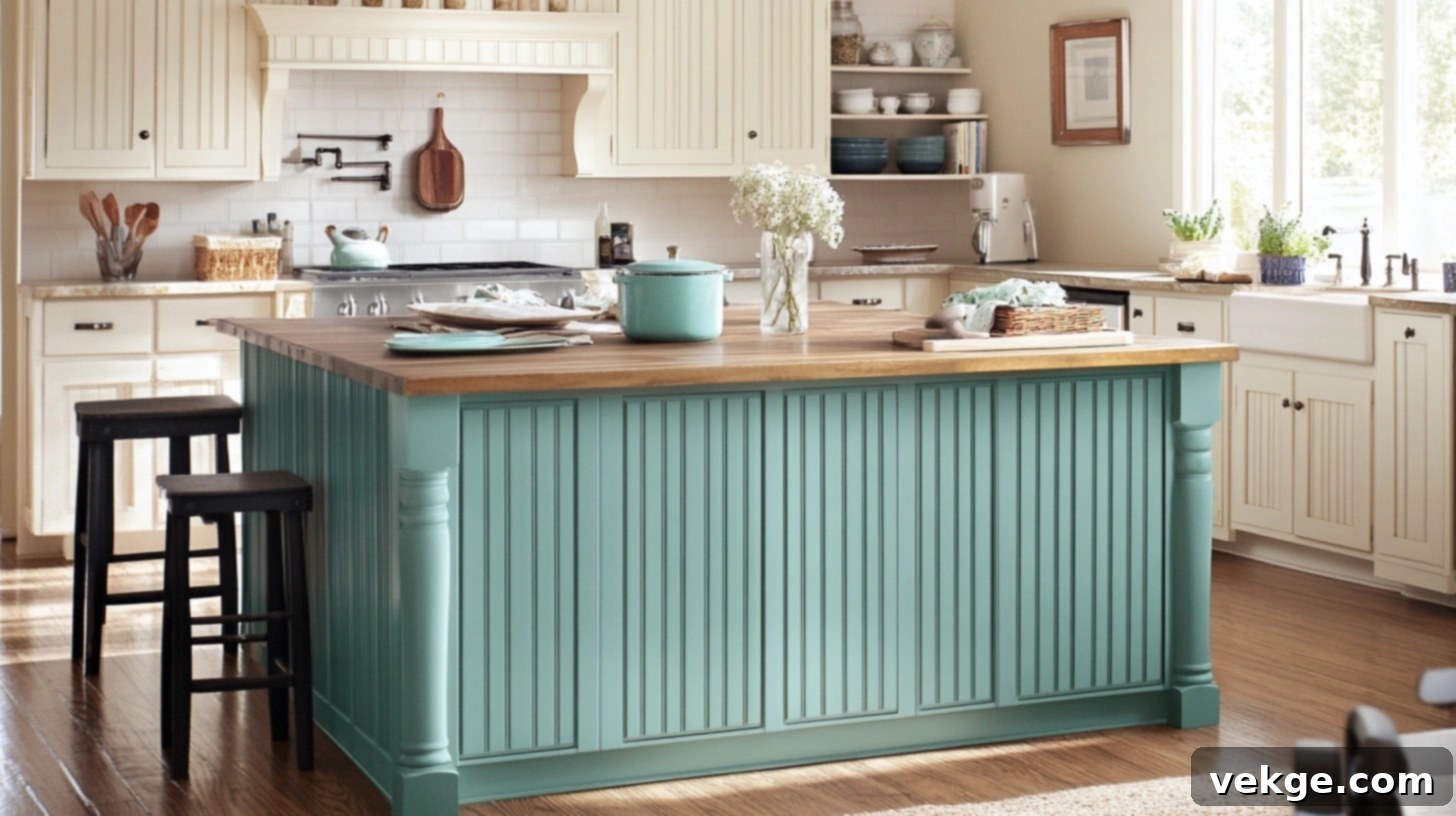
Give your kitchen island a custom, high-end look by covering its sides with beadboard panels. This simple update adds wonderful texture and architectural detail to a central feature of your kitchen. Paint the beadboard to match your existing cabinetry for a seamless flow, or choose a contrasting color to make the island a standout piece in the room.
- Why It Works: Instantly upgrades a plain kitchen island, adding character, texture, and a custom, furniture-like appearance.
- Best Rooms/Where to Use This Idea: Kitchens.
- DIY Difficulty Level: Moderate; requires precise cutting and fitting around the island’s unique dimensions and potential curves.
9. Built-Ins with Beadboard
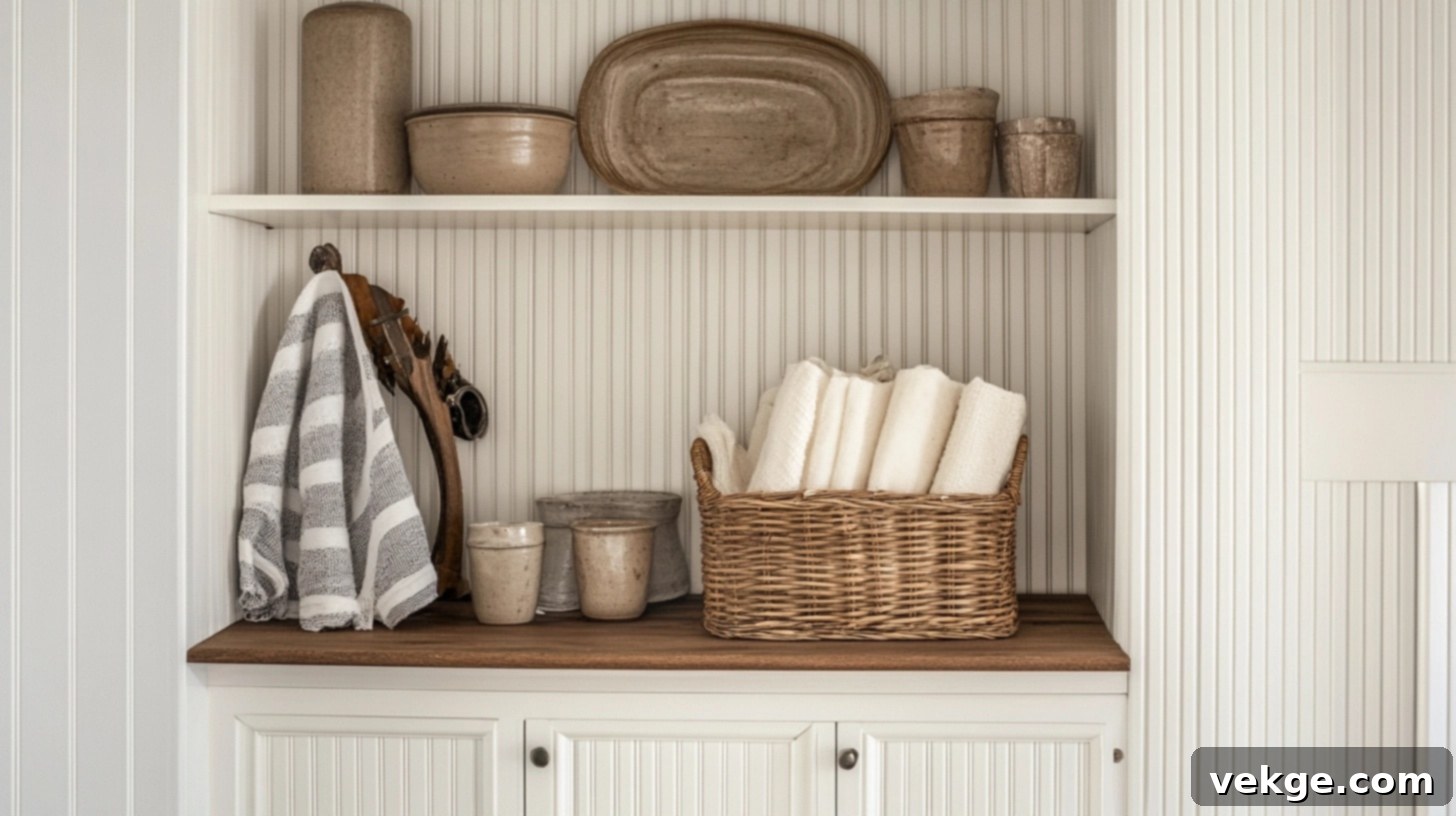
Enhance the elegance and craftsmanship of built-in shelving units, cabinets, or mudroom lockers by incorporating beadboard into their backs. This provides a detailed and polished backdrop for your stored items, making the entire unit look more bespoke and sophisticated. It’s a subtle touch that makes a big difference in the overall finish.
- Why It Works: Elevates the look of standard built-ins by adding a sophisticated, finished, and custom aesthetic, drawing attention to displays.
- Best Rooms/Where to Use This Idea: Mudrooms, kitchens, laundry rooms, living rooms with built-in bookshelves, and entryways.
- DIY Difficulty Level: Easy; involves cutting panels to fit within existing structures and securing with adhesive or small nails.
10. Closet Interior
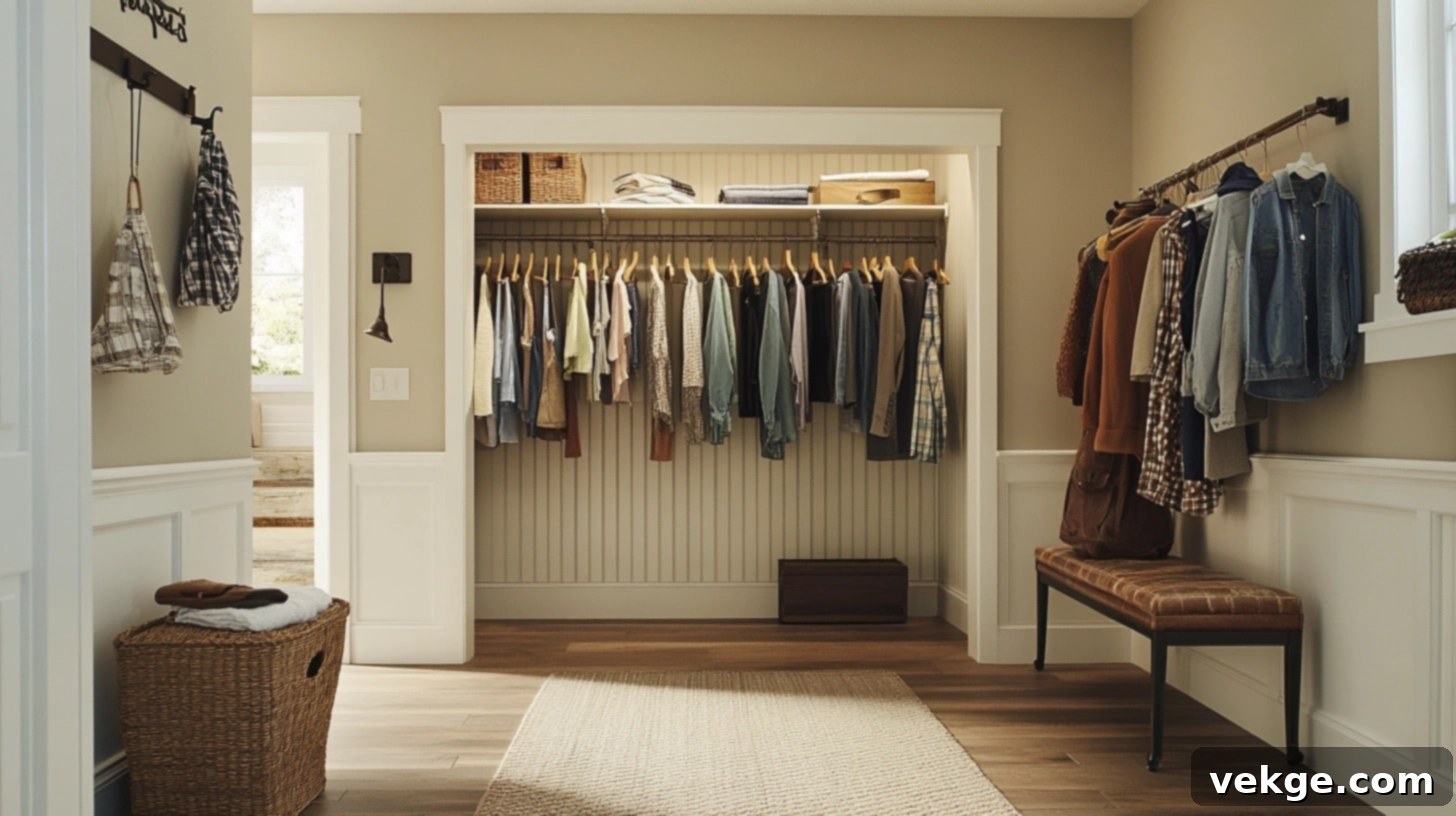
Don’t overlook the potential of your closet interiors! Lining closet walls with beadboard can transform them from purely functional spaces into beautifully designed areas. It provides a crisp, clean background that looks far more appealing than plain drywall when the doors are open, elevating even the most utilitarian spaces in your home. This is especially impactful in walk-in closets or linen closets.
- Why It Works: Elevates often-neglected spaces, creating a clean, organized, and aesthetically pleasing backdrop that adds a touch of luxury.
- Best Rooms/Where to Use This Idea: Walk-in closets, linen closets, pantry interiors, and coat closets.
- DIY Difficulty Level: Easy; straightforward installation with minimal trimming, often in smaller, contained areas.
11. Home Office Focus Wall
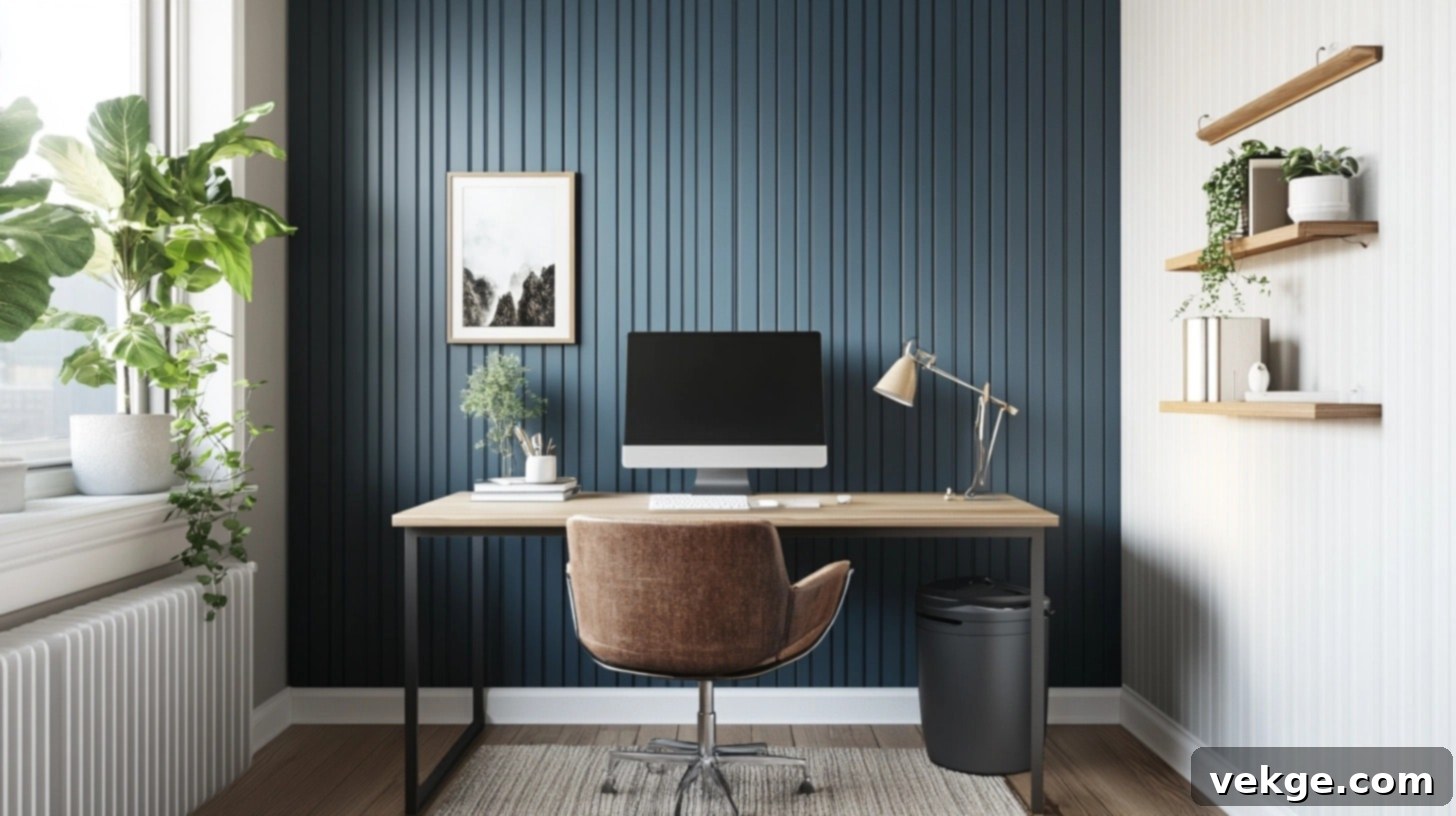
Install beadboard on the wall directly behind your desk area in a home office. This creates a sophisticated, clean, and professional background that is perfect for video calls, online meetings, or simply a focused workspace. The texture adds visual interest without being distracting, and you can paint it a calming color to promote productivity and concentration.
- Why It Works: Provides a clean, professional, and visually appealing backdrop that enhances the aesthetic of your workspace and looks great on camera.
- Best Rooms/Where to Use This Idea: Home offices, study nooks, or even virtual learning spaces.
- DIY Difficulty Level: Easy; simple installation and painting focused on a specific area, ideal for a weekend project.
Conclusion
As we’ve explored, installing beadboard walls is far more than just a decorative update for a room – it’s an investment that adds lasting charm, practical protection, and undeniable value to your entire home. From its rich historical roots to its modern applications, beadboard offers a versatile solution for transforming any space.
I’ve shared the detailed steps and essential tips I’ve gathered through my own home projects, guiding you from selecting the perfect panels and preparing your walls to the final coats of paint and ongoing maintenance. Remember these key takeaways to ensure your project is a resounding success:
- Thoughtful Selection: Choose beadboard panel types and materials that best suit your room’s specific needs and aesthetic vision.
- Precise Planning: Take the time to meticulously plan, measure, and mark your walls. Accuracy in these initial steps prevents headaches down the line.
- Consistent Maintenance: Simple, regular cleaning and occasional touch-ups are key to ensuring your beadboard walls retain their fresh, beautiful appearance for years.
Feeling a bit hesitant about tackling a larger room? That’s perfectly normal! I encourage you to start small. A powder room, a laundry area, or even a small accent wall in a mudroom offers an excellent opportunity to practice your skills and build confidence before taking on bigger spaces. These smaller projects are quick, impactful, and will give you a taste of the rewarding experience of DIY home improvement.
Ready to give your walls the fresh, custom look they deserve? Grab your measuring tape, choose your favorite design idea, and head to your local hardware store. Your next satisfying weekend project awaits – and the beautiful transformation of your home is just a few steps away!
