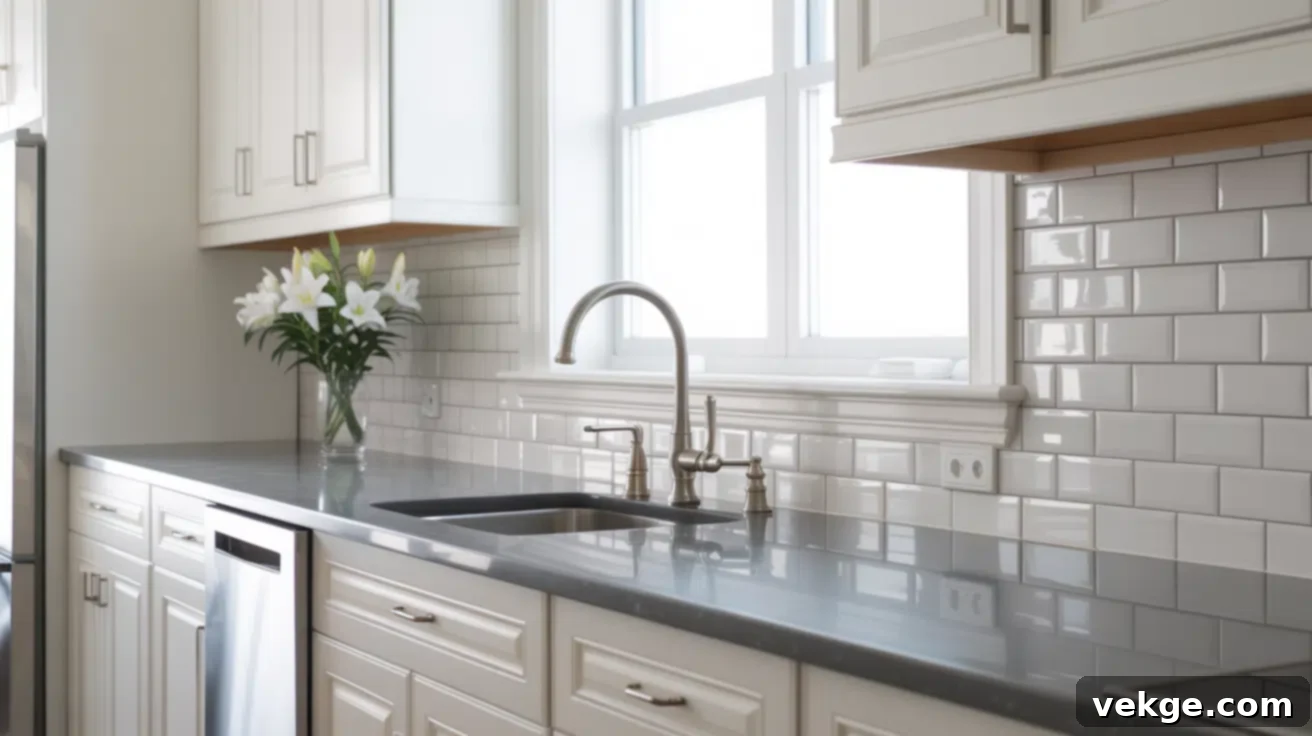
Kitchen Backsplash Installation Cost: Your Ultimate Guide to Budgeting & DIY Success
Are you envisioning a refreshed kitchen but find yourself pondering the exact cost of a new backsplash installation? You’re certainly not alone. Many homeowners feel a sense of uncertainty when it comes to estimating prices, selecting the perfect materials, and deciding whether to embark on a DIY journey or enlist the expertise of a professional installer. This comprehensive guide is designed to demystify the entire process, providing you with everything from precise square foot pricing to often-overlooked expenses and ingenious strategies to save money.
By the time you reach the end of this article, you will possess the confidence and clarity needed to meticulously plan your kitchen backsplash project, free from the stress of guesswork and unexpected financial surprises. Let’s transform your kitchen dreams into a tangible reality.
Understanding the Function and Appeal of Kitchen Backsplashes
A kitchen backsplash serves a dual purpose: it’s both a practical shield and a significant aesthetic element. This vertical surface, positioned between your countertop and the upper cabinets, is primarily engineered to protect your walls from the inevitable splatters of water, grease, and food that occur during daily cooking and cleaning. It provides a robust, easy-to-clean barrier, especially behind high-activity areas like sinks and stovetops, where spills are commonplace.
Beyond its protective capabilities, the backsplash has evolved into a pivotal design feature. Materials range extensively, from cost-effective ceramic tiles to luxurious natural stone, sleek glass, or trendy metallic options, allowing homeowners to select based on their budget and desired aesthetic. While initially installed for purely functional reasons, backsplashes are now considered an indispensable component of modern kitchen upgrades. Their inherent ease of maintenance, exceptional durability, and potential to dramatically enhance a kitchen’s visual appeal make them a practical and highly valued improvement in both minor updates and extensive remodels.
Average Kitchen Backsplash Installation Costs Detailed
The financial outlay for a kitchen backsplash installation can fluctuate significantly, typically ranging from $10 to $55 per square foot. This broad spectrum is influenced by several critical factors, including the chosen material, the complexity of the layout, and the labor required for installation. For a common project covering approximately 25 square feet, homeowners can anticipate an total cost between $500 and $1,375, encompassing both material expenses and professional installation fees.
Smaller kitchens featuring simple, basic ceramic or porcelain tiles will generally fall at the lower end of this range. Conversely, larger kitchens or those incorporating more intricate designs, premium materials, or complex patterns will invariably push the total cost higher. Below, we’ve provided a more detailed breakdown based on standard project sizes to help you better gauge what to expect for your specific kitchen.
Backsplash Installation Cost by Project Size
The overall cost of your backsplash project is heavily influenced by its size. The following table illustrates estimated cost ranges for small, medium, and large backsplash installations, factoring in both materials and labor.
|
Kitchen Size / Project Scope |
Approx. Area (sq. ft.) |
Cost Range (Materials + Professional Labor) |
|
Small Backsplash (e.g., behind a single sink or stove) |
10–15 sq. ft. |
$150 – $825 |
|
Medium Backsplash (e.g., standard L-shaped kitchen) |
20–30 sq. ft. |
$400 – $1,650 |
|
Large Backsplash (e.g., extensive U-shaped kitchen with island) |
35–50 sq. ft. |
$700 – $2,750 |
Key Factors Influencing Your Backsplash Installation Cost
Several variables contribute to the final price tag of a backsplash project. Understanding these factors will empower you to make informed decisions and manage your budget effectively. The most significant influences include the type of tile material selected, the complexity of labor, the necessary wall preparation, and the overall size of the installation.
Type of Tile Material: A Major Cost Driver
The material you choose for your backsplash is often the single most significant factor in determining the total cost. Each material boasts unique properties, aesthetic appeals, and installation requirements, directly impacting both upfront expenses and long-term maintenance.
- Ceramic Tile: Typically the most budget-friendly and easiest to install, ceramic tiles are incredibly versatile. They come in a vast array of colors, patterns, and finishes, making them a popular choice for all styles. Their cost generally ranges from $2 to $15 per square foot for the tile itself. Ceramic is durable and relatively easy to clean, offering excellent value.
- Porcelain Tile: A step up from ceramic, porcelain is denser, less porous, and more resistant to moisture and stains. This makes it ideal for kitchens. Prices usually range from $3 to $25 per square foot. Like ceramic, it’s available in many styles, including options that mimic natural stone or wood.
- Glass Tile: Offering a contemporary and often luminous finish, glass tiles can create a stunning visual impact. They are more expensive than ceramic or porcelain, typically costing $10 to $50 per square foot. Installation can be more challenging due to their transparency, which can reveal adhesive imperfections, and their brittleness, requiring specialized cutting tools and techniques.
- Natural Stone Tile: Materials like marble, granite, travertine, and slate provide a luxurious, timeless look. These are often the most expensive options, ranging from $15 to $75+ per square foot. Natural stone requires sealing to protect against stains and moisture, and ongoing maintenance. Installation can also be more labor-intensive due to their weight and the need for precise cuts.
- Peel-and-Stick Backsplash: For the ultimate budget-conscious DIYer, peel-and-stick tiles offer an inexpensive and remarkably quick installation. These are typically made from vinyl or gel and can mimic the look of traditional tiles. They cost between $5 and $20 per square foot. While convenient, they are generally less durable and may not last as long as traditional tiled backsplashes, making them a better option for temporary fixes or rental properties.
- Metal Tile: Stainless steel, copper, or tin tiles offer an industrial or rustic appeal. They are durable and easy to clean, often found in modern or commercial-style kitchens. Costs can range from $20 to $60 per square foot, with installation sometimes requiring specific adhesives or cutting methods.
Each material varies significantly in terms of initial purchase price, aesthetic contribution, and long-term maintenance needs, all of which contribute to both upfront and enduring costs.
Labor and Installation Complexity: The Skill Factor
Labor rates for backsplash installation can be billed hourly or on a per-square-foot basis, typically ranging from $7 to $25 per square foot for labor alone. A straightforward, simple tile layout, such as a basic subway tile pattern with minimal cuts, will naturally cost less to install. This is because it requires less time and less specialized skill.
Conversely, intricate or detailed patterns, such as a **herringbone**, **chevron**, **basket weave**, or **mosaic** design, significantly increase labor costs. These patterns demand a higher degree of precision, more frequent and complex cuts, and a greater amount of time to lay out and install correctly. Features like **multiple electrical outlet cuts**, precise corner trims, challenging edge transitions, or custom tile spacing also add to both the time and the skill required, consequently raising the labor price. The more elaborate and bespoke the design, the more skilled and experienced the installer must be, which is reflected in their pricing.
Wall Preparation & Demolition Work: Don’t Skip This Step
Before any new tile can be installed, the wall surface must be clean, smooth, and structurally sound. If an existing backsplash is present, its removal (demolition) will add to the project’s overall cost. Demolition typically involves both time and labor charges, and it can also generate significant debris that needs proper disposal.
Beyond removal, the underlying wall surfaces often require patching, sanding, or leveling, especially if there’s existing damage, unevenness, or old adhesive residue. A perfectly clean and smooth substrate is crucial for ensuring that new tiles bond properly and that the installation lasts for many years. Skipping proper wall preparation can lead to future problems such as cracked tiles, grout failure, or tiles detaching from the wall, ultimately leading to more expensive repairs down the line. Therefore, proper preparation is a critical, though sometimes overlooked, cost factor in both DIY and professional installations.
DIY vs. Professional Backsplash Installation: Weighing Your Options
The decision to undertake a backsplash installation yourself or to hire a professional hinges on several factors: your allocated budget, the amount of time you can commit, your level of DIY experience, and the inherent complexity of your desired project. Each approach offers distinct advantages and disadvantages.
DIY vs. Professional Backsplash Installation: Cost and Key Differences
This comparison table can help you evaluate the key aspects of cost, time, skill required, and potential outcomes, guiding you toward the best decision for your kitchen upgrade.
|
Factor |
DIY Approach |
Professional Installation |
|
Estimated Cost |
$200 – $600 (primarily materials, tools may be extra) |
$1,000 and up (inclusive of labor, prep, materials can vary) |
|
Includes |
Cost of tiles, adhesives, grout, caulk. Tools may need to be purchased or rented. |
Skilled labor, demolition, wall preparation, installation, finishing (grout, caulk). |
|
Skill Required |
Moderate to high, requires patience, precision, and basic tiling knowledge. |
Handled by trained, experienced installers with specialized tools and techniques. |
|
Time Needed |
2–3 days (for an average project, allowing for drying/curing times and learning curve). |
Typically 1 day for installation, plus additional time for prep/demolition if needed. |
|
Risk |
Higher chance of errors, uneven lines, poor adhesion, or material wastage. |
Minimal if using a reputable, experienced professional with references and insurance. |
|
Finish Quality |
Highly dependent on your personal experience, patience, and attention to detail. |
Consistently high-quality, polished, and durable results with professional guarantees. |
When to Hire a Professional Backsplash Installer
While the allure of cost savings with a DIY project is strong, there are specific scenarios where hiring a licensed and experienced installer is unequivocally the better choice. If your backsplash design incorporates **complex tile patterns** (like intricate mosaics or demanding geometric layouts), involves **fragile or expensive materials** (such as delicate glass, large format tiles, or high-end natural stone), or requires precise work in **close proximity to electrical outlets or plumbing fixtures**, it’s strongly recommended to work with a professional.
Professionals bring not only a full suite of specialized tools but also the honed skills and invaluable safety experience needed to manage these challenges efficiently and effectively. They can ensure accurate cuts, perfectly level surfaces, and seamless transitions, especially around obstacles. While the initial upfront cost for professional labor is higher, the investment often pays off in the long run. A professionally installed backsplash guarantees a smooth, secure, and long-lasting finish, preventing costly errors, material waste, and the need for future corrections. For homeowners who prioritize precision, adhere to strict timelines, desire a flawless aesthetic, and wish to avoid potential headaches, professional assistance is frequently the most prudent and satisfying option.
Step-by-Step Guide to Installing a Kitchen Backsplash Safely and Effectively (DIY)
Installing a kitchen backsplash as a DIY project can be a rewarding experience, but it demands patience, meticulous planning, and a strong emphasis on safety. Follow these detailed steps to ensure a clean, durable, and secure finish that you’ll be proud of.
Step 1: Shut Off Power and Carefully Remove Outlet Covers
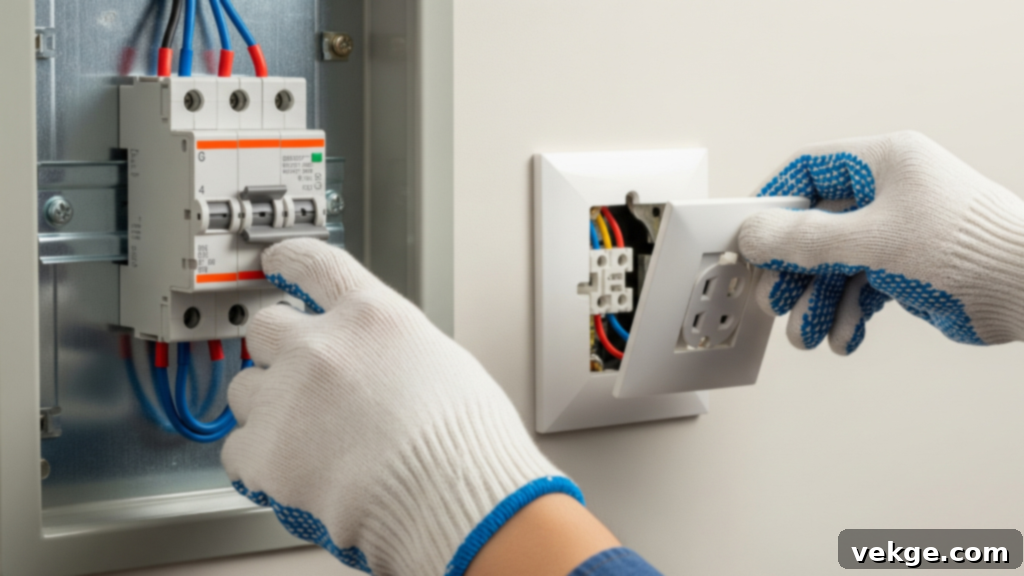
Before initiating any work, your absolute first priority must be safety. Always locate your circuit breaker panel and turn off the main power supply to the specific wall where you’ll be working. Use a non-contact voltage tester to confirm that the power is indeed off at all outlets and switches. Once confirmed safe, carefully remove all outlet covers, switch plates, and any light fixtures within the backsplash area. This critical step not only safeguards you from potential electric shock but also provides unobstructed access to the wall surface, allowing for cleaner tile edges and easier work around electrical boxes. Never compromise on electrical safety when working near wiring.
Step 2: Score and Gently Remove Any Existing Backsplash
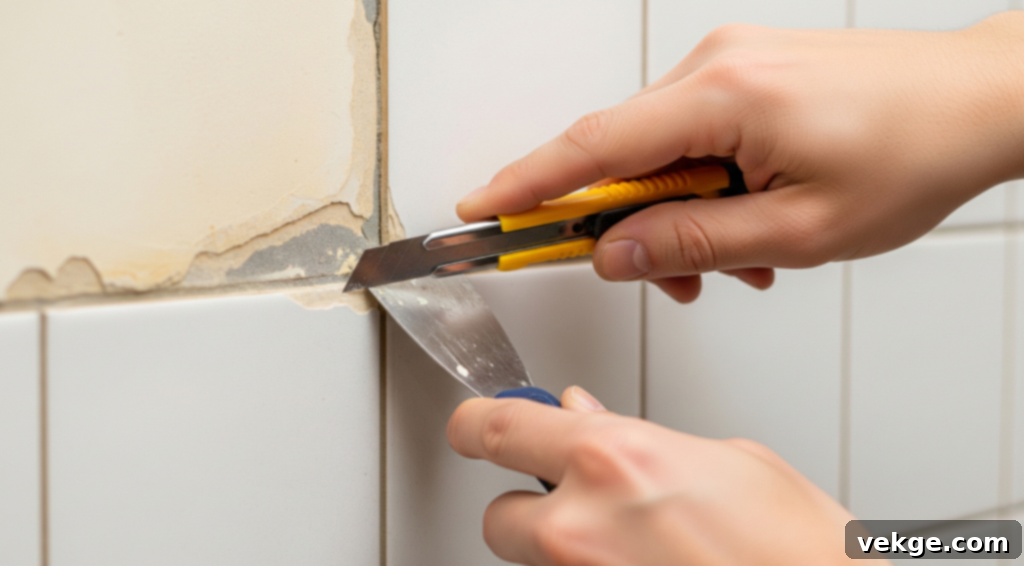
Resist the urge to simply smash off the old backsplash. A controlled demolition is key to minimizing damage to the underlying drywall. Begin by scoring the edges of the existing backsplash, where it meets cabinets, countertops, and other walls, using a sharp utility knife. This helps prevent tearing out more drywall than intended when prying off tiles. Work slowly and methodically, using a pry bar or putty knife to gently separate the old tiles and adhesive from the wall. Avoid using power tools around potential wiring. Once the tiles are removed, carefully scrape off any remaining adhesive or backer board material to create a relatively clean surface for the next step.
Step 3: Precisely Cut Drywall and Prepare the Wall Surface
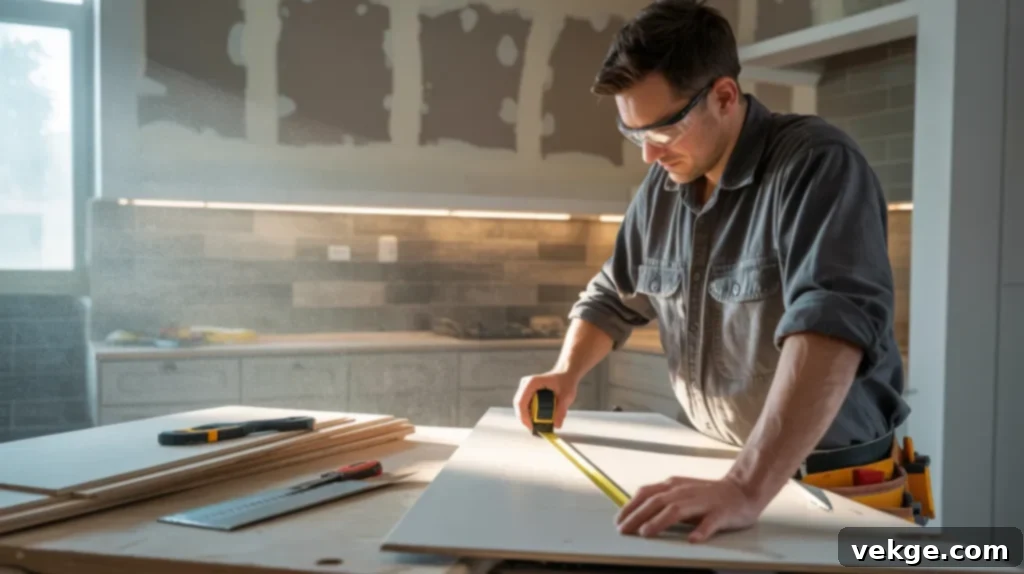
After demolition, you might find areas of damaged drywall that need repair. Measure the damaged sections accurately and cut new pieces of drywall to fit, ensuring you use existing wall studs for support where possible. Score and snap drywall cleanly using a straight edge and a sharp utility knife. Fill any larger gaps with smaller drywall pieces if necessary. While precise cuts are important, remember that your new tile will cover most seams. For areas prone to moisture, such as behind the sink or stove, consider using mold-resistant drywall or a cement backer board for enhanced durability and protection against water damage. A structurally sound and dry wall is the foundation for a lasting backsplash.
Step 4: Apply Joint Compound and Smooth All Seams
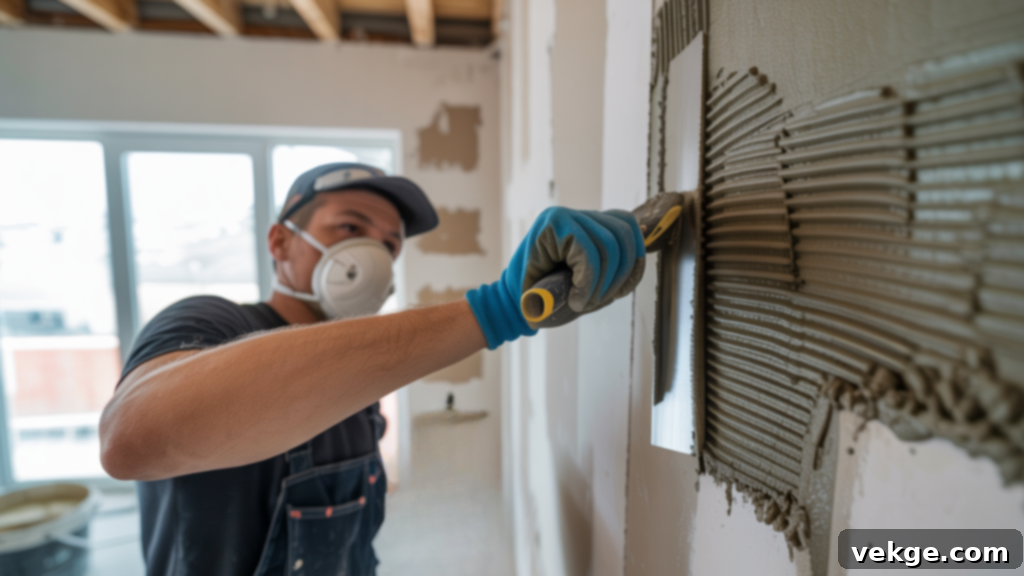
Once your new drywall patches are securely in place, the next step is to create a perfectly smooth and even surface. Begin by scraping off any loose debris or dust. Then, apply a thin, even layer of joint compound (also known as mud) over all seams, screw holes, and transition points using a wide drywall knife. For outside corners or potential stress points, apply joint tape (paper or mesh) over the seam before applying the first layer of compound, ensuring it’s fully embedded. Allow the first layer to dry completely according to manufacturer instructions, then sand it smooth. Apply additional thin coats as needed, sanding lightly between each, until you achieve a perfectly flat and uniform surface. This meticulous step prevents tile irregularities and ensures proper adhesion.
Step 5: Choose Starting Point and Confirm Level Surface
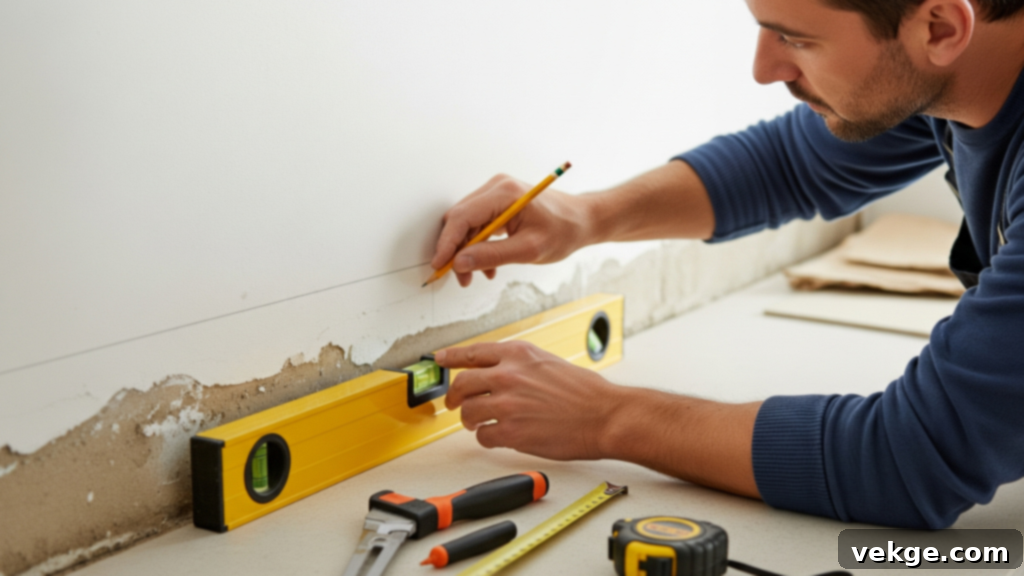
A level starting point is paramount for a professional-looking backsplash. First, use a reliable bubble level to check the level of your countertop along the entire length of the backsplash area. Countertops are rarely perfectly level, so you’ll need to establish a consistent horizontal line for your first row of tiles. Identify the most visible area, typically near the sink or stove, as your starting point. Using your level and a pencil, draw a precise layout line along the wall, ensuring it’s perfectly straight, even if it means compensating slightly for an uneven countertop. This line will guide your initial tile placement. For brick patterns, you’ll start with half-tile cuts at one end of your first row. A clean, truly level start ensures that all subsequent rows remain even and parallel across the entire backsplash.
Step 6: Cut and Dry-Fit Edge Tiles First for Accuracy
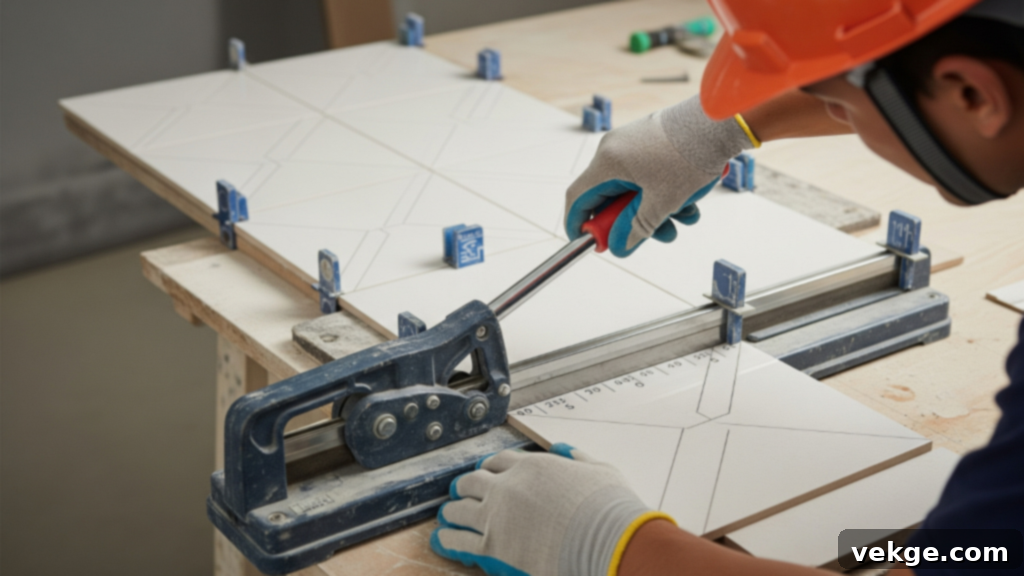
Before applying any adhesive, it’s crucial to dry-fit your tiles, especially those at the edges and around obstacles. Use a tile snap cutter for straight cuts on ceramic or porcelain, or a wet saw for more intricate cuts or harder materials like natural stone or glass. Always measure twice and cut once, accounting for grout lines by using tile spacers during your dry-fit. Lay out an entire row or section of tiles on the countertop or a flat surface to visualize the pattern and identify where cuts are needed. Test-fit all trimmed edge tiles to ensure they fit perfectly into your layout, including around corners and ends. This step helps minimize waste and ensures proper spacing and alignment before you commit with adhesive.
Step 7: Spread Adhesive and Install Tiles in Manageable Sections
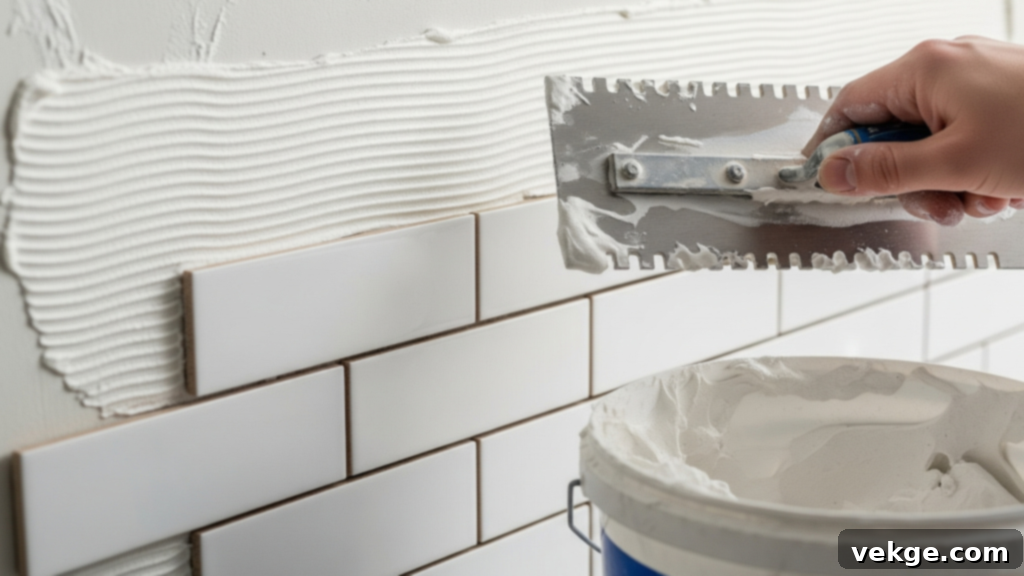
Using the recommended notched trowel size specified on your tile adhesive (thin-set mortar or mastic) container, begin spreading the adhesive onto the wall. Work in small sections, roughly 2×2 or 3×3 feet, to prevent the adhesive from drying out (“skinning over”) before you can place the tiles. Apply the adhesive evenly, creating consistent ridges with your trowel. Press each tile firmly and evenly into the adhesive with a slight twisting motion to ensure good contact. Use tile spacers to maintain uniform grout lines between tiles. If your wall is slightly uneven, you may need to “back butter” some tiles with a thin layer of adhesive for better contact. Work from the bottom row upwards, using your level line as a guide, ensuring each tile is plumb and level with its neighbors.
Step 8: Meticulously Work Around Outlets and Obstacles
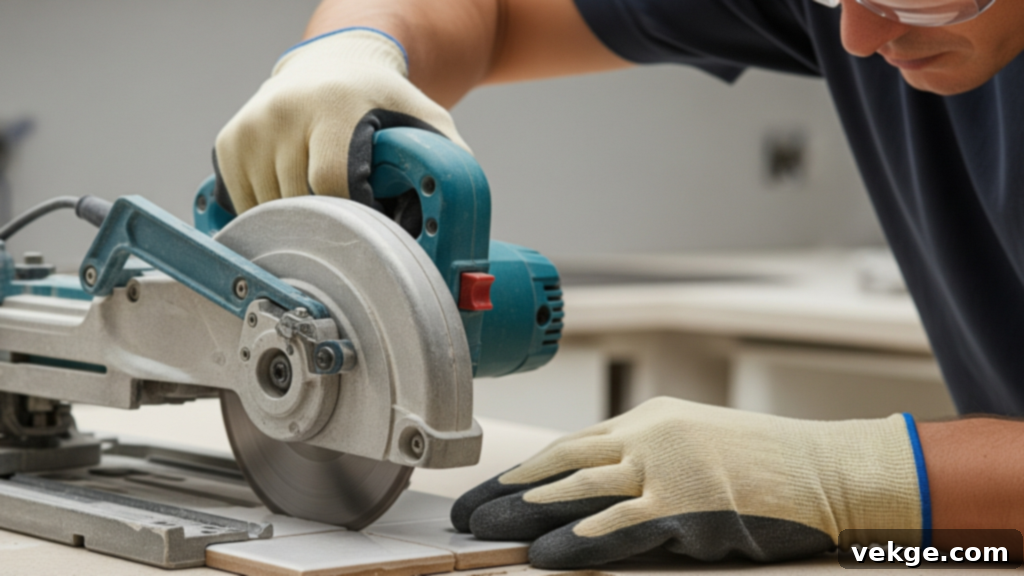
Navigating around electrical outlets, light switches, and other obstacles requires careful precision. Mark the exact positions of outlets onto your tiles using a pencil. For cutting around outlets, a tile saw with a diamond blade is ideal for making accurate notches or L-shaped cuts. For circular cuts or more intricate shapes, a tile nipper or grinder with a diamond blade can be used. Always dry-fit these custom-cut tiles first to ensure they fit perfectly around the electrical box. Leave adequate space around the outlet box so that the outlet cover can sit flush and extenders can be used if necessary. Remember that small imperfections around the outlet will be concealed by the cover plate, but aim for the cleanest cuts possible for a professional finish.
Step 9: Clean Excess Adhesive and Allow Tiles to Fully Set
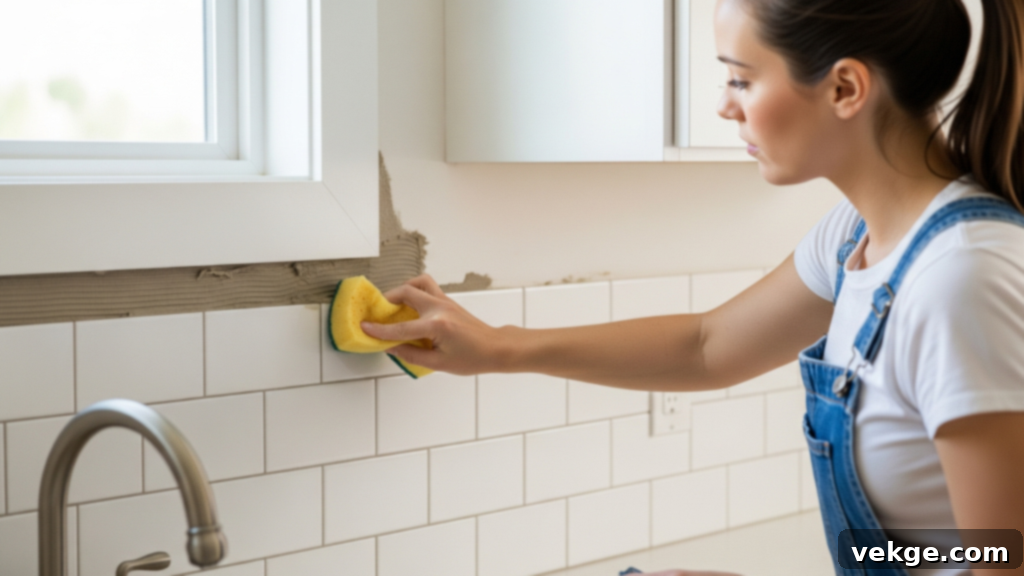
As you install each section of tile, it’s crucial to immediately wipe off any excess adhesive that squeezes out between tiles or smears onto the tile faces. Use a damp cloth or sponge to gently clean the surface and clear out the grout lines. This step prevents hardened residue, which can be much more difficult to remove later and can interfere with proper grout adhesion. Once all tiles are installed and cleaned, remove all tile spacers. Allow the tiles to set undisturbed for the full curing time recommended by your adhesive manufacturer – typically 24 to 48 hours. Do not rush this step, as proper curing is essential for the tiles to bond securely to the wall and ensure the longevity of your backsplash.
Step 10: Apply Grout and Thoroughly Clean in Sections
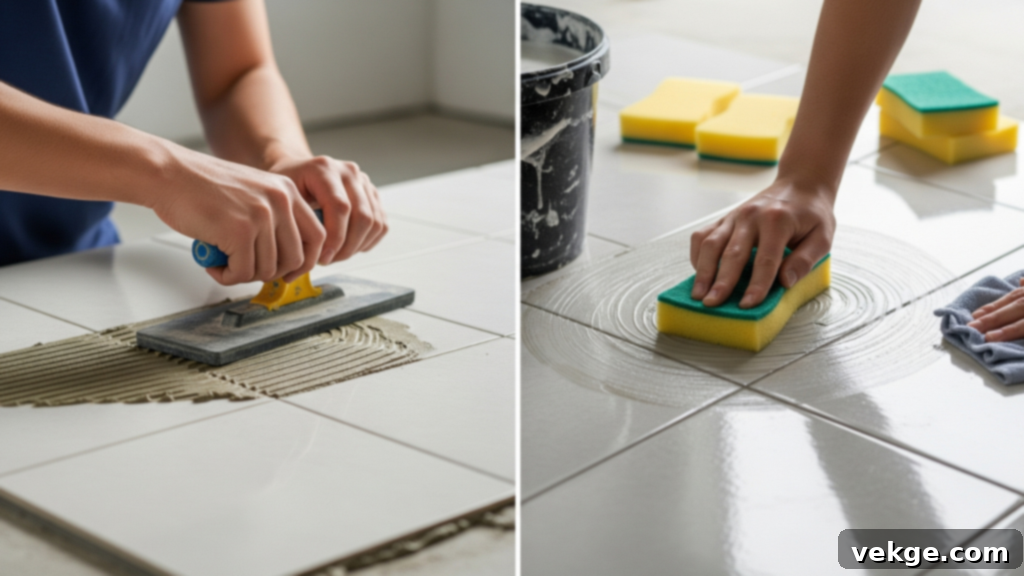
Once the adhesive has fully cured, it’s time to grout. Mix your grout according to the manufacturer’s instructions, aiming for a consistency similar to peanut butter. Using a rubber float, apply the grout by pressing it firmly into the tile joints, working diagonally across the tiles to ensure complete and even filling. Work in manageable sections (e.g., 5-10 square feet). After about 5 to 10 minutes (or as recommended by the grout manufacturer), when the grout has slightly set, use a damp sponge with clean water to gently wipe the tile surface in circular motions, removing excess grout. Rinse your sponge frequently with clean water. After the initial cleaning, a haze (grout film) will likely form. Once this haze is dry, use a dry cloth or microfiber towel and a raking light to buff the tiles clean. Many modern grouts, especially premixed varieties, are stain-resistant and may not require sealing, but always check your product label for specific instructions. If you’ve used natural stone tiles, a sealant is usually required before grouting and again after grouting to protect against stains.
Step 11: Caulk Edges and Paint Any Patched Wall Areas
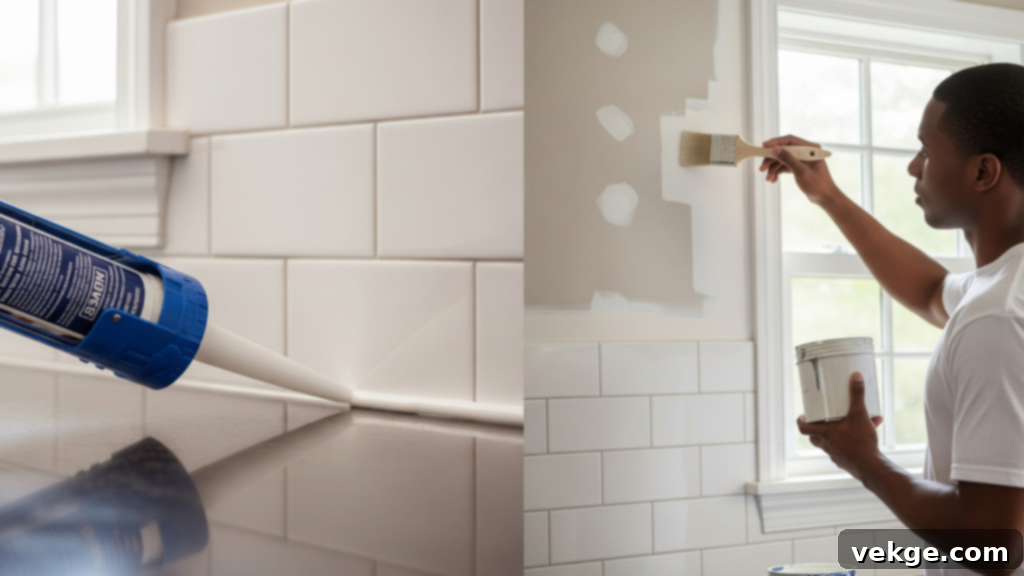
The final touches are crucial for a polished, professional result and for practical protection. Apply a high-quality, color-matched caulk along all transition points: where the backsplash meets the countertop, along any inside corners, and where it meets cabinets or adjacent walls. Caulk provides a flexible, waterproof seal that grout cannot. Use a caulk gun to apply a continuous bead, then smooth it immediately with a caulk-smoothing tool or a moistened finger for clean, crisp lines. Allow the caulk to cure according to its instructions. Finally, inspect any areas of the wall above or adjacent to the backsplash where drywall patching or painting may have occurred. Touch up these areas with matching paint to seamlessly blend your new backsplash with the rest of your kitchen, completing your home upgrade.
Additional Costs Often Overlooked in Backsplash Installation
While the cost of tiles and labor forms the bulk of a backsplash project, several additional expenses can easily be overlooked, leading to budget surprises. Being aware of these potential costs upfront can help you plan more effectively:
- Demolition and Debris Disposal: If you’re replacing an existing backsplash, the time and effort to remove it, plus fees for disposing of the old materials, will add to the total. This can range from $50 to $200 depending on the size and material.
- Surface Repairs: Beneath an old backsplash, the wall might be damaged, uneven, or have old adhesive that needs significant preparation. Patching, leveling, or even replacing sections of drywall can incur extra material and labor costs ($20 – $150).
- Specialized Tools: For DIY projects, you might need to purchase or rent tools like a tile cutter/wet saw, notched trowels, grout floats, sponges, levels, and safety gear. This can add $100 – $300 to your budget.
- Finishing Materials: Beyond the tiles themselves, you’ll need high-quality grout, caulk (especially color-matched varieties), and potentially a tile sealer (crucial for natural stone). These small items can add $30 – $100.
- Edge Trims and Transitions: If your backsplash doesn’t end at a cabinet or wall, you might need decorative trim pieces (e.g., Schluter strips, pencil liners) to create a clean, finished edge. These can cost $5 – $20 per linear foot.
- Outlet Extenders/Electrical Adjustments: If your new backsplash is thicker than the old one, electrical boxes may need extenders to bring outlets flush with the new tile surface, which might require a licensed electrician ($75 – $150 per outlet).
- Travel or Minimum Fees: Some contractors charge travel fees or have minimum labor charges, especially for smaller jobs that don’t meet their standard project thresholds.
- Unexpected Issues: Discovering mold, water damage, or faulty wiring behind the old backsplash can lead to significant additional repair costs.
Accounting for these often-hidden items in your initial budgeting process is key to avoiding unforeseen financial setbacks during or after your backsplash installation.
How Long Does Backsplash Installation Typically Take?
The duration required to install a kitchen backsplash is highly dependent on the project’s scope, the complexity of the design, and whether it’s a DIY endeavor or a professional installation. Generally, a professional installer, with their experience and specialized tools, can complete an average-sized backsplash project (around 20-30 sq. ft.) in approximately 4 to 8 hours. This estimate can vary based on the specific tile type, the intricate nature of the layout, and the amount of wall preparation needed. More complex designs or larger areas could extend this to a full day or even two.
For DIY enthusiasts, especially first-timers, the process often takes considerably longer, typically spanning 2 to 3 days. This extended timeline accounts for the learning curve, meticulous layout planning, careful cutting, the time required for demolition and surface preparation, and crucial drying and curing periods for both the adhesive (thin-set mortar) and the grout. Adhesive usually needs 24-48 hours to set, and grout needs a similar period before it’s fully cured. Rushing these steps can compromise the integrity and longevity of your backsplash. Therefore, planning for the full timeline, including ample drying and curing, is essential to ensure a lasting, high-quality finish.
Smart Cost-Saving Tips for Your Backsplash Project
Even a seemingly small backsplash project can accumulate costs quickly. However, with strategic planning and savvy choices, you can effectively manage your budget without compromising on quality or aesthetic appeal. Here are some actionable tips:
- Shop for Deals: Buy tiles in bulk during sales events, look for clearance items, or explore discontinued lines at tile stores or home improvement centers. Sometimes, slight variations in shade can be embraced for a unique look.
- Choose Simple Layouts: Opt for straightforward patterns like a classic subway tile or a simple grid instead of intricate designs like herringbone, chevron, or complex mosaics. Simpler layouts require fewer cuts and less specialized labor, reducing both material waste and installation time/cost.
- Minimize Cuts: Plan your tile layout carefully to minimize the need for custom cuts, especially around windows, corners, and outlets. Using larger format tiles can also reduce the number of grout lines and cuts.
- Reuse Existing Wall Substrates: If your existing backsplash is removed cleanly and the underlying drywall is in good condition, you can avoid the cost and time of patching or replacing it. Just ensure it’s smooth, clean, and primed for new adhesive.
- Combine with Other Renovations: If you’re undertaking a larger kitchen renovation, schedule the backsplash installation concurrently. This can reduce overall labor costs by eliminating separate contractor trips and leveraging existing equipment and crew.
- DIY for Simpler Sections: If you’re confident in your skills for basic tiling but hesitant about complex areas, consider doing the straightforward sections yourself and hiring a professional only for the intricate parts or tricky cuts.
- Gather Multiple Quotes: Always get at least three detailed quotes from different reputable installers. This allows you to compare pricing, scope of work, and timelines, giving you leverage for negotiation.
- Consider Peel-and-Stick: For a very tight budget or a temporary solution (like in a rental property), high-quality peel-and-stick backsplash options can offer a significant cost saving on both materials and labor.
- DIY Demolition: If you’re hiring a professional, offer to handle the demolition of the old backsplash yourself. This can save you a few hours of labor costs.
Conclusion: Confidently Plan Your Kitchen Backsplash
Updating your kitchen with a new backsplash doesn’t have to be an overwhelming or prohibitively expensive endeavor. With the comprehensive knowledge provided in this guide—covering average installation costs, key influencing factors, a detailed DIY roadmap, and smart cost-saving strategies—you are now equipped to approach your project with unwavering confidence. Whether you ultimately decide to embrace the challenge of a DIY installation or entrust the work to a seasoned professional, you have a clear understanding of what to expect.
By adhering to the practical tips and detailed steps we’ve outlined, you can effectively circumvent common budget surprises and achieve a finished result that not only enhances the beauty and functionality of your kitchen but also brings you immense satisfaction. Your dream kitchen upgrade is within reach. Ready to take the next step? Explore more insightful and practical blogs on our website for additional comparisons, expert advice, and innovative cost-saving ideas to maximize value from every home improvement project.
