This post contains affiliate links, and I may receive a commission on your purchase. Thank you for shopping through my links.
The Ultimate Natural Yeast Sourdough Sandwich Bread Recipe
For years, I’ve perfected the art of converting classic white sandwich bread into a sourdough masterpiece, and the results are truly unparalleled. This sourdough version isn’t just an alternative; it’s a significant upgrade that offers a deeper flavor, superior texture, and natural goodness. While the sourdough process does require a bit more time and a slight learning curve, the rewards are immeasurable. This comprehensive guide will equip you with everything you need to bake three glorious loaves of the best sourdough sandwich bread you’ll ever taste!
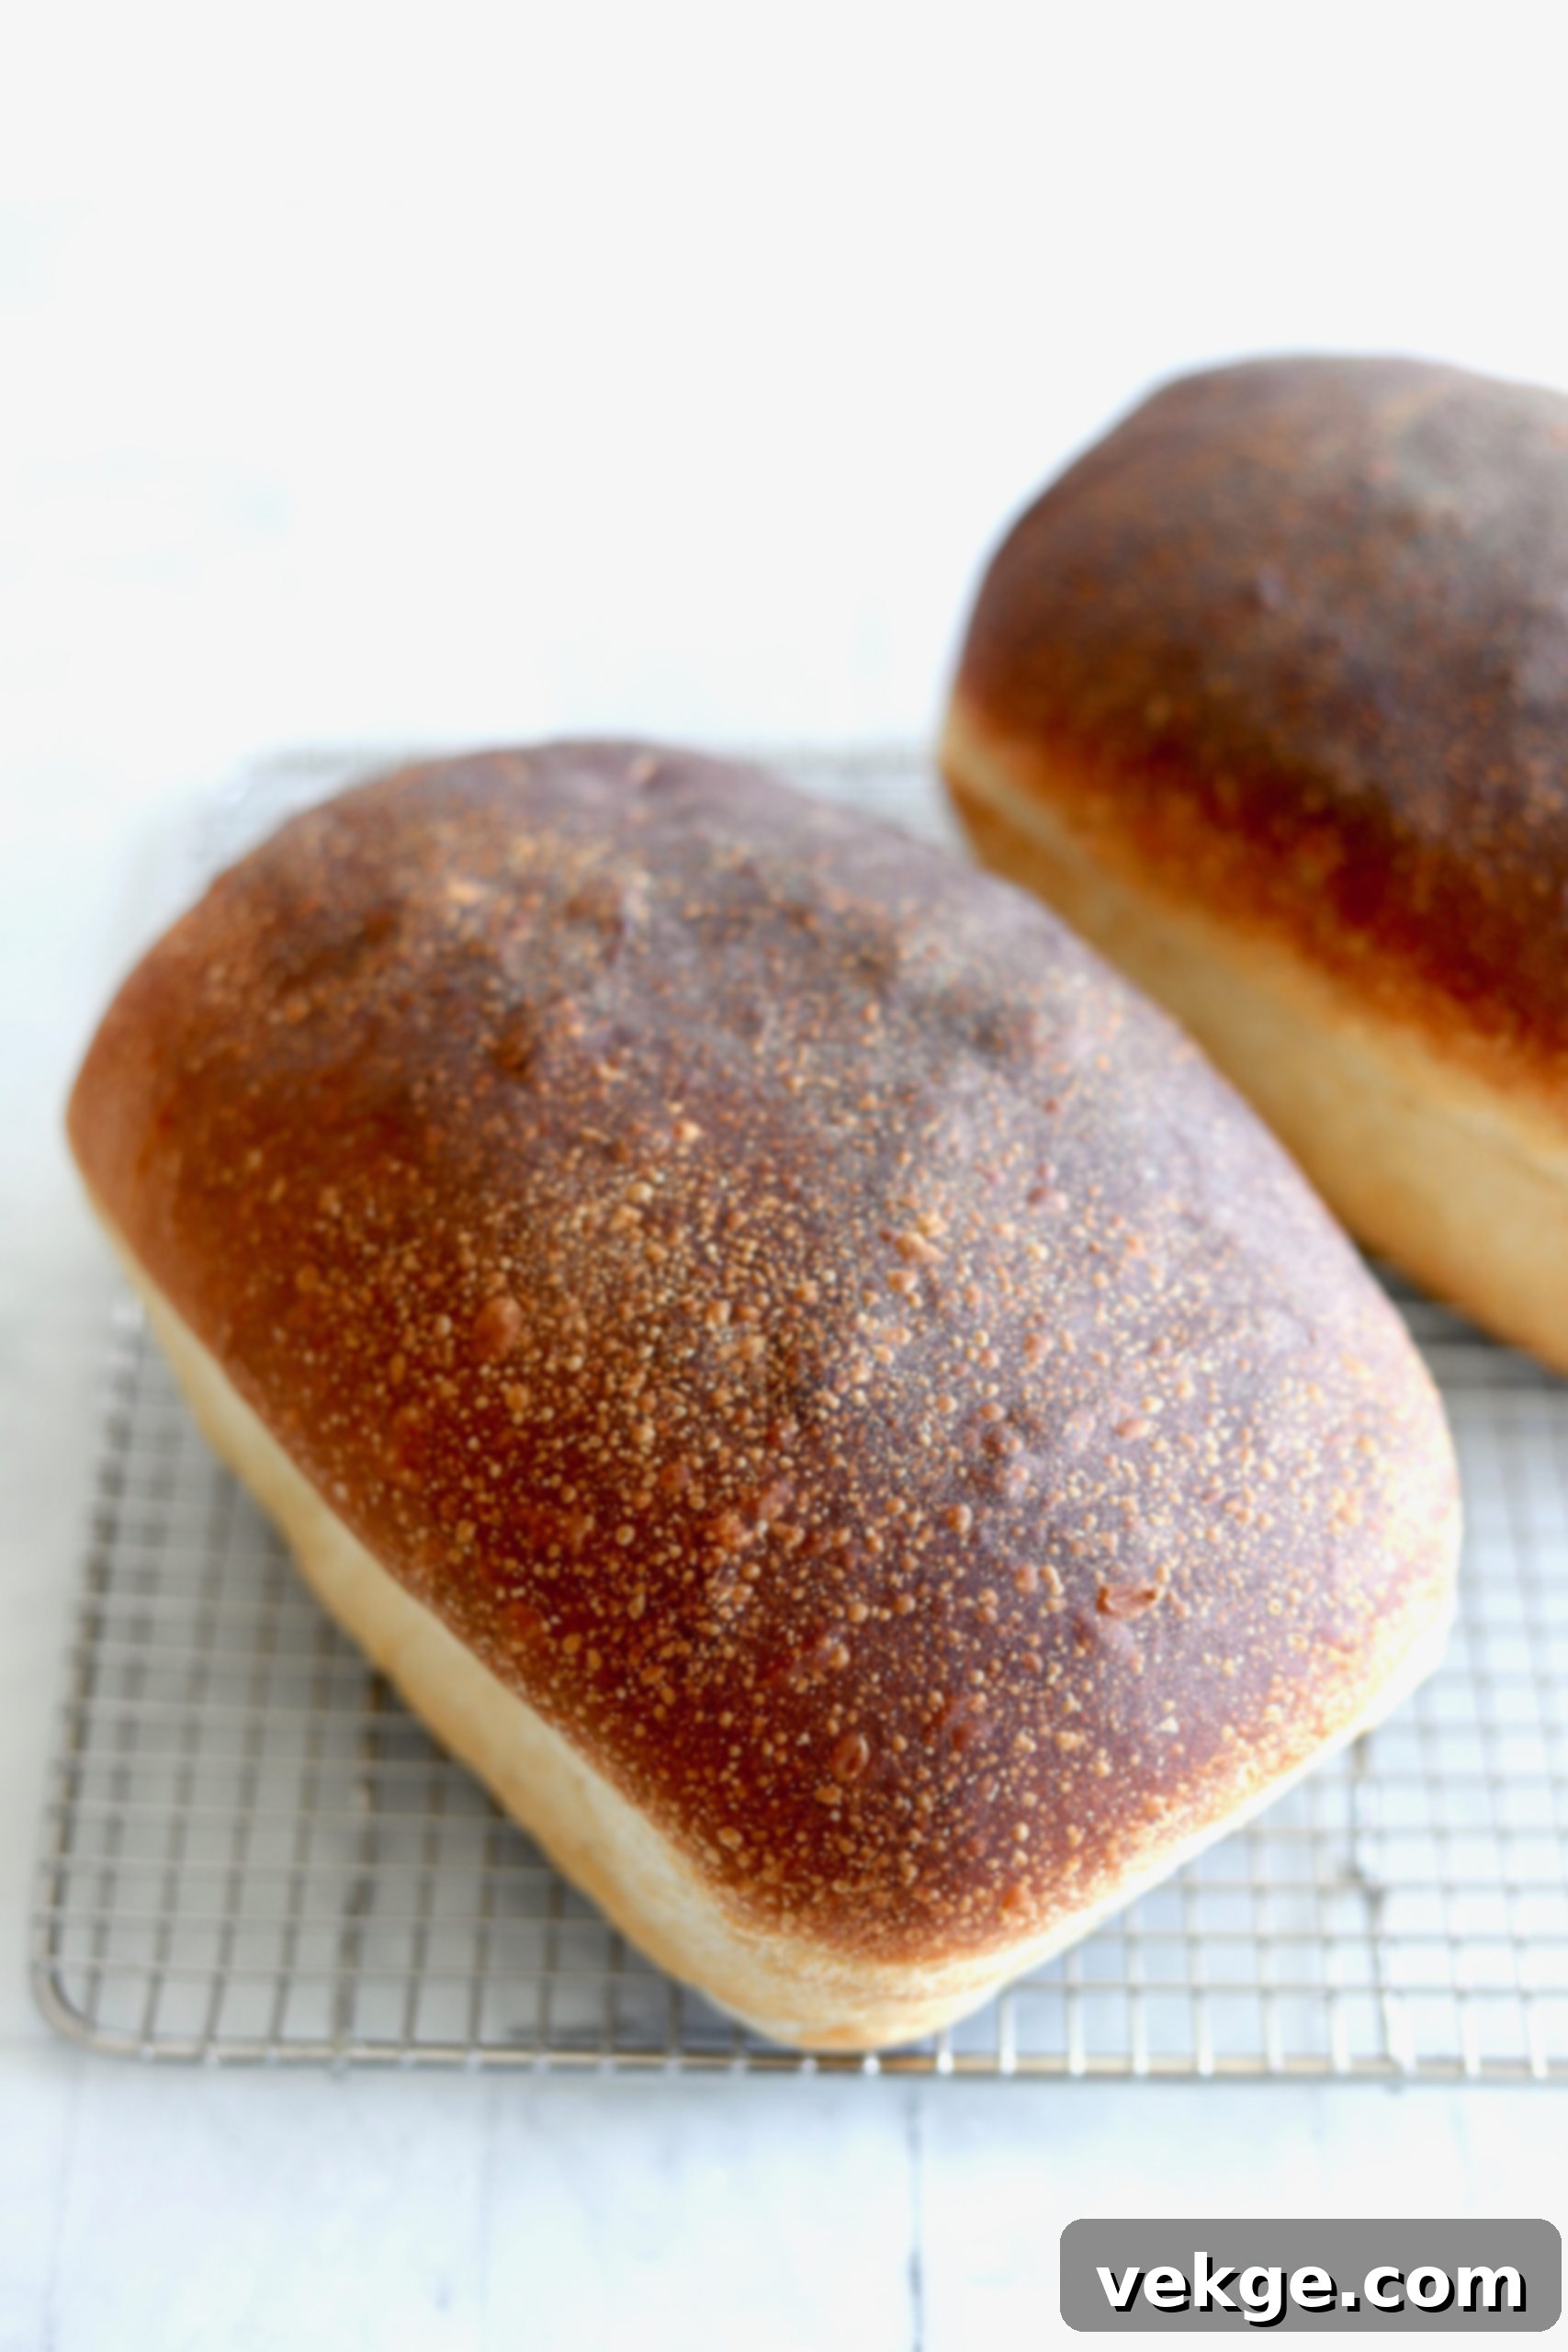
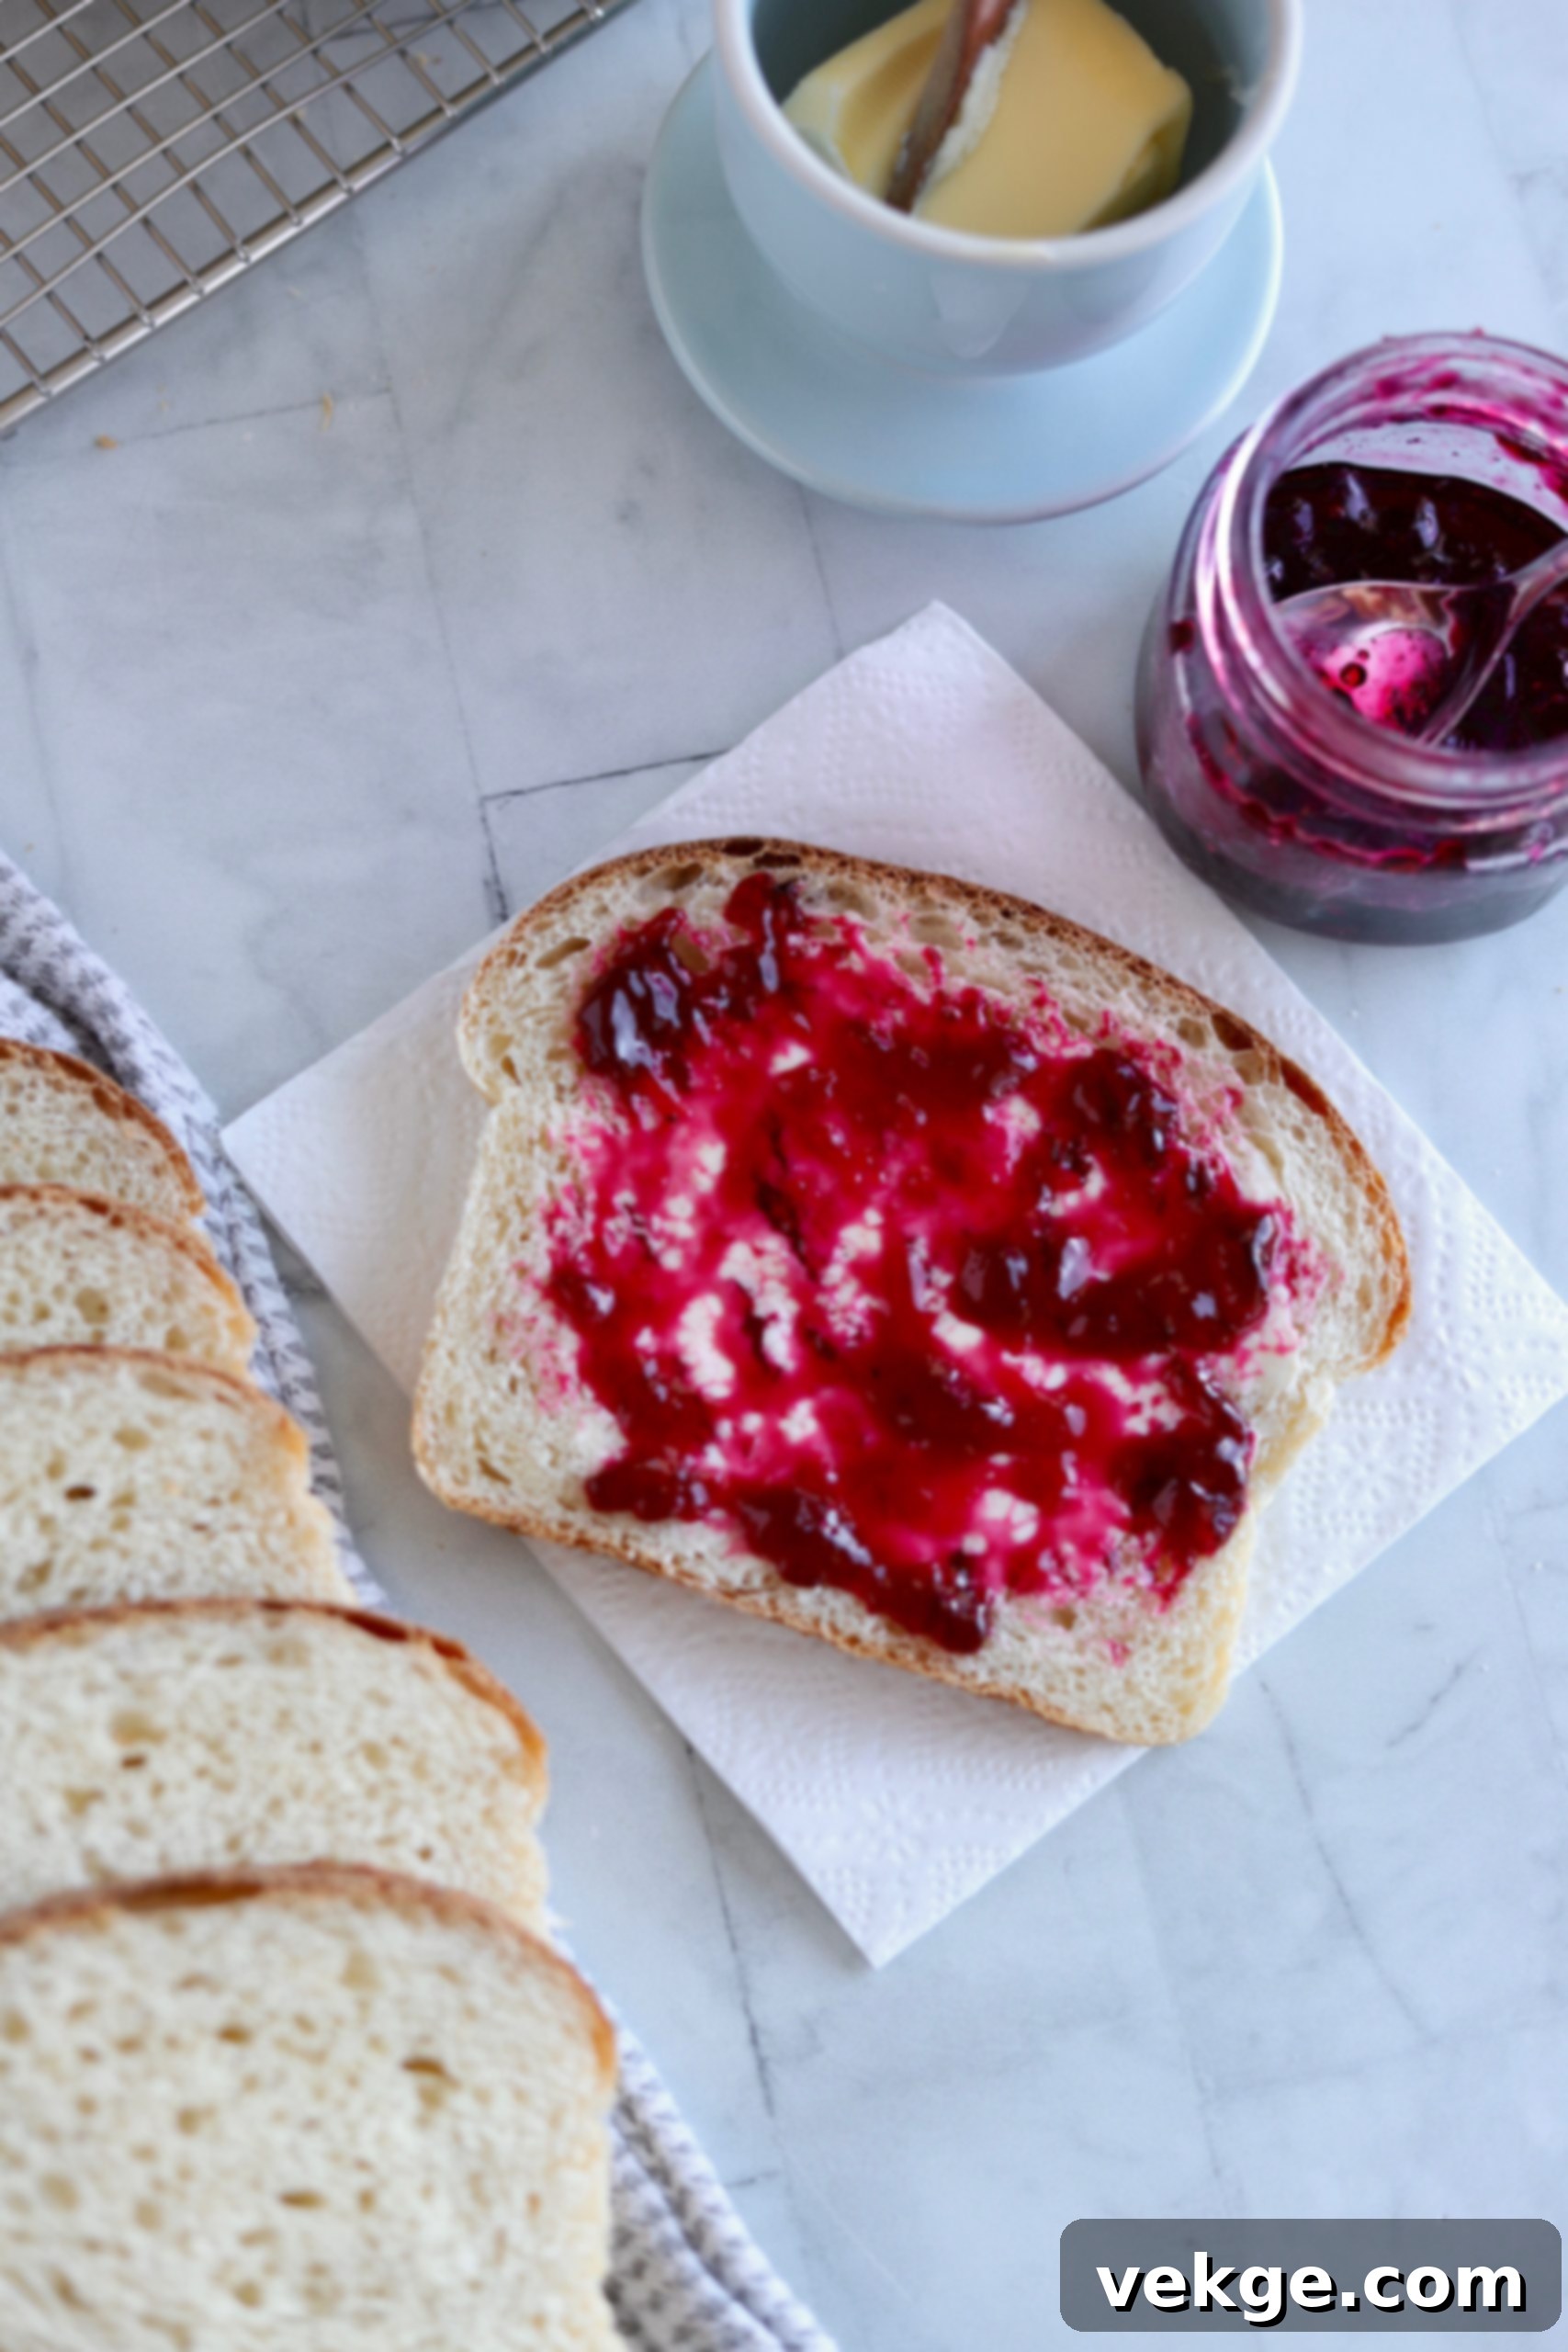
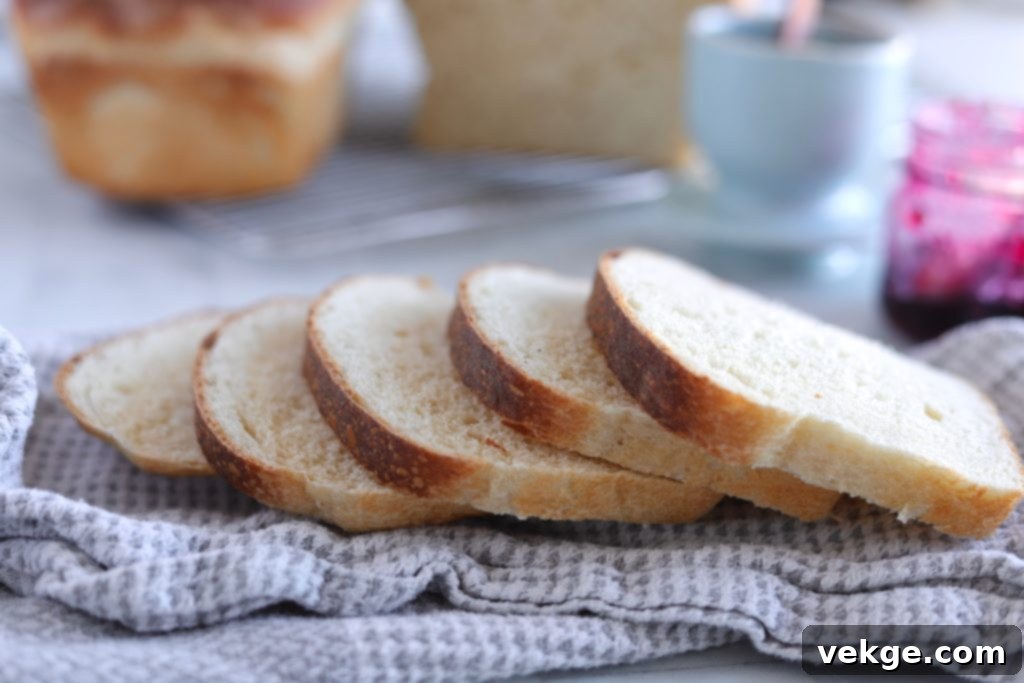
Prepare to be amazed! This natural yeast sourdough sandwich bread recipe has achieved viral status and garnered a dedicated following for good reason. It’s known for converting even the most staunch “sourdough skeptics” into enthusiastic fans. The secret lies in its perfect balance: a soft, delicious crumb that appeals to everyone, especially kids, combined with the subtle enchantment of natural yeast and a mild, appealing sourdough tang. Whether used for a simple sandwich or toasted with a dollop of butter, this bread elevates every meal to a life-changing culinary experience. Its incredible texture and flavor make it truly worthy of a special occasion, yet it’s perfect for everyday enjoyment.

Understanding Your Ingredients: The Foundation of Great Sourdough
The Vital Sourdough Starter
Without a doubt, your sourdough starter is the single most critical component of this recipe. The success of your bread hinges entirely on having a healthy, happy, and vibrantly active starter. A weak or sluggish starter simply won’t possess the necessary metabolic strength to properly leaven your dough, resulting in dense, disappointing loaves.
Before you even consider beginning this recipe, take a moment to assess your starter’s vitality. It should be robust enough to tackle the challenge of raising a substantial dough.
Key Indicators of an Active and Strong Sourdough Starter:
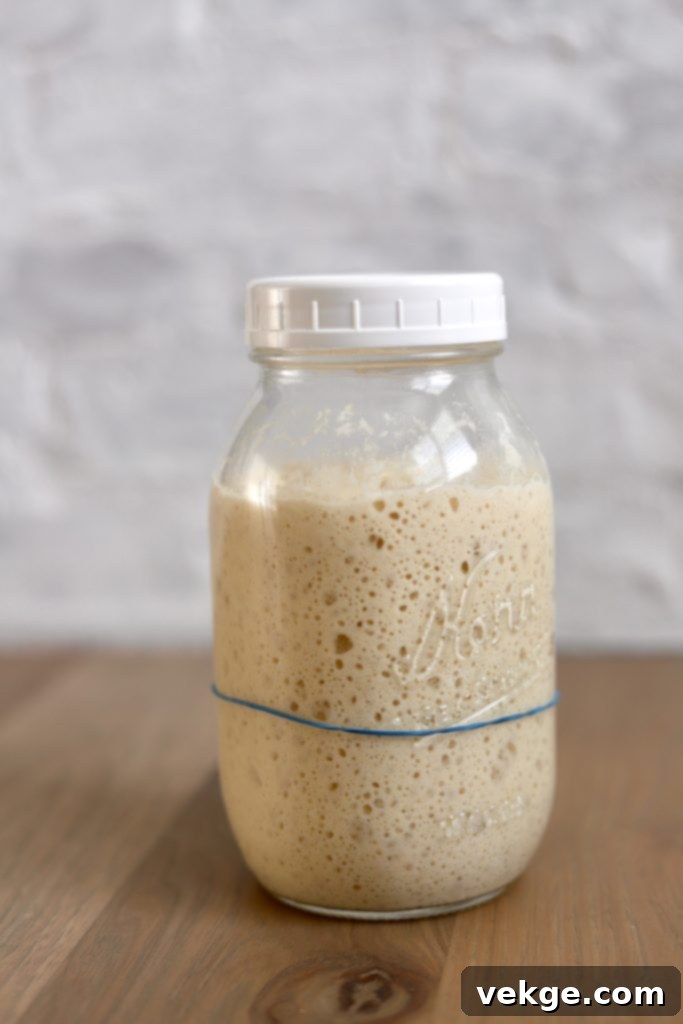
- Doubling in Size: After a fresh feeding, a healthy starter will noticeably double, or even triple, in volume and be visibly filled with abundant bubbles within 4-12 hours, depending on ambient temperature.
- Consistent Feeding Schedule: A well-maintained starter is on a regular feeding regimen. It’s consistently fed and not allowed to languish for extended periods without revival. This keeps its microbial activity at its peak.
- The Float Test: This classic test is an excellent indicator of readiness. Gently scoop a small spoonful of your starter and drop it into a glass bowl or cup filled with room-temperature water. If the starter floats on the surface, it’s brimming with enough carbon dioxide to effectively leaven your bread. If it sinks, it likely needs more time and/or additional feedings to develop those crucial air bubbles and become fully active.
Signs Your Starter Isn’t Ready and Requires More Attention:
- Flat and Runny Consistency: A starter that appears flat, thin, and lacks visible bubbles indicates insufficient activity.
- No Volume Increase: If your starter fails to rise in volume or fill with bubbles in the hours following a feed, it’s struggling to activate.
- Strong Vinegar or Nail Polish Remover Odor: This pungent smell signals that your starter is severely over-fermented and very hungry. It has consumed all its food and is producing acetic acid.
- Layer of Hooch: A visible layer of liquid (often dark, but can be clear) on top of your starter, known as “hooch,” is another clear sign of extreme hunger and over-fermentation.
Effective Strategies If Your Starter Isn’t Activating Properly:
- Quality Ingredients: Always feed your starter with unbleached flour and filtered water. Chlorine in tap water can be detrimental to yeast.
- Optimal Temperature: Ensure your starter ferments and activates in a consistently warm environment, ideally between 72°F and 75°F (22°C to 24°C). Temperatures outside this range can slow down or even kill the yeast and bacteria.
- Nutritional Boost: Temporarily incorporate a small amount of whole wheat flour or finely ground rye flour into your feeding mixture. These flours are rich in nutrients that can significantly invigorate a sluggish starter.
- “Power Feeds”: Implement a series of “powerfeeds” to rapidly strengthen your starter. Mix 1 tablespoon of existing starter with 1/4 cup of flour and 1/4 cup of water. Combine thoroughly, cover, and let it sit at room temperature for 12 hours. Repeat this process several times over the next few days.
- Avoid Contamination: Be extremely vigilant about preventing any contact between your starter and cleaning products or anything designed to kill bacteria. Even tiny residues can severely damage or destroy your starter’s delicate ecosystem.
The Sourdough Circle of Life: A Continuous Cycle
The sourdough process is a beautiful, ongoing cycle: runny discard → feed it flour and water → mix thoroughly → allow sufficient time for fermentation → transforms into a bubbly, active starter → digests all of its food → reverts to runny discard → feed it flour and water → mix → transforms into bubbly, active starter → digests all of its food → reverts to runny discard → REPEAT, REPEAT, REPEAT. Understanding this cycle is key to maintaining a vibrant starter.
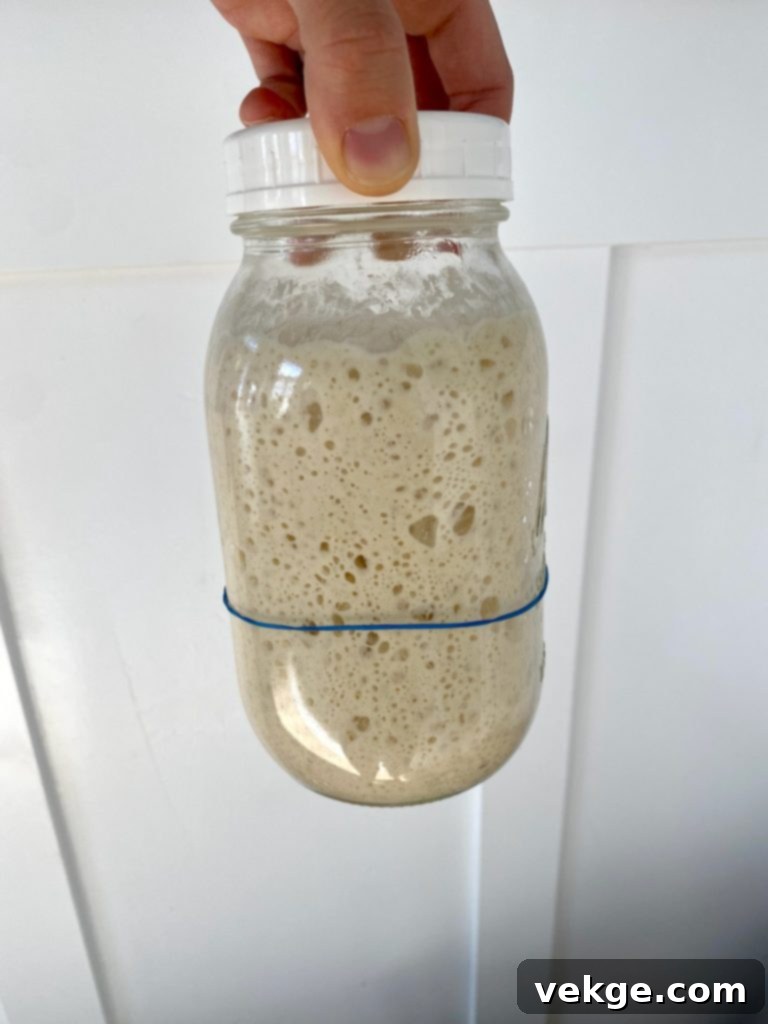
Preparing Your Starter for Baking: The Pre-Recipe Feed
For this specific recipe, you’ll need approximately two cups of robust, bubbly, active sourdough starter. Navigating the initial feeding and preparation of your starter for a recipe might seem a bit daunting at first, but with a few repetitions, it will become second nature.
My preferred method for a pre-recipe feed involves using a smaller amount of starter relative to flour and water. This encourages the starter to develop a strong appetite and efficiently digest a larger quantity of food, leading to a more vigorous rise in your bread.
For a typical pre-recipe feed, I combine 1/2 cup of runny discard + 2 cups of flour + 2 cups of water. This establishes a 1:4:4 ratio (1 part runny discard: 4 parts flour: 4 parts water). There’s no need for precise weighing at this stage; simply mix until you achieve a thick, pancake batter-like consistency. If it’s too thin, add a little more flour; if too thick, a touch more water.
This feeding ratio will yield ample active starter for the recipe, plus a bit extra to refresh your “mother” starter. I typically store this reserve in the refrigerator until my next sourdough baking session.
While a 1:4:4 ratio is my go-to, you can also experiment with other ratios like 1:1:1 or 1:8:8. Remember, larger feeds take longer to become active, while smaller feeds activate more quickly. I find that a larger feed, such as 1:4:4 or 1:8:8, works perfectly with my lifestyle. I feed my starter right before bed, allowing it to activate overnight, so it’s perfectly ready for dough-making first thing in the morning. This allows the dough to ferment and rise throughout the day, ready for baking in the afternoon or evening.
A detailed sample schedule is provided later in this article, but for now, let’s explore the rest of our essential ingredients!
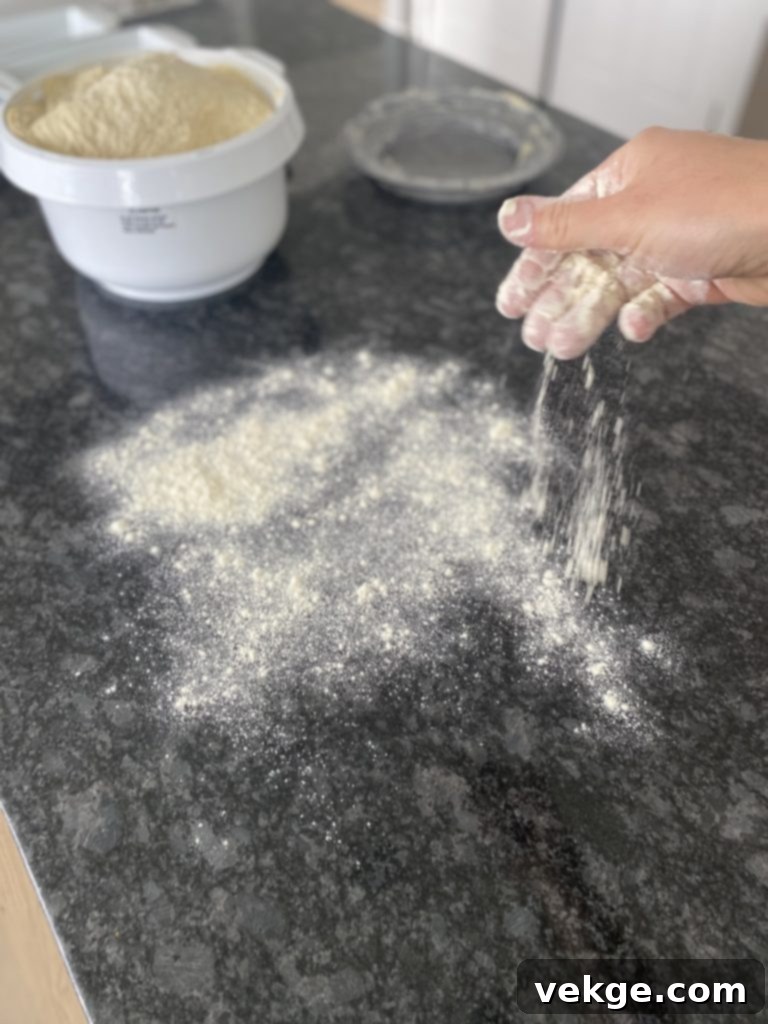
Choosing Your Flour: Impact on Texture and Flavor
This versatile recipe accommodates various flour types, including bread flour, all-purpose flour, whole wheat flour, and even ancient grains like Kamut flour. Each choice will impart unique characteristics to your final bread.
Unbleached Bread Flour: The Gold Standard
For sourdough baking, unbleached bread flour is consistently my top recommendation. Its higher gluten content compared to all-purpose flour produces an unbeatable result: a tall, buoyant rise and bread that is exceptionally soft with a beautiful, satisfying stretch. Many grocery stores stock bread flour. I frequently use organic bread flour from a local mill, LEHI MILLS*, and I highly recommend their products. Use my affiliate coupon code AMBERSKITCHEN for 10% off your purchase. Their commitment to sourcing wheat from farmers who avoid glyphosate on their crops aligns with my preference for wholesome, uncontaminated ingredients.
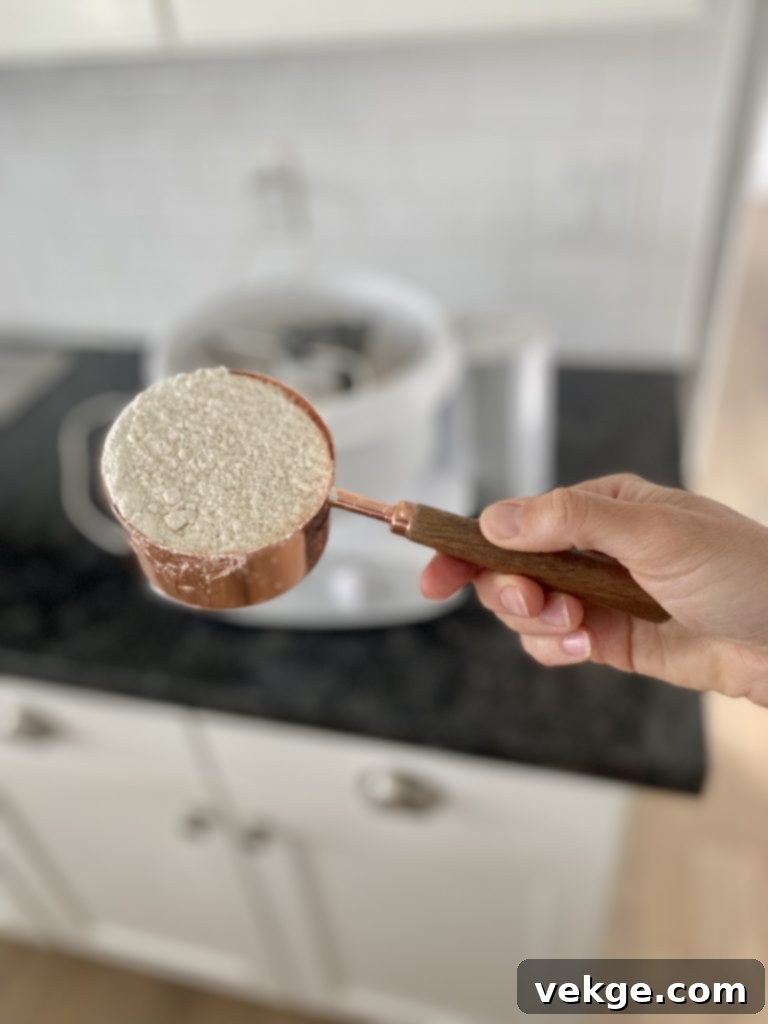
Unbleached All-Purpose Flour: A Reliable Alternative
All-purpose flour can serve as a direct substitute for bread flour. While it may not deliver quite the same exceptional rise and elasticity as bread flour (in my humble opinion), it will certainly work well for this recipe. Just ensure you opt for unbleached varieties to avoid any chemicals that could harm your delicate sourdough culture.
Whole Wheat Flour: For Earthy Flavor and Heartiness
Using whole wheat flour instead of bread flour is an excellent way to incorporate more whole grains and a distinctive, hearty flavor. However, whole wheat flour is significantly more absorbent and denser than white flours. You will generally need slightly less whole wheat flour—perhaps 7.5 to 7.75 cups instead of 8.5 cups, depending on the specific flour and humidity. Always adjust based on the dough’s texture. Be aware that whole wheat sourdough requires considerably longer rising times and will result in a denser loaf with a more pronounced sour flavor. For a fantastic compromise that balances health benefits with a lighter texture, consider using a 50/50 blend of whole wheat and bread flour. This blend still takes longer to rise but offers a less dense result than 100% whole wheat.
Kamut (Khorasan) Flour: An Ancient Grain Experience
Kamut, also known as Khorasan wheat, is an ancient grain largely unaltered by modern genetic modification. It boasts a delightful, slightly nutty flavor. When substituting Kamut for all-purpose flour, remember it’s more absorbent. Reduce the total flour amount by approximately 10-15%. In my experience, Kamut flour tends to produce a bread that doesn’t rise quite as high and can be a tad more crumbly. I source my regeneratively grown Khorasan locally from KHORASANMILLS.COM (not sponsored), and I believe they ship across the United States. It’s a wonderful option for those looking to explore ancient grain baking.
The Importance of Quality Salt
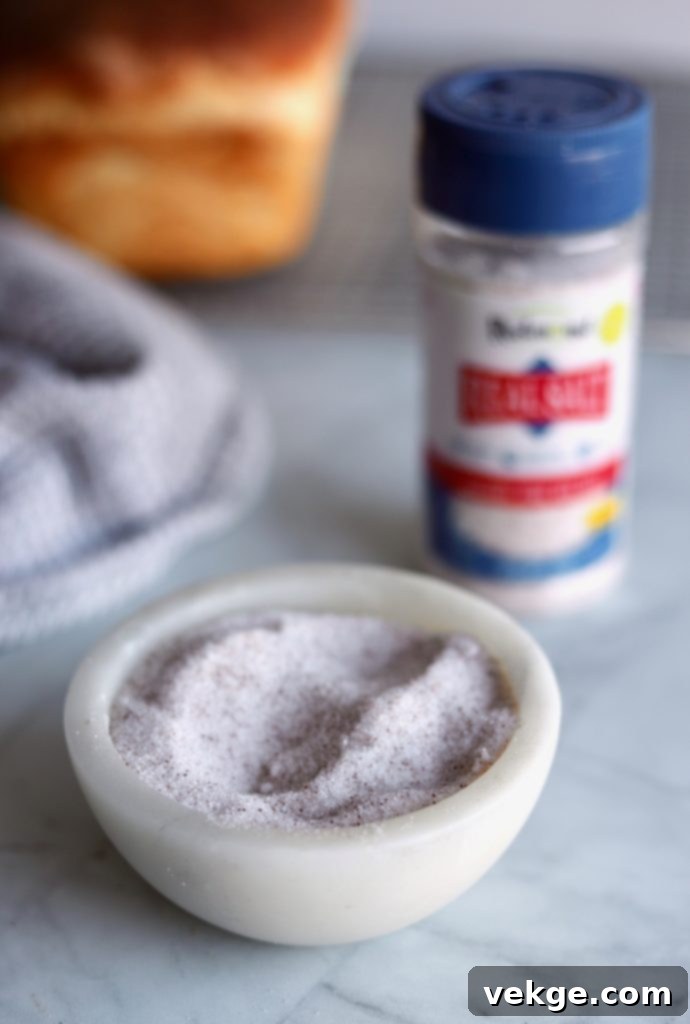
I am particularly discerning when it comes to salt! My absolute favorite, and the only one I ever use, is fine sea salt from Redmond Real Salt. Its appeal lies in its rich content of naturally occurring trace minerals, its purity, and its unprocessed state—free from fillers, anti-caking agents, additives, or unhealthy pollutants. Unfortunately, most commercial table salts are heavily processed, stripped of their beneficial minerals, and often contain undesirable additives. Redmond Real Salt is uniquely mined from an ancient sea bed in central Utah, making it a true, authentic sea salt. You can purchase my preferred salt HERE*. To make it more economical, I buy it in bulk, ordering a 25 POUND BAG OF SALT* every few years. Stored in mason jars, it remains fresh and lasts for a considerable time.
My affiliate coupon code “AMBERSKITCHEN” will save you 15% on any Redmond products.
*This is an affiliate link, and I may receive a commission on your purchase. Thank you for shopping through this link.
Water Quality and Temperature for Sourdough
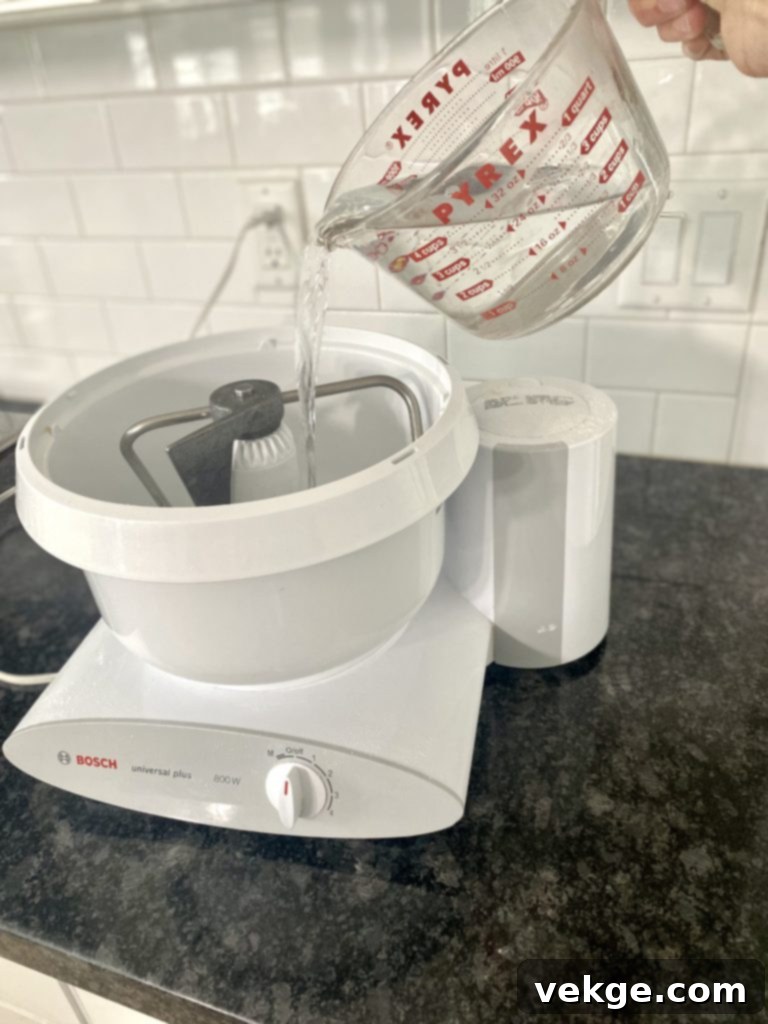
The water you use, and its temperature, play a crucial role in sourdough success. Aim for room temperature to slightly warm water. If the water is too cold, the fermentation process will be excessively slow, hindering your bread’s rise. Conversely, water that is too hot can stress or even kill the delicate yeast and bacteria in your starter, preventing any rise at all. A slight warmth helps to kickstart fermentation more efficiently.
Filtered water is always the optimal choice. Chlorinated tap water acts as an antibiotic, which can weaken and even destroy the beneficial microbes in your sourdough starter and dough. If filtered water isn’t accessible, you can still use tap water by filling a cup and letting it sit uncovered at room temperature for several hours. This allows the chlorine to evaporate naturally. If you use this method, there’s no need to warm the water afterward.
While I generally recommend filtered water, I confess that occasionally, due to sheer laziness, I have used tap water in my starter and dough without adverse effects. However, I’ve heard varied experiences from other sourdough bakers; some find their tap water perfectly fine, while others report significant negative impacts. It’s best to start with filtered water, but you might find your local tap water is acceptable for occasional use.
Reverse Osmosis (RO) and distilled water can be problematic for some sourdough bakers due to their lack of minerals, which are beneficial for yeast health. If you encounter issues when using these types of water, consider experimenting with aerated tap water or adding a few liquid mineral drops to your RO/distilled water when feeding your starter.
Honey: Sweetness, Flavor, and Fermentation Aid
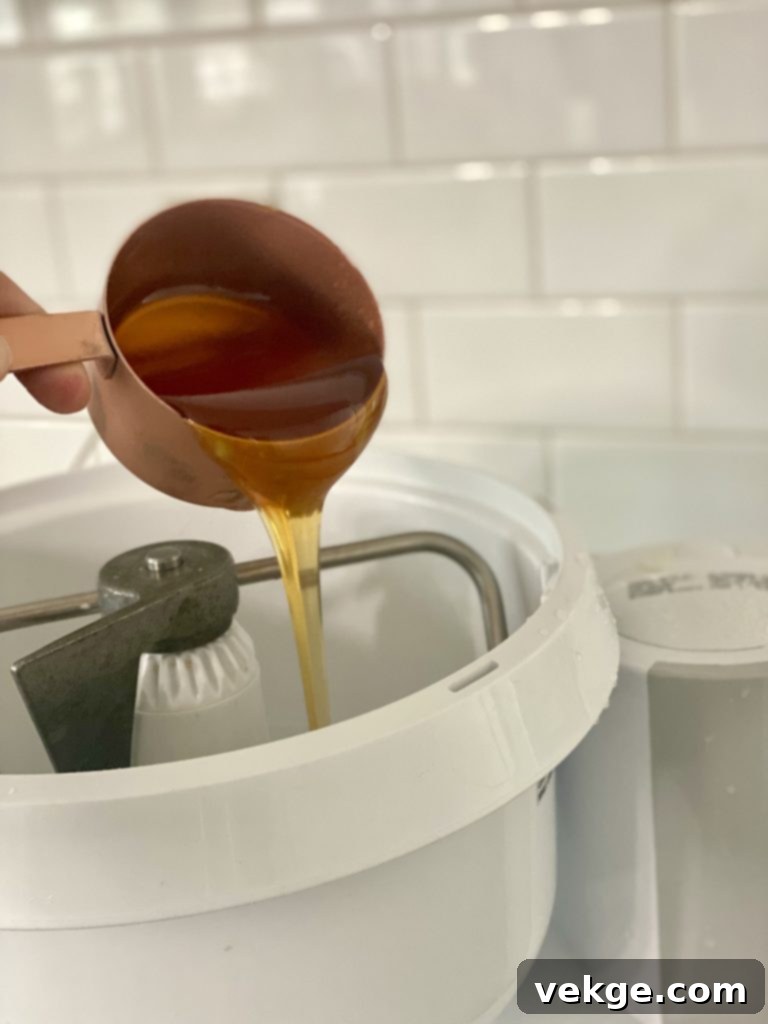
I choose honey not only for its fantastic flavor profile but also because it’s a healthier, lower-glycemic sweetener option. The unique taste of honey beautifully complements the subtle tang of sourdough, creating a truly irresistible bread. However, you can easily substitute granulated white sugar directly. I’ve also had great success using coconut sugar in place of honey many times. It yields fantastic results, offers a slightly lower glycemic index than white cane sugar, but note that it will result in a much darker final bread color.
This recipe calls for a generous 3/4 cup of honey for three loaves. Feel free to reduce the amount if you prefer less sweetness; you can easily use 1/2 cup or even 1/4 cup, or omit it entirely. Reducing or removing the honey will not compromise the success of your bread-making; it will only alter the flavor, making the bread taste a bit more sour as the honey tends to mellow out the characteristic “sour” notes of sourdough.
The Role of Egg in Sourdough Bread
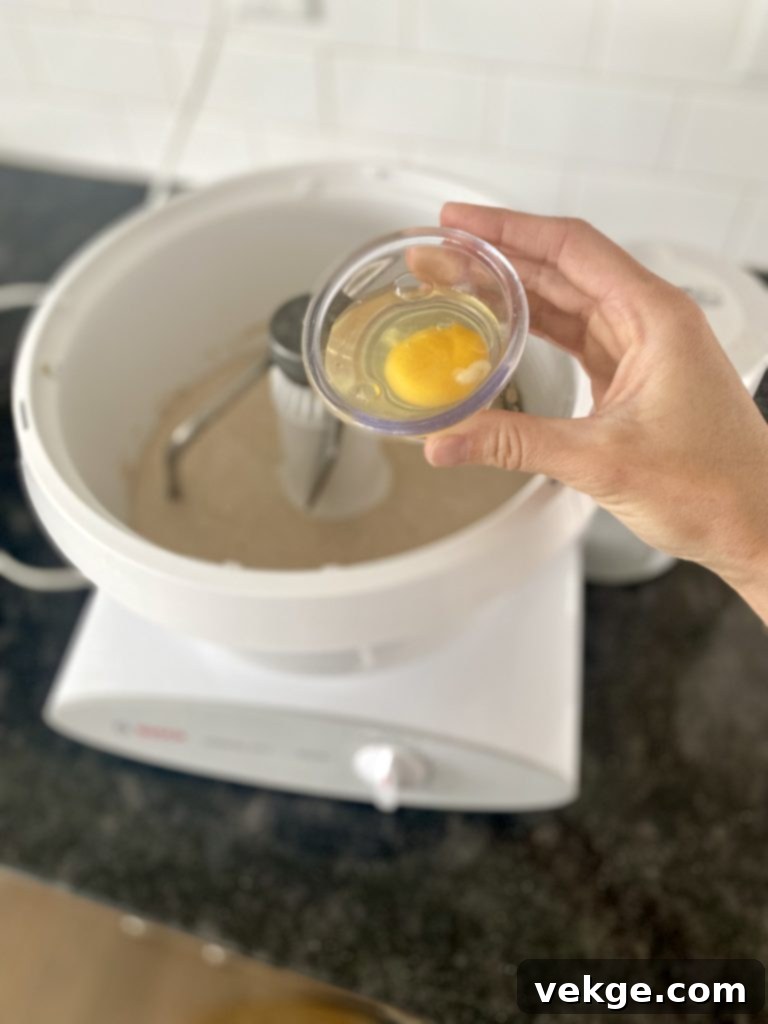
Adding an egg to this sourdough recipe is a secret weapon for achieving an incredibly soft texture and preventing the bread from becoming crumbly. It adds richness and a delicate structure that makes this sandwich bread truly exceptional.
However, if you need to avoid eggs, you have several excellent options:
- Option #1: Omit the Egg Entirely. Rest assured, your bread will still turn out wonderfully without it. The recipe is forgiving enough to handle this omission.
- Option #2: Use Aquafaba. Aquafaba, the liquid from cooked chickpeas, is a surprising yet highly effective egg substitute widely embraced in vegan and allergy-friendly baking. Simply drain 1/4 cup of the liquid from a can of chickpeas and use it in place of one egg.
- Option #3: Prepare a Flax Egg. For a reliable flax egg substitute, combine 1 tablespoon of ground flaxseed meal (ensure it’s freshly ground raw flaxseed) with 2 1/2 tablespoons of water. Mix well and let it sit for about 5 minutes to thicken into an egg-like consistency. This mixture can replace one egg.
A common question I receive is whether to use half an egg or a whole egg when halving the recipe. My advice is that the egg in this recipe is very forgiving. Even when making a single loaf, you could add an entire egg, or skip it completely, and the bread would still be delicious either way. Don’t stress over precise egg divisions for smaller batches!
Coconut Oil: The Unexpected Secret to Incredible Bread
Years ago, I consistently made all my breads with vegetable oil. However, after learning about the less-than-ideal health implications of vegetable oils, I sought a healthier alternative and began experimenting with melted coconut oil. I wasn’t sure if it would work in bread, but to my absolute delight, it not only worked but transformed the bread, making it taste even more incredible! Surprisingly, it imparted no coconut flavor whatsoever. Instead, the bread became remarkably softer with the most delicate, tender crumb. Coconut oil is truly magic for bread. While it might have been an unconventional ingredient in bread recipes when I first started sharing this tip, its popularity is now spreading like wildfire. You heard it here first: coconut oil is a game-changer for sourdough sandwich bread!
If coconut oil is not an option for you, my next recommendation is to substitute it directly with avocado oil or melted butter. If you’re comfortable with vegetable oil, you can, of course, continue to use that.
Precision Baking: Ingredients by Weight
While volume measurements are generally reliable, for ultimate consistency and precision in baking, especially if you live in an area with fluctuating humidity, weighing your ingredients can be incredibly beneficial. For those who prefer the accuracy of weight measurements, here are the quantities for this three-loaf recipe:
- Water: 578 grams (approximately 2.5 cups)
- Honey: 235 grams (approximately 3/4 cup)
- Active Starter/Levain: 400 grams (approximately 2 cups, stirred down to deflate bubbles before measuring)
- Salt: 16 grams (approximately 1 Tablespoon)
- Egg: 52 grams (approximately 1 large egg)
- Coconut Oil (melted): 71 grams (approximately 1/3 cup)
- Flour: 1320 grams (approximately 8 to 8.5 cups, depending on type and absorption)
A Sample Sourdough Baking Schedule for Busy Lives
Initially, timing your sourdough baking might feel like solving a complex puzzle. However, with practice, it quickly becomes intuitive, allowing you to seamlessly integrate it into your daily routine.
Here’s a typical schedule I often follow, designed to maximize convenience and fit around a standard day:
- Monday 10:00 PM: Feed Your Starter. Combine 1/2 cup of existing starter with 2 cups of flour and 2 cups of water (a 1:4:4 ratio). Aim for a thick pancake batter consistency. Mix well. To monitor its rise, mark the starter’s initial height in its jar or glass bowl using a rubber band or a marker. Cover it and let it sit at room temperature overnight. (Note: A 1:8:8 feed will take longer to activate, while a 1:1:1 ratio will activate more quickly.)
- Tuesday 7:00 AM: Verify Starter Activity. By morning, your starter should have visibly doubled in volume and be thoroughly aerated with bubbles. If it hasn’t, do not proceed with the recipe; instead, feed your starter again and allow more time.
- Tuesday 7:15 AM: Mix the Dough! Using the recipe instructions provided below, combine your ingredients and prepare the dough.
- Tuesday 7:30 AM: Begin First Rise (Bulk Fermentation). Cover your dough (with plastic wrap or a clean dish towel) and let it rise until it has doubled in volume. This crucial bulk fermentation develops flavor and strength.
- Tuesday 12:30 PM: Shape and Pan the Loaves. Once the dough has successfully doubled in size (and only then!), gently turn it out onto a lightly floured surface. Divide it into three equal portions, shape each into a tight oval, and place them into greased loaf pans. Cover the pans and allow the dough to undergo its second rise (proof) until it doubles in volume again. Patience is key here; wait until it’s truly doubled!
- Tuesday 3:30 PM: Bake Time! When your dough in the loaf pans has doubled in volume, it’s ready for the oven. Preheat your oven to 375°F (190°C) and bake all three loaves for 30 to 35 minutes, or until their internal temperature reaches 180°F (82°C). Immediately remove the loaves from their pans and transfer them to a cooling rack to prevent condensation and ensure a crisp crust. Allow them to cool for at least one hour.
- Tuesday 5:15 PM: Enjoy Your Fresh Sourdough! Once the loaves have cooled sufficiently, you can SLICE INTO THEM and savor your homemade sourdough sandwich bread! I typically let my loaves rest on a cooling rack for a few hours before storing them in a PLASTIC TWIST TIE BAG. Any loaves that won’t be consumed within 4-5 days are frozen. The remaining bread can be kept at room temperature on the countertop, securely wrapped in a plastic bag.
Ingredients by Weight for a Single Loaf
For those times you only need one perfect loaf, here are the adjusted measurements. Note that some adjustments have been made for practicality:
- 1 cup water (227 grams)
- 2/3 cup active starter (129 grams)
- 1/4 cup honey (71 grams)
- 2 Tablespoons melted coconut oil (26 grams)
- 1 teaspoon salt (7 grams)
- 3 Cups + 2 Tablespoons unbleached flour (421 grams)
Important Notes for Single Loaf Baking:
- Kneading Method: I do not recommend mixing this smaller quantity of dough in a large stand mixer (like a Bosch) as there isn’t enough volume for thorough mixing. Hand kneading on a clean countertop surface is the recommended method for optimal development.
- Egg Omission: This single loaf version omits the egg. It’s perfectly fine without it, and dividing a single egg into thirds for one loaf isn’t practical.
- Baking Time Adjustment: You may find that a single loaf bakes slightly faster than three loaves. Consider reducing the baking time by a minute or two from the recommended 30-35 minutes, always checking for an internal temperature of 180°F (82°C).
- The “Touch Test” is Paramount: While these volume and weight measurements serve as excellent guidelines, the most critical indicator of correct flour quantity is how your dough *feels*. The exact amount of flour needed can vary slightly due to several factors: the consistency of your sourdough starter, ambient humidity and air pressure, the specific type of flour you are using, and even how long the dough is kneaded. If perfectly consistent dough is kneaded for an extended period, it can hydrate further, potentially requiring an extra sprinkle of flour to remain manageable. Similarly, over-fermented dough can feel excessively wet and benefit from a light dusting of flour for easier handling and shaping. Always rely on the touch test: your dough should be tacky (it will stick slightly to your fingers but easily release) but never overly sticky or dry. Adjust flour as needed until this ideal consistency is achieved.
Refrigerating or Freezing Your Sourdough Dough: Best Practices
Can I Freeze the Unbaked Dough?
Unfortunately, I have experienced inconsistent and often poor results when attempting to freeze unbaked sourdough dough for baking at a later date. For this reason, I strongly advise against freezing the pre-baked dough. The freezing process can damage the delicate yeast structure, leading to a diminished rise and inferior texture upon thawing and baking.
Can I Refrigerate the Dough? Absolutely!
When it comes to refrigerating your dough to slow down or pause the fermentation process, the answer is a resounding YES! Refrigeration is an excellent technique for managing your baking schedule and can even offer additional benefits. The ideal time to refrigerate the dough is after its first bulk rise but before you divide and form it into individual loaf pans.
How to Execute a Long Ferment in the Refrigerator
A “long ferment” in the refrigerator can provide several advantages, notably a significant reduction in the gluten content of the dough, making the bread potentially easier to digest for some. To perform a long ferment:
- Simply place your dough in an airtight bag or bowl after its first bulk rise.
- Refrigerate the dough for anywhere from 12 to 48 hours. This cold environment drastically slows down the yeast activity.
- After the desired refrigeration period, remove the cold dough from the fridge.
- Divide it into three equal portions, gently form them into loaf shapes, and place each into greased loaf pans.
- Cover the loaf pans with plastic wrap or a clean dish towel. Allow them to first come to room temperature and then undergo their second rise.
- Once the dough has risen by 75% to 100% in volume (which can take several hours depending on the ambient temperature and the dough’s coldness), it is ready to bake.
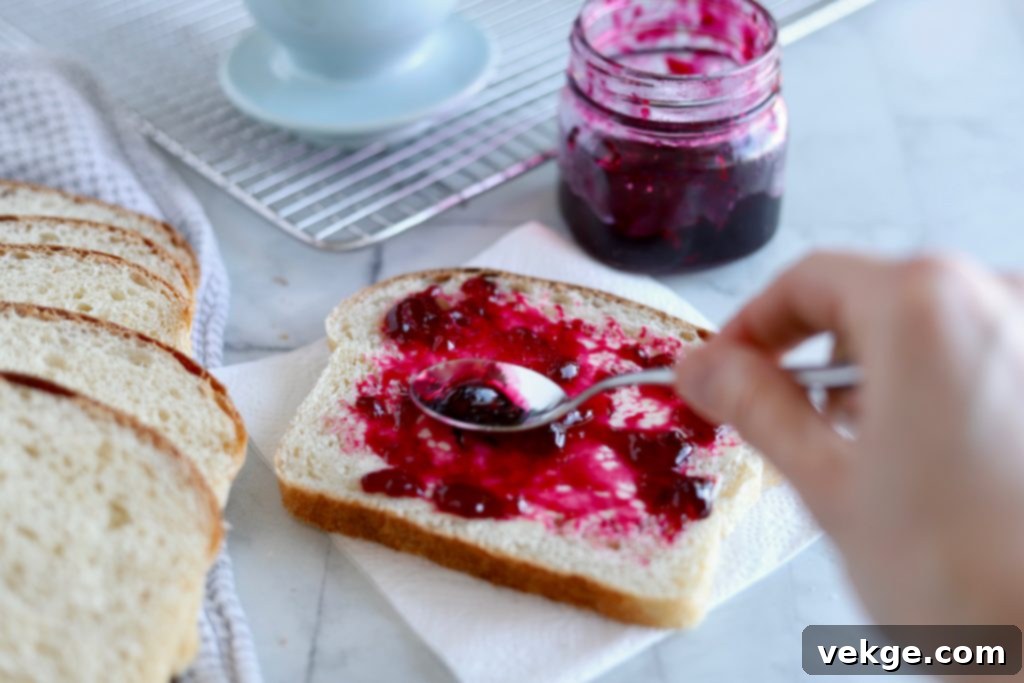
Optimal Storage for Your Baked Sourdough Bread
Proper storage ensures your freshly baked sourdough remains delicious for as long as possible. Here’s how to do it:
- Once your bread comes out of the oven, it is crucial to let it cool completely on a cooling rack. This can take about an hour. Slicing warm bread can lead to a gummy texture and allow moisture to escape too quickly.
- After cooling, I slice my loaves using THIS BREAD KNIFE* and store them in a PLASTIC TWIST TIE BAG*.
- In dry climates, such as where I live in Utah, this bread will stay wonderfully fresh at room temperature on the countertop for 4-5 days. However, in more hot or humid environments, you might only get 2-3 days of optimal freshness.
- Any loaves that we don’t anticipate eating within this fresh timeframe are immediately bagged and placed in the freezer. To defrost, simply remove a loaf from the freezer and place it on your kitchen countertop. It typically thaws completely within 4-6 hours. I always try to avoid microwaving the bread, as this tends to make it dry and crumbly.
*This is an affiliate link, and I may receive a commission on your purchase. Thank you for shopping through this link.
Discover More Sourdough Delights
Once you’ve mastered this sourdough sandwich bread and grown comfortable with the sourdough process, you’ll find your starter becomes an indispensable companion in your kitchen! The possibilities for sourdough creations are endless.
HERE are some of my other favorite sourdough recipes to inspire your next baking adventure.
What Others Are Saying About This Recipe
Don’t just take my word for it; hear what others are saying about this exceptional sourdough sandwich bread!


Natural Yeast Sourdough Sandwich Bread
Print
Pin
Rate
Breads
25 minutes
35 minutes
19 hours
20 hours
3 loaves, 36 slices
Ingredients
- 2.5 cups warm water (578 grams)
- 2 cups active bubbly starter (stirred down to deflate air bubbles, then measured, 400 grams)
- 3/4 cup honey (235 grams)
- 1 large egg (52 grams)
- 1/3 cup melted coconut oil (71 grams)
- 1 Tablespoon fine sea salt (16 grams)
- 8 to 8.5 cups unbleached bread flour or unbleached all-purpose flour (1320 grams)
Instructions
- Activate your starter: Begin by feeding your sourdough starter so you have at least 2 cups of active, bubbly starter. It should have doubled in size after the feed. (Refer to the sample schedule above for guidance).
- Combine wet ingredients: In a large mixing bowl, or the bowl of your stand mixer, gently combine the 2 cups of active, bubbly starter with the warm water, honey, melted coconut oil, egg, and salt. Mix gently until just combined.
- Add flour: Gradually add the flour, one cup at a time, while mixing. Continue adding flour until the dough begins to pull away from the sides of the bowl. The ideal consistency is tacky (it will stick slightly to your fingers but easily release) but not overly sticky.
- Knead the dough: Knead the dough for 5-15 minutes until it becomes smooth and elastic. This can be done by hand on a clean countertop or using a stand mixer (like a Bosch or KitchenAid Pro). During kneading, the dough may hydrate further, requiring a small additional sprinkle of flour to maintain that ideal tacky consistency. Ensure it’s not overly sticky or dry.
- First rise (Bulk Fermentation): Cover the dough with plastic wrap or a clean dish towel and let it rise until it has doubled in size. (You can skip this first rise if absolutely necessary, but for optimal fermentation, flavor development, and texture, it is highly recommended.) The dough will rise most efficiently in a warm environment, ideally between 72°F and 75°F (22-24°C).
- Shape and pan the loaves: Once the dough has doubled in size, gently turn it out onto a lightly floured surface. Divide the dough into three equal portions. Shape each portion into a tight oval loaf and place them into greased loaf pans (recommended size: 1.5 quarts, 8×4 inches or 9×5 inches).
- Second rise (Proofing): Cover the loaf pans and allow the dough to rise a second time until it has doubled in volume. This proofing stage can take anywhere from 3 to 12 hours, depending on various factors like ambient temperature and starter activity. Be patient and do not proceed to baking unless the dough has visibly risen. If it struggles to rise, your starter might need a few “power feeds” to strengthen it.
- Bake the bread: Once the dough in the pans has doubled, preheat your oven to 375°F (190°C). Bake for 30-35 minutes, or until the internal temperature of the loaves reaches 180°F (82°C). If the tops of your loaves start to brown too quickly, you can loosely lay a piece of aluminum foil over them, but add approximately two minutes to the total baking time.
- Cool completely: Remove the baked loaves from the oven, immediately take them out of their pans, and transfer them to a wire cooling rack. Allow them to cool completely for at least one hour before slicing. This prevents a gummy texture and allows the interior structure to set.
- Storage: Store cooled loaves in plastic twist tie bags at room temperature. Freeze any loaves that won’t be eaten within 4-5 days to maintain freshness.
- This versatile bread is perfect for making the best sandwiches and absolutely incredible toast!
Notes
Single Loaf Sourdough Sandwich Bread:
1 cup water (227 grams)
2/3 cup starter (129 grams)
1/4 cup honey (71 grams)
2 Tablespoons coconut oil (26 grams)
1 teaspoon salt (7 grams)
3 Cups + 2 Tablespoons flour (421 grams)
Note #1: I do not recommend mixing this small amount of dough in a large stand mixer because it isn’t enough volume to mix it thoroughly. I recommend kneading by hand on a clean countertop surface.
Note #2: There is no egg in this single loaf version because it isn’t practical to divide an egg into thirds.
Note #3: You may be able to reduce the bake time by a minute or two from the 30-35 minutes, as that time is recommended for three loaves, not just one. Always check the internal temperature for doneness.
Note #4: While these measurements in volume and weight are helpful guidelines, the *most* important guideline is how your dough feels. The amount of flour may be slightly under or slightly over, based on several factors, such as: the consistency of your sourdough starter, the humidity and air pressure, the type of flour you are using, and how long the dough is kneaded for. If you take dough that is a perfect consistency and knead it for a while, it will hydrate a bit, requiring another sprinkle of flour to make it more manageable. Also, over-fermented dough will feel very wet and will need a sprinkle of flour to be able to form it and work with it. ALWAYS refer to the touch test to know how much flour is needed. Dough should be tacky – it should stick slightly to your fingers but release easily – it should not be overly sticky or dry.
Sample Schedule (for 3 loaves)
Monday 10 PM: Feed Your Starter. Combine 1/2 cup starter with 2 cups of flour and 2 cups of water. (1:4:4 Ratio). Aim for a thick pancake batter consistency. Mix well. Mark the height of your starter in its jar or glass bowl with a rubber band or a sharpie. Cover and let it sit at room temperature overnight. Note: a 1:8:8 feed will take even longer to activate, and a 1:1:1 feed ratio will take less time to activate.
Tuesday at 7:00 AM: Make sure starter is active. It should be doubled in volume and full of bubbles. If it isn’t, do not proceed. Try feeding your starter again.
Tuesday at 7:15 AM: Using the recipe below, make the dough!
Tuesday at 7:30 AM: Cover dough and let rise until doubled in volume. (First bulk fermentation)
Tuesday at 12:30 PM: Form dough and place in loaf pans. *IF/WHEN* dough has doubled in size, then divide it into three equal portions and form into three loaves, placing them into greased loaf pans. Cover and let them rise again until doubled in volume (second proof). If the dough has not doubled, wait until it does!
Tuesday at 3:30 PM: BAKE! *IF/WHEN* dough has doubled in volume, then bake all 3 loaves in a preheated 375°F (190°C) oven for 30 to 35 minutes or until the internal temperature reaches 180°F (82°C). Remove from pans and set on cooling racks to prevent condensation. Let cool for at least one hour.
Tuesday at 5:15 PM: Enjoy! When loaves are sufficiently cooled, you can cut into them and enjoy! I let my loaves rest on a cooling rack for a few hours, then I store them all in a plastic twist tie bag. I freeze anything that we won’t use within 4-5 days. Everything else can be left at room temperature on the countertop, wrapped in a plastic bag.
