Transform Your Floors: The Ultimate DIY Guide to Acid Staining Concrete
Are you envisioning durable, aesthetically pleasing, and uniquely customized flooring that won’t strain your budget? I’ve discovered a truly transformative technique that breathes new life into ordinary concrete surfaces: acid staining. This method transcends superficial coatings, offering a depth of color and an unparalleled natural appearance that paint or traditional sealers simply cannot replicate. Acid staining isn’t merely about applying color; it initiates a profound and lasting chemical reaction, permanently infusing pigments into the very fabric of your concrete. The result is a truly one-of-a-kind finish.
The inherent beauty of acid staining lies in its organic results. Each floor develops a unique, mottled, and translucent pattern, reminiscent of natural stone, aged leather, or a watercolor painting. This means no two acid-stained floors will ever look precisely alike, ensuring your space boasts a distinct character and timeless appeal. What’s even more impressive is its exceptional durability and cost-effectiveness. Acid-stained concrete floors are celebrated for their longevity, minimal maintenance requirements, and remarkable ability to withstand heavy foot traffic without losing their charm or needing frequent repairs. If you’re ready to unlock the hidden potential of your concrete surfaces, this comprehensive DIY guide will walk you through every essential step to create stunning acid-stained concrete floors right in your home.
Why Choose Acid Staining for Your Concrete Floors?
Acid staining truly distinguishes itself from other concrete coloring methods through its unique chemical interaction. Unlike paints or epoxies that form a layer on top of the concrete, acid stains penetrate the surface and react with the minerals already present within the concrete itself. This process creates a real, permanent chemical change on the surface, making the color an integral part of the material rather than just a superficial coating. Think of it like dyeing fabric versus painting it; the color becomes ingrained, meaning it won’t chip, peel, or fade away with wear over time.
The penetration of the stain triggers a chemical process that permanently alters the concrete’s surface color. This results in rich, variegated, and translucent tones that offer a depth unmatched by other methods. Each acid staining project yields unique results because the final appearance is heavily influenced by the concrete’s specific mineral composition, age, texture, and porosity. This ensures that every floor develops its own distinct, earthy look that cannot be replicated exactly anywhere else, providing an exclusive aesthetic that adds significant value and character to any space.
The Science Behind Acid Staining: A Permanent Transformation
Understanding the science behind acid staining reveals why it produces such distinctive and durable results. Acid stains are typically composed of metallic salts dissolved in an acidic solution. When this solution is applied to concrete, the acid gently etches the surface, allowing the metallic salts to penetrate. Once absorbed, these salts react chemically with the free lime (calcium hydroxide) present in the concrete. This reaction precipitates new, colored compounds within the concrete’s pores.
The reaction creates permanent, non-fading colors that are part of the concrete itself, rather than a surface layer. The variable concentrations of lime and other minerals across the concrete slab, combined with differences in porosity, lead to the characteristic mottled, translucent, and varied appearance. This natural variability is precisely what gives acid-stained floors their unique, organic beauty, resembling marble, granite, or aged leather. The colors are not opaque but rather translucent, allowing the natural characteristics and minor imperfections of the concrete to show through, adding to its authentic charm.
Step-by-Step Guide to Acid Staining Concrete Floors
Transforming a plain concrete floor into a work of art with acid stain is a rewarding process that significantly enhances both its durability and aesthetic appeal. By following this detailed guide, you can achieve beautifully stained concrete floors with a natural, sophisticated finish.
Materials and Tools Needed:
Before you begin, gather all necessary materials and tools. Proper preparation ensures a smooth and efficient staining process, leading to the best possible results.
| Material/Tool | Purpose |
|---|---|
| Soap and water | For initial deep cleaning of the concrete surface to remove grime. |
| Vacuum | To efficiently remove loose dust, dirt, and fine debris after scraping. |
| Mop | For applying cleaning solutions and rinsing the floor thoroughly. |
| Concrete etching solution | Essential for opening the pores of the concrete, allowing stain penetration. |
| Bucket | To accurately mix etching solution, neutralizer, and water. |
| Stiff-bristle Brush | To scrub the concrete vigorously after applying the etching solution. |
| Garden sprayers (2) | Dedicated sprayers for even application of water and acid stain, preventing cross-contamination. |
| Acid stain (e.g., Graphite color) | The primary material to impart a warm gray or desired hue to the concrete. |
| Degreaser neutralizer | Crucial for stopping the acid reaction and preparing the surface for sealing. |
| Paint roller and pole | For smooth and consistent application of the concrete sealer. |
| Acrylic floor sealer | To protect the stained concrete and provide a durable, satin or desired finish. |
| Paint pan | For holding the sealer, making application with the roller easier and cleaner. |
| Protective Gear (gloves, mask, goggles) | Essential for personal safety when handling chemicals. |
Step 1: Thorough Surface Preparation
A successful acid stain project begins with meticulous surface preparation. This crucial step ensures optimal stain penetration and a uniform, beautiful finish. Any contaminants left on the concrete can prevent the stain from reacting properly, leading to uneven results.
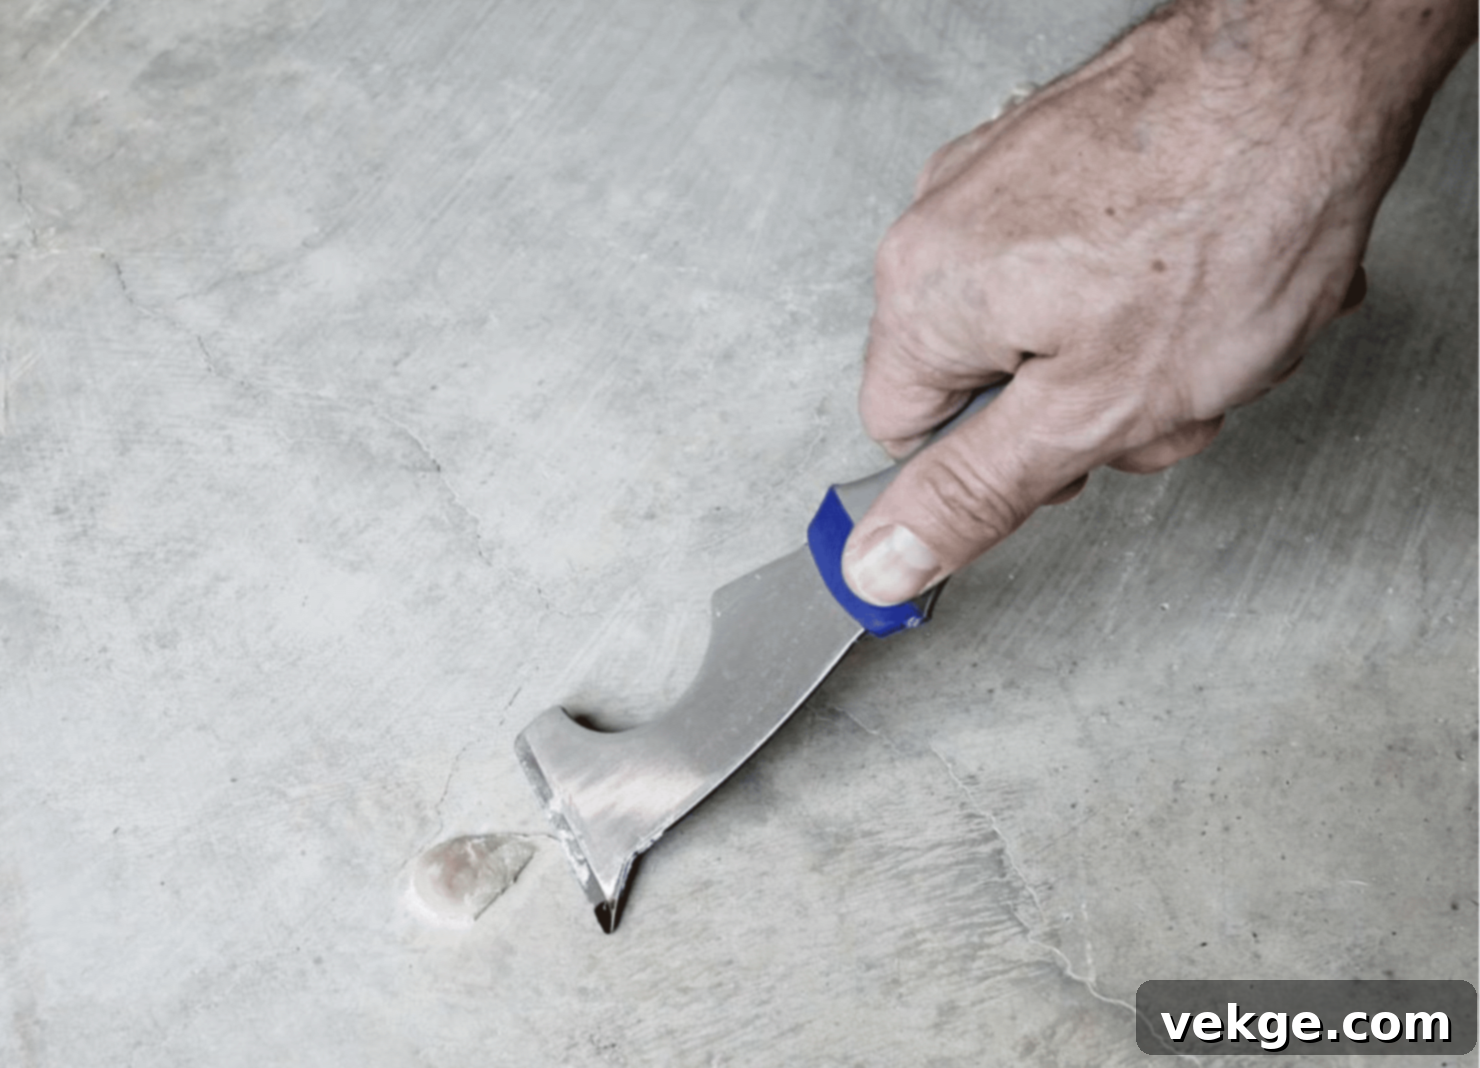
- Begin by scraping off any dried debris such as drywall mud, paint drips, glue, or other residues from the concrete surface. Use a heavy-duty scraper for stubborn spots.
- Once major debris is removed, vacuum the entire floor thoroughly to eliminate all dust, loose dirt, and fine particles. Ensure the vacuum has good suction.
- Mop the floor with a solution of warm soapy water, scrubbing lightly to lift surface grime. Follow this with two to three more mopping rounds using clean, plain water to ensure all soap residue is completely removed. Allow the floor to dry completely before proceeding.
This deep cleaning phase is critical to ensure maximum absorption of the subsequent etching solution and the acid stain itself.
Step 2: Etching and Opening the Concrete Pores
Etching the concrete surface is a vital step that opens up its pores, allowing the acid stain to penetrate deeply and react effectively. This process ensures a more vibrant and consistent stain.
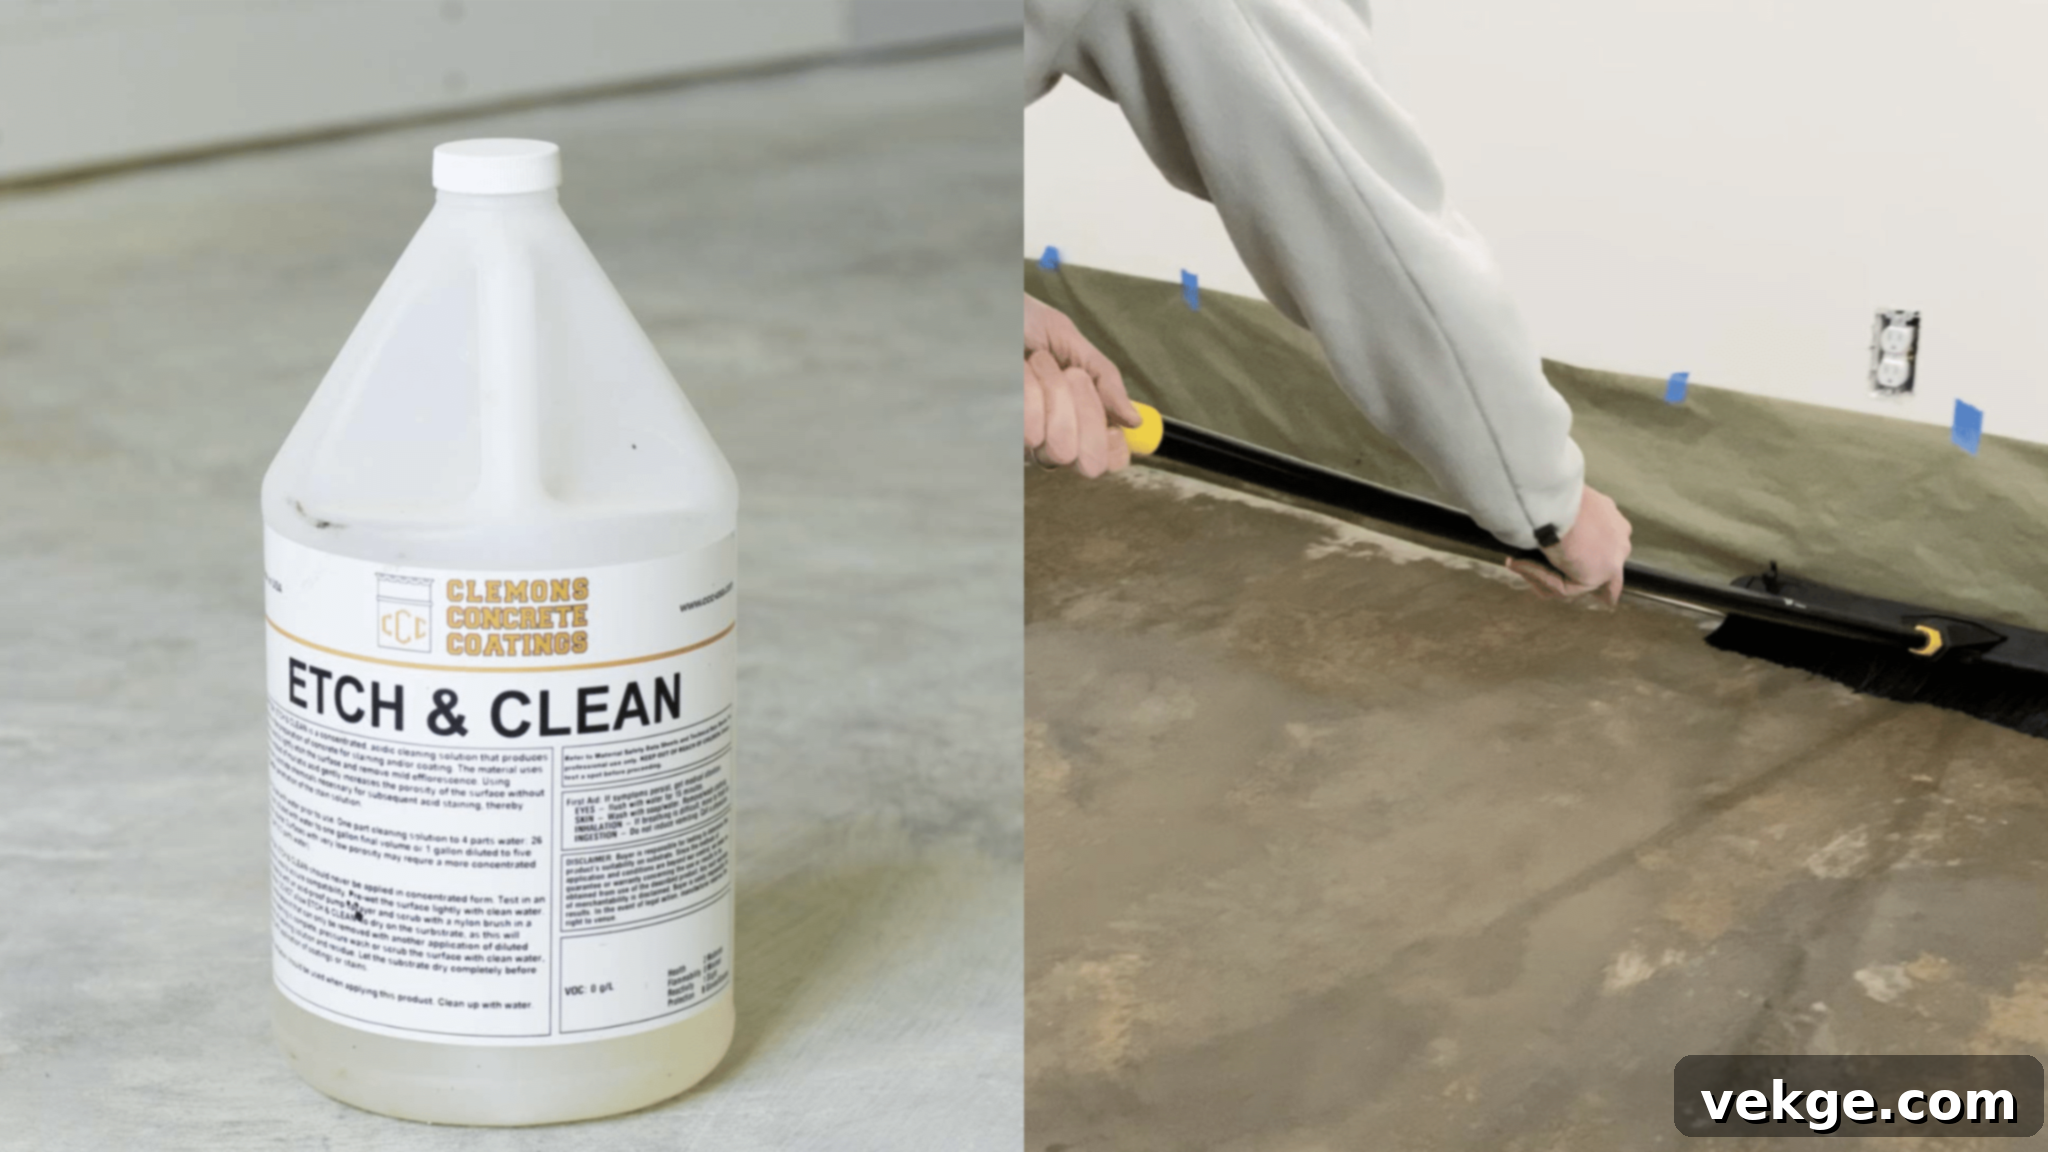
- In a clean bucket, carefully mix the concrete etching solution with water, typically at a 1:4 ratio (one part etching solution to four parts water). Always follow the manufacturer’s specific instructions for dilution and safety precautions.
- Working in manageable 10×10 ft sections, apply the etching solution evenly over the concrete. Use a mop or a plastic watering can, ensuring good coverage without creating puddles.
- Immediately after application, use a stiff-bristle brush to scrub each section vigorously. This helps the solution work into the concrete.
- Allow the solution to sit on the surface for approximately 5 minutes (or as per product instructions). You might observe light bubbling, indicating the etching process is active.
- Rinse each section thoroughly with clean water using a hose or multiple mop rounds. It is crucial to remove all etching residue to prevent it from interfering with the acid stain. Use a wet vacuum to quickly remove rinse water.
- Repeat this process for all remaining sections of the floor. Ensure the entire floor is clean and dry before moving to the next step.
Step 3: Expert Acid Stain Application
This is where the magic happens! Applying the acid stain requires a steady hand and even coverage to achieve the desired unique, mottled effect.
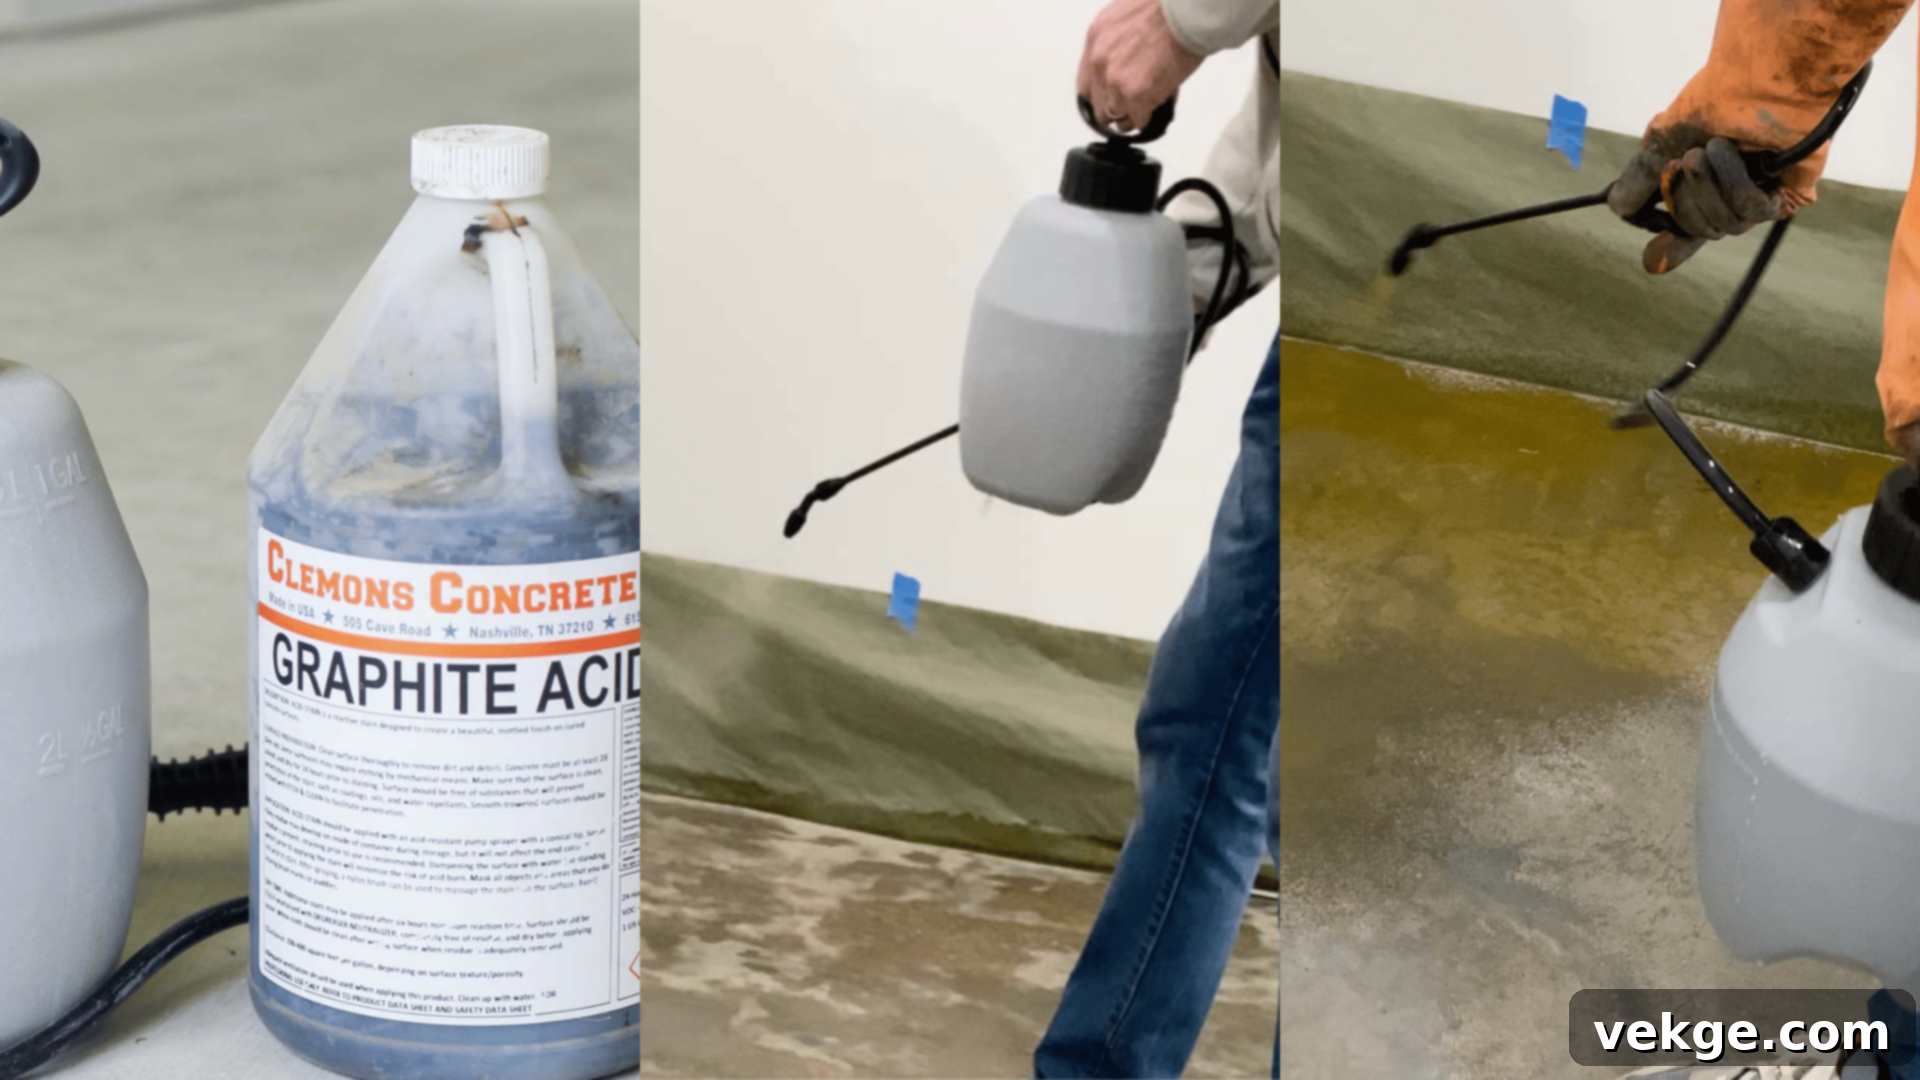
- Before applying the stain, lightly dampen the concrete section with clean water using one of your garden sprayers. The goal is a uniformly moist surface, not standing water or puddles, as this helps the stain spread evenly.
- Using your second garden sprayer, specifically designated for acid stain, apply the acid stain evenly over the dampened section. Use a consistent back-and-forth or circular motion, ensuring full coverage without oversaturating any one area. Work quickly and continuously to avoid lap lines.
- For a deeper color, allow the first coat to dry (typically 2-4 hours), then lightly mist the concrete with water again before applying a second coat of stain. This layering technique can enhance the depth and richness of the color.
- Allow the acid stain to react and dry completely for at least 8-24 hours. The longer the stain reacts, the deeper the penetration and potential color development, though manufacturer guidelines should always be followed.
Remember that the final color will only truly appear after the neutralization and sealing steps, as the stain appears much darker or different when wet.
Step 4: Neutralizing the Stained Surface
Once the acid stain has had sufficient time to react and develop color, it’s crucial to neutralize the surface. This step stops the chemical reaction, removes any acid residue, and prepares the concrete for the final sealer application.
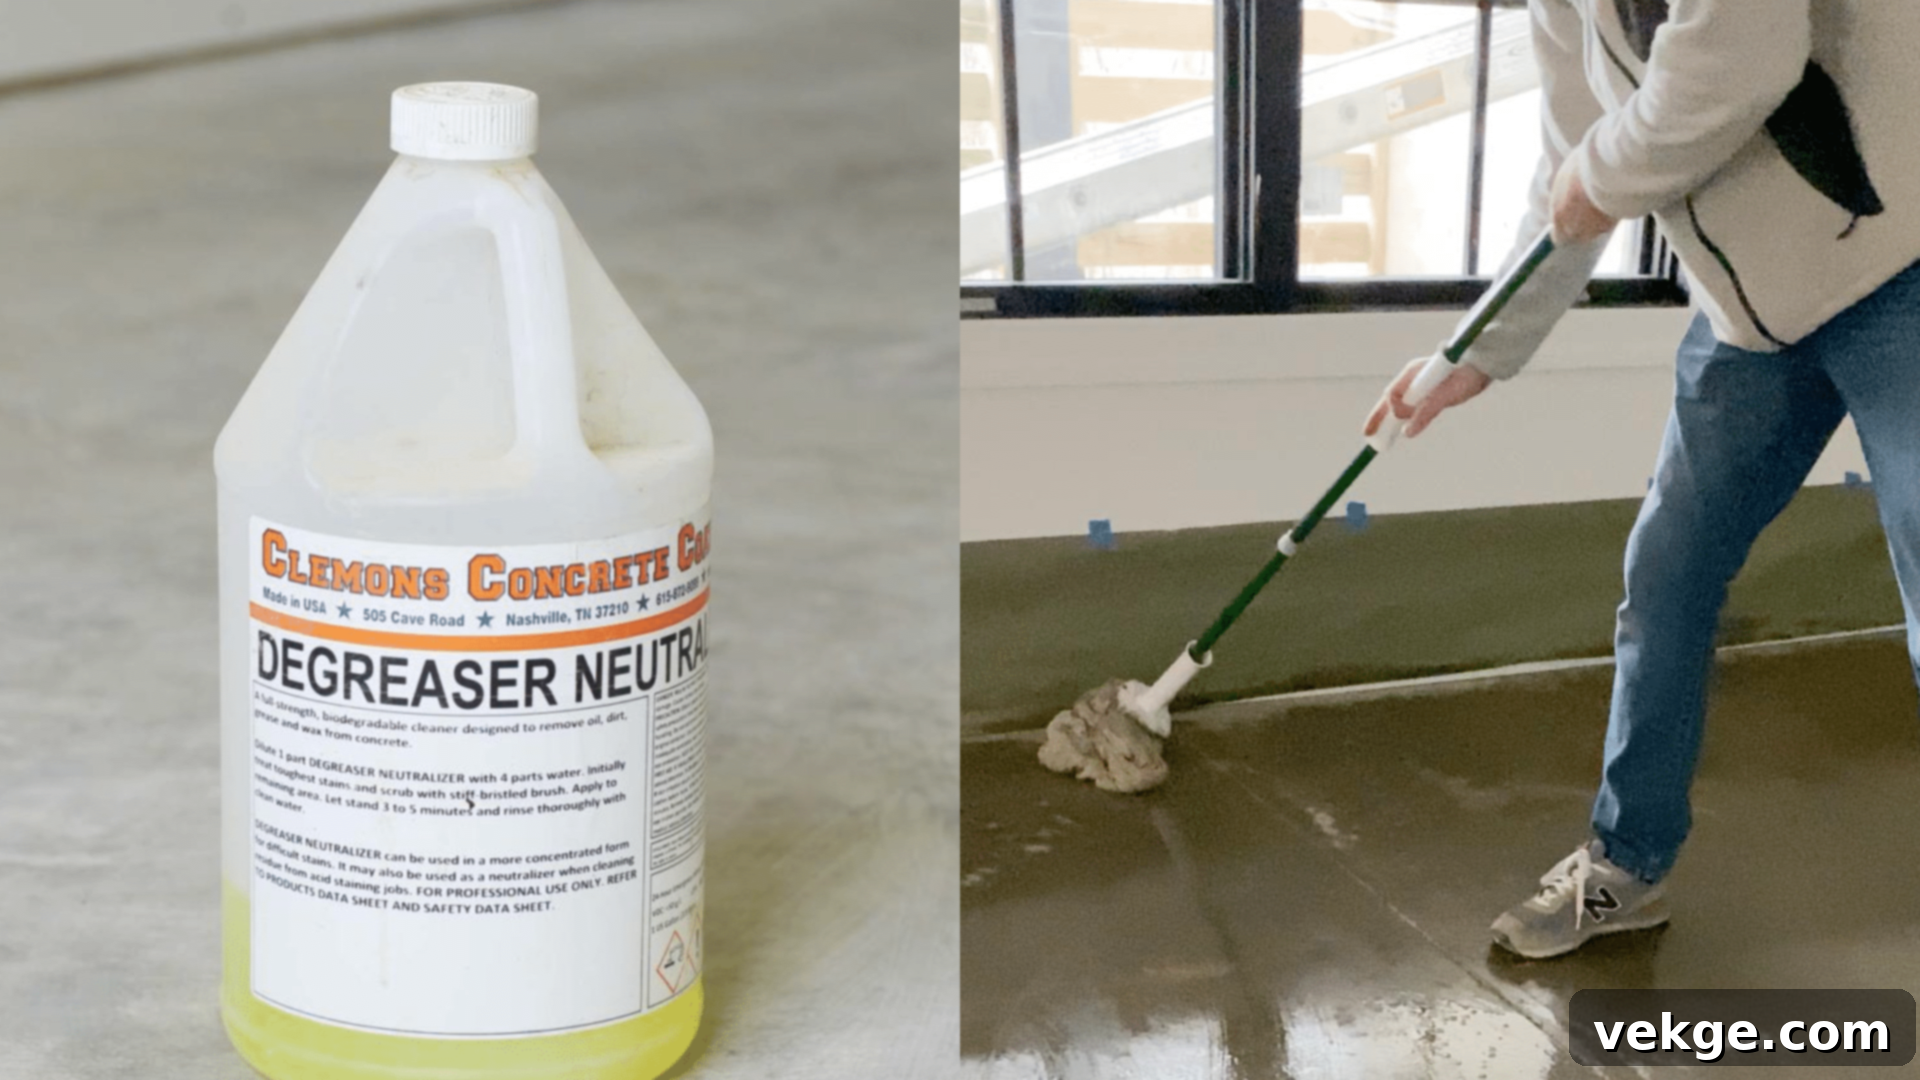
- After allowing the stain to react for 24 hours, prepare your degreaser neutralizer solution. Mix it with water according to the manufacturer’s recommended ratio (often 1:4).
- Mop the entire stained floor with the degreaser neutralizer solution. Ensure thorough coverage across all stained areas.
- Allow the neutralizer to dwell for the recommended time (usually 15-20 minutes), which helps lift any remaining acid residue and prepares the surface for rinsing.
- Rinse the entire floor several times with clean water using a mop or hose. It is paramount to completely remove all neutralizer and acid residue. Use a wet vacuum to efficiently pick up all the rinse water. Continue rinsing until the rinse water runs clear and has no suds, indicating the surface is fully neutralized.
- Allow the floor to dry completely, which can take another 24 hours. Ensure there is no moisture left before sealing.
Step 5: Sealing for Durability and Finish
Applying a high-quality sealer is the final, crucial step. The sealer protects the stained concrete from wear, moisture, and staining, while also enhancing the color and providing a desired finish (satin, matte, or gloss).
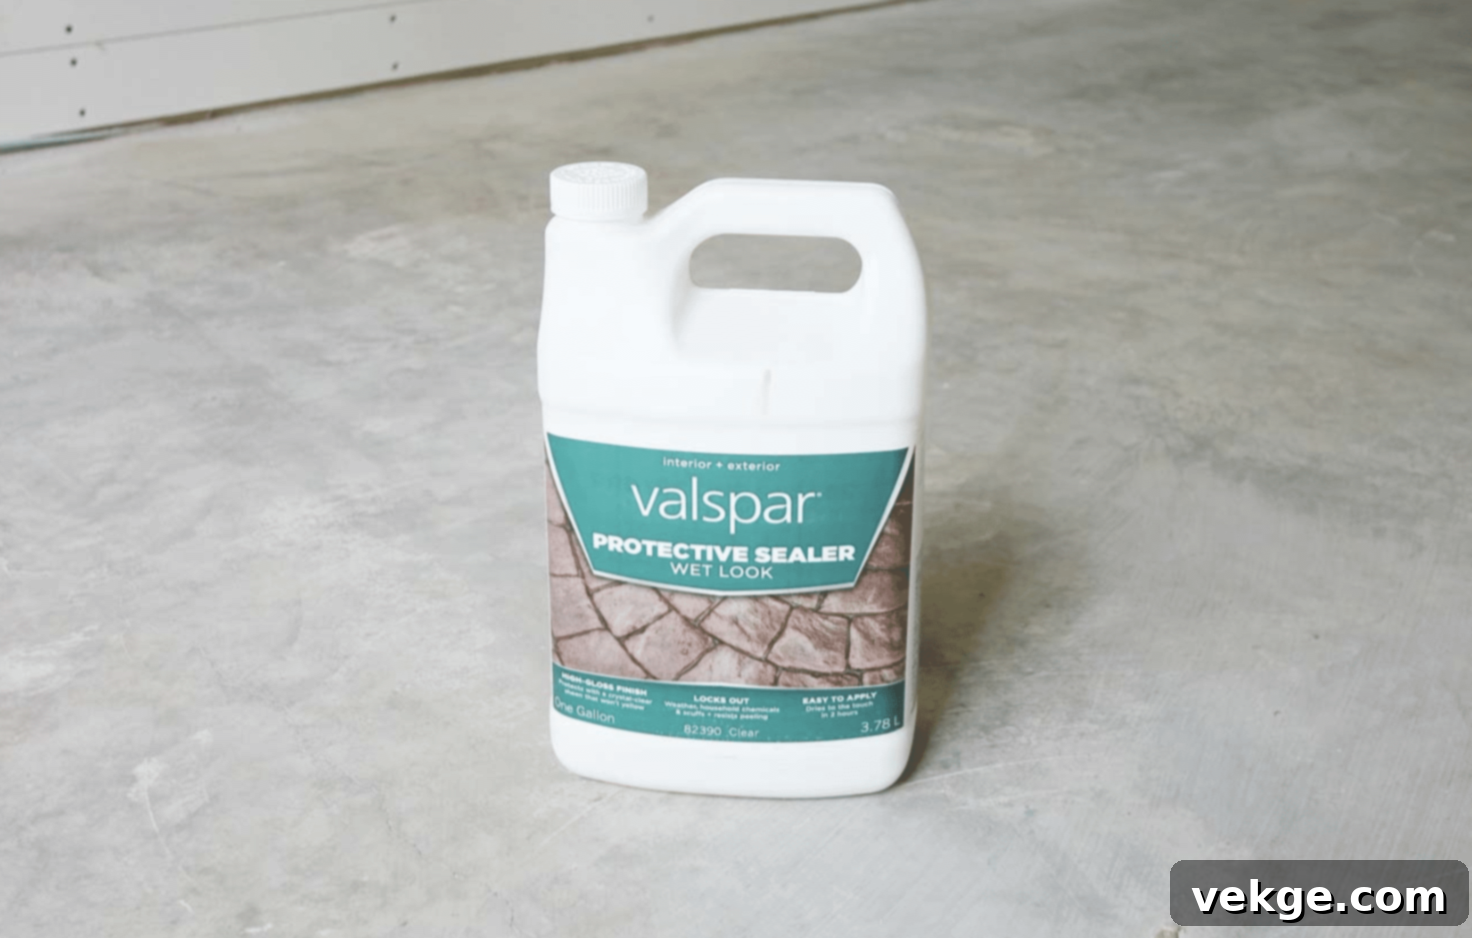
- Once the floor is absolutely dry and clean from any residue, pour your acrylic sealer into a paint pan.
- Using a clean paint roller with a suitable nap (typically 3/8 inch), apply a very thin, even coat of acrylic sealer across the entire floor. Work in manageable sections, ensuring consistent coverage to avoid streaks or puddles.
- Allow the first coat to dry completely, typically 2-4 hours, depending on humidity and ventilation. It should be dry to the touch before applying the next coat.
- Repeat the process for a total of two to three thin coats. Multiple thin coats provide better protection and a more even finish than one thick coat. Ensure each coat is fully dry before applying the next.
- For optimal curing and durability, avoid heavy foot traffic for 24-48 hours and postpone placing furniture for 72 hours or as recommended by the sealer manufacturer.
Step 6: Admire Your Transformed Concrete Floor
After all the hard work, it’s time to step back and appreciate the stunning transformation of your concrete floors. The subtle colors and durable finish will enhance your space with unique character.

- Once the final coat of sealer has fully dried and cured according to the manufacturer’s recommendations, your beautiful, acid-stained concrete floor is ready for use.
- Take a moment to appreciate the depth of color, the unique mottling, and the natural sheen that now defines your space. This durable and stylish surface will provide years of beauty and low maintenance.
- Your newly stained floor will be a focal point, reflecting light and adding a sophisticated, organic touch to any room.
Cost Breakdown: Acid Staining Your Concrete Floors
One of the most appealing aspects of acid-stained concrete floors is their cost-effectiveness, especially when compared to other high-end flooring options. Opting for a DIY approach can significantly reduce expenses, making a luxurious look attainable on a moderate budget. Below is an estimated cost breakdown for a typical DIY project.
| Item | Estimated Cost (in USD) | Details |
|---|---|---|
| Concrete Cleaner | $10 – $20 | Essential for removing dirt and grime, preparing the surface. |
| Etching Solution | $15 – $30 | To chemically open the concrete pores, ensuring optimal stain absorption. |
| Acid Stain | $50 – $100 per gallon | The core product. One gallon typically covers approximately 200-400 sq ft, depending on porosity and desired intensity. |
| Neutralizer/Degreaser | $10 – $25 | To halt the acid reaction and clean the surface before sealing. |
| Acrylic Sealer | $30 – $80 per gallon | Protects the stained surface, enhances color, and provides the desired finish. Coverage is usually 200-400 sq ft per gallon per coat. |
| Garden Sprayers (2) | $20 – $40 each | Dedicated sprayers for water and acid stain are recommended for safety and even application. |
| Mop and Bucket | $15 – $30 | Basic tools for cleaning and applying solutions. |
| Stiff-bristle Brush | $5 – $15 | Used for scrubbing during the etching process. |
| Paint Roller and Pole | $10 – $20 | For smooth and even application of the sealer. |
| Protective Gear (gloves, mask, goggles) | $10 – $30 | Crucial safety equipment for handling various chemicals. |
Total Estimated DIY Cost:
For a 200-400 sq ft area, the estimated total cost for materials and basic tools ranges from $200 – $470. This is a general estimate; actual costs can vary depending on the specific products chosen, regional pricing, and the exact size of the area. Comparatively, professional acid staining can range from $3-$7 per square foot, while installing hardwood or high-end tile can cost significantly more, making DIY acid staining a highly economical choice for a custom look.
Maintaining Your Acid-Stained Concrete Floors for Lasting Beauty
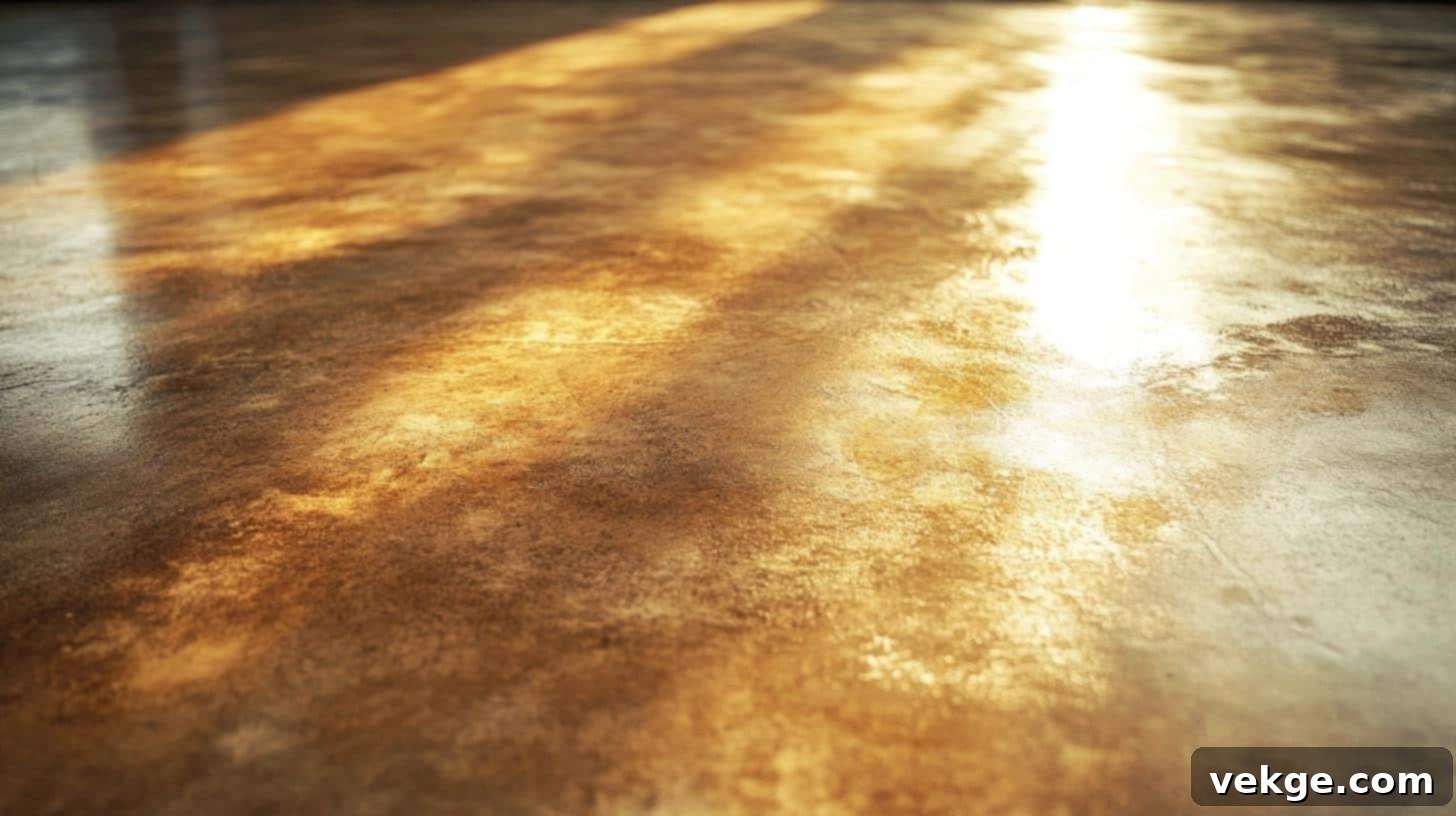
Acid-stained concrete floors are celebrated for their durability and low maintenance, but proper care is essential to preserve their beauty and longevity. A simple routine can keep your floors looking pristine for years.
Regular Cleaning Requirements
- Prompt Spill Cleanup: Immediately clean any spills using a soft cloth or mop and a pH-neutral cleaning solution. This prevents potential staining or etching of the protective sealer.
- Routine Sweeping/Vacuuming: Sweep or vacuum your floors at least twice a week to remove dirt, dust, and abrasive grit. Grit acts like sandpaper, slowly eroding the sealer and dulling the finish.
- Weekly Mopping: For weekly cleaning, use a microfiber mop with a pH-neutral cleaner specifically designed for sealed floors. Avoid traditional string mops, which can leave behind excessive water or cleaning solution residue that might dull the finish over time.
- Avoid Harsh Chemicals: Steer clear of harsh cleaning products containing bleach, ammonia, vinegar, or citrus-based acids. These chemicals can degrade the protective sealer, leading to a dull appearance and reduced protection.
Professional Care Tips
- Sealer Reapplication: Depending on the level of foot traffic and general wear, plan to reapply a fresh coat of sealer every 2-3 years. High-traffic areas, like entryways or commercial spaces, may require more frequent resealing. Check the manufacturer’s recommendations for your specific sealer.
- Annual Professional Cleaning: Consider scheduling a professional cleaning service annually. They can remove stubborn buildup, perform minor repairs, and apply specialized treatments to restore the floor’s original sheen and protectiveness.
- Check Sealer Wear: A simple test can indicate if resealing is necessary: sprinkle a few drops of water on the floor. If the water beads up, the sealer is still intact. If it absorbs quickly into the concrete, it’s time for a fresh coat.
Prevention Measures
- Entrance Mats: Place durable mats at all entrances to your home or building. These act as a first line of defense, trapping dirt, moisture, and abrasive particles before they can reach your stained concrete.
- Furniture Pads: Apply felt or rubber protective pads under the legs of all furniture. This prevents scratches, scuffs, and gouges that can damage both the sealer and the stained concrete beneath.
- Proper Cleaning Products: Only use cleaning products explicitly recommended for sealed concrete floors. Using incompatible products is a common cause of premature sealer breakdown and dulling.
- Monitor High-Traffic Areas: Regularly inspect areas with heavy foot traffic for signs of wear. Addressing minor issues like slight dulling or thinning sealer early can prevent more extensive damage.
What to Avoid
- Dragging Heavy Objects: Never drag heavy furniture or appliances directly across your stained concrete floors. Always lift them or use furniture dollies with soft wheels to move them.
- Abrasive Cleaning Tools: Avoid using abrasive cleaning tools such as steel wool, scouring pads, or stiff wire brushes. These can scratch the sealer and expose the concrete.
- Standing Water: Prevent standing water on your floors for extended periods, as it can potentially compromise the sealer and lead to water spots or damage.
- Hot Items: Do not place hot items, like hot pots or pans, directly onto the floor without adequate protection, as extreme heat can damage or melt certain types of sealers.
Safety First: Essential Tips for Acid Staining Concrete Floors
Working with acid stains and other chemicals requires diligent attention to safety. Always prioritize your well-being by following these crucial safety guidelines throughout the entire process.
- Use Comprehensive Protective Gear: Before handling any chemicals, equip yourself with full chemical-resistant gloves (nitrile or butyl rubber are recommended), indirect-ventilation safety goggles or a full face shield, and a respirator mask (rated for acid fumes or organic vapors). Additionally, wear long-sleeved shirts, long pants, and closed-toe shoes to minimize skin exposure.
- Ensure Proper Ventilation: Always work in well-ventilated areas. If staining indoors, open all windows and doors to create cross-ventilation. Use exhaust fans to draw fumes out and fresh air in. Chemical fumes can be harmful if inhaled, so good air circulation is paramount.
- Avoid Direct Skin and Eye Contact: Acid and etching solutions can cause chemical burns and irritation. Handle all products with extreme care. In case of accidental skin contact, immediately wash the affected area with plenty of soap and water for at least 15-20 minutes. If chemicals get into your eyes, flush them continuously with water for at least 30 minutes and seek immediate medical attention.
- Handle Sprayers with Care and Label Clearly: Use separate, clearly labeled garden sprayers for water, etching solution, and acid stain to prevent accidental contamination or misuse. Never mix chemicals in a sprayer or reuse a stain sprayer for other purposes without thorough cleaning, which may not be sufficient for acids.
- Keep Fire Safety Tools Nearby: Some sealers contain volatile organic compounds (VOCs) that can be flammable. Ensure you have a fire extinguisher readily accessible while working with these products. Work away from open flames, sparks, or any potential ignition sources.
- Read and Follow Product Labels Religiously: Every chemical product comes with specific manufacturer instructions for safe handling, mixing, application, and disposal. Always read these labels carefully and adhere to them without deviation. Pay close attention to warnings, first aid procedures, and disposal guidelines.
- Prepare for Spills: Have absorbent materials (like kitty litter or commercial absorbents) and a neutralizing agent (like baking soda for acid spills) on hand to quickly contain and clean up any accidental spills.
Conclusion: Your Journey to Beautiful Stained Concrete
You now have all the steps and insights needed to transform ordinary concrete floors into stunning, durable, and uniquely beautiful surfaces in your home. From my experience, while acid staining might initially appear to be a complex undertaking, with proper planning, adherence to safety measures, and careful attention to each detailed step, you can confidently achieve professional-looking results that will stand the test of time.
Remember these key takeaways: always conduct a test patch in an inconspicuous area first to preview the final color, prioritize your safety by keeping your protective gear on throughout the entire process, and approach each stage with patience and precision. The enduring beauty and distinct character of acid-stained concrete floors are truly worth the effort and meticulous care.
I’d love to hear about your acid staining plans or projects. What room are you thinking of starting with? If you’ve already tried this transformative technique, what valuable tips or lessons would you add for fellow DIY enthusiasts?
Share your stories, questions, and experiences in the comments below. Let’s learn from each other and build a community passionate about creating beautiful, unique concrete spaces!
Frequently Asked Questions About Acid Staining Concrete
Is Acid Staining Expensive?
Acid staining is remarkably cost-effective. Typically, it costs $3-7 per square foot for materials and labor if professionally installed. This is significantly less than premium flooring options like hardwood, which can range from $8-15 per square foot, or high-end tile, often $15-20 per square foot. Opting for a DIY project further slashes costs, potentially reducing expenses by 40-60% compared to professional installation, making it an excellent budget-friendly choice for a custom look.
How Long Does the Acid Staining Process Take?
The entire acid staining process, including drying and curing times, typically takes about 3-4 days to complete. This includes one full day for thorough cleaning and preparation, 4-6 hours for the actual stain application, at least 8 hours for the stain to react and dry, another full day for neutralizing and rinsing, and a final day for applying multiple coats of sealer and initial curing. While the active work time is relatively short, patience during drying phases is crucial for optimal results.
Can I Acid Stain Old or Indoor Concrete Floors?
Yes, acid staining is suitable for both old and indoor concrete floors, provided the surface is in good condition. The key is ensuring the concrete is clean, free from any existing sealers, paint, glue, or major damage like deep cracks or pitting. Any existing coatings must be completely removed, and significant damage should be repaired prior to staining. It’s always advisable to test a small, inconspicuous area first to ensure proper stain reaction and desired color outcome, especially with older concrete whose exact composition might be unknown.
What Colors Are Available?
Acid stains offer a range of earthy, translucent colors, commonly including various shades of browns (like tan, terra cotta), blues, and greens. The final shade and intensity are largely dependent on the specific chemical composition, age, and porosity of your concrete. Due to the reactive nature of the stain, results can vary, and light to medium browns often show up most reliably and with the most natural-looking mottling. Unlike dyes, acid stains do not produce bright, opaque colors like red or yellow; they create a more organic, variegated, and subtle patina.
What’s the Difference Between Acid Stains and Concrete Dyes?
The primary difference lies in their mechanism of coloring and final appearance. Acid stains chemically react with the free lime in concrete, creating new, permanent colored compounds within the concrete itself. This results in translucent, variegated, and unique mottled tones with natural depth, where no two areas look exactly alike. Concrete dyes, on the other hand, are non-reactive pigments (either water-based or solvent-based) that simply penetrate the concrete pores to add color. Dyes offer a broader spectrum of vibrant, uniform color options and are less dependent on the concrete’s chemical makeup, but they generally provide less depth and can be more prone to fading over time if not properly sealed and maintained.
