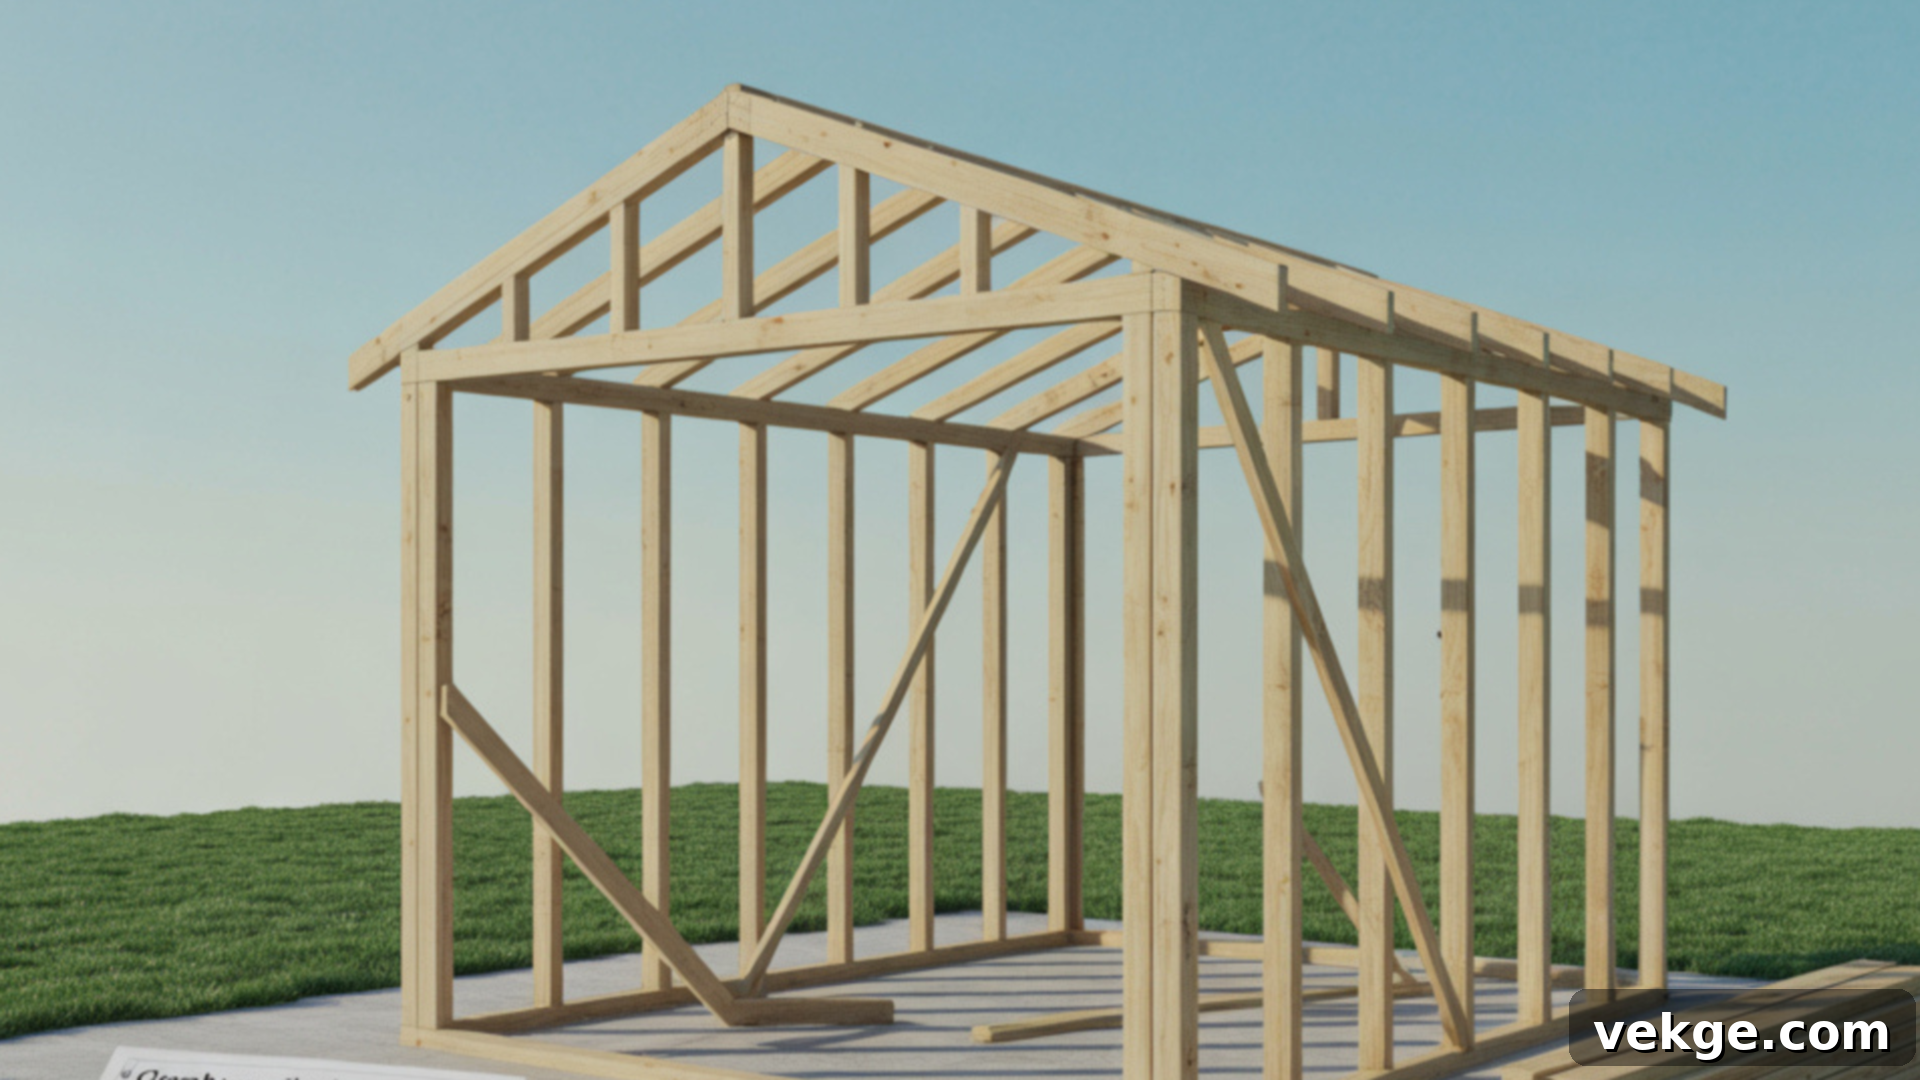
Build Your Dream Shed: The Ultimate DIY Guide to Plans, Styles, and Step-by-Step Construction
Have you ever found yourself staring at your backyard, wishing for a little more space? Perhaps you need a dedicated spot for garden tools, a workshop for a budding hobby, or a quiet retreat away from the main house. If this sounds familiar, a backyard shed isn’t just a solution; it’s an investment in your home and lifestyle. And the best part? You don’t need to hire expensive contractors to make it happen.
This comprehensive guide will empower you to tackle a DIY shed project from start to finish. We’ll explore everything from choosing the right shed style and size to a detailed, step-by-step construction breakdown. By the time you’re done reading, you’ll be equipped with the knowledge and confidence to build a durable, functional, and aesthetically pleasing shed tailored to your exact needs. Are you ready to create something truly useful with your own hands? Let’s dive in.
Why Build Your Own Shed? Unlocking the Benefits of DIY Construction
Opting for DIY shed plans over a pre-built structure or professional installation comes with a wealth of advantages. Many homeowners choose this route not just for the practical outcome, but for the rewarding journey itself.
- Significant Cost Savings: One of the most compelling reasons to build your own shed is the potential for considerable savings. Purchasing materials and lumber yourself, rather than paying for labor and pre-fabricated components, can drastically reduce the overall cost. You control the budget, choosing materials that fit your financial plan.
- Complete Customization: Unlike off-the-shelf sheds, building from scratch or using adaptable plans allows for total customization. Want extra windows for natural light? Need specific shelving dimensions for your tools? Dreaming of a unique paint color or a loft for additional storage? Every detail, from the roof pitch to the door type, can be designed to perfectly match your aesthetic preferences and functional requirements.
- Learn Valuable Skills: A shed building project is an incredible opportunity to develop practical skills. You’ll gain experience in carpentry, framing, roofing, siding installation, and basic construction techniques. Even if you’re a complete novice, step-by-step plans are designed to guide you, making the learning process engaging and accessible. These newfound skills can then be applied to future home improvement projects.
- Sense of Accomplishment: There’s a profound satisfaction that comes from stepping back and admiring something you’ve built with your own hands. A DIY shed isn’t just a storage unit; it’s a testament to your determination and capability. This sense of pride can be a powerful motivator and a lasting reward.
- Quality Control: When you build it yourself, you dictate the quality of materials and craftsmanship. You can ensure every joint is sturdy, every nail is properly driven, and every component meets your standards for durability and longevity, often exceeding what you might find in budget-friendly pre-fabricated options.
Choosing Your Perfect Shed: Styles and Sizes Explained
Before you even pick up a hammer, a crucial first step is to consider how you’ll use your shed and how it will integrate with your existing backyard space. Matching the shed’s style and size to your specific storage or workspace needs will streamline the entire building process and ensure long-term satisfaction. Let’s explore the most popular options.
Popular Shed Styles
Different shed styles not only offer varied aesthetics but also impact interior space, construction complexity, and suitability for different environments. Selecting a style that complements your home, provides the functionality you desire, and is manageable to construct is key.
Lean-to Shed
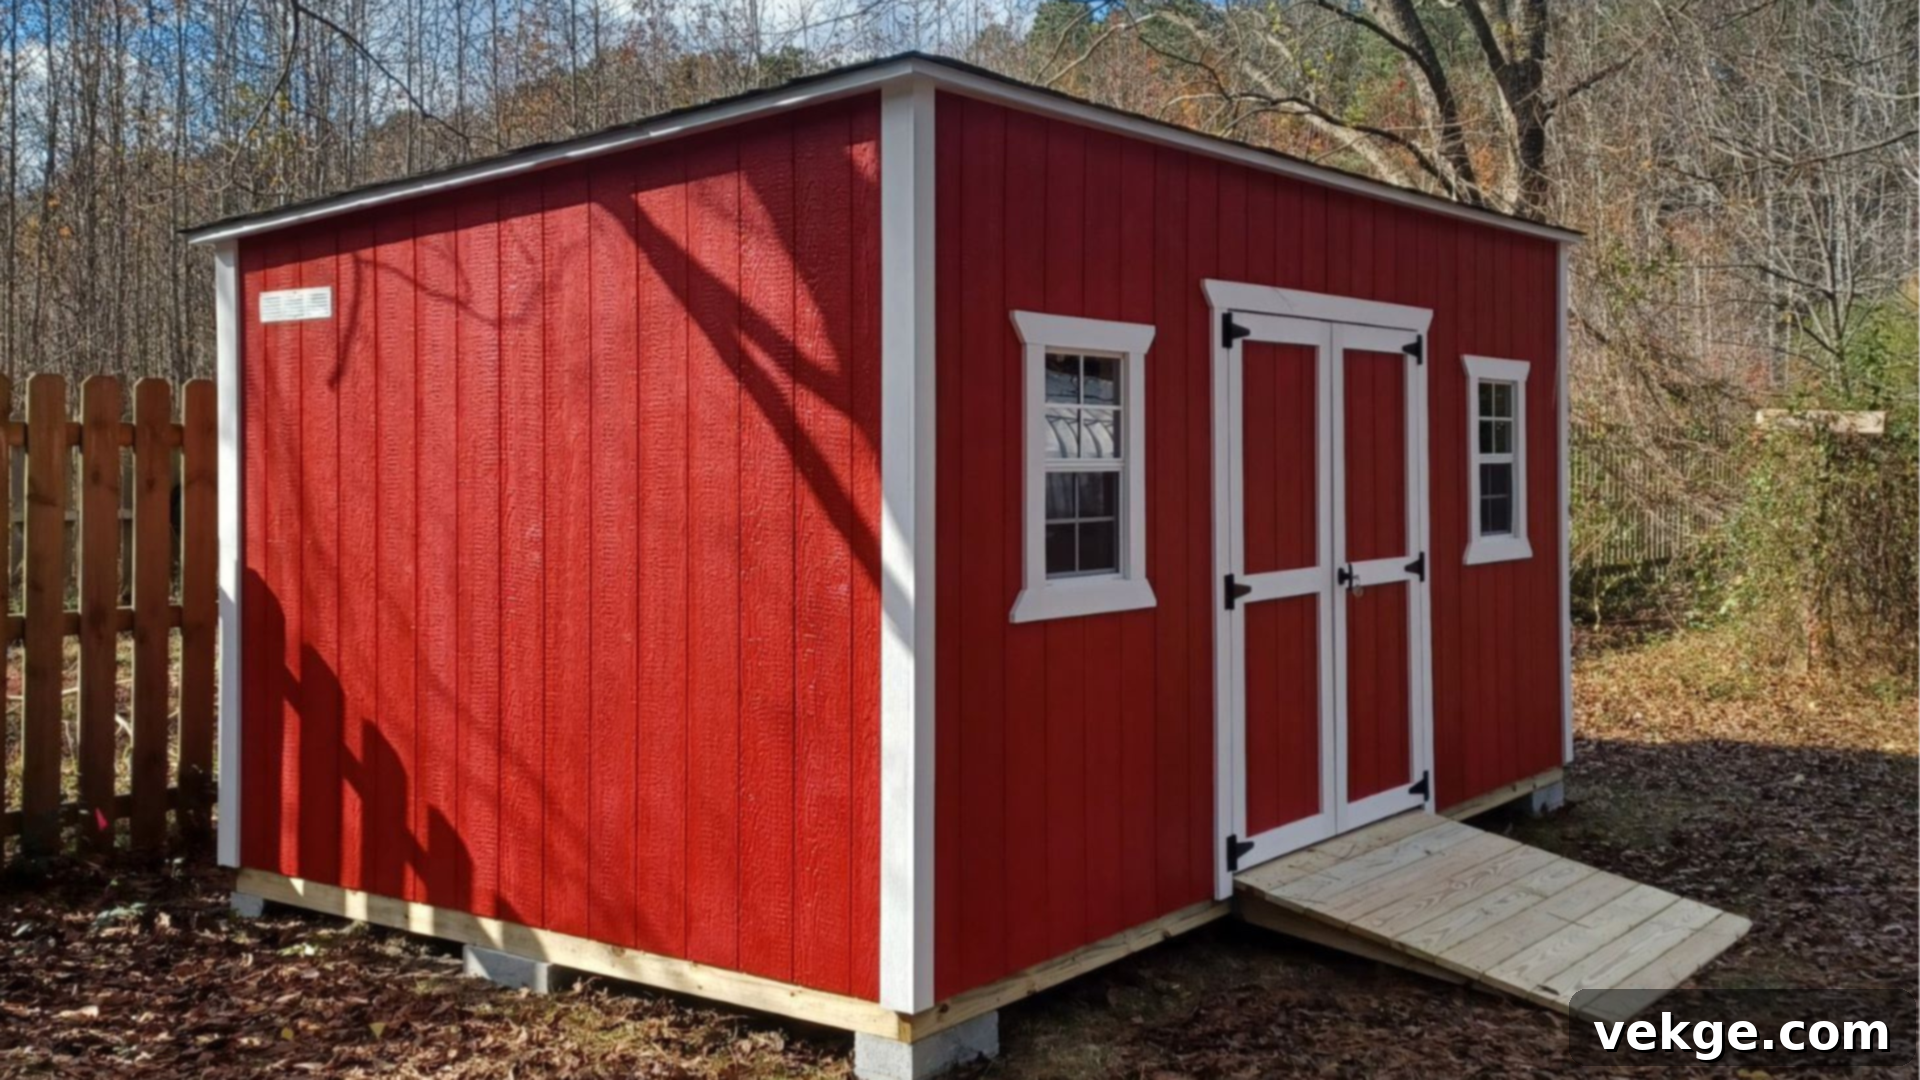
The lean-to shed is characterized by its single-sloped roof, designed to “lean” against an existing structure like a house wall or a sturdy fence. This makes it an excellent choice for tight spaces and narrow yards where a standalone shed might be too intrusive. It’s often considered one of the simplest and most cost-effective styles to build due to its straightforward roof design.
Ideal Use: Perfect for storing garden tools, firewood, bicycles, and other small items that need protection from the elements. Its compact footprint makes it a beginner-friendly project, requiring fewer materials and less complex framing.
Gable Shed
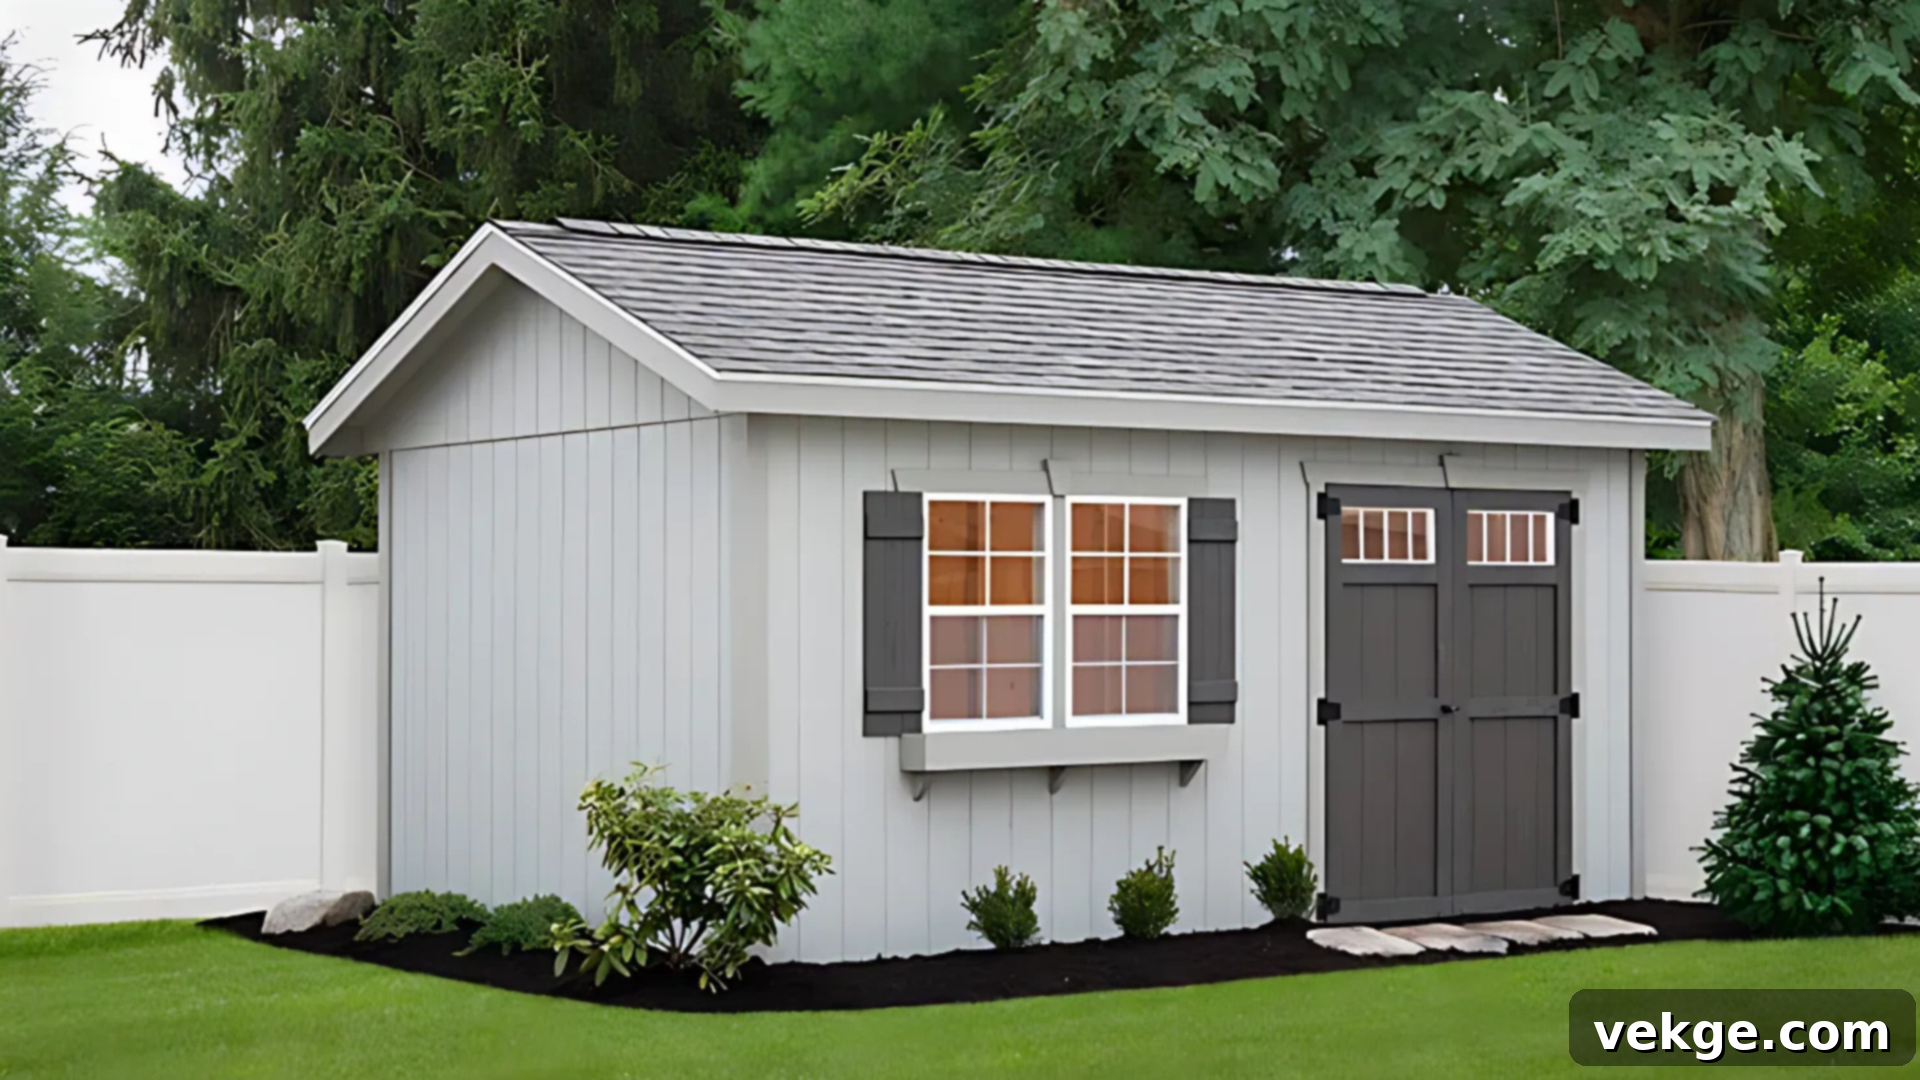
The gable shed is arguably the most classic and recognizable shed style, featuring a traditional pitched roof with two equally sloped sides that meet at a central ridge. Its design mimics a small house, offering a timeless aesthetic that blends seamlessly into most backyard environments.
Ideal Use: The central peak of the roof provides excellent headroom, making it comfortable to move around, install tall shelving, or even hang tools. It’s a versatile choice for general storage, a small potting shed, or a light-duty workshop. Ventilation is also generally good with gable vents.
Gambrel Shed (Barn Style)
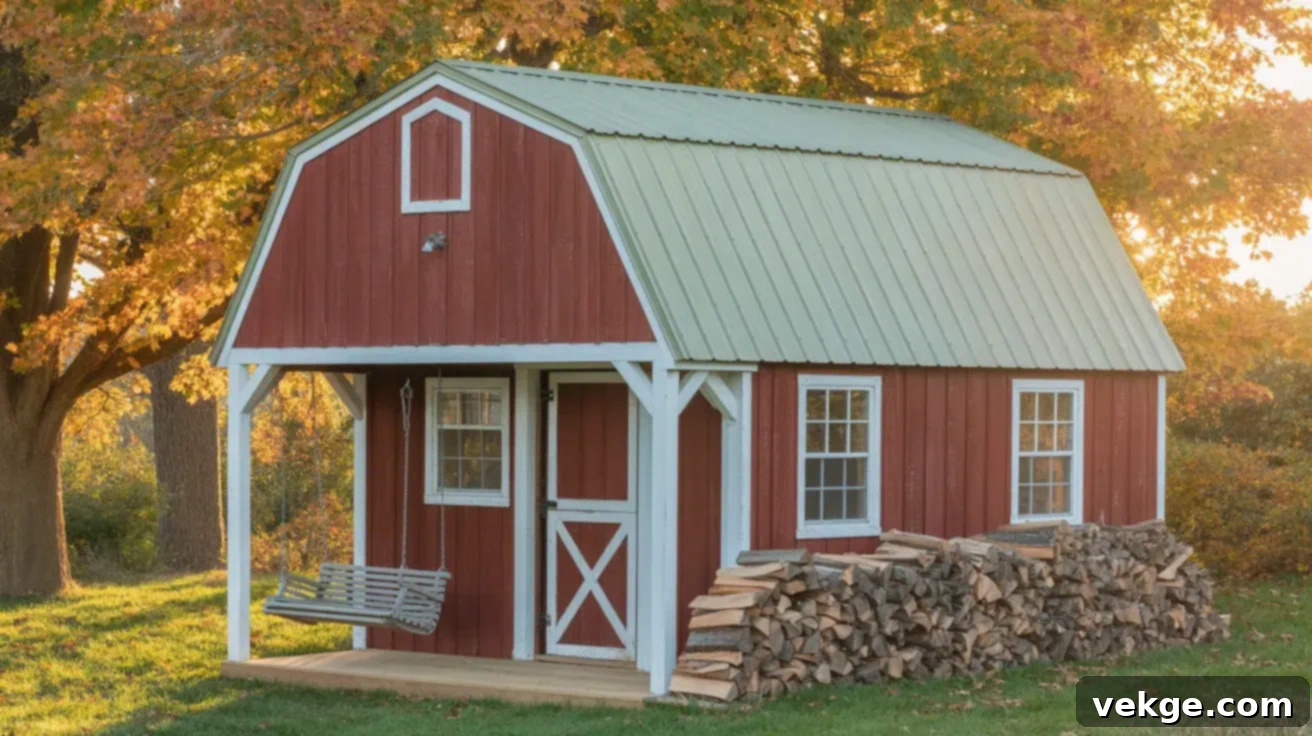
A gambrel shed, often referred to as a “barn style” shed, boasts a distinctive roof with two different slopes on each side, creating a unique profile. This multi-sloped design significantly increases the usable overhead space, making it perfect for incorporating a loft or upper storage area without adding to the shed’s footprint.
Ideal Use: Highly popular for larger sheds that require ample storage, especially for bulky items that can be stored overhead. If you envision a workshop where you need both floor space and an accessible loft for supplies, the gambrel is an excellent choice. Its rustic appearance also adds considerable character to any property.
Saltbox Shed
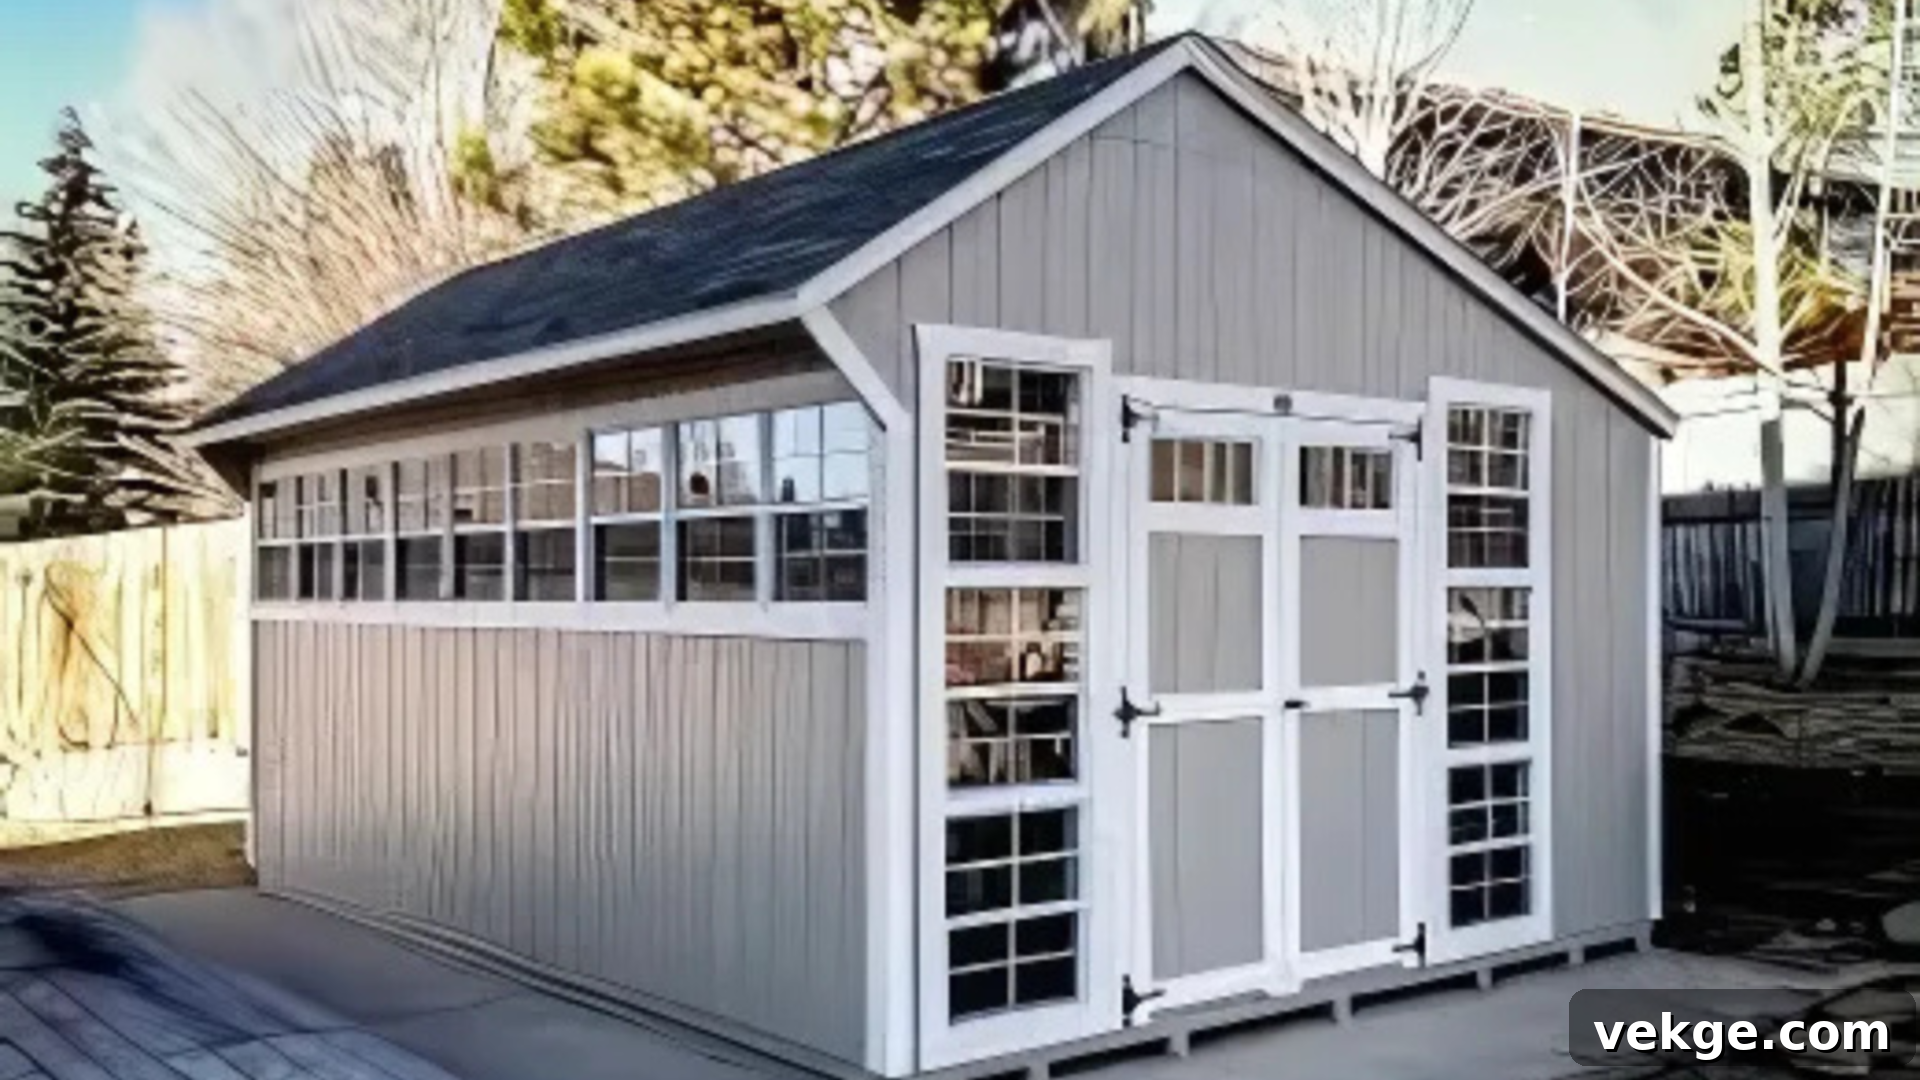
The saltbox shed features an asymmetric roof with one side having a long, gentle slope and the other a shorter, steeper pitch. This unique design is not just for aesthetics; it’s highly functional, excelling at water runoff and offering varying levels of interior headroom. Its historical charm also adds a distinctive architectural element to your yard.
Ideal Use: Particularly effective in areas prone to heavy rain or snow, thanks to its superior drainage. It’s also a great option for narrow yards or properties where one side of the shed might face a property line or fence, as the longer slope can be oriented away from the obstruction. Practical and visually interesting, it works well for small to medium-sized storage needs.
Standard Shed Sizes
The size of your shed dictates its utility and how it impacts your yard’s aesthetics. Consider what you need to store and how much space you have available.
4×8: Compact & Efficient Yard Storage
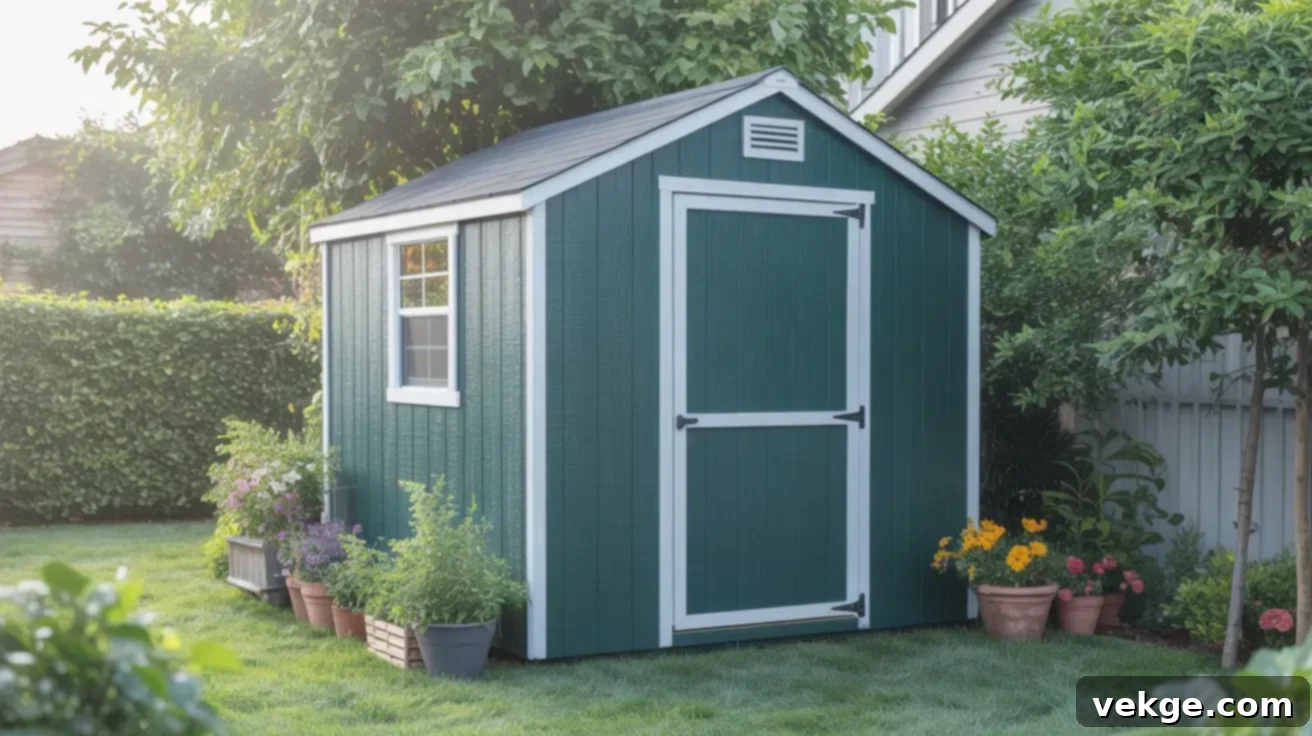
A 4×8 shed, typically measuring 32 square feet, is the perfect solution for minimal storage requirements. It’s designed to house essential garden tools, seasonal decorations, hoses, pots, and outdoor cleaning supplies. Its compact footprint makes it incredibly versatile, fitting into even the smallest yards or tucked discreetly along a fence line or house wall.
Considerations: Ideal for urban homes, small patios, or as an overflow storage unit. This size is often a quick weekend project, requiring fewer materials and tools, making it a fantastic starter project for beginners.
8×10 or 10×12: Versatile General Purpose Shed
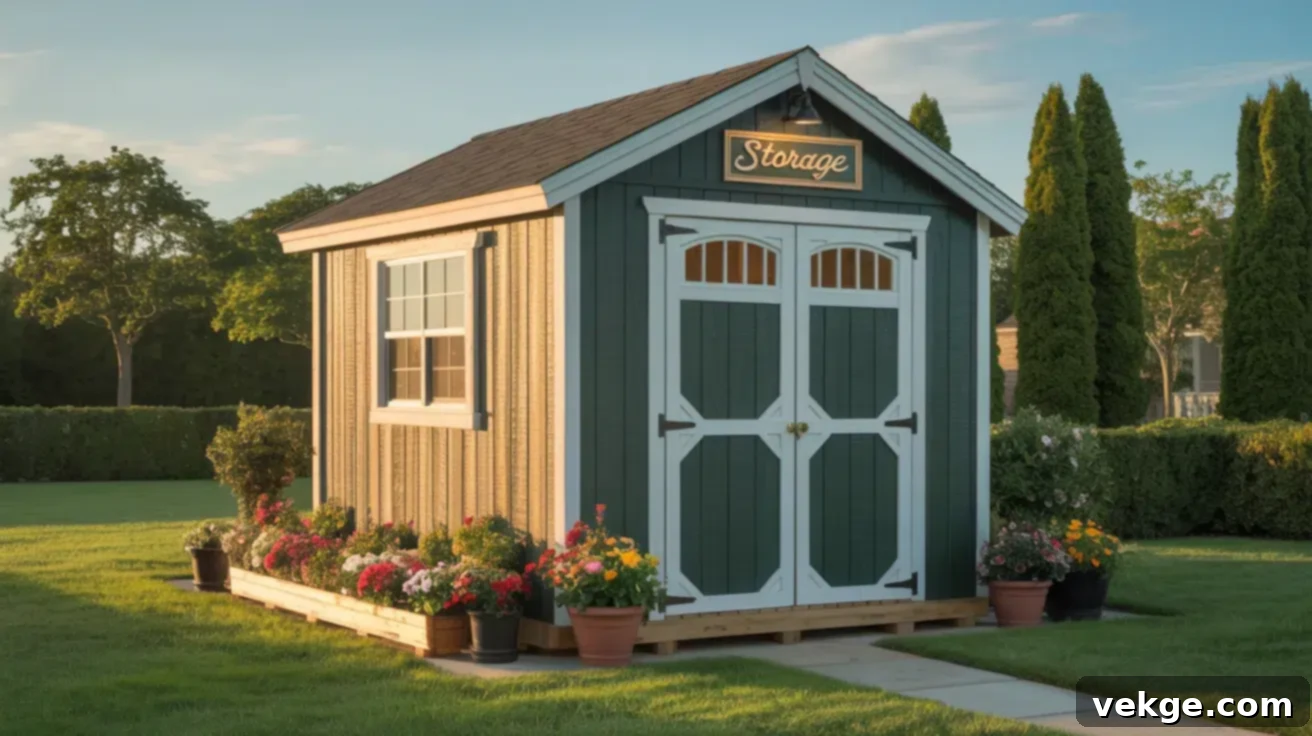
These medium-sized sheds, ranging from 80 to 120 square feet, offer a substantial upgrade in storage capacity without dominating your backyard. They are the workhorses of backyard storage, capable of accommodating lawnmowers, large gardening equipment, bicycles, ladders, outdoor furniture during off-seasons, and numerous boxes of seasonal items.
Considerations: If you need ample room for shelving, a small workbench, or want to move around comfortably inside, an 8×10 or 10×12 provides excellent functionality and flexibility. They strike a great balance between cost, building time, and practical storage solutions for most homeowners.
12×16: Expansive Workshop or Large Storage Solution
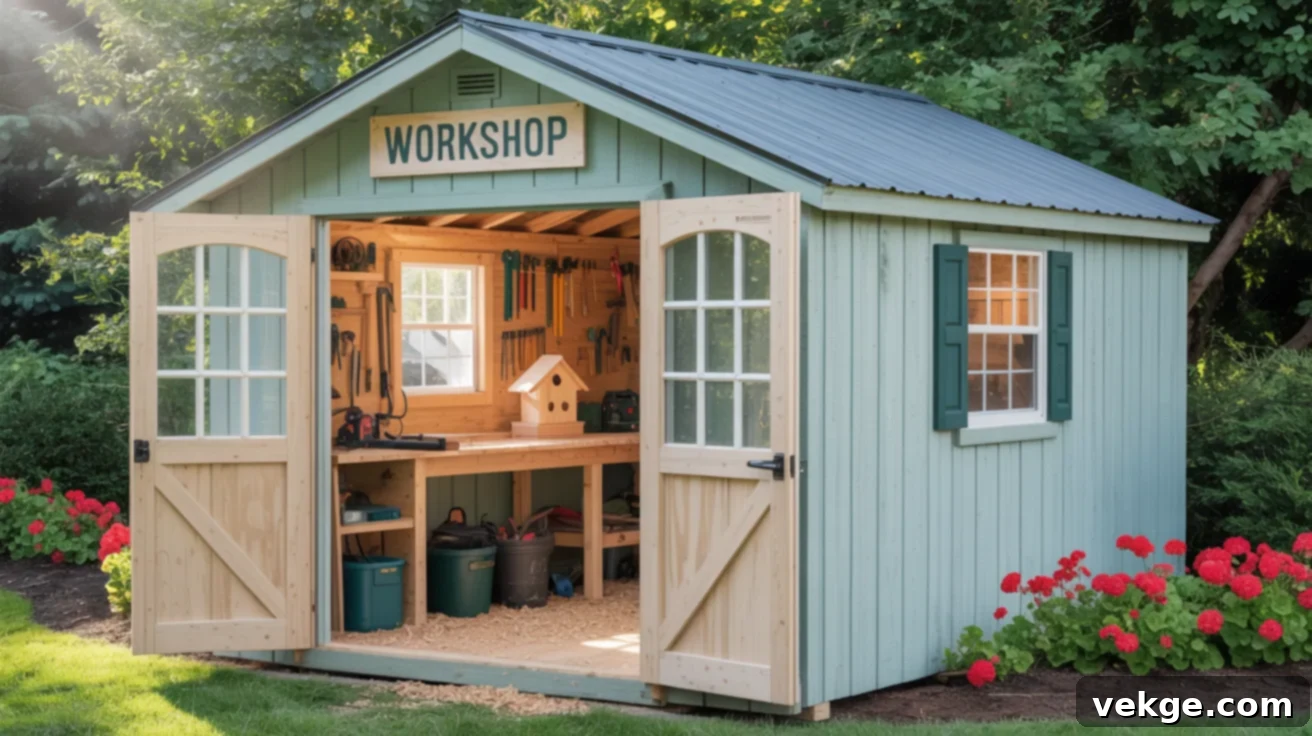
At 192 square feet, a 12×16 shed provides truly expansive space, akin to a small single-car garage. This size is perfect for those who require more than just storage; it’s ideal for setting up a dedicated workshop for woodworking, metalwork, or crafting, housing large power tools and machinery, or storing recreational vehicles like ATVs or snowmobiles.
Considerations: This size allows for comfortable movement, dedicated work zones, and extensive organizational possibilities. It’s excellent for serious hobbyists or homeowners who need significant storage for a growing collection of items. While it requires a larger investment in materials and time, the long-term utility and versatility are unmatched.
Step-by-Step Guide to Building Your Own Backyard Shed
Building a shed is a project that, when broken down into manageable steps, becomes surprisingly achievable. Following a clear, sequential process ensures efficiency, structural integrity, and a professional-looking finish. This guide outlines the key stages, drawing from practical experience to help you transform your vision into a finished structure.
Remember, patience and precision are your best tools. Double-checking measurements and understanding the purpose of each component will lead to a successful build you’ll be proud to use for years to come.
Essential Tools and Materials Checklist
Before you begin, gather your tools and materials. Having everything on hand will prevent delays and frustration. Here’s a basic list, though specific plans may require additional items:
- Cutting Tools: Circular saw (for straight cuts), miter saw (for precise angle cuts, highly recommended), jigsaw or bandsaw (for curved cuts, e.g., rafters).
- Fastening Tools: Cordless drill/driver, impact driver (optional but helpful), hammer, staple gun (for roofing felt).
- Fasteners: Wood screws (1⅝”, 2½”, 3″ – various lengths for different applications), roofing nails, framing nails (for nail gun if using), anchor bolts (for foundation).
- Measuring & Marking: Tape measure (25-30 ft), carpenter’s square, speed square, chalk line, level (4 ft and torpedo level), pencil.
- Safety Gear: Safety glasses, work gloves, ear protection, dust mask.
- Basic Materials:
- Framing: 2x4s, 2x6s, or 2x8s (depending on shed size and structural requirements)
- Sheathing: ½” or ⅝” plywood or OSB for walls and roof
- Siding: Vinyl siding, wood siding (T1-11, cedar, etc.), or metal panels
- Roofing: Asphalt shingles, metal panels, or roll roofing, along with roofing felt and drip edge
- Foundation: Concrete mix, gravel, treated lumber for skids/joists, concrete blocks (depending on foundation type)
- Doors & Windows: Pre-hung door kit, window kits (or materials to build your own frames)
- Finishing: J-channel, starter strips, corner posts (for vinyl siding), caulk, paint/stain.
Optional but helpful: Air compressor and nail gun, tin snips (for metal roofing/flashing), drywall gun (for faster screw driving).
Step 1: Planning, Site Selection, and Permits
This initial stage is critical and often underestimated. Proper planning saves time, money, and headaches down the road.
- Site Selection: Choose a flat, well-drained area in your yard. Consider factors like sun exposure (for light or to prevent algae growth), proximity to utilities (if planning power), and ease of access. Ensure adequate clearance around the shed for maintenance.
- Local Regulations & Permits: This is paramount. Before buying any materials, contact your local building department or check your city’s website. Most areas have zoning codes regarding shed size, height, proximity to property lines, and required foundation types. Sheds under a certain size (e.g., 100 or 120 sq ft) often don’t require a full permit, but this varies widely. Ignoring these rules can lead to fines or the costly necessity of dismantling your completed shed.
- Design & Layout: Finalize your shed’s style, size, and detailed layout. Sketch a rough drawing, marking the exact placement of windows, doors, and any internal features like workbenches or shelving. This plan will guide your material purchasing and construction.
- Foundation Type: Decide on your foundation based on your shed’s size, soil conditions, and local codes. Common options include concrete slab, gravel pad with treated wood skids, or concrete piers.
Step 2: Foundation Setup – The Bedrock of Your Shed
A strong, level foundation is the most important element for a durable shed. The example referenced a 10×16 concrete slab with a “rat wall” (a perimeter foundation that extends below grade to deter pests and stabilize the slab). While concrete offers unmatched strength and longevity, other options are viable depending on your budget and requirements.
- Site Preparation: Clear the chosen area of all vegetation, rocks, and debris. Excavate to the required depth for your chosen foundation type. Ensure the ground is compacted and perfectly level. Proper drainage away from the foundation is crucial.
- Choosing Your Foundation:
- Concrete Slab: Best for large, permanent sheds. Requires excavation, forming, rebar reinforcement, and pouring. Anchor bolts are embedded into the wet concrete around the perimeter to secure the bottom plates of the walls.
- Gravel Pad with Skids: A popular DIY-friendly option. A well-compacted gravel base (typically 4-6 inches deep) provides excellent drainage. Treated wood skids (e.g., 4x4s or 6x6s) are laid on the gravel, and floor joists are built on top.
- Concrete Piers/Blocks: Suitable for smaller sheds or uneven terrain. Concrete blocks or pre-cast piers are set on compacted gravel or small concrete footings. Treated wood beams or joists then span across these supports.
- Moisture Barrier: Regardless of foundation type, installing a gasket or sill seal between the wooden bottom plate and the concrete/pier prevents moisture wicking, protecting your shed’s frame from rot and extending its lifespan.
Step 3: Framing the Walls and Roof – Building the Skeleton
Framing is where your shed truly takes shape. Precision in cutting and assembly ensures a square, plumb, and sturdy structure.
- Wall Framing: Start with one wall (often the back wall). Cut your bottom plate, top plate, and studs (typically 2x4s, often 92½ inches for an 8-foot ceiling with ½” sheathing and a double top plate). Mark stud centers (usually 16 or 24 inches on center) on both plates. Assemble the wall frame flat on the foundation, using screws or nails. For concrete foundations, pre-drill holes in the bottom plate for the anchor bolts.
- Raising and Bracing: Once a wall section is assembled, carefully lift it into place. Secure the bottom plate to the foundation (using nuts on anchor bolts or by toe-nailing into skids/joists). Temporarily brace the wall plumb using diagonal supports. Repeat for all walls, ensuring they are square to each other and plumb.
- Double Top Plate: Install a second top plate, overlapping the corners of the walls. This ties the walls together, adds rigidity, and provides a solid surface for roof rafters.
- Roof Framing: The complexity depends on your chosen roof style (gable, gambrel, etc.).
- Rafters: Cut rafters to the correct length and angle for your roof pitch. You’ll need to cut a “birdsmouth” notch where they rest on the top plate and a plumb cut at the ridge.
- Ridge Beam: Install a central ridge beam (or ridge board) at the peak of the roof.
- Assembly: Attach rafters to the ridge beam and the wall’s top plates, using metal hurricane ties or toe-nailing. Ensure consistent spacing and secure all connections. For more complex roofs, pre-built trusses can simplify this step.
Step 4: Sheathing, Roofing, and Siding – Enclosing Your Structure
With the frame complete, it’s time to enclose and protect your shed from the elements.
- Wall Sheathing: Apply ½-inch or ⅝-inch plywood or OSB sheathing to the wall frames. Start from a corner and work your way across, ensuring sheets are flush and gaps are minimal. Use appropriate nails or screws, fastening into every stud. Stagger vertical seams to improve structural integrity.
- Roof Sheathing: Cut plywood or OSB panels for the roof. Nail or screw them securely to the rafters, again staggering seams. Ensure there’s a slight overhang at the eaves and gables for drip edge installation.
- Roofing:
- Underlayment: Install roofing felt (tar paper) or synthetic underlayment over the roof sheathing, starting from the bottom edge and overlapping layers.
- Drip Edge: Install metal drip edge along the eaves and rake edges to direct water away from the fascia.
- Shingles/Panels: Install your chosen roofing material (asphalt shingles, metal panels). Follow manufacturer instructions carefully, especially regarding starter courses, exposure, and nailing patterns.
- Siding Installation (Vinyl Example):
- Corner Posts & J-channel: Install vinyl corner posts at all outside corners. Around window and door openings, install J-channels to create a clean edge and direct water.
- Starter Strip: Attach the starter strip level along the bottom edge of the wall.
- Siding Panels: Begin installing vinyl siding panels from the bottom up, snapping them into the starter strip and successive courses. Leave small gaps at the ends where panels meet corner posts or J-channels to allow for expansion and contraction with temperature changes. Fasten panels loosely enough for them to “float,” rather than tightly binding them.
- Trim: Install fascia boards along the roof eaves and rake edges, and any other decorative trim or corner boards as per your design.
Step 5: Doors and Windows – Access and Light
Installing doors and windows completes the enclosure and provides essential functionality.
- Door Installation: For pre-hung doors (like the 36-inch steel door mentioned), ensure your rough opening in the frame is correctly sized according to the door manufacturer’s specifications. Install the door into the opening, using shims to ensure it is perfectly plumb and level. Secure the frame with screws through the shims into the rough opening studs. Test the door for smooth operation before finalizing.
- Window Installation: Cut rough openings for windows according to their size. Install the window units, shimming as needed to ensure they are level and square. Secure with screws through the frame.
- Weather Sealing: Crucially, apply appropriate flashing tape around window and door openings before installing the window/door units, and caulk all seams and gaps after installation to prevent water intrusion. Drip tabs (small pieces of J-channel or flashing) above windows and doors help direct water away.
To truly visualize these steps in action, take a moment to watch this helpful video, which guides you through the process from foundation work to the final touches of siding.
Choosing Your Blueprint: Free vs. Paid Shed Plans
As you embark on your shed-building journey, you’ll encounter a plethora of plans, ranging from free online resources to professionally designed, comprehensive paid packages. Deciding which route to take often depends on your experience level, budget, and the specific features you desire in your shed.
Where to Find Free Shed Plans
Free shed plans are an excellent starting point, especially for beginners or those working with a tight budget. They can provide a basic understanding of construction principles and often cover a good range of standard shed styles and sizes.
- Sources: You can find free plans on many DIY blogs, woodworking websites, hardware store websites, and even some government extension services. A quick online search for “free shed plans” will yield numerous results.
- What to Expect: Free plans typically include basic diagrams, a materials list, and fundamental step-by-step instructions. They are generally sufficient for small to medium-sized builds like a lean-to or a simple gable shed.
- Limitations: While adequate, free plans may lack advanced details, precise cut lists, 3D renderings, or extensive support. They might assume a certain level of building knowledge, which could be challenging for absolute novices.
When to Invest in Paid Shed Plans
Paid shed plans, while requiring an initial investment, often provide a much more detailed and supported building experience. They are particularly worthwhile if you’re aiming for a larger, more complex, or custom-designed shed, or if you simply want a smoother, more error-free construction process.
- Benefits: Premium plans usually include highly detailed, step-by-step instructions, comprehensive materials lists (often with exact quantities), precise cut lists, 3D diagrams from multiple angles, and professional tips for achieving superior results. Many also offer customer support or access to forums for questions.
- Ideal For: Larger workshops, sheds with unique architectural features, or custom designs that need to integrate perfectly with your existing property. If precision, efficiency, and a robust, long-lasting structure are your priorities, paid plans minimize the guesswork and reduce the likelihood of costly mistakes.
- Value Proposition: The small upfront cost for a quality paid plan can save you significant time and money in the long run by preventing material waste and construction errors. It ensures your shed is built to a higher standard, especially if it’s intended for more than just basic storage, such as a home office or studio.
Shed Kits vs. Building from Scratch: Which Path is Right for You?
Another fundamental decision you’ll face is whether to purchase a pre-fabricated shed kit or source all materials and build your shed entirely from scratch. Both approaches have their distinct advantages and disadvantages, catering to different skill levels, time commitments, and customization desires.
Shed Kits: Convenience and Speed
Shed kits are designed for ease and speed of assembly, making them an excellent option for beginners or those with limited time for a complex build.
- Pros:
- Pre-cut Components: Lumber is typically pre-cut and sometimes pre-drilled, drastically reducing cutting time and the risk of measurement errors.
- Detailed Instructions: Kits come with comprehensive, often visual, step-by-step instructions that are easy to follow for inexperienced builders.
- Faster Assembly: With pre-fabricated parts, many kits can be assembled in a weekend or a few days, depending on size and complexity.
- Material Included: All necessary materials, from framing lumber to roofing and siding, are usually included (though sometimes foundation materials are separate).
- Cons:
- Limited Customization: Design options are generally fixed. You have little to no control over the exact size, style, window placement, or material choices.
- Cost: Kits can be more expensive than building from scratch due to the convenience of pre-fabrication and packaging.
- Quality Variation: The quality of materials and components can vary significantly between manufacturers.
- Shipping: Large kits can be heavy and bulky to transport and unload.
- Best For: Individuals new to construction, those seeking a quick and straightforward solution, or anyone prioritizing convenience over unique design.
Building from Scratch: Ultimate Customization and Learning
Building a shed from scratch means you are responsible for every aspect, from cutting each piece of lumber to installing the final shingle. This route offers unparalleled freedom and a deep sense of accomplishment.
- Pros:
- Full Customization: You have complete control over every design element, including dimensions, layout, roof style, material selection, window/door placement, and interior features. This allows for a truly unique and perfectly functional shed.
- Cost Efficiency: By sourcing materials yourself, often from various suppliers, you can shop for the best prices and avoid the markup associated with kits.
- Higher Quality Materials: You can select premium materials that might not be standard in a kit, ensuring greater durability and longevity.
- Skill Development: This process offers a fantastic learning experience, building confidence and practical skills applicable to future DIY projects.
- Cons:
- Time-Consuming: Building from scratch requires significantly more time for planning, material acquisition, cutting, and assembly.
- Requires More Skill/Tools: A higher level of carpentry skill and a broader range of tools are generally needed.
- Risk of Error: Without pre-cut parts, there’s a greater chance of measurement and cutting errors, which can lead to material waste.
- Material Sourcing: You are responsible for identifying, purchasing, and transporting all raw materials.
- Best For: Experienced DIYers, those with a specific vision for their shed, or individuals who enjoy the building process and want to maximize customization and material quality.
Navigating Permits and Local Regulations for Your Shed Project
Before any ground is broken or lumber is purchased, understanding and complying with local building codes and regulations is non-negotiable. Skipping this crucial step can lead to significant penalties, costly reconstruction, or even the forced removal of your shed.
- Contact Local Authorities: Your first point of contact should always be your local building department, city hall, or county planning office. Their websites often have detailed information, or you can call to speak with a representative.
- Zoning Codes: These regulations govern how land can be used. Key considerations for sheds include:
- Setbacks: The minimum distance required between your shed and property lines, other structures, and public easements.
- Size and Height Restrictions: Limits on the maximum footprint (square footage) and height of accessory structures like sheds.
- Placement: Restrictions on where on your property the shed can be located (e.g., front yard, side yard, backyard).
- Building Permits:
- Size Thresholds: Many jurisdictions exempt very small sheds (often under 100 or 120 square feet) from requiring a full building permit, but this varies widely. Always confirm.
- Foundation Type: Some codes specify permissible foundation types (e.g., concrete slab vs. gravel pad).
- Structural Requirements: For larger sheds, there may be requirements for framing, roofing, and wind/snow load resistance.
- Homeowners Association (HOA): If you live in a community with an HOA, you will almost certainly need their approval in addition to local government permits. HOAs often have strict rules regarding shed size, style, color, and placement to maintain community aesthetics.
- Utility Easements: Ensure your chosen location does not interfere with underground utility lines (water, sewer, gas, electricity, cable). Always call 811 (in the U.S.) or your local equivalent before digging to have utilities marked.
- Electrical/Plumbing: If you plan to run electricity or plumbing to your shed, these almost always require separate permits and inspections by licensed professionals to ensure safety and code compliance.
Taking the time to understand and adhere to these regulations protects your investment and ensures your shed project proceeds smoothly and legally.
Common Shed Building Mistakes to Avoid
Even seasoned DIYers can make mistakes. Learning from common pitfalls can save you time, effort, and money on your shed project. Here are some key errors to watch out for:
- Skipping Permits and Local Regulations: As emphasized, this is the most critical mistake. Failing to obtain necessary permits or adhere to zoning laws can lead to costly fines, dismantling the structure, or legal battles. Always verify all requirements before you begin.
- Inadequate Site Preparation and Leveling: Building on an uneven or improperly prepared site will lead to a host of problems. A non-level foundation can cause racking (the shed leaning), structural weaknesses, issues with doors and windows operating correctly, and water pooling around the base, leading to rot. Spend extra time ensuring your site is perfectly level, well-drained, and compacted.
- Neglecting Weatherproofing Details: Your shed’s longevity depends on its ability to withstand the elements. Common weatherproofing mistakes include:
- Insufficient Flashing: Missing or improperly installed drip edge, window/door flashing, or caulk allows water to penetrate the structure, leading to rot, mold, and damage.
- Poor Sealing: Gaps around windows, doors, and siding can let in moisture, drafts, and pests. Caulk and seal all joints thoroughly.
- No Moisture Barrier: Building wood directly on concrete without a sill gasket or pressure-treated lumber will lead to moisture wicking and rot.
- Not Squaring the Foundation or Walls: If your foundation isn’t perfectly square, your walls won’t fit correctly, leading to a domino effect of issues throughout the build. Use the 3-4-5 rule or measure diagonals to ensure everything is square. Similarly, ensure walls are plumb (perfectly vertical) before sheathing.
- Underestimating Material Needs: Running out of a crucial material mid-project can cause frustrating delays and potential cost increases. Always over-order slightly (e.g., 10-15% extra for lumber and siding) to account for cuts, mistakes, and waste.
- Rushing the Process: Building a shed is a project that benefits from a steady, methodical pace. Rushing can lead to hasty cuts, missed steps, and sloppy workmanship. Take your time, double-check every measurement, and don’t be afraid to step back and re-evaluate if something doesn’t look right.
- Poor Ventilation: A shed needs proper airflow to prevent condensation, humidity buildup, and subsequent mold, mildew, and rot, especially if storing equipment or anything sensitive to moisture. Include vents (gable vents, ridge vents, or soffit vents) in your design.
Conclusion: Your Backyard Transformation Awaits
You’ve now walked through the comprehensive journey of planning, designing, and constructing your very own backyard shed. From understanding the significant benefits of DIY building to exploring various styles and sizes, and finally, a detailed step-by-step guide for construction, you have the blueprint to confidently embark on this rewarding project.
Whether you choose the simplicity of a shed kit or the full customization of building from scratch, remember that the ultimate goal is to create a functional, durable, and aesthetically pleasing space that perfectly meets your needs. Take your time with planning, be meticulous with your measurements, and above all, enjoy the process of bringing your vision to life. The skills you gain and the satisfaction you’ll feel when you step into a shed you built with your own hands are truly invaluable.
Don’t let the thought of a big project deter you. Break it down, follow the steps, and know that you are capable of building something truly impactful for your home. And if your newfound building bug isn’t quite satisfied, remember there are always more projects to tackle. Explore the rest of our blogs and resources on the website for endless ideas, essential tools, and expert tips to keep building what matters most to you.
