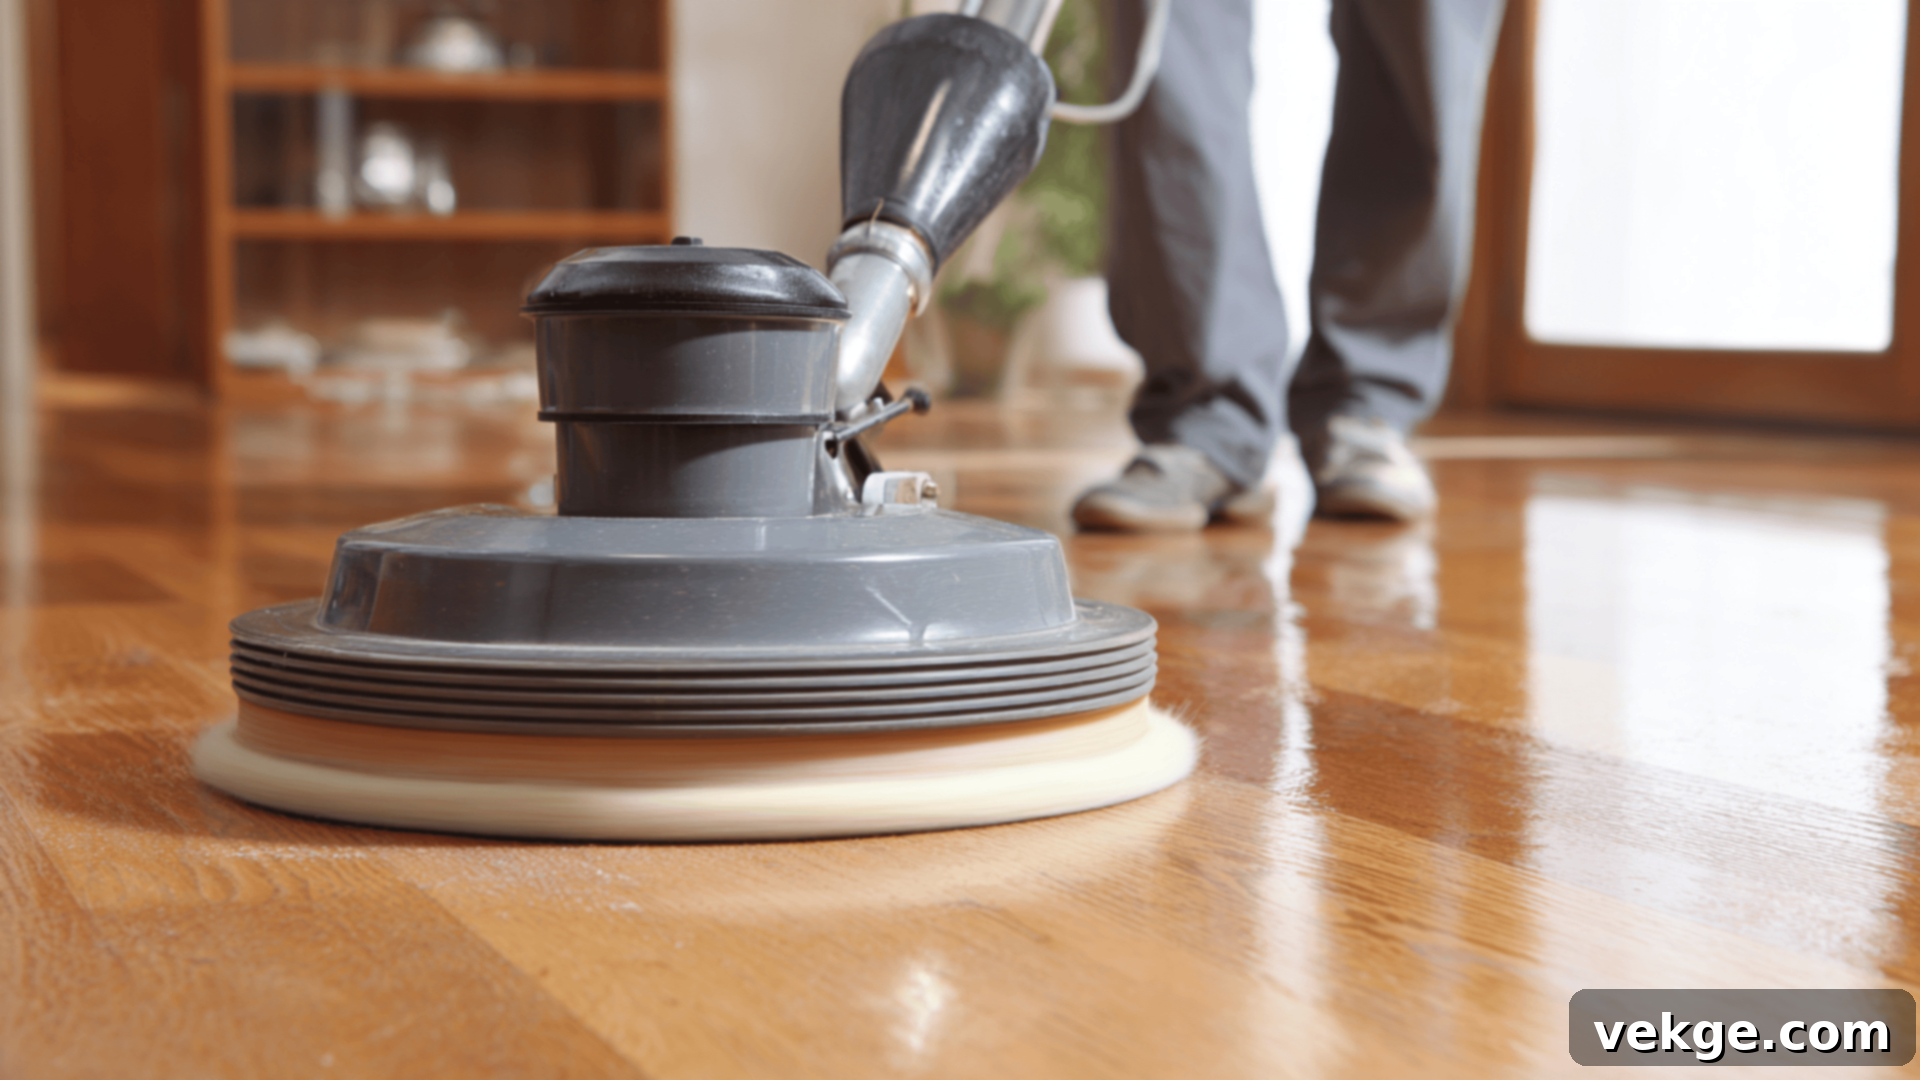
Restore Hardwood Floors: The Ultimate Guide to Screening for a Fresh Look
Are your beautiful hardwood floors starting to lose their luster? Perhaps you’ve noticed a few minor scratches, scuffs, or a general dullness that dims their once vibrant appeal. The good news is, you might not need a complete, costly, and time-consuming full refinishing job just yet. Many homeowners, including myself, have found that there’s a simpler, more budget-friendly solution to bring life back to tired floors: wood floor screening.
Screening offers a fantastic middle-ground approach. It’s a gentle process that removes only the top, worn-out layer of your floor’s finish, leaving the underlying wood and its stain completely untouched. The result? A remarkably smooth, refreshed surface that gleams with renewed shine, all without the significant disruption and expense of sanding down to bare wood.
This comprehensive guide will walk you through everything you need to know about hardwood floor screening. We’ll delve into what screening entails, how this ingenious process works, and the essential tools you’ll need to achieve professional-looking results. Crucially, you’ll learn how to assess whether screening is the right choice for your home, providing you with the confidence to make an informed decision. Additionally, we’ll cover cost considerations, provide valuable upkeep advice, and help you determine when it’s best to call in a professional for the most optimal outcome.
Understanding Hardwood Floor Screening: A Gentle Restoration
Hardwood floor screening, often referred to as “buff and coat,” is a specialized, light sanding process designed to rejuvenate your floors without the invasiveness of a full sand and refinish. Unlike traditional sanding, which removes the old finish and a thin layer of wood, screening focuses solely on abrading the very top layer of the existing polyurethane or sealant. This meticulous approach ensures that the original wood and its beautiful stain remain perfectly intact.
The primary goal of screening is to eliminate superficial imperfections such as minor scratches, scuffs, and areas of dullness that accumulate from everyday foot traffic. By creating a microscopic texture on the remaining finish, it prepares the surface for a fresh new coat of protective finish, effectively restoring the floor’s original shine and enhancing its overall appearance.
To execute this technique, a specialized floor buffer is used in conjunction with a fine-grit sanding screen, typically a 220-grit. This combination is gentle enough to abrade the finish without causing damage to the wood beneath. The result is a revitalized floor that looks significantly better, extending its lifespan and delaying the need for more intensive (and expensive) restoration work. It’s a cost-effective and relatively low-maintenance way to keep your hardwood floors looking their best.
Key Benefits of Screening Your Hardwood Floors
Opting for hardwood floor screening provides a multitude of advantages that make it an attractive solution for maintaining and enhancing your home’s flooring:
- Restores Shine and Luster: Over time, daily wear, UV exposure, and cleaning products can cause your hardwood floors to lose their vibrant sheen and develop minor imperfections. Screening effectively removes this dull, scratched top layer. By applying a fresh coat of finish, it smooths out the surface, dramatically enhancing the floor’s natural shine and bringing back its original, lustrous appearance. It’s like a deep clean and polish for your floors.
- Adds a New Layer of Protection: The screening process culminates with the application of a new protective coating, typically polyurethane. This fresh layer acts as a robust barrier against future scratches, scuffs, dirt buildup, and moisture. It safeguards the underlying wood from damage, extends the life of your existing finish, and makes your floors more resilient to the rigors of daily life, ultimately prolonging their overall lifespan.
- Highly Cost-Effective Maintenance: Compared to a full sand and refinish, screening is significantly more affordable. While a complete refinish can cost anywhere from $3 to $8 per square foot (or even more for complex jobs), screening typically ranges from $2 to $5 per square foot. This makes it an excellent option for homeowners looking to refresh their floors without breaking the bank, offering substantial savings while delivering noticeable results.
- Extends the Overall Lifespan of Your Floors: Regular screening is a proactive maintenance strategy that contributes significantly to the longevity of your hardwood floors. By addressing minor wear and tear before it escalates, you prevent deeper damage to the wood itself. This routine upkeep delays the need for more extensive and costly refinishing projects, ensuring your floors remain beautiful and functional for many more years. It’s an investment in the long-term health and beauty of your home.
Screening Wood Floors: A Detailed Step-by-Step Guide
Ready to give your floors a new lease on life? Follow this comprehensive, step-by-step guide to screen your wood floors successfully, achieving a smooth, refreshed, and professional-looking finish.
Essential Tools and Materials You’ll Need
Before embarking on your hardwood floor screening project, gathering all the necessary tools and materials is paramount. Having the right equipment readily available will ensure a smooth, efficient process and help you achieve a professional-looking finish while avoiding common mistakes.
| Tool/Material | Purpose and Key Considerations |
|---|---|
| Floor buffer (aka floor polisher or rotary sander) | This specialized machine is used to screen (lightly abrade) the existing floor finish. You can often rent these from home improvement stores. Look for models with adjustable speeds if possible. |
| 220-grit sanding screen (or maroon conditioning pad) | Attaches to the buffer to gently remove the top layer of finish. A 220-grit screen is fine enough not to damage the wood. Some professionals also use a maroon conditioning pad first for a thorough clean. |
| Heavy-duty vacuum cleaner | Essential for thoroughly removing all dust and debris generated after buffing. A shop vac or a powerful household vacuum with a brush attachment works well. |
| Microfiber mop/cloth & tack cloths | Used for fine-dust removal after vacuuming and before applying the new finish. Tack cloths are particularly effective at picking up microscopic dust particles. |
| Finish applicator (T-bar, roller, or lamb’s wool pad) | Applies the new coat of polyurethane or your desired finish evenly. T-bars are popular for large areas, while brushes are good for edges. |
| Floor finish (e.g., water-based or oil-based polyurethane) | Refreshes the surface with a durable protective top layer. Choose a finish that matches your existing one if possible, or one that complements your aesthetic (e.g., water-based for clear finish, oil-based for ambering). |
| Broom and dustpan | For initial sweeping and cleanup before vacuuming, especially useful for larger debris. |
| Painter’s tape (blue painter’s tape) | Protects baseboards, trim, and adjacent surfaces from accidental finish application. Use high-quality tape to prevent bleed-through. |
| Protective gear (gloves, mask/respirator, goggles) | Crucial for your safety, protecting you from dust, fumes from the finish, and potential eye irritation. A good quality respirator is recommended for polyurethane fumes. |
| Test area cloth/pad (optional but recommended) | To test the new finish in an inconspicuous area (e.g., inside a closet) before applying it to the entire floor, ensuring compatibility and desired appearance. |
| Clean rags or towels | For any spills, drips, or final wipe-downs before the finish dries. |
With all these tools and materials organized and ready before you begin, your screening project will be much more manageable and efficient. Proper preparation, coupled with careful execution, will ensure your wood floors look fresh and polished in no time, extending their beauty and protection.
Step 1: Prepare the Floor Meticulously
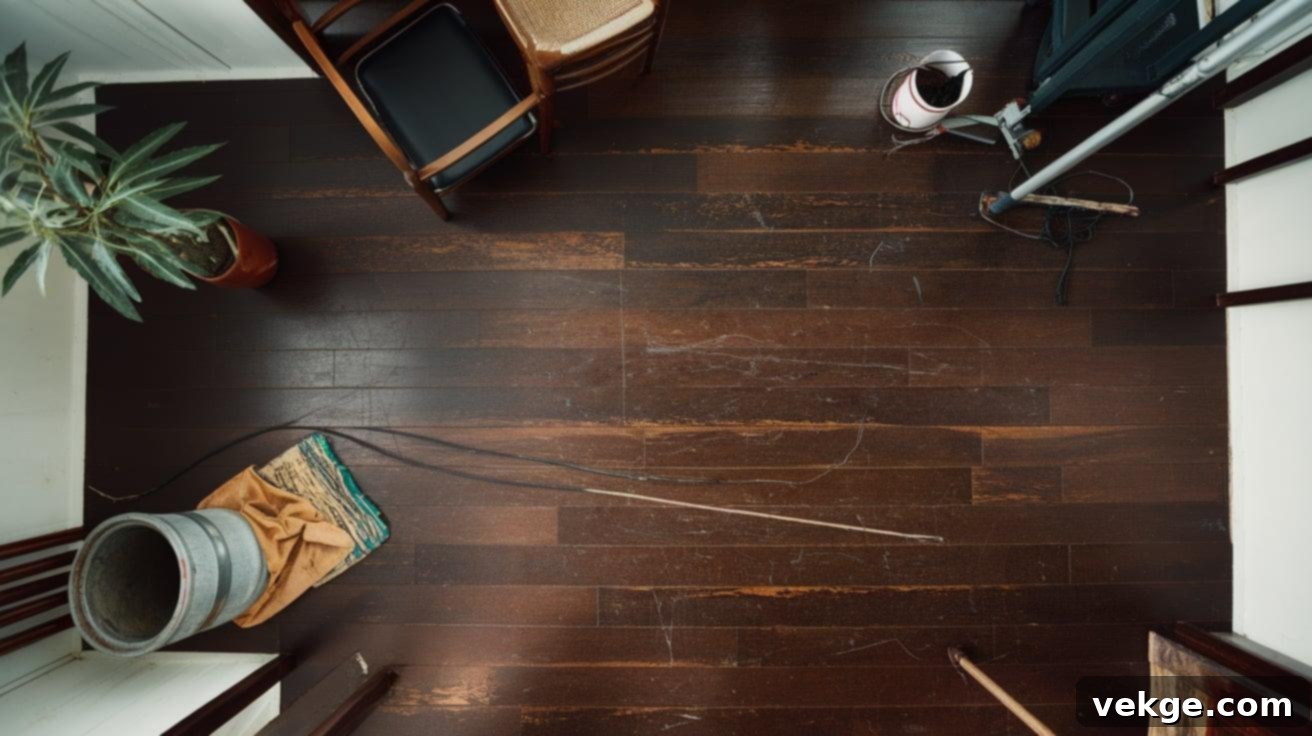
The success of your screening project heavily relies on thorough preparation. Begin by completely emptying the room of all furniture, rugs, and any wall decor that might be affected by dust. Next, give your hardwood floors an exceptionally thorough cleaning. Use a broom to remove large debris, then follow up with a powerful vacuum cleaner equipped with a hard floor attachment to pick up all fine dust and dirt from between the boards. Pay extra attention to corners and edges.
After vacuuming, use a pH-neutral hardwood floor cleaner and a damp (not soaking wet) microfiber mop to remove any lingering grime, grease, or residue from cleaning products that could interfere with the new finish. Allow the floor to dry completely. Finally, use painter’s tape to protect baseboards, door frames, and any other adjacent surfaces you don’t want the finish to touch. This meticulous cleaning and preparation ensures a smooth, even surface for the screening process and prevents any particles from getting trapped beneath the new finish.
Step 2: Buff the Floor Evenly
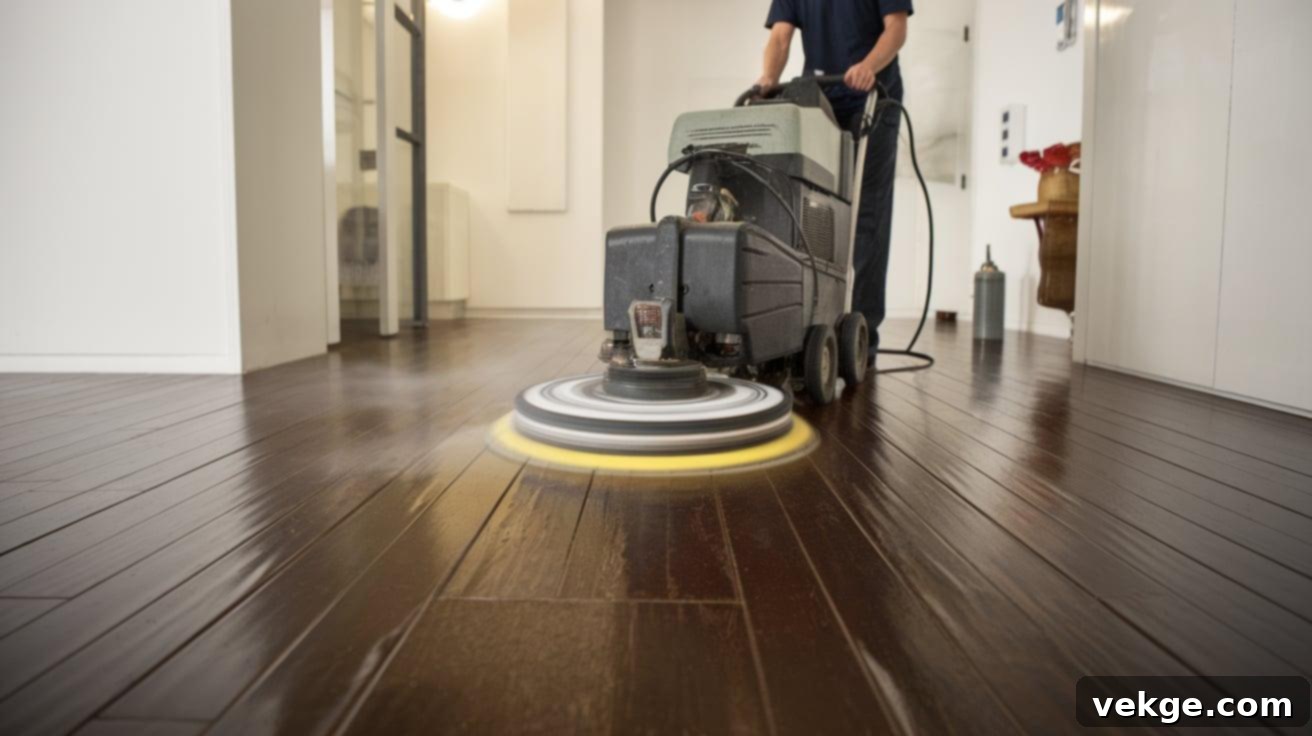
Once your floor is impeccably clean and dry, it’s time for the buffing stage. Secure a 220-grit sanding screen or a maroon conditioning pad firmly to your floor buffer. Ensure it’s centered and tightly fitted to prevent it from coming loose during operation. If you’re new to using a floor buffer, it’s advisable to practice in an inconspicuous area, like a closet, to get a feel for the machine’s movement.
Begin buffing the floor, moving the machine in slow, controlled, and overlapping motions. Work systematically across the room, ensuring that each pass slightly overlaps the previous one to achieve uniform abrasion. The goal is to lightly abrade only the top layer of the existing finish, creating a dull, slightly textured surface that will provide excellent adhesion for the new coat. You’re not trying to remove the finish down to the bare wood, but rather to scuff it evenly and remove minor imperfections. Wear your protective gear (mask and goggles) during this step to protect against dust.
Step 3: Clean Again – Absolutely Crucial Dust Removal
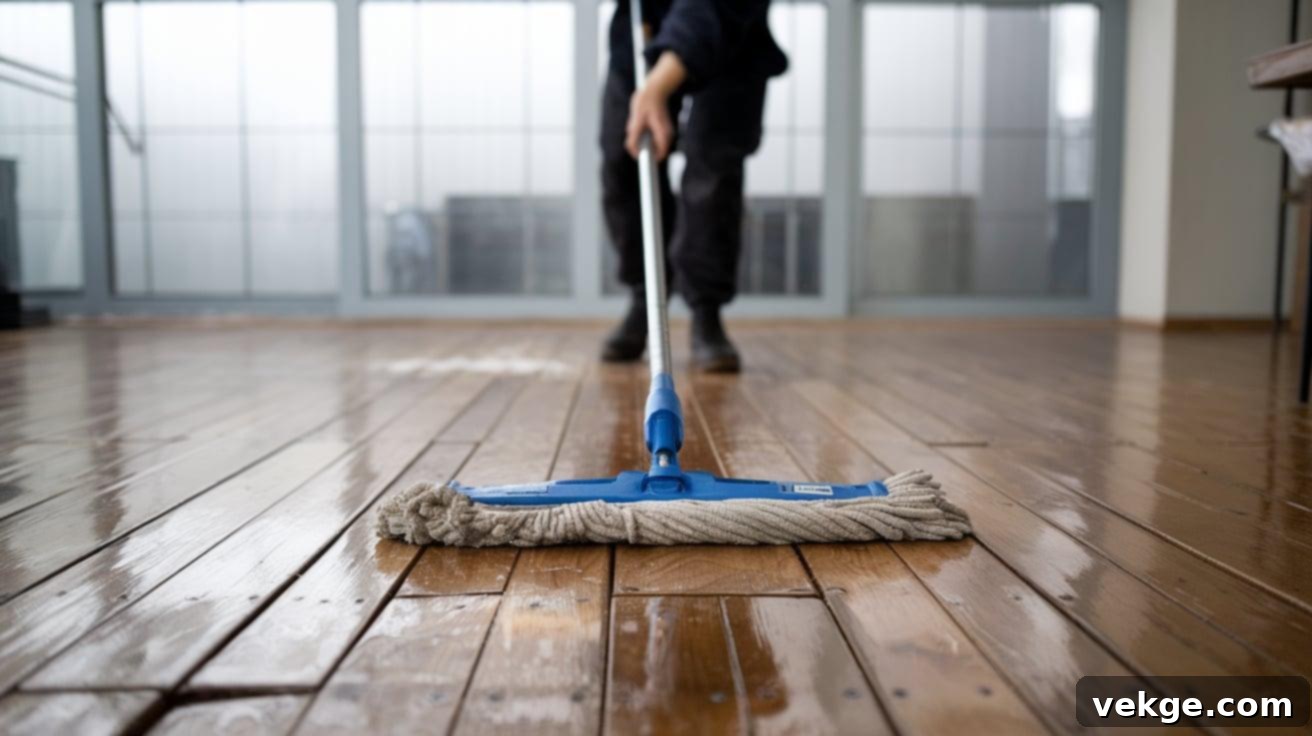
After completing the buffing process, the floor will be covered in a fine layer of dust, which is a byproduct of abrading the old finish. This step is critically important: any residual dust will be trapped under your new finish, creating an unsightly, bumpy, and uneven surface. Start by vacuuming the entire floor thoroughly, using a powerful vacuum with a brush attachment to meticulously remove all visible dust particles. Take your time, going over each section multiple times if necessary, especially in corners and along baseboards.
For the final, critical dust removal, use a clean microfiber mop or, ideally, tack cloths. These specialized cloths are designed to pick up even microscopic dust particles. Wipe the entire surface of the floor gently, ensuring it is completely free of any fine dust or debris. Your floor must be pristine before moving on to the next step.
Step 4: Apply the New Finish with Precision
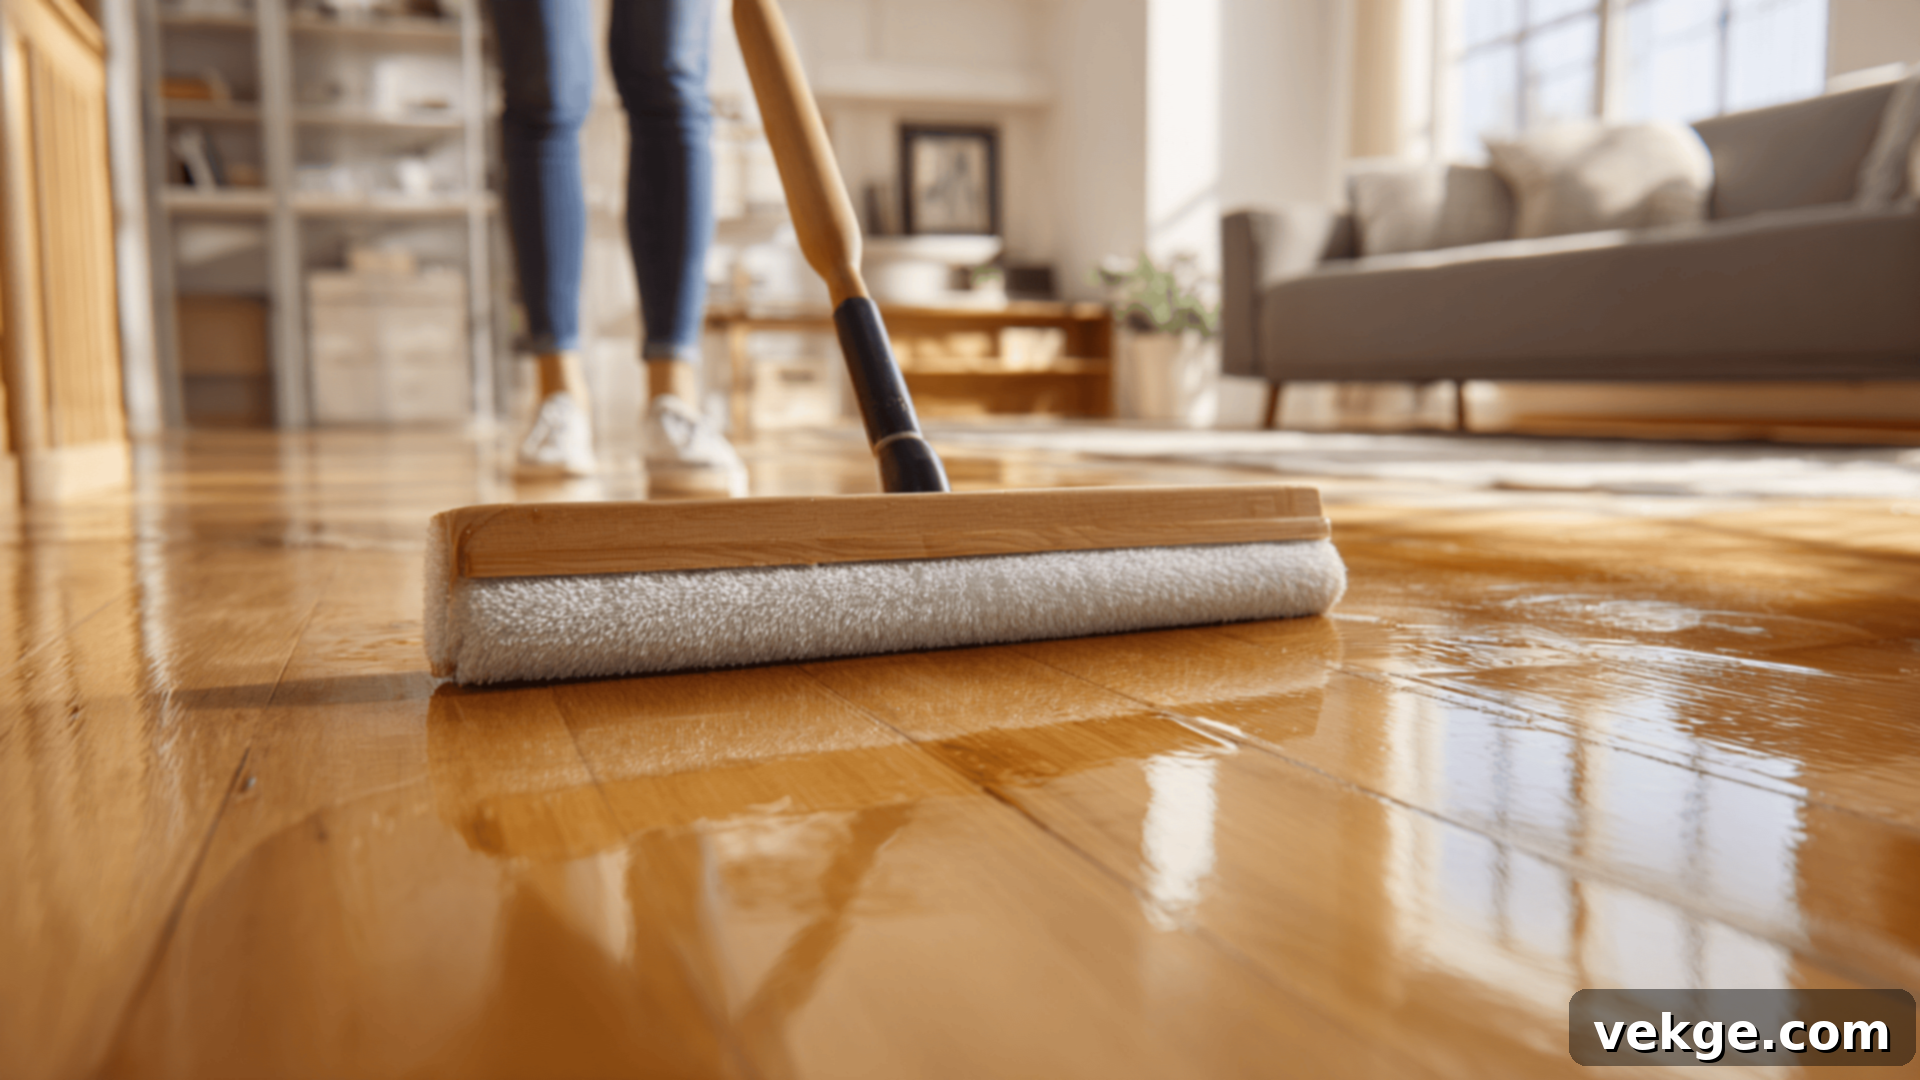
With the floor impeccably clean, it’s time to apply the fresh coat of finish. Choose a high-quality polyurethane finish (water-based options dry faster and yellow less, while oil-based offer more durability and an ambering effect). Stir the finish gently – do not shake, as this can create bubbles. Using a T-bar applicator, roller, or lamb’s wool pad, apply the finish in thin, even layers. Work systematically from one end of the room to the other, moving with the grain of the wood.
Maintain a “wet edge” as you work, meaning you should always apply new finish into the wet edge of the previous pass to avoid visible lap lines or streaks. Avoid over-applying, as thick coats can lead to bubbling or uneven drying. Most floors benefit from two coats of finish for optimal protection and appearance. If applying a second coat, ensure the first coat is completely dry (check manufacturer instructions) and lightly scuff it with a fine sanding screen (e.g., 320-grit) or an abrasive pad, then clean thoroughly before applying the second coat.
Step 5: Allow Ample Drying and Curing Time
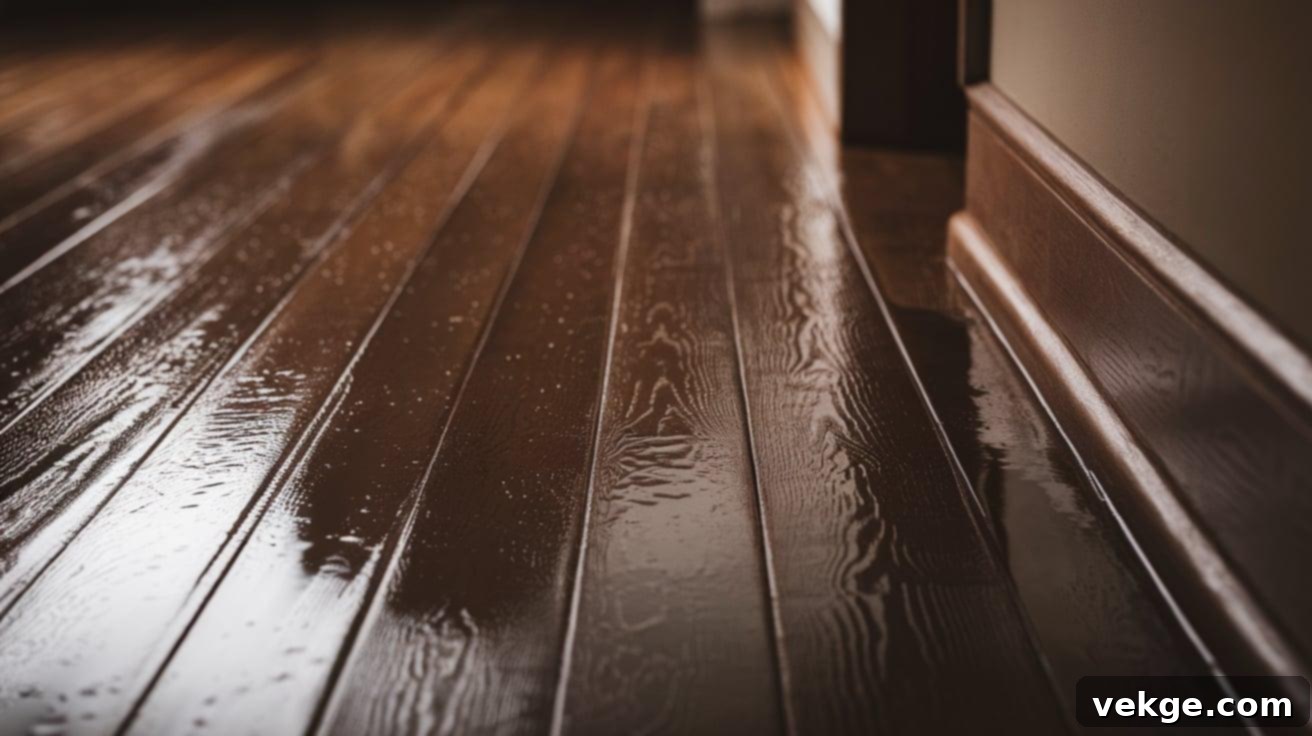
Patience is key during this final stage. After applying the finish, it’s absolutely crucial to let it dry completely before walking on the floor or placing any furniture back. Drying time typically ranges from 6 to 24 hours for light foot traffic, depending on the type of finish used, humidity levels, and ventilation. Always consult the manufacturer’s specific instructions for accurate drying times.
While the floor may feel dry to the touch, the finish isn’t fully “cured” for several days, often up to 3 to 7 days. During this curing period, the finish hardens to its maximum durability. Avoid placing heavy furniture, rugs, or anything that could trap moisture or scratch the still-soft finish for at least 3-5 days. Ensure good ventilation in the room during both drying and curing to help the process and dissipate fumes. Following these guidelines will ensure your new finish achieves its full protective potential and looks flawless for years to come.
Expert Tips for Best Results While Screening Wood Floors
Achieving a professional-looking finish when screening your hardwood floors requires attention to detail. These simple yet effective tips will help you maximize your results and avoid common pitfalls:
- Work in Manageable Sections: Instead of trying to cover the entire room at once, break it down into smaller, manageable sections. This approach allows you to work more meticulously with the buffer, ensuring even coverage and consistent abrasion. When applying the new finish, working in sections helps maintain a “wet edge,” preventing unsightly lap lines and streaks.
- Let the Buffer Do the Work – Don’t Overdo It: The floor buffer is designed to operate effectively with minimal downward pressure. Avoid pressing too hard on the machine, as this can lead to uneven abrasion, swirl marks, or even damage to the wood itself. Guide the buffer steadily across the floor, allowing the weight of the machine and the grit of the screen to perform the light sanding.
- Allow Ample Drying and Curing Time: Rushing the drying process is one of the most common mistakes. While the floor may be dry to the touch in hours, the finish typically takes several days to fully cure and reach its maximum hardness. Consult your finish manufacturer’s guidelines for specific recommendations. Avoid moving furniture back or placing rugs on the floor until the full curing time has passed to prevent indentations, scratches, or moisture trapping.
- Always Test in an Inconspicuous Area: Before applying any finish to your entire floor, always conduct a small test in an hidden spot, such as inside a closet or under a large appliance. This allows you to check for proper adhesion, desired sheen level, and compatibility with your existing finish. It’s a crucial step that can save you from a costly mistake or an undesirable outcome.
- Ensure Excellent Ventilation: Both during the buffing (dust) and especially during the finish application and drying phases, proper ventilation is essential. Open windows and doors, and use fans to circulate air. This helps to dissipate fumes from the finish, speeds up drying time, and improves air quality for your safety.
- Read Manufacturer Instructions Carefully: Every product—from the cleaning solution to the polyurethane finish—comes with specific instructions. Take the time to read and understand these guidelines thoroughly. They contain critical information regarding application methods, drying times, temperature recommendations, and safety precautions specific to that product.
By diligently following these tips, you’ll significantly increase your chances of achieving a smooth, even, and durable finish that will make your hardwood floors look brand new again.
When Should You Screen Hardwood Floors? Identifying the Right Time
Knowing when to screen your hardwood floors is key to successful restoration. This process is best suited for floors that exhibit specific types of wear and tear, rather than extensive damage. Generally, screening is recommended when the floor’s finish starts to show signs of dullness, minor surface scratches, or general wear that hasn’t penetrated the wood itself.
Ideal for Minor Surface Scratches and Dullness
Hardwood floor screening is the perfect solution for floors that show light to moderate wear. This includes common issues like faded luster, minor surface scratches from pet claws, light scuffs from shoes, or areas that simply appear dull and lifeless due to everyday traffic. If your floors are looking tired, lack their original sheen, but the existing finish is still largely intact and securely bonded to the wood, screening can provide an easy and highly effective solution.
This process primarily targets the superficial layer of the finish, enhancing its natural luster and providing a fresh protective coat without disturbing the wood or its stain. It’s a fantastic, cost-effective way to revitalize your floors and restore their vibrant appeal, making them look well-maintained and cared for without the need for a full, invasive refinishing project.
Not for Deep Scratches, Cracks, or Peeling Finishes
It’s important to understand the limitations of screening. If your hardwood floors suffer from significant damage, screening is simply not an adequate solution. This includes issues such as deep scratches that have penetrated through the finish into the wood, noticeable gouges, cracks, water damage, or areas where the finish is visibly peeling, flaking, or has major adhesion problems.
For such extensive damage, a more intensive treatment—namely, full sanding and refinishing—is absolutely necessary. Sanding involves removing the old finish entirely, along with a thin layer of the actual wood. This allows for the repair of deeper imperfections, the removal of stains, and the option to change the wood’s stain color if desired. If the finish is peeling or chipping, it indicates a failure of the old finish, and a fresh coat applied over it through screening will only exacerbate the problem. In these scenarios, a full refinishing will properly prepare the wood and ensure a smooth, durable, and long-lasting restoration.
Screening vs. Sanding: Key Differences for Informed Decisions
Understanding the fundamental distinctions between screening and sanding is crucial for choosing the correct restoration method for your hardwood floors.
| Aspect | Screening (Buff and Coat) | Sanding (Full Refinish) |
|---|---|---|
| Process | A light abrasive process that only scuffs/removes the very top layer of the existing finish, leaving the wood and stain entirely intact. | A much deeper abrasive process that removes all layers of the old finish and a thin layer of the actual wood, exposing raw wood. |
| Ideal For | Floors with minor surface imperfections, light scratches, scuffs, and general dullness where the finish is still largely intact. | Floors with significant wear, deep scratches, gouges, water damage, discoloration, or a severely peeling/worn-through finish. |
| Invasiveness | Least invasive. It preserves the original wood and stain, requiring less downtime and mess. | Highly invasive. It fundamentally changes the wood’s surface and may affect its texture or tone if done repeatedly. |
| Time & Effort | Quicker, often completed in 1-2 days, with less labor intensity. | More time-consuming (multiple days to a week), labor-intensive, and generates significantly more dust. |
| Cost | More affordable, typically $2-$5 per square foot. | More expensive, typically $3-$8+ per square foot, due to the extensive work and materials involved. |
| Result | Restores shine, removes minor surface imperfections, and adds a fresh protective layer. Cannot change stain color. | Thorough restoration, can fix deep damage, allows for stain color change, and provides a completely new finish from scratch. |
| Lifespan Extension | Extends finish life by 3-5 years. | Extends floor life by 10-15 years or more, essentially resetting its age. |
By carefully evaluating the condition of your floors against these differences, you can determine whether screening or full sanding is the appropriate course of action for optimal results and lasting beauty.
When to Hire a Professional for Wood Floor Screening
While DIY screening is certainly possible for the adventurous homeowner, there are specific situations where calling in a professional for hardwood floor screening is not just recommended, but often essential. Hiring an expert ensures a flawless finish, saves you time and effort, and guarantees a high-quality, durable result, especially if you lack the necessary tools or confidence.
- Severe or Undiagnosed Damage: If your floor exhibits damage that goes beyond superficial scratches – such as deep gouges, cracks, warped boards, or significant water damage – a professional can accurately assess the extent of the problem. They can determine if screening is truly viable or if a full repair and refinish is required, and they have the expertise to address complex repairs before any coating.
- Peeling, Chipping, or Uneven Finish: If your existing finish is already peeling, chipping, or shows poor adhesion, simply screening over it will not solve the underlying issue. A professional possesses the tools and experience to properly prepare the problematic finish, ensuring that the new coat bonds correctly and doesn’t lead to further peeling. Trying to DIY this could worsen the problem.
- Lack of Time, Equipment, or Experience: Hardwood floor screening, while less intensive than sanding, still requires specific equipment (like a floor buffer) and a degree of skill to execute evenly. If you don’t have access to the necessary tools, lack the time to dedicate to the project, or are simply unsure about your ability to achieve a consistent finish, hiring a professional is a wise investment. They bring their own equipment, expertise, and efficiency.
- Desire for a Flawless, Guaranteed Finish: Professionals are trained to achieve immaculate results, avoiding common amateur mistakes like uneven buffing, streaky finish application, or missed spots. If you desire a perfectly uniform, blemish-free finish with a professional guarantee, a skilled contractor is your best bet.
- Complex Floor Layouts: Rooms with intricate layouts, many obstacles, or challenging corners can make DIY screening difficult. Professionals have specialized techniques and smaller tools to handle these complexities with ease.
What to Expect from a Professional Screening Service
When you choose to hire a professional for your hardwood floor screening, you can anticipate a streamlined and efficient process designed to deliver superior results:
- Initial Assessment and Quote: A professional will typically begin with a thorough inspection of your floors to assess their condition, identify any problem areas, and confirm if screening is the appropriate treatment. They will then provide you with a detailed quote based on the square footage, floor condition, and any additional services needed (e.g., minor repairs, furniture moving).
- The Process: Expect the professionals to meticulously prepare the area, often moving furniture (if agreed upon) and thoroughly cleaning the floors. They will use specialized, industrial-grade equipment for buffing, ensuring an even and consistent abrasion of the old finish. Following intensive cleaning to remove all dust, they will apply one or two coats of a high-quality finish, expertly chosen to match or enhance your floor’s existing look.
- Timeline: The actual screening and finishing process usually takes 1 to 2 days for most residential areas, depending on the size of the floor and the number of coats applied. After the finish is applied, plan for approximately 24 hours of drying time before the floor can withstand light foot traffic. However, full curing – when the finish reaches its maximum hardness – can take up to 3 to 7 days. Your professional will provide specific guidance on when you can return furniture and place rugs.
Hiring a pro ensures that your floors receive the best possible care, especially when facing more complex issues or if you simply prefer a flawless, hassle-free finish that stands the test of time.
How Much Does Wood Floor Screening Cost?
Hardwood floor screening is recognized as one of the most cost-effective methods for refreshing and protecting your floors. Typically, wood floor screening costs fall within the range of $2 to $4 per square foot. However, this price can fluctuate based on various factors, including whether you choose a DIY approach or professional service, the size of your floor, and its current condition.
Cost per Square Foot: DIY vs. Professional
- DIY Screening: Opting to screen your floors yourself can significantly reduce costs. The average cost for DIY screening generally ranges from $1.50 to $3 per square foot. This estimate primarily covers the cost of consumables like sanding screens, tack cloths, cleaning supplies, and the new floor finish (polyurethane). If you already own a floor buffer or can rent one for a reasonable daily rate (typically $50-$100), DIY becomes an even more affordable option. Remember to factor in your time and effort.
- Professional Screening: Hiring a professional service for hardwood floor screening typically costs between $2 to $4 per square foot. This price includes the professional’s labor, expertise, specialized equipment, and high-quality materials. While seemingly higher than DIY, professional services save you considerable time, ensure a high-quality and even finish, and provide peace of mind. The price may lean towards the higher end of the range if your floor requires minor repairs, extensive cleaning, or if you opt for premium finish types.
Factors That Influence Screening Price
Several elements can impact the final cost of your hardwood floor screening project, regardless of whether you go the DIY route or hire a professional:
- Total Floor Size: This is the most significant factor. Professionals almost always charge based on square footage, so larger areas will naturally incur higher overall costs. For DIY projects, more square footage means more materials (screens, finish) are needed.
- Current Floor Condition: Floors with excessive dirt buildup, more numerous or deeper minor scratches, or slight finish inconsistencies might require extra preparation work, which can increase the labor and material costs. While screening isn’t for deep damage, a floor in very poor “screenable” condition might still take more effort.
- Type of Finish Chosen: The cost of the new finish can vary. Basic water-based polyurethane is usually more affordable, while oil-modified or specialized finishes (e.g., low VOC, commercial-grade, or certain eco-friendly options) can be more expensive. The number of coats required (typically one or two) also impacts material costs.
- Geographical Location: Labor costs and material prices fluctuate significantly based on your region and local market. Urban areas with a higher cost of living will generally have higher professional service fees than rural areas.
- Complexity of the Area: Rooms with many obstacles, tight corners, stairs, or intricate floor patterns require more manual work and precision, which can increase labor time and thus the overall cost for professional services.
- Additional Services: If you need professionals to move furniture, perform minor repairs (e.g., filling small gaps or replacing a single board), or dispose of waste, these services will be added to the total cost.
By understanding these cost factors, you can better plan your budget and make informed decisions about your hardwood floor screening project.
How to Maintain Your Wood Floors After Screening
Once your hardwood floors have been screened and refinished, proper maintenance is crucial to preserve their renewed beauty and extend the lifespan of the fresh protective coat. Following these simple care tips will help keep your floors looking pristine for years to come:
- Regular, Gentle Cleaning: Frequently sweep or dust mop your floors with a soft microfiber mop or dry dust mop to remove dirt, grit, and debris. These small particles can act like sandpaper, scratching the finish over time. Aim to do this daily or every other day, especially in high-traffic areas.
- Avoid Harsh Chemicals: Steer clear of abrasive cleaners, wax-based products, steam mops, or multi-purpose household cleaners. These can damage the new polyurethane finish, leaving behind a dull film or even stripping the protective layer. Always use cleaning products specifically designed and labeled as safe for polyurethane-finished hardwood floors.
- Use a Damp Mop for Deeper Cleaning: For periodic deeper cleaning, use a damp (not soaking wet) mop with a pH-neutral, wood-safe cleaner. Ensure the mop is thoroughly wrung out – standing water is the enemy of hardwood floors and can cause damage like warping or clouding of the finish.
- Immediately Dry Spills: Accidents happen. Wipe up any spills or wet spots immediately with a clean, dry cloth. Don’t let liquids sit on the floor, as they can penetrate the finish and damage the wood beneath.
- Protect from Furniture and Traffic:
- Place felt pads under the legs of all furniture to prevent scratches when moving pieces.
- Use area rugs or mats in high-traffic zones, entryways, and under chairs (especially those with wheels) to absorb wear and tear.
- Consider removing shoes when indoors, or at least avoiding high heels and shoes with abrasive soles.
- Keep pet claws trimmed to minimize scratches.
- Control Humidity: Maintain consistent indoor humidity levels (ideally between 35-55%) using humidifiers or dehumidifiers as needed. Extreme fluctuations can cause wood to expand, contract, or even crack, potentially affecting the finish.
- Know When to Re-screen: Depending on foot traffic and maintenance, plan to re-screen and re-coat your floors every 3 to 5 years. Pay attention to signs of dullness, minor scratches, or a reduction in the finish’s protective qualities. Proactive re-screening prevents the need for a full refinish.
By diligently following these maintenance practices, you can significantly prolong the life and beauty of your newly screened hardwood floors, ensuring they remain a stunning feature of your home for many years to come.
Conclusion: A Brighter Future for Your Hardwood Floors
Witnessing your hardwood floors transform from dull and scratched to beautifully vibrant without the extensive hassle and cost of a full refinish is incredibly rewarding. As someone who has experienced the benefits firsthand, I can confidently say that wood floor screening is one of the most effective, accessible, and budget-friendly methods to revitalize your home’s most cherished surfaces.
Now equipped with a comprehensive understanding of what screening entails, its numerous benefits, the essential tools required, and a detailed step-by-step guide, you are well-prepared to assess your floors and embark on this restoration journey. Take a careful look: if your floors are showing signs of minor surface wear, light scratches, or simply a lack of their original sheen, screening might be the precise treatment they need.
Remember, success lies in meticulous preparation, a steady hand during the buffing and finishing stages, and—crucially—allowing sufficient drying and curing time for the new finish to harden properly. A little patience and attention to detail will go a long way in bringing back that coveted polished look, enhancing both the beauty and durability of your hardwood floors.
Eager for more practical home care tips and floor maintenance insights? Explore our other blogs on the website for a wealth of helpful guides designed to keep your living spaces looking their absolute best, all year long.
