Ultimate Guide to Built-In Fridge Cabinets: Design, DIY, and Maintenance for a Seamless Kitchen
Dreaming of a kitchen that looks effortlessly clean, organized, and custom-designed? Built-in fridge cabinets are the secret ingredient to achieving that high-end, cohesive aesthetic. They seamlessly integrate your refrigerator into your existing cabinetry, transforming a utilitarian appliance into an integral part of your kitchen’s sophisticated design.
Beyond their stunning visual appeal, these integrated solutions offer practical benefits, including maximizing usable kitchen space and eliminating those awkward, dust-collecting gaps often found around freestanding units. This comprehensive guide will equip you with everything you need to know, from understanding the core concepts and exploring smart design ideas that work in real homes, to walking you through DIY installation steps and helping you navigate common pitfalls. We’ll also cover essential maintenance tips to ensure your built-in fridge cabinet looks impeccable and functions flawlessly for many years to come.
Let’s dive into the world of built-in fridge cabinets and unlock the potential for a truly custom kitchen!
What Exactly is a Built-In Fridge Cabinet?
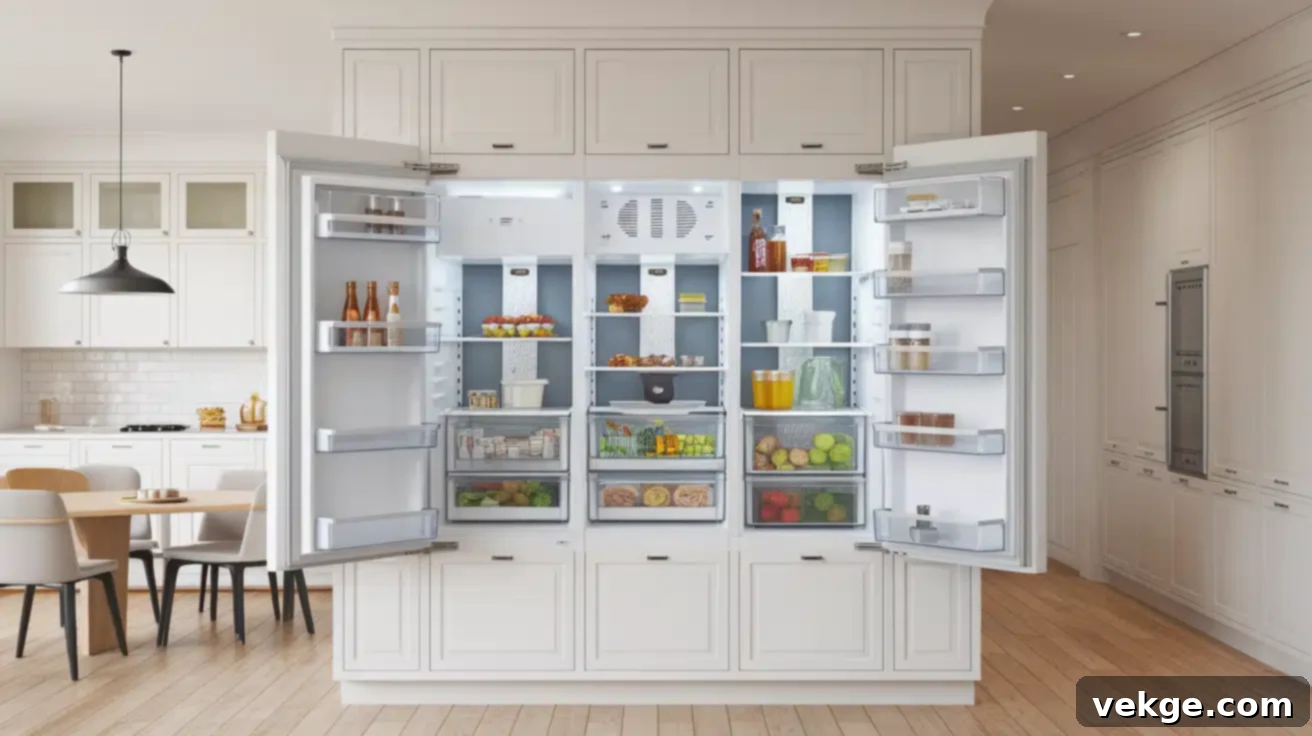
A built-in fridge cabinet is a sophisticated kitchen solution designed to provide a sleek, finished look by integrating your refrigerator directly into your kitchen cabinetry. Unlike traditional freestanding fridges that protrude from your counter line, built-in models sit flush, creating a smooth and uninterrupted flow across your kitchen walls.
This section will break down what makes these setups truly special and explore why they might be the perfect addition to your home, elevating both its style and functionality.
A Perfect Fit for Your Kitchen Design
At its core, a built-in fridge cabinet is a refrigerator enclosed within custom or semi-custom cabinetry, designed to blend harmoniously with the surrounding kitchen units. The goal is for the appliance to appear as if it’s an extension of your cabinets rather than a separate, standalone piece.
Seamless and Integrated Look
One of the most compelling reasons homeowners choose built-in fridges is the unparalleled seamless look they create. With panels on the front that match your existing cabinetry, your refrigerator can virtually disappear into your kitchen design. Guests might not even realize it’s there until you open it, providing a wonderfully uncluttered and sophisticated aesthetic. This creates a sense of luxury and careful planning that instantly elevates the entire room.
Customization Options and Flexibility
Achieving this integrated look offers various pathways. You can opt for specialized panel-ready refrigerators, which are specifically designed to accept custom cabinet panels directly onto their doors. Alternatively, you can achieve a similar effect with standard refrigerators by meticulously building custom cabinetry around them. The ultimate objective is to create a cohesive, single-unit appearance that makes your kitchen feel larger, cleaner, and more intentionally designed.
Built-In vs. Freestanding Refrigerators: A Key Comparison
Understanding the fundamental differences between built-in and freestanding refrigerators is crucial for making an informed decision for your home. While both serve the same primary function, their design philosophy and kitchen integration vary significantly.
- Built-In Refrigerators: These units are designed to fit perfectly flush with your surrounding cabinets and countertops. They are often taller and sometimes wider than freestanding models, utilizing vertical space more efficiently. The compressor and ventilation systems are typically located at the top or bottom front, allowing the unit to be enclosed. While generally more expensive to purchase and install due to their specialized design and the required cabinetry, they deliver an unmistakable custom, high-end aesthetic. They also eliminate the awkward gaps above and around the fridge, which are notorious for collecting dust and making a kitchen feel less polished.
- Freestanding Refrigerators: These are the most common type of refrigerator. They are designed to stand on their own and typically protrude several inches beyond the countertop line. Freestanding models are generally more affordable, come in a vast array of styles and finishes, and are much easier to replace or move. However, their standalone nature often results in visible gaps on the sides and top, which can interrupt the visual flow of your kitchen and create additional cleaning tasks.
Why Homeowners Are Opting for Built-In Fridges
The growing popularity of built-in refrigerators stems from a combination of aesthetic and practical advantages:
- Elevated Aesthetics: The primary draw is the clean, high-end, and custom-designed look they impart to a kitchen. They create a seamless flow that makes the entire space feel more open, thoughtfully planned, and luxurious.
- Space Optimization: By sitting flush with cabinetry, built-in fridges can make a kitchen feel larger and less cluttered. The absence of protruding appliances creates more effective floor space and a smoother workflow.
- Reduced Clutter and Easier Cleaning: One of my personal favorite benefits is eliminating those dusty, hard-to-reach areas above and beside a freestanding fridge. With a built-in unit, these dust traps simply don’t exist, making kitchen maintenance significantly easier.
- Enhanced Longevity: Built-in refrigerators are often engineered with higher quality components and more robust construction. This typically translates to a longer lifespan, with many models lasting 15-20 years compared to the 10-15 years often seen with standard freestanding fridges. This makes the initial investment a worthwhile long-term decision.
- Increased Home Value: A custom kitchen featuring integrated appliances is a significant selling point and can contribute positively to your home’s overall market value.
Inspiring Built-In Fridge Cabinet Ideas for Every Kitchen
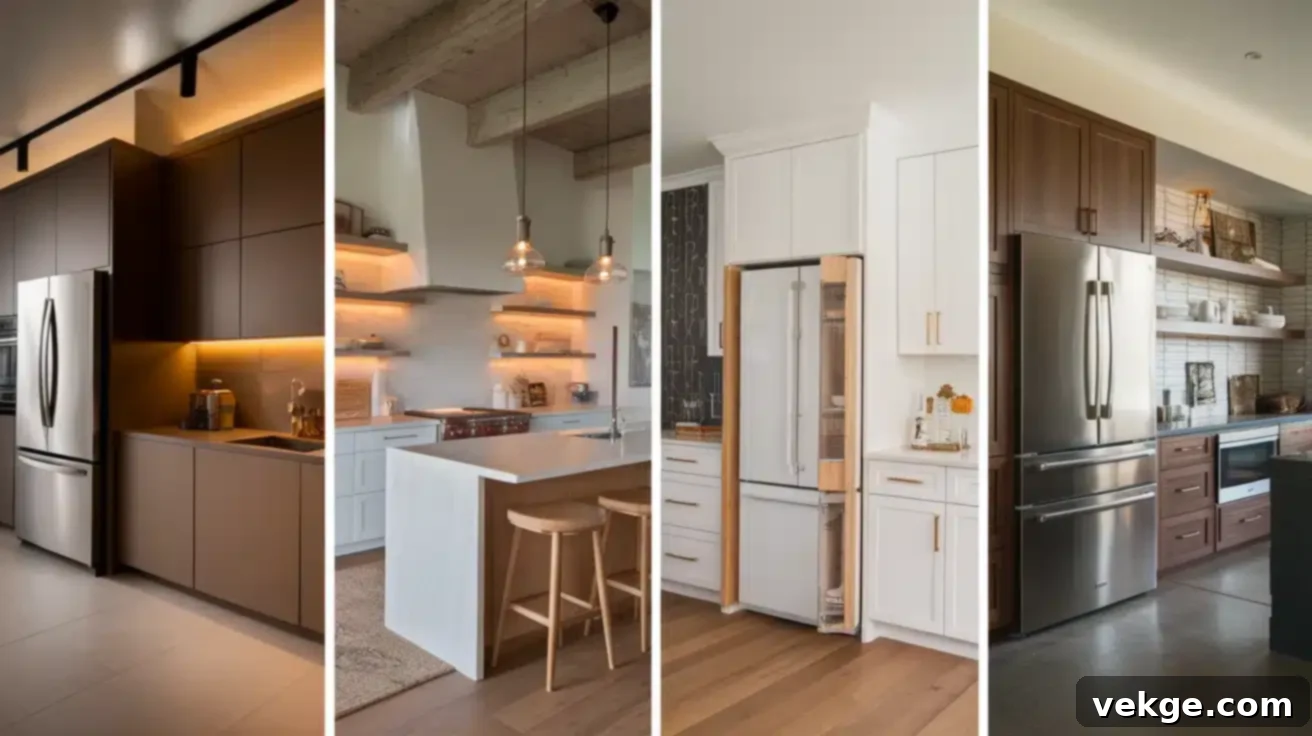
Achieving that coveted built-in look doesn’t adhere to a single formula. There are several approaches, each with its own set of advantages, catering to different budgets, design preferences, and DIY skill levels. Here are some popular options to consider for your home:
1. Opting for Prebuilt Fridge Cabinets
If you’re looking for a convenient and less labor-intensive solution, prebuilt cabinet sets are an excellent choice. These ready-made units come specifically designed with dedicated spaces and enclosures for your refrigerator. The installation process typically involves assembling the cabinet system and simply sliding your compatible fridge into its designated spot. While they offer significant time savings and eliminate complex custom carpentry, prebuilt options generally come at a higher cost than starting from scratch. They are perfect for homeowners who prefer a straightforward installation and are less inclined towards extensive DIY projects.
2. Embracing Custom DIY Built-In Options
For the handy homeowner or those with a specific vision, building your own custom cabinets for your refrigerator offers unparalleled control over size, style, and finish. This approach allows you to precisely match your existing kitchen décor or create an entirely unique look. While it undeniably requires more effort, time, and basic woodworking skills, the cost savings can be substantial. Furthermore, the immense satisfaction of completing a custom project yourself and seeing your vision come to life is a reward in itself. This option is ideal for those who enjoy crafting and have a clear idea of their desired kitchen aesthetic.
3. Utilizing Panel-Ready Refrigerators
Panel-ready fridges represent the pinnacle of integrated design. These specialized appliances are manufactured without a finished front, instead featuring a mechanism that allows you to attach custom cabinet panels directly to their doors. This means your refrigerator will appear virtually identical to the rest of your kitchen cabinets, creating the most seamless and cohesive look possible. While panel-ready fridges typically command a higher price point, they eliminate the need for intricate carpentry work around a standard appliance. They offer a premium, perfectly matching aesthetic without requiring advanced DIY skills for the enclosure itself, making them a favorite for high-end kitchen renovations.
4. Integrating Standard Refrigerator Models
Don’t have a panel-ready fridge or the budget for one? You can still achieve a convincing built-in look with a standard refrigerator! This involves carefully constructing custom cabinetry around your existing or new standard fridge. The key is precise measurement and thoughtful design to minimize gaps and ensure the enclosure sits flush with your other cabinets. This method requires some planning and woodworking skills to build the frame and panels, but it offers significant cost savings compared to purchasing a specialized built-in unit. With clever execution, your standard fridge can be transformed to look like a much more expensive, integrated appliance, blending beautifully into your kitchen without the premium price tag.
How to DIY a Built-In Fridge Cabinet: A Step-by-Step Guide
Ready to tackle this rewarding project yourself? Building a built-in fridge cabinet is a totally achievable endeavor for anyone with basic woodworking skills and a willingness to follow instructions. This section will break down the essential materials and tools you’ll need, followed by a detailed, step-by-step installation process to guide you from start to finish.
Materials and Tools Needed for Your Project
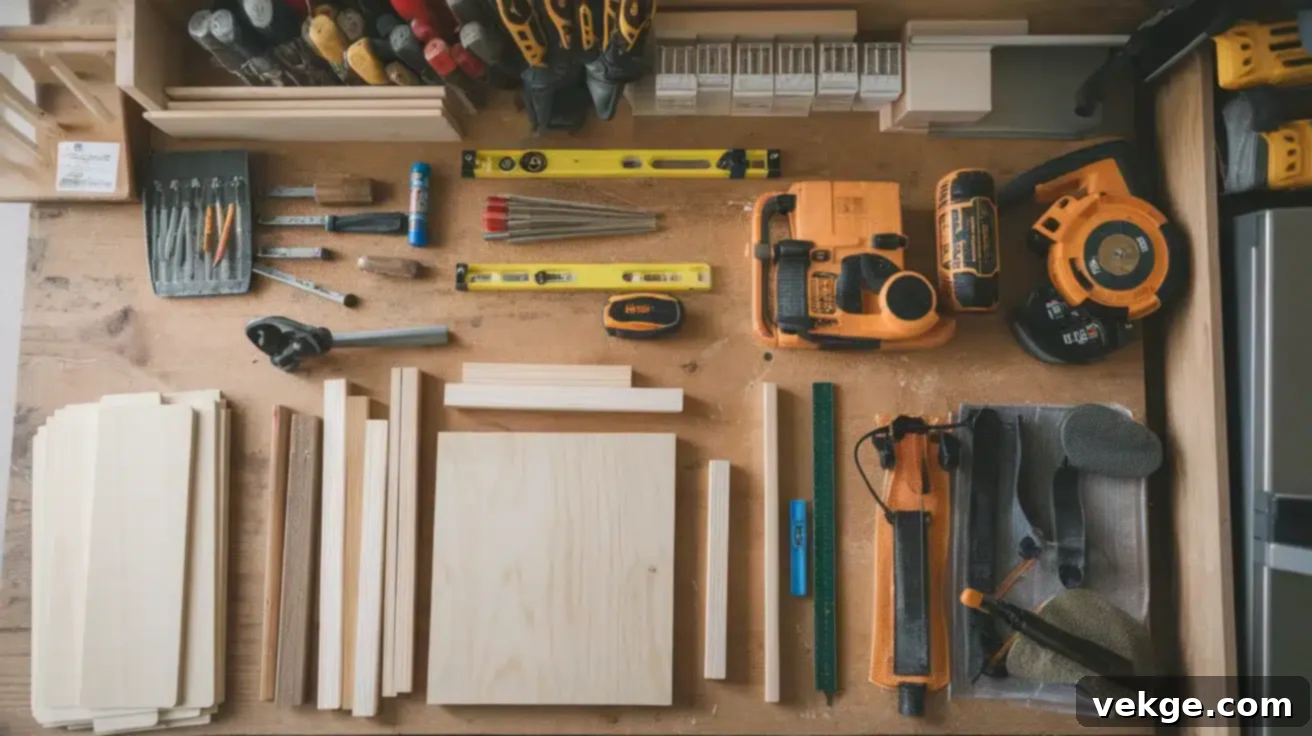
Before you begin, gather all your materials and tools to ensure a smooth workflow:
Materials:
- 3/4″ Plywood (Cabinet Grade): This will form the core structure and visible panels of your cabinet. Cabinet-grade plywood offers a smooth finish suitable for painting or staining.
- 2×4 Lumber: Used for constructing the sturdy internal framing that supports the structure.
- Cabinet-Grade Wood Trim: For finishing edges and creating a polished look that matches your existing cabinetry.
- Wood Screws and Finishing Nails: Essential for secure assembly of the frame and panels.
- Wood Glue: Provides additional strength and stability to joints.
- Cabinet Hinges: If you’re building doors for an overhead cabinet or side pantry.
- Cabinet Pulls or Handles: To match your existing kitchen hardware.
- Paint or Stain: To finish the cabinet to match your kitchen’s aesthetic.
Tools:
- Measuring Tape: For precise measurements – measure twice, cut once!
- Level: Crucial for ensuring your frame and cabinet are perfectly plumb and level.
- Circular Saw: For cutting plywood and lumber accurately.
- Drill/Driver: For pre-drilling holes and driving screws.
- Jigsaw: Useful for making intricate cuts or adjustments.
- Nail Gun (Optional but Recommended): For quickly and neatly attaching finishing nails.
- Sander (Orbital or Block): To smooth rough edges and prepare surfaces for finishing.
Step-by-Step Installation Process for Your Built-In Fridge
Step 1: Precise Measurements are Key

Begin by taking extremely careful and accurate measurements of your refrigerator’s exact dimensions (height, width, depth). Then, measure the available space in your kitchen where the cabinet will be installed. Account for baseboards, wall irregularities, and any adjacent cabinets or countertops. Precision here is paramount to avoid future fitting issues.
Step 2: Account for Essential Airflow
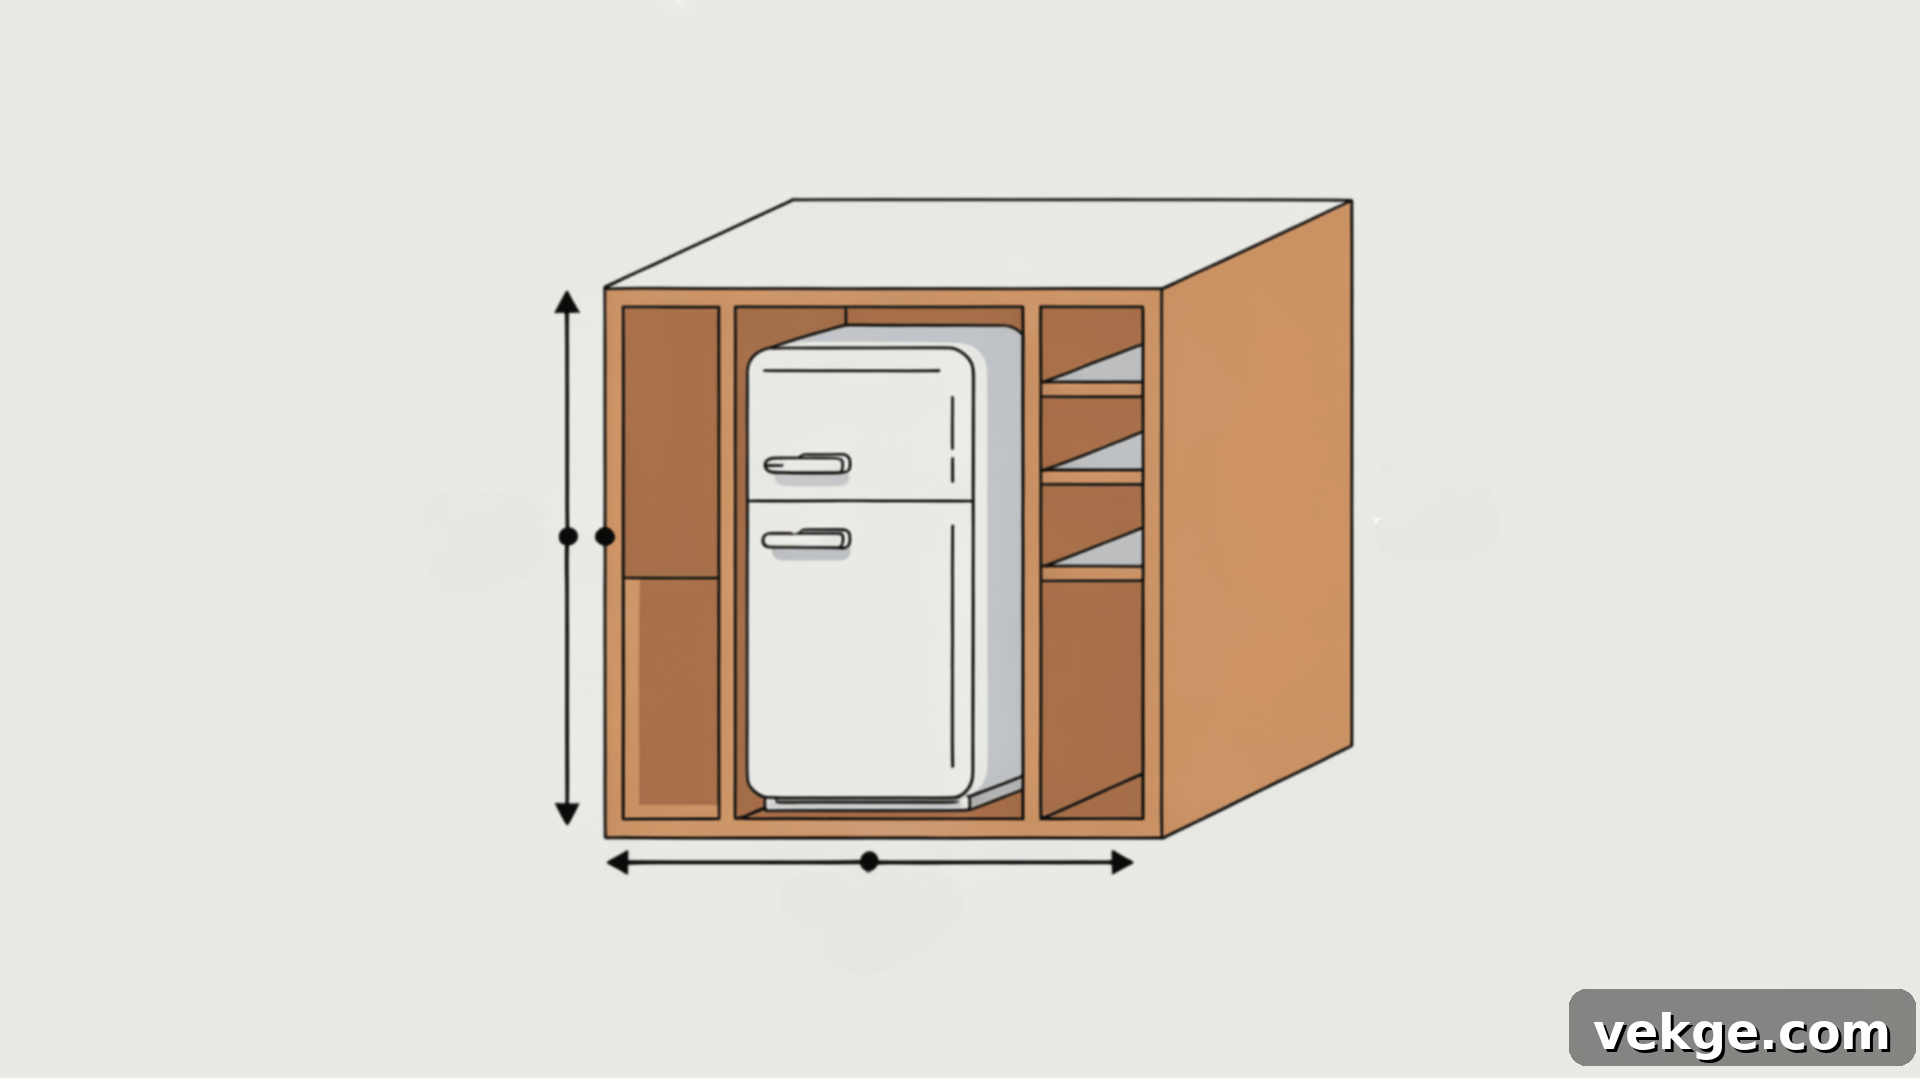
This is a critical step often overlooked! For optimal performance and longevity, refrigerators require adequate air circulation. Add 1-2 inches of clearance to your width measurements for air circulation on both sides, and at least 1 inch at the back. Also, consider ventilation at the top, especially if you plan an overhead cabinet. Proper airflow prevents overheating, which can significantly shorten your fridge’s lifespan and increase energy consumption.
Step 3: Construct the Sturdy Frame

Using your 2×4 lumber, build a robust frame that will house your refrigerator, incorporating the necessary airflow gaps. This frame will be the skeleton of your built-in unit. Ensure the frame is perfectly square and, most importantly, perfectly level. Use your level frequently during construction, as an unlevel base can lead to doors not hanging correctly or the fridge sitting awkwardly.
Step 4: Prepare and Attach Plywood Panels
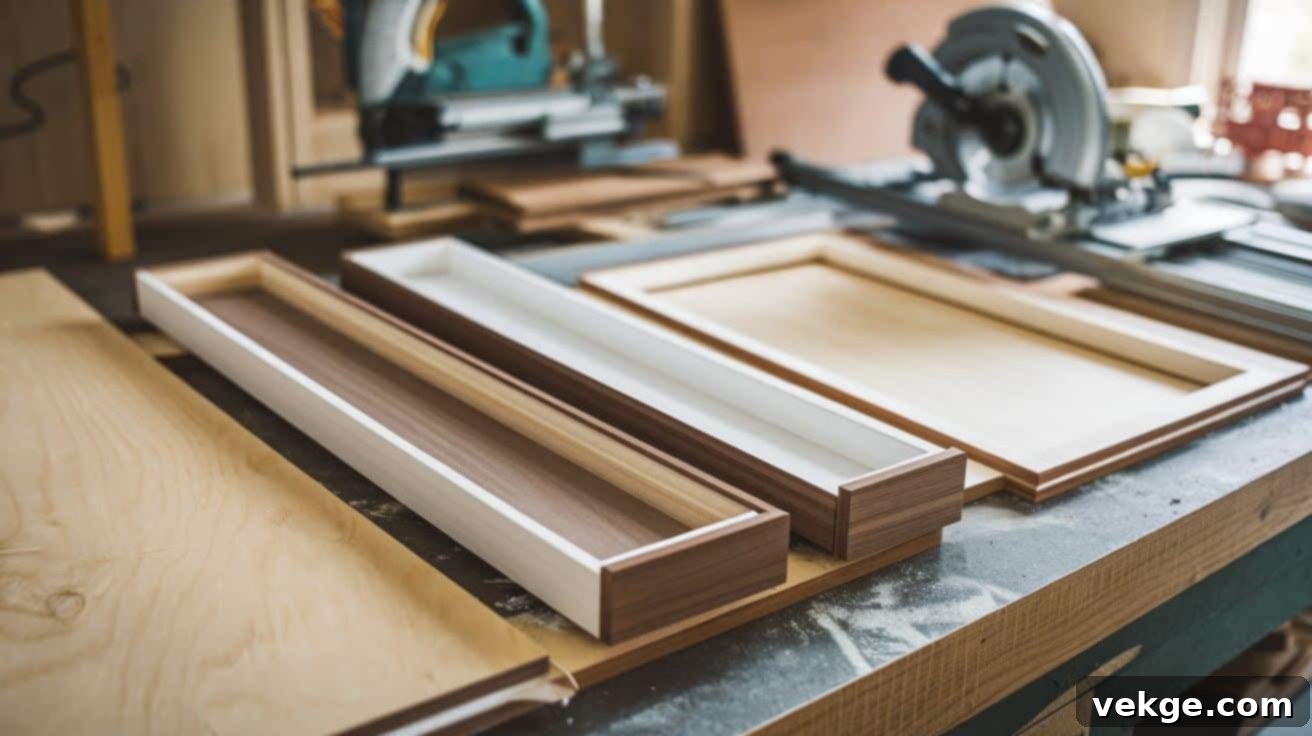
Select plywood panels that complement or match your existing kitchen cabinets. Cut these panels to size for the visible sides and top of your enclosure. Securely attach them to your 2×4 frame using wood glue and screws, ensuring all connections are strong and flush. If you are adding an overhead cabinet, construct its box now and attach it firmly to the top of the fridge enclosure frame and to the wall studs.
Step 5: Finishing Touches and Ventilation Integration
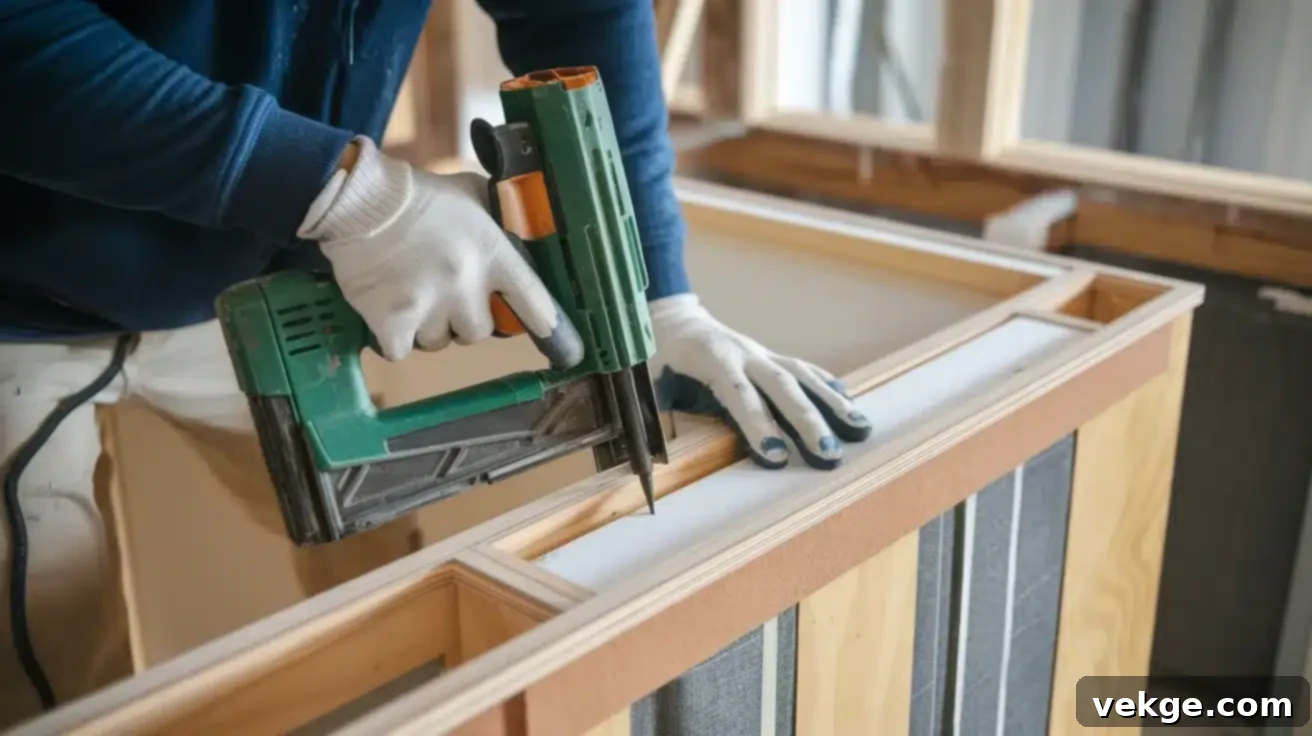
Once the main panels are in place, add your chosen wood trim to hide any exposed plywood edges and create a professional, finished look. Fill screw holes with wood filler, sand smooth, and prepare for painting or staining. Crucially, remember to leave the back of the enclosure open or provide ample cutouts for power cords, water lines (if applicable), and most importantly, excellent airflow. For optimal cooling, consider adding a vent grill to the toe kick area at the bottom or strategic venting at the top of the cabinet to allow hot air to escape.
Important Note on Door Panels: If you are adding custom door panels directly to a panel-ready fridge, ensure that the doors have sufficient clearance to open fully without colliding with adjacent cabinets, walls, or hardware. Always test door swing before final installation.
Common Issues with Built-In Fridge Cabinets and Their Solutions
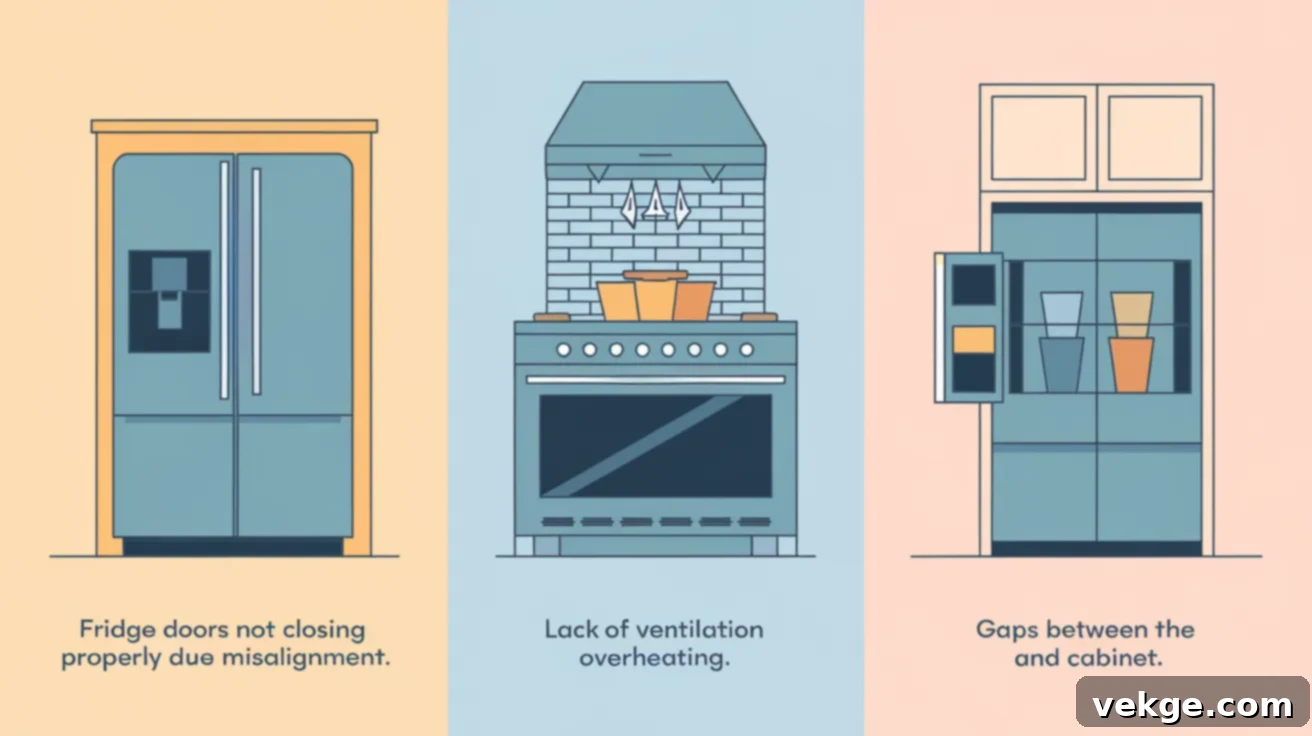
Even with meticulous planning, DIY projects can present unexpected challenges. Don’t be discouraged if you encounter a few bumps along the way when installing or living with your built-in fridge cabinet. These issues are surprisingly common, and thankfully, most have straightforward solutions that won’t require you to start from scratch. Let’s look at how to tackle them without frustration.
1. Cabinet Enclosure Too Tight?
It’s a common oversight: underestimating the required clearance, especially for airflow and ease of future maintenance. If your fridge fits too snugly into its new home, it can lead to overheating and difficulty pulling it out for cleaning or service.
- Solution: First, examine any internal trim pieces. Often, removing or slightly shaving down decorative trim can provide that crucial extra 1/4 to 1/2 inch of space. If the fit is still too tight, you might need to carefully remove and rebuild one of the side panels, making it slightly wider to accommodate the necessary clearance. Remember, most refrigerators require at least 1/4 inch of space on the sides and 1 inch at the back for proper operation and heat dissipation.
2. Fridge Overheating and Inefficient Operation?
Is your refrigerator running warm to the touch, or does its motor seem to be working overtime? This is a tell-tale sign of insufficient ventilation, which is the most critical factor for a built-in fridge’s performance and lifespan.
- Solution: The fridge needs to “breathe” to properly dissipate heat. Check that you have proper venting at the top and, crucially, behind the unit. If the back is fully enclosed, consider cutting out a section or adding a vent grill. For fridges that pull air from the bottom, a small vent grill added to the toe kick area at the bottom of the cabinet can significantly improve airflow. Poor airflow is a primary cause of premature fridge failure and increased energy bills, so addressing this issue promptly is essential.
3. Unsightly Gaps Between Fridge and Cabinetry?
After all that hard work, finding noticeable gaps where your refrigerator meets the cabinet can be frustrating. These gaps can detract from the seamless look you’re trying to achieve.
- Solution:
- L-shaped Trim Pieces: These are a simple and effective way to cover gaps. They can be cut to size, painted or stained to match your cabinets, and attached to the cabinet edges to bridge the space aesthetically.
- Magnetic Strips with Matching Material: For gaps around the sides or top, consider attaching magnetic strips covered in material that matches your cabinet finish. This provides a clean, integrated look while still allowing the fridge to be easily pulled out for maintenance without damaging fixed trim.
- Flexible Silicone Gap Covers: Available in various colors, these flexible strips can be pushed into narrow or irregular gaps, providing a neat seal and preventing debris from falling into hard-to-reach areas. They are particularly useful for those challenging, uneven spots.
Maintenance and Longevity of Your Built-In Fridge Cabinets
A built-in refrigerator system is a significant investment that enhances your kitchen’s beauty and functionality. To ensure it continues to look great and operate efficiently for many years, regular maintenance and thoughtful care are essential. With some basic attention, your integrated setup can far outlast expectations and retain its pristine appearance.
Essential Cleaning and Care Tips
Consistent cleaning and preventive care are paramount for both your appliance and its surrounding cabinetry:
- Regular Surface Wiping: Make it a habit to wipe down all cabinet surfaces surrounding your fridge regularly. Use a gentle, pH-neutral wood cleaner or a mild soap-and-water solution. Always test new cleaners in an inconspicuous area first to ensure they won’t damage the finish. Dry thoroughly immediately after cleaning to prevent water damage or streaking.
- Dusting Coils and Vents: Don’t forget the hidden workhorse of your fridge: the condenser coils and ventilation areas. At least every 3-6 months, use a vacuum cleaner with a brush attachment to carefully remove accumulated dust and debris from these components. This simple step is vital for maintaining optimal cooling efficiency, preventing overheating, and significantly extending your refrigerator’s lifespan.
- Check Door Seals: Inspect the rubber door seals (gaskets) around your fridge doors yearly. Look for cracks, tears, or areas where they might not be sealing tightly. A compromised seal allows cold air to escape, forcing your fridge to work harder and consume more energy. Replace worn seals promptly to maintain efficiency and prevent food spoilage. You can test a seal by closing the door on a piece of paper; if you can easily pull the paper out, the seal might need attention.
These straightforward maintenance steps are not just about keeping things clean; they actively contribute to lower energy bills and ensure your expensive appliance performs reliably for years, protecting your investment.
How to Replace or Upgrade Built-In Fridges
The day will eventually come when your trusty built-in fridge reaches the end of its life or you simply desire an upgrade. Fortunately, replacing or upgrading a built-in unit doesn’t necessarily mean a complete kitchen overhaul:
- Measure Meticulously: Before you even start shopping, carefully measure the exact dimensions of your existing fridge opening (height, width, and depth). Pay close attention to the width and height, as these are the most critical measurements for a seamless fit.
- Brand Consistency: Many appliance manufacturers maintain similar dimensions for their built-in models across different generations and series. This can make finding a direct replacement or a newer, updated model from the same brand much easier, potentially allowing it to slide right into your existing cabinet structure.
- Strategic Cabinet Modification: If you opt for a new fridge with slightly different dimensions, you won’t always need to tear out the entire cabinet. Often, you can modify just specific parts of your cabinet frame – perhaps widening an opening by an inch or two, or adjusting the height of an overhead cabinet – rather than undertaking a full rebuild. Plywood shims or new trim pieces can often bridge minor dimensional differences.
- Preserve Exterior Panels: If your built-in fridge uses custom cabinet panels, try to save them if they are in good condition. These panels are often the most visible and expensive components of the integrated look. Many panel-ready fridges are designed to accept standard panel sizes, allowing you to reuse your existing ones with a new appliance, saving significant cost and effort.
Conclusion: Achieve Your Dream Kitchen with Built-In Fridge Cabinets
We’ve embarked on a comprehensive journey through the world of built-in fridge cabinets, exploring everything from their fundamental definition and aesthetic appeal to practical DIY installation strategies and essential long-term maintenance. You now possess a wealth of information to make informed decisions, whether you’re considering pre-made solutions, custom DIY projects, or integrating a panel-ready unit into your kitchen design.
Remember, meticulous planning is the cornerstone of any successful home improvement project, especially when it comes to custom cabinetry. Take the time to measure precisely – measure twice, or even thrice, before making any cuts. Visualize how you use your kitchen on a daily basis and consider what design choices will enhance both its beauty and its practical functionality for you and your family.
Embracing built-in refrigerators is a powerful way to transform your kitchen, infusing it with a sense of luxury, order, and spaciousness, often without the need for extensive structural renovations. This single upgrade can dramatically elevate the perceived value and enjoyment of your entire home.
Are you ready to embark on your built-in fridge cabinet project? Approach it one step at a time, armed with the knowledge from this guide, and soon you’ll be enjoying the seamlessly integrated, beautiful kitchen you’ve always envisioned!
