Enhance Your Home with a Modern Horizontal Cedar Fence: The Ultimate Guide
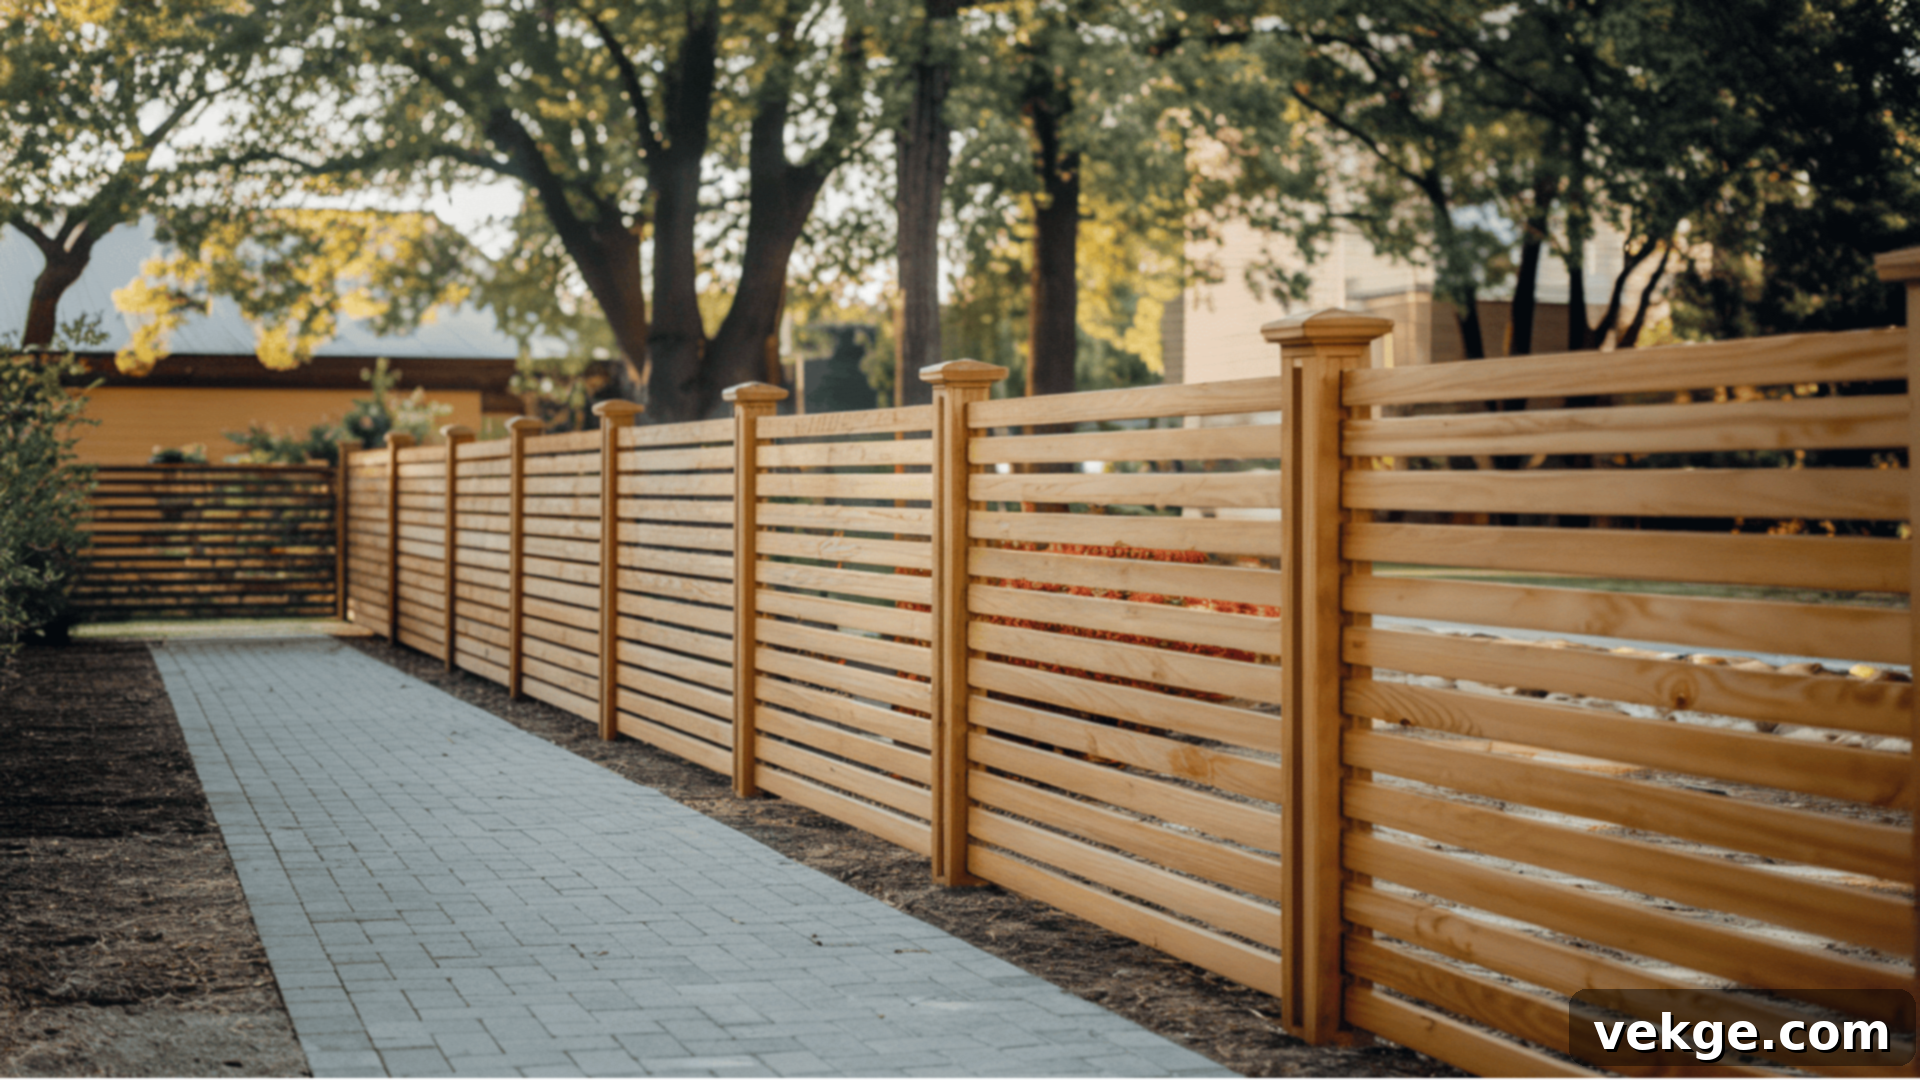
A horizontal cedar fence is an increasingly popular and modern choice for homeowners looking to elevate their property’s aesthetic. Unlike traditional fences that typically feature vertical planks, this contemporary design utilizes horizontally oriented boards, instantly giving your yard a sleek, updated, and expansive look. Cedar wood, renowned for its natural beauty and exceptional properties, is the ideal material for this style. It boasts inherent strength, a beautiful grain, and natural resistance to rot, decay, and insect infestations, making it perfectly suited for outdoor environments and ensuring longevity.
Beyond its stunning visual appeal, a horizontal cedar fence offers remarkable durability and requires minimal upkeep, making it a wise and lasting investment. This comprehensive guide will delve into the numerous benefits of opting for a horizontal cedar fence, walk you through a step-by-step building process, and provide essential care tips to ensure your fence remains a beautiful and functional addition to your home for many years to come.
Benefits of a Horizontal Cedar Fence
Choosing a horizontal cedar fence brings a host of advantages that contribute to both the beauty and functionality of your property. Here’s why it’s a top choice for modern landscaping:
- Visual Appeal: The horizontal orientation of the boards creates clean lines and a modern, expansive feel that can make your yard appear larger. This distinctive design complements a wide range of architectural styles, from contemporary and minimalist homes to more traditional designs seeking a fresh update. The natural tones and varied grain patterns of cedar further enhance its sophisticated aesthetic, adding warmth and organic texture to your outdoor space.
- Exceptional Durability of Cedar: Cedar wood is celebrated for its natural resilience. It contains oils that act as natural preservatives, providing robust resistance to moisture, decay, and common pests like termites and carpenter ants. This inherent durability means your fence can withstand harsh weather conditions, including heavy rain, strong winds, and fluctuating temperatures, without easily warping, cracking, or succumbing to rot. This makes cedar an incredibly long-lasting material, reducing the need for frequent replacements.
- Low Maintenance Requirements: One of the most appealing aspects of a horizontal cedar fence is its relatively low maintenance. Thanks to cedar’s natural resistance, it doesn’t demand constant attention. Occasional cleaning to remove dirt or mildew, along with a periodic application of a sealant or stain, is typically all that’s needed to keep it in excellent condition. This saves you time and effort compared to other fencing materials that might require more intensive care or repairs.
Planning Your Horizontal Cedar Fence

Thorough planning is crucial for the success of any fence project, especially when building a horizontal cedar fence. Careful consideration of these details will ensure a smooth process and a beautiful, long-lasting result:
- Choosing Cedar Wood: Not all cedar is created equal. When selecting your wood, prioritize high-quality cedar that aligns with your aesthetic preferences and budget. Western Red Cedar is a popular choice due to its rich color, aromatic scent, and superior rot resistance. Eastern White Cedar is another excellent option, known for its lighter hue and good durability. Consider the grade of cedar as well; clear grades offer a uniform, knot-free appearance, while knotty grades provide a more rustic and natural look.
- Materials and Tools: Assemble all necessary materials and tools before you begin. For materials, you’ll need cedar planks (slats), fence posts (typically 4×4 or 6×6 cedar or treated lumber), horizontal rails (2×4 or 2×6), and rust-resistant screws or nails (stainless steel or galvanized are best for cedar to prevent staining). Essential tools include a saw (miter saw for precise cuts), a drill/driver, a tape measure, a level (both a post level and a long builder’s level), a post-hole digger or auger, string line, safety glasses, and gloves. You might also need a shovel, wheelbarrow, and concrete mix for setting posts.
- Measuring and Layout: Accurate measurements are key. Determine the exact length and desired height of your fence. Use stakes and a string line to mark the perimeter of your fence, ensuring it aligns with your property boundaries and complies with any local regulations or homeowner association rules. Plan the spacing between your posts, typically 6-8 feet apart for stability. Also, consider the desired gap between your horizontal slats. A common gap ranges from 1/2 inch to 2 inches, impacting both privacy and visual appeal. Sketching out your design can help visualize the final look and ensure all measurements are correct. Remember to check for underground utilities before digging.
Step-by-Step Guide to Building a Horizontal Cedar Fence
Prepare the Area

Before any digging begins, ensure the fence line is clear and safe. Start by removing any existing vegetation, rocks, roots, or other debris that might obstruct your work or compromise the fence’s stability. It’s crucial to contact your local utility companies (e.g., “811” in the US) to mark any underground lines for electricity, gas, water, or sewer. This vital step prevents accidental damage and ensures your safety.
Once the area is clear and marked for utilities, use a tape measure and stakes with a string line to precisely mark the location of each fence post. Accuracy here is paramount, as misaligned posts can drastically affect the fence’s overall appearance and structural integrity. Measure the distance between each post carefully, ensuring even spacing.
Finally, inspect the ground along your fence line. If the terrain is uneven or sloping, you will need to plan for adjustments to your post heights to ensure the top of your fence remains level or follows a consistent grade. This initial leveling will set the foundation for a stable and straight fence.
Install the Posts
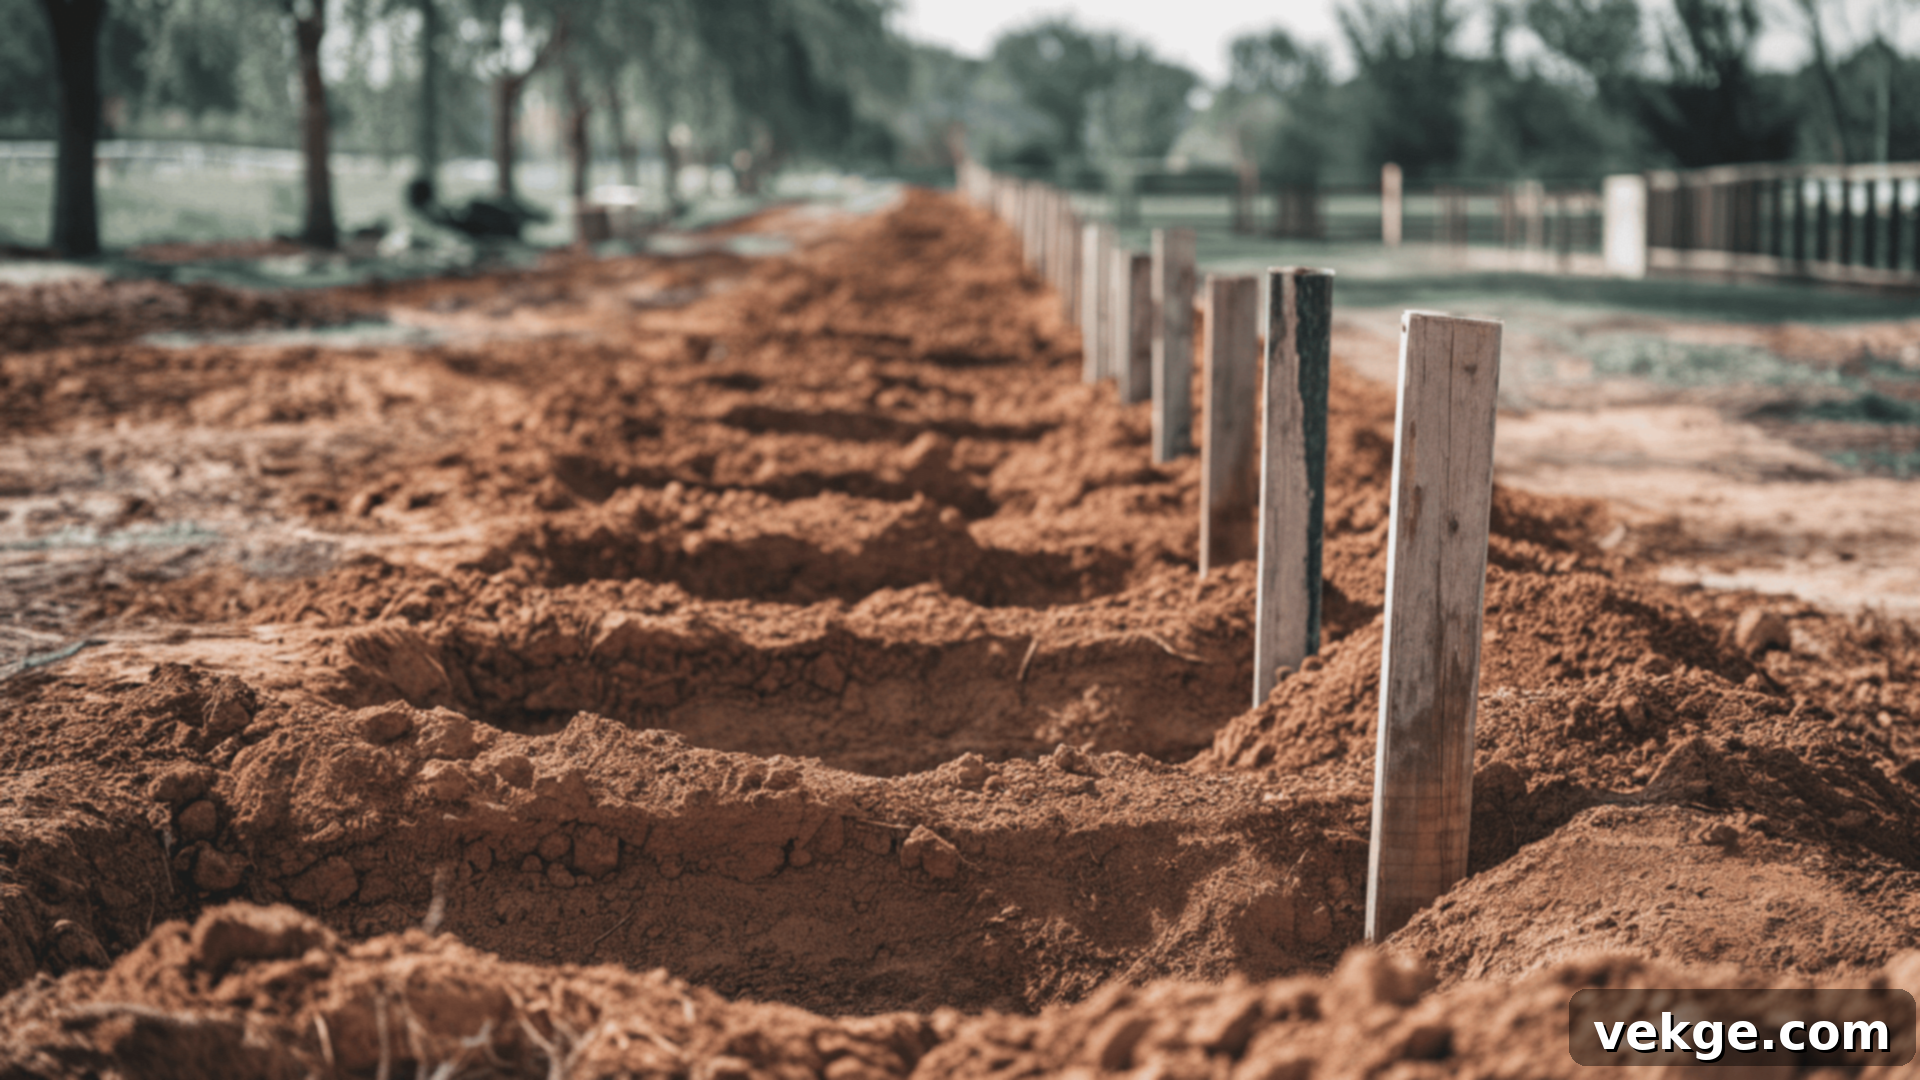
With your post locations marked, it’s time to dig the holes. The standard rule of thumb for post depth is to bury approximately one-third of the post’s total length into the ground. For example, if you plan for a 6-foot-tall fence, you would need 9-foot posts, burying 3 feet of each post. Use a post-hole digger or a power auger to create holes that are wide enough to allow for sufficient concrete around the post, typically 8-12 inches in diameter.
Place each post into its respective hole. Before securing, use a post level to meticulously check that each post is perfectly plumb (straight and vertical) on all sides. You may need temporary braces (2x4s staked to the ground) to hold the posts in position while the concrete sets. Mix concrete according to the manufacturer’s instructions and pour it into the holes, ensuring no air pockets. Slope the top of the concrete away from the post to shed water. Allow the concrete to cure for at least 24 to 48 hours, or as recommended by the concrete product, before putting any significant load on the posts. This curing time is critical for the fence’s long-term stability.
Attach the Horizontal Rails
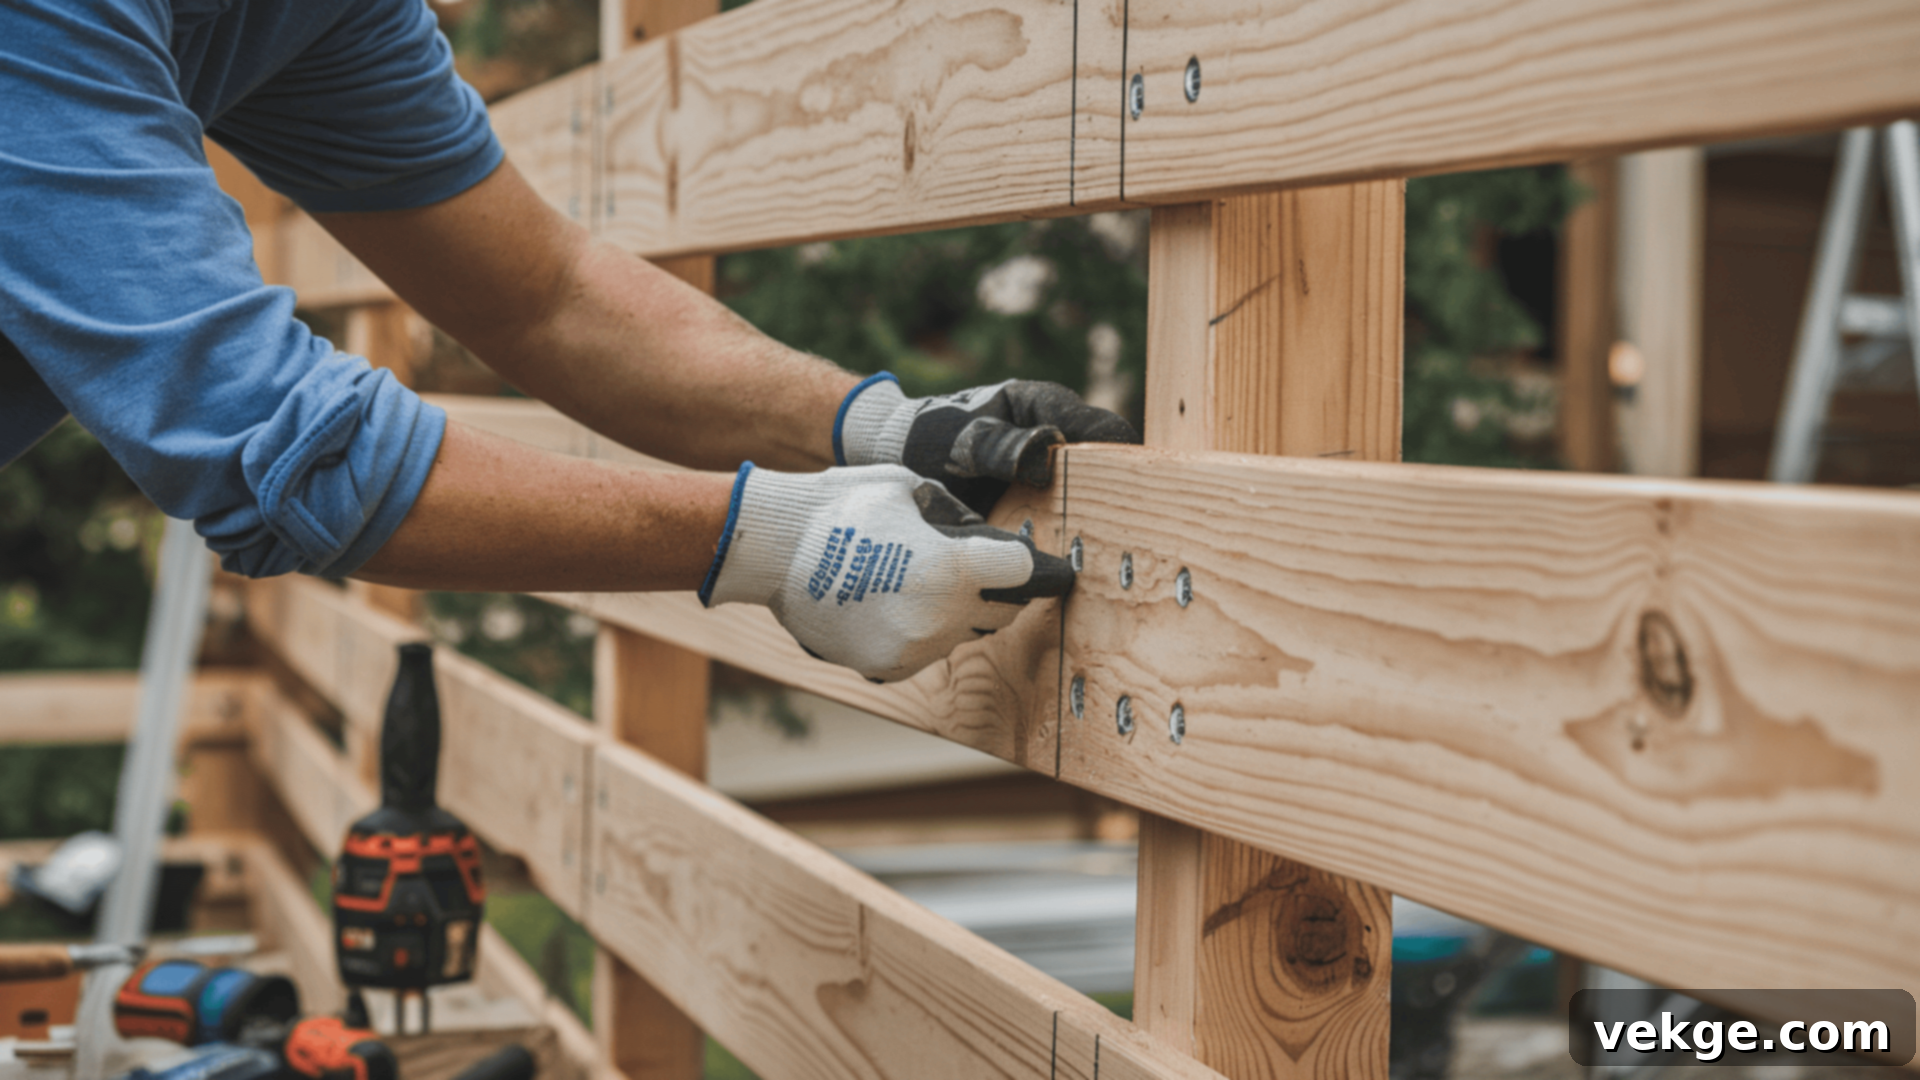
Once your fence posts are firmly set, the next step is to attach the horizontal rails that will support your cedar slats. These rails provide the structural backbone for your fence. Typically, you will install two or three rails per section, depending on the fence’s height and the desired rigidity. Start by marking the positions for your bottom, middle (if applicable), and top rails on each post. Ensure these marks are consistent across all posts.
Begin by securing the bottom rail. Use a long builder’s level to ensure the rail is perfectly level across the span between two posts before fastening it with appropriate screws (e.g., 2.5-3 inch galvanized or stainless steel exterior screws). Repeat this process for the middle and top rails, maintaining consistent spacing. For added strength and a clean look, you can “face-mount” the rails directly to the posts, or “set-in” the rails between posts using metal brackets or notched posts for a more integrated appearance. Secure each rail firmly to both posts in a section to ensure the fence’s stability and prevent sagging over time. Double-check all rails for level alignment as you progress.
Install the Slats
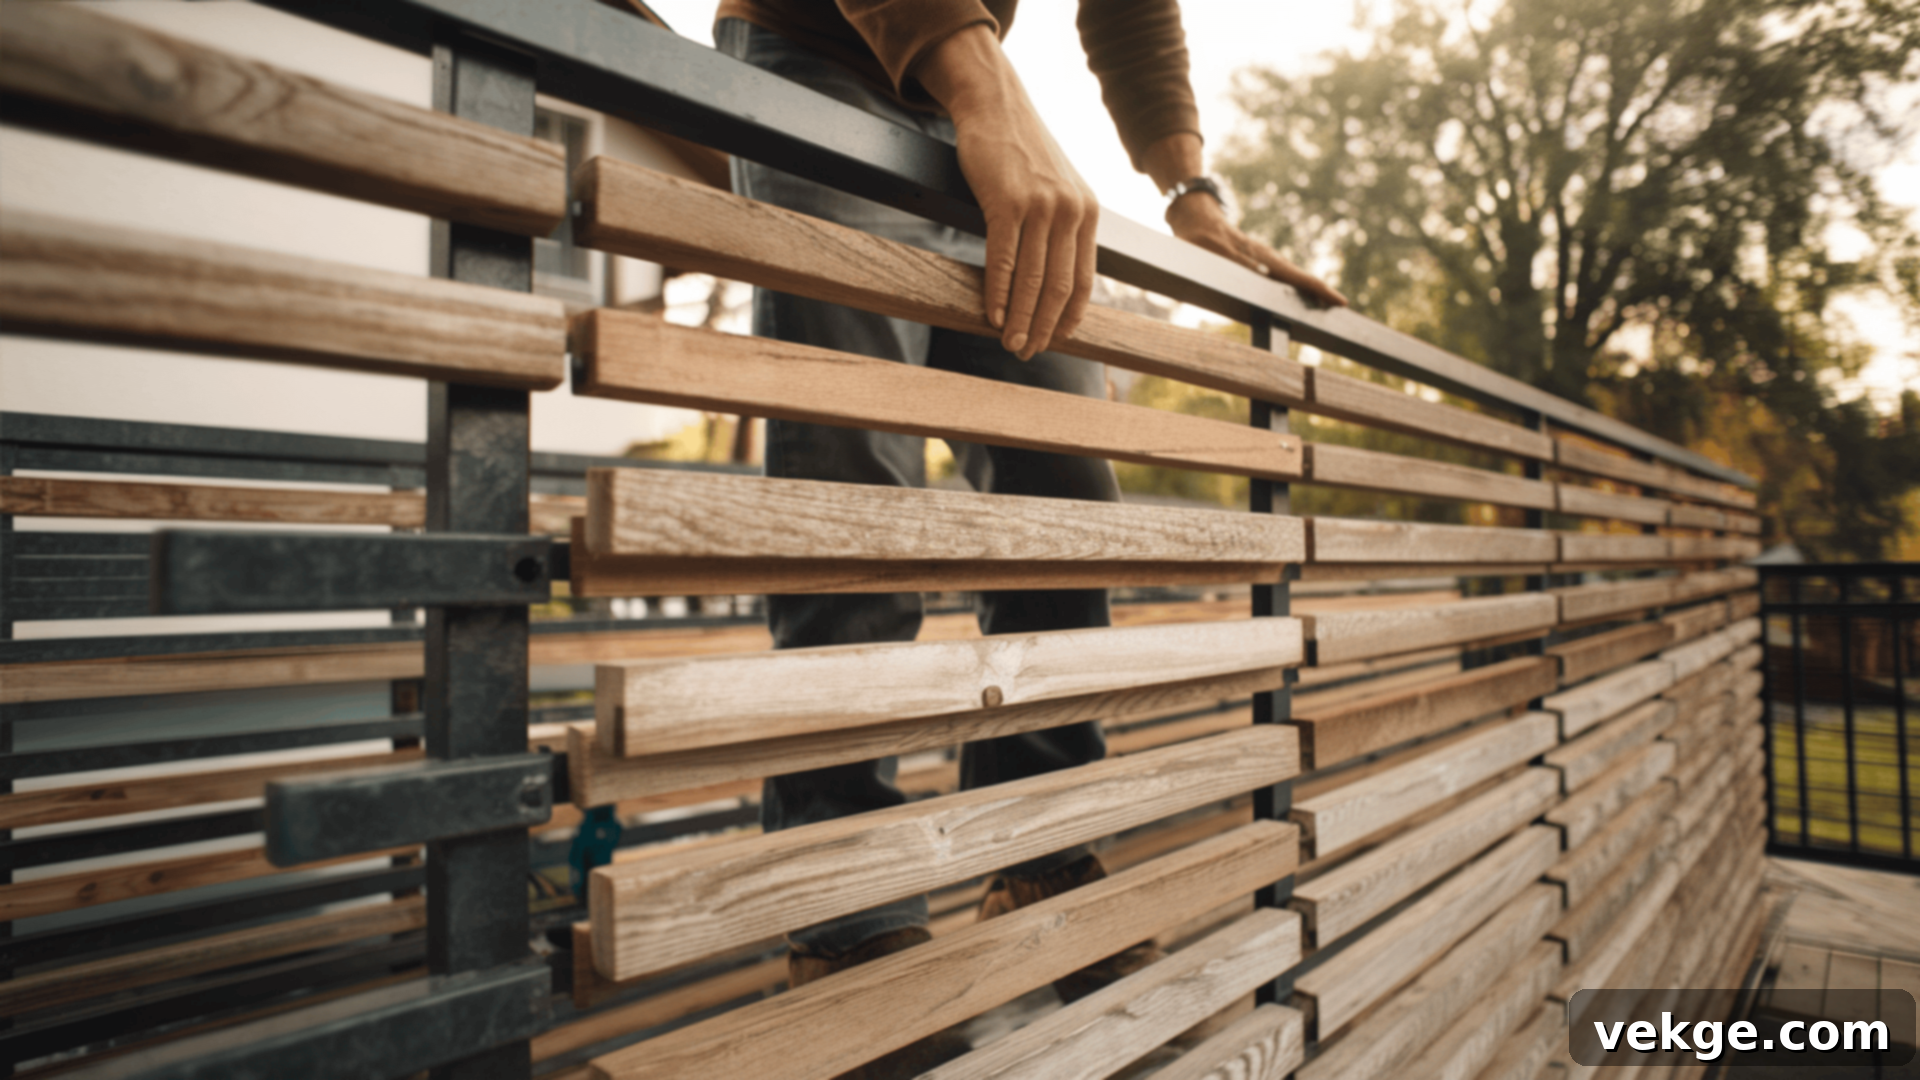
With the horizontal rails securely in place, you can now begin the exciting process of attaching the cedar slats. Start at one end of your fence and work your way across each section. It’s crucial to maintain an even and consistent spacing between each slat to achieve a uniform and aesthetically pleasing look. You can use spacer blocks or shims (e.g., 1/2 inch to 2 inches thick, depending on your desired gap) to ensure perfect gaps between planks. This gap size will influence privacy and air flow through the fence.
Attach each cedar slat to the horizontal rails using two rust-resistant screws per rail (e.g., 1.5-2 inch galvanized or stainless steel screws). Screws are generally preferred over nails for their superior holding power and resistance to pulling out over time, especially with wood expansion and contraction. Before fastening, ensure each slat is perfectly level and flush with the adjacent slats or follows the desired line. If working on uneven terrain, you may need to cut slats to different lengths or angle them slightly to follow the grade, maintaining consistent gaps. Precision in this step is key to the overall straightness and beauty of your horizontal fence.
Finish and Protect
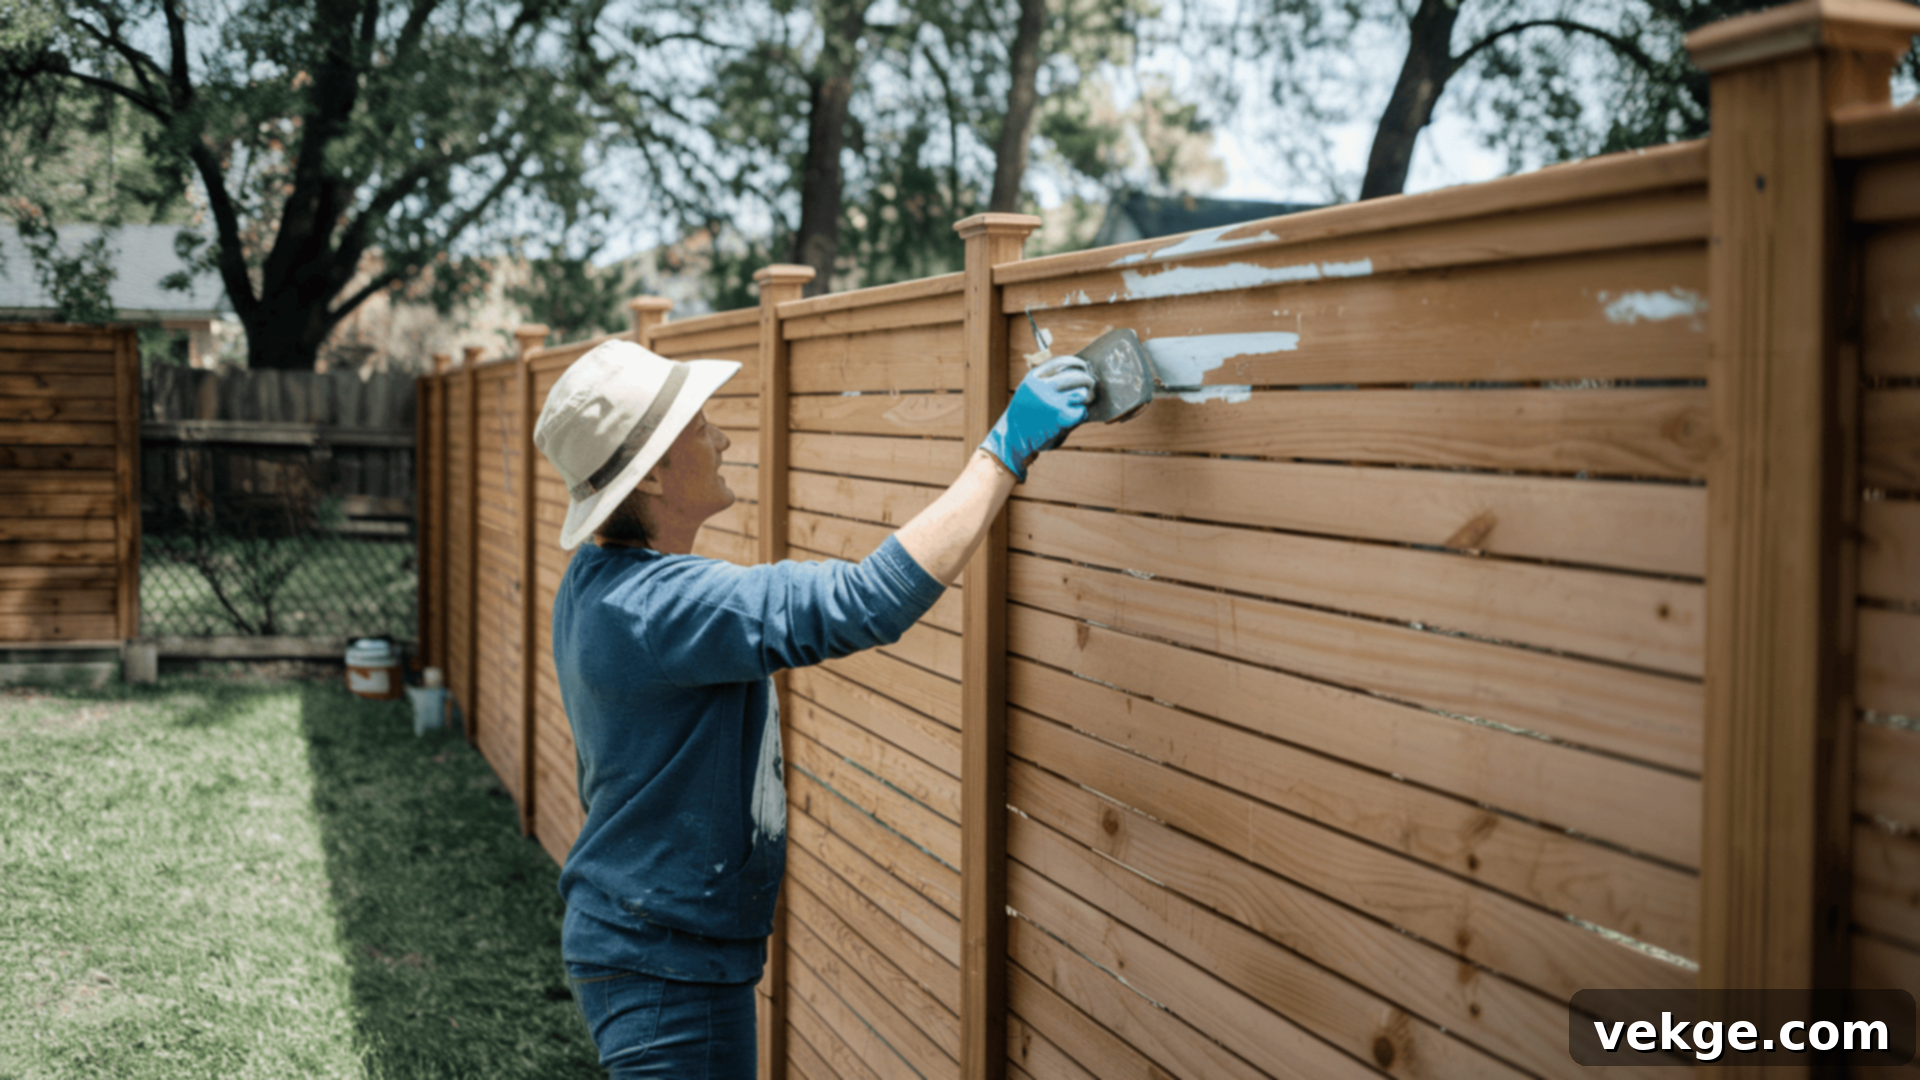
Once all the cedar slats are installed, take time to inspect your newly built fence for any imperfections. Look for rough edges, splinters, or uneven cuts. Use sandpaper or an orbital sander to smooth out these areas, creating a safe and pleasant-to-touch surface. This also prepares the wood to better absorb any protective finishes. Clean off any sawdust or debris from the fence surface after sanding.
The final and crucial step is to apply a protective finish to your cedar fence. Cedar’s natural resistance is excellent, but a stain or sealant will significantly extend its lifespan and maintain its aesthetic appeal. Choose a product specifically designed for outdoor cedar. Options include clear sealants (which preserve the natural cedar color), semi-transparent stains (which add a hint of color while allowing the grain to show through), or solid stains (for a more uniform, opaque look). These finishes provide protection against UV rays, moisture damage, and mildew growth. Apply the stain or sealant evenly with a brush, roller, or sprayer, following the manufacturer’s instructions. Ensure complete coverage for maximum protection. Allow the finish to dry completely, which may take 24-48 hours depending on the product and weather conditions, before fully enjoying your beautiful new horizontal cedar fence.
Maintenance and Care Tips
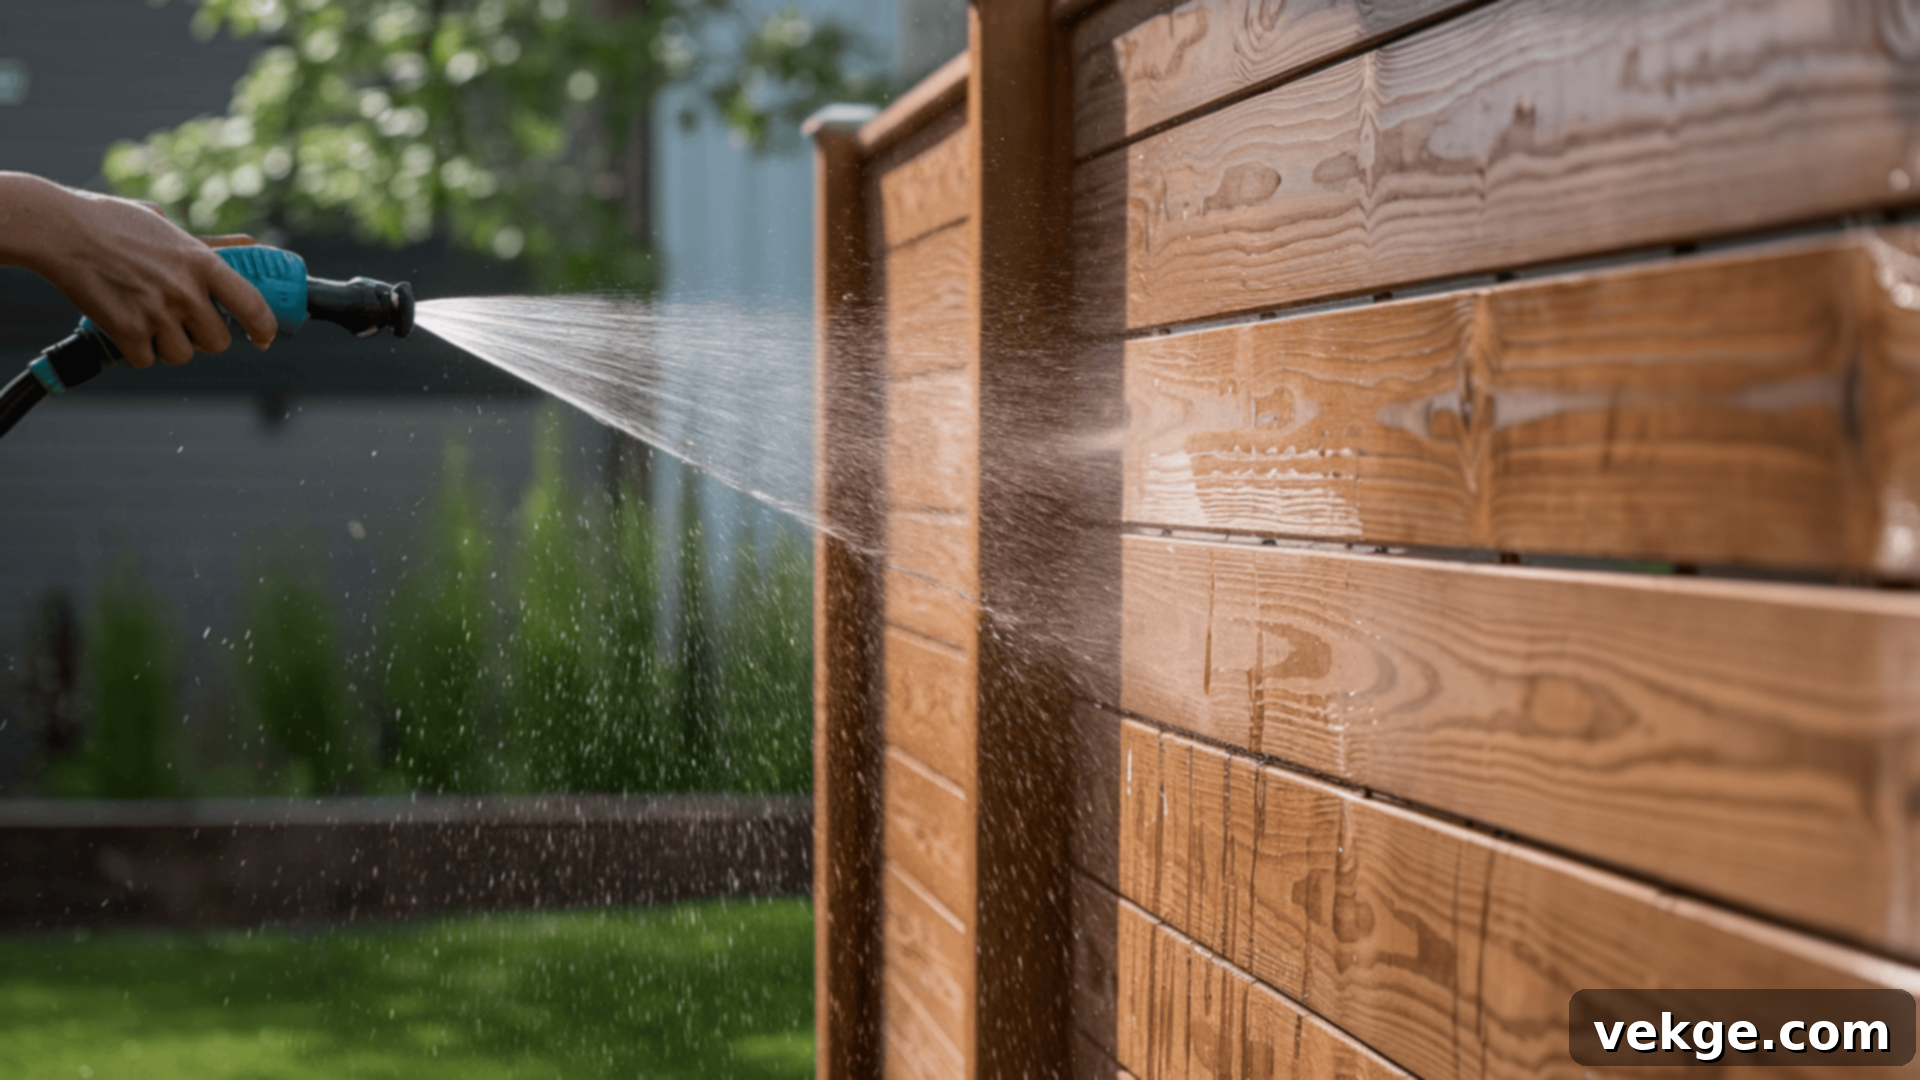
Even though cedar is a durable and low-maintenance wood, proper care can significantly extend the life and beauty of your horizontal cedar fence. Following these simple maintenance tips will help protect your investment:
- Regular Cleaning: Over time, dust, dirt, pollen, and even mildew can accumulate on your fence, dulling its appearance. Regularly wash your fence, ideally once a year or as needed. Use a soft brush or a low-pressure setting on a pressure washer with a mild soap solution (such as dish soap mixed with water). Avoid high-pressure washing, which can damage the cedar fibers. Rinse thoroughly with clean water. This routine cleaning prevents the buildup of harmful elements and keeps your fence looking fresh and vibrant.
- Periodic Sealing or Staining: To preserve cedar’s natural color and enhance its resistance to the elements, reapply a protective stain or sealant every 2 to 3 years. The exact frequency depends on your local climate severity and the type of product used. A good indicator that it’s time for reapplication is when water no longer beads on the surface of the wood. This protective layer shields the cedar from harmful UV rays, preventing it from fading to a gray patina, and further protects against moisture, rot, and insect damage, thereby extending the overall life of your fence.
- Prompt Repairs: Periodically inspect your fence for any signs of damage or wear. Look for common issues such as cracked, warped, or loose slats, loose screws, or any signs of pest activity. Addressing minor repairs quickly can prevent them from escalating into larger, more costly problems. Replace any severely damaged slats, tighten loose fasteners, and consult with a professional if you notice significant structural issues. Regular inspections and timely repairs will keep your fence strong, secure, and looking its best for many years.
Different Horizontal Cedar Fence Designs
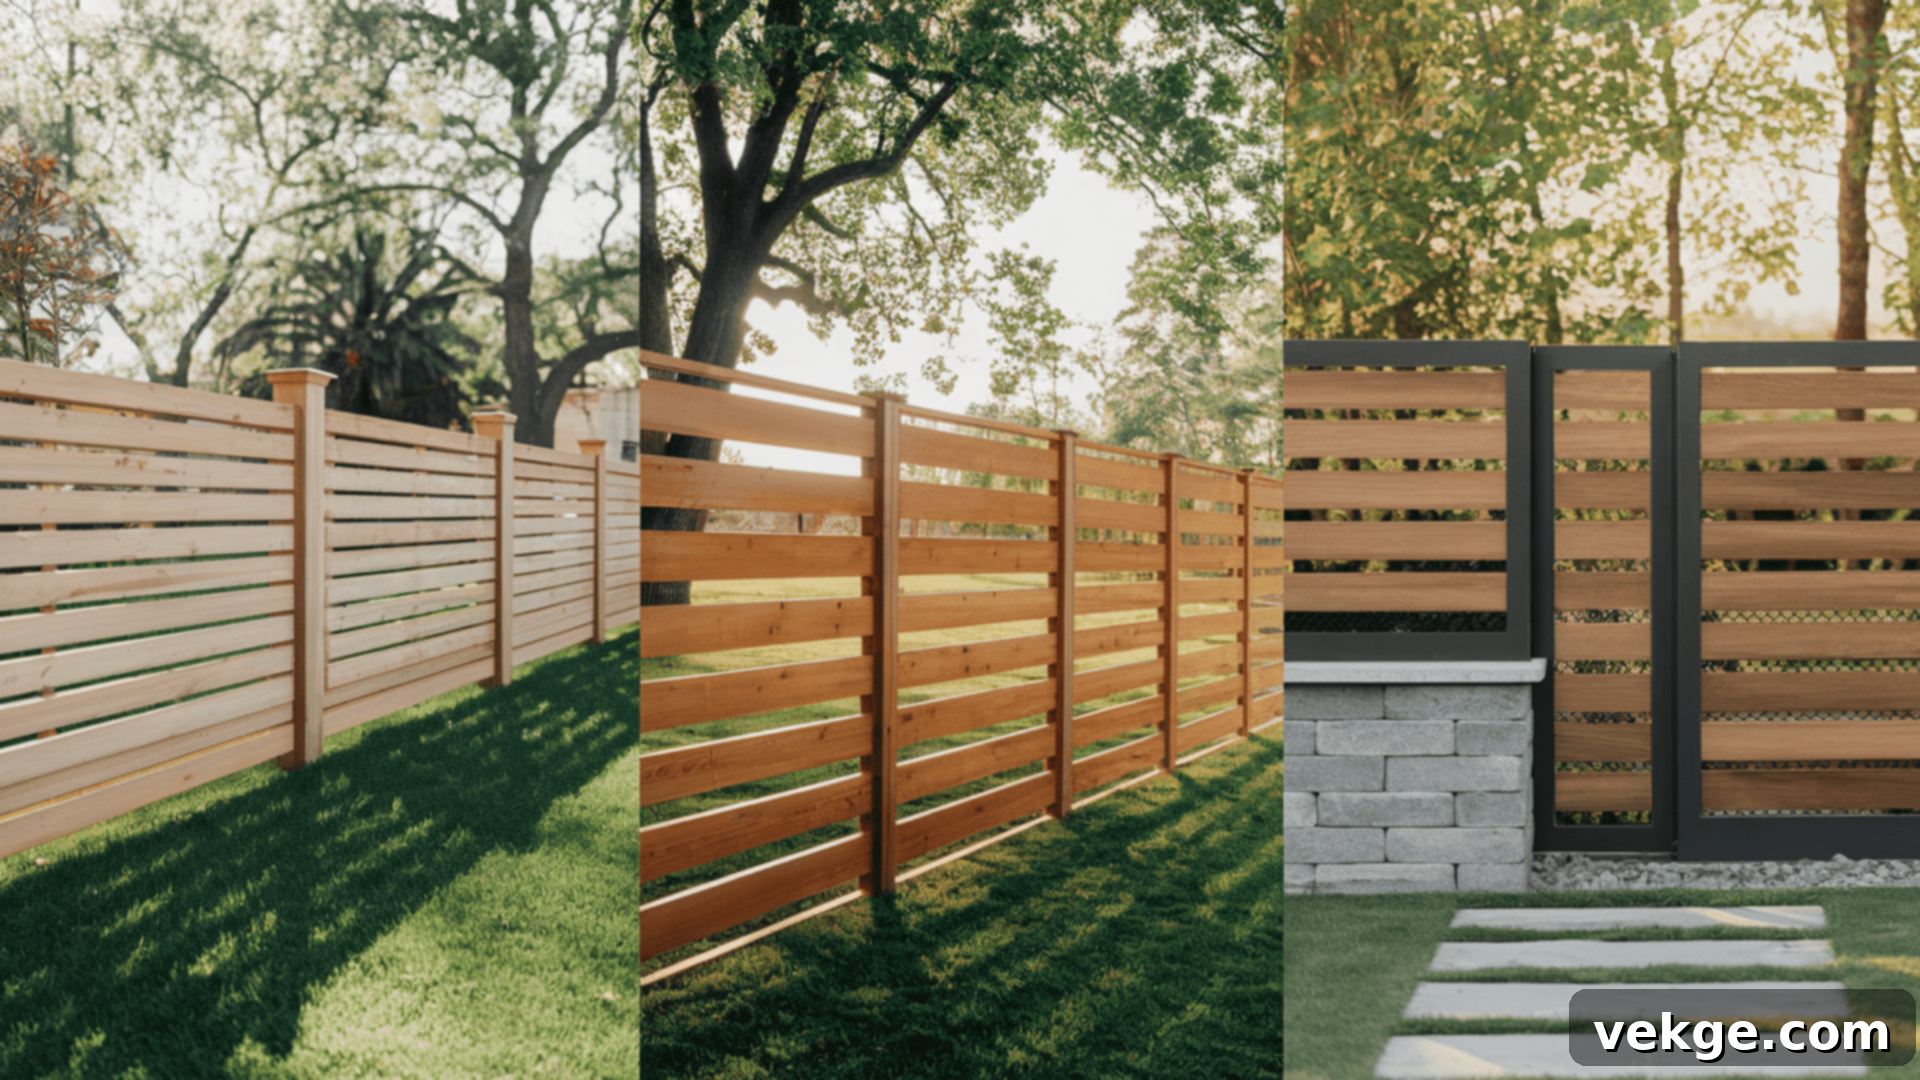
The versatility of horizontal cedar fencing allows for a wide array of design possibilities, enabling you to customize it to perfectly match your home’s style and your personal preferences. Here are a few popular design variations:
- Standard Horizontal Slats: This is the most common and classic approach, featuring uniformly sized cedar planks installed horizontally with consistent spacing. It delivers a clean, minimalist, and timeless look that complements almost any home style, from rustic to ultra-modern. The simplicity of this design emphasizes the natural beauty of the cedar wood.
- Varied Spacing: You can play with the gaps between your horizontal slats to achieve different levels of privacy and aesthetic impact. Wider gaps (e.g., 1-2 inches or more) create a more open, airy feel, allowing for light and some visibility, often suitable for front yard fences or decorative elements. Conversely, narrower gaps (e.g., 1/4 – 1/2 inch) or even overlapping “lapped” slats offer maximum privacy, ideal for backyard enclosures. Varying the gap widths within a single fence section can also create a dynamic, custom pattern.
- Mixed Materials: For a truly contemporary and distinctive look, consider incorporating other materials with your horizontal cedar. Combining cedar slats with metal posts, wire mesh panels, or stone pillars can add an industrial edge or a refined modern touch. For instance, black metal posts create a striking contrast with the warm tones of cedar, while integrating thin metal rods between cedar planks can offer a unique textural element. Stone bases or accents can add a robust and earthy feel.
- Staggered or Varied Slat Widths: Instead of using uniform width slats, you can create visual interest by alternating between wide and narrow cedar boards. This adds texture and a bespoke feel to the fence. Similarly, staggering the start and end points of the slats across the posts can create a dynamic, less uniform pattern, adding architectural depth.
- Top Cap or Trellis Accents: Adding a decorative top cap can give your fence a finished, custom look and also offer protection to the top edge of your posts and slats. For a softer touch, integrating a horizontal cedar trellis along the top can provide support for climbing plants, blending the fence seamlessly with your garden landscape.
Is a Horizontal Cedar Fence Right for You?
Deciding on the right fence for your property involves more than just aesthetics; it requires considering various practical factors. Before committing to a horizontal cedar fence, take a moment to evaluate how it aligns with your specific needs and environment:
First, consider the **neighborhood aesthetic and architectural compatibility**. A modern, sleek horizontal cedar fence can be a stunning architectural statement. However, its contemporary design might stand out significantly in a neighborhood dominated by traditional vertical fences or classic home styles. Conversely, it could perfectly blend or even enhance the appeal of an area with modern or transitional architecture. Think about how the fence will complement your own home’s style and the overall streetscape.
Next, evaluate **privacy and security**. Horizontal cedar fences offer adjustable levels of privacy based on slat spacing. If your primary goal is maximum privacy for your backyard, opt for narrower gaps between the slats or even an overlapping design to create a solid visual barrier. For those who prefer a more open feel with some light and air circulation, wider gaps might be more suitable. Consider how much visual screening you require and whether the fence provides the necessary sense of enclosure for your property.
Finally, your **local climate** plays a significant role in the long-term performance and maintenance of your cedar fence. While cedar is exceptionally durable and naturally rot-resistant, extreme weather conditions can still influence its appearance and longevity. In areas with high humidity, heavy rainfall, or intense, prolonged sun exposure, you may need to apply protective sealants or stains more frequently to prevent fading, mildew growth, or accelerated weathering. Conversely, in milder climates, less frequent treatment might suffice. Understanding these climatic impacts will help you anticipate the long-term care requirements and ensure your fence maintains its beauty and structural integrity.
Also, consider your **budget and whether you plan a DIY or professional installation**. While cedar is a premium material, its longevity and low maintenance can offer long-term value. DIY installation can save costs, but requires significant time, skill, and appropriate tools. If you’re unsure about the process, hiring a professional fence installer is a worthwhile investment to ensure proper construction and adherence to local building codes.
Conclusion
A horizontal cedar fence is much more than just a boundary marker; it’s a statement of style, an investment in durability, and a commitment to low maintenance. Its distinctive modern aesthetic instantly enhances your property’s curb appeal, while the inherent qualities of cedar — its strength, natural beauty, and resistance to decay and pests — ensure a long-lasting and resilient structure. Whether you choose to embark on a DIY installation journey or enlist the expertise of a professional, this type of fence will undoubtedly elevate your home’s outdoor living spaces and provide enduring value.
With proper planning, meticulous construction, and routine care, your horizontal cedar fence will continue to look stunning and effectively protect your property for many years to come. By regularly cleaning, periodically sealing, and promptly addressing any minor repairs, you can safeguard its beauty and structural integrity against the elements. If you’re seeking further inspiration or practical advice for home improvement and outdoor projects, we encourage you to explore other insightful blogs and helpful guides available on our website.
