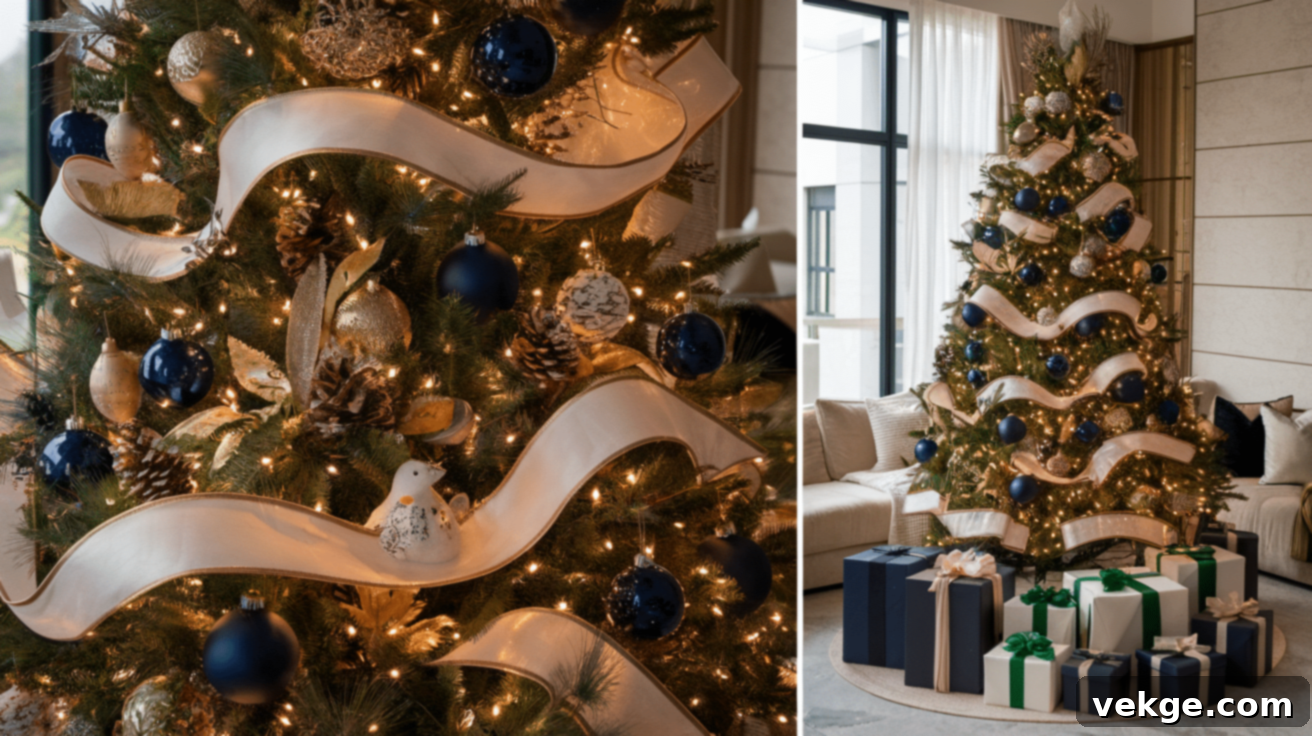
The Ultimate Guide to Decorating Your Christmas Tree with Ribbon: Expert Tips for a Stunning Display
Adding beautiful ribbon to your Christmas tree is one of the quickest and most impactful ways to elevate your holiday decor. It instantly transforms a simple tree into a professional-looking masterpiece, creating depth, texture, and a touch of elegance that lights and ornaments alone can’t achieve. Whether you’re a beginner looking for straightforward guidance or an experienced decorator aiming to refine your techniques, mastering the art of ribbon placement will make all the difference.
Professional decorators often consider ribbon their secret weapon for achieving truly stunning holiday trees. With just a few easy-to-follow tips and tricks, you can replicate these designer-level results right in your own home, without the need for expensive expert assistance. This comprehensive guide will walk you through everything you need to know, from gathering your materials to applying advanced ribbon techniques, ensuring your Christmas tree will impress family and friends throughout the festive season.
Let’s get started on creating a magical focal point for your holiday celebrations!
What You Need to Decorate with Christmas Tree Ribbon
Before you embark on your festive ribbon decoration project, gather these essential materials to ensure a smooth and enjoyable process. Having everything at hand will allow you to focus on creativity rather than searching for supplies.
- Wired Ribbon: This is the most crucial item. For optimal effect and ease of shaping, aim for a width of 2.5 to 4 inches. Wired ribbon holds its shape beautifully, making it perfect for creating elegant loops and cascades.
- Floral Wire: Thin, flexible floral wire is indispensable for securing ribbon ends, attaching bows, and reinforcing loops to maintain their desired form.
- Sharp Scissors: A good pair of sharp scissors will ensure clean cuts, preventing frayed edges and making your ribbon work look neat and professional.
- Step Stool or Ladder: Especially for taller Christmas trees, a sturdy step stool or ladder is essential to safely reach the upper branches and ensure even ribbon distribution.
- Christmas Tree: Whether you’re decorating an artificial or a real tree, ensure it’s set up and ready to be adorned.
You can find high-quality wired ribbons at most craft stores, such as Michaels or Hobby Lobby, especially during the holiday season. Online retailers like Amazon also offer a vast selection of options, allowing you to choose from various patterns, textures, and colors to perfectly match your desired aesthetic. Consider purchasing a little more ribbon than you think you’ll need; it’s always better to have extra than to run out mid-project.
Step-by-Step Guide: How to Put Ribbons on a Christmas Tree
Step 1: Proper Tree Preparation
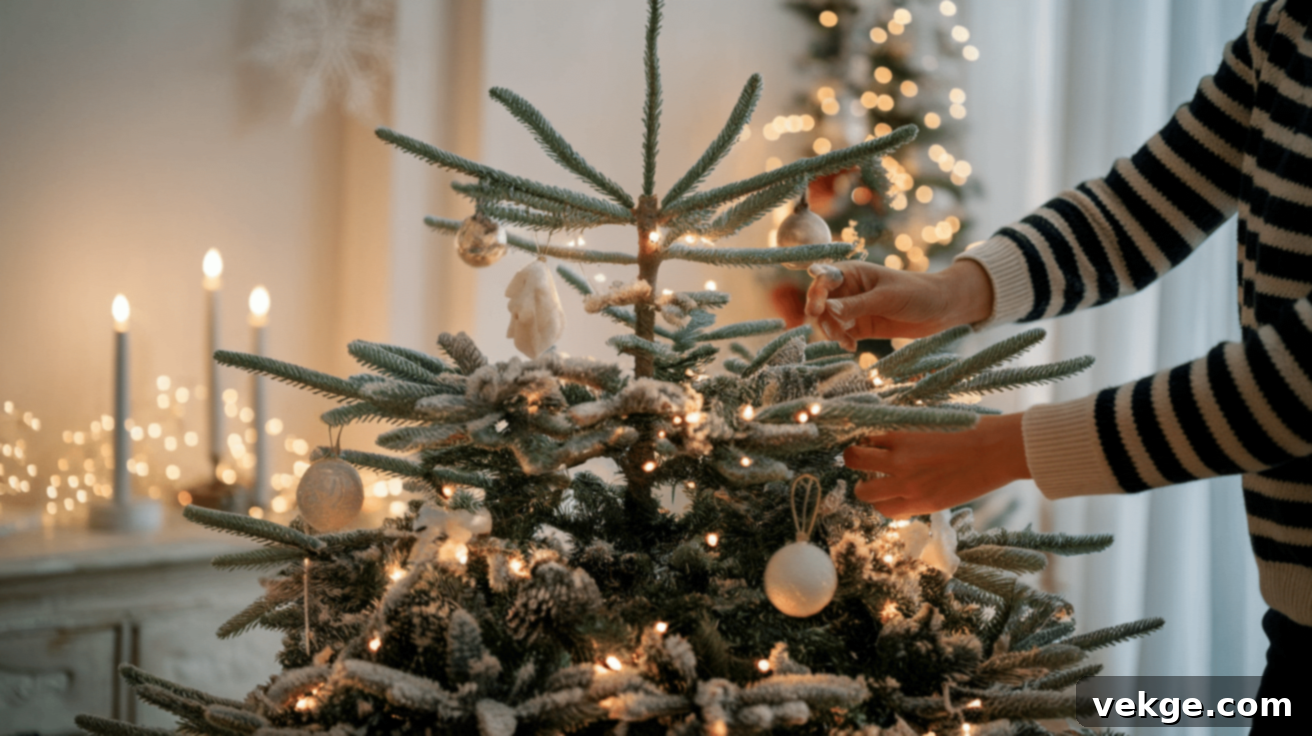
Starting with a well-prepared tree is fundamental for a flawless ribbon display. For artificial trees, begin by thoroughly fluffing each branch. Spend time separating and spreading the individual “needles” or tips of the branches to eliminate any visible gaps and create a full, natural-looking silhouette. A densely fluffed tree provides the perfect canvas for your ribbon to nestle within.
For real trees, allow the branches to settle into their natural position after setting it up. A good shake can help any compressed branches relax. Once your tree is fluffed and ready, it’s crucial to turn on your tree lights before adding any ribbon. This allows you to see how the ribbon will interact with the illumination and helps you avoid accidentally covering too many lights, ensuring your tree remains beautifully lit and vibrant.
Step 2: Choosing the Right Ribbon for Your Christmas Tree
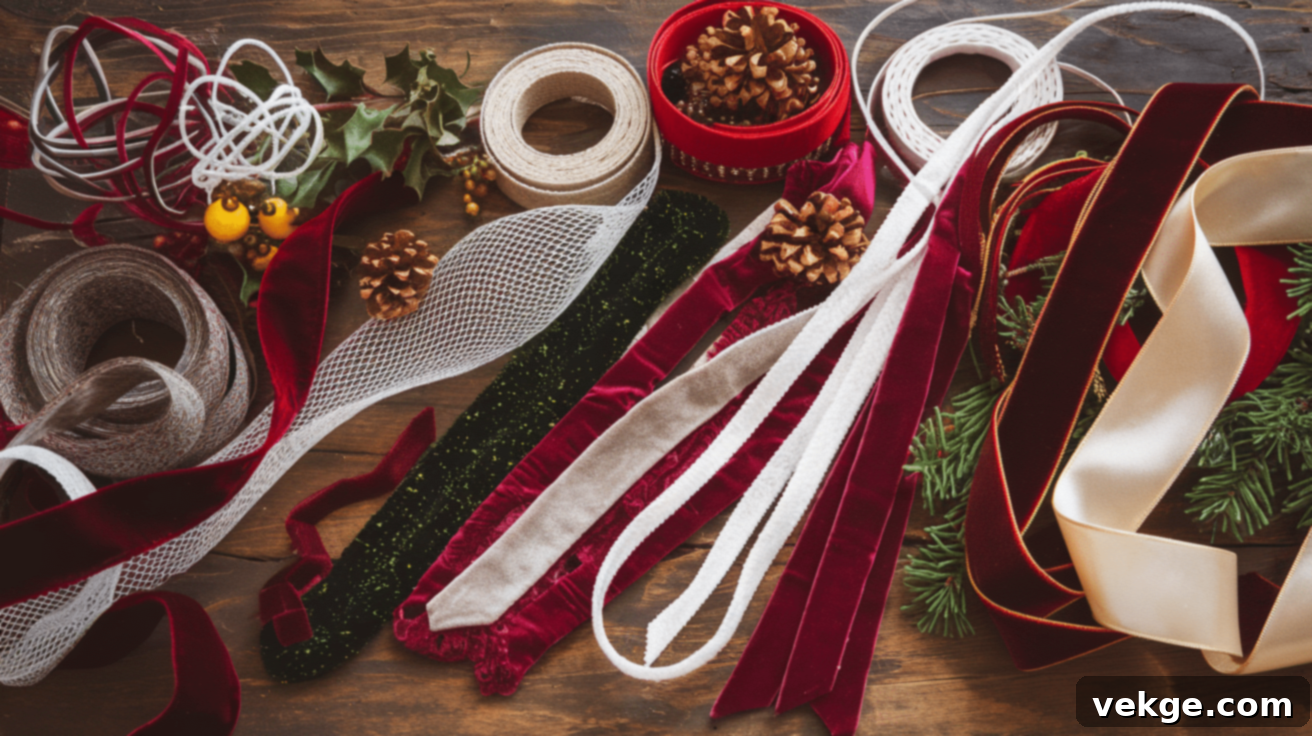
The type of ribbon you choose significantly influences the overall effect and aesthetic of your decorated Christmas tree. Each material offers a unique look and feel:
- Wired Ribbon: This is by far the most versatile and recommended option, especially for beginners. Its embedded wire allows it to be easily shaped, twisted, and bent, holding its form beautifully for elegant loops and dramatic cascades.
- Mesh Ribbon (Deco Mesh): Creates a light, airy, and often whimsical look. It’s great for adding volume and sparkle without being too heavy.
- Velvet Ribbon: Adds a rich, luxurious texture and a touch of traditional opulence. Perfect for a classic, sophisticated holiday theme.
- Satin Ribbon: Provides an elegant, smooth shine that can instantly elevate your tree’s appearance. It drapes beautifully but doesn’t hold shape as rigidly as wired ribbon.
For beginners, wired ribbon is highly recommended due to its forgiving nature and ease of manipulation. When selecting ribbon width, consider the size of your tree. Wider ribbons (3-4 inches) are ideal for larger, grander trees as they make a more substantial statement. For smaller or tabletop trees, narrower ribbons (1.5-2.5 inches) will be more proportionate and prevent the tree from looking overwhelmed.
Step 3: Mastering the Basic Ribbon Technique
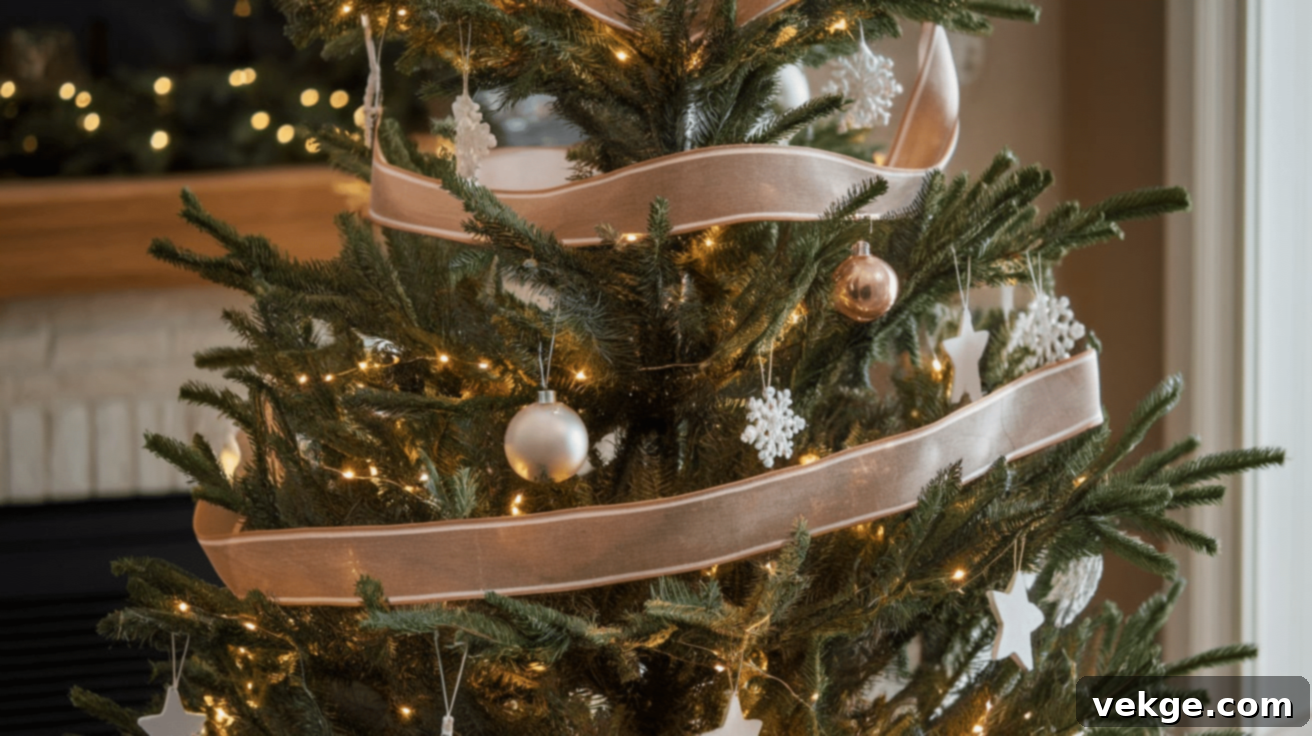
The key to a professional-looking ribbon display is to avoid wrapping it tightly like a garland. Instead, aim for a more organic, flowing movement. Here’s how to start:
- Prepare Your Ribbon: Instead of pre-cutting short strips, unroll a generous length of ribbon (about 3 feet or more) from the spool without cutting it. Working directly from the spool allows for continuous, seamless runs.
- Begin at the Top: Start near the top of your Christmas tree. Take the end of your ribbon and tuck it securely into the dense branches close to the tree trunk. You can use floral wire to firmly anchor it in place if needed, ensuring it won’t slip.
- Create Movement: Gently pull the ribbon outward from the trunk towards the tip of a branch. Rather than wrapping, you’ll be weaving. Create natural-looking waves and drapes by loosely guiding the ribbon in and out, and around the branches.
- Weave and Tuck: Continue working in sections, moving from the top of the tree downwards in a slightly diagonal or zig-zag pattern. Push sections of the ribbon deeper into the tree towards the trunk, then pull it back out again, creating depth and dimension. This prevents the ribbon from just sitting on the surface of the branches.
The goal is to create a dynamic, flowing effect that looks effortless and integrated with the tree, rather than a stiff, wrapped band. Think of it as the ribbon dancing around your tree.
Step 4: Creating Elegant Ribbon Loops

Creating strategic loops is a hallmark of professional ribbon decoration, adding volume and a graceful, cascading effect. This technique builds upon the basic weaving method:
- Anchor and Push In: After an initial segment of ribbon has been woven, push the ribbon deeply into the tree near the trunk, much like securing an end.
- Form a Loop: Pull out a section of ribbon to form a loop. The size of your loops can vary, but generally, 8-12 inches works well for a standard tree. Experiment to see what looks best with your ribbon width and tree size.
- Secure and Repeat: Once your loop is formed, push the ribbon back into the tree near the trunk, effectively anchoring the loop. Move slightly down and to the side, then create another loop, varying its size and direction slightly for a more natural and less uniform appearance.
- Use Floral Wire (Optional but Recommended): For particularly stubborn loops or heavy ribbon, use a small piece of floral wire to secure the base of the loop to a branch, ensuring it maintains its shape and position throughout the season.
Continue this looping and weaving pattern down the tree. For an average 6-foot tree, you’ll typically create about 5-7 distinct ribbon pathways or “runs” from top to bottom, each featuring multiple loops. This method creates a sense of continuous flow and fills the tree beautifully.
Step 5: Common Ribbon Decoration Mistakes to Avoid
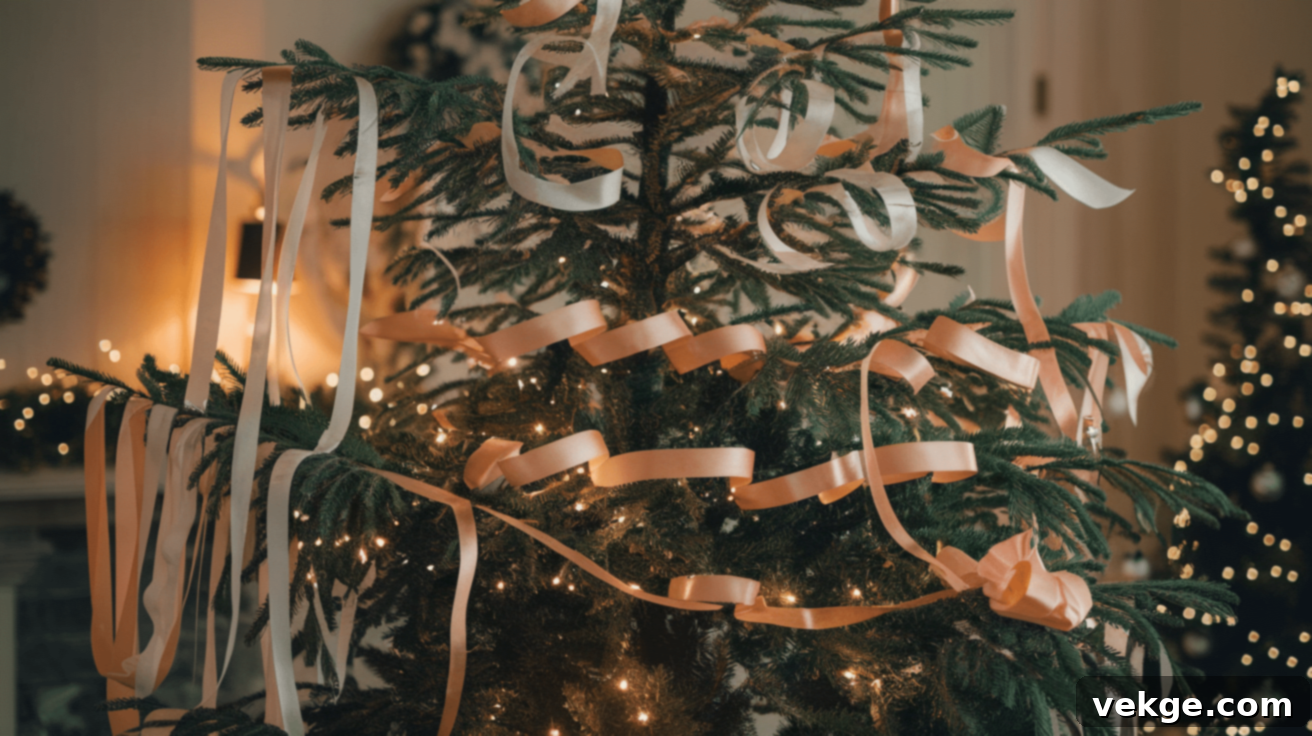
Even with the right techniques, some common pitfalls can detract from your tree’s appearance. Being aware of these will help you achieve a truly polished look:
- Poor Securing: Ribbon that isn’t properly anchored will unravel or sag. Always tuck ribbon ends and the bases of loops firmly into dense branches. Don’t shy away from using floral wire to ensure everything stays put.
- Overly Symmetrical Placement: While balance is good, too much rigid symmetry can make your tree look artificial and less organic. Vary your loop sizes, the angles of your ribbon pathways, and the depth at which you tuck the ribbon for a more natural, dynamic flow.
- Tight Wrapping: Resist the urge to wrap the ribbon tightly around the tree like a candy cane stripe. This can restrict the natural movement of the branches and make the ribbon look flat and rigid. Keep your loops loose and allow the ribbon to cascade gracefully.
- Using Too Little Ribbon: A common mistake is being too conservative with ribbon. To achieve a full, luxurious look, be generous! If your tree looks sparse, it’s likely you need more ribbon. Plan for enough to create substantial loops and pathways.
- Ribbon Sitting on Branch Tips: Avoid letting the ribbon simply lie on the outermost tips of the branches. For added depth and integration, ensure portions of the ribbon are tucked deeper into the tree, weaving through the branches rather than merely resting on the surface. This creates a more professional, layered effect.
Alternative Christmas Tree Ribbon Designs
Beyond the basic weave and loop, several other popular ribbon techniques can create distinct visual effects, allowing you to customize your tree to match any aesthetic.
Cascading Waterfall Technique
For a truly flowing and graceful look, the cascading waterfall technique is an excellent choice. This method involves placing the ribbon in vertical sections, allowing it to gracefully drop from the top of the tree to the bottom, much like a waterfall. It creates a striking natural movement that draws the eye downward, enhancing the perception of height and making the tree appear more balanced and elegant. To achieve this, secure a ribbon end at the top, let it drape naturally, and then secure it again further down, repeating this motion in several vertical columns around the tree.
Spiral Wrap Technique
The spiral wrap technique adds a dynamic and continuous touch by gently winding the ribbon around the entire tree in soft, curved lines, resembling a graceful spiral staircase. This method works beautifully for those who prefer a structured yet fluid design. The key is to keep the loops and wraps loose and airy, ensuring the ribbon maintains its shape without appearing too tight or rigid. Varying the angle and spacing of the spiral can create different levels of drama and interest, making the tree feel dynamic and engaging from all angles.
Horizontal Layering
For a classic, organized, and somewhat traditional style, horizontal layering is a fantastic option. This technique involves wrapping the ribbon around the tree in evenly spaced horizontal bands or layers. It provides a clean, well-structured appearance that is perfect for a more formal or timeless holiday decor theme. When applying this, ensure each band is level and consistent, tucking the ribbon deep into the branches at intervals to prevent sagging and maintain its horizontal integrity.
Crisscross Pattern
The crisscross pattern offers a bold and visually interesting effect, adding significant texture and depth to your Christmas tree. This technique involves placing ribbons diagonally in opposite directions, creating an overlapping “X” or diamond pattern. It’s particularly effective when using two complementary ribbon colors or styles to enhance contrast and dimension. By creating these intersecting lines, you add a complex visual element that can make the tree feel fuller and more intricately decorated. Ensure your anchor points are secure to maintain the tension and shape of the crisscross.
To add even greater variety and richness to any of these designs, consider combining multiple ribbons with different textures, colors, or widths. Layering a solid-colored ribbon with a complementary patterned one, or pairing a matte ribbon with a glossy one, can create a more eye-catching and sophisticated effect. Mixing different widths, such as a wide primary ribbon with a narrower accent ribbon, allows for visual variation, making the entire tree decoration feel more dynamic, professional, and well-balanced.
How to Make Beautiful Ribbon Bow Designs
Beautifully crafted bows can serve as a stunning tree topper, accent pieces placed throughout the tree, or even as elegant additions to wreaths and garlands. Here’s a simple guide to creating a classic, multi-loop bow:
- Cut Your Ribbon: Start by cutting a generous length of wired ribbon. For a medium-sized bow, about 3 to 4 feet is a good starting point. Adjust this length based on how many loops and how long you want your streamers.
- Form the First Loop: Create a small loop (about 4-6 inches) and pinch it tightly in the center. This will be the foundational “center” of your bow.
- Create Subsequent Loops: Form a second loop of roughly the same size on the opposite side of the pinched center. Continue making loops, alternating sides, and gradually increase or decrease their size slightly for a more organic look. Aim for 3-4 loops on each side for a full bow.
- Secure the Center: Once you have your desired number of loops, tightly secure the center with a piece of floral wire. Twist the wire several times to ensure it’s firm. Leave the ends of the floral wire long; these will be used for attachment.
- Hide the Wire: Cut a small, separate piece of ribbon (about 4-6 inches long) and wrap it around the wired center of the bow, securing it at the back with a tiny piece of floral wire or hot glue. This hides the mechanics and gives a finished look.
- Fluff and Shape: Gently pull and fluff each loop, shaping them to be full and symmetrical. Wired ribbon is excellent for this as it holds its form.
- Add Streamers: If desired, cut additional lengths of ribbon for streamers. Attach them to the back of the bow’s center using floral wire or by tucking them under the central ribbon piece, allowing them to drape gracefully down the tree.
Once your bows are complete, attach them to your tree by twisting the floral wire ends around sturdy branches. For a tree topper, you might need extra wire or even a support dowel to ensure it stands proudly at the apex of your Christmas tree.
Expert Tips for Perfect Ribbon Placement
Achieving a truly professional and balanced look requires a discerning eye and a few strategic adjustments. Here are some expert tips to perfect your ribbon placement:
- Step Back Frequently: The most important tip is to regularly step back from your tree – at least 5 to 10 feet – to assess your progress. This wider perspective allows you to identify empty spots, areas where the ribbon appears crowded, or imbalances in the overall design. What looks good up close might not look good from a distance.
- Ensure Balanced Distribution: The ribbon should flow naturally and evenly around the entire tree. Look for a harmonious distribution of loops, cascades, and tucked sections. Avoid having too much ribbon concentrated in one area or large, bare patches in another.
- Integrate Ornaments and Lights: When adding ornaments, place them near or nestled between ribbon loops, but never directly on top of the ribbon. Allow ornaments to peek through or rest gently within the ribbon waves for a cohesive and layered appearance. Use smaller ornaments near the ribbon pathways and larger, statement ornaments in the more open spaces of the tree.
- Utilize Tree Depth: Don’t just decorate the outer tips. Push some sections of ribbon deeper into the tree, wrapping around internal branches. This creates a sense of depth and dimension, making the tree look richer and fuller, rather than flat.
- Layering with Lights: Always add your ribbon after the lights but before the ornaments. This ensures the lights illuminate the ribbon beautifully, and the ribbon provides a stunning backdrop for your ornaments.
Advanced Techniques for Ribbon Decoration
Once you’ve mastered the basic methods, you can explore advanced techniques to add even more sophistication and individuality to your Christmas tree ribbon design. These methods bring complexity and a designer touch.
Layering Multiple Ribbons
To create a truly well-designed and rich look, consider layering multiple ribbons. Using two or three different styles simultaneously adds incredible depth and makes the tree feel significantly more dynamic. For instance, you could layer a wide, solid-colored wired ribbon with a narrower, patterned or glittered ribbon. When layering, try placing them parallel to each other, slightly overlapping, or twisting them together as you weave. This helps achieve a balanced effect while allowing each ribbon to stand out and contribute to the overall texture.
Adding Varied Texture
Enhancing the overall appearance of your tree through varied texture is a hallmark of advanced decorating. Mixing matte and glossy ribbons, or combining smooth satin with rustic burlap or shimmery organza, creates compelling contrast and prevents the design from looking flat. This combination helps catch the light differently, adding visual interest and making the tree more appealing from every angle. Think about how light will play off different surfaces as you select and place your ribbons.
Creating Ribbon Bursts
For a bolder and more dramatic approach, try incorporating ribbon bursts. This technique involves combining several loops of ribbon (often 3-5 loops originating from a single point) to create a full, impactful “burst” effect, resembling a floral bloom or a star. These bursts can be strategically placed throughout the tree to add focal points, create movement, and introduce a unique, artistic touch. Secure them firmly with floral wire and fluff them generously for maximum impact.
Incorporating Decorative Picks and Embellishments
To further enhance the ribbon design and achieve a truly professional finish, incorporate decorative picks such as floral stems, berry clusters, pinecones, or glittery branches. Placing these embellishments strategically near ribbon loops or where ribbon pathways converge adds pops of color, additional texture, and a more complete, cohesive look. Professional decorators often use ribbon as the foundational base for their designs, then layer these other decorative elements around and within the ribbon to achieve a polished, balanced, and multi-dimensional tree that tells a story.
Seasonal Trends and Color Ideas for Christmas Tree Ribbons
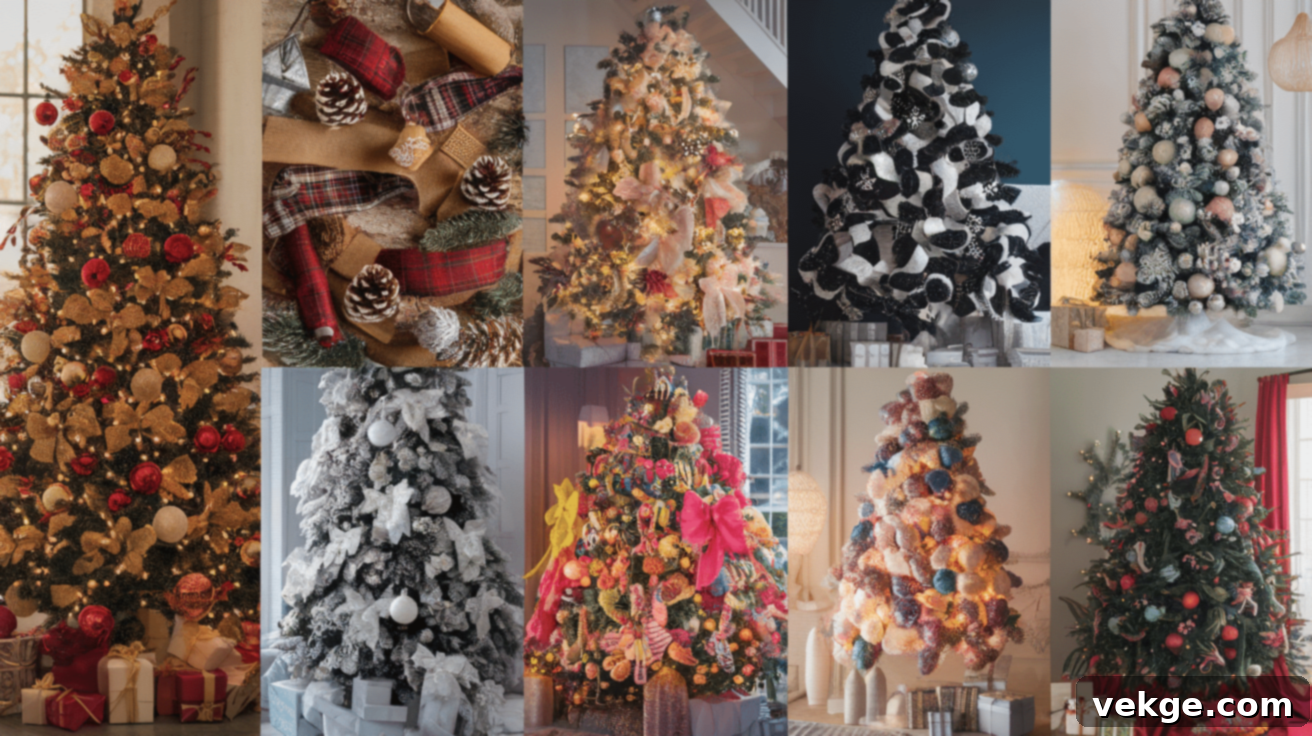
Your choice of ribbon colors and patterns plays a pivotal role in shaping the entire feel and theme of your holiday decor. Different palettes evoke distinct emotions and styles:
- Timeless Traditional: Classic combinations like deep red and shimmering gold, or elegant silver and rich emerald green, instantly bring a sense of nostalgia and timeless tradition to your tree. Pair with classic ornaments and warm white lights.
- Warm Rustic Charm: Burlap, plaid patterns (especially buffalo check), and natural tones like forest green and deep cranberry create a cozy, rustic, and inviting style. Complement with natural elements like pinecones and wooden ornaments.
- Cool Winter Wonderland: Silver, crisp white, frosty blue, and icy teal ribbons give a serene, winter-inspired feel, reminiscent of snow and ice. Combine with glittery or clear glass ornaments and cool-toned LED lights.
- Modern & Chic: Black and white ribbons, often with metallic accents like silver or rose gold, add a sophisticated and contemporary touch. This look is minimalist yet striking, often paired with geometric ornaments.
- Bright & Playful: For a lively and fun atmosphere, choose ribbons in bright, cheerful colors like fuchsia, lime green, vibrant orange, or turquoise. This playful palette is perfect for families with children or those who love a whimsical holiday.
- Soft & Calming Pastels: Gentle hues like blush pink, mint green, lavender, and baby blue create a soft, ethereal, and calming look. This delicate style works beautifully with iridescent or frosted ornaments.
- Rich Jewel Tones: Deep, saturated colors such as sapphire blue, amethyst purple, ruby red, and emerald green add richness, luxury, and drama to your tree. Pair with metallic gold or silver accents for an opulent display.
Ultimately, choose ribbon colors and styles that resonate with your personal taste and beautifully complement your home’s existing decor. A cohesive color scheme will create a balanced and truly festive display that delights the eye.
Final Thought
Decorating your Christmas tree with ribbon is an incredibly rewarding experience that allows you to infuse your personal style and creativity into your holiday decor. By following the techniques and expert tips outlined in this guide, you can confidently create a tree that not only reflects your unique aesthetic but also brings immense joy and warmth to your home throughout the festive season.
Don’t hesitate to experiment with different patterns, colors, textures, and placement methods. The beauty of DIY decorating lies in the freedom to make it truly your own and iterate until it’s perfect for you. The most important thing is to enjoy the process, embrace your creativity, and revel in creating a special, festive atmosphere for everyone to enjoy.
We would absolutely love to see how your tree turns out! Feel free to share your thoughts, tips, or photos in the comments below. Wishing you a joyful, festive, and beautifully decorated holiday season filled with cheer and wonder!
Frequently Asked Questions About Christmas Tree Ribbon Decoration
Can I Use Fabric Instead of Ribbon on a Christmas Tree?
Yes, you absolutely can use fabric! However, it’s best to choose lightweight fabrics like tulle, organza, or even chiffon to prevent weighing down the branches. For better shaping and to help the fabric hold its form, you can lightly stiffen it with fabric starch before use. Fabric strips can offer a unique, softer drape compared to traditional ribbon.
What is the Best Ribbon for a Christmas Tree?
Wired ribbon, typically 2.5 to 4 inches wide, is widely considered the best choice for Christmas tree decoration. Its integrated wire allows it to be easily shaped, twisted, and fluffed, ensuring it holds its form beautifully to create dimensional loops, cascades, and bows that maintain their elegant appearance throughout the holiday season.
How Much Ribbon Do I Need for a 6-Foot Christmas Tree?
For a standard 6-foot Christmas tree, a good estimate is to plan for 2-3 rolls of 10-yard (30 feet) wired ribbon. This means you’ll need approximately 60-90 feet (or 20-30 yards) of ribbon in total for good coverage and to achieve a full, layered look with ample loops and cascades. Always err on the side of having a bit more than you think you’ll need.
Should Ribbon be Added Before or After Ornaments?
For the easiest placement and best visual layering, you should always add ribbon after your Christmas tree lights are in place but before you add any ornaments. This allows the lights to illuminate the ribbon effectively, and the ribbon then provides a beautiful backdrop and framework for your ornaments to be nestled around, rather than being hidden or placed on top of them.
