DIY Board and Batten for Small Bathrooms: Your Ultimate Guide to a Stylish Transformation
Are your bathroom walls looking dull and uninspired? Do you dream of a fresh, inviting space but feel limited by a small footprint? Look no further than board and batten! This classic, versatile wall treatment uses decorative wooden or PVC boards to create visually engaging patterns that instantly elevate any room. Far from being exclusive to large spaces, board and batten can work absolute wonders, even in the most compact of bathrooms, making them feel larger and more luxurious.
In this comprehensive guide, we’ll walk you through everything you need to know to install board and batten yourself. We’ll delve into creative design ideas perfectly suited for tight spaces, offering inspiration that combines beauty with practicality. Plus, we’ll share essential tips on maintaining your new wall treatment, ensuring it looks fantastic and stands the test of time for years to come.
You don’t need to be a seasoned contractor or an expert carpenter to achieve this stylish upgrade. With a collection of basic tools, a clear weekend schedule, and a little determination, you can effortlessly transform your bathroom from boring to absolutely beautiful. Best of all, this impactful renovation comes without the hefty price tag often associated with major home improvements.
Why Choose Board and Batten for Your Bathroom?
Board and batten isn’t just a trend; it’s a timeless design choice that brings significant value and aesthetic appeal to any bathroom. Its inherent flexibility allows it to seamlessly integrate with diverse interior styles, from the rustic charm of a farmhouse to the sleek lines of a modern minimalist design. Beyond its beauty, this particular wall treatment offers several practical advantages, especially in smaller bathrooms, making it an ideal renovation project.
- Aesthetic Versatility & Style Elevation: Board and batten boasts a classic, clean look that adds instant architectural interest and texture to your walls. Whether your home leans traditional, contemporary, coastal, or industrial, this versatile design can be customized with various paint colors and finishes to perfectly complement your existing decor. It transforms plain walls into a sophisticated focal point.
- Space-Enhancing Illusion: For small bathrooms, creating the illusion of more space is key. The vertical lines created by the battens naturally draw the eye upward, making ceilings appear higher and the room feel more open and airy. This simple visual trick is incredibly effective in combating the confined feeling often associated with compact spaces.
- Durability and Wall Protection: Bathrooms are high-moisture environments, making wall protection crucial. Board and batten, especially when properly installed and sealed, offers an extra layer of defense against splashes, scuffs, and general wear and tear. It can help shield your drywall from moisture damage, making it a practical choice for longevity.
- Easy to Install and Update (DIY-Friendly): One of the biggest appeals of board and batten is its relative ease of installation, making it a fantastic DIY project for homeowners looking to add significant style without hiring professionals. Should your taste evolve, updating the look is as simple as a fresh coat of paint, offering endless possibilities for future refreshes.
- Cost-Effective Renovation: Compared to other wall treatments like tiling or elaborate wallpaper, board and batten can be a surprisingly affordable way to achieve a high-end look. The materials are readily available at most hardware stores, and the DIY aspect significantly reduces labor costs, allowing you to achieve a dramatic transformation on a budget.
How to Install Board and Batten in Small Bathrooms
Ready to roll up your sleeves? Installing board and batten in your small bathroom is a rewarding project that can be completed over a weekend. Before diving into the steps, let’s ensure you have all the necessary materials and tools gathered. Having everything ready will make the process smoother and more efficient, bringing you closer to that fresh, stylish look you envision.
Materials and Tools Required
Here’s a comprehensive list of essential materials and tools needed for installing board and batten in your bathroom:
- Wood or PVC Boards: Choose good quality wood (e.g., MDF, pine, poplar) or moisture-resistant PVC boards for the vertical battens and the horizontal top board. PVC is an excellent choice for high-moisture areas like bathrooms as it won’t warp or rot.
- Measuring Tape: Essential for accurate measurements of walls and board lengths, ensuring a precise fit and symmetrical design.
- Level (Torpedo and/or 4-foot): Crucial for ensuring all horizontal and vertical boards are perfectly straight and properly aligned, preventing a crooked appearance.
- Miter Saw or Circular Saw: For cutting boards to the correct lengths and angles, especially for crisp, clean edges. A miter saw is ideal for precise angle cuts.
- Nails or Screws: To securely fasten the boards to the wall. Nails are often preferred for a cleaner finish, while screws offer stronger hold, especially if studs are missed.
- Nail Gun or Drill: A nail gun (pneumatic or electric) significantly speeds up installation. A drill is necessary if using screws.
- Stud Finder: To locate wall studs for the most secure attachment of your boards. If studs aren’t available, wall anchors will be needed.
- Wood Putty or Spackle: To fill in nail/screw holes, minor gaps, and imperfections, creating a smooth surface for painting.
- Caulk or Silicone Sealant (Paintable): Absolutely critical for sealing the edges of the boards, especially in bathrooms, to prevent moisture from seeping behind them and to create a seamless, finished look.
- Primer: Essential for sealing MDF boards, promoting paint adhesion, and ensuring a uniform color finish. Use a moisture-resistant primer for bathrooms.
- Paint (Mildew-Resistant, Semi-Gloss or Satin Finish): Your chosen color for the boards and possibly the entire wall. A semi-gloss or satin finish is ideal for bathrooms as it’s more durable and easier to clean.
- Painter’s Tape: To protect areas of the wall, trim, or fixtures that you don’t want to paint.
- Sandpaper (Fine-Grit): For smoothing cut edges and sanded putty spots.
- Safety Glasses and Gloves: Always wear appropriate personal protective equipment when cutting and handling materials.
Now, let’s begin with the step-by-step installation process.
1. Measure and Plan Your Design
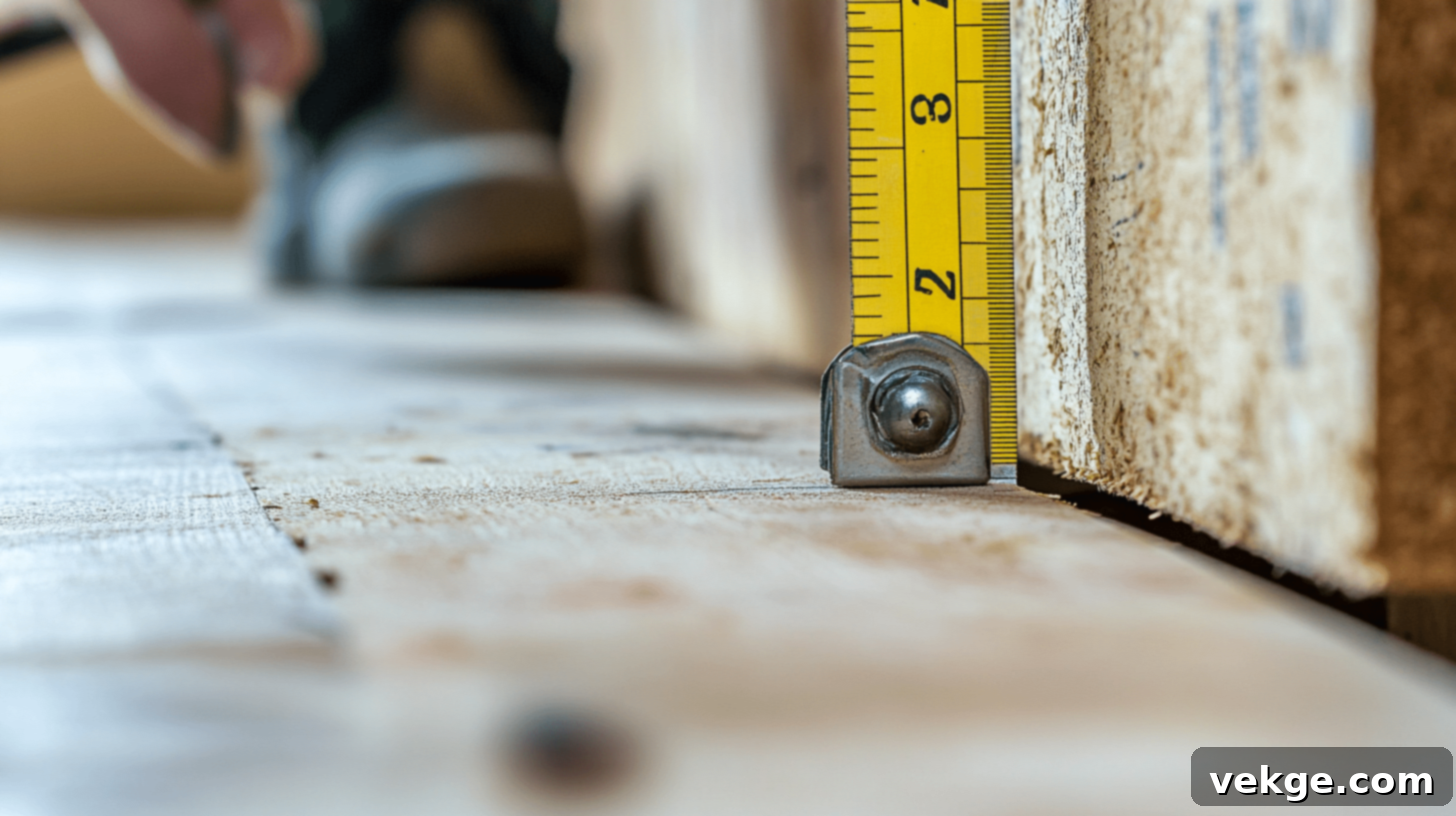
Begin by using your tape measure to accurately find the height and width of all the walls where you plan to install board and batten. This crucial step will inform your material purchase and design layout. Next, decide on the desired height for your board and batten. Will it be a classic wainscoting height (typically 36-48 inches), halfway up the wall, or extend dramatically all the way to the ceiling? Consider the visual impact you want to achieve and how it complements the room’s proportions.
Once you’ve settled on the height, use a pencil and a level to make clear, light marks at this chosen height all around the room. Then, carefully draw a continuous, straight line connecting these marks. This line will serve as your absolute guide for attaching the horizontal top board. Taking the time for precise measurements and planning at this stage is invaluable; it not only saves time and material but also helps avoid frustrating mistakes later in the process.
2. Cut the Boards to Size
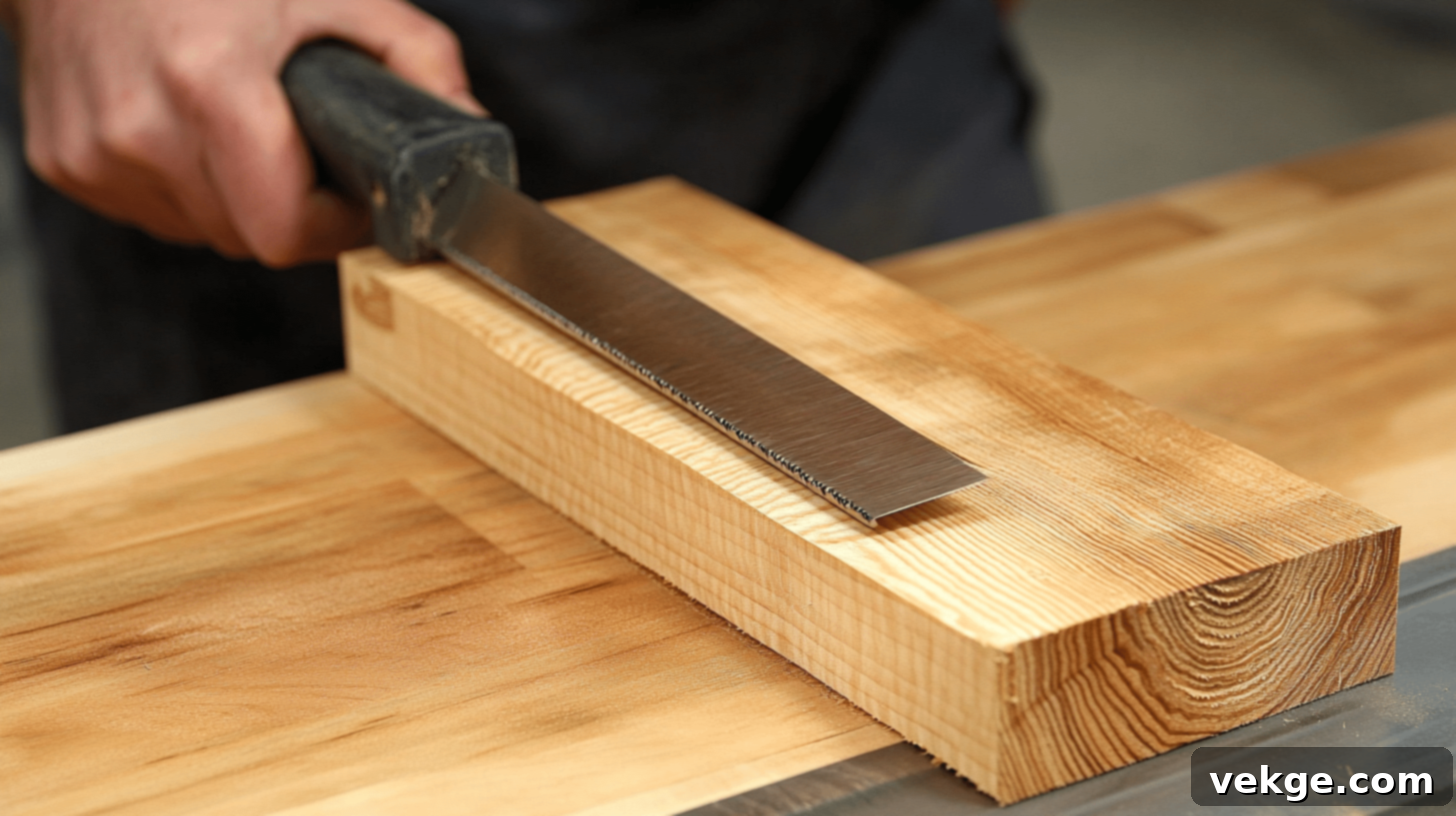
With your precise measurements in hand, it’s time to cut your chosen wooden or PVC boards. You’ll primarily be cutting two types of pieces: the longer horizontal board (or boards, if covering multiple walls) that will form the top cap of your design, and numerous shorter vertical boards, known as battens, which will create the distinctive pattern. Use a miter saw or circular saw to cut each piece to the exact length required. For safety, always wear safety glasses.
After cutting, inspect all edges. Sand any rough spots or burrs until they are smooth to the touch. This attention to detail ensures a professional-looking finish and prevents splinters. A golden rule here: “measure twice, cut once.” Double-checking each measurement before making a cut will save you valuable material and money in the long run.
3. Attach the Top Horizontal Board
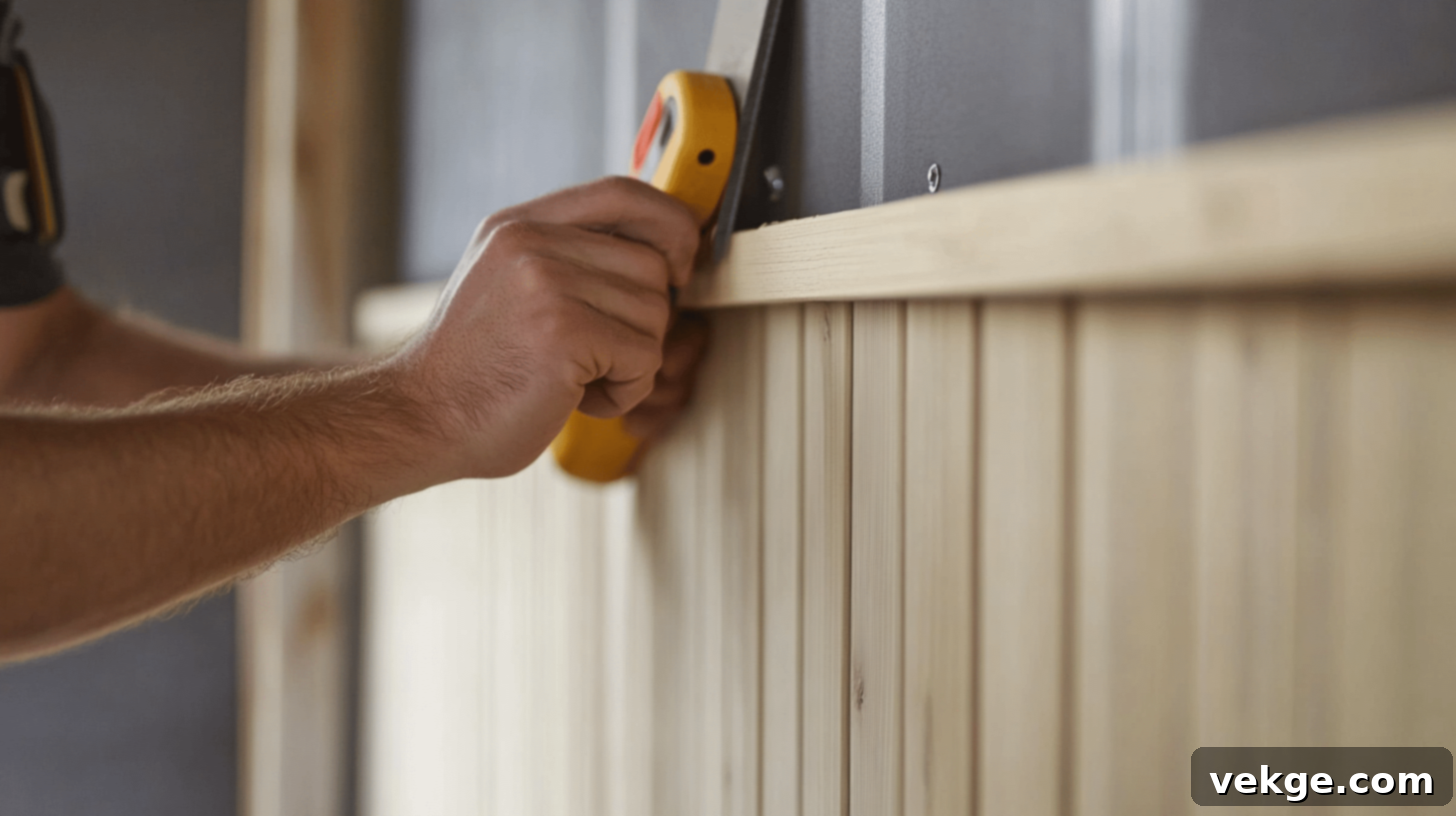
Now, take your pre-cut horizontal top board and carefully position it against the wall, aligning it with the pencil line you drew in the planning stage. This board sets the upper boundary for your entire board and batten design. Use a reliable level tool to ensure it is perfectly straight and level across its entire length – even the slightest tilt will become glaringly obvious once the vertical battens are installed.
Once you’ve confirmed it’s level, secure the board to the wall using a nail gun with nails or a drill with screws. It’s highly recommended to use a stud finder to locate the wall studs and fasten the board directly into them for the strongest attachment. If you can’t find studs in certain areas, or if you’re working on drywall without sufficient backing, utilize appropriate wall anchors (such as toggle bolts or self-drilling anchors) to keep the board firmly and safely in place.
4. Install the Vertical Battens
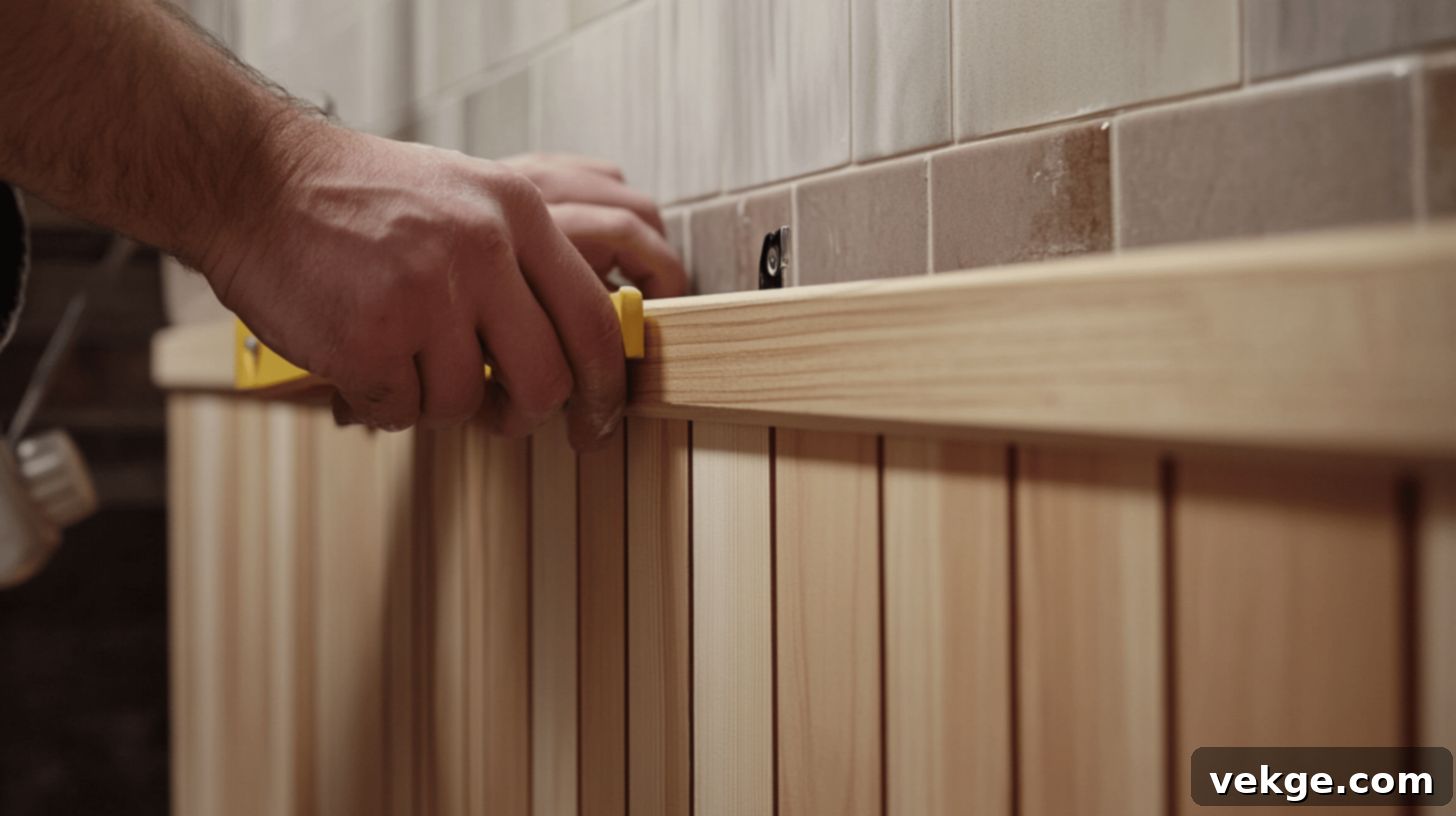
With the top horizontal board securely in place, it’s time to add the vertical battens that create the iconic board and batten pattern. This step requires careful spacing to achieve a visually appealing and symmetrical look. Measure and mark equal spaces between each batten – a common spacing ranges from about 12 to 18 inches, but this can be adjusted based on your preference and the size of your bathroom. Starting from one end of the wall, measure and mark where each vertical batten will be placed, ensuring the distance from the wall corner to the first batten is half of the spacing between battens, or a full space, depending on your desired aesthetic.
Place each pre-cut batten against the wall, ensuring its top edge abuts the underside of the top horizontal board. Before fastening, use your level to check that each batten is perfectly plumb (straight up and down). Once satisfied with its position and alignment, attach it to the wall using nails or screws, just as you did with the top board. Continue this process across the entire wall, ensuring consistent spacing and levelness for each vertical piece. For a truly professional finish, make sure each batten is snug against the top board, leaving no gaps.
5. Finish, Caulk, Prime, and Paint
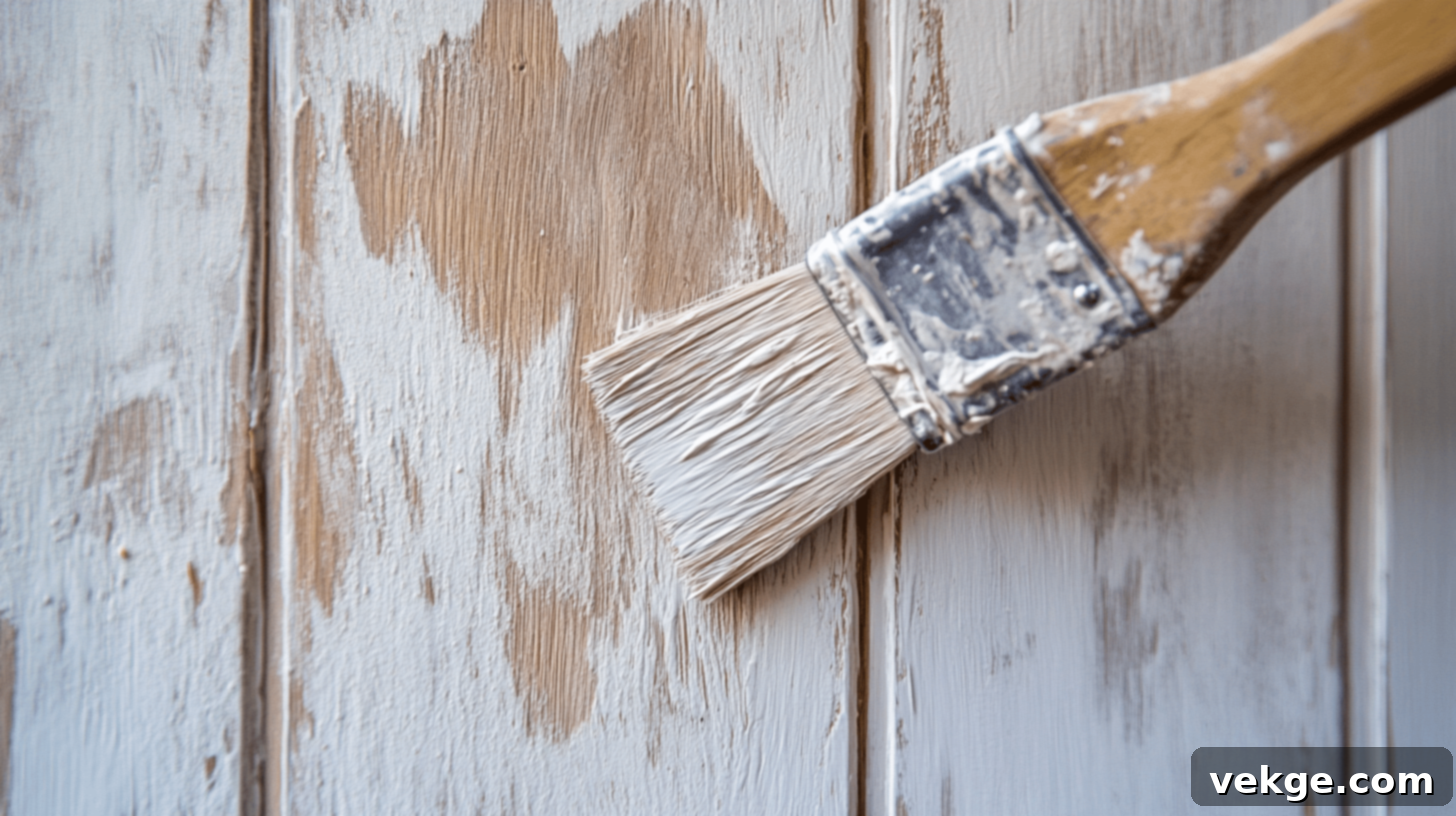
With all the boards securely in place, your wall is now ready for the critical finishing touches that will transform it into a polished masterpiece. First, use wood putty or spackle to meticulously fill in all nail/screw holes and any small gaps where the wood meets the wall or where two pieces of wood join. Allow the putty to dry completely according to the manufacturer’s instructions. Once dry, carefully sand these spots until they are perfectly smooth and flush with the surrounding wood.
After sanding, wipe away any dust with a damp cloth to ensure a clean surface for painting. Now comes a crucial step for bathroom installations: apply a bead of paintable caulk along all seams where the boards meet the wall and where the boards meet each other (e.g., top board to battens). This not only creates a seamless, built-in look but, more importantly, seals out moisture, protecting your drywall from water damage. Allow the caulk to cure completely.
Next, apply a high-quality primer, especially if you used MDF boards, as primer seals the material and ensures better paint adhesion and a uniform finish. Once the primer is dry, it’s time to paint! Apply your chosen paint color to the entire board and batten structure, and if desired, extend the color to the upper wall section for a cohesive look. For the best durability and appearance in a bathroom, use a mildew-resistant paint with a semi-gloss or satin finish. You will likely need two coats for full coverage and a rich, even color. Once dry, step back and admire your beautiful new wall that adds undeniable style and character to your room.
Inspiring Design Ideas for Board and Batten in Small Bathrooms
Small bathrooms present a unique opportunity for creative design, and board and batten is an excellent tool for maximizing both style and perceived space. By adding texture and architectural interest without consuming precious square footage, this wall treatment can make even the tiniest powder room feel grander and more inviting. Here are some tailored design ideas to make your small bathroom truly stand out:
1. Modern Farmhouse Charm
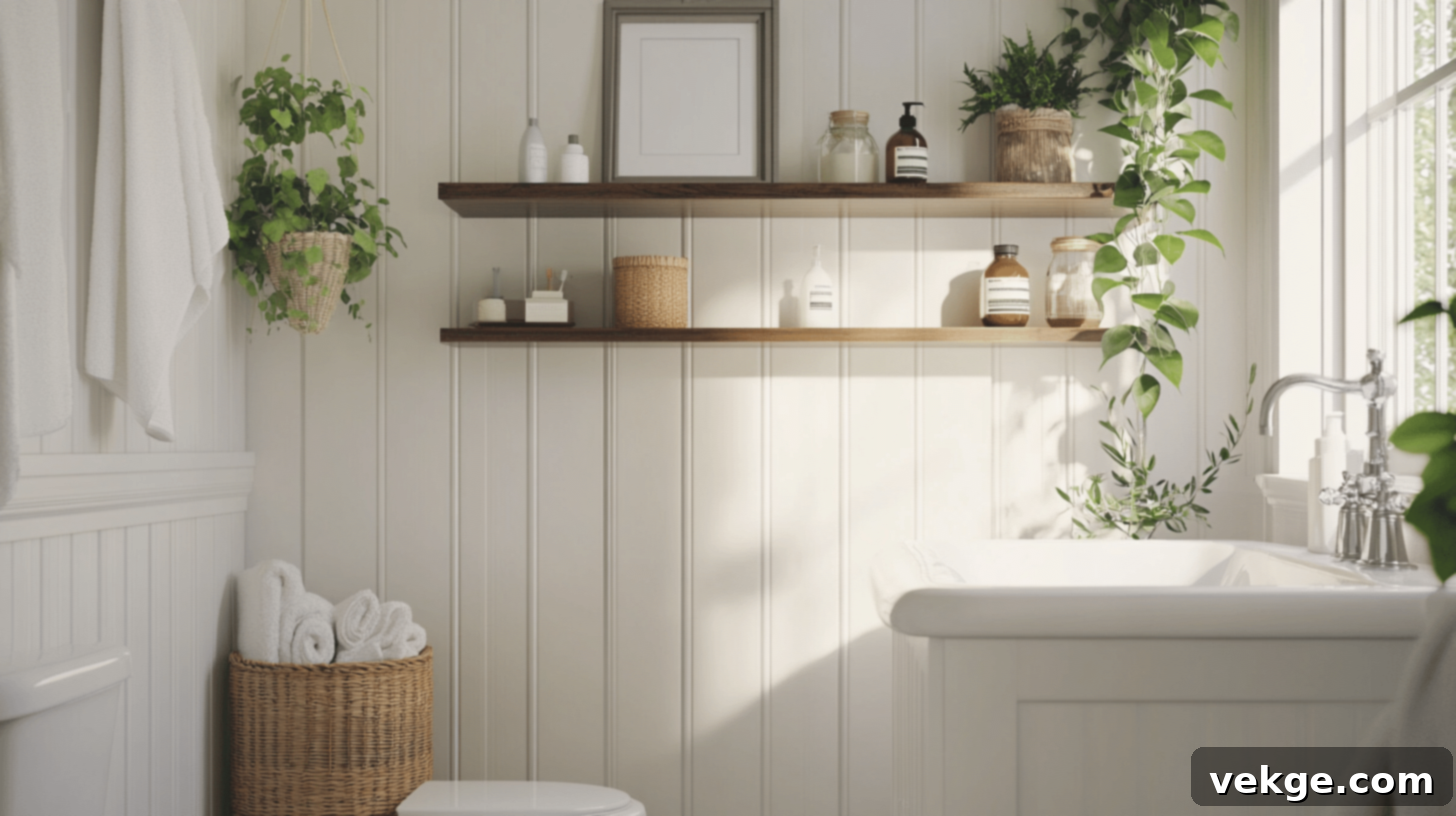
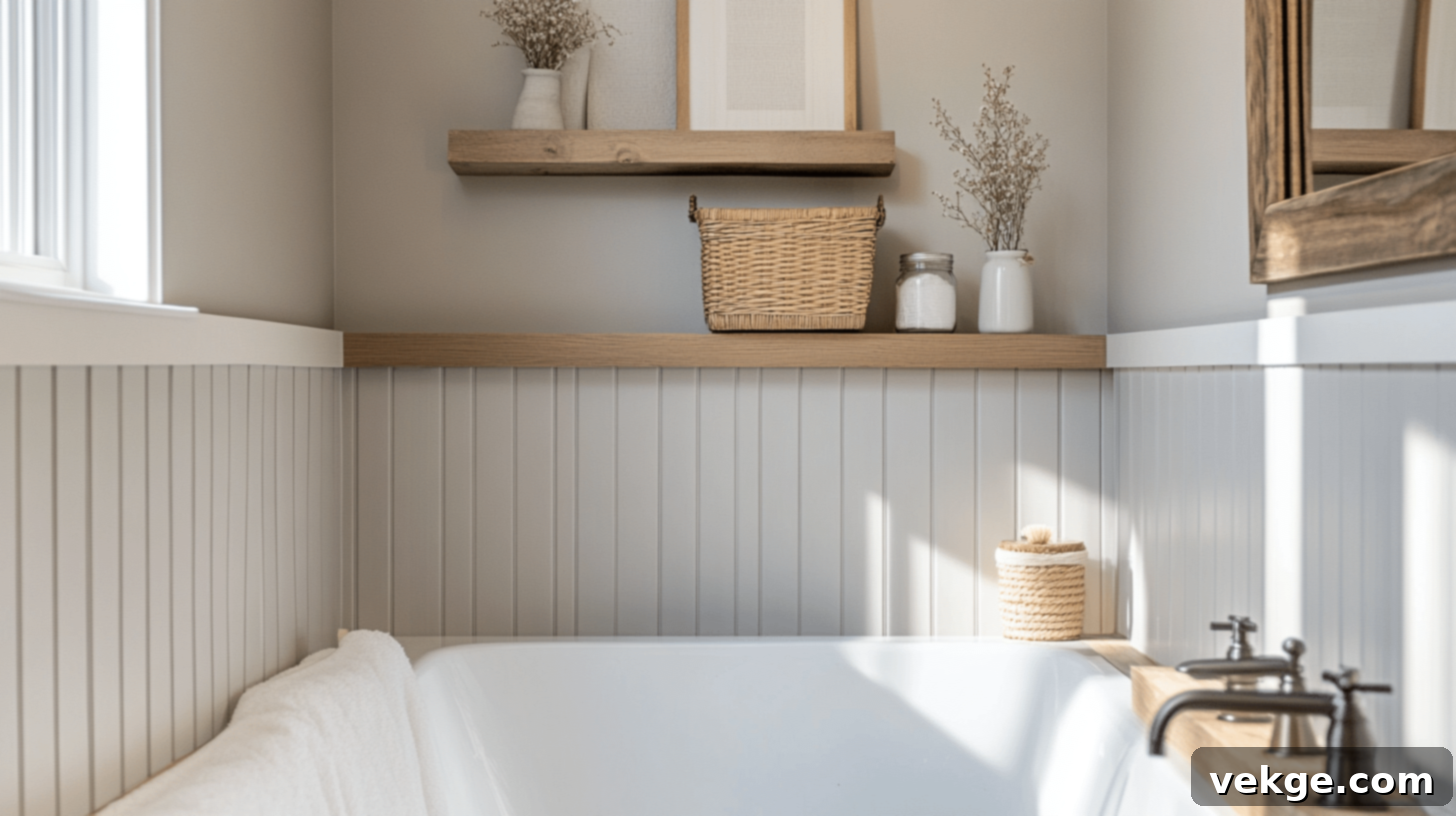
Embrace the cozy yet sophisticated aesthetic of modern farmhouse by painting your board and batten in crisp white, soft off-white, or a gentle light gray. These neutral tones create an open, airy backdrop that instantly brightens a small space. To inject warmth and character, introduce simple wooden elements like floating shelves crafted from reclaimed wood, or a distressed wooden mirror frame. Enhance the farmhouse feel with thoughtful, small touches: consider mason jar soap dispensers, woven seagrass baskets for storing extra towels or toiletries, and matte black or oil-rubbed bronze fixtures. This style thrives in tiny bathrooms because it champions light colors and natural textures, ensuring the space remains unburdened and inviting.
2. Bold Two-Tone Look
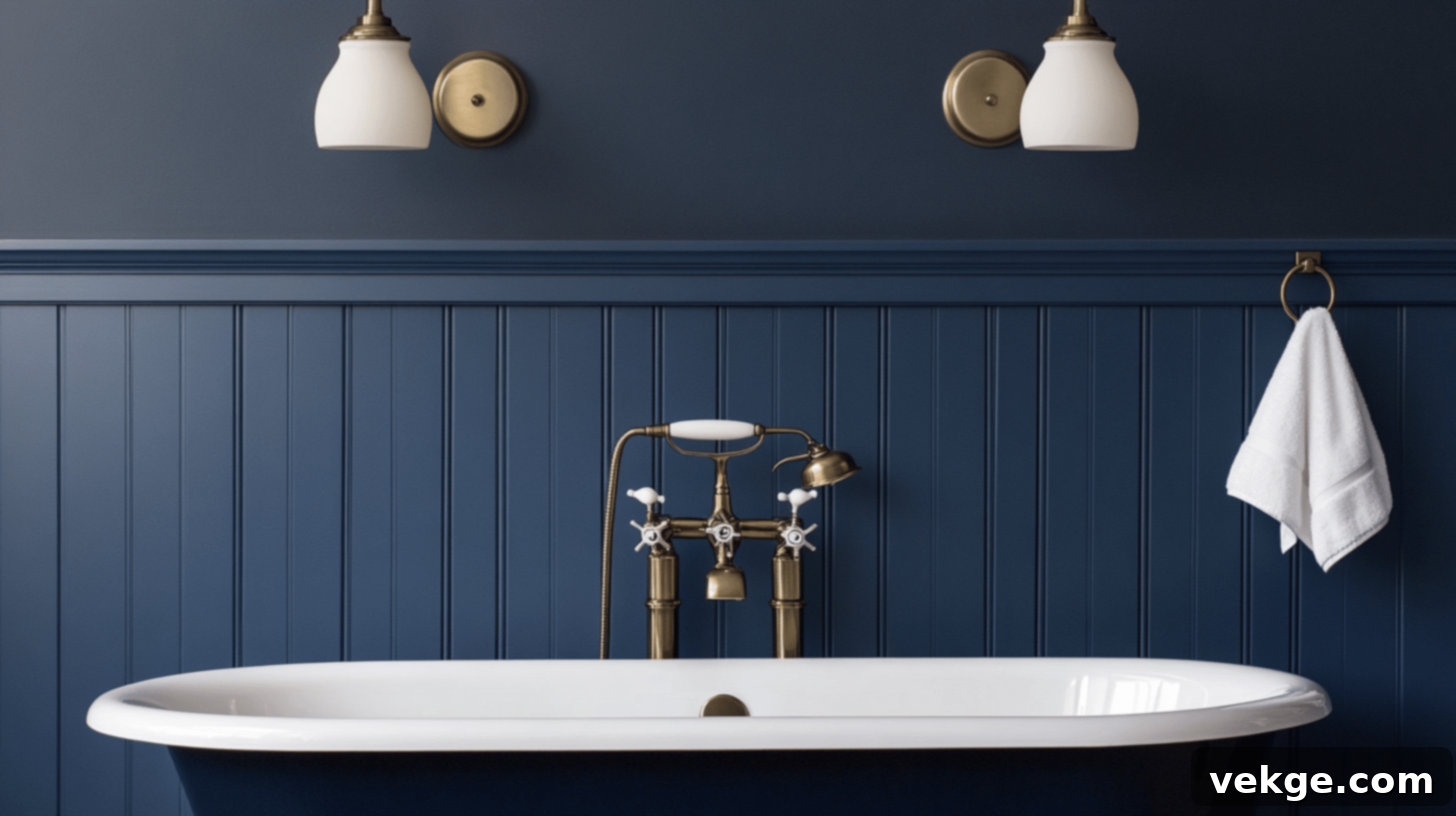
Make a dramatic statement by painting the board and batten section in a deep, rich color like navy blue, forest green, charcoal gray, or even a sophisticated black. Keep the top half of the wall, above the board and batten, in a bright, contrasting white or a very pale neutral. This clever trick creates a stark visual break that makes the ceiling appear significantly higher, adding an unexpected depth and undeniable style to a tiny room. Elevate the bold two-tone walls with complementary metallic accents: think gleaming brass fixtures, sleek black metal hardware, or polished chrome for a contemporary edge. This daring design choice works exceptionally well in powder rooms, where you have the freedom to experiment with more impactful and adventurous color schemes.
3. Vertical Board and Batten for Height
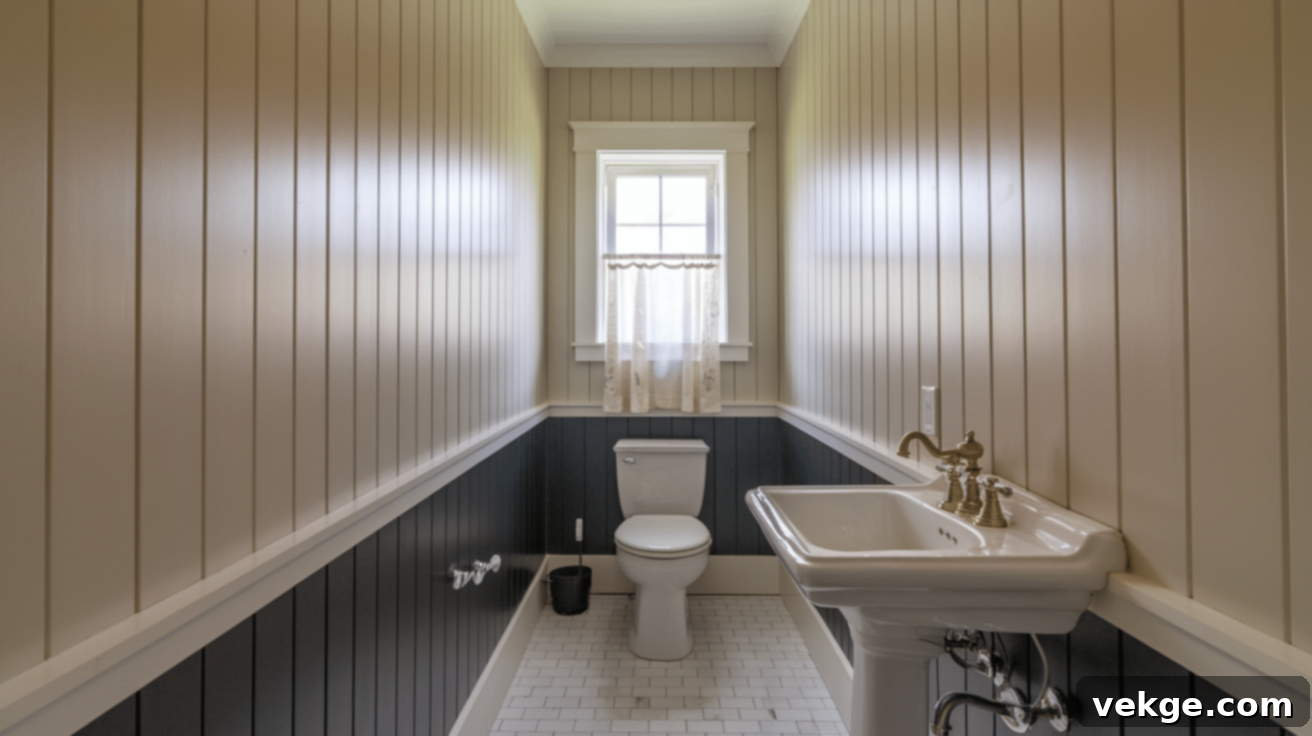
Rethink the traditional batten placement by running your vertical boards from floor to ceiling, creating a continuous, upward-leading pattern. This design is particularly potent in small bathrooms as the uninterrupted vertical lines powerfully pull the eye upward, making the space feel dramatically taller and more expansive than it actually is. For a clean, modern aesthetic, paint all the boards and the wall behind them the same single color. This creates a subtle yet impactful texture without overwhelming the space with too many visual elements. This full-height vertical treatment is incredibly effective in bathrooms with lower ceilings or in very tight, narrow spaces like shower stalls or accent walls, where maximizing visual height is paramount.
4. Half-Wall Board and Batten (Wainscoting)
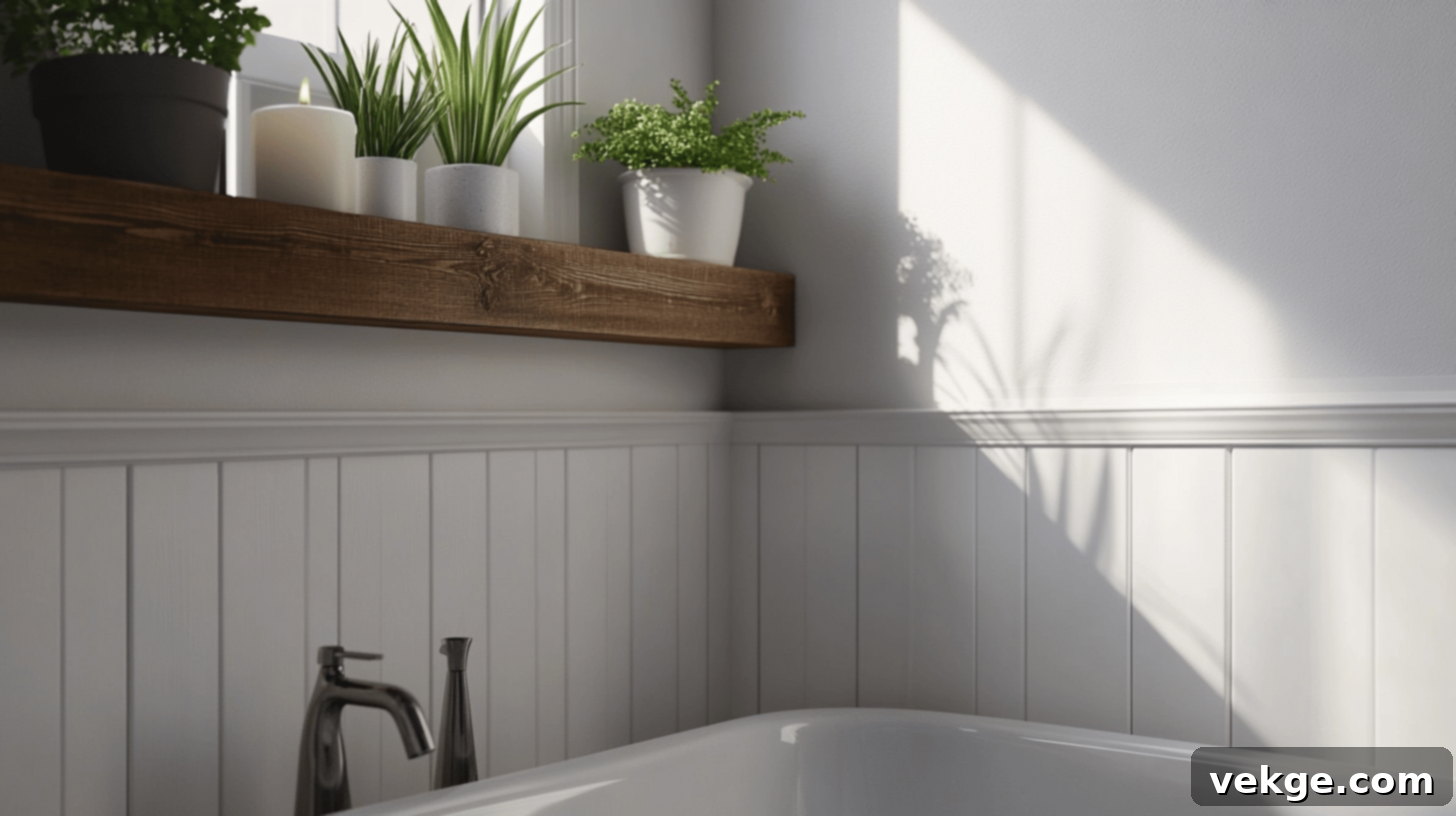
Opt for the classic wainscoting style by installing board and batten on just the bottom half of your walls, typically extending about 3 to 4 feet high. This traditional approach offers a perfect balance of protection and openness. It effectively shields the lower portion of your walls from water splashes, scuffs, and daily wear and tear, while keeping the upper section visually light and airy. For the top portion of the wall, you can keep it simple with a fresh coat of paint in a complementary color, or introduce a subtle texture with a delicate wallpaper pattern or even a small, decorative tile. To enhance the functionality and charm, consider adding a thin, decorative shelf along the top edge of the board and batten. This provides a convenient perch for small potted plants, cherished decorative items, or essential bathroom toiletries, adding both style and practical storage.
5. Rustic Vibes with Natural Wood
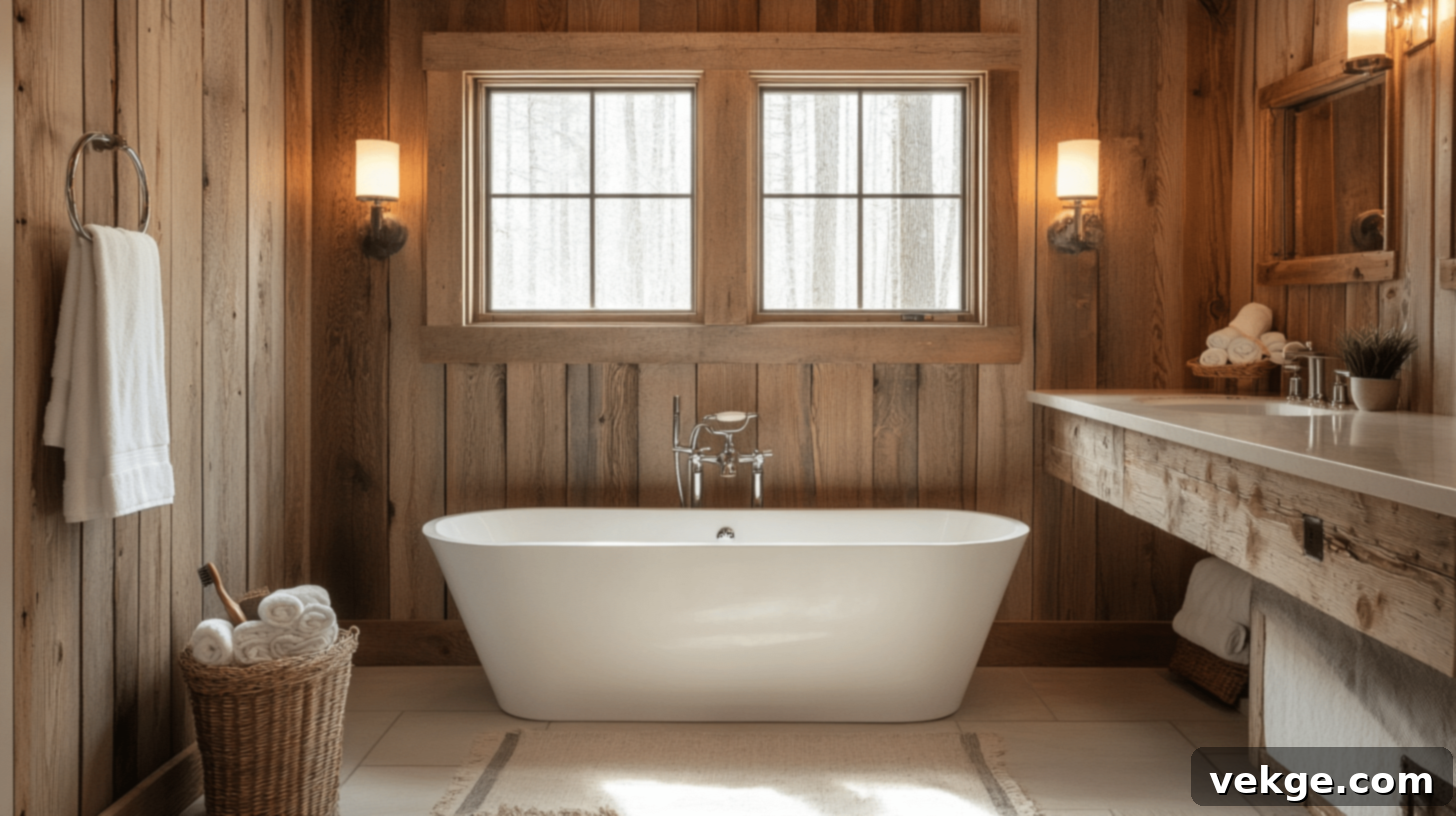
For a bathroom that exudes warmth and character, embrace the beauty of natural wood. Instead of painting, select pine, cedar, or oak boards and finish them with a clear sealant, stain, or light wax to highlight their inherent grain and texture. The natural wood tones instantly infuse a small bathroom with a sense of organic warmth and a welcoming, rustic charm. Pair this natural wood board and batten with earthy elements like stone countertops, natural stone floor tiles, or even river rock accents in the shower. Complete the cozy, nature-inspired design with antique-style faucets, vintage light fixtures, and perhaps a touch of wrought iron. It’s crucial to ensure this design is implemented in bathrooms with excellent ventilation and proper sealing, as wood requires robust protection from excessive moisture to prevent warping or mold.
Maintaining Board and Batten in Bathrooms for Lasting Beauty
Board and batten walls in bathrooms are not only a feast for the eyes but also serve as a practical barrier, offering protection from water splashes and daily wear. To ensure your investment continues to look as pristine as the day it was installed and to extend its lifespan, regular and proper care is essential. Well-maintained board and batten remains free from unsightly mold, retains its vibrant color, and preserves the clean, architectural lines that make it so appealing. Moreover, diligent upkeep can save you money and hassle by preventing costly repairs or replacements down the line.
Let’s delve into some key tips for maintaining your board and batten, ensuring its beauty endures for a longer time:
- Reapply Waterproof Sealant Annually: This is particularly vital in high-moisture zones like bathrooms. Inspect and reapply a high-quality, paintable silicone caulk or a clear waterproof sealant to all seams and edges yearly, especially those closest to the sink, shower, and toilet. This creates a critical barrier against moisture penetration, preventing water from reaching the drywall behind the boards.
- Regularly Inspect and Recaulk Gaps: Over time, houses settle and materials expand and contract, which can lead to hairline cracks or gaps in the caulk lines. Make it a routine to inspect all seams and joints. If you notice any cracks, peel away the old caulk and apply a fresh bead to maintain a tight seal and a polished appearance.
- Control Moisture with Ventilation: The single most effective way to protect your board and batten (and your entire bathroom) from moisture damage is to ensure proper ventilation. Always run your bathroom fan during showers and baths, and continue running it for at least 15-20 minutes afterward to thoroughly clear out humidity. If you don’t have a fan, consider installing one or opening a window to air out the space.
- Utilize Bath Mats and Shower Curtains/Doors: Simple accessories can make a big difference. Use absorbent bath mats to catch splashes from the tub or shower, and ensure your shower curtain or door is effectively containing water within the shower area. This minimizes direct water exposure to your newly installed walls.
- Promptly Address Spills and Splashes: Don’t let water sit on your board and batten. Wipe away any water splashes or spills immediately with a soft, dry cloth. Even sealed surfaces can suffer if moisture is allowed to dwell.
- Gentle Cleaning Practices: For general cleaning, use a soft cloth or sponge dampened with a mild, non-abrasive household cleaner. Avoid harsh chemicals, abrasive scrubbers, or excessive scrubbing, as these can damage the paint finish or the sealant. Always wipe the surface dry after cleaning.
- Check for Mold and Mildew: Given the humid environment, mold and mildew can sometimes appear in corners or along seams. Regularly inspect these areas. If you spot any, clean immediately with a solution of white vinegar and water (1:1 ratio) or a dedicated mold and mildew cleaner. Address it quickly to prevent spread and deeper damage.
- Keep Touch-Up Paint Handy: It’s always a good idea to save a small amount of the original paint used for your board and batten. This allows for quick and seamless touch-ups for any minor chips, scuffs, or imperfections that may occur over time, keeping your walls looking fresh.
Wrapping Up Your Board and Batten Transformation
Congratulations! You now have all the tools, knowledge, and creative inspiration to confidently tackle and create a beautiful, stylish board and batten wall in your bathroom. This project is perfectly suited for enthusiastic weekend DIYers who are eager to achieve significant, visually impactful results without draining their budget or sacrificing an entire month to renovations.
As you embark on or complete your project, remember the paramount importance of thorough sealing, especially in the high-moisture zones of your bathroom. This crucial step ensures longevity and protection against humidity and splashes. Furthermore, commit to regular cleaning and maintenance – a small effort that will keep your board and batten looking pristine and fresh for many years to come.
If the idea of transforming an entire bathroom feels a bit daunting for your first attempt, consider starting with a smaller, less critical space like a powder room. This provides an excellent opportunity to hone your skills, build confidence, and experiment with design before moving on to larger areas. The truly wonderful aspect of board and batten is its incredible adaptability: you can completely change the look and feel of your space anytime, simply with a new coat of paint, offering endless possibilities for future refreshes.
Don’t forget to capture your journey! Take compelling “before” and “after” pictures to proudly showcase your hard work and the stunning transformation you’ve achieved. The satisfaction of a DIY project, especially one that so dramatically enhances your home, is immeasurable.
Ready to get started? Grab your measuring tape, head to your local hardware store to pick up your supplies, and prepare to transform your bathroom from ordinary to extraordinary this weekend. Your stylish, refreshed bathroom awaits!
