DIY Murphy Bed Desk: Your Ultimate Guide to Building a Space-Saving Masterpiece
In today’s dynamic living environments, where optimizing every square foot is paramount, the Murphy bed desk combo stands out as an ingenious solution. Imagine a piece of furniture that seamlessly transforms from a productive workspace by day into a comfortable bed by night. This innovative, multifunctional unit is an excellent option for individuals and families alike who are short on space but refuse to compromise on either functionality or comfort. Whether you’re furnishing a compact apartment, creating a versatile home office, or designing a guest room that truly works overtime, a Murphy bed desk offers unparalleled utility.
While the convenience of purchasing a ready-made unit is undeniable, embarking on a DIY Murphy bed desk project offers a wealth of benefits that extend far beyond simple acquisition. Building your own allows for complete control over component selection, ensuring you use premium quality materials that meet your exact specifications for durability and aesthetics. This hands-on approach guarantees a sturdy product built to last, often at a significantly more reasonable price than custom-made alternatives. Furthermore, the ability to tailor the design, finish, and dimensions to perfectly match your home’s decor and spatial constraints is an invaluable advantage, resulting in a truly bespoke piece of furniture.
If you’ve been dreaming of creating your own convertible desk bed but feel daunted by the prospect of where to begin or what materials to prioritize, you’ve come to the right place. This comprehensive guide will walk you through each step of the construction process, providing clear explanations and practical tips to help you cost-effectively build a robust and beautiful Murphy bed desk that will serve your needs for years to come. Get ready to transform your living space with this smart, space-saving solution!
Essential Tools for Your DIY Murphy Bed Desk Project
Before diving into the exciting world of woodworking, ensuring you have the right tools on hand is crucial for a smooth and successful build. Investing in quality tools not only makes the job easier but also contributes to greater accuracy and safety. Most of these can be found at your local home center or purchased conveniently online. Remember to always prioritize safety by wearing appropriate protective gear like safety glasses and gloves when operating power tools.
- Drill Machine: Indispensable for creating pilot holes, driving screws, and using various drilling attachments. A cordless drill offers maximum flexibility.
- Handsaw: Useful for smaller cuts, trimming, and situations where a power saw might be overkill or inaccessible.
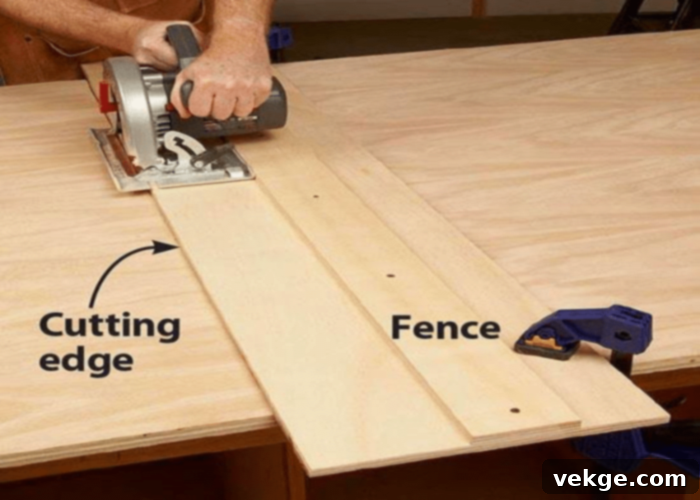
- Cutting Guide (Straight Edge): Essential for ensuring perfectly straight cuts with your circular saw, leading to precise, professional-looking joints.
- Nailer (Brad or Finish Nailer): Speeds up assembly, especially for attaching face frames or edge banding, providing strong, clean fasteners.
- Miter Saw: Perfect for making accurate crosscuts and angled cuts on lumber, crucial for framing and trim pieces.
- Metric Tape Measure: Accuracy is key in woodworking. A reliable tape measure will be used constantly for all measurements.
- Circular Saw: Your primary tool for breaking down large sheets of plywood. When paired with a cutting guide, it delivers excellent results.
- Forstner Drill Bits: These specialized bits create clean, flat-bottomed holes, ideal for concealed hinges, dowel joints, or specific hardware fittings.
- Safety Glasses and Gloves: Non-negotiable for protecting your eyes and hands from sawdust, splinters, and tool mishaps.
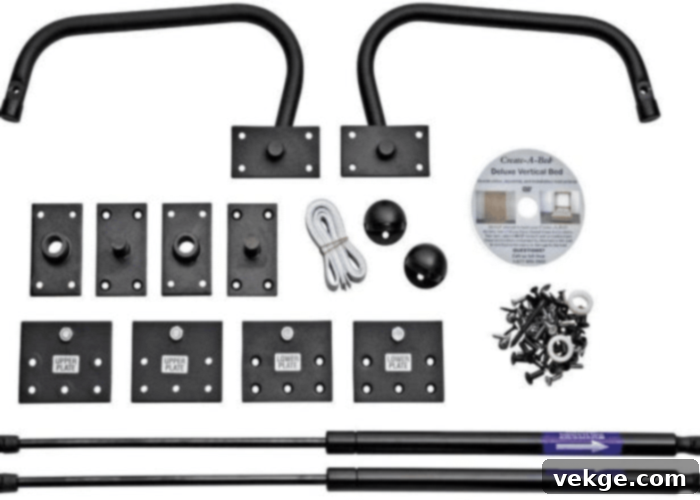
Step-by-Step Guide to Building Your Custom Murphy Bed Desk
1. Precision Cutting of Plywood Panels
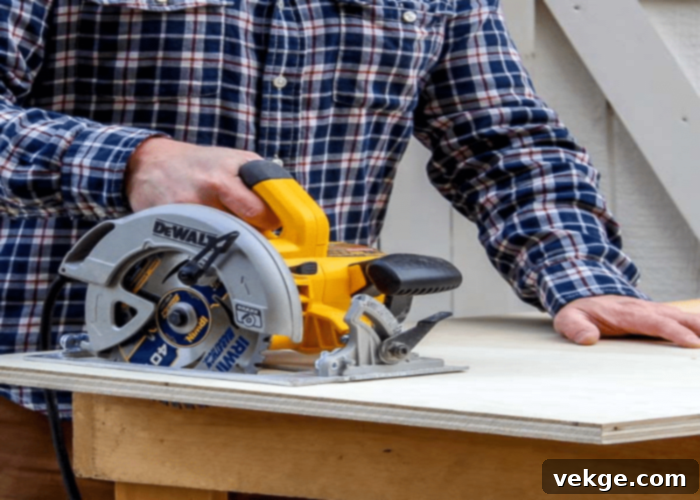
With your tools and raw materials (primarily high-quality plywood suitable for furniture construction, such as cabinet-grade birch or maple plywood) assembled, the foundational step is to accurately cut your plywood sheets. Precision here is paramount, as it directly impacts the overall fit and finish of your Murphy bed desk. Begin by carefully marking out all the required dimensions on the plywood panels, double-checking each measurement to adhere to the old adage: “measure twice, cut once.” For long, straight cuts, utilize your circular saw paired with a reliable cutting guide or a clamped-down straight edge. This combination ensures perfectly straight and clean edges, which are critical for strong joints. For smaller, more intricate cuts or for refining edges, a handsaw can be employed. Always ensure your workspace is clear and stable, and wear your safety glasses when operating power tools.
2. Applying Edge Banding for a Refined Finish
Once your main plywood panels are cut, the next step involves applying edge banding to give your furniture a professional, finished look and protect the exposed plywood layers. This process involves attaching thin strips of wood veneer or PVC material to the edges of your plywood pieces. These edges should be slightly wider, approximately 1/16 inch, than the thickness of the plywood panel. This slight overhang allows for precise trimming later, ensuring a flush and seamless appearance. Apply a strong wood glue to the plywood edge, carefully position the edging strip, and secure it firmly with small brad nails or a brad nailer. For some types of iron-on edge banding, a heat iron is used to activate the adhesive. Whichever method you choose, ensure a tight bond to prevent the edging from peeling over time. Allow the glue to dry completely as per the manufacturer’s instructions before proceeding.
3. Sanding for a Smooth and Professional Surface

After the glue for your edge banding has fully cured, it’s time to sand. This critical step refines the surface, creates a smooth finish, and prepares the wood for staining, painting, or sealing. Start by sanding the excess edge banding flush with the plywood faces. Use a sanding block or an orbital sander with medium-grit sandpaper (around 120-150 grit) for this initial shaping. Be extremely careful not to sand through the plywood’s veneer layer, as this will expose the underlying plies and compromise the aesthetic integrity of your piece. Once the edges are flush, move on to sanding the entire surface of each plywood panel. Progress through finer grits (e.g., 180-220 grit) to achieve a silken-smooth texture. A well-sanded surface ensures that any subsequent finishes will absorb evenly and look flawless. After sanding, wipe down all surfaces with a tack cloth to remove any dust before assembly.
4. Drilling Precise Holes for Hardware Integration
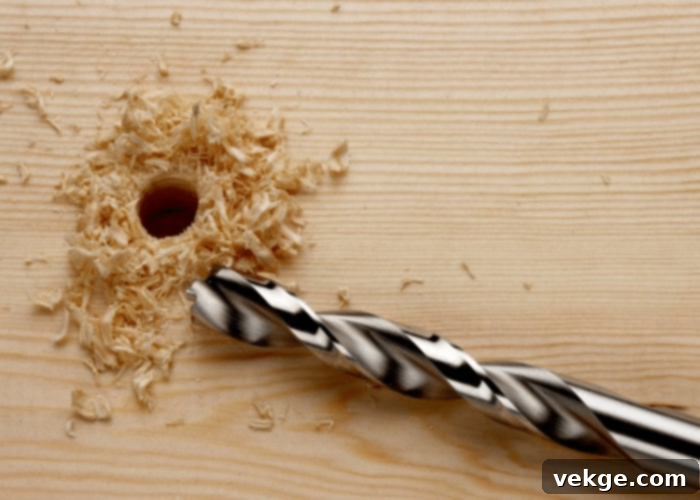
With your panels cut and sanded, the next crucial step is to drill all necessary holes for the hardware. This includes pilot holes for screws, larger holes for pivot pins, and specific holes for any other mechanisms your Murphy bed desk design incorporates. Accuracy here is paramount; even slight misalignments can lead to binding or improper operation. Use your measuring tape meticulously to mark the exact placement of each hole on the sides, bed ends, desk ends, and any other components requiring hardware attachment. For holes that need a flat bottom (e.g., for concealed hinges or specific hardware fittings), Forstner drill bits are ideal as they create clean, precise holes without tearing the wood fibers. For through-holes, a standard twist bit will suffice. If possible, a drill press can offer superior accuracy and consistency for repetitive drilling tasks. Double-check your measurements and refer to your hardware’s installation instructions for specific hole sizes and depths.
5. Assembling the Carcass and Attaching the Face Frame
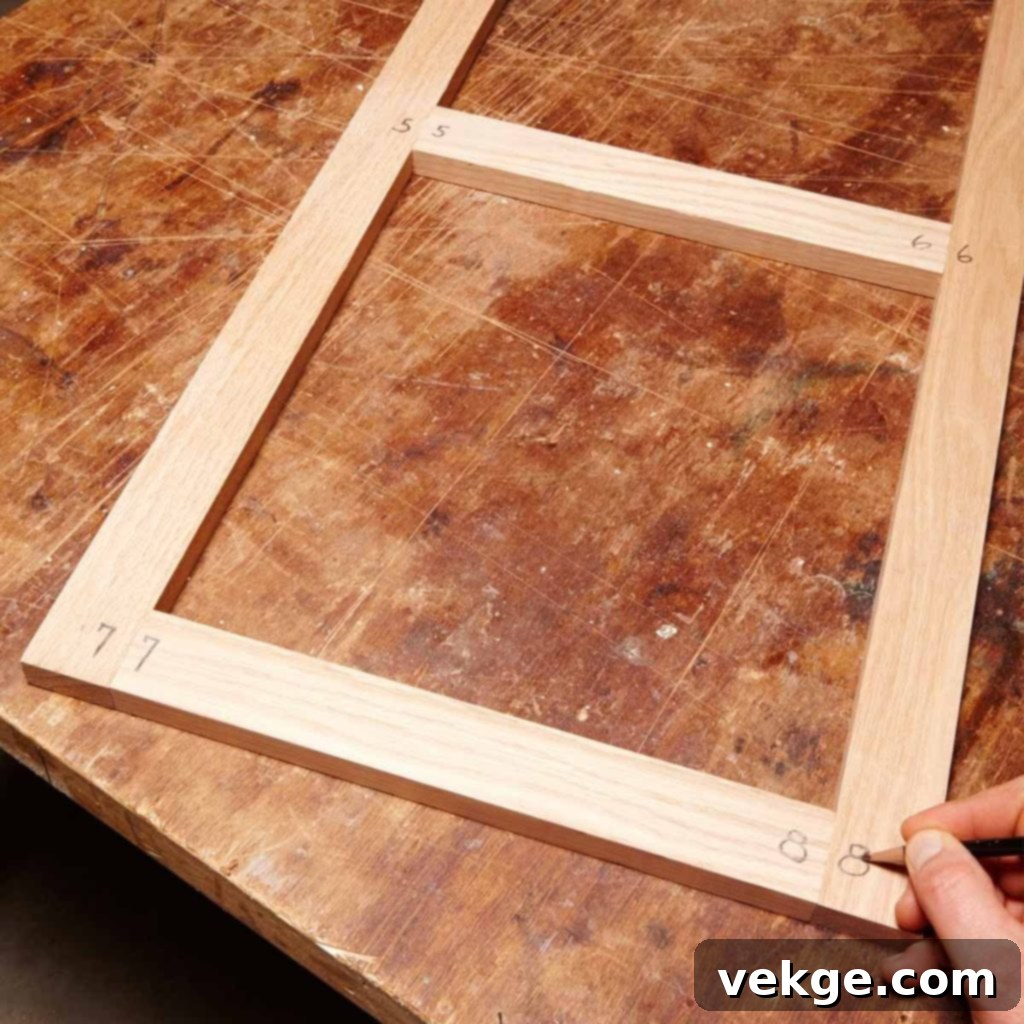
Now, it’s time to bring your individual pieces together to form the main structure of your Murphy bed desk. The “carcass” refers to the entire skeletal structure of the cabinet, encompassing the side panels, shelves, and the bottom stretcher. Begin by joining these components, ensuring they are perfectly square as you assemble. Use a combination of wood glue and screws (or pocket hole joinery for a cleaner look) for maximum strength and stability. Clamps can be incredibly helpful during this stage to hold pieces firmly in place while fasteners are applied. Once the carcass is assembled and sturdy, you’ll attach the face frame. The face frame serves both aesthetic and structural purposes: it covers the exposed plywood edges of the carcass, provides a solid surface for hinges and hardware, and adds significant rigidity. Secure the face frame to the carcass using wood glue, small finish nails (from your nailer), and carefully placed screws from the inside out, ensuring no fasteners are visible from the front. Wipe away any excess glue immediately.
6. Separate Assembly of Desk and Bed, Plus Pivot Pin Installation
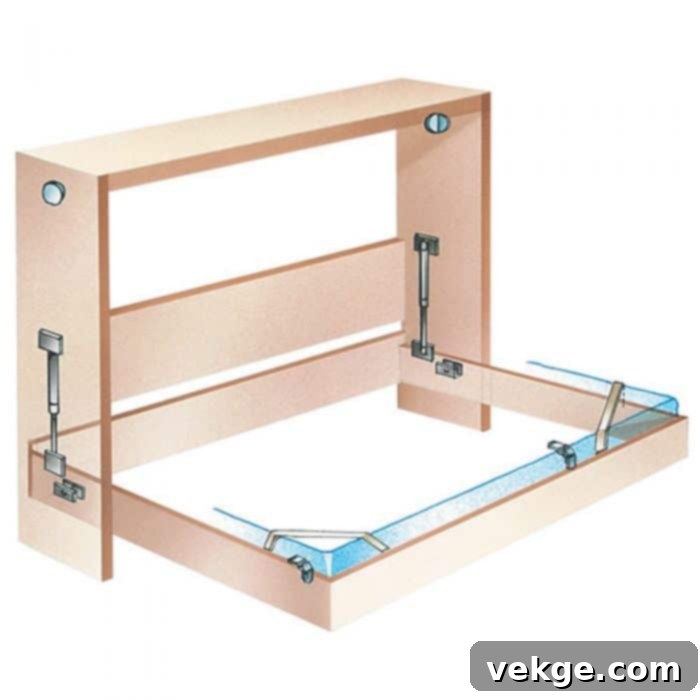
This stage involves assembling the two primary moving components independently. First, for the desk portion, attach the desk back and end panels to the main desk platform. This forms the stable surface for your workspace. A crucial element for desk rigidity, especially in a convertible unit, is the angle iron desk stiffener. Drill precise holes into this stiffener, then flip the desk platform over and secure the stiffener firmly to its underside using 3-inch wood screws. This will prevent any sagging or warping of the desk surface over time. For the bed frame, begin by cutting the radiused (rounded) corners of the bed ends. This detail not only adds to the aesthetic appeal but also ensures smoother operation when the bed is retracted into the cabinet. Sand these radiused corners smooth before attaching the front and back bed ends to the side rails. Ensure the bed frame is square and incredibly sturdy, as it will bear the weight of the mattress and user. Finally, attach the necessary pivot pins to both the bed and desk components as per your hardware kit’s instructions. These pins are the linchpins that allow the magical transformation of your furniture.
7. Installing the Side Hardware Mechanism
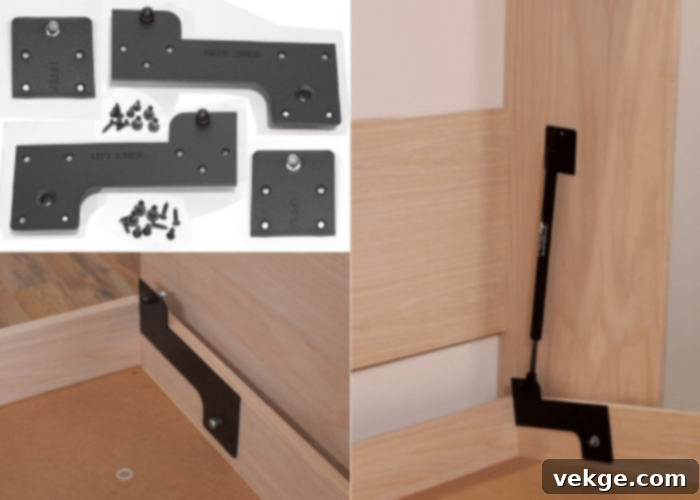
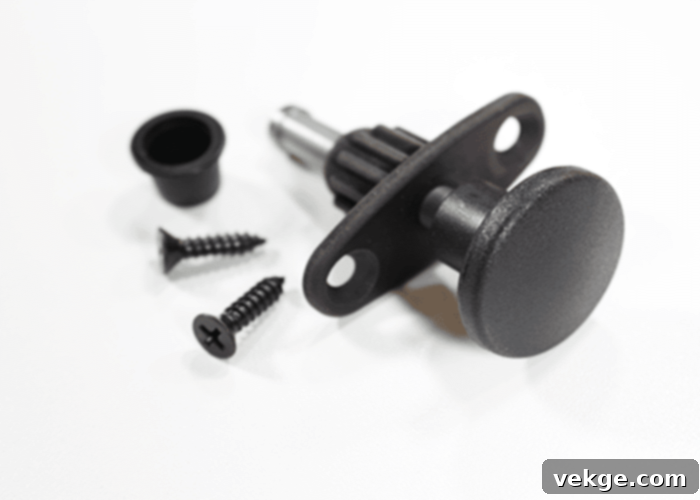
Once the desk and bed components are individually assembled and their respective pivot pins are in place, the next step is to install the crucial side hardware that enables the entire conversion mechanism. This typically includes pivot arm plates and spring brackets, which are integral to the counterbalancing system of the Murphy bed. Carefully position these components on the side panels of the main carcass, aligning them precisely with the pre-drilled holes. Secure them firmly using heavy-duty hex-head bolts and cap nuts, ensuring they are tightened securely but not over-tightened to allow for smooth movement. This hardware is subjected to significant stress during operation, so robust fastening is essential for long-term safety and functionality. The final sub-step involves inserting the locking pins into the designated holes you drilled earlier. These pins are critical for safety, preventing accidental deployment or retraction of the bed or desk when not in use.
8. Integrating the Bed and Desk with the Carcass

This is where the magic truly begins to take shape as you connect the major sub-assemblies. Start by placing the assembled desk component carefully on the floor, ensuring it’s stable. Next, gently slide the bed ends into place, aligning their pivot links with the corresponding rod on the desk. This action effectively secures the bed and desk units together, allowing them to move in tandem. Once this initial connection is made, you will attach this combined unit (bed and desk) to the main carcass. Carefully lift and position the assembly, aligning the trunnion screws (part of the pivot mechanism) with the threaded holes in the pivot arm plates that are already attached to the carcass sides. Thread these screws in securely. During this process, ensure the pivot arms hook correctly under their designated “tribe areas” or support sections within the carcass, allowing for smooth, balanced rotation. This step may require an extra set of hands to hold components steady while fasteners are being applied, guaranteeing proper alignment and functionality.
9. Final Touches: Mattress Installation and Optional Lighting
You’re almost there! The final step involves making your Murphy bed desk ready for use. Carefully place your chosen mattress into the bed frame. To prevent the mattress from shifting or falling out when the bed is in its upright position, secure it with elastic straps at the corners. These straps should be attached to the bed platform using sturdy wood screws and flat washers, ensuring a strong and reliable anchor. For an added touch of modern functionality and ambiance, consider installing LED strip lights. These can be strategically placed along the interior of the bed frame or within the cabinet, providing soft, diffused lighting for reading or creating a cozy atmosphere. LED strip lights are highly energy-efficient and come in various colors and brightness levels, offering a customizable experience. While this is an optional enhancement, it significantly elevates the overall appeal and utility of your newly built Murphy bed desk. Wire them carefully, ensuring all connections are secure and hidden for a clean finish.
Conclusion: Embrace the Versatility of Your DIY Murphy Bed Desk
Incorporating a Murphy bed desk into your home is a truly brilliant idea, especially in an era where maximizing living space is more important than ever. It’s the quintessential multifunctional furniture piece that effortlessly solves the dilemma of needing both a dedicated workspace and a comfortable sleeping area without cluttering your home with separate units. This versatile combo excels in small apartments, multi-purpose guest rooms, or even as an efficient setup for a home office that needs to convert back into a living area. Beyond its daily utility, it’s also a fantastic addition when hosting guests, offering them a comfortable stay without permanent furniture taking up valuable floor space.
As we’ve explored, you have the choice: purchase a ready-made unit or embark on the rewarding journey of building one yourself. By choosing the DIY path, you gain unparalleled control over the design, materials, and overall quality, all while achieving significant cost savings. We’ve provided you with a detailed, step-by-step manual, meticulously outlining the process from initial cuts to the final decorative touches. This guide empowers you to craft a piece that not only serves its purpose but also perfectly complements your personal style and home aesthetics.
If you diligently follow the steps we’ve laid out, building your very own Murphy bed desk should be a straightforward and immensely satisfying project. The sense of accomplishment that comes from creating such a functional and beautiful piece of furniture with your own hands is truly unmatched. That’s all for now, but should you encounter any challenges or have questions during your build, don’t hesitate to reach out. Share your experiences and seek advice in the comment section below – we’re here to help you succeed in bringing your space-saving vision to life!
