DIY Wooden Tabletop: Your Ultimate Guide to Building a Custom Table
Embarking on a woodworking project like building your own tabletop can feel like a significant undertaking, but it’s an incredibly rewarding experience that merges practical skills with personal style. Whether you’re aiming to create a robust dining table, a functional desk, a charming coffee table, or an elegant console, the fundamental steps remain surprisingly similar. This comprehensive guide will demystify the process, breaking down each stage into manageable, easy-to-follow instructions, empowering even novice DIYers to craft a beautiful and durable tabletop.
From the critical initial decision of selecting the perfect wood to applying the final protective finish, this article covers every essential detail. We’ll explore various wood options, walk you through a step-by-step construction process, and inspire you with creative design styles to ensure your project is not only functional but also a unique statement piece in your home. Follow these straightforward guidelines, and you’ll be well on your way to creating a custom wooden tabletop that will serve you faithfully for many years to come.
Choosing the Right Wood for Your Tabletop Project
The type of wood you select is arguably one of the most crucial decisions for your tabletop project, as it profoundly influences the piece’s aesthetic, its longevity, and, of course, your budget. Each wood species brings its own unique characteristics, affecting everything from how the table looks and feels to its long-term maintenance requirements. Understanding these differences will help you make an informed choice that perfectly aligns with your vision and practical needs.
Solid Wood Options: Durability Meets Elegance
For timeless beauty and unparalleled durability, solid wood remains the top choice for many woodworkers. Species like oak, maple, and walnut are celebrated for their strength, stunning grain patterns, and the ability to be refinished multiple times over decades, ensuring your tabletop can truly last a lifetime. While typically a higher investment upfront, their enduring quality often makes them the most economical choice in the long run.
Walnut offers a rich, deep brown color with hints of purple and gray, providing an immediate sense of warmth and sophistication to any space. Its distinct grain patterns make each piece unique, and it’s known for its excellent workability and natural resistance to decay. Walnut tabletops instantly become a focal point, exuding luxury and character that stands out in most settings.
Oak is a classic choice, renowned for its exceptional durability and distinctive open grain pattern. Widely available in both red and white varieties, oak is robust and resists dents and scratches well, making it ideal for high-traffic tables. Its strength and stability make it a practical and forgiving option for beginners, and it takes stains beautifully, allowing you to customize its appearance to fit your decor perfectly.
Maple provides a lighter, smoother surface with a tighter, more subtle grain. It’s incredibly dense and hard, offering excellent resistance to wear and tear. Maple is an ideal choice if you plan to paint your tabletop, as its smooth texture results in a flawless finish. While it takes stain well, its density means it can sometimes require more careful sanding and conditioning to achieve an even, deep color. Its clean appearance is perfect for modern or minimalist designs.
Plywood for Budget-Friendly and Stable Solutions
If budget is a primary concern, or if you’re aiming for a casual or rustic aesthetic, plywood offers a remarkably versatile and cost-effective alternative. Modern plywood comes in a variety of thicknesses and grades, including high-quality furniture-grade options like Baltic birch, which boasts multiple thin layers and void-free cores. Its layered construction is inherently stable, significantly reducing the risk of warping and twisting often associated with solid wood, especially in fluctuating humidity.
Plywood can be easily transformed to achieve a polished look. You can apply wood veneer to its surface, mimicking the appearance of solid wood, or paint it for a clean, contemporary finish. Adding edge banding – thin strips of wood veneer or PVC that match your chosen wood or paint color – is a clever trick to conceal the exposed layers and create the illusion of a solid wood piece. Additionally, plywood is considerably lighter than solid wood, making your finished table easier to move when needed, a practical benefit for flexible living spaces.
Reclaimed Wood: History, Character, and Sustainability
Opting for reclaimed wood infuses your tabletop with unparalleled charm, history, and a unique narrative. Each plank carries the marks of its past life – original nail holes, faded paint, unique grain patterns, and an aged patina that new lumber simply cannot replicate. This choice is also a fantastic way to contribute to environmental sustainability by giving discarded materials a new purpose and reducing demand for virgin timber.
When sourcing reclaimed wood, look for clean, dry boards from old furniture, barn demolition sites, or even responsibly sourced industrial pallets (ensure they are heat-treated, not chemically treated, for safety). Thoroughly clean the wood, remove any embedded nails or metal pieces, and be prepared for potential inconsistencies in thickness or width, which will require extra preparation steps like planing and jointing. While working with reclaimed wood demands more time and effort, the distinctive character it brings to your table, telling a story with every mark, makes it an incredibly rewarding consideration.
Step-by-Step Guide to Building a Beautiful Wooden Tabletop
Let’s dive into the practical side of creating a durable and attractive wooden tabletop. This section will guide you through each essential step, focusing on straightforward methods that are accessible for most DIY enthusiasts and result in a robust finished product.
Step 1: Measure and Plan Your Tabletop Design
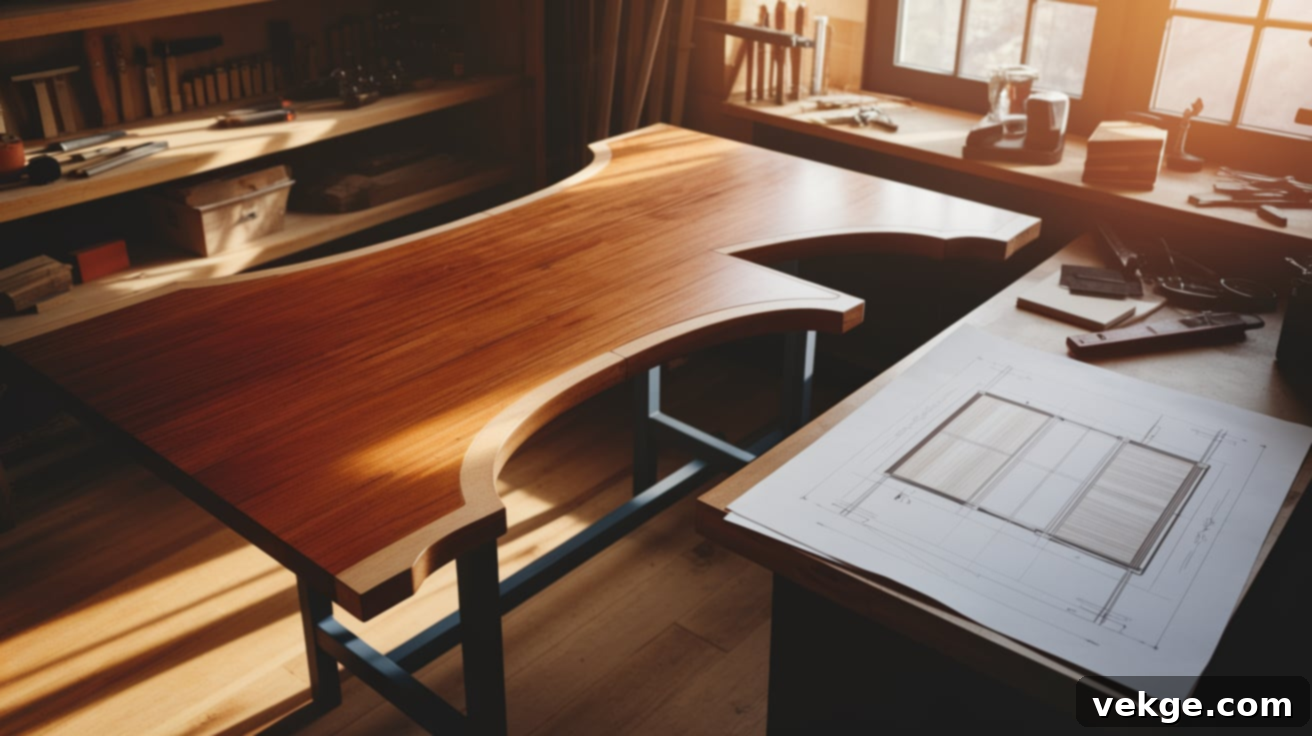
The foundation of any successful woodworking project begins with meticulous planning. Determine the precise length and width of your tabletop, considering the available space in your home and its intended function. For a dining table, ensure adequate seating space; for a desk, consider monitor size and workspace needs. Remember the age-old carpenter’s adage: “measure twice, cut once.” Don’t forget to factor in any desired overhang around the edges, which not only enhances aesthetics but also provides practical benefits like comfortable legroom or space for clamping accessories.
Begin by sketching your tabletop design on paper, including dimensions for each board and a detailed cut list. This visual aid helps identify potential issues before you start cutting wood and ensures you account for every piece. It’s also incredibly useful to number or mark each board for its specific placement, especially if you’re working with wood that has distinct grain patterns you wish to align for a harmonious look. Planning also includes considering the desired thickness and overall height of your finished table.
Step 2: Prepare the Boards for Joining
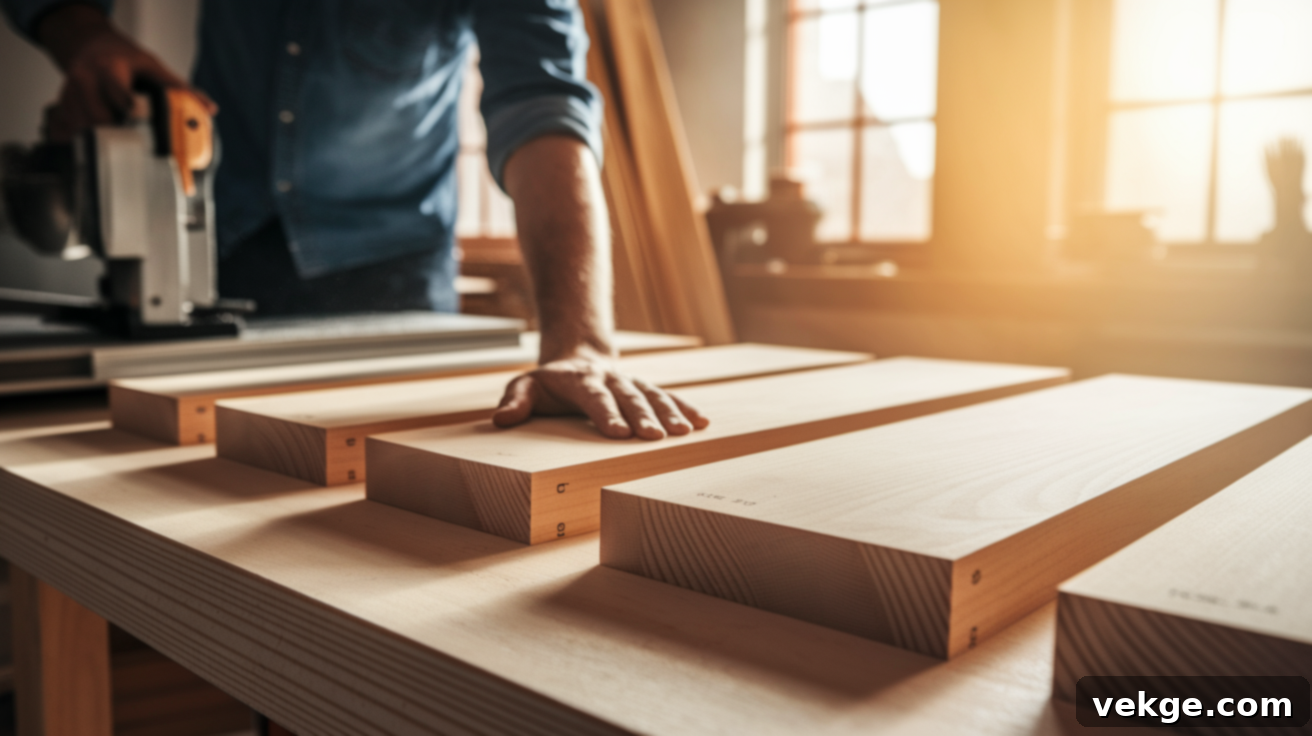
Once your plan is solid, it’s time to bring your wood to size. Using a table saw provides the most accuracy for ripping boards to width and cross-cutting to length. A circular saw with a straight-edge guide is a good alternative for larger pieces or if you don’t have a table saw. If specialized tools are unavailable, many local hardware stores or lumberyards offer cutting services for a small fee. When making multiple cuts of the same length, setting up a stop block will ensure consistency across all your pieces.
The key to a strong, seamless tabletop lies in perfectly straight and square edges. Use a jointer to achieve perfectly flat and square edges on your boards. If a jointer isn’t available, a router with a straight bit and a fence, or even careful hand planing and sanding with a long straight edge, can achieve similar results. The goal is to eliminate any gaps when the boards are brought together. Perform a “dry fit” by laying out all your boards on a flat surface without glue. This crucial step allows you to inspect the fit, check for flatness, and make any necessary adjustments before committing to glue, saving you significant trouble later on.
Step 3: Glue and Clamp for a Strong Bond
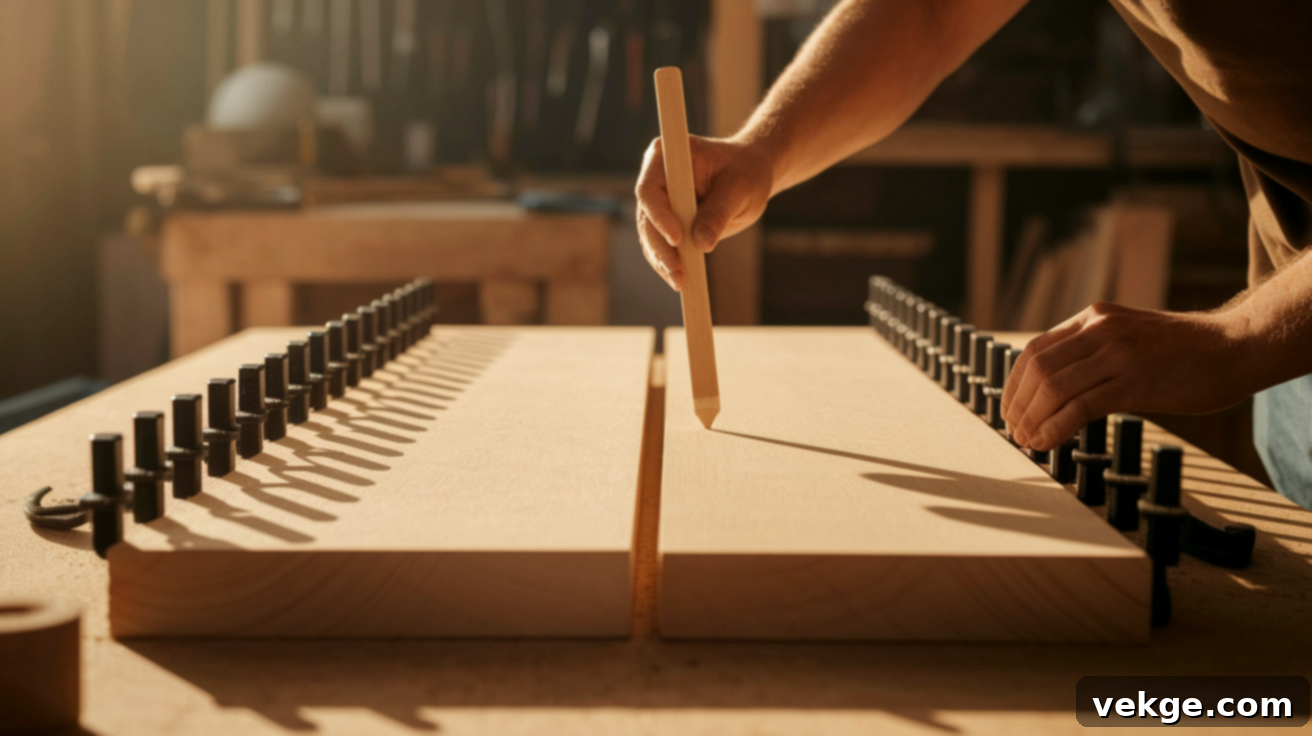
With your boards perfectly prepared, it’s time for the glue-up. Apply a thin, even layer of high-quality wood glue along the entire length of the edges where the boards will meet. A zigzag bead applied directly from the bottle and then spread with a small piece of scrap wood or a glue roller ensures consistent, complete coverage. Avoid excessive glue, as it can lead to a weaker joint and more cleanup.
Carefully bring the boards together and apply clamping pressure using bar clamps or pipe clamps. Space your clamps approximately every 12 to 18 inches, alternating them above and below the panel to apply even pressure and prevent the tabletop from bowing. Apply just enough pressure to achieve a thin, consistent bead of glue squeeze-out along the entire joint line. Immediately wipe away any excess glue with a damp cloth or scraper, as dried glue can create a hardened, impervious barrier that prevents stains and finishes from absorbing evenly later on. Allow the glue to dry completely, ideally overnight or for at least 24 hours, even if the glue manufacturer claims a faster drying time. This extended drying period ensures the strongest possible bond, critical for a durable tabletop.
Step 4: Sand the Surface to Perfection
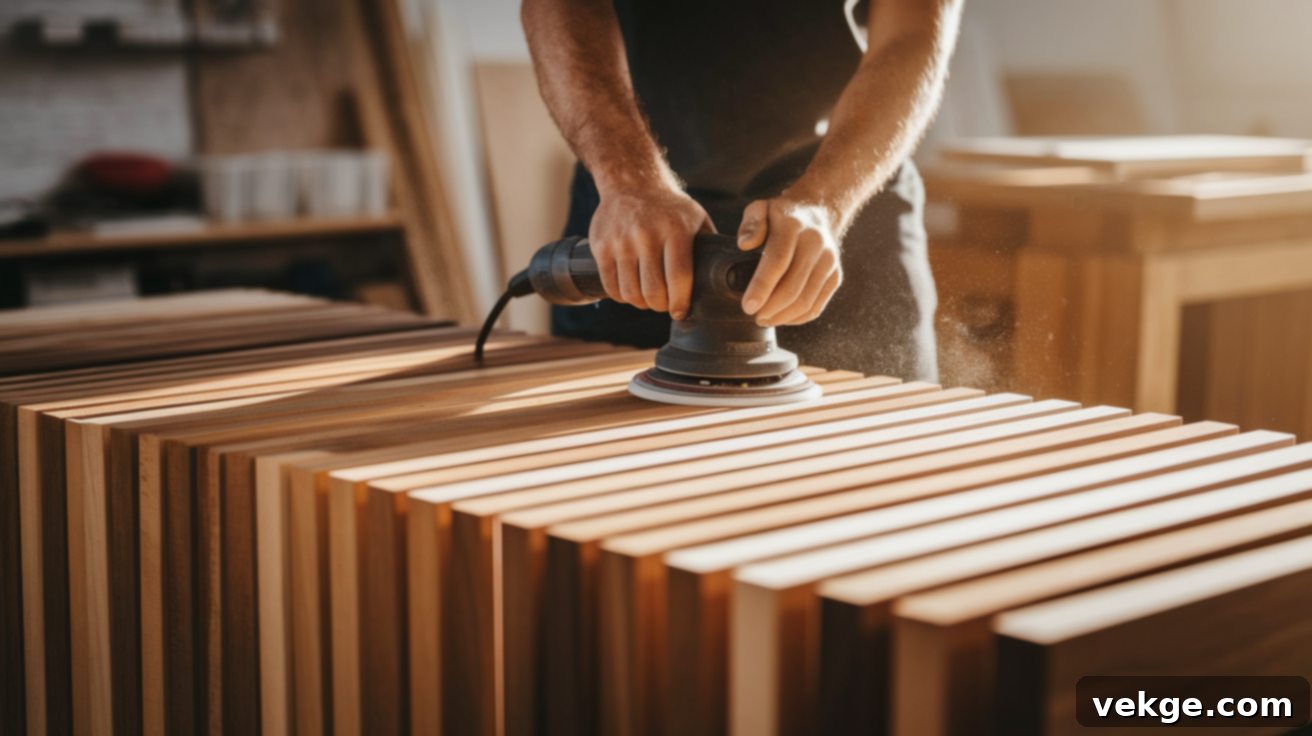
Sanding is a vital step that transforms a rough assembly into a smooth, inviting surface ready for finishing. Begin with a coarser grit sandpaper, typically around 80-grit, to level any slight height differences between boards and remove glue residue or milling marks. Always sand with the grain of the wood to prevent unsightly cross-grain scratches that will become glaringly obvious once a finish is applied.
Progress through successively finer grits, moving to 120-grit, then 150-grit, 180-grit, and finally 220-grit. Each step is designed to remove the scratches left by the previous, coarser grit, gradually refining the surface. After each grit, thoroughly clean the surface with a vacuum and a tack cloth to remove all dust, as sanding dust left behind can embed into the wood and affect the final finish. Pay attention to the edges and corners, softening them with a slight round-over to make the tabletop more comfortable and give it a finished, professional appearance. A random orbital sander is highly recommended for efficiency, but excellent results can also be achieved with a sanding block and patience.
Step 5: Finish with Style and Protection
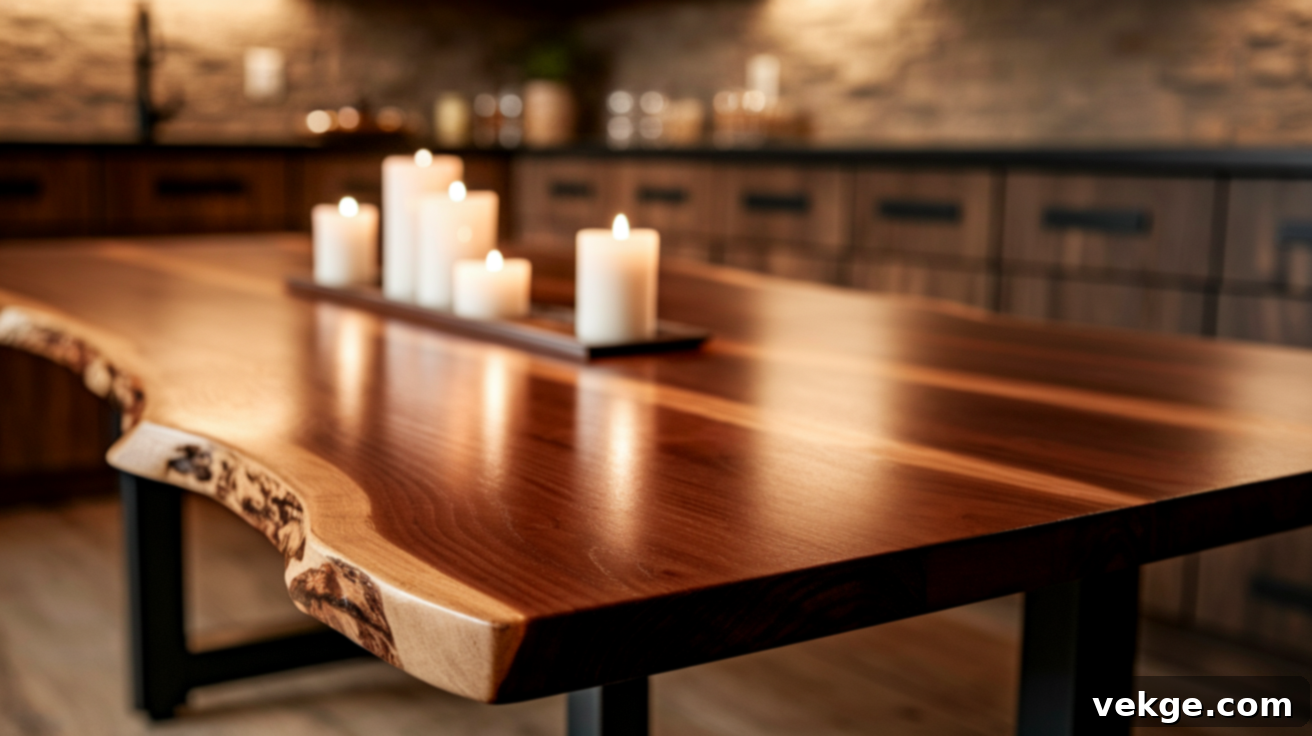
The finishing stage is where your tabletop truly comes to life, acquiring its final color, sheen, and crucial protection. If you’re working with softwoods like pine or woods prone to blotchiness (e.g., cherry, maple), apply a pre-stain wood conditioner. This helps to equalize the wood’s porosity, ensuring a more even and consistent stain absorption. Allow it to soak in according to the product’s instructions.
Next, apply your chosen stain or paint. For stain, apply in thin, even coats with a rag or brush, wiping off excess before it dries to prevent a muddy appearance. For paint, use a high-quality primer followed by multiple thin coats, applied with smooth, even strokes, allowing adequate drying time between coats. Once the color is to your liking, it’s time to seal and protect the surface. Polyurethane (oil-based for durability, water-based for quicker drying and less odor), lacquer, or a durable, food-safe oil (like tung oil or linseed oil, especially for kitchen surfaces) are excellent choices. For dining tables or areas subject to heavy use, opt for a highly durable finish that can withstand heat, moisture, and daily wear. Apply several thin coats of your chosen sealant, lightly sanding with a very fine grit (320-400) between coats to achieve a silky-smooth, professional finish. Remember to finish the underside of the tabletop as well, to prevent warping due to uneven moisture absorption.
Innovative Tabletop Styles to Elevate Your Space
Beyond the basic rectangular slab, a world of creative possibilities awaits to transform your tabletop into a standout feature in your home. These innovative styles offer distinct characters and can be tailored to complement various interior design aesthetics, allowing your personality to shine through in your woodworking project.
1. Butcher Block Look: Functional Beauty
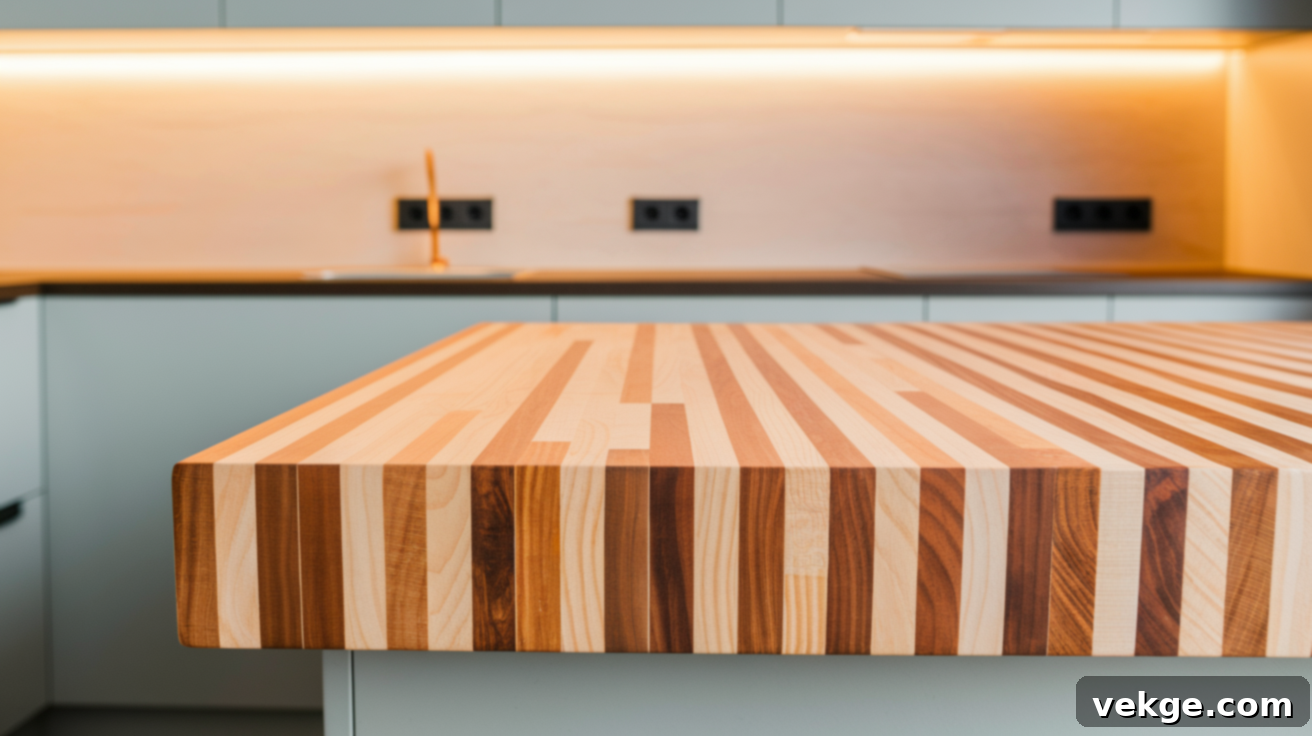
The butcher block style, characterized by narrow strips of wood glued side by side, creates a remarkably strong, durable, and visually appealing surface. Depending on whether you use edge-grain (strips laid on their sides) or end-grain (strips laid on their ends), you can achieve varying levels of durability and unique patterns. This style is not only highly functional, capable of withstanding heavy daily use in kitchens, but also brings a warm, inviting, and robust aesthetic that suits both rustic and modern homes. While many wood types can be used, maple is often favored for its exceptional hardness and light color, making it a classic choice for butcher blocks. If intended for direct food preparation, be sure to finish with a food-safe mineral oil or a beeswax/mineral oil blend for ongoing protection and maintenance.
2. Live Edge Tabletop: Nature’s Artistry
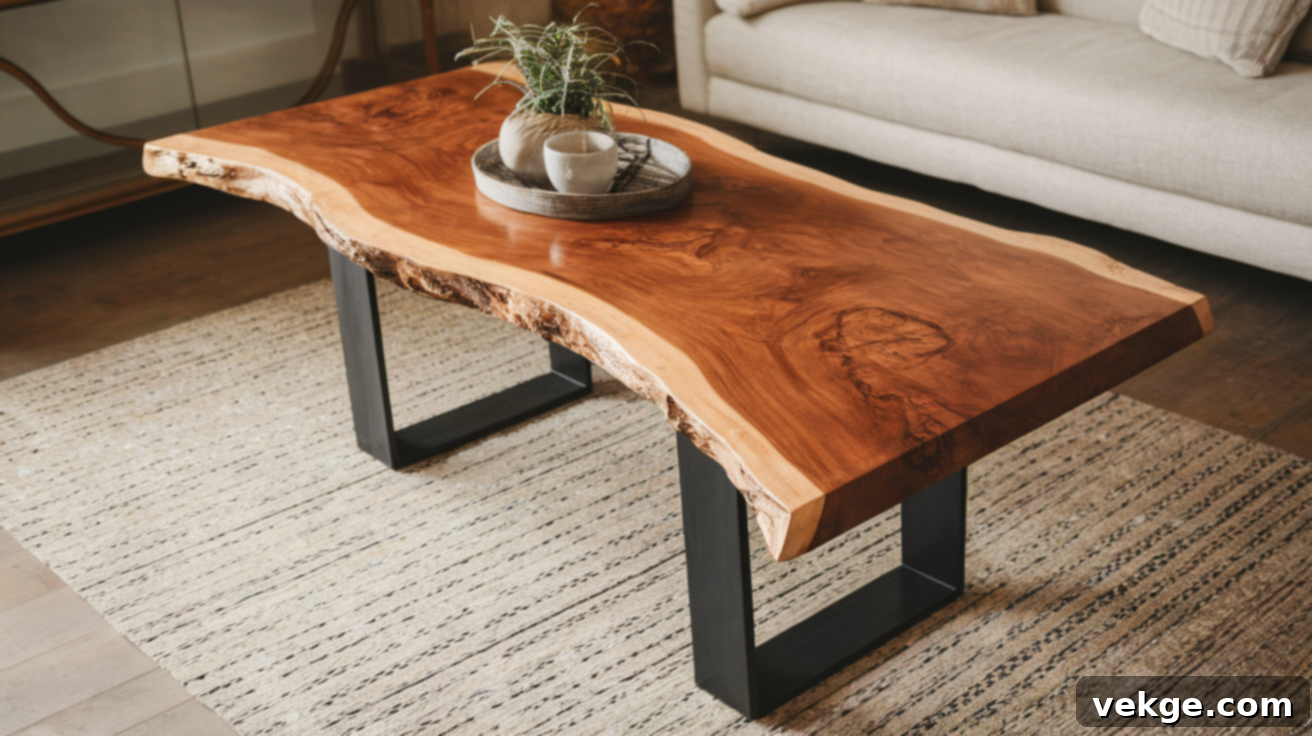
For those who appreciate the raw, untamed beauty of nature, a live edge tabletop is an exquisite choice. This style retains the natural, irregular contours of the tree’s outer edge, creating a bold, organic look that brings the outdoors in. Each live edge slab is truly one-of-a-kind, with unique curves, bark inclusions, and natural imperfections that tell the story of the tree it came from. This aesthetic pairs beautifully with industrial-style metal legs or minimalist bases, creating a striking contrast between raw nature and refined design. Live edge tables are perfect as dining tables, coffee tables, or desks where their unique edges can be admired and felt, becoming an undeniable conversation starter. Careful attention must be paid to stabilizing any cracks or voids with epoxy resin and ensuring the bark is either removed or securely attached and sealed.
3. Herringbone Pattern: Geometric Elegance
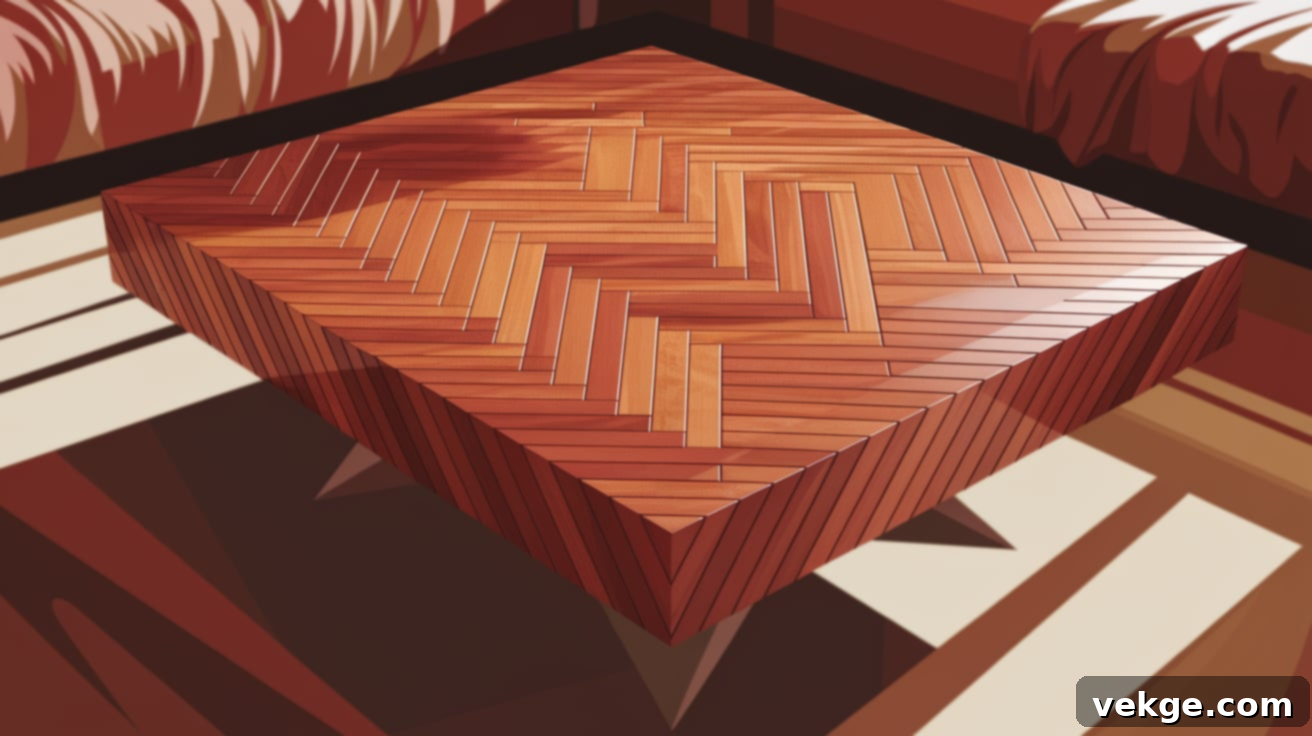
A herringbone pattern instantly adds a sophisticated and dynamic visual interest to any tabletop. This intricate design involves arranging small, rectangular boards in a repeating V-shape, creating a striking zigzag effect across the surface. While it demands more meticulous planning, precise cutting, and careful assembly than a simple straight-board top, the resulting geometric elegance is truly captivating. The pattern works beautifully with a single wood species for a subtle textured effect or with mixed wood tones for a more dramatic, contrasting display. Ideal for smaller tabletops, accent pieces, or high-end desktops, a herringbone pattern transforms a functional surface into a work of art, showcasing a high level of craftsmanship and design flair.
4. Painted Tabletop: Unlimited Color and Versatility
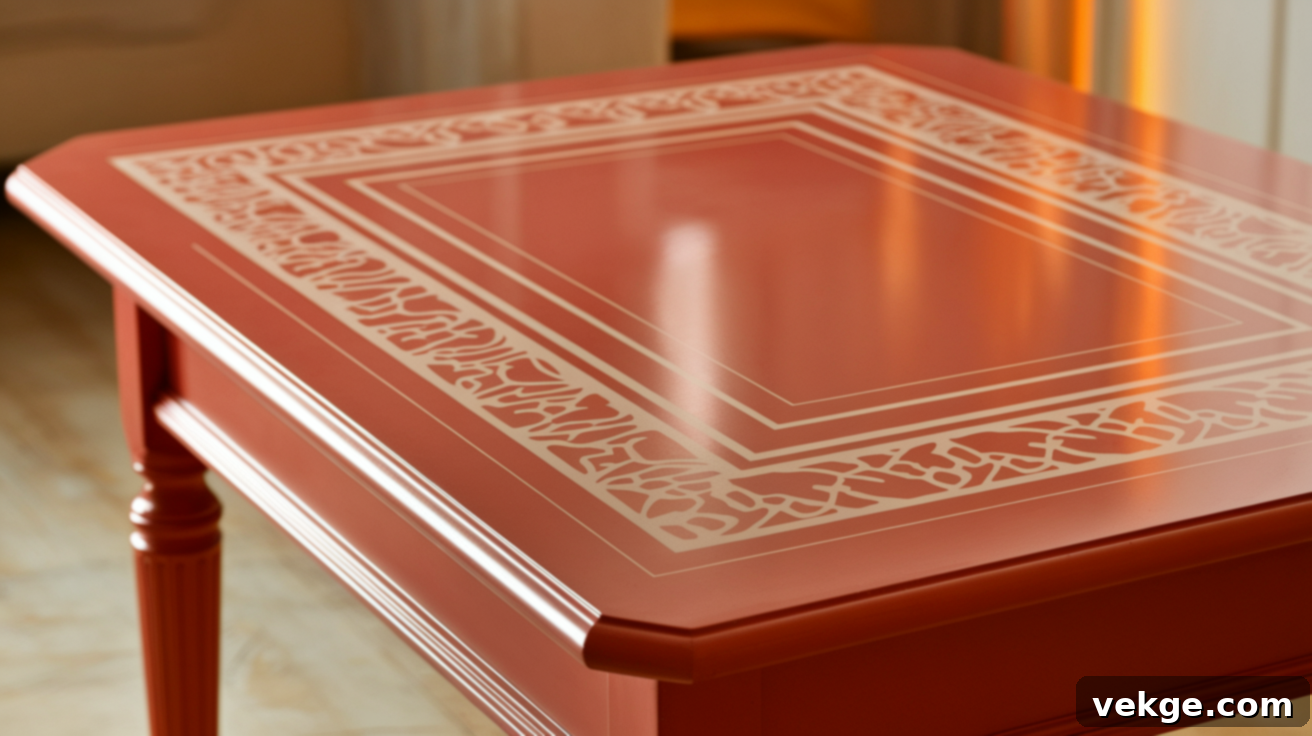
A painted tabletop offers unparalleled freedom to introduce vibrant color and personal style into your space. This option allows you to precisely match your existing decor or create a bold new focal point with shades not found in natural wood. Painting is also an excellent strategy for revitalizing an older table with surface imperfections or for giving a budget-friendly plywood top a high-end appearance. For optimal durability and a smooth finish, ensure proper surface preparation, including thorough sanding and priming. Use high-quality furniture paint and apply several thin coats for a flawless result, followed by a clear protective topcoat to guard against scratches, spills, and daily wear. Consider adding stenciled patterns, hand-painted details, or contrasting borders for an extra layer of customization. This versatile style is perfect for casual spaces, children’s rooms, or anyone who enjoys the flexibility of easily updating their furniture’s look.
5. Reclaimed Wood Style: Rustic Charm and Storytelling
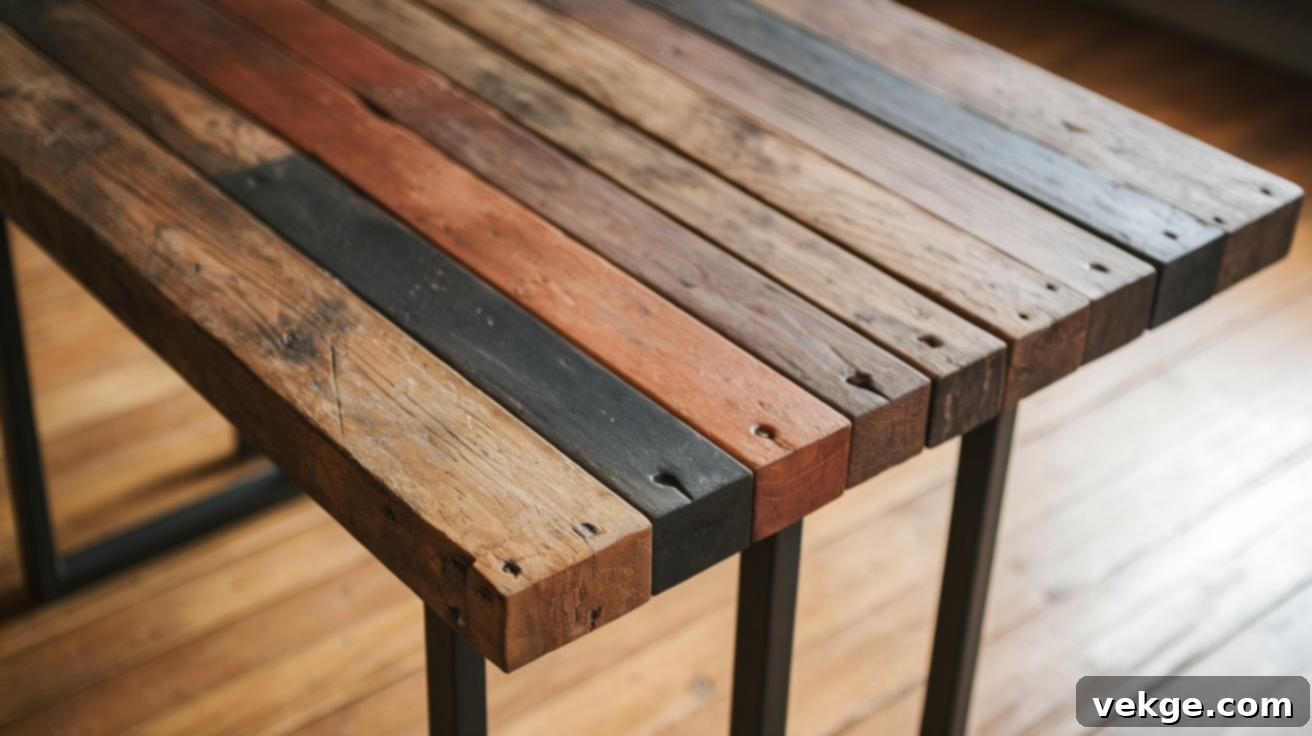
Building a tabletop with a reclaimed wood style involves artfully combining boards of varying shades, textures, and even original marks, creating a surface rich in depth, character, and history. Each board, sourced from old barns, deconstructed flooring, or upcycled pallets, brings its own unique imperfections – nail holes, saw marks, natural weathering, and unique patinas – which become cherished features rather than flaws. This approach not only lends a charming vintage or industrial farmhouse aesthetic to your room but also represents a conscious choice for environmental sustainability. To achieve this look, carefully clean and prepare your reclaimed lumber, allowing its inherent beauty to shine through a clear, protective finish. This style pairs beautifully with simple metal or robust wooden legs that allow the busy, character-filled top to remain the star of the show.
Comfort and Durability Tips for a Long-Lasting Tabletop
Your finished tabletop will be a central feature in your home, enduring daily use and countless moments. Investing a little extra care during the building and finishing process will ensure it remains strong, beautiful, and functional for many years to come.
1. Maximize Strength with Quality Glue and Clamps
The glue joint is the backbone of a solid tabletop. When properly applied, modern wood glues form bonds that are often stronger than the wood fibers themselves. This reliance on glue means that neglecting proper technique can severely compromise your table’s longevity.
- Choose the Right Glue: Use a high-quality PVA wood glue, ensuring it’s suitable for your specific wood type and environment.
- Even Application: Apply a continuous, thin bead of glue along the entire edge of each board. Spread it evenly for complete coverage without excessive pooling.
- Sufficient Clamping Pressure: Crucially, apply firm and even clamping pressure across the entire length of the joints. Inadequate pressure can lead to weak bonds and visible gaps, while excessive pressure can starve the joint of glue. Alternate clamps above and below the panel to prevent bowing or cupping.
2. Essential Surface Protection
A well-applied finish is your tabletop’s first line of defense against spills, scratches, and everyday wear. Protecting the wood is paramount to maintaining its appearance and structural integrity.
- Multiple Thin Coats: Apply several thin coats of your chosen sealant (e.g., polyurethane, varnish). Thin coats cure harder and more evenly than thick coats, providing superior protection.
- Light Sanding Between Coats: Gently sand with a very fine grit sandpaper (e.g., 320-400 grit) between finish coats. This creates a microscopic “tooth” for the next coat to adhere to, resulting in a smoother, more durable, and professional-looking finish.
- Finish All Sides: Crucially, apply a finish to both the top and underside of the tabletop. This balances moisture absorption and release, preventing the wood from warping, cupping, or twisting due to uneven exposure to humidity.
3. Reinforce Joints with Biscuits or Dowels
For added strength and precise alignment, particularly on larger tabletops or those expected to bear significant weight, consider reinforcing your glue joints with internal fasteners.
- Enhanced Joint Strength: Biscuits (thin, oval-shaped pieces of compressed wood) or dowels (cylindrical wooden pins) dramatically increase the surface area for glue adhesion, significantly strengthening the joint against shear forces.
- Improved Alignment: These reinforcements also act as alignment guides during glue-up, helping to keep boards perfectly flush and preventing unsightly height differences between adjacent pieces.
- Tools Required: A biscuit joiner is needed for biscuits, while a doweling jig ensures accurate placement for dowels. These tools are valuable investments for serious woodworkers.
4. Always Test Your Finish First
The final finish can drastically alter the appearance of your wood. What looks perfect on a sample card might look entirely different on your specific piece of wood, due to variations in wood porosity, grain, and natural color.
- Use Scrap Wood: Before applying any stain, paint, or topcoat to your actual tabletop, always test your chosen finish on a piece of scrap wood from the same batch. This allows you to see the true color and sheen on the actual material.
- Prevent Disappointment: Testing helps you avoid unwelcome surprises, ensuring the final color and appearance meet your expectations. It also allows you to experiment with different shades or application techniques without risking your main project.
Common Mistakes to Avoid When Building a Tabletop
Even experienced DIYers can sometimes fall prey to common pitfalls when tackling tabletop projects. Being aware of these frequently made errors can save you invaluable time, money, and frustration, ensuring a smoother building process and a more satisfying final product.
- Rushing the Planning Stage: Failing to precisely measure, sketch, and create a detailed cut list often leads to costly miscuts, mismatched pieces, and a design that doesn’t quite fit your space or needs. Take your time to plan every detail meticulously.
- Skipping Proper Wood Preparation: Neglecting to joint and plane boards to ensure perfectly flat and square edges before gluing results in weak joints with visible gaps, making a smooth, durable surface almost impossible to achieve.
- Using Wood with Incorrect Moisture Content: Wood that is too wet or too dry for its intended environment will inevitably warp, cup, or crack as it acclimates, undoing all your hard work. Always use kiln-dried wood and allow it to acclimate in your workshop for several days.
- Applying Too Much Glue: While glue is essential, excessive amounts can lead to a weaker joint (known as “glue starvation” if it squeezes out too much), creates a messy cleanup nightmare, and can prevent stain from penetrating the wood, resulting in blotchy areas.
- Not Allowing Enough Drying Time Between Steps: Impatience is the enemy of a quality finish. Rushing glue-ups, stain applications, or topcoats before they are fully cured can lead to weak bonds, bubbling, peeling, or an uneven finish. Always follow manufacturer instructions for drying times.
- Sanding Against the Grain: Sanding across the wood grain, especially with coarser grits, leaves visible scratches that are often hidden by dust but become glaringly obvious once a finish is applied, requiring extensive re-sanding.
- Applying Finish in Dusty Conditions or Extreme Temperatures: Dust particles settling on wet finish will create an uneven, rough surface. Extreme temperatures or humidity can also affect drying times and the quality of the finish, leading to blushing, cracking, or poor adhesion. Ensure a clean, climate-controlled environment.
- Forgetting to Seal the Underside of the Tabletop: Only sealing the top surface allows moisture to enter and exit the underside of the wood unevenly. This imbalance of moisture absorption is a primary cause of cupping and warping in tabletops over time. Always seal both sides.
Conclusion: Crafting Your Masterpiece
Building a custom wooden tabletop is a profoundly satisfying project that elegantly fuses practical woodworking skills with personal artistic expression. The journey, from carefully selecting the ideal wood species to applying the final protective finish, is an opportunity to create something truly unique and enduring. Your choice of wood lays the foundational character of your piece, while the precision of your construction techniques ensures its lasting strength and durability.
By exploring innovative styles such as the rustic charm of a butcher block, the organic allure of a live edge, or the sophisticated geometry of a herringbone pattern, you can transform a simple surface into a captivating centerpiece that reflects your individual taste. Beyond the initial build, regular and attentive maintenance will preserve your finished tabletop’s beauty and integrity, allowing it to gracefully withstand the test of time.
With the comprehensive guidelines and practical advice provided in this guide, anyone, regardless of their prior woodworking experience, is equipped to create a beautiful, highly functional, and custom-designed tabletop. The effort and care invested in planning, building, and finishing will not only result in a stunning piece of furniture but also in the immense satisfaction of knowing you’ve crafted something truly special with your own hands – a masterpiece that will be cherished and admired in your home for generations.
