Built-in vs. Counter-Depth Refrigerators: The Ultimate Guide to Choosing Your Perfect Kitchen Fridge
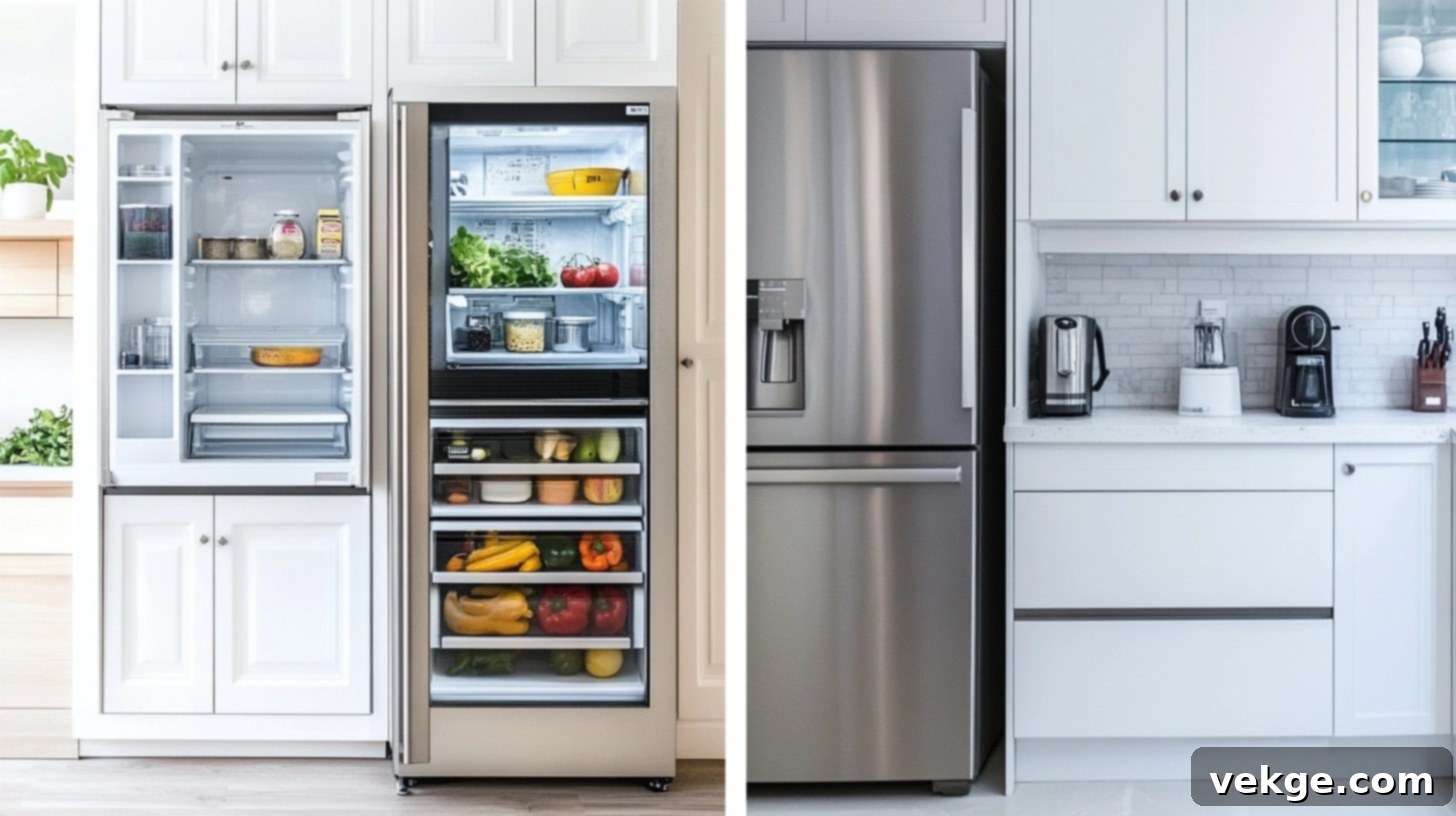
Choosing the right refrigerator is a pivotal decision for any kitchen, impacting both its functionality and overall aesthetic. While standard refrigerators are common, homeowners seeking a more integrated and streamlined look often find themselves comparing built-in and counter-depth models. Built-in refrigerators offer a custom, fully integrated appearance, seamlessly blending with your cabinetry. Counter-depth models, on the other hand, provide a sophisticated, near-flush look without the extensive customization of built-ins, serving as an excellent middle ground.
Each of these options brings its own set of considerations regarding space utilization, upfront cost, long-term value, and design style. Understanding these nuances is crucial for making an informed decision that aligns with your kitchen’s layout, your budget, and your daily household needs. This comprehensive guide will delve deep into what differentiates these two popular refrigerator types. We will explore their specific features, discuss their respective costs, analyze typical sizes, detail the installation requirements, and evaluate the storage capacity each offers.
By the time you finish reading, you will possess a clear understanding of which refrigerator type is the ideal match for your specific kitchen plans, financial considerations, and the practical demands of your lifestyle. Let’s embark on a detailed examination of the critical factors you need to weigh before committing to this significant appliance choice.
What is a Counter-Depth Refrigerator?
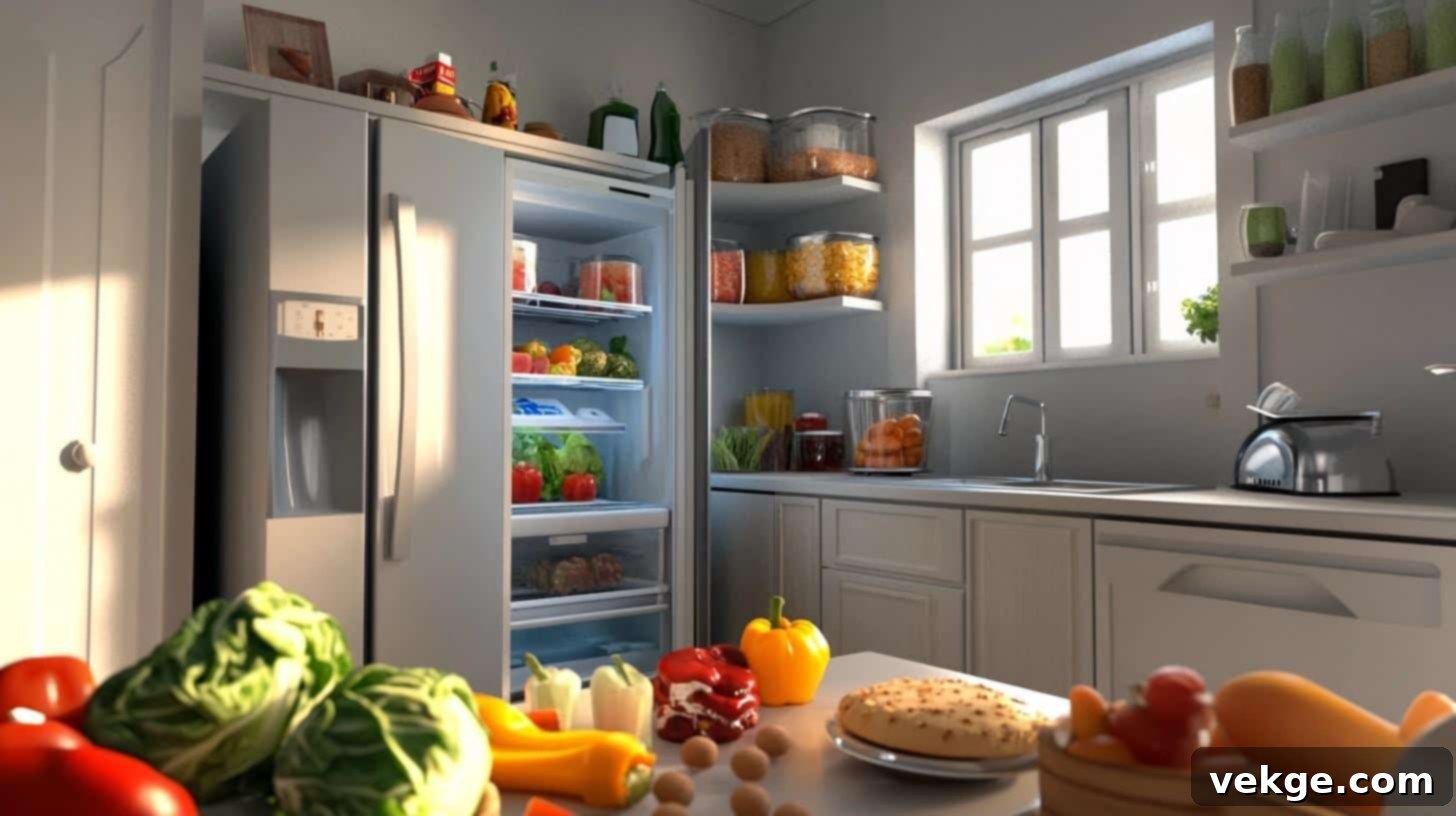
A counter-depth refrigerator is specifically engineered to align harmoniously with the standard depth of your kitchen countertops and cabinetry. Unlike traditional refrigerators that often protrude several inches beyond the counter line, these appliances are designed to sit flush, creating a more sophisticated and custom-built appearance. Typically, the body of a counter-depth refrigerator extends between 23 to 27 inches from the wall, closely matching the depth of most kitchen counters, which are usually around 24 to 25 inches deep (excluding the door and handles).
This thoughtful design not only enhances the visual continuity of your kitchen but also optimizes the walking space, preventing the refrigerator from jutting out into high-traffic areas. While they offer a sleek, integrated look, it’s important to note that this shallower depth often translates to slightly less internal storage capacity compared to a standard-depth model of similar width. Manufacturers typically compensate for this by making counter-depth models a bit wider or taller to maintain reasonable cubic footage, ensuring you still have ample space for your groceries.
Types of Counter-Depth Refrigerators
1. Side-by-Side Models
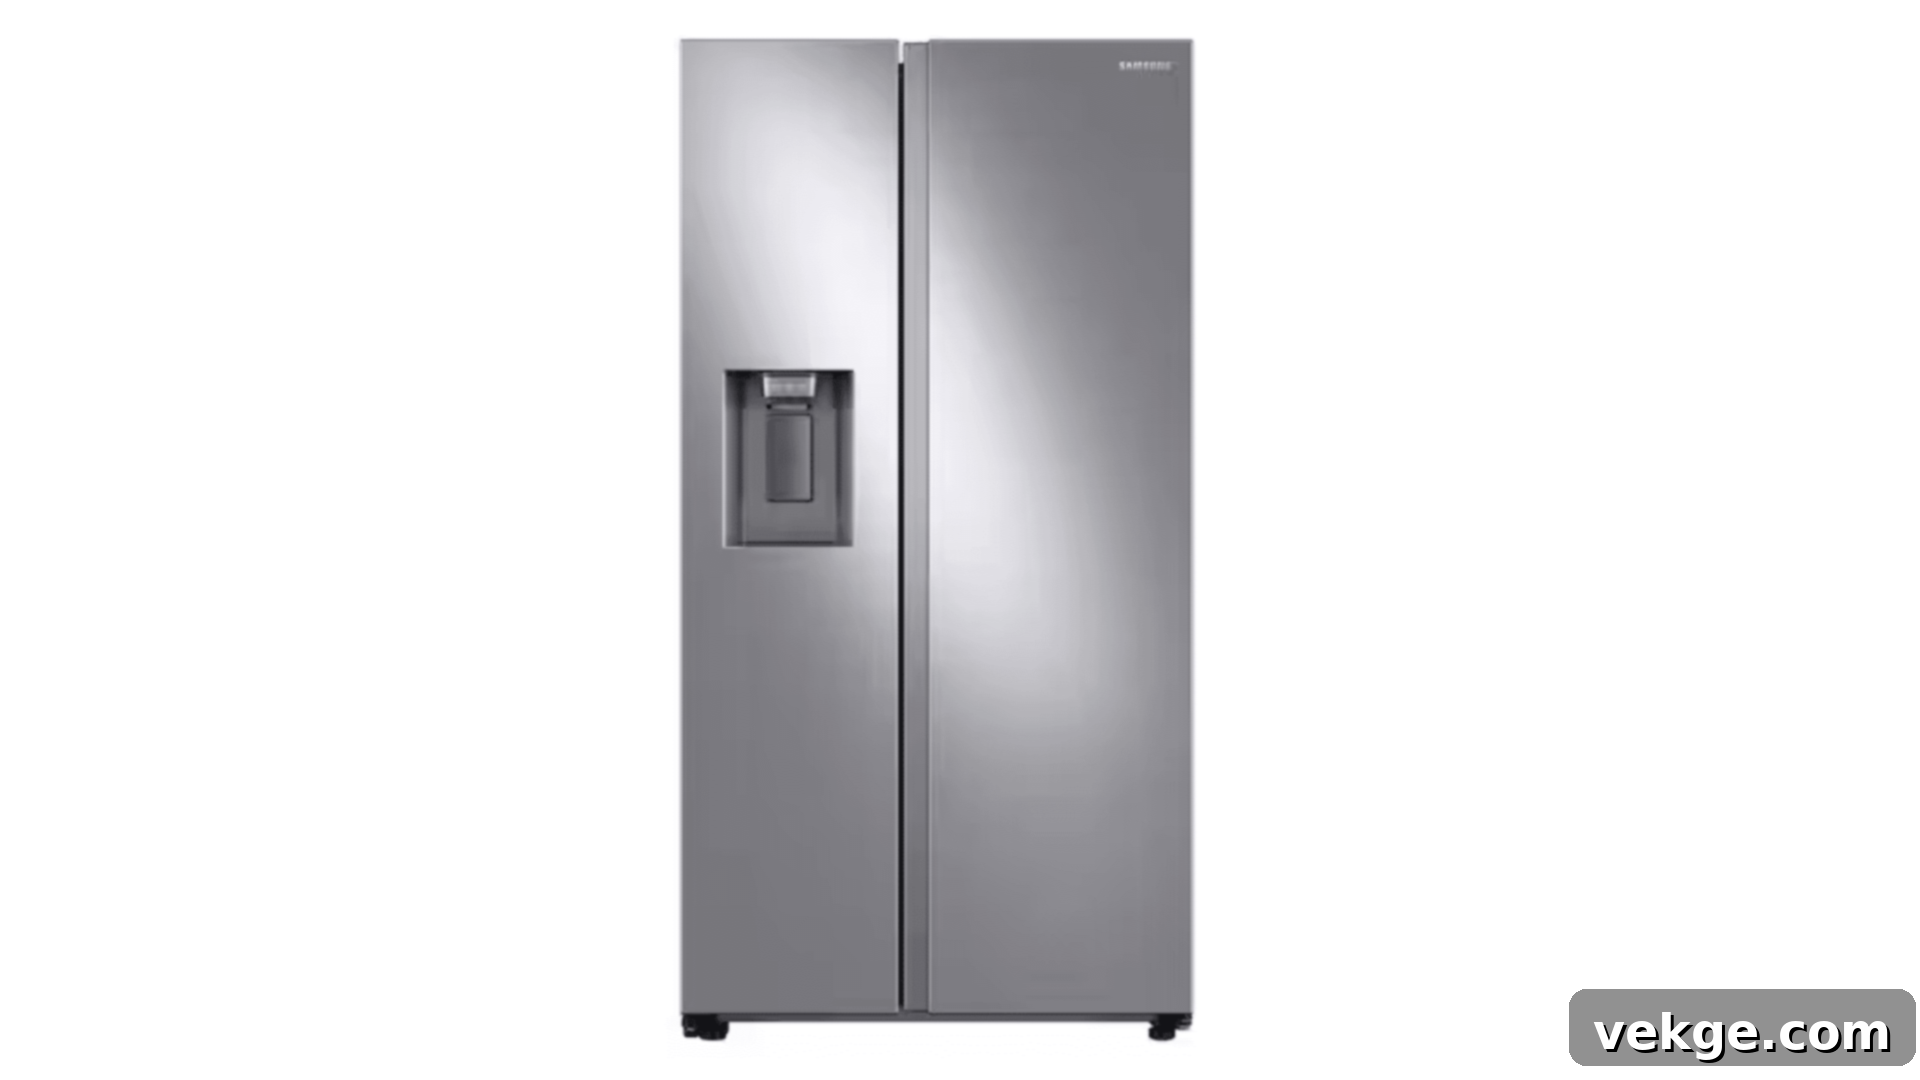
Side-by-side counter-depth refrigerators are characterized by two vertical doors that open from the middle, effectively splitting the appliance into two distinct sections: one for fresh food and the other for frozen items. The refrigerator compartment typically occupies one side, while the freezer is on the other. This configuration is highly valued for its convenience, offering easy access to both fresh and frozen foods at comfortable eye-level or waist-level heights. It eliminates the need to bend down extensively to reach freezer items or stretch for top-shelf refrigerator contents. However, the narrower compartments can sometimes limit the storage of wide items like large pizza boxes or platters, a trade-off to consider for its aesthetic appeal.
2. French Door Style
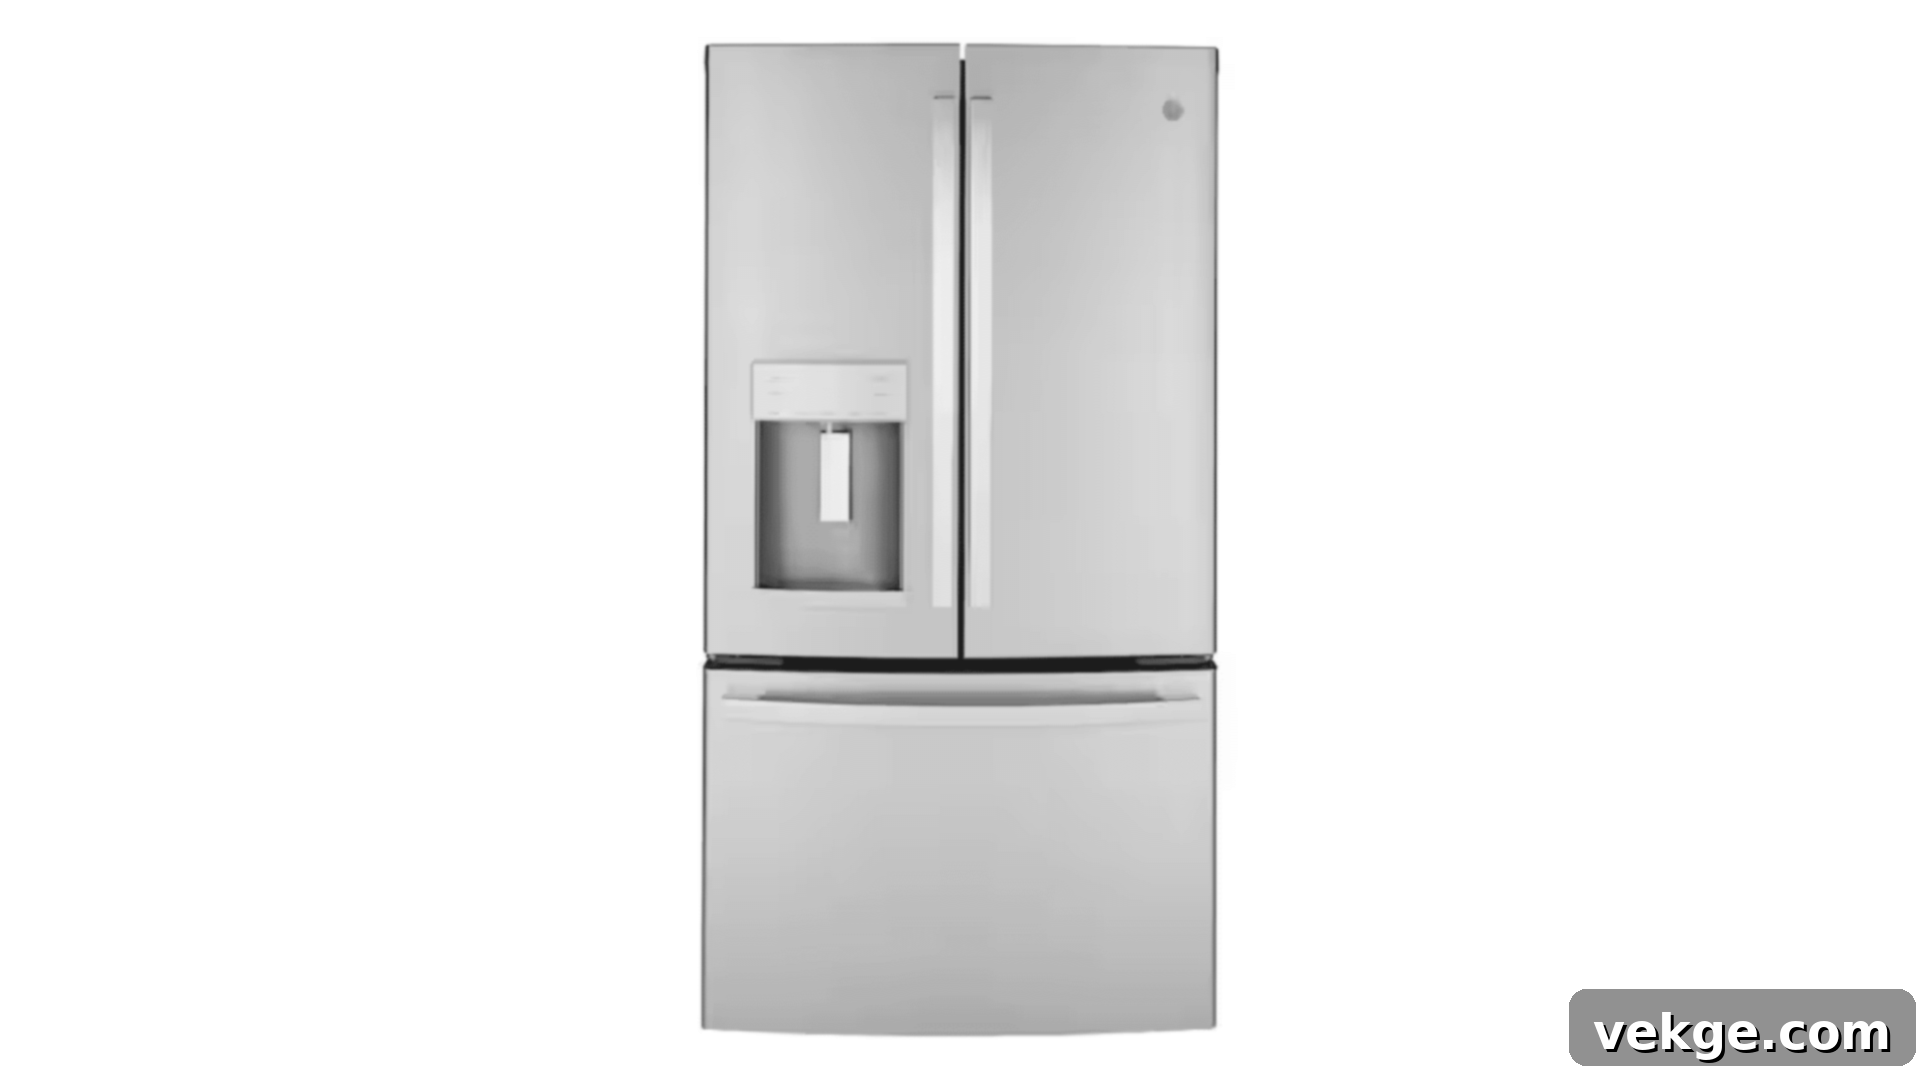
The French door counter-depth style positions the fresh food refrigerator section on top, accessed by two elegant doors that open from the middle. Below this, the freezer typically resides as a single, large pull-out drawer. This design is celebrated for its spacious refrigeration compartment, which often features wide shelves perfect for storing large items and platters. The dual top doors allow you to open only half of the refrigerator at a time, effectively minimizing the escape of cold air and improving energy efficiency. The bottom freezer drawer, while sometimes requiring more bending, often provides generous and flexible storage space, with bins and dividers to organize various frozen goods.
3. Bottom Freezer Design
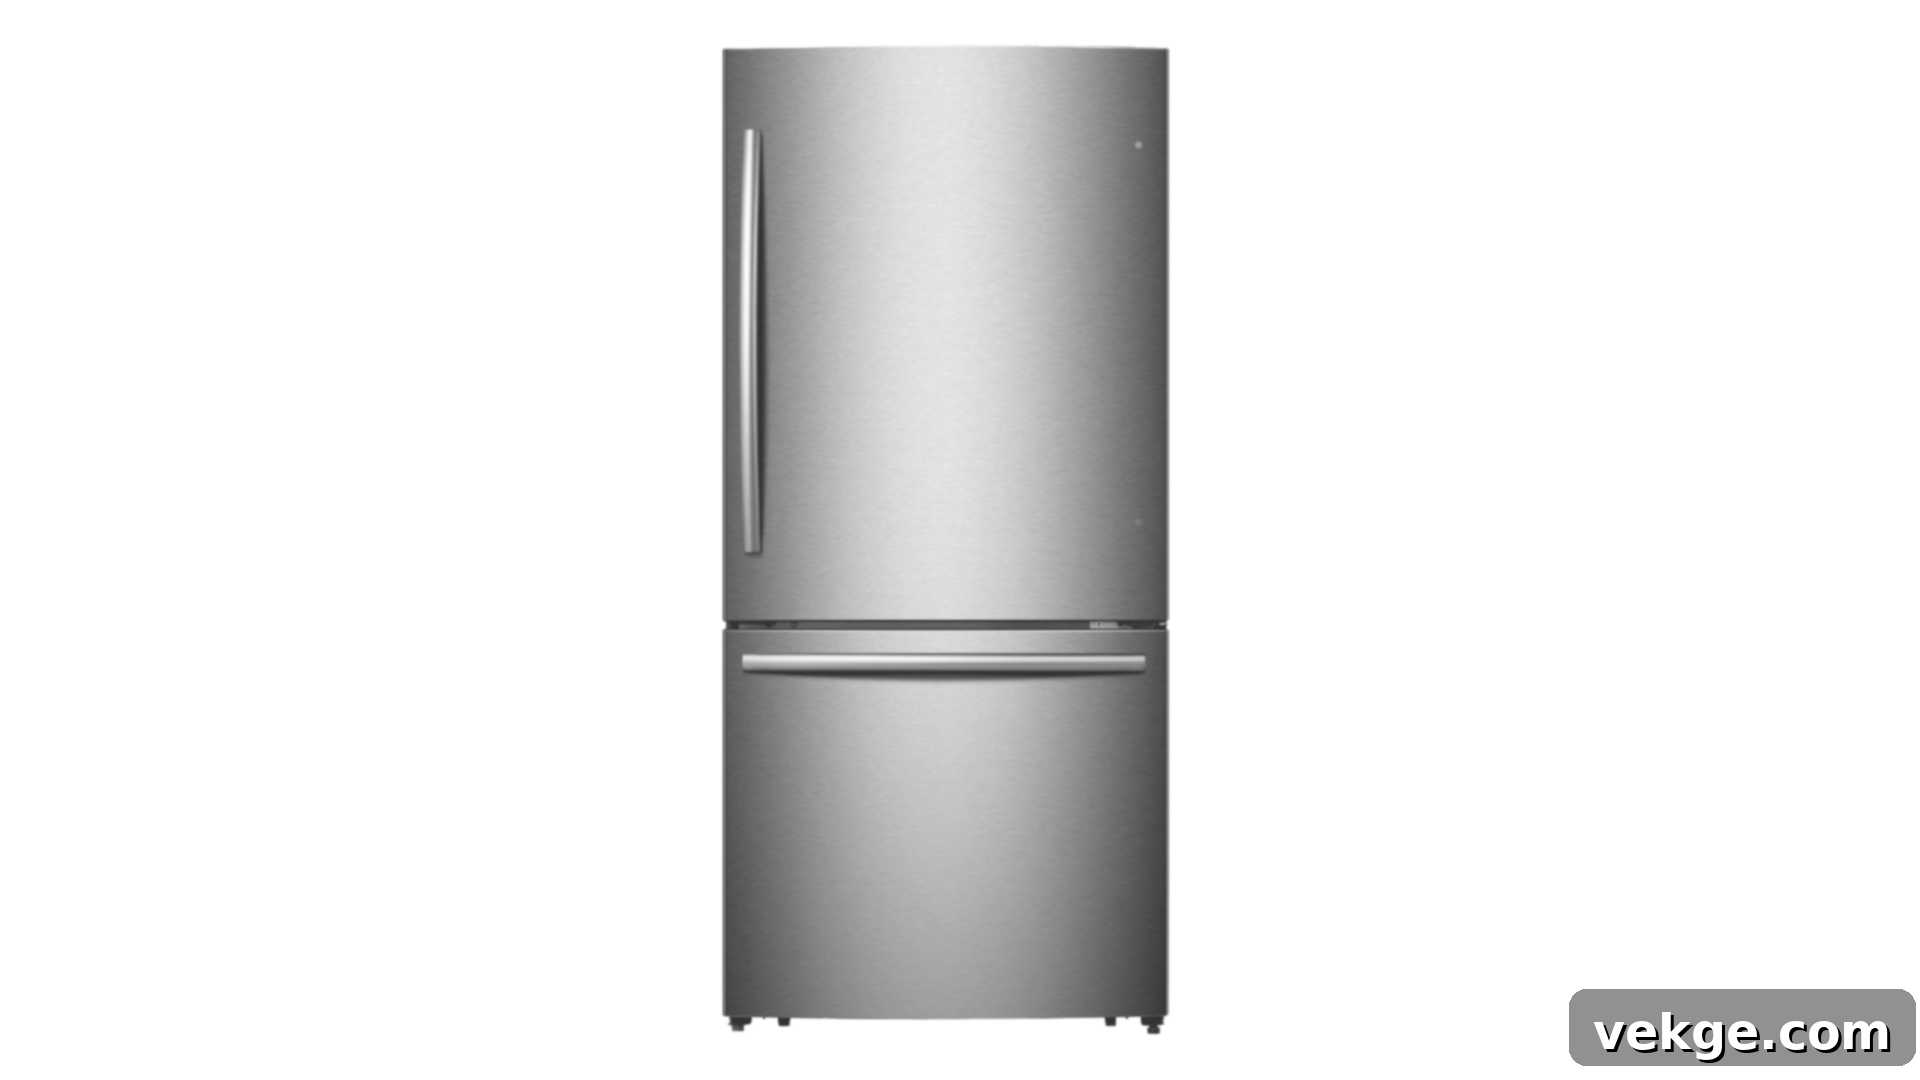
For those who prioritize easy access to fresh ingredients, the bottom freezer counter-depth design is an excellent choice. This configuration features a single, full-width door for the refrigerator compartment on top, placing frequently accessed items at eye level. The freezer is then located below, typically as a pull-out drawer or a single door with shelves. This design caters well to households that consume more fresh produce and refrigerated goods than frozen items, ensuring that daily essentials are always within comfortable reach. It combines the aesthetic benefits of counter-depth styling with practical ergonomics for fresh food storage.
Pros and Cons of a Counter-Depth Refrigerator
| Pros of Counter-Depth Refrigerators | Cons of Counter-Depth Refrigerators |
|---|---|
| Aesthetic Appeal: Creates a streamlined, high-end look that complements modern kitchen designs by sitting flush with cabinetry. This seamless integration vastly improves the visual flow of your kitchen. | Reduced Capacity: Due to their shallower depth, these models inherently offer 20-25% less internal storage volume compared to standard-depth refrigerators, which might be a concern for larger families or bulk shoppers. |
| Space Efficiency: Does not protrude past counters, freeing up valuable floor space in tighter kitchen layouts and preventing the appliance from becoming a visual or physical obstacle. | Higher Cost: Counter-depth models typically command a higher price tag than traditional refrigerators of similar cubic footage, primarily due to the specialized design and manufacturing required for their compact footprint. |
| Accessibility: Shallow shelves make items easier to see and reach, reducing the likelihood of forgotten food items lurking at the back. Everything is more visible and organized. | Limited Variety: While options are growing, the selection of models, styles, and brands available for counter-depth refrigerators is generally narrower than that for standard-depth units. |
| Energy Efficiency: Many counter-depth models are designed with advanced insulation and features to compensate for their reduced size, often boasting strong energy efficiency ratings. | Installation Constraints: Achieving the perfectly flush look often requires more precise measurements and cabinetry modifications, which can complicate installation for DIY enthusiasts or add to professional installation costs. |
What is a Built-in Refrigerator?
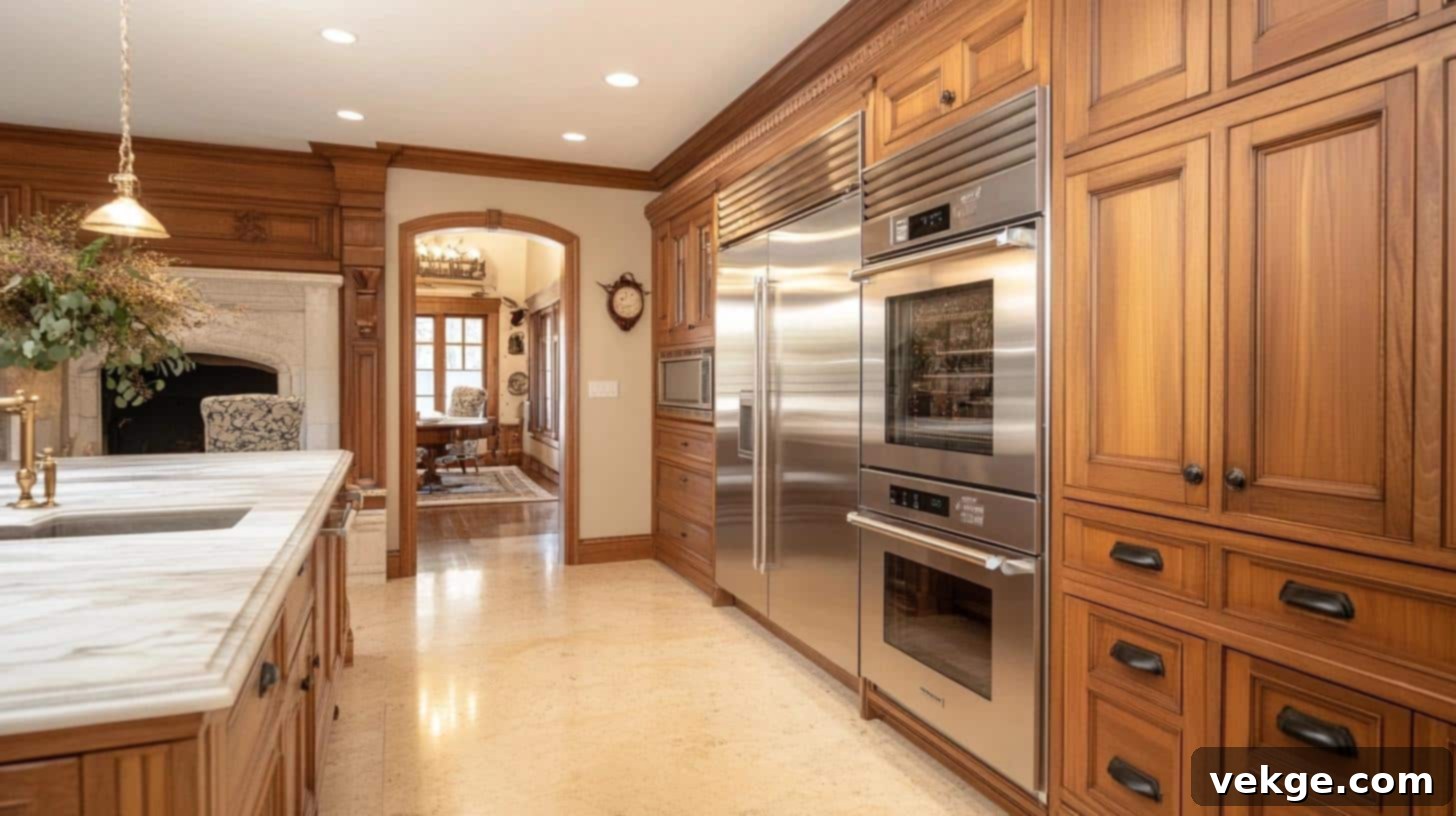
A built-in refrigerator represents the pinnacle of integrated kitchen design, fitting directly into and often concealed by custom kitchen cabinets. These units are engineered to sit completely flush with your cabinet line, creating an utterly smooth, uniform, and bespoke appearance. Unlike even counter-depth models, built-in refrigerators are designed to be part of the architectural structure of your kitchen, frequently extending from floor to ceiling to maximize storage and visual impact. This deep integration makes them less noticeable as standalone appliances, lending an air of sophistication and luxury to the entire kitchen space.
To achieve this seamless integration, built-in models are typically shallower in depth than both standard and counter-depth refrigerators, but they compensate for this with increased height and sometimes width. This design allows them to align perfectly with standard kitchen cabinets, often accepting custom panels that match your existing cabinetry, effectively disappearing into the kitchen’s decor. Their installation is more complex, often requiring dedicated cabinetry space and professional setup, but the result is a truly custom and high-end kitchen aesthetic that can significantly enhance your home’s value and appeal.
Types of Built-in Refrigerators
1. Column Units
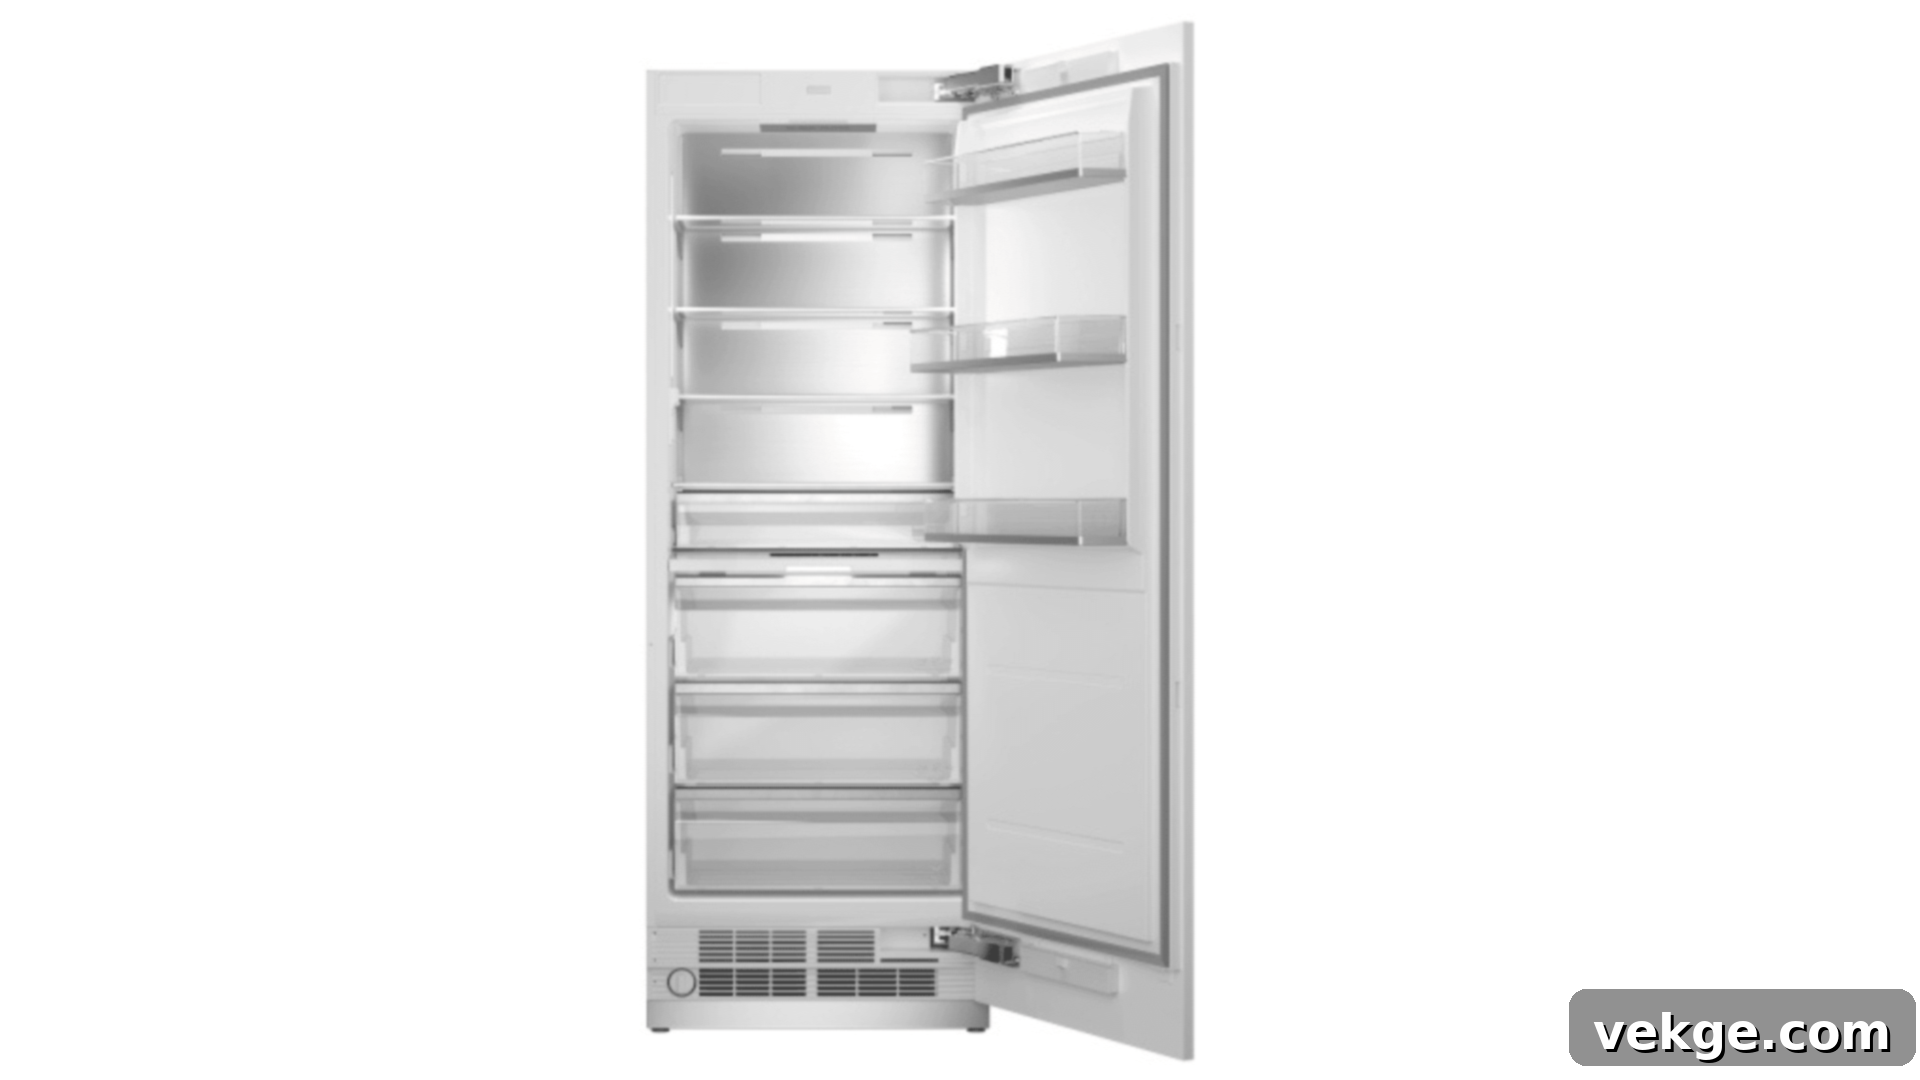
Column units are the ultimate expression of customization in built-in refrigeration. These are individual, full-height units, each dedicated to a single function—either refrigeration or freezing. This modular setup grants unparalleled flexibility, allowing you to select the precise amount of cold and frozen storage you require. You can install a refrigerator column alone, pair it with a separate freezer column side by side, or even strategically place them in different areas of the kitchen or pantry based on your workflow. This approach not only provides exceptional design flexibility but also allows for optimal organization, ensuring specific food types are stored in their ideal environments. The ability to integrate them with custom panels makes them virtually invisible within your kitchen’s design scheme.
2. Side-by-Side Design
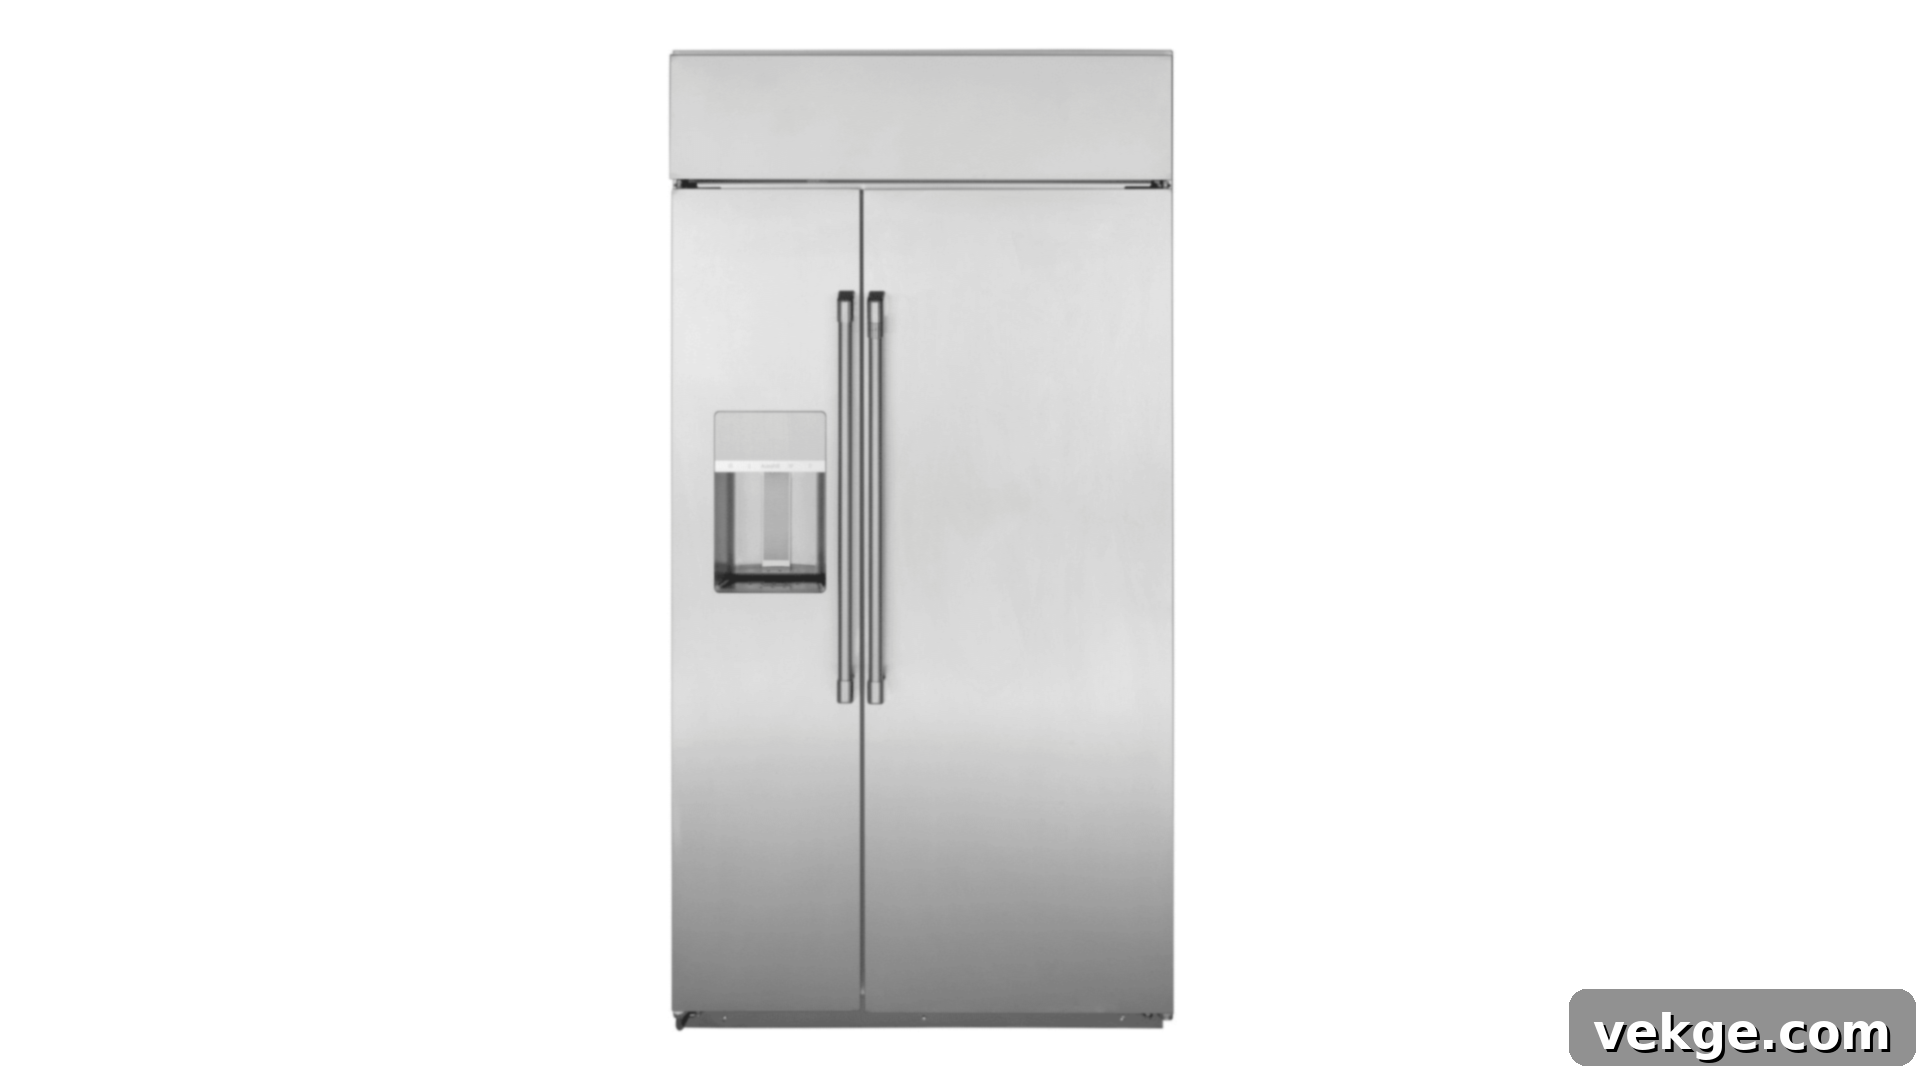
In the built-in side-by-side design, a single appliance unit is vertically divided into two distinct sections. One side is dedicated to refrigeration, while the other functions as the freezer. Both sections typically run from the top to the bottom of the unit, providing continuous access to items at various heights. This style offers a balanced approach to fresh and frozen food storage, making items easily reachable without excessive bending or stretching. When integrated with custom panels, the side-by-side built-in refrigerator creates a grand, monolithic statement that blends seamlessly with the surrounding cabinetry, elevating the overall luxurious feel of the kitchen.
Pros and Cons of a Built-in Refrigerator
Built-in refrigerators are celebrated for their ability to blend seamlessly with your kitchen cabinets, creating an unparalleled high-end, custom look that truly sets a new standard for sophisticated kitchen design. This level of integration transforms the appliance into a functional piece of furniture, enhancing the architectural integrity of your space. However, achieving this premium aesthetic comes with specific considerations regarding costs, complex installation requirements, and potential size limitations that necessitate careful thought and planning before making such a significant investment.
| Pros of Built-in Refrigerators | Cons of Built-in Refrigerators |
|---|---|
| Customizability: Can be fully customized with cabinetry panels that match your kitchen, allowing the appliance to virtually disappear into the design, creating a truly bespoke and integrated appearance. | Higher Cost: These units are significantly more expensive than both standard and counter-depth models, primarily due to their specialized design, premium materials, and the custom finishes required for integration. |
| Space Efficiency: Integrated directly into cabinetry, built-in fridges save external floor space and create a cohesive, uninterrupted visual line, which is ideal for minimalist or high-design kitchens. | Complex Installation: Requires professional installation and often custom carpentry to ensure a perfect fit and finish. This complexity adds to the overall cost and time required for a kitchen remodel. |
| Larger Capacity: While shallower, built-in refrigerators are typically taller, providing ample vertical storage space. Column units offer unmatched flexibility to scale capacity as needed. | Hard to Move: Due to their deep integration into custom cabinetry, built-in refrigerators are difficult and costly to relocate or replace, making future kitchen changes more involved. |
| Home Value: Significantly increases home value and aesthetic appeal with high-end functionality and a luxury kitchen appearance, serving as a strong selling point for potential buyers. | Maintenance Costs: Repair and maintenance for these specialized appliances can be more expensive due to their complex internal mechanisms and the specialized technicians often required for servicing. |
Here’s What You’ll Need for Installing a Built-In Fridge
Installing a built-in refrigerator is a precise task that demands the right tools and materials to ensure a secure, flush, and proper fit within your kitchen cabinetry. A successful installation prevents issues like leaks, instability, and poor performance. This comprehensive list covers everything from fundamental hand tools to specific mounting hardware, ensuring you are thoroughly prepared and won’t need to interrupt your installation for an unexpected run to the hardware store.
- Built-in refrigerator (ensure you have the appropriate model and size that matches your custom cabinet opening and design plans.)
- 2×4 Wood Boards (essential for fabricating anti-tip boards, which provide crucial stability and prevent the tall unit from tipping forward, a vital safety measure.)
- 1/4-Inch Saddle Valve (specifically designed for water connection, accompanied by a union and copper tubing. Ensure it’s not a self-piercing type, which can lead to leaks over time.)
- Flexible Water Tubing (use if local codes permit and if additional length is required for a secure, leak-free connection to your water supply line. Always check for compliance.)
- Wood Screws (a variety of lengths will be beneficial for securely fastening anti-tip boards and any necessary mounting brackets. Ensure they are long enough for a strong hold without penetrating too far.)
- Tape (electrical tape or plumber’s tape can be useful for securing water tubing against cabinet interiors to prevent kinking or for sealing threaded connections to prevent leaks.)
- Level (a long, accurate level is indispensable for ensuring the refrigerator is perfectly balanced and aligned, which is critical for door operation and proper cooling performance.)
- 5/16 Inch Socket Driver (often required for adjusting the leveling bolts or feet on the bottom of the refrigerator, allowing you to fine-tune its height and ensure stability.)
- Drill and Drill Bits (a cordless drill with a range of drill bits is necessary for pre-drilling holes for screws in cabinetry and for securing the anti-tip boards to the wall studs.)
- Measuring Tape (an accurate tape measure is vital for precise measurements of the opening, the refrigerator itself, and for positioning anti-tip boards and water lines.)
- Utility Knife (useful for cutting flexible water tubing, trimming insulation, opening packaging, or making minor adjustments to components as needed during the installation process.)
7-Step Guide to Installing a Built-In Refrigerator
Installing a built-in refrigerator is a project that requires attention to detail and adherence to specific steps to ensure a safe, secure, and perfectly integrated fit within your kitchen cabinetry. Before you even begin moving the appliance, gather all the essential tools and materials listed previously to make your installation process as smooth and efficient as possible, preventing any frustrating mid-project delays.
1. Prepare the Space
Begin by thoroughly inspecting the installation area. Ensure that the floor is perfectly level and robust enough to comfortably support the substantial weight of the refrigerator, especially when fully stocked. Confirm the dimensions of the cabinet opening: typically, the height should be around 84 inches, the width between 35.5 to 47.75 inches, and the depth a standard 24 inches for a flush fit. Verify that there’s adequate electrical access (a dedicated circuit is often recommended) and proper ventilation space around the unit, as specified by the manufacturer, to prevent overheating.
2. Safety Compliance
Safety is paramount. Ensure that all flammable materials, such as cleaning agents or solvents, are completely removed from the vicinity of the installation area. Crucially, install anti-tip boards (the 2x4s mentioned earlier) securely to the wall behind the refrigerator. These boards are a vital safety feature, designed to prevent the tall and heavy unit from accidentally tipping forward, which could cause serious injury or damage.
3. Water Supply Connection
For models with an ice maker or water dispenser, carefully connect the water supply. Use a high-quality 1/4-inch saddle valve for the water connection, ensuring it complies with all local plumbing codes. It is strongly recommended to use a standard compression fitting saddle valve rather than a self-piercing type, as self-piercing valves are prone to leaks and can cause long-term water damage. Ensure the water valve itself is easily accessible for future maintenance or in case of an emergency.
4. Secure Installation
With the anti-tip boards prepared, fasten them firmly to the wall studs using appropriate wood screws. Double-check that these boards sufficiently overlap the rear of the refrigerator unit by at least two inches. This overlap is crucial for engaging the refrigerator’s anti-tip bracket (if applicable) and providing the necessary stability once the unit is pushed into place. This step ensures the refrigerator cannot be accidentally pulled out or tipped over.
5. Connect Water Line
Carefully attach the flexible water supply line to the designated inlet on the back of the refrigerator. If the existing line is too short, extend it using compliant flexible tubing, ensuring all connections are tightened properly to prevent leaks. Run the tubing neatly, avoiding kinks or sharp bends that could restrict water flow. Turn on the water supply gradually and check for any signs of leakage at all connection points before fully pushing the unit into its final position.
6. Level and Align
Once the refrigerator is gently pushed most of the way into its cabinet opening, use your level to ensure it is perfectly plumb and level from side to side and front to back. Adjust the leveling bolts or feet, typically located at the bottom front of the unit, using your 5/16 inch socket driver until the refrigerator is stable and perfectly aligned with the surrounding cabinetry and countertops. This precision is key for proper door sealing and aesthetic integration.
7. Final Checks
With the unit level and stable, install any decorative grilles or base panels that come with your built-in refrigerator, typically at the top and bottom. Carefully connect the power cord to a grounded electrical outlet. Turn on the refrigerator and allow it to cool down for several hours. During this initial period, perform a final, thorough check for any water leaks from the connections. Adjust the temperature controls as needed and confirm that all functions, including the ice maker and water dispenser, are operating correctly before fully loading the refrigerator with food.
For a more visual and detailed explanation, you might find the manufacturer’s installation video or a general guide on YouTube helpful.
Accessibility Features to Consider for Built-In Refrigerators
When planning the installation of a built-in refrigerator, incorporating accessibility features can significantly enhance the convenience, comfort, and safety of kitchen tasks for everyone in the household. This is particularly vital for homes with elderly members, young children, or individuals with physical disabilities. Thoughtful modifications and feature selections can transform a standard appliance into a universally usable component of your kitchen. Here are some key features and considerations that can greatly improve the usability of a built-in refrigerator:
Pull-Out Bins and Drawers
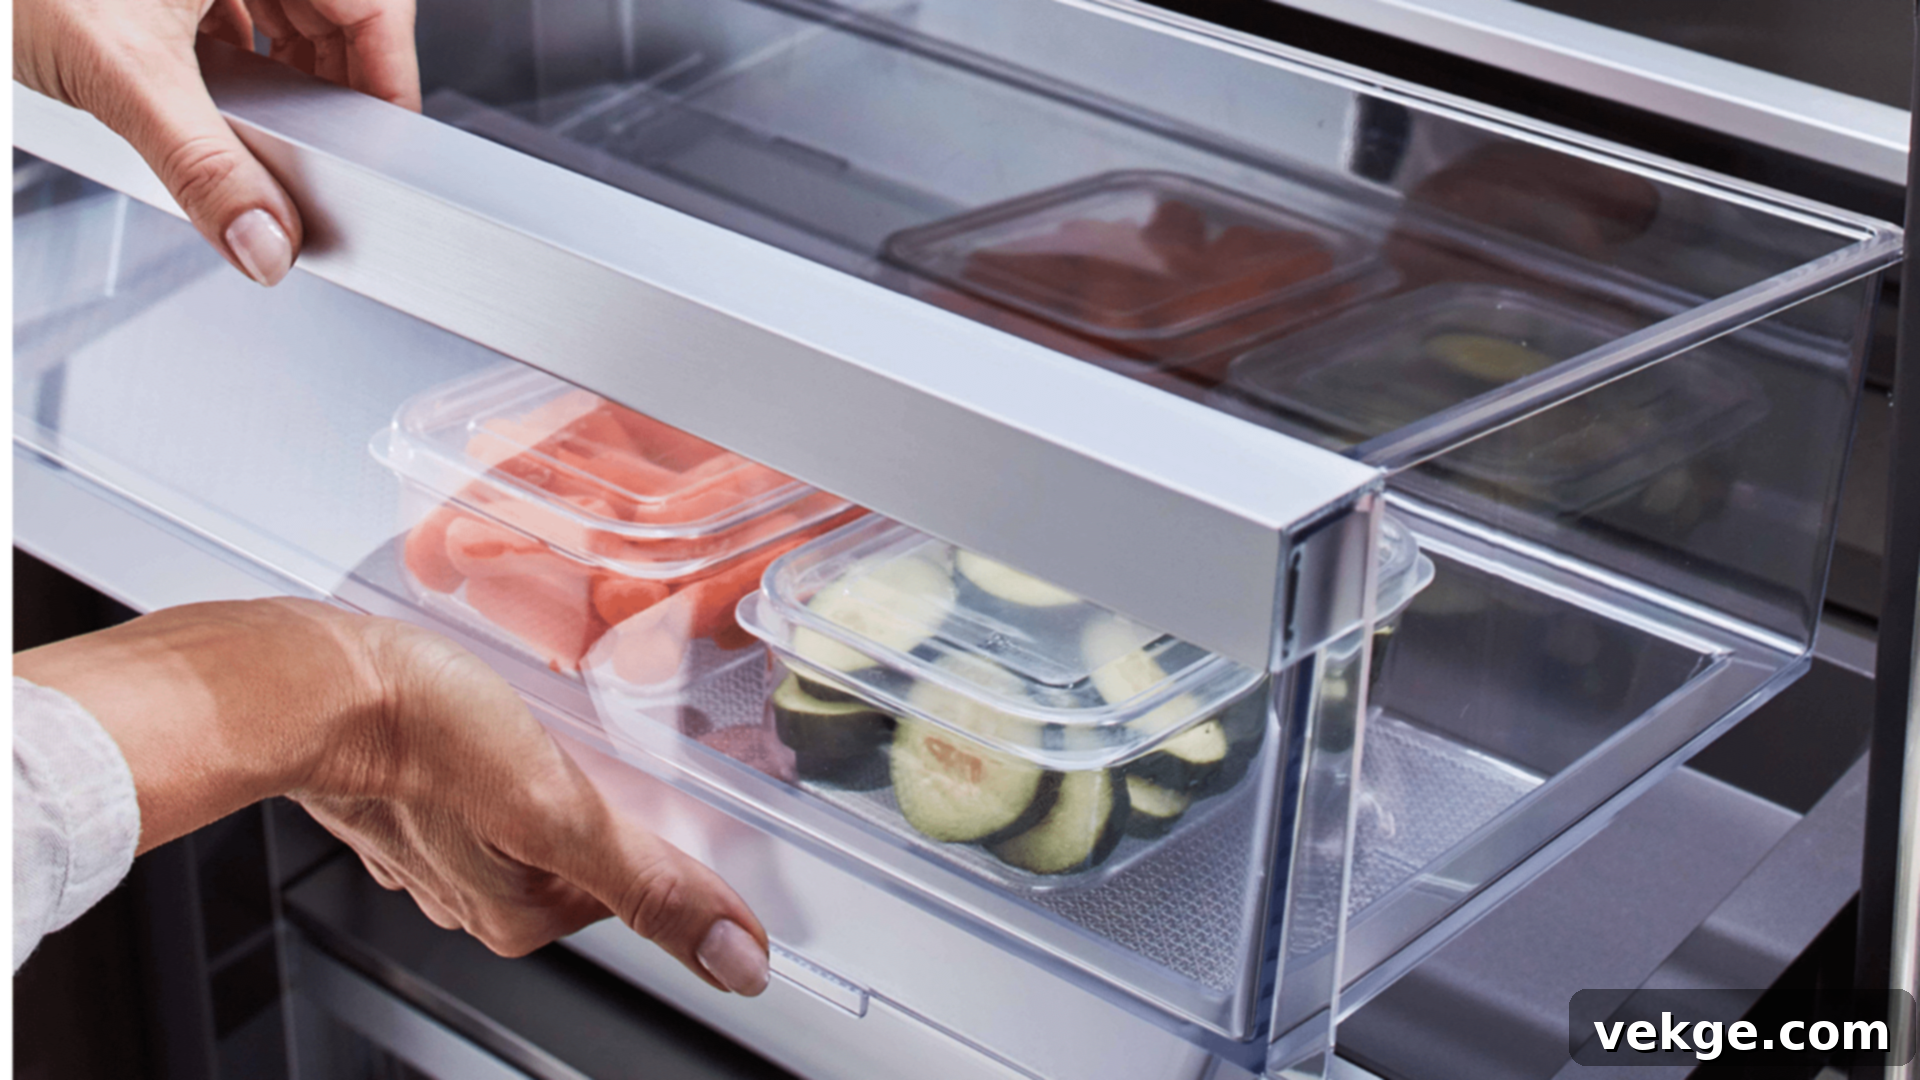
Equipping the refrigerator with smooth-gliding, full-extension pull-out bins and drawers is a game-changer for accessibility. These features make accessing items stored at the very back of shelves or in lower compartments remarkably easier, eliminating the need to awkwardly dig through contents. For individuals with limited reach or mobility, this means less strain and a reduced risk of dropping items. Clear bins also aid in quickly identifying contents, preventing unnecessary rummaging and keeping the interior organized.
Easy-Open Doors
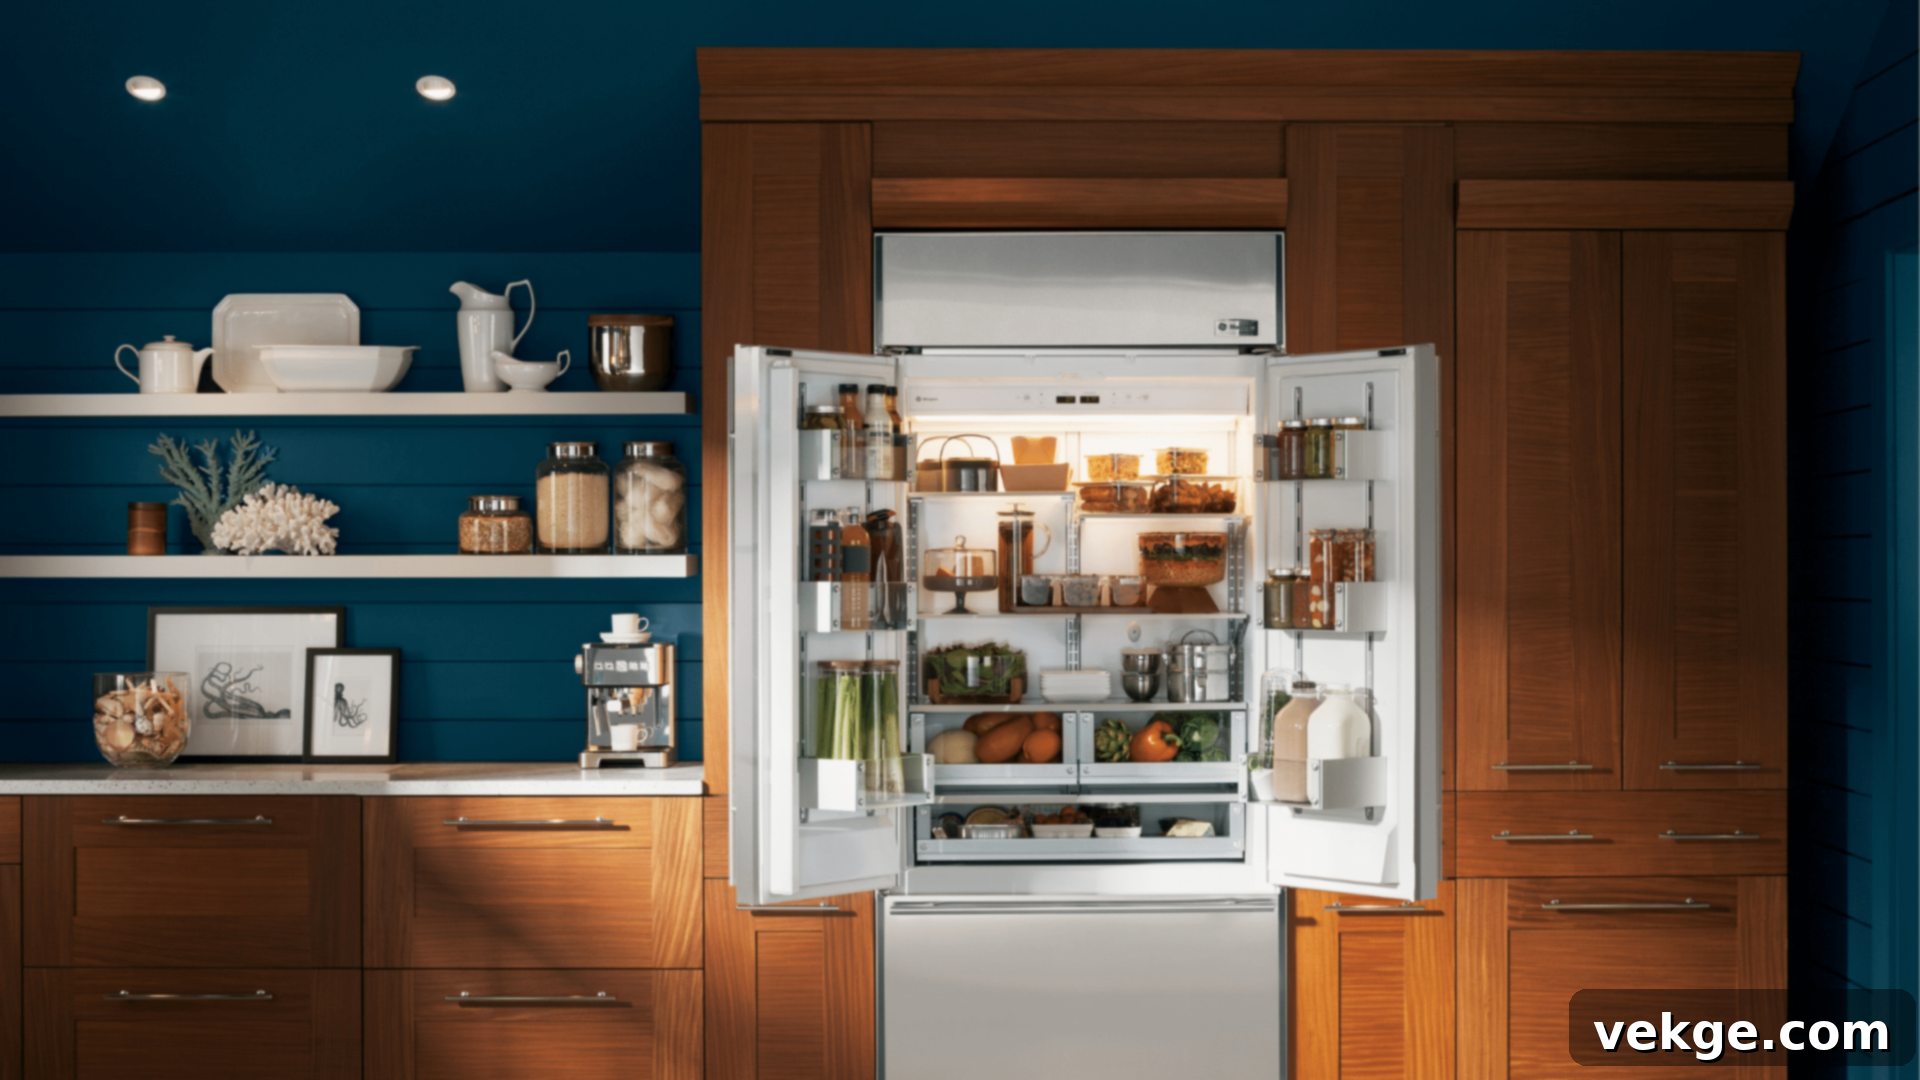
The design of refrigerator handles can significantly impact usability. Opt for handles that are ergonomic and easy to grip, such as long, D-shaped bars or integrated finger pulls that don’t require fine motor skills. For those with limited hand strength or dexterity, consider advanced mechanisms like push-button or lever-style releases that gently break the door seal with minimal force. Some high-end models even offer “assist open” features where a light touch will partially open the door, making access effortless.
Voice Control Integration
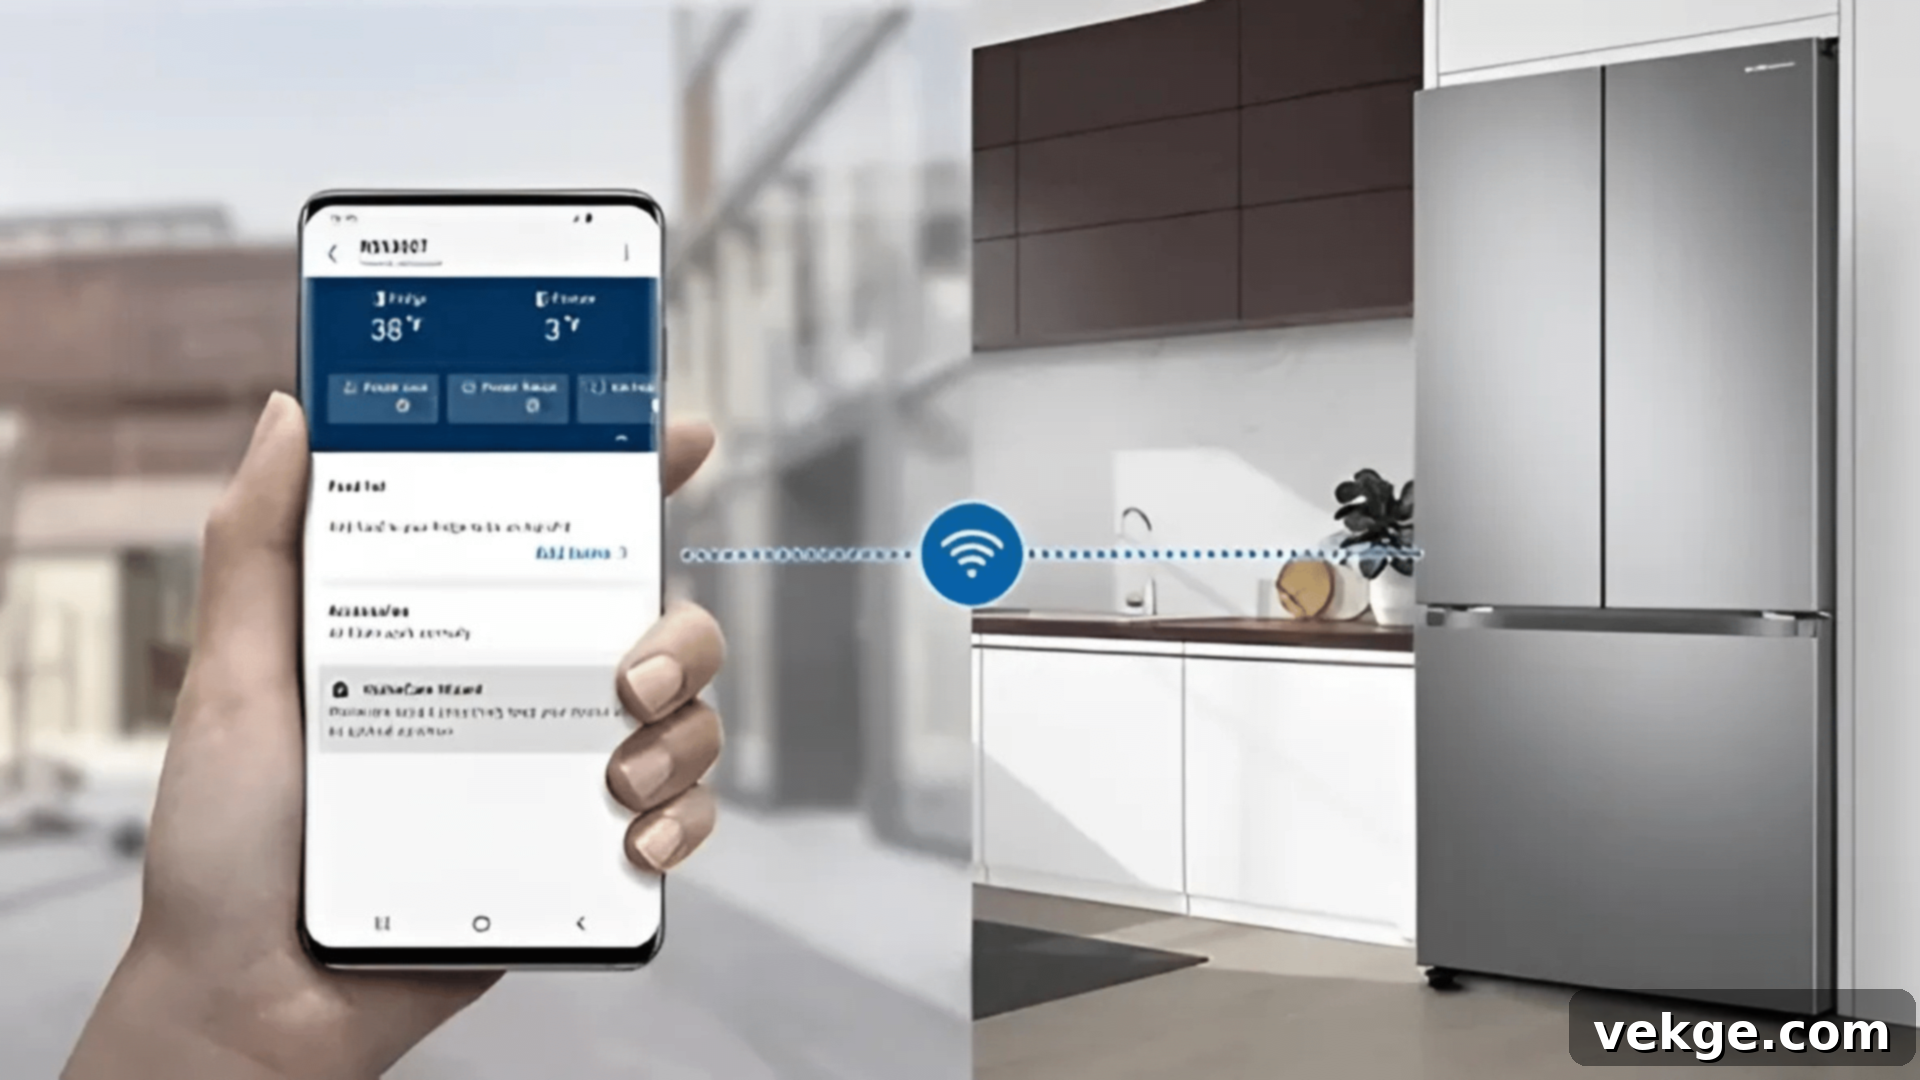
For technologically adept homes or individuals facing significant mobility challenges, integrating voice control capabilities through smart home systems can revolutionize refrigerator interaction. This innovative feature allows users to adjust temperature settings, activate specific modes (like “sabbath mode” or “fast freeze”), or receive notifications about the refrigerator’s status (e.g., “door left ajar” or “water filter needs replacing”) without needing to physically interact with the appliance. This hands-free operation adds a layer of convenience and independence, particularly for those who may find reaching or manipulating physical controls difficult.
Choosing the Right Refrigerator for Your Kitchen
Selecting a new refrigerator is a significant decision that extends beyond mere aesthetics; it’s about finding an appliance that perfectly integrates into your lifestyle, complements your kitchen’s design, and efficiently meets your food storage needs. The ideal model will not only fit your space flawlessly but also keep your food optimally fresh and work seamlessly with your daily kitchen habits for years to come.
1. Assess Your Space
Before you even begin browsing models, meticulous measurement of your kitchen space is non-negotiable. Precisely record the width, height, and depth of the exact area where your new refrigerator will be placed. However, don’t stop there. It’s imperative to account for additional clearance around the unit for several critical reasons:
- Air Flow: Sufficient space for proper air circulation around the condenser coils is vital to prevent overheating, ensure efficient cooling, and extend the lifespan of the motor. Manufacturers typically specify minimum clearances.
- Door Swing: Consider the arc of the refrigerator doors. Ensure there’s ample room for them to open fully (90 degrees or more) without hitting adjacent walls, cabinets, or kitchen islands. For French door models or side-by-side units, this is especially important for pulling out drawers or accessing shelves.
- Ease of Movement: Leave enough space in front and around the fridge for comfortable movement of groceries in and out, and for cleaning purposes.
- Utility Access: Verify there is easy access to water lines and electrical outlets behind or beside the appliance for connection and future maintenance.
2. Determine Your Needs
Your lifestyle and household habits should heavily influence your refrigerator choice. Consider the following questions to pinpoint your specific requirements:
- Household Size: How many people reside in your home? A family of four typically needs 18-22 cubic feet, while larger families or avid entertainers might require more.
- Shopping Habits: How often do you grocery shop? If you buy in bulk or visit stores infrequently, you’ll need greater capacity.
- Frozen Food Storage: Do you store a lot of frozen items, or do you rely more on fresh ingredients? This will guide your decision between larger freezers or more ample fresh food sections.
- Special Storage: Do you frequently host gatherings, requiring wide shelves for party platters or tall spaces for beverage bottles? Do you need specialized drawers for deli meats or produce?
Based on these needs, you can narrow down your choice from the main refrigerator types:
- Top Freezer: Offers good basic storage, is generally more affordable, and energy-efficient.
- Bottom Freezer: Places fresh food at eye level for easy access, with a drawer-style freezer below.
- French Door: Features wide shelves for large items in the fresh food section, with a bottom freezer drawer, often with dual top doors.
- Side-by-Side: Provides balanced access to both fresh and frozen foods through two vertical compartments.
- Counter-Depth: Designed to fit flush with your kitchen counters for a streamlined look, offering aesthetic appeal over maximum capacity.
- Built-In: Fully integrated into your cabinet design for a custom, luxurious, and seamless appearance.
3. Set Your Budget
Making a financially sound choice involves looking beyond the initial purchase price. A smart budget assessment includes:
- Purchase Price: Compare the price tags of different models and brands within your preferred category (counter-depth vs. built-in).
- Energy Efficiency: Investigate the estimated monthly power bills. Newer, Energy Star-rated units often use significantly less electricity, leading to substantial savings over the appliance’s lifespan.
- Long-Term Costs: Consider potential repair costs over time. Built-in units, with their specialized components, can sometimes incur higher maintenance expenses. Also factor in installation costs, especially for built-ins which often require professional expertise.
- Features vs. Value: Differentiate between features you’ll genuinely use daily versus fancy add-ons that might inflate the price without adding real value to your lifestyle.
- Resale Value: A high-end built-in refrigerator can add significant resale value to your home, making it a worthwhile investment if you plan to sell in the future.
Conclusion
The choice between a built-in and a counter-depth refrigerator ultimately hinges on a balance of aesthetic preference, functional needs, and budget. Built-in models offer the pinnacle of custom, fitted elegance, seamlessly disappearing into your cabinetry to create a truly luxurious and integrated kitchen design. However, this premium look comes with a higher price tag and demands specific, often professional, installation and cabinetry modifications. Counter-depth options provide a more accessible route to a sophisticated, near-flush finish, delivering a streamlined appearance that’s more budget-friendly and less invasive to install than a full built-in.
When making your final decision, consider your long-term plans for your kitchen and home. Think deeply about how much food storage you realistically need, the specific style and ambiance you envision for your kitchen, and your financial comfort zone for both the initial purchase and ongoing maintenance. Take the necessary time to accurately measure your space, meticulously compare prices across various brands and models, and, if possible, view different models in person to get a tangible feel for their size and features. Your refrigerator is a significant investment and a central appliance that will be an integral part of your kitchen for many years to come; therefore, careful planning now will undoubtedly lead to lasting satisfaction with your thoughtful choice.
FAQ (Frequently Asked Questions)
Do You Lose a Lot of Space with a Counter-Depth Refrigerator?
Yes, typically, you will experience a reduction in internal storage capacity with a counter-depth refrigerator compared to a standard-depth model of similar width. Counter-depth fridges are generally about 6-8 inches shallower, designed to align with kitchen counters. This reduced depth usually translates to approximately 20-25% less cubic footage, which can be a significant consideration for larger families or those who buy groceries in bulk. However, some manufacturers compensate by making them slightly taller or wider to optimize the available space.
Why are Counter-Depth Refrigerators More Expensive?
Counter-depth refrigerators often carry a higher price tag than their standard-depth counterparts due to several factors. Their specialized design requires more intricate engineering and manufacturing processes to achieve a shallower depth while maximizing internal storage and maintaining advanced features. This unique design often necessitates a different internal layout and more compact, higher-performing components, all of which contribute to increased production costs that are passed on to the consumer. Essentially, you’re paying for the premium aesthetic and the engineering ingenuity required to achieve that perfectly flush, integrated look.
What Size Refrigerator for a Family of 4?
For a family of four, a refrigerator with an internal capacity of 18-22 cubic feet is generally considered suitable. This size typically provides enough room for weekly groceries, including fresh produce, dairy, meats, and a reasonable amount of frozen items, along with leftovers. However, this is a general guideline. If your family frequently entertains, cooks elaborate meals, or buys groceries in bulk, you might consider opting for a larger capacity, perhaps in the 25-30 cubic feet range, to ensure ample storage space without overcrowding.
