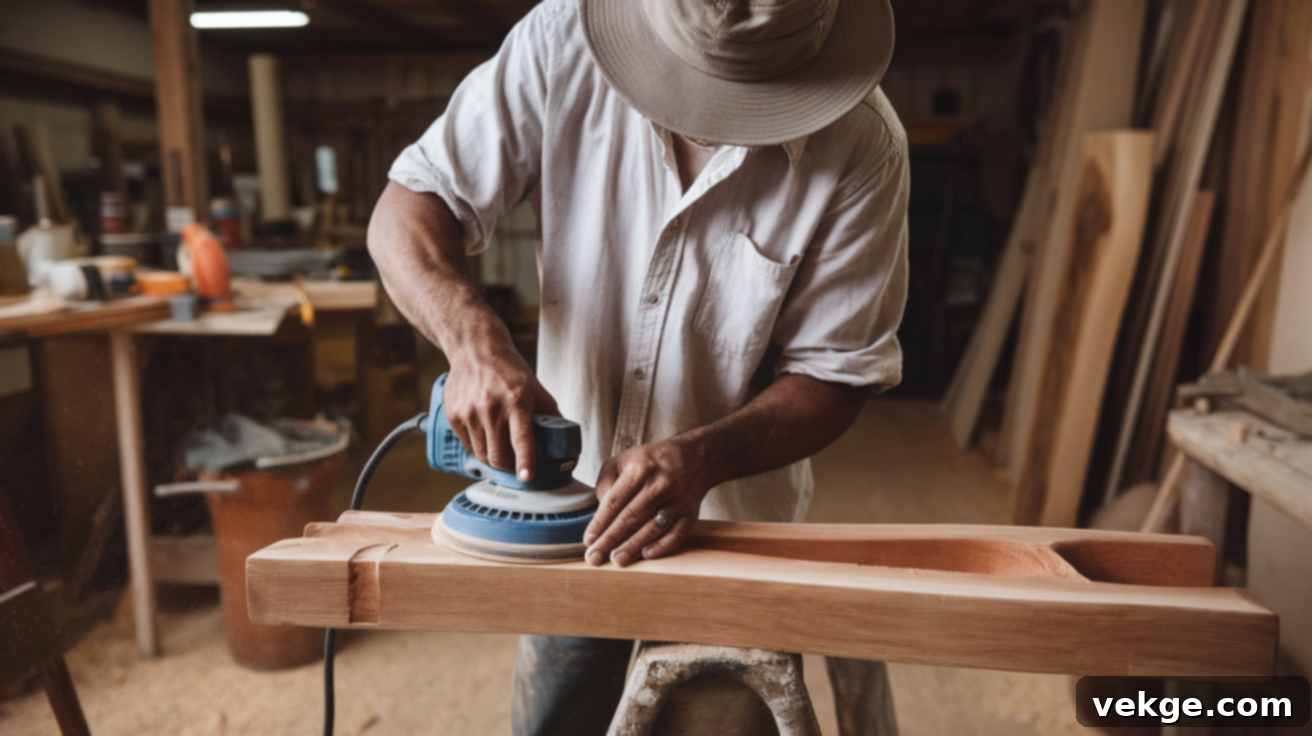
Mastering Wood Sanding: Your Ultimate Guide to Flawless Wood Finishes
Have you ever completed a wood project, only to find the surface wasn’t as smooth, polished, or professional-looking as you envisioned? The secret to transforming rough timber into a truly beautiful and tactile surface lies in a seemingly simple, yet often underestimated, step: sanding wood. This crucial process is what elevates a good wood project to an exceptional one, making all the difference in its appearance, feel, and durability.
Whether you’re restoring a treasured antique, building new furniture, or embarking on a creative DIY endeavor, proper sanding is the foundation for a stunning final product. It’s not just about making wood smooth; it’s about preparing it to accept finishes beautifully, enhancing its natural grain, and ensuring a pleasant, splinter-free experience for anyone who touches it.
In this comprehensive guide, you’ll delve into the art and science of sanding wood. We’ll cover everything from selecting the perfect sandpaper and understanding its various grits, to mastering effective sanding techniques, and choosing the right tools for any job. Our goal is to break down each step into simple, actionable advice, empowering you to achieve professional-level results, even if you’re a complete beginner.
Ready to unlock the full potential of your woodworking projects and turn rough wood into smooth, amazing masterpieces? Let’s get started on your journey to flawless wood finishes.
Why Sanding Wood is Indispensable for Quality Projects
Many see sanding as a tedious chore, but experienced woodworkers know it’s a vital part of craftsmanship. Understanding why sanding wood is important highlights its value beyond mere smoothness:
- Achieving Supreme Smoothness and Safety: The most obvious benefit of sanding is creating a smooth, inviting surface. It meticulously removes rough spots, splinters, and minor imperfections that can make wood uncomfortable or even hazardous to touch. A properly sanded surface feels luxurious and safe, enhancing the overall user experience of your finished piece.
- Optimal Finish Adhesion and Appearance: Sanding prepares the wood surface to accept stains, paints, and clear coats far more effectively. It creates a consistent, microscopic “tooth” that allows finishes to penetrate or bond securely, preventing peeling, bubbling, and uneven absorption. Without proper sanding, even the highest quality paint or stain will look blotchy, dull, and unprofessional.
- Revealing and Enhancing Natural Beauty: The process of sanding uncovers the hidden beauty of the wood grain. By removing surface dirt, old finishes, and the subtle fuzz left by milling, sanding brightens the wood and makes its natural patterns pop. This can transform even inexpensive wood into something that looks significantly more refined and valuable.
- Preventing Future Problems and Ensuring Longevity: Thorough sanding is a proactive measure that prevents numerous issues down the line. Unfinished scratches or rough patches will become glaringly obvious once a stain is applied, and paint struggles to adhere to an unprepared surface, leading to premature wear. Investing time in proper sanding now means your project will maintain its beautiful appearance and structural integrity for many years to come, saving you time and effort on future repairs.
- A Foundation for Professional Results: Ultimately, sanding is the critical preparatory step that lays the groundwork for a truly professional finish. It ensures every subsequent step, from staining to varnishing, can perform at its best, leading to a durable, aesthetically pleasing, and high-quality final product that you’ll be proud to showcase.
Mastering the Sanding Process: A Step-by-Step Guide
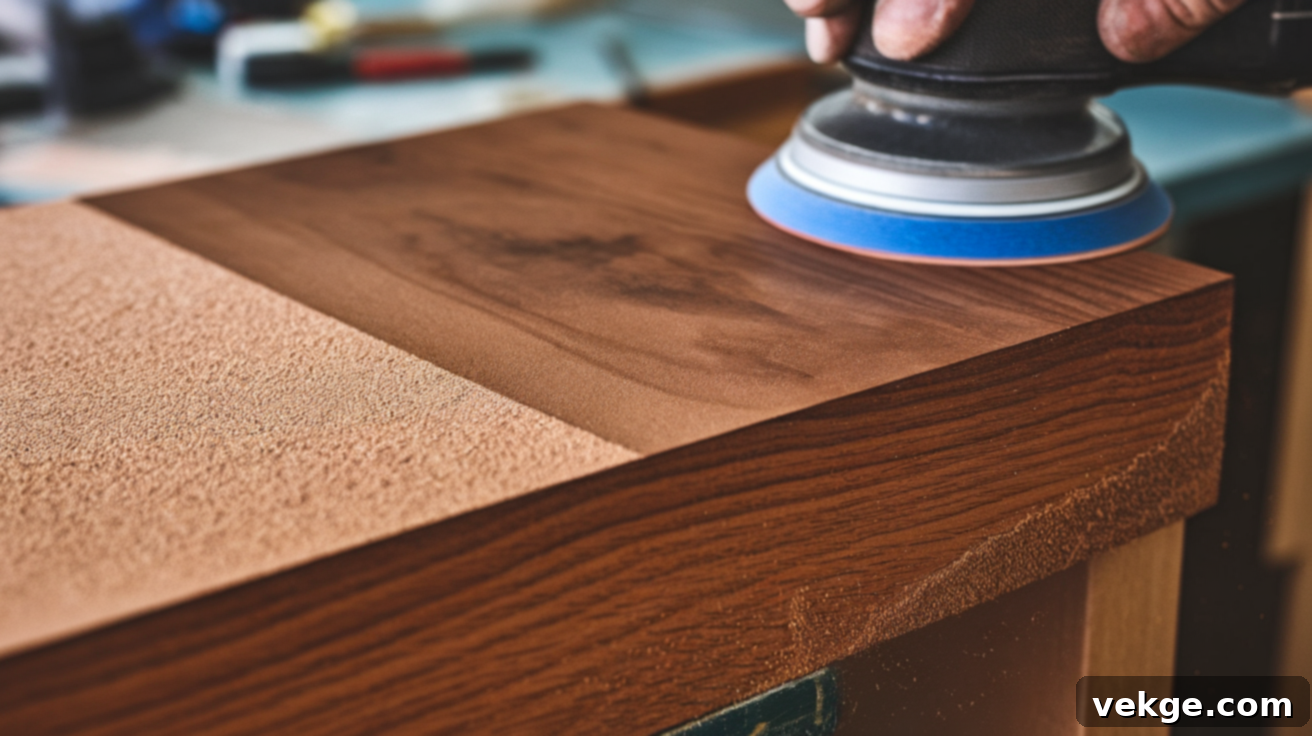
Achieving a perfectly smooth wood finish requires a methodical approach. Follow these essential steps for optimal results:
1. Start with Coarse Grit: The Foundation of Smoothness
Every successful sanding project begins with coarse sandpaper. Think of it as your primary tool for addressing significant surface issues. Coarse grit, typically ranging from 60 to 80, is designed to efficiently remove old, peeling paint, deep scratches, minor dents, and rough mill marks. It’s the most aggressive sandpaper and works quickly to level the surface, much like using a shovel before a rake.
While coarse paper leaves noticeable scratches, this is perfectly normal and expected. These initial scratches are deeper but evenly distributed, setting the stage for subsequent refinement. Never be tempted to skip this crucial initial step to save time; a proper foundation is key to achieving true smoothness later on.
2. Gradually Work Through Finer Grits: Refining the Surface
After using coarse sandpaper, the next critical step is to progressively refine the surface with increasingly finer grits. This process is about removing the scratches left by the previous, coarser grit, gradually making the surface smoother and smoother. A common progression might be: 80-grit to 120-grit, then to 180-grit, and finally to 220-grit for most projects.
It’s vital to never skip a grit size. Jumping from a very coarse grit directly to a fine one will leave deep scratches from the coarse paper that the finer grit simply can’t remove effectively. Each grit builds upon the last, systematically reducing the scratch pattern. Sand the entire surface evenly with one grit before moving to the next. You’ll feel the wood becoming progressively silkier with each step.
3. Go with the Grain: The Golden Rule of Sanding
Always sand in the direction of the wood’s natural grain. This is perhaps the most fundamental rule of woodworking. Wood fibers run in a specific direction, and sanding against this grain is like stroking a cat the wrong way – it creates resistance and, more importantly, leaves unsightly cross-grain scratches that are incredibly difficult to remove and become highly visible once a finish is applied. These scratches are actually tiny cuts across the wood fibers.
By following the grain, you align your abrasive action with the wood’s natural structure, allowing the sandpaper to smoothly cut along the fibers. Take your time to observe the wood’s lines and follow them consistently. This patience will be richly rewarded with a consistently smooth, professional-looking surface free from distracting swirl marks or cross-grain blemishes.
4. Keep Your Workspace Clean: Dust Control is Key
Wood dust is the enemy of a perfect finish. It can settle back onto your project, becoming embedded in the wood or interfering with subsequent finish applications, leading to a bumpy or uneven surface. Therefore, maintaining a clean workspace is paramount for better results. Use a shop vacuum with a brush attachment to frequently remove accumulated wood dust from your project and surrounding areas. A tack cloth (a sticky cloth designed to pick up fine dust) is excellent for wiping down the surface just before applying a finish.
Beyond the finish quality, a tidy area also means fewer trip hazards and safer working conditions. Always wear a dust mask or respirator to protect your lungs from fine wood particles, which can be harmful over time. Cleanliness contributes directly to the quality of your work and your personal well-being.
5. Use the Right Sanding Pressure: The Art of Even Sanding
Applying consistent and appropriate pressure is crucial for even sanding results. Imagine you’re giving the wood a gentle but firm massage – not too hard, not too soft. Pressing too hard, especially with power sanders, can create uneven divots, accelerate sandpaper wear, and generate excessive heat, potentially burning the wood. Conversely, pressing too lightly will be ineffective, merely gliding over the surface without removing material.
Aim for consistent, moderate pressure across the entire surface of your project. For hand sanding, use a sanding block to distribute pressure evenly. With power sanders, let the tool do the work, guiding it with gentle pressure. Use your fingers to feel the surface as you go; any inconsistencies in pressure will manifest as uneven spots. With practice, you’ll develop the “feel” for the perfect pressure that yields a super smooth surface without damage.
6. Patience and Persistence: Your Greatest Allies
Sanding is rarely a quick process; it demands patience and persistence. Rushing through the steps, skipping grits, or applying inconsistent pressure almost always leads to mistakes and poor results that are time-consuming to fix. Each pass with sandpaper, especially as you move to finer grits, subtly refines the wood, building towards that ultimate smooth finish.
Embrace the process. Put on some music, relax, and enjoy watching the wood transform beneath your hands. Remember that the best woodworkers aren’t necessarily the fastest, but the most careful and meticulous. Your patience will be generously rewarded with beautiful, lasting results that enhance the beauty of your finished piece for years to come.
7. Prioritizing Safety: Protecting Yourself
Woodworking, including sanding, involves various hazards that can be easily mitigated with proper safety gear. Always make personal protection a priority:
- Dust Masks/Respirators: Fine wood dust particles can irritate the respiratory system and, with prolonged exposure, lead to serious lung conditions. A good quality dust mask or, for extended work, a respirator, is essential.
- Eye Protection: Flying wood chips, dust, and abrasive particles are a constant threat to your eyes. Always wear safety goggles or glasses, especially when using power sanders.
- Gloves: While not always practical for delicate hand sanding where tactile feedback is crucial, gloves can protect your hands from splinters, cuts, and abrasive wear, particularly during initial coarse sanding or when handling rough lumber.
- Hearing Protection: Power sanders can generate significant noise levels. Earplugs or earmuffs are recommended to protect your hearing from long-term damage.
Think of safety gear as your woodworking superhero outfit. It might feel a bit awkward at first, but it quickly becomes second nature. Prioritizing safety allows you to focus on your project without worry, ensuring a safer and more enjoyable woodworking experience.
Identifying Wood Grain for Optimal Results
Understanding and identifying the wood grain is crucial for proper sanding. The grain refers to the arrangement of wood fibers, which are essentially long, tube-like cells that run in a particular direction. When you sand *with* the grain, you are cutting along these fibers, resulting in a smooth finish. Sanding *against* the grain, however, cuts across the fibers, tearing them and creating visible, irreversible scratches.
To identify the grain, you can use a simple technique:
The Thumbnail Test: Gently run your thumbnail (or a fingertip) across the wood surface in two perpendicular directions. You will notice that in one direction, your thumbnail will glide smoothly with minimal resistance. This is the direction of the grain. In the opposite direction, it will feel rougher, and you might even feel tiny splinters catching your nail. That’s against the grain.
Another way is to simply observe the patterns on the wood surface. The long, parallel lines you see are usually a clear indicator of the grain direction. Always remember: follow these lines to achieve a truly smooth and blemish-free surface.
Why Sanding with the Grain is Essential
As mentioned, sanding against the grain leaves tiny, irreparable scratches that become highly visible once a stain or finish is applied. These are not merely superficial marks but actual damage to the wood fibers. It’s akin to petting a cat’s fur against its natural lay – it’s resisted and looks ruffled. Sanding with the grain ensures the wood fibers are laid down smoothly and uniformly, creating a perfect canvas for any finish. This meticulous approach guarantees your finished project will possess a far more professional and refined appearance.
Choosing the Right Sandpaper: Types and Grits Explained
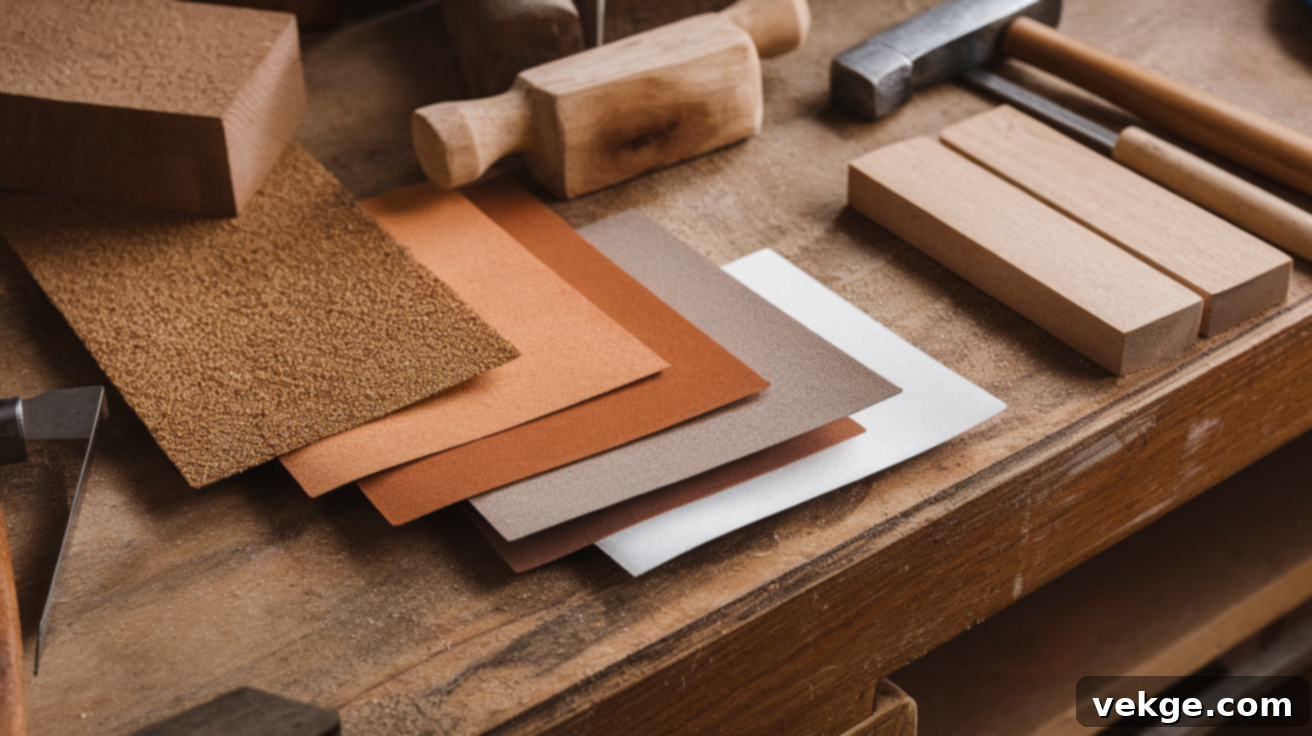
Selecting the correct sandpaper is as important as the technique itself. Sandpaper isn’t a one-size-fits-all product; it comes in various abrasive materials and grit sizes, each suited for specific tasks.
Types of Sandpaper Abrasives:
The abrasive material is what actually does the cutting. Here are the most common types:
1. Aluminum Oxide Sandpaper
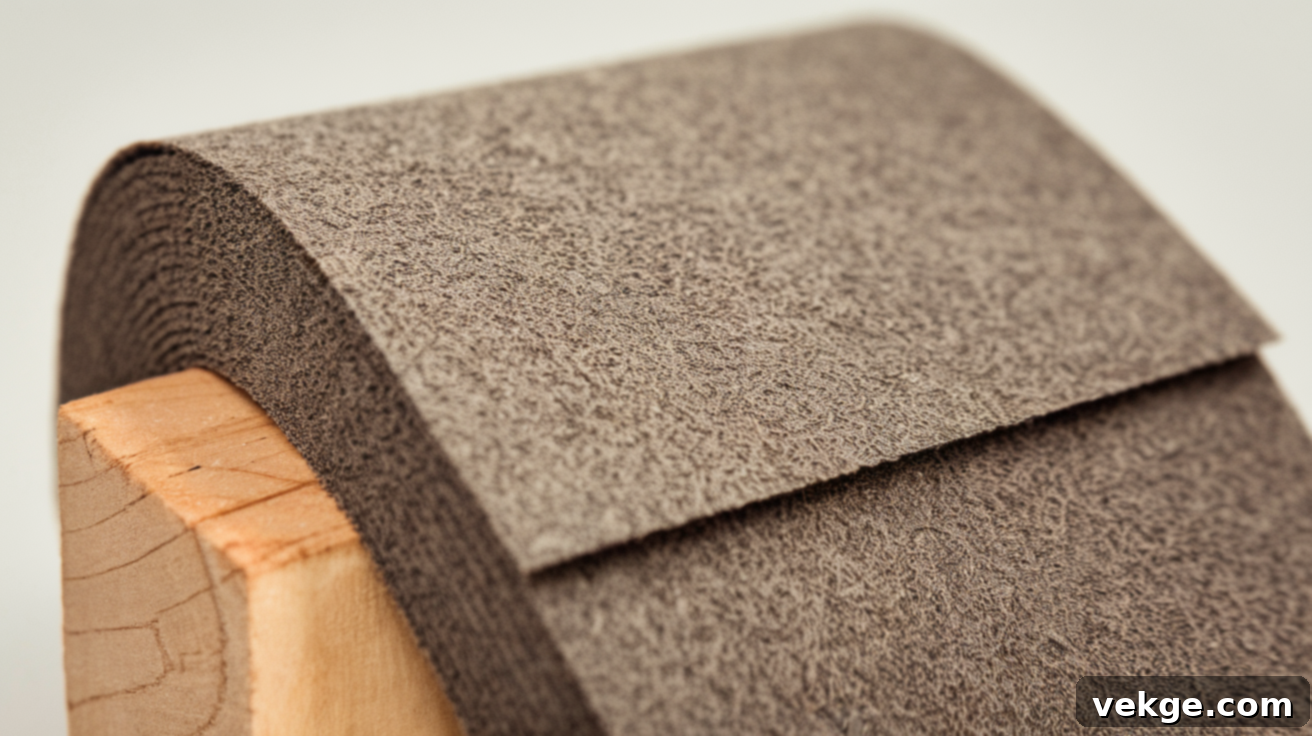
Often considered the “workhorse” of abrasives, aluminum oxide is incredibly versatile and durable. It’s made of synthetic, sharp, angular particles that fracture during use, constantly exposing new, sharp edges. This self-sharpening characteristic means it lasts longer than many other types. It excels on a wide range of materials, including wood, metal, painted surfaces, and fiberglass. It’s the go-to choice for general woodworking, from coarse stock removal to fine finishing, making it a staple in any DIYer’s or professional woodworker’s toolkit.
2. Silicon Carbide Sandpaper
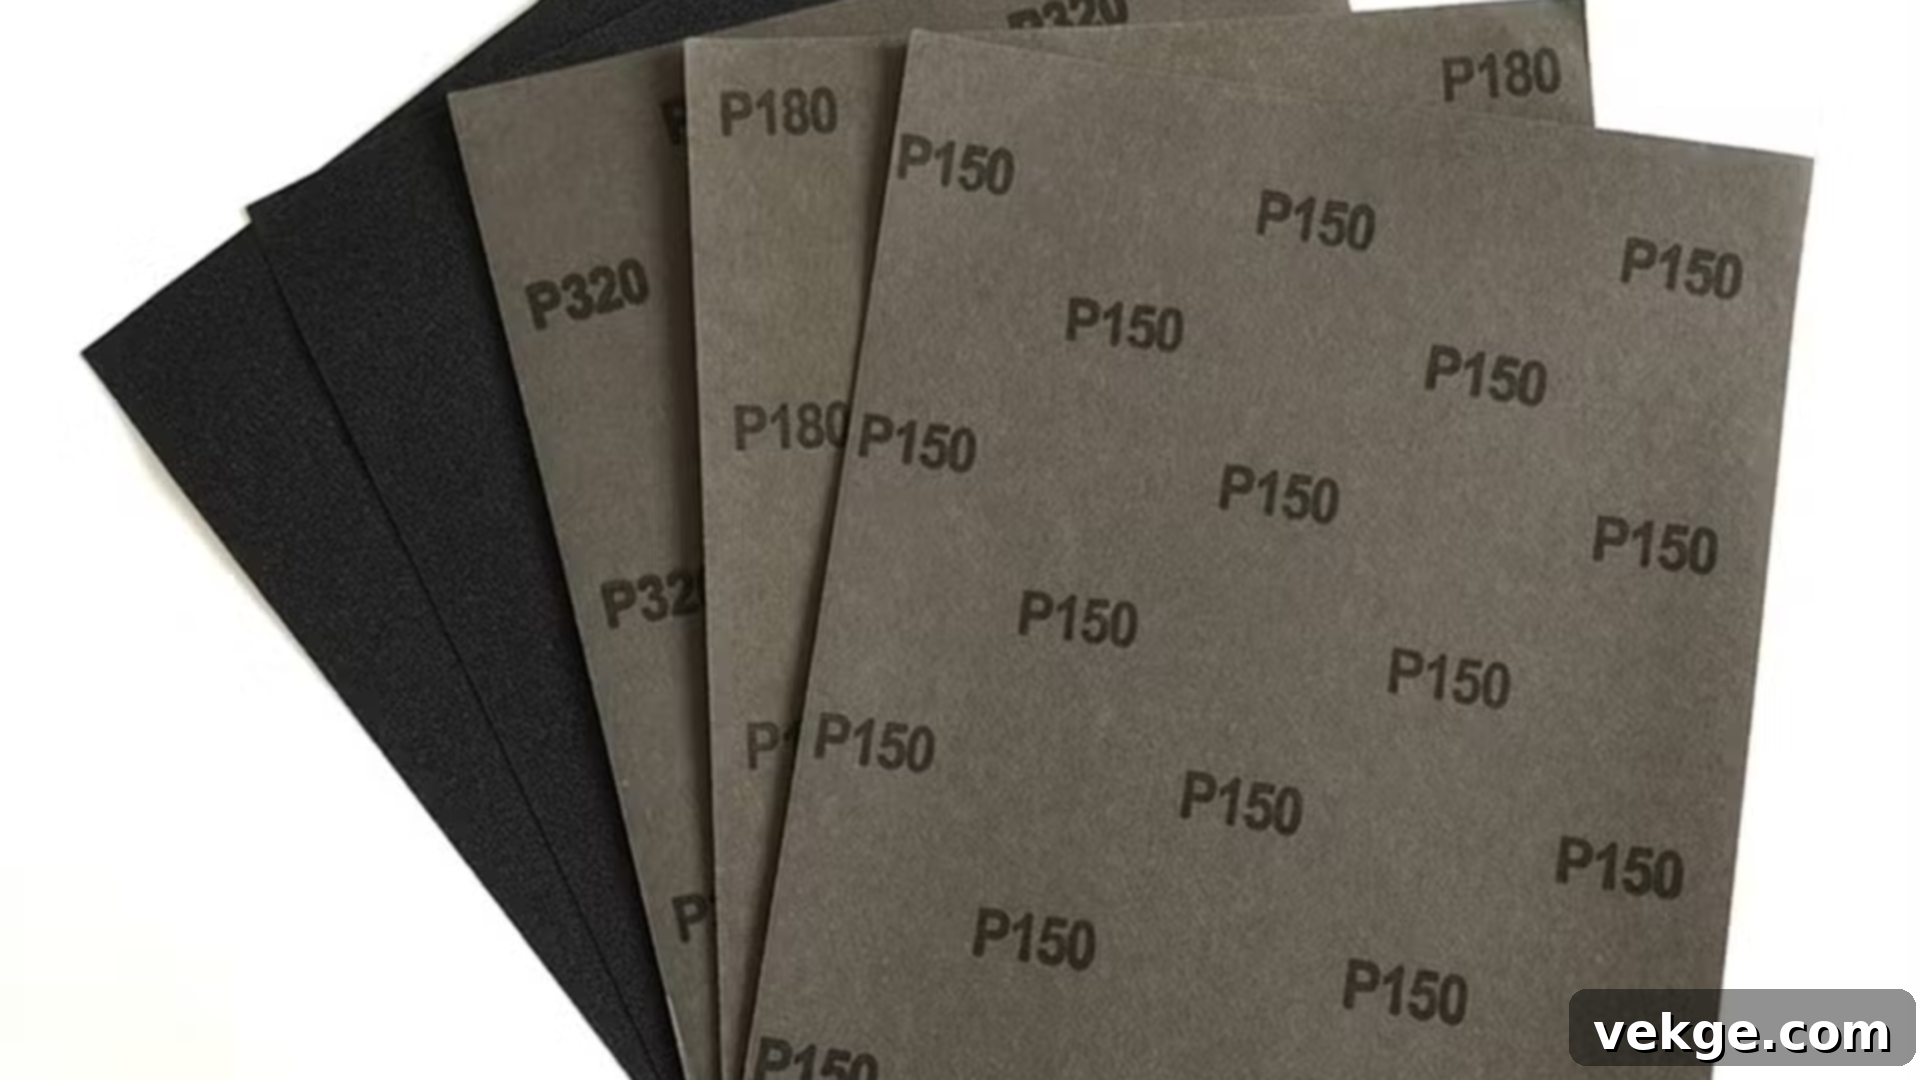
Known for its extreme hardness and sharpness, silicon carbide is a fast-cutting abrasive. It’s often used for wet sanding, especially on non-wood materials like glass, plastic, metal, and automotive finishes. When used wet, the water acts as a lubricant, reduces friction, prevents clogging, and washes away sanding dust, allowing for an incredibly smooth, even, and often glass-like finish. Its sharp, brittle crystals break down easily under pressure, making it less durable for aggressive wood removal but excellent for delicate finishing tasks.
3. Garnet Sandpaper
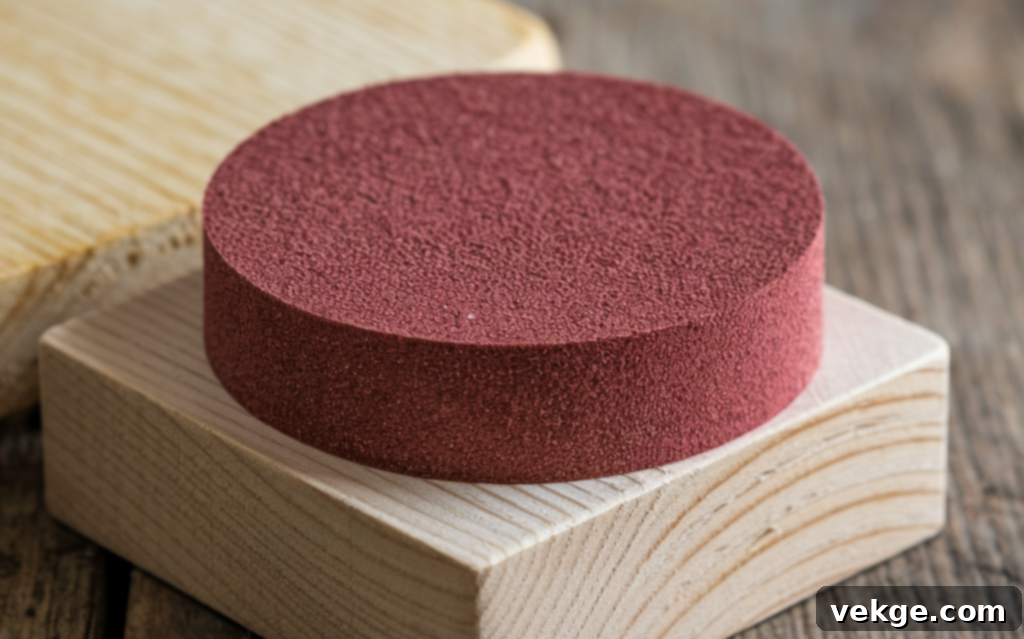
Garnet is a natural mineral abrasive, distinct from its synthetic counterparts. It’s softer and tends to wear down faster than aluminum oxide, which might seem like a disadvantage. However, this characteristic makes it exceptional for hand-sanding bare wood, particularly for fine finishing. As it wears, garnet produces a very fine scratch pattern that helps to close the wood pores, resulting in an exceptionally smooth surface that readily accepts stains and finishes beautifully. It’s often preferred by traditional woodworkers for its superior finishing qualities on natural wood.
Understanding Sandpaper Grits:
Grit refers to the size of the abrasive particles. The lower the number, the coarser the grit and the more material it removes. The higher the number, the finer the grit and the smoother the finish it produces.
- Coarse Grit (40-80): This is your heavy-duty abrasive for initial material removal. Use it to strip old paint or varnish, aggressively reshape wood, level uneven surfaces, or remove deep scratches and significant imperfections. It cuts quickly but leaves noticeable scratch marks that must be removed by subsequent finer grits.
- Medium Grit (100-150): The versatile workhorse for general sanding. Medium grit smooths out the rough marks left by coarse sandpaper and is suitable for preparing most surfaces before moving to finer grits. It balances effective material removal with beginning to create a smoother surface, making it ideal for the intermediate stages of most projects.
- Fine Grit (180-220): Essential for preparing wood for its final finish. Fine grit removes the scratches left by medium grits, creating a uniformly smooth surface ready for staining, painting, or clear coating. This stage ensures the finish will look even and professional, as even small scratches can become exaggerated by stains.
- Extra Fine Grit (240+): Used for achieving a truly flawless finish. Extra fine grits, such as 320, 400, or even higher, are typically employed for sanding between coats of finish (to smooth out dust nibs or raised grain), for achieving a super-smooth, almost polished feel on bare wood, or for specialized applications like wet sanding. This is where perfection in texture is attained.
Essential Sanding Techniques for Every Project
The method you choose for sanding can significantly impact your results. Depending on the size of your project, the shape of the wood, and the desired finish, you’ll employ different techniques.
1. Hand Sanding: Precision and Control
Sometimes, precision trumps speed. Hand sanding is the oldest and often the most controlled method. It’s perfect for small, delicate projects, intricate details, curved surfaces, and tight corners where power tools can’t reach or might be too aggressive. While slower and more labor-intensive, hand sanding allows for unparalleled tactile feedback, letting you “feel” the wood’s progress towards smoothness. It’s ideal for final passes, smoothing out edges, and achieving a bespoke finish.
2. Machine/Power Sanding: Efficiency for Larger Projects
For larger surfaces and projects where efficiency is key, power sanders are invaluable. These tools drastically cut down sanding time and reduce physical fatigue. They come in various forms (belt, orbital, random orbital, detail sanders), each designed for specific tasks. While powerful, power sanders require a careful touch to avoid creating divots, uneven surfaces, or sanding through veneers. Always keep the sander moving and lift it before stopping the motor to prevent circular marks.
3. Wet Sanding: Achieving a Mirror-Smooth Finish
Wet sanding involves using waterproof sandpaper with a liquid (typically water, sometimes with a lubricant or soap). This technique is most commonly associated with silicon carbide sandpaper and is used for achieving an exceptionally smooth, often mirror-like finish on materials like automotive paint, plastic, composites, or even wood between coats of clear finish. The liquid helps to lubricate the surface, flush away sanding dust (preventing clogging and scratches), and reduce heat build-up. It’s a method preferred by professionals for high-gloss, ultra-fine finishes.
Manual Sanding Tools: Your Hands-On Helpers
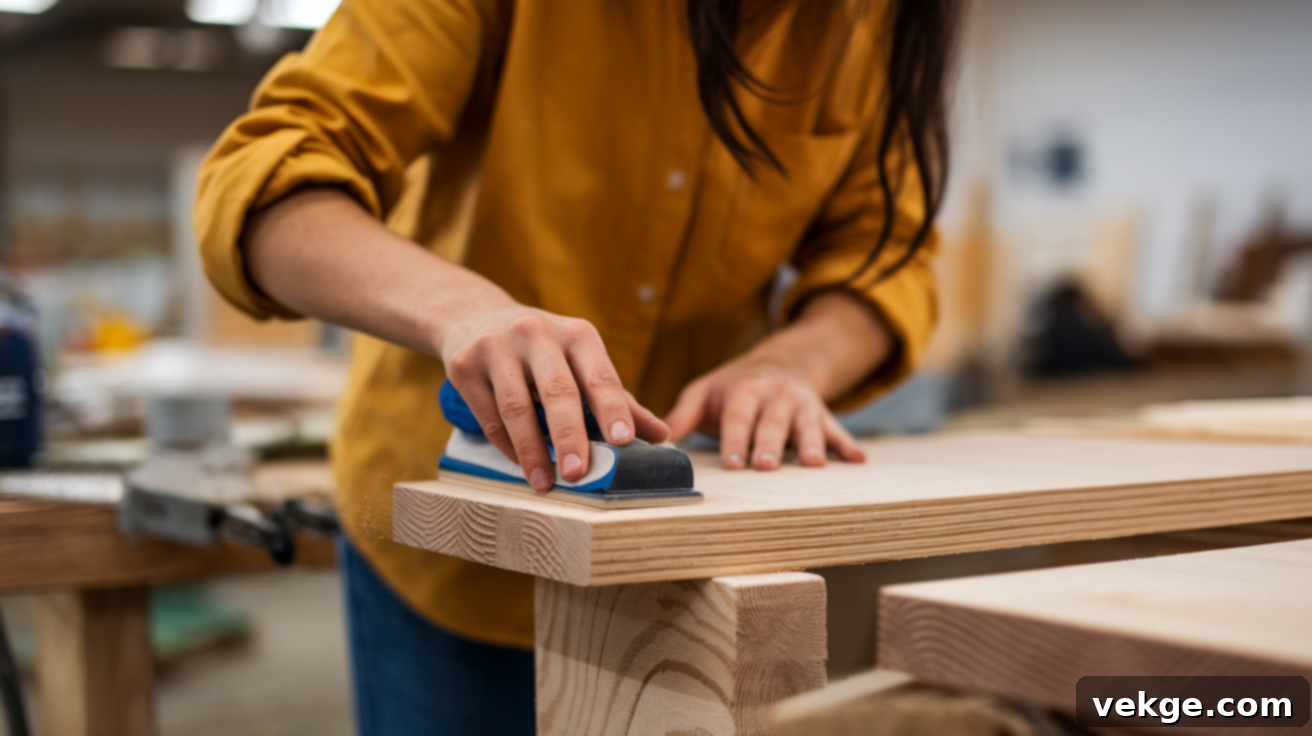
Even with advanced power tools, manual sanding tools remain indispensable for precision, control, and reaching difficult areas. These simple yet effective tools enhance your hand sanding experience.
1. Sanding Blocks
Sanding blocks are solid, rigid tools (often made of cork, rubber, wood, or dense foam) designed to hold sandpaper flat against a surface. They are “magic wands” for woodworking, ensuring even pressure distribution and preventing your fingers from creating uneven depressions on flat surfaces. By keeping the sandpaper flat, they ensure a consistently smooth surface and protect your hands from the abrasive grit. They are excellent for preparing large, flat panels, tabletops, or cabinet doors, providing superior control compared to just using your hand alone.
| Benefits of Sanding Blocks | Limitations of Sanding Blocks |
|---|---|
| Protect your hands from rough surfaces | Not great for curved or rounded surfaces |
| Create more even sanding | Can’t easily sand tight corners |
| Help reach flat, smooth surfaces | Limited to the block’s shape and size |
| Give better control than bare hands | Require changing the sandpaper frequently |
| Reduce hand fatigue during long projects | Less flexible than hand sanding |
2. Sanding Sponges
Sanding sponges are the “shape shifters” of manual sanding tools. These flexible, foam-based abrasives are coated with various grits, much like sandpaper. Their inherent flexibility allows them to conform to curved surfaces, moldings, and intricate profiles that a rigid sanding block cannot reach. They’re also excellent for getting into tight corners and around edges, providing a softer touch than traditional sandpaper. Many are washable and reusable, making them a cost-effective option for certain tasks. They’re perfect for jobs requiring a delicate touch or working with irregular shapes, combining the functionality of a sponge with the abrasive power of sandpaper.
| Benefits of Sanding Sponges | Limitations of Sanding Sponges |
|---|---|
| Super flexible and bendy | Wear out faster than blocks |
| Perfect for curved surfaces | Less firm than solid sanding blocks |
| Can reach tight corners | Not great for large flat surfaces |
| Soft on your hands | Can be more expensive |
| Absorb extra dust | Less precise for big projects |
| Work well on different materials | May fall apart with heavy use |
Power Sanding Tools: Boosting Efficiency and Results
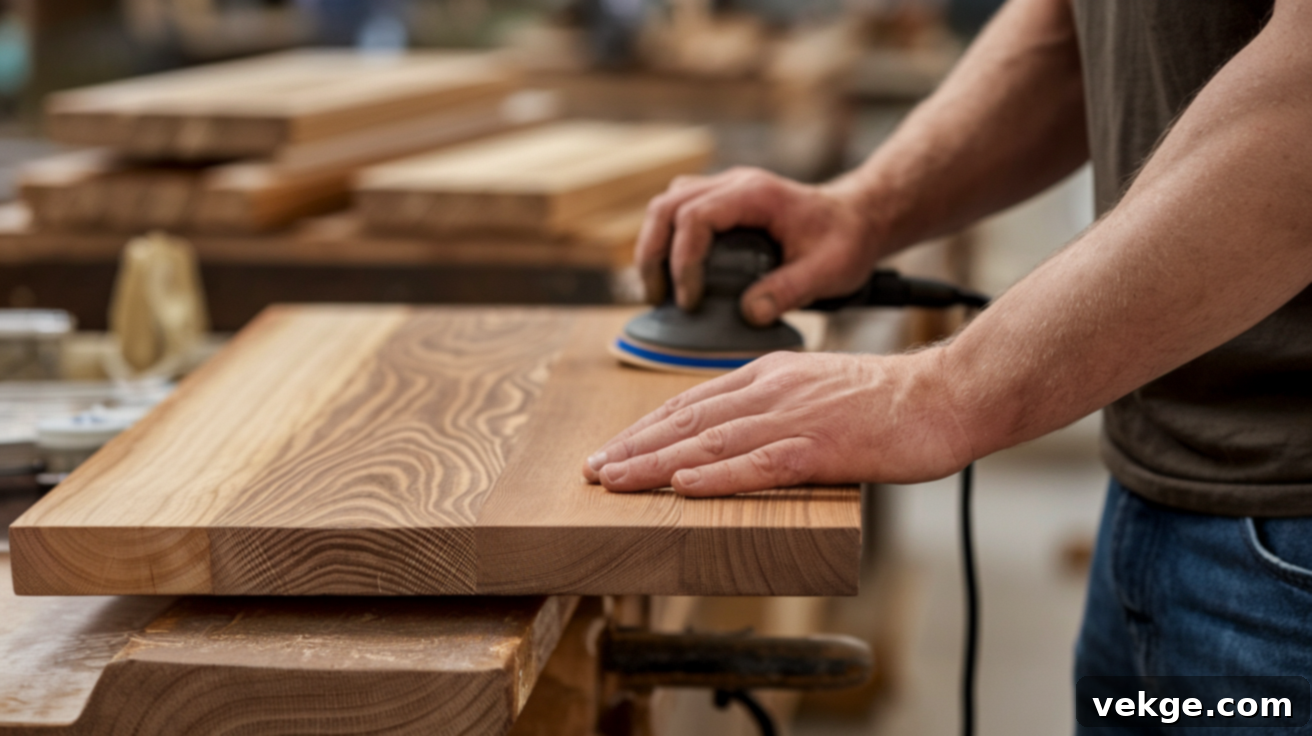
For larger projects, rough lumber, or when speed and consistent finish are paramount, power sanders become indispensable. These tools drastically reduce the time and effort involved in sanding, making woodworking more efficient and enjoyable.
1. Belt Sanders
A true powerhouse for aggressive material removal, the belt sander is like a race car for sanding. It features a continuous loop of sandpaper (a “belt”) that rotates rapidly around two drums. Belt sanders are incredibly effective at quickly removing large amounts of wood, leveling uneven surfaces, shaping edges, or stripping thick layers of old paint and varnish. They are best suited for large, flat areas and demanding tasks. Due to their aggressive nature, they require a firm hand and continuous movement to prevent gouging the wood or creating deep, irreversible marks. These tools are the champions when you need brute force and speed.
| Benefits of Belt Sanders | Limitations of Belt Sanders |
|---|---|
| Super fast sanding | Too aggressive for delicate work |
| Cover large areas quickly | Can damage wood if not careful |
| Remove lots of material fast | Leave deep scratch marks |
| Great for rough surfaces | Hard to control precisely |
| Powerful and efficient | Not good for fine finishing |
| Work well on big projects | Requires skill to use correctly |
2. Random Orbital Sanders
These are the “smooth operators” of the sanding world, renowned for producing a swirl-free finish. Random orbital sanders combine two motions: the sanding disc spins in a circle, and simultaneously, the entire pad orbits in a random elliptical pattern. This unique, unpredictable movement prevents the sandpaper from continuously following the same path, effectively eliminating the visible swirl marks often left by regular orbital sanders. They are highly versatile, excellent for intermediate sanding, and often the preferred choice for final finishing before applying stain or paint. They offer a great balance of material removal and fine finish quality, making them a staple in many workshops for their ability to deliver consistently smooth results with less effort and a lower risk of damage compared to belt sanders.
| Benefits of Random Orbital Sanders | Limitations of Random Orbital Sanders |
|---|---|
| Create ultra-smooth surfaces | Slower than belt sanders |
| No visible scratch marks | More expensive |
| Work on many different materials | Less powerful for tough jobs |
| Easy to control | Require special sanding discs |
| Great for final finishing | Battery-powered versions have limited runtime |
| Less likely to damage wood | Not great for removing thick paint |
| More even sanding results | Less effective on very rough surfaces |
Conclusion: The Rewarding Art of Perfect Wood Sanding
Sanding is undeniably one of the most critical, yet often overlooked, skills in woodworking. It’s the meticulous process that transforms ordinary, rough lumber into extraordinary, smooth, and beautiful surfaces that are a joy to behold and touch. Remember, the journey from coarse to fine grit is not just about removing material; it’s about systematically refining the wood to create the perfect foundation for any finish.
To master this art, always begin with the appropriate coarse grit to tackle major imperfections, then progressively move through finer grits, never skipping steps. The golden rule is to always sand with the grain to prevent unsightly scratches that mar your project’s appearance. Utilize manual tools like sanding blocks for flat surfaces and flexible sanding sponges for intricate curves and corners. When efficiency is needed, power tools like belt sanders excel at rapid material removal, while random orbital sanders are your best friend for achieving a consistently smooth, swirl-free final finish.
Beyond the tools and techniques, remember that patience is your most valuable asset. Rushing through the sanding process invariably leads to compromises in quality. Maintain a clean workspace to prevent dust contamination, and always prioritize your safety by wearing appropriate protective gear. With dedicated practice and attention to these fundamental principles, you will undoubtedly elevate your woodworking skills.
Embrace the process of sanding; it is a truly rewarding part of woodworking that directly impacts the longevity, aesthetics, and tactile quality of your finished pieces. Good sanding doesn’t just make a difference – it makes all the difference, turning your projects from simply good to truly exceptional.
