DIY Felt Christmas Tree: An Easy & Fun Craft for Kids and Families
Are you looking to create cherished holiday memories with your little ones this season? A DIY felt Christmas tree offers the perfect blend of playful fun and festive spirit, making it an ideal project for families.
This soft, child-friendly tree allows kids to decorate and redecorate countless times without any worries about fragile ornaments breaking or creating a mess. Best of all, you can craft a durable felt tree that will bring joy for many seasons to come, often in just about an hour!
The most magical aspect of this project is that your children can be involved every step of the way – from selecting vibrant felt colors to carefully placing each ornament. As they engage in this creative activity, they’ll naturally learn about colors, shapes, and counting, all while having an absolute blast.
This comprehensive guide will walk you through exactly how to create your own delightful felt Christmas tree. You’ll find a clear list of simple materials, easy-to-follow steps, and practical tips to ensure your project is a success. Plus, we’ve included fun and educational ways to transform this craft into a valuable learning experience for your children, fostering both creativity and developmental skills.
What Is a Felt Christmas Tree and Why Is It Perfect for Kids?
A felt Christmas tree is a wonderfully child-safe and simplified version of a traditional holiday tree, crafted entirely from soft, durable fabric. Unlike real or artificial trees that can be bulky and sometimes hazardous for small hands, felt trees offer a flat, versatile design. They can be easily mounted on a wall or designed to stand independently, making them an excellent solution for homes with limited space or young, curious children.
The core appeal of a felt tree lies in its interactive nature. It comes with an array of colorful, detachable ornaments that kids can place, remove, and rearrange as often as their imagination desires. The secret behind this magical play is felt’s unique property: felt naturally clings to felt. This means the decorations stay securely in place but are effortlessly moved around by little fingers, encouraging endless creative expression.
Imagine it as a giant, festive playboard that keeps tiny hands happily busy, offering a safe and engaging alternative to fragile glass ornaments and pointy needles. Many parents enthusiastically choose felt trees for several compelling reasons:
- Safety First: They eliminate the risk of broken ornaments, sharp edges, or fallen trees, making the holiday season much safer for toddlers and preschoolers.
- Mess-Free Fun: No needles to sweep, no shattered pieces to clean up. Felt trees offer all the decorating joy without any of the typical holiday mess.
- Unleash Creativity: Kids have complete freedom to decorate and redecorate their tree in any way they choose, fostering imagination, design skills, and a sense of ownership.
- Space-Saving Storage: When the holidays are over, a felt tree can be easily folded or rolled up, taking up minimal storage space compared to traditional trees.
- Skill Development: Beyond fun, it’s a fantastic educational tool that helps teach basic skills like color recognition, shape identification, counting, and fine motor coordination.
- Long-Lasting Tradition: With proper care, a homemade felt tree can stay fresh and vibrant-looking year after year, becoming a cherished family tradition.
Ultimately, a felt Christmas tree transcends its role as a mere decoration. It’s an interactive, educational, and fun tool that brings families closer together, creating joyful and lasting memories during the most wonderful time of the year.
Step-By-Step Instructions on Making Your Own Felt Christmas Tree
Creating your felt Christmas tree is a straightforward and rewarding process. Gather your materials, clear a workspace, and get ready to craft some holiday cheer!
Materials and Items Needed
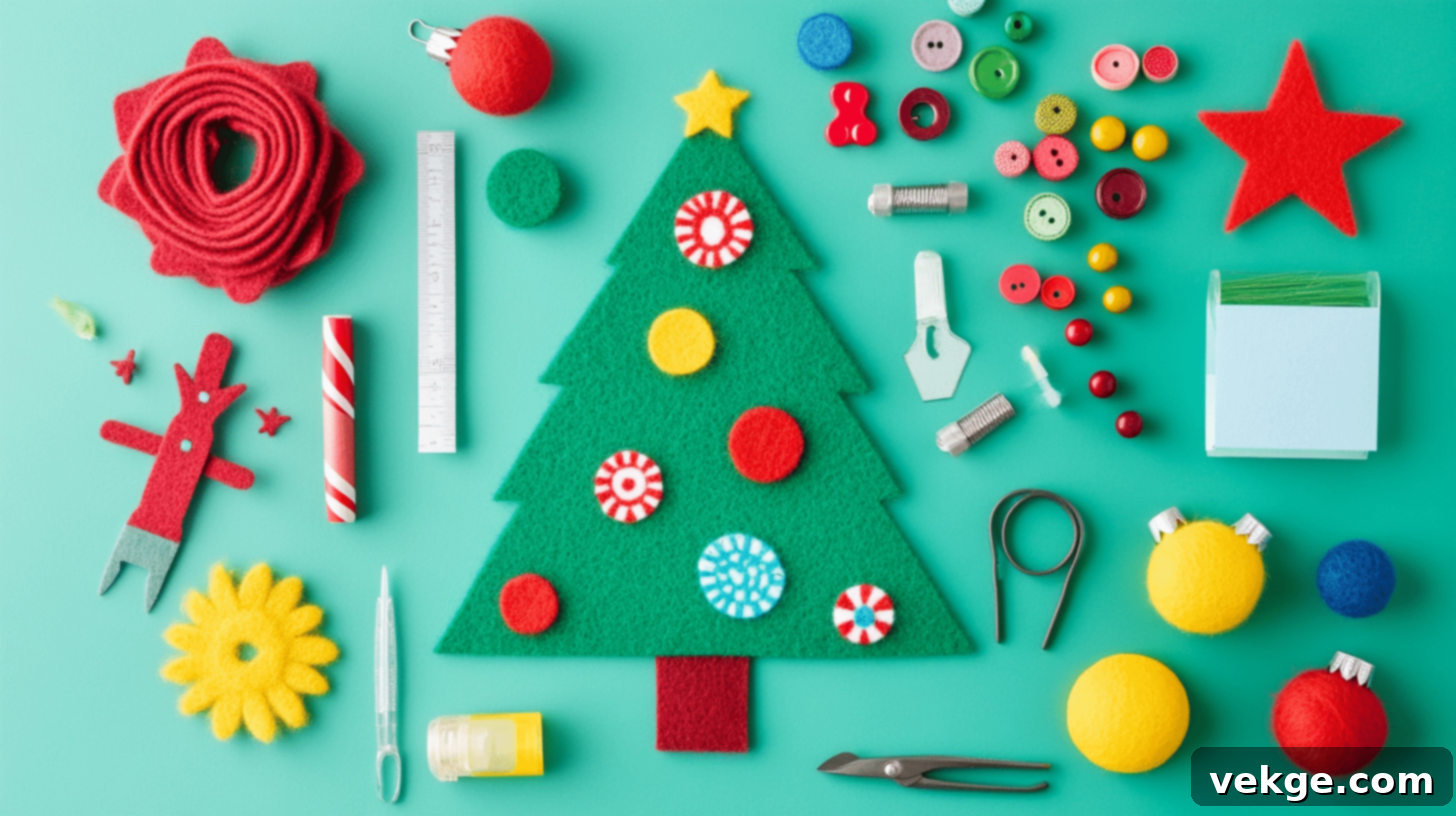
1. Basic Items (The Essentials):
- Large Green Felt Sheet: This will be the base of your tree. Look for a sheet at least 36×48 inches (or larger, depending on desired tree size) in a classic Christmas green, forest green, or even a whimsical lime green. Craft stores often sell felt by the yard, which is perfect for this.
- Small Felt Sheets in Various Colors: These are for your ornaments. Think bright reds, blues, yellows, whites, and purples. Scraps from previous projects work perfectly here!
- Regular Sharp Scissors: A good pair of fabric scissors will make cutting felt much easier and result in cleaner edges.
- Chalk or Light-Colored Marker: For outlining your tree shape on the green felt. Tailor’s chalk or a fabric marker is ideal as it won’t permanently mark the felt.
- Hot Glue Gun with Glue Sticks: Essential for securely attaching any non-felt elements or for reinforcing felt-on-felt connections if needed. Always use with adult supervision.
2. Extra Items You Might Want (Optional Enhancements):
- Decorative-Edge Scissors: For adding fun zig-zag, wavy, or scalloped edges to your ornaments.
- Velcro Dots (Peel-and-Stick): While felt sticks to felt, Velcro dots offer a stronger, more reliable attachment, especially for heavier or frequently moved ornaments.
- Small Beads or Buttons: To add sparkle and texture to your ornaments. Ensure they are securely attached and safe for the age of children playing with the tree.
- Wall-Safe Sticky Strips or Command Hooks: For securely mounting your finished felt tree to the wall without damaging paint.
- Craft Glue (Child-Safe Option): If children are helping to assemble ornaments with small parts, a non-toxic, washable craft glue is a safer alternative to a hot glue gun.
- Glitter Glue or Fabric Paint: To add extra decorative flair and details to your felt ornaments.
3. Cost Considerations:
One of the best things about this DIY project is its affordability. Most materials can be found at your local craft store or even dollar store.
| ITEM | COST RANGE (approx.) |
|---|---|
| Felt Sheets (Large & Small) | $1 – $5 each (large sheets can be more) |
| Basic Tools (Scissors, Chalk) | $5 – $15 total (if you don’t already own them) |
| Optional Items (Velcro, Beads, etc.) | $5 – $20 total (depending on selection) |
You can often find felt bundles or sales, further reducing the overall cost, making this a truly budget-friendly holiday activity.
Easy How-To DIY Felt Christmas Tree Process
Step 1: Create the Tree Base
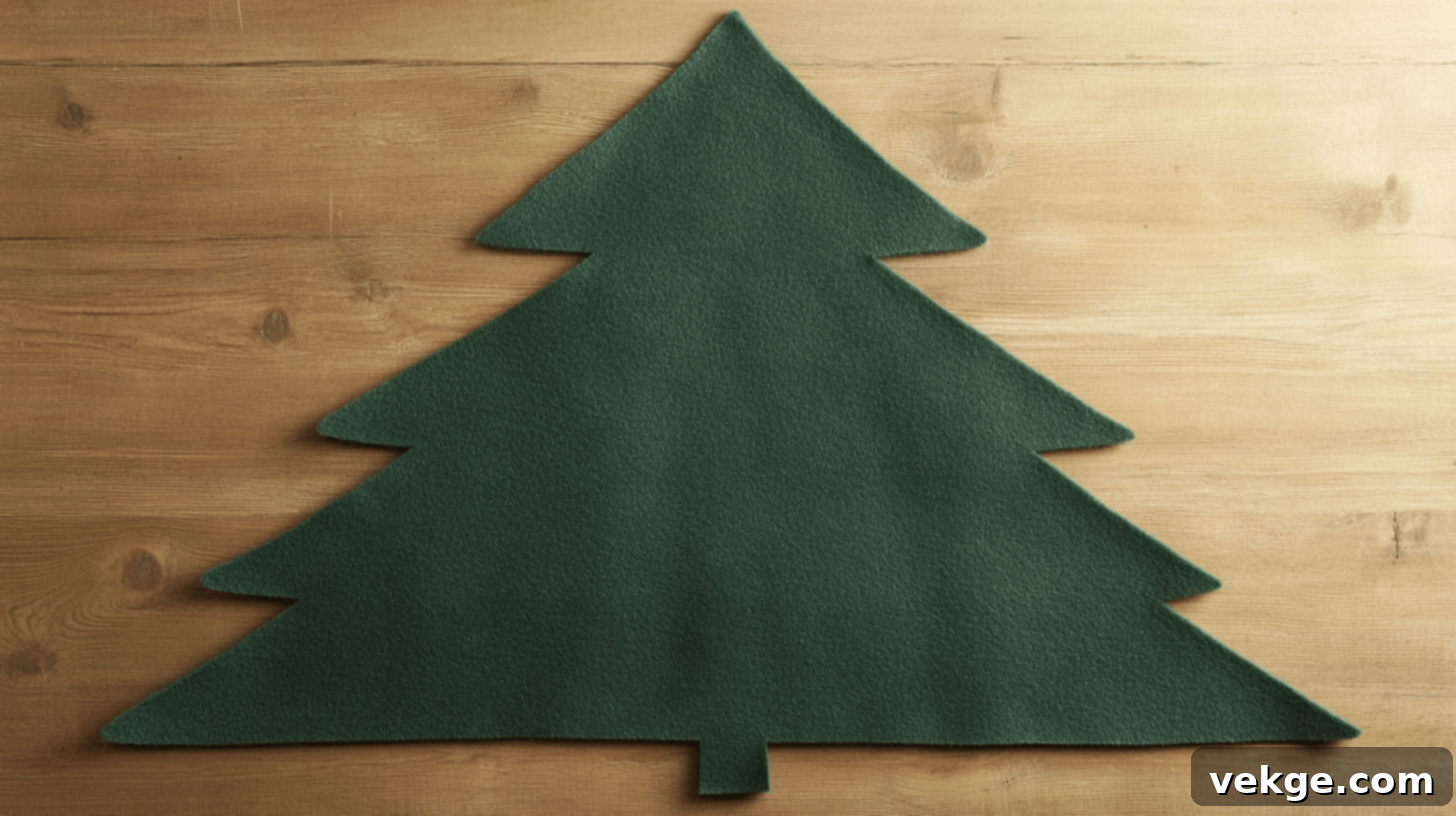
Begin by spreading your large green felt sheet smoothly on a flat, clean surface. A large table or even the floor works well. The secret to a perfectly symmetrical and appealing tree shape lies in your initial fold.
Carefully fold the felt sheet in half lengthwise. This crease will act as a central guide, ensuring both sides of your tree match up beautifully. With your chalk or light-colored marker, carefully outline half a Christmas tree shape along the folded edge. You can draw a classic triangle-with-a-trunk shape, or get creative with a more whimsical, wavy outline. Aim for smooth, steady lines, and remember that you can always refine your drawing before cutting.
Once you are satisfied with your tree’s design, firmly hold the folded felt to prevent slipping and cut precisely along your chalk marks. Open the fold, and voilà! You’ll reveal your full, symmetrical felt Christmas tree shape, ready to be adorned.
Pro Tip: For younger kids, you can draw a simple, large triangle and cut it out. For a more traditional look, add a small rectangle at the bottom for the tree trunk.
Step 2: Make Your Ornaments
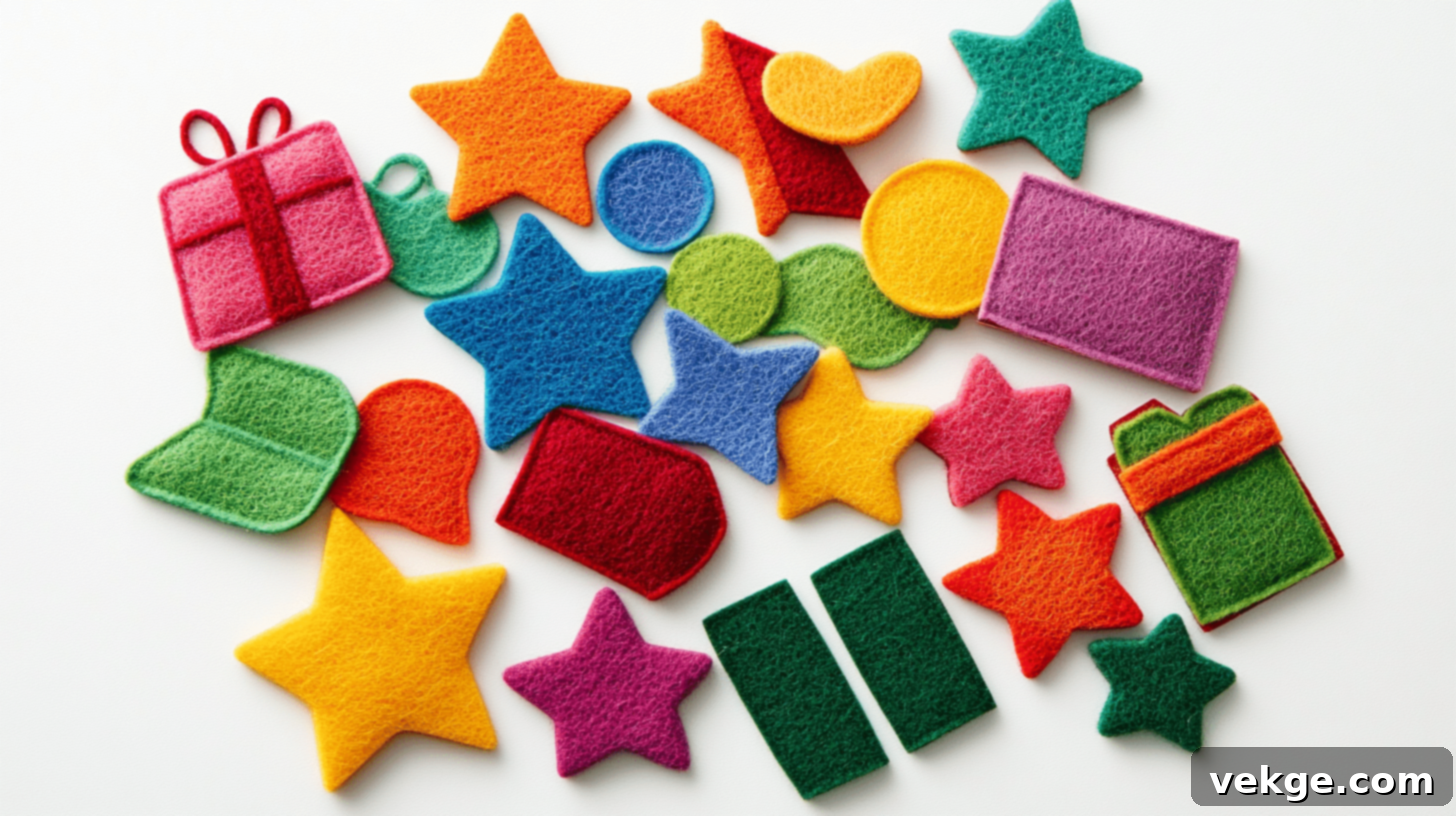
This is where the real fun and creativity of the project come to life! Take your smaller, colorful felt sheets and start cutting out a variety of simple shapes for your ornaments. Think beyond just circles – incorporate stars, squares, rectangles, triangles, and even more intricate designs like candy canes or gingerbread men if you’re feeling ambitious.
For perfectly round ornaments, a coffee cup, cookie cutter, or even a small drinking glass makes an excellent tracing guide. To create symmetrical stars, fold a small piece of felt in half, then fold it again, and cut a star shape from the folded edges – when unfolded, you’ll have a balanced star. Squares and rectangles are perfect for creating gift-box shapes, which can then be decorated with smaller felt “ribbons” or “bows.”
Aim to cut at least 15-20 pieces in various sizes and shapes to give your children plenty of options. Mix bright, vibrant colors with softer pastels to create appealing patterns and designs on your tree. This step is fantastic for engaging kids by letting them choose colors and simple shapes to cut (with supervision) or by having them sort the finished ornaments.
Step 3: Put It All Together (Tree Assembly)

With your tree base and ornaments ready, it’s time for the grand assembly! First, find the ideal spot on your wall where your felt tree can be easily reached by little hands. Ensure the surface is clean and dry before attaching your tree. Use wall-safe adhesive strips or Command hooks at the top corners and along the edges of your tree to secure it firmly to the wall. For heavier felt, you might need extra strips in the middle.
Once the tree is mounted, it’s time for the exciting part: decorating! Invite your children to start placing the ornaments. Encourage them to experiment with different arrangements, perhaps starting from top to bottom, or randomly placing decorations wherever they feel looks best. Make sure to leave enough space between each piece so children can easily move and re-position them without disturbing others.
Remember, felt naturally sticks to felt, so most ornaments will stay in place with just a light press. However, for a stronger hold or for particularly large/heavy ornaments, you can strategically add small Velcro dots to the back of the ornaments or to the tree itself.
Quick Tips for a Smooth Crafting Experience:
- Smooth Out Wrinkles: If your felt sheets are wrinkled, gently press them with a warm iron (use a pressing cloth if your iron is very hot) before you start cutting.
- Test Ornament Stickiness: Before hanging your tree, test how well the felt ornaments cling to the tree base. If they seem too loose, consider adding small Velcro dots.
- Keep Extra Felt Handy: You’ll likely want to make more decorations throughout the season, so having extra felt scraps in various colors is always a good idea.
- Involve Kids Safely: Assign age-appropriate tasks. Younger kids can sort colors, pick shapes, or glue pre-cut pieces with child-safe glue. Older kids can help with tracing and cutting simple shapes under supervision.
For a detailed visual guide and more tips, check out the elaborate video tutorial by Owlipop DIY.
Engaging Kids in the Felt Tree Activity and Beyond
Getting children actively involved in the creation and decoration of their felt Christmas tree is what truly makes this project special and memorable. This isn’t just a craft; it’s an opportunity for hands-on learning, creative expression, and quality family time.
Encourage them to be part of every decision, from choosing the vibrant colors for their ornaments to helping with safe tasks like drawing shapes on the felt with chalk. Younger children can take on roles like sorting colors into piles, handing you specific felt pieces, or even applying child-safe glue to pre-cut shapes. Older kids, with appropriate supervision, can practice their fine motor skills by carefully cutting out simple shapes themselves. The real magic unfolds as they begin to place the ornaments on the tree – watch their faces light up as they create their very own special patterns and designs, developing a sense of accomplishment and pride.
1. Making Learning Fun (Without Them Even Knowing!)
Transform decorating time into valuable learning moments without making it feel like a chore or a formal lesson. Here are some playful ideas:
- Counting Games: “How many red balls did we put on the tree?” “Let’s count all the stars together!”
- Color Recognition: As you sort decorations, name the colors aloud. “Can you find the blue star?” “What color is this present?”
- Shape Identification: Talk about the different shapes. “This is a circle, like a snowball!” “Look, we made a square gift box.”
- Size Comparisons: Discuss sizes. “Should we put the bigger stars on the bottom branches and the smaller ones on top?”
- Pattern Making: Encourage them to create patterns. “Can you put a red ornament, then a blue, then a red again?”
- Positional Language: Use terms like “above,” “below,” “next to,” “on top,” “under.” “Put the yellow bell next to the green one.”
2. Customization Ideas to Make Your Tree Truly Unique
The beauty of a DIY felt tree is its endless potential for personalization. Don’t be afraid to think outside the traditional Christmas box!
- Themed Ornaments: Create a specific theme, such as “Candy Land” with red and white striped peppermints, gingerbread men, and gumdrop shapes. Or a “Winter Wonderland” with snowflakes, polar bears, and icicles.
- Family Photo Ornaments: Print small photos of family members or pets and glue them onto felt frames.
- Personalized Pieces: Cut out initial letters of family names or write names with fabric markers on special ornaments.
- Seasonal Transformations: Don’t pack it away after Christmas! Change the decorations with the seasons. Hearts for Valentine’s Day, eggs and bunnies for Easter, flowers for spring, or leaves for autumn.
- Textural Elements: Incorporate small jingle bells, ribbons, sequins, or even mini pom-poms onto your felt ornaments using hot glue (adult supervision required) or child-safe craft glue.
- Advanced Cutting: For more intricate designs, use paper patterns to cut exact shapes, or trace around cookie cutters for perfectly shaped holiday designs.
3. Storage and Care for Lasting Memories
With a little care, your handmade felt Christmas tree can remain a beautiful part of your holiday traditions for many years.
- Prevent Creases: When storing your large felt tree base, gently roll it up with a piece of plain paper (like craft paper or a paper tablecloth) inserted to prevent deep creases from forming. Avoid folding it tightly.
- Organize Ornaments: Store your felt ornaments in a flat box with dividers, or layer them with tissue paper, to keep them flat and prevent them from losing their shape or sticking together. Label the box clearly for easy retrieval next year.
- Gentle Cleaning: If the felt gets a little dusty, a gentle brush with a soft, clean cloth or a lint roller works wonders. For small spots, carefully blot with a damp cloth and mild soap, then air dry completely.
- Avoid Wetting: Generally, try to avoid getting the felt heavily wet, as it might lose its shape, shrink, or become matted.
- Keep Away From Pests: Store in a cool, dry place where it’s protected from moisture and potential fabric-eating pests.
Fun Facts Related To Felt Christmas Trees
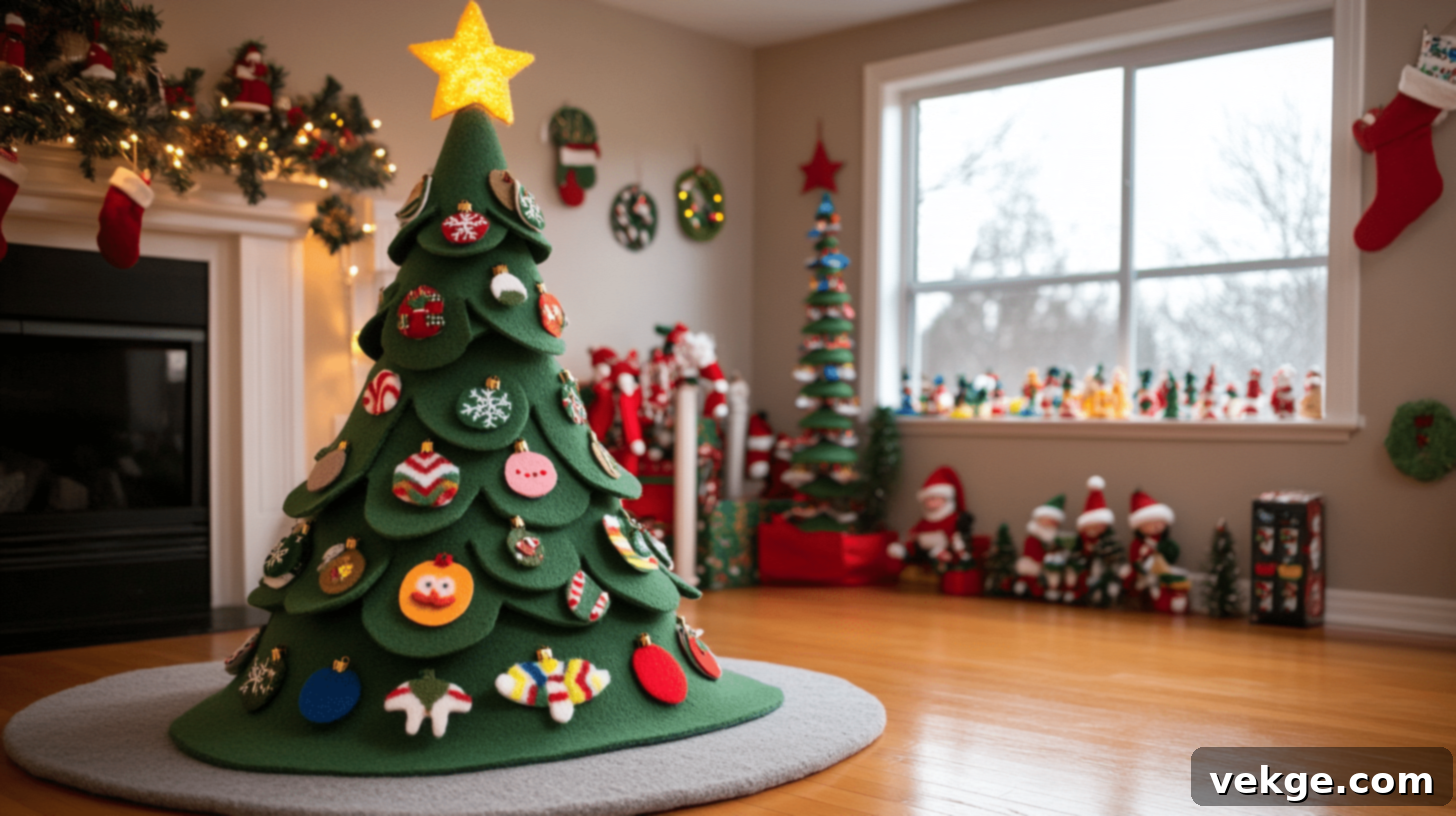
Felt Christmas trees have a rich history and unique characteristics that make them truly special. Here are some delightful facts:
- Natural Adhesion: Felt fabric naturally sticks to itself without the need for glue, tape, or pins, thanks to its unique fiber structure. This is what makes felt trees so magically interactive!
- Incredible Durability: With proper care and storage, a homemade felt tree can easily last for 5+ years, becoming a cherished heirloom.
- Multifaceted Learning Tool: Children typically learn and reinforce 3-4 basic developmental skills (like color, shape, counting, fine motor) while playing with felt trees.
- Efficient Crafting: A single standard 9×12 inch sheet of craft felt can yield up to 15 small ornaments, making it a very economical material.
- Early Educational Roots: Felt trees and boards date back to the early 1900s, initially developed as teaching tools in schools to help children learn through tactile play.
- Extended Engagement: Parents often report that felt trees provide 30+ minutes of focused, independent play time for young children, offering a much-needed break for busy parents.
- Perfect Travel Companions: Small felt trees, especially those designed to roll up, make excellent portable toys for keeping kids entertained during holiday trips or long car rides.
- Imagination Unleashed: Kids frequently invent their own games and elaborate stories with their felt decorations, showcasing their imaginative prowess.
- Classroom Learning Aids: Many preschools and kindergartens use large felt trees as interactive teaching aids for counting, pattern recognition, and storytelling.
- Historic Example: The oldest documented felt Christmas tree on record, used as an educational toy, dates back to 1924, highlighting its long-standing appeal.
These fascinating facts underscore why felt trees have remained a beloved and valuable choice for families with young children during the festive holiday season, blending tradition with modern, child-friendly play.
Conclusion: Start Your Felt Tree Tradition Today!
Creating a DIY Felt Christmas Tree is more than just a craft project; it’s an opportunity to infuse your home with unique holiday joy and build special memories that will last a lifetime. This simple and engaging activity typically takes just an hour or two to complete, yet it yields a delightful decoration that can be treasured year after year.
Not only does a felt Christmas tree provide a safe, mess-free, and endlessly entertaining activity for your little ones during the busy holiday season, but it also cleverly integrates learning into playtime. With just a few basic materials – like colorful felt sheets, a pair of scissors, and a little glue – you can craft a tree that’s perfectly designed for tiny hands to explore and decorate.
The true magic lies in the collaborative process: your children get to be an integral part of every step, from selecting their favorite colors for ornaments to proudly placing each decoration on the tree. This empowers them, sparks their creativity, and fosters a deep connection to the holiday spirit.
Ready to embark on your own felt Christmas tree tradition? Gather your supplies, follow our easy steps, and prepare for a season filled with creative fun and cherished family moments. We would absolutely love to see your unique creations! Share photos of your beautifully decorated felt tree in the comments below, or tell us how you added your personal touch to make your tree one-of-a-kind. Let’s spread some handmade holiday cheer together!
Frequently Asked Questions (FAQs) About Felt Christmas Trees
How Do I Make a Felt Christmas Tree Stick to The Wall?
The most effective way to attach your felt Christmas tree to the wall without causing damage is to use removable wall-safe adhesive strips or Command hooks. Place these strategically on the back of your large felt tree at the top corners, along the sides, and possibly in the middle, depending on the tree’s size and weight. Always clean the wall surface thoroughly before applying the strips for maximum adhesion. It’s a good practice to test one strip on a small, inconspicuous area of your wall first to ensure it won’t peel paint upon removal.
What Are the Benefits of A Felt Christmas Tree for Kids?
Felt Christmas trees offer a wealth of benefits for children, making them an excellent holiday investment. They are incredibly safe, eliminating the risks associated with sharp needles, fragile ornaments, or electrical hazards from traditional trees. Kids can freely decorate and redecorate, which helps them develop fine motor skills, hand-eye coordination, and problem-solving abilities. It also encourages creative expression, builds confidence, and aids in learning basic concepts like counting, color recognition, and shape identification in a fun, pressure-free environment.
Can I Add Lights to My Felt Christmas Tree?
Absolutely! Adding lights can make your felt Christmas tree even more enchanting. For safety, it’s highly recommended to use battery-operated LED string lights, as they don’t generate heat and pose no electrical hazard. You can easily attach them by carefully weaving them through the felt, or by securing them with small safety pins or a few stitches of thread. Remember to keep the battery packs hidden behind the tree or neatly tucked away at the bottom for a clean look.
How Can I Clean My Felt Ornaments if They Get Dirty?
For most light dirt or dust, a simple lint roller or a piece of sticky tape dabbed onto the ornament will pick up debris effectively. For small spots, you can gently blot the area with a slightly damp cloth that has a tiny bit of mild soap (like dish soap). Be careful not to saturate the felt. After cleaning, let the ornament air dry completely, lying flat to maintain its shape. Avoid machine washing or harsh scrubbing, as this can distort the felt.
Where Can I Find Felt if My Local Craft Store Doesn’t Have Enough?
If your local craft store has a limited selection, don’t worry! You can often find large felt sheets and a wide array of colored felt online through retailers like Amazon, Etsy, or specialized fabric and craft supply websites. Many large fabric stores also sell felt by the yard, which can be more economical for bigger projects. Consider looking for “eco-fi felt” which is made from recycled plastic bottles, offering an environmentally friendly option.
