Master the Art of DIY Wire Wall Art: Your Ultimate Guide to Creating Unique Home Decor
Wire wall art has rapidly emerged as a captivating and highly sought-after form of home decoration. Its unique charm lies in its ability to blend artistic expression with a personal touch, making it incredibly appealing to DIY enthusiasts, seasoned art lovers, and anyone seeking imaginative ways to infuse their living space with individuality. The process of crafting wire art is not only surprisingly accessible but also deeply satisfying, offering a tangible connection between your creative vision and the cherished pieces that adorn your home.
Imagine transforming simple strands of wire into intricate designs, abstract forms, or meaningful words that speak volumes about your personality. This hands-on project allows you to create truly bespoke decor that can’t be replicated, adding a layer of warmth and character that mass-produced items simply can’t match. If you’re ready to embark on a creative and profoundly rewarding DIY journey, continue reading. We’ll explore everything you need to know about how to make wire wall art, guiding you from gathering your supplies to displaying your masterpiece with pride.
Essential Tools and Materials for Your Wire Art Project

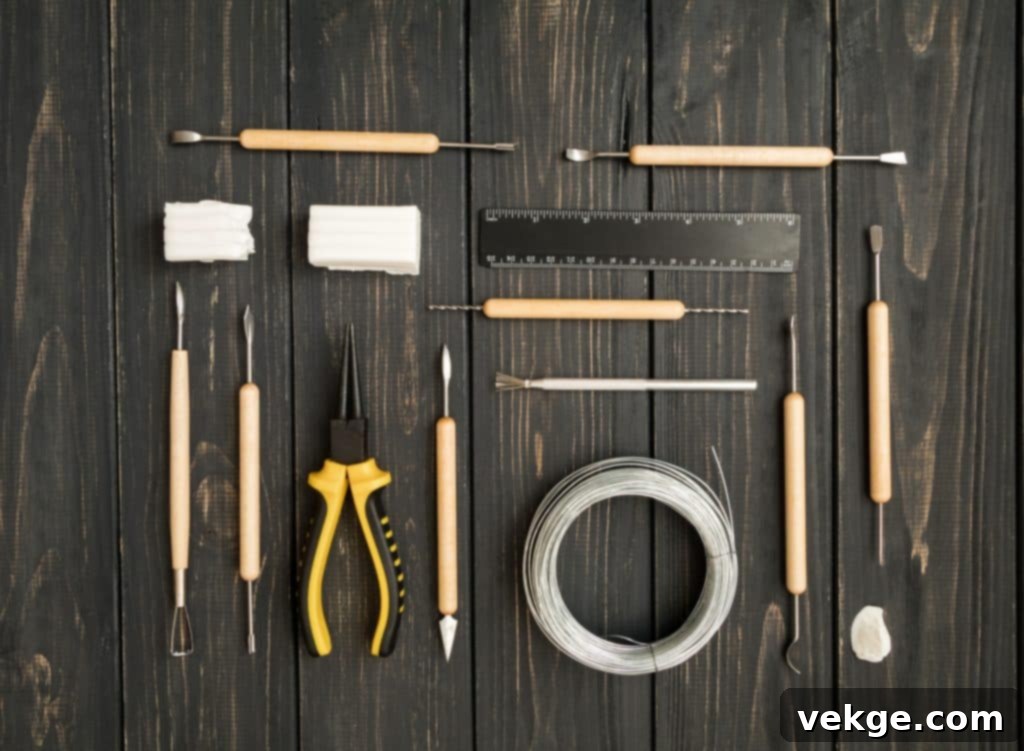
Before you begin bending and shaping, assembling the right set of tools and materials is crucial for a smooth and successful wire wall art project. Your material choices will significantly influence the final look, durability, and ease of creation.
- Wires: Explore a variety of wires, as each offers distinct characteristics.
- Aluminum wire is lightweight, incredibly malleable, and comes in various colors, making it excellent for beginners and larger pieces where weight is a concern.
- Copper wire boasts a beautiful, warm hue that can develop a lovely patina over time. It’s slightly stiffer than aluminum but still quite workable, perfect for adding a touch of elegance.
- Consider steel wire for projects requiring maximum strength and rigidity, though it’s harder to bend.
- Brass wire offers a golden luster, adding a touch of sophistication, and is moderately pliable.
Choose a wire diameter (gauge) that aligns with your design’s intricacy and structural needs. Thinner wires (e.g., 20-26 gauge) are ideal for delicate details, intricate wraps, and fine lines, while thicker wires (e.g., 12-18 gauge) provide greater strength and are better suited for creating structural elements, larger forms, or bold outlines.
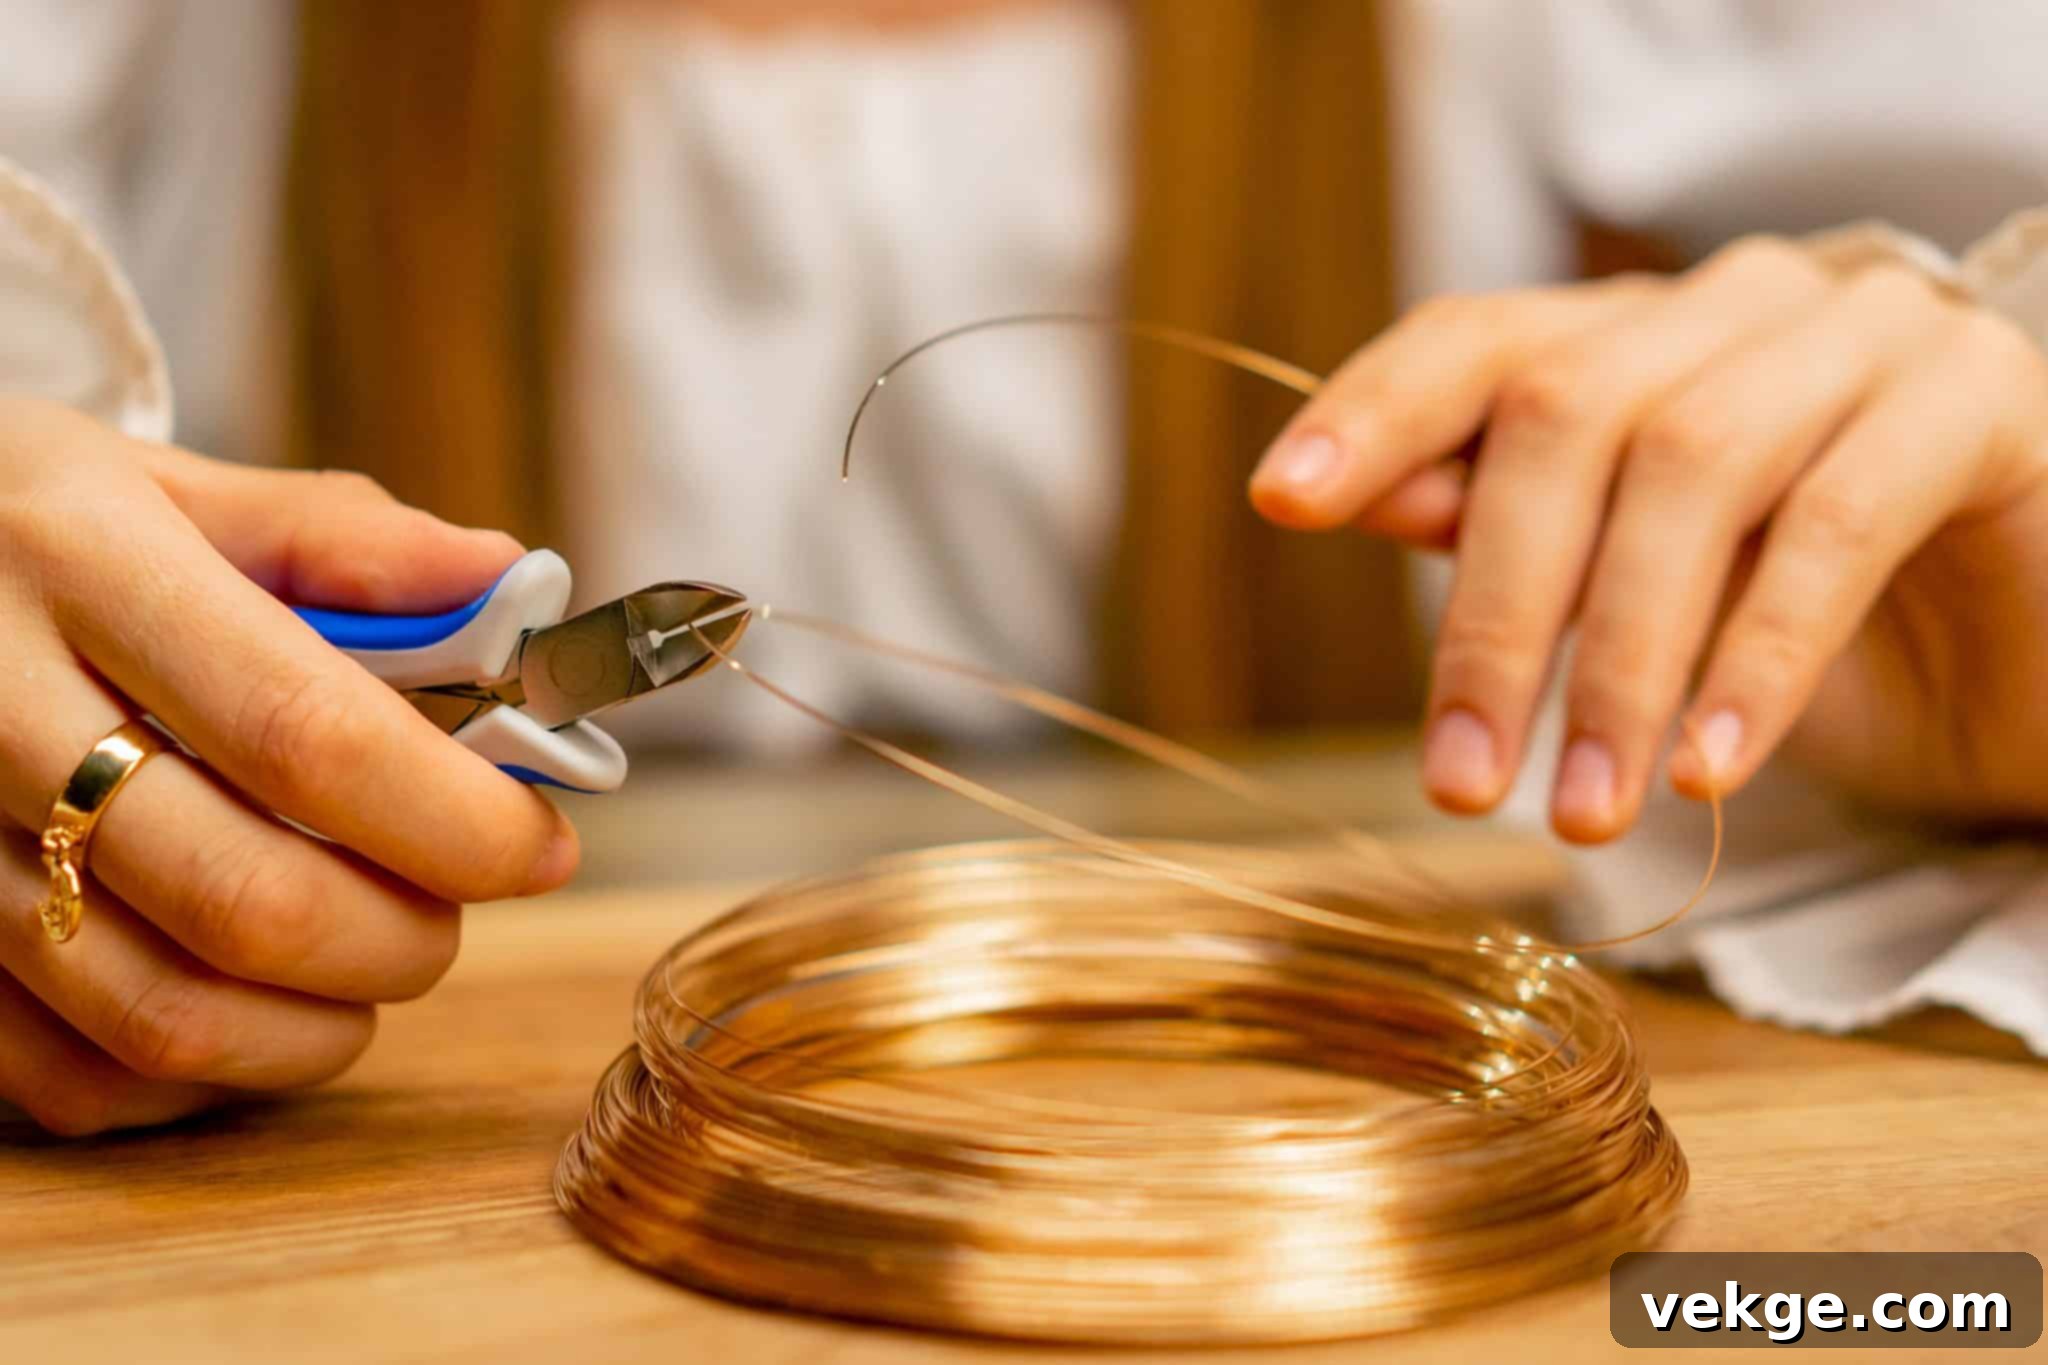
- Wire Cutters: A good pair of wire cutters is indispensable for making clean, precise cuts. Flush cutters are particularly useful for minimizing sharp edges.
- Pliers: You’ll need an assortment of pliers for different shaping tasks.
- Round-nose pliers are essential for creating loops, curves, and coils.
- Flat-nose pliers are perfect for gripping, straightening wire, and making sharp, angular bends.
- Chain-nose pliers combine elements of both, with tapered jaws for precision work in tight spaces.
- For superior control and grip, especially with thicker wires, consider investing in Maun parallel-jaw pliers. These unique tools maintain consistent pressure across the entire jaw surface, preventing slippage and marring the wire, making them a favorite among experienced wire crafters.
- Safety Gear: Your safety is paramount. Always wear safety glasses to protect your eyes from flying wire snippets and gloves to prevent cuts and blisters, especially when working with sharp ends or exerting force.
- Work Surface: A stable and protected work surface is vital. A cutting mat can protect your table and provide a gridded guide for straight lines and measurements.
- Additional Tools: Depending on your ambition, you might also find a small hammer (for texturing or hardening wire), mandrels (for consistent circle/oval shapes), or a wire jig useful.
You can source these materials and tools from local craft stores, hardware shops, or specialized online retailers. Understanding the rich history of pliers reveals how these tools have evolved over centuries, from basic implements to precision instruments that empower today’s DIY enthusiasts with unparalleled control and versatility. Thanks to such advancements, creating intricate wire wall art is now a rewarding endeavor you can master right in your own home. Once your toolkit is complete, the next exciting step is conceptualizing your design.
Gathering Inspiration and Choosing Your Unique Design

Inspiration for your wire wall art is truly everywhere, waiting to spark your creative journey. The key is to open your eyes to the beauty around you and translate it into a metallic medium. Online platforms like Pinterest, Instagram, and dedicated art blogs are treasure troves of creative ideas, showcasing an astonishing diversity of styles, complexities, and themes in wire art. From elegant abstract forms and minimalist geometric patterns to intricate botanical representations and whimsical animal figures, there’s an abundant wellspring of inspiration ready to ignite your artistic flair.
Beyond digital realms, look to your immediate surroundings: the delicate patterns in nature, the clean lines of architecture, the graceful curves of calligraphy, or even cherished photographs that evoke strong emotions. Consider artists whose work you admire, not necessarily wire artists, but those whose aesthetic resonates with you. Begin by creating a mood board, whether physical or digital, compiling images, colors, and textures that appeal to you. This visual collection will help you distill your ideas and define a cohesive theme.
Once you have a collection of inspiring concepts, it’s time to choose a design that truly resonates with you and your personal style. Think about the space where your artwork will be displayed. Does it call for a large, statement piece, or something subtle and intricate? Consider the existing decor and color palette of the room. Will your wire art complement it, or will it serve as a contrasting focal point? Picking a theme that harmonizes with your space while simultaneously mirroring your individuality is crucial. Whether it’s a sprawling tree of life, a personalized word art piece, an abstract swirl of emotions, or a stylized silhouette, let your chosen design be a reflection of who you are and what brings you joy. Don’t be afraid to start simple; even a basic line drawing can be transformed into a stunning wire sculpture with careful execution.
Crafting Your Wire Wall Art: Step-by-Step Creation

With your tools, materials, and a clear design vision in hand, you’re now ready for the exhilarating process of bringing your wire wall art to life. Remember, crafting is often more about embracing your creativity and allowing for organic development than strictly adhering to rigid rules. However, if you’re unsure where to begin, here’s a helpful guide to kickstart your project:
- Outline Your Design: Begin by sketching your design on a piece of paper. This isn’t just a casual doodle; it will serve as your primary roadmap. For optimal results, create your sketch at the actual size of your intended artwork. This allows for direct comparison and placement as you shape the wire. For complex designs, use grid paper to help with symmetry and proportion. Keep your sketch nearby and easily visible for constant reference as you progress.
- Prepare and Begin Shaping: Measure out a length of wire slightly longer than you anticipate needing for your initial section. This gives you a margin for error and trim. Start shaping the wire to match your outline. Use your pliers for precise bends, gentle curves, and sharp angles. For simpler, larger curves, you might even be able to use your fingers or wrap the wire around a cylindrical object like a marker or dowel for consistent arcs. A useful technique for beginners is to tape the wire directly onto your paper design as you shape it. This acts as a real-time guide, helping you maintain accuracy and scale.
- Progressive Detailing and Layering: As your main structure takes shape, begin adding details. This could involve layering additional pieces of wire, integrating different bending techniques (which we’ll cover next), or forming intricate patterns within the larger framework. For multi-part designs, consider how different elements will connect. You might gently twist wires together, create small loops to link pieces, or use a bit of thin wire to subtly secure overlaps. Don’t be afraid to adjust and refine as you go; wire is forgiving, and minor tweaks can significantly improve the overall aesthetic.
It’s important to approach your first few attempts with an open mind. Perfection is rarely achieved on the first try, and that’s perfectly okay. Each piece of artwork you create is a valuable step forward in building your creative skills, honing your precision, and deepening your understanding of the material. Embrace the learning process, enjoy the tactile experience of shaping metal, and celebrate every twist and turn.
Mastering Essential Wire Bending Techniques
A fundamental aspect of knowing how to make wire wall art beautifully involves mastering various wire bending techniques. These core manipulations allow you to translate your two-dimensional design into a three-dimensional sculpture. Here are the basic techniques you should know, along with tips for their application:
- Coiling: This technique involves wrapping wire around a cylindrical object, such as a pencil, a dowel, or specialized coiling mandrels, to form spirals or springs. Coiling can add incredible texture, volume, and visual interest to your design. Use tight, even coils for a structured look, or looser, more organic coils for a whimsical effect. Coils can serve as decorative elements, springy connectors, or even structural components for your artwork.
- Twisting: Combining two or more pieces of wire by twisting them together creates a stronger, more visually dynamic strand. You can achieve various effects depending on how tightly you twist and how many strands you combine. A simple two-strand twist creates a braided look, adding texture and reinforcing the wire’s strength. Twisting can be used for decorative borders, creating “ropes” of wire, or to join different sections of your design robustly.
- Looping: Bending the wire back onto itself to create loops is a versatile technique for intricate designs, adding detailed elements, and forming connection points.
- Simple loops: A basic loop is formed by bending the wire end into a circle. These are great for decorative accents or creating small attachment points.
- Wrapped loops: These involve creating a loop and then wrapping the wire tail around the base of the loop. Wrapped loops are much stronger and more secure, ideal for connecting different components or for creating the hanging mechanism for your artwork.
- Eyelets: Tiny loops often used to secure smaller elements or create delicate connections.
- Forming with Mandrels: For perfectly consistent circles, squares, ovals, or other shapes, mandrels are invaluable. These are pre-shaped tools (often metal rods of various cross-sections) around which you can wrap your wire. This ensures uniformity, especially important for repetitive design elements.
- Hammering: While not strictly a bending technique, hammering can significantly alter the properties and appearance of your wire. Gently hammering wire with a rawhide or nylon mallet (or a metal hammer on a steel block for more dramatic effects) can flatten it, harden it, and add unique textures, making it sparkle or creating a more substantial look. Be mindful not to over-hammer, which can weaken the wire.
In all wire bending, precision is paramount. Take your time, making each bend and twist intentional and thoughtful, ensuring it contributes positively to the overall design. Patience and a steady hand are your best allies. And remember, always keep your safety glasses on and gloves handy, especially when handling sharp wire ends or executing complex manipulations.
Tips for Customizing and Personalizing Your Wire Wall Art
Customizing your wire wall art is where your true artistic voice can shine, transforming a simple craft into a unique statement piece. Personalizing your creation makes it stand out with a distinct flair that you won’t find in any retail store or other homes. Consider incorporating these creative ideas into your project to elevate its individuality:
- Mix Wire Types and Colors: Don’t limit yourself to a single wire. Combine different types of metal (e.g., copper and aluminum) or wires with varying colored coatings for a dynamic and engaging look. This interplay of materials adds depth, contrast, and visual stimulation to your artwork, creating a richer narrative. Imagine the warm glow of copper alongside the cool sheen of silver-colored aluminum, or a vibrant red wire accenting a natural brass form.
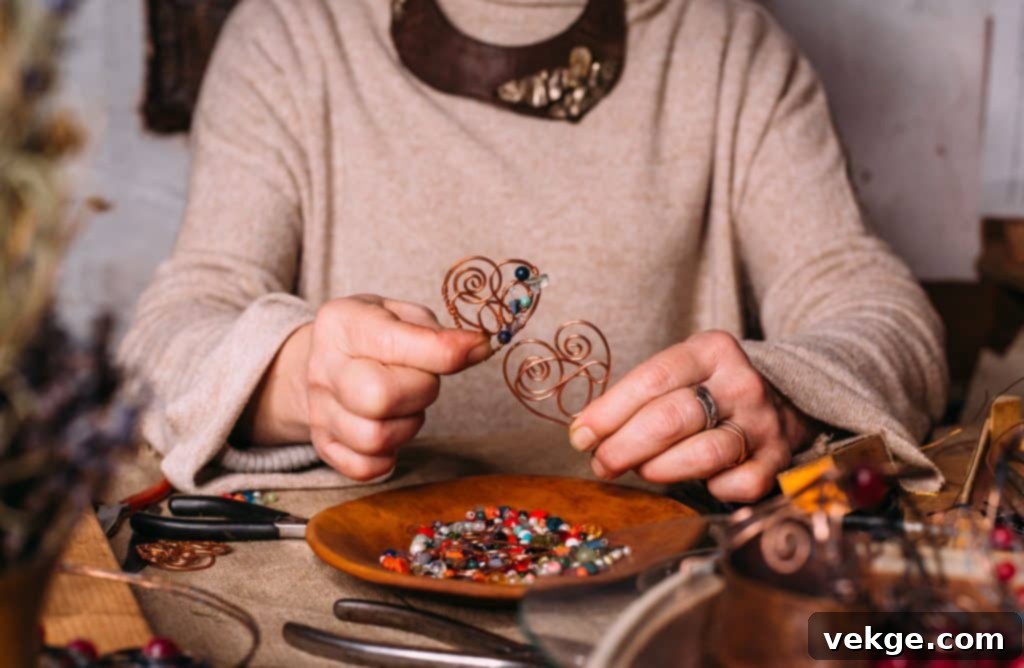
- Embed Beads, Stones, or Found Objects: Integrate small beads, polished stones, glass elements, or even small natural objects like dried leaves or tiny shells into your design. These additions provide bursts of color, varied textures, and reflective qualities that can dramatically transform the overall appearance of your piece, even when viewed from afar. You can wrap wires around them, incorporate them into loops, or dangle them from the main structure.
- Blend Imagery and Text: Personalize your art by forming wires into meaningful names, inspiring quotes, or significant dates. Then, attach wire art of related images, symbols, or abstract patterns to these textual elements for even more personality. For example, a name could be accompanied by a wire-crafted flower, a tiny bird, or a symbol representing a hobby or passion.
- Add Surface Treatments: For copper wire, explore patinas that can accelerate the natural oxidation process, creating beautiful shades of green, blue, or brown. You can also paint sections of your wire art with acrylics or use clear sealants to protect the metal and give it a polished finish.
- Incorporate Lighting: For an extra layer of magic, consider discreetly weaving in tiny LED fairy lights around or within your wire sculpture. This creates a mesmerizing glow, transforming your artwork into an illuminated focal point, especially in the evening.
Feel empowered to experiment boldly as you go along. Explore various art media, combine different techniques, and keep an open mind to the myriad possibilities of what you can add to your wire wall art. The most compelling pieces often emerge from unexpected combinations and a willingness to break traditional boundaries.
Displaying and Maintaining Your Wire Wall Art
After pouring your creativity and effort into crafting your unique wire wall art, the final step is to display it thoughtfully and ensure its longevity through proper maintenance. The way you present your artwork can dramatically enhance its impact on your living space.
- Strategic Placement: Finding the perfect spot is crucial. Your wire art should be placed somewhere visible, where it naturally complements your room’s existing decor and theme. Consider the background: a contrasting wall color can make the intricate lines of your wire art pop, while a subtle background might allow the piece to blend more organically. Think about the scale of the room and the artwork; a large, intricate piece might overwhelm a small wall, while a delicate one could get lost on a vast expanse.
- Hanging Methods: Ensure your artwork is securely mounted. For lighter pieces, a simple nail or adhesive hook might suffice. Heavier sculptures may require picture wire, D-rings, or specialized wall anchors. Consider floating your art a few millimeters from the wall using small standoffs to create shadows that add depth and dimension.
- Lighting: Lighting profoundly impacts how your art is perceived. Place your wire art where it can beautifully catch both natural and artificial light. A strategically placed spotlight can highlight its form, casting interesting shadows and emphasizing its three-dimensional quality. Avoid direct, harsh sunlight for prolonged periods, especially if you’ve incorporated colors or materials that might fade.
- Grouping: If you’ve created multiple pieces, consider arranging them in a thoughtful cluster or gallery wall. Varying sizes and shapes within a cohesive theme can create a compelling visual narrative.
Maintenance for Lasting Beauty:
Regular, light dusting is usually all that’s needed to keep your wire art looking fresh. Use a soft brush or a microfiber cloth to gently remove dust particles. For more stubborn grime, a slightly damp cloth can be used, but ensure the wire is thoroughly dried afterward to prevent tarnishing or water spots.
- Copper Wire Care: If your art incorporates copper wire, it will naturally develop a beautiful patina over time. If you prefer a shiny, vibrant look, occasional polishing with a specialized copper cleaner will restore its luster. Be gentle during polishing, especially around delicate bends or added embellishments.
- Aluminum and Steel Wire: These metals are generally low maintenance. A simple dusting is usually sufficient. If you’ve painted or coated your wire, check the manufacturer’s recommendations for cleaning.
- Loose Wires: Over time, or with accidental bumps, wires might loosen. Regularly inspect your artwork and gently tighten any loose connections or reshape minor distortions with your pliers to keep your masterpiece in perfect shape.
- Environmental Factors: Protect your wire art from extreme humidity or corrosive environments, which can accelerate tarnishing or even damage the wire.
Wrapping Up Your Wire Art Journey
Learning how to make wire wall art is an invitation to open yourself to a world of creative changes and possibilities. This engaging DIY project offers more than just a decorative outcome; it’s a chance to express your deepest artistic inclinations through every thoughtful twist and precise bend. Each curve you shape, each connection you make, adds a unique and undeniable touch of your personality to your home.
The journey of creating wire art is incredibly rewarding, fostering patience, enhancing fine motor skills, and providing immense satisfaction in producing something truly original. Don’t hesitate to begin your creative journey today. As you refine your skills and develop your distinctive style, consider sharing your masterpieces with the vibrant online wire art community. Your innovative designs and personal approach might just inspire others to embark on their own wire wall art adventures, contributing to a growing tapestry of handmade beauty and shared artistic passion.
