Mastering DIY: Your Comprehensive Guide to Building Custom Cabinet Boxes
Embarking on a DIY cabinet box construction project can transform your home’s organization and aesthetics. Far from being an intimidating task reserved for professional woodworkers, building your own cabinet boxes is an accessible woodworking endeavor that provides immense satisfaction and significant savings. Whether you’re upgrading your kitchen, optimizing garage storage, or creating bespoke solutions for any room, this guide will walk you through every essential step.
This comprehensive resource covers everything from initial planning and material selection to detailed assembly instructions, finishing techniques, and crucial maintenance tips. We’ll ensure you have the knowledge and confidence to build sturdy, perfectly fitted, and visually appealing cabinet boxes that stand the test of time, reflecting your personal style and meeting your exact functional requirements. Get ready to create custom storage solutions with your own hands!
Why Choose to Build Your Own Cabinet Boxes?
Opting to build your own cabinet boxes offers a distinct advantage over purchasing pre-made units, providing benefits that range from unparalleled customization to significant cost efficiencies and the enduring satisfaction of a handcrafted project.
Perfectly Tailored Dimensions and Fit
The primary benefit of DIY cabinet construction is the ability to achieve precise dimensions. Unlike standard store-bought options that often lead to wasted space or awkward gaps, building your own allows you to custom-fit cabinets into any unique space or alcove. You dictate the exact height, width, and depth, ensuring every inch of your available area is utilized efficiently. This level of customization is crucial for a seamless, built-in look, especially in kitchens, bathrooms, or oddly shaped rooms.
Significant Cost Savings
Financial savings are a major motivator for many DIY enthusiasts. Custom cabinetry from retailers can be prohibitively expensive. By purchasing raw materials and investing your own labor, you can drastically reduce the overall cost. For many projects, building your cabinets can be 50-70% cheaper than buying comparable ready-made units, freeing up budget for other home improvements or higher-quality finishes and hardware.
Superior Quality and Material Selection
When you build, you control the quality. You’re not beholden to a manufacturer’s material choices; instead, you can select premium, cabinet-grade plywood and durable hardware specifically chosen for longevity and performance. This often results in a final product that is more robust and higher quality than many mass-produced alternatives, designed to withstand daily use for decades.
Personalized Style and Aesthetic Control
Beyond functionality, DIY cabinetry empowers you to choose the exact wood species, finish, and style that perfectly complements your home’s existing décor. Whether you desire a modern frameless look, a classic face-frame design, or the rustic charm of open shelving, you have complete creative control. This ensures your cabinets are not just storage but an integral part of your home’s aesthetic appeal.
The Pride of Handcrafting
There’s an undeniable sense of accomplishment in crafting something functional and beautiful with your own hands. Seeing your vision come to life and knowing you personally built essential components of your home provides immense personal satisfaction and a lasting connection to your living space.
Essential Tools and Materials for Building Cabinet Boxes
Creating high-quality cabinet boxes doesn’t require a professional-grade workshop. With a modest collection of common woodworking tools and carefully selected materials, you can achieve excellent results. Investing in good quality from the outset will ensure the durability and appearance of your finished project.
Key Tools for Your Cabinet Building Project
- Circular Saw or Table Saw: Crucial for making straight and accurate cuts in plywood sheets. A table saw offers superior precision for repetitive cuts, while a circular saw with a reliable straight-edge guide is a versatile and economical alternative for larger sheets.
- Power Drill/Driver: Essential for drilling pilot holes, driving screws, and using specialized bits for pocket holes. A cordless model provides convenience and freedom of movement.
- Pocket Hole Jig (e.g., Kreg Jig): A highly recommended tool for cabinet construction. It allows you to drill angled holes for strong, concealed screw joints, creating clean exteriors.
- Tape Measure and Pencil: Accuracy is paramount. Use a reliable tape measure and a sharp pencil for precise marking on all pieces.
- Clamps: Incredibly useful for holding pieces securely during assembly, ensuring tight, flush joints while glue dries or screws are driven. Bar clamps or quick-grip clamps are ideal.
- Safety Gear: Always prioritize safety. Wear safety glasses to protect against flying debris and sawdust. Gloves can protect your hands, and hearing protection is advisable when operating loud power tools.
- Speed Square or Combination Square: Vital for checking 90-degree angles during cutting and assembly, ensuring your cabinet remains perfectly square.
Recommended Materials for Durable Cabinet Construction
- ¾” Cabinet-Grade Plywood: This forms the structural core of your cabinet. Look for grades like ACX (good one side) or Baltic birch, maple, or oak plywood. Cabinet-grade plywood features fewer voids, smoother veneers, and superior stability compared to lower grades.
- 1¼” Pocket Hole Screws: Specifically designed for ¾” material, these screws provide robust, hidden connections. Ensure you select the correct type (fine-thread for hardwoods/plywood, coarse-thread for softwoods).
- Wood Glue: A strong woodworking adhesive is critical for reinforcing joints, adding long-term structural integrity, and minimizing racking. Apply a thin, even bead to all mating surfaces.
- Edge Banding: If building frameless cabinets or preparing face-frame cabinets for paint, iron-on edge banding provides a clean, finished appearance by covering exposed plywood edges.
- Sandpaper (120, 180, and 220 grit): Essential for preparing surfaces for finishing. Start with 120 or 180 grit for initial smoothing and progress to 220 grit for a silky-smooth surface ready for paint or stain.
- Paint, Stain, and Sealer: The final aesthetic and protective layer. Choose high-quality products suitable for furniture and cabinetry, considering durability and moisture resistance.
Choosing the Right Plywood for Your Cabinet Boxes
The choice of plywood significantly impacts the finished look, durability, and cost of your cabinets. Plywood is preferred over solid wood for cabinet boxes due to its stability, resistance to warping, and consistent strength.
- Birch Plywood: A popular and economical choice. It has a light color and a subtle, consistent grain that takes paint very well. It can also be stained for a natural look. Baltic birch, a premium variant, features multiple thin plies for exceptional strength and stability, ideal for high-quality cabinets.
- Maple Plywood: Offers a smoother, more uniform appearance with a finer grain than birch. It’s excellent for painted cabinets as it minimizes grain show-through, providing a sleek finish. It’s slightly more expensive but delivers a premium aesthetic.
- Oak Plywood: Known for its distinctive, open grain pattern, which is highly prized when stained. Red oak is a common, durable option that gives a classic, traditional look.
- MDF (Medium-Density Fiberboard): While not plywood, MDF is often used for cabinet doors and panels due to its perfectly smooth surface, which is ideal for painting. However, it is heavier, less resistant to moisture, and has lower screw-holding capacity than plywood, making it less suitable for the main structural components of a cabinet box.
- Pre-Primed Plywood: A time-saving solution if you plan to paint your cabinets. It comes with a factory-applied primer, ready for your final topcoat with minimal additional preparation.
Always consider the cabinet’s intended use, your budget, and the desired aesthetic when making your plywood selection. For utility or painted cabinets, birch or pre-primed options are excellent. For stained, visible cabinetry, maple or oak might be preferred.
Critical Structural Considerations for Cabinet Longevity
Beyond the primary materials, specific structural details are vital for building robust and enduring cabinets:
- Plywood Thickness: For the main box components (sides, top, and bottom), ¾” thick plywood is strongly recommended. This thickness provides superior rigidity and strength, preventing sagging, bowing, or warping under the weight of contents.
- Back Panel Options: A ¼” plywood back panel, recessed into a dado or secured with screws and glue, can be sufficient, especially for wall-mounted cabinets where the wall provides additional support. For freestanding units or maximum strength, a full ¾” plywood back offers enhanced rigidity and durability.
- Joinery Methods: While pocket holes offer excellent strength and a clean appearance, other methods include reinforced butt joints (screws and glue), dowel joints, or biscuit joints. Pocket holes are particularly valued for their ability to create strong, hidden connections, which is aesthetically pleasing.
- Toe Kicks: For base cabinets, plan for a toe kick — the recessed area at the bottom. This can be integrated into the cabinet sides or built as a separate base platform, offering comfort for standing close to the counter.
Meticulous Planning: The Indispensable First Step
Thorough planning is the bedrock of any successful woodworking project, especially when building custom cabinet boxes. It prevents costly errors, minimizes material waste, and ensures your finished cabinets integrate flawlessly into your space. Skipping this phase is a common pitfall that leads to frustration down the line.
Precise Measurement and Site Assessment
Begin with highly accurate measurements of the entire space where the cabinets will be installed. Record the exact height, width, and depth available for each individual cabinet run and unit. For kitchen base cabinets, remember to account for countertop overhangs and typical thickness (usually 1.5 inches). Identify and measure around any obstacles such as windows, doorways, existing plumbing, electrical outlets, or appliances. Consider the swing of doors and drawers to ensure they don’t interfere with other elements in the room.
Detailed Design and Sketching
Translate your measurements into a clear, scaled sketch or diagram. Graph paper, free online cabinet design tools, or even simple drawing software can be invaluable here. Draw each cabinet unit, marking its precise dimensions (height, width, depth). Visualize the overall layout, noting where each cabinet will sit relative to others. This visual planning helps identify potential design flaws or fit issues before any wood is cut.
Functionality and Style Decisions
Beyond mere dimensions, consider the function of each cabinet. What will it store? This determines internal features like adjustable shelves, fixed dividers, pull-out drawers, or specialized organizers. Simultaneously, decide on your preferred aesthetic: will you opt for the sleek, modern lines of frameless cabinetry, the traditional appeal of face-frame designs, or the practical accessibility of open shelving? These style choices will influence your construction techniques and finishing details.
Creating a Comprehensive Cut List
Based on your detailed design and dimensions, generate a precise cut list. This document should itemize every single piece of plywood required, specifying its exact length, width, and quantity. A well-organized cut list is crucial for efficient material optimization, reducing waste, and preventing errors during the cutting phase. Double-check all measurements on your cut list rigorously before making any cuts to your expensive plywood sheets.
Step-by-Step Guide: Building a Standard Cabinet Box with Pocket Holes
This detailed guide will walk you through constructing a robust and square cabinet box using pocket hole joinery, a popular method known for its strength and clean finish.
Step 1: Precision Cutting Your Plywood Components

Accuracy here is paramount. Always “measure twice, cut once.” For a typical base cabinet (e.g., 36″ wide × 24″ deep × 34.5″ high, excluding countertop and toe kick), use your ¾” cabinet-grade plywood to cut the following pieces according to your cut list:
- Two Side Panels: 24″ (depth) × 31″ (height).
- One Back Panel: 34.5″ (width) × 31″ (height). If using a thinner back, adjust dimensions and joinery (e.g., a dado joint). For a full ¾” back, these dimensions are standard.
- One Bottom Panel: 34.5″ (width) × 23.25″ (depth). This accounts for the ¾” thickness of the two side panels.
- Two Top Stretchers: 34.5″ (width) × 3.5″ (depth). These provide essential rigidity and attachment points.
For large sheets, consider having your lumber supplier make initial breakdown cuts to manageable sizes. When using a circular saw, employ a straight edge or track saw for perfectly straight, splinter-free cuts. Cut with the good side of the plywood facing down to minimize tear-out on visible surfaces. Immediately label each piece to prevent confusion, especially if building multiple cabinets or units with varying dimensions. Ensure consistent grain direction for aesthetic coherence.
Step 2: Drilling Accurate Pocket Holes for Strong Joints
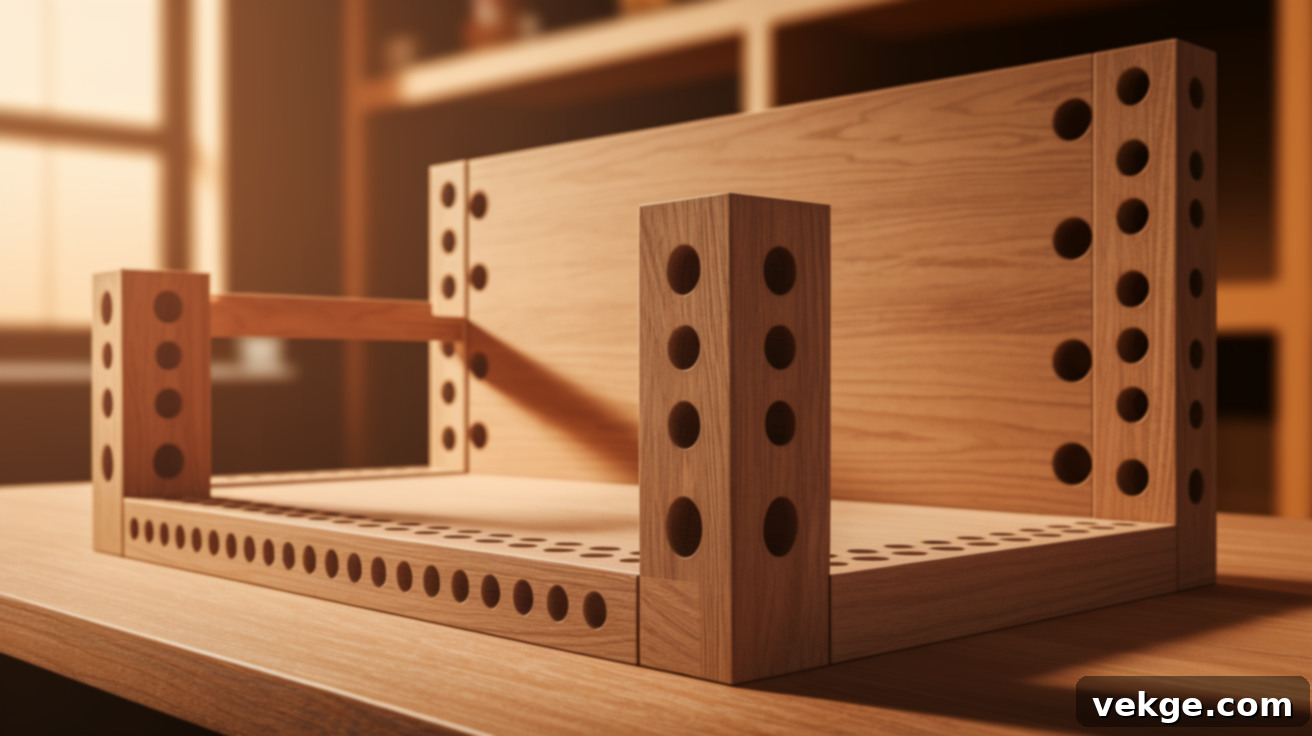
The pocket hole jig is key to creating robust, hidden joints. Set your jig to the correct depth for ¾” material. Drill pocket holes on the edges of the pieces that will connect to other components. The strategic placement of these holes is as follows:
- Back Panel: Drill pocket holes along both vertical edges (the 31″ sides) that will attach to the side panels. Space them approximately 6-8 inches apart, with the first hole about 1 inch from each end.
- Bottom Panel: Add pocket holes along both depth sides (front and back 23.25″ edges) and one width side (the front 34.5″ edge) where it will connect to the side panels and a front stretcher.
- Top Stretchers: Drill two pocket holes on each end of both top stretcher pieces. These will connect securely to the inside faces of the side panels.
Always drill pocket holes on the ‘inside’ or ‘hidden’ face of the wood, ensuring they are not visible from the exterior of the finished cabinet. If you’re new to pocket holes, practice on scrap wood to fine-tune your jig settings and ensure the drill bit depth is correct. Clean sawdust from the holes before driving screws for the strongest possible connection.
Step 3: Assembling the Cabinet Box Frame
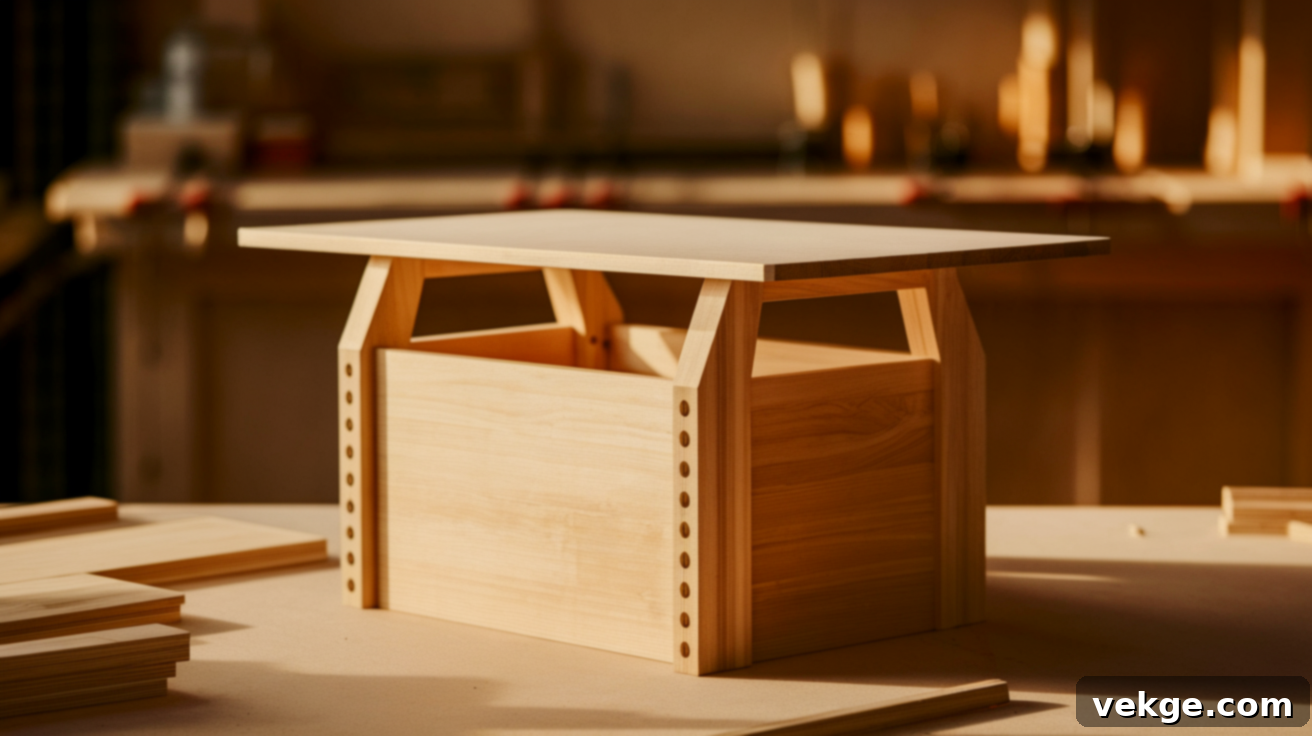
Assemble your cabinet on a flat, level surface to prevent introducing any twist or warp. Begin by laying the back panel flat on your workbench, with the pocket holes facing upwards. Apply a thin, even bead of wood glue along the bottom edge of the back panel, then align and attach the bottom panel, ensuring all edges are perfectly flush. Secure with 1¼” pocket hole screws. Using clamps during this initial step can greatly enhance joint tightness.
Next, apply wood glue to the corresponding edges of your two side panels. Attach one side panel to the connected back and bottom pieces, ensuring all mating edges are flush and square. Drive the pocket hole screws firmly. Repeat this process for the second side panel. As you connect each piece, periodically check for squareness (see Step 4 below) to identify and correct any misalignments early in the process.
Finally, attach the two top stretchers. Position one at the front of the top opening and the other at the back, connecting them to the side panels. These stretchers provide crucial top-end rigidity and create solid attachment points for countertops, face frames, or wall mounting. Apply glue and secure with pocket hole screws. Promptly wipe away any excess glue with a damp cloth before it dries, as dried glue can hinder stain absorption or create bumps under paint.
Step 4: Verify and Adjust for Perfect Squareness
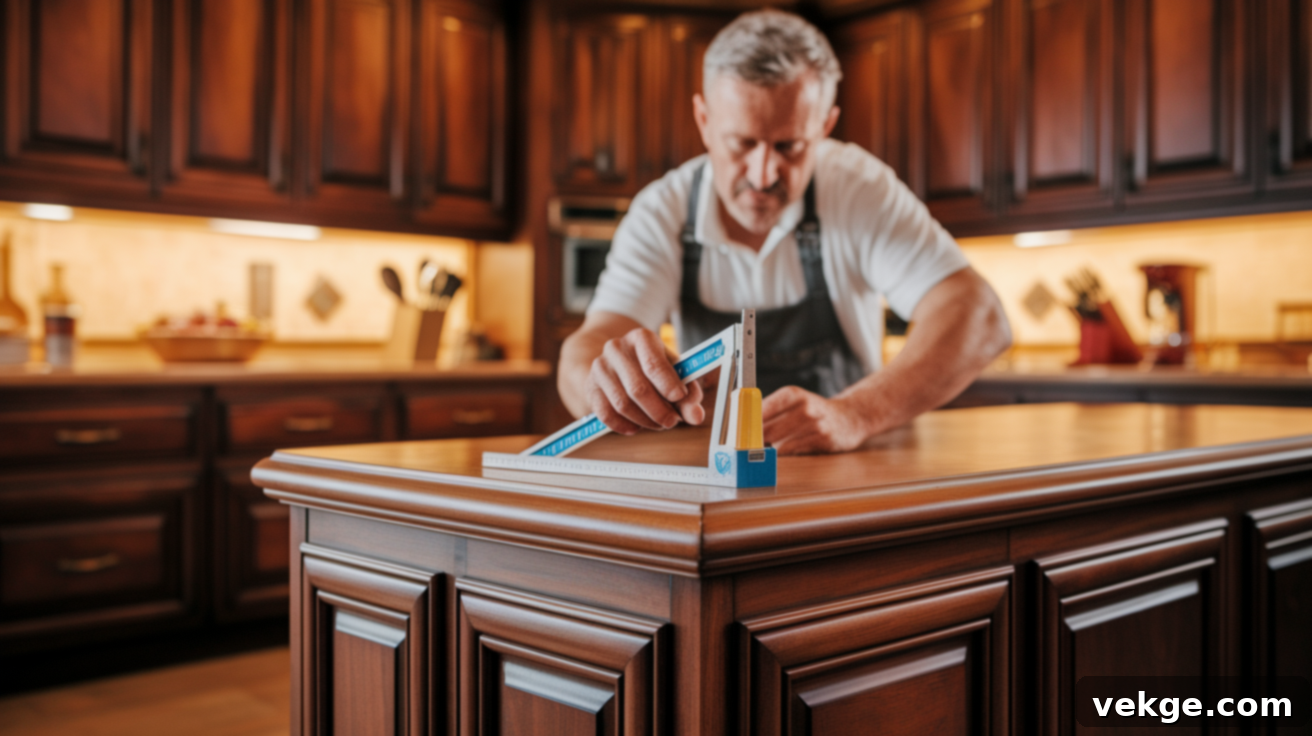
This is arguably the most critical step for a functional and professional-looking cabinet. An out-of-square cabinet will lead to doors that don’t close properly, drawers that bind, and an overall unprofessional appearance. To check for square, measure diagonally from one corner to the opposite corner (e.g., top-left front to bottom-right back) and then repeat the measurement for the other diagonal (top-right front to bottom-left back). If both diagonal measurements are identical, your cabinet box is perfectly square.
If the measurements differ, your cabinet is out of square. Loosen some of the pocket hole screws slightly, gently push on the longer diagonal to shorten it (or pull on the shorter one to lengthen it), and then re-tighten the screws while holding the cabinet square. A speed square or combination square can also be used to verify individual corner angles. Do not rush this step; take your time to achieve perfect squareness. You might consider using temporary diagonal clamps or straps to hold the cabinet square while tightening screws. Once square, the structural integrity of your cabinet will be significantly improved.
Step 5: Applying Finishing Touches and Preparing for Paint/Stain
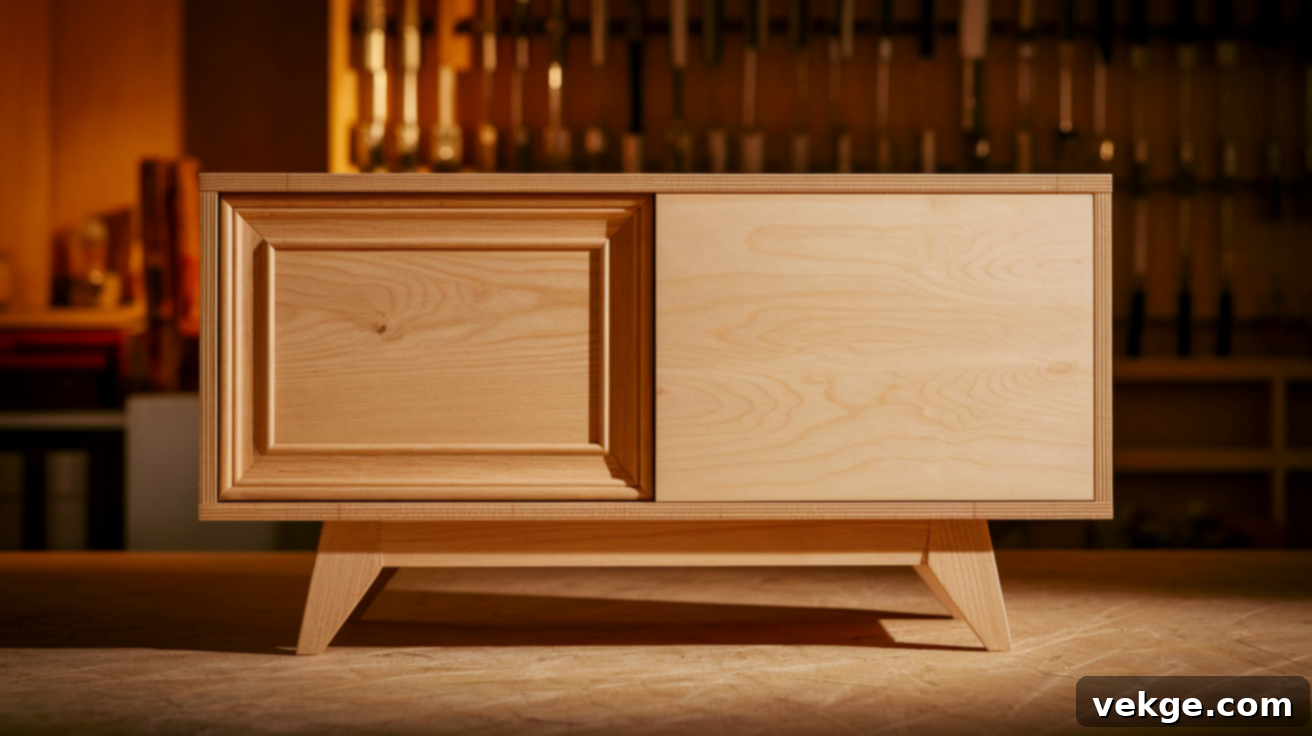
With the cabinet box fully assembled and square, it’s time for the crucial finishing steps that define its final appearance. You have two primary options for addressing the exposed front edges of your plywood:
- Face Frame: For a classic or traditional aesthetic, construct a face frame from 1×2 or 1×3 solid lumber. This frame attaches to the front edges of the cabinet box, covering all raw plywood edges and creating a robust surface for attaching hinges and drawer slides. Face frames can be attached with glue and pocket hole screws from the inside, or with finish nails from the front, with nail holes subsequently filled.
- Edge Banding: For a sleek, modern frameless look, or simply to conceal plywood edges before painting, iron-on edge banding is an excellent solution. Carefully apply the banding to all exposed edges, trimming any excess precisely with a sharp utility knife or a specialized edge banding trimmer for a clean finish.
Regardless of your chosen front finish, thorough sanding is paramount. Start with 120-grit sandpaper to smooth any rough spots and prepare the surface, then progress to 180-grit and finally 220-grit for a silky-smooth finish. Pay extra attention to edges, joints, and any areas that will be highly visible. Fill any nail holes (if using a face frame) or minor imperfections with wood filler, allowing it to dry completely before sanding flush. Before applying any paint or stain, wipe down all surfaces meticulously with a tack cloth to remove every speck of dust. If painting, apply a high-quality primer first to ensure even coverage, better adhesion, and a more durable topcoat. For staining, ensure the wood is perfectly clean and consider using a pre-stain conditioner for more uniform color absorption.
Exploring Alternative Cabinet Box Designs
While the fundamental principles of cabinet box construction remain consistent, various design styles offer different aesthetics and functional advantages. Understanding these alternatives will help you select the ideal style for your specific needs and home décor.
1. Frameless Cabinets (European Style)
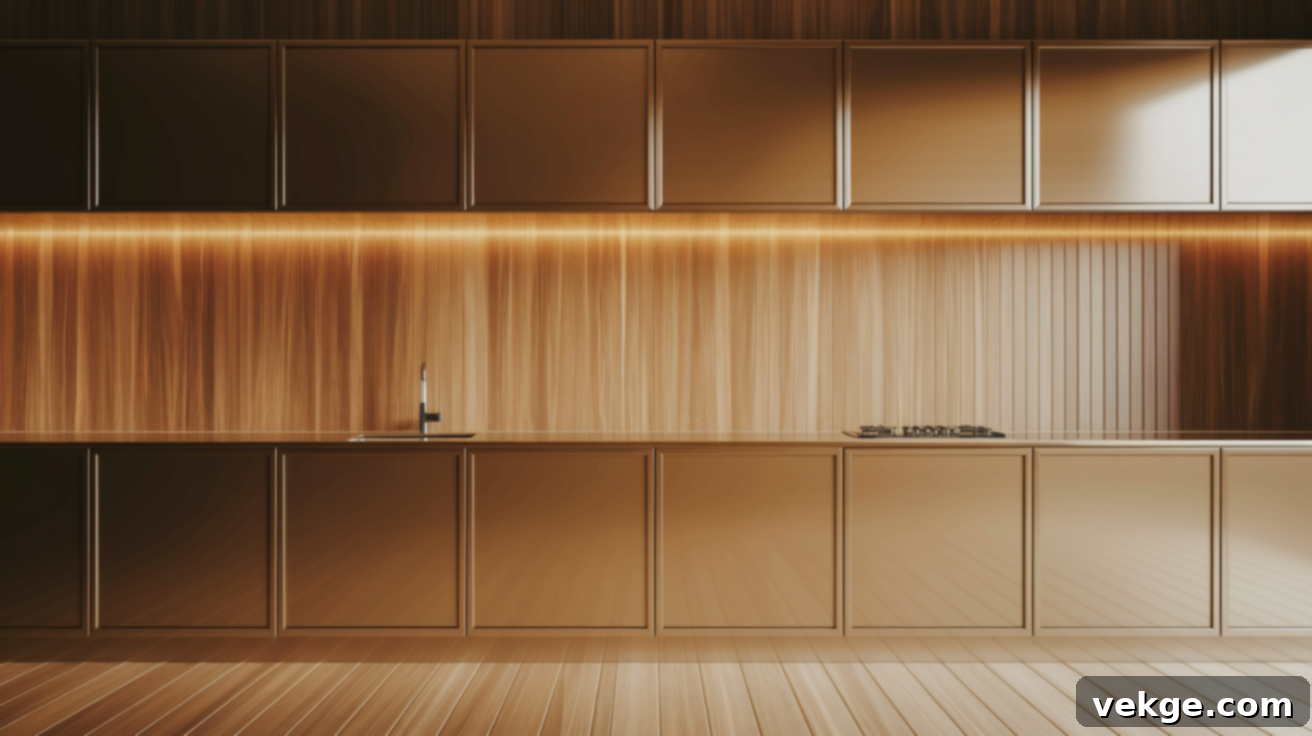
Frameless cabinets, also known as European-style cabinetry, are distinguished by the complete absence of a face frame on the front of the cabinet box. This design creates a sleek, contemporary aesthetic characterized by full overlay doors and drawers that cover almost the entire cabinet opening. The primary advantage is maximized interior storage space and easier access, as there’s no frame to obstruct the opening. Doors and drawer fronts attach directly to the inside edges of the cabinet box using specialized hinges and slides. This style demands exceptional precision in construction and meticulous edge banding to finish all exposed plywood edges cleanly. Frameless cabinets are highly favored in modern and minimalist kitchen designs for their clean lines and expansive storage capacity.
2. Face Frame Cabinets (Traditional Style)
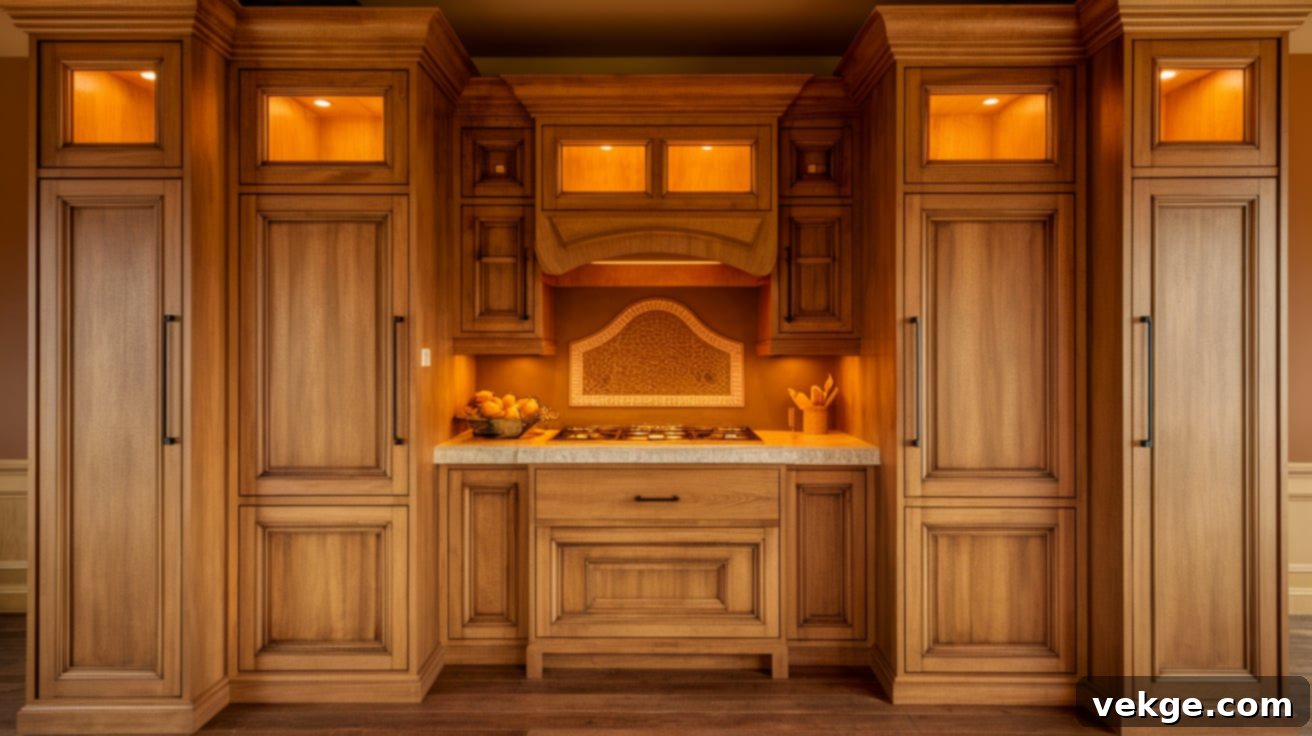
Face frame cabinets represent a classic and widely adopted style, featuring a solid wood frame (typically 1×2 or 1×3 lumber) attached to the front of the plywood cabinet box. This frame serves several important functions: it significantly enhances the structural rigidity and strength of the cabinet, neatly covers all raw plywood edges for a finished appearance, and provides a robust mounting surface for both inset and overlay doors, as well as drawer slides. While the face frame slightly reduces the overall opening size compared to frameless designs, it offers a traditional aesthetic that complements various home styles, from classic to farmhouse. Face frames also tend to be more forgiving of minor imperfections in the underlying box construction.
3. Open Shelving Cabinets
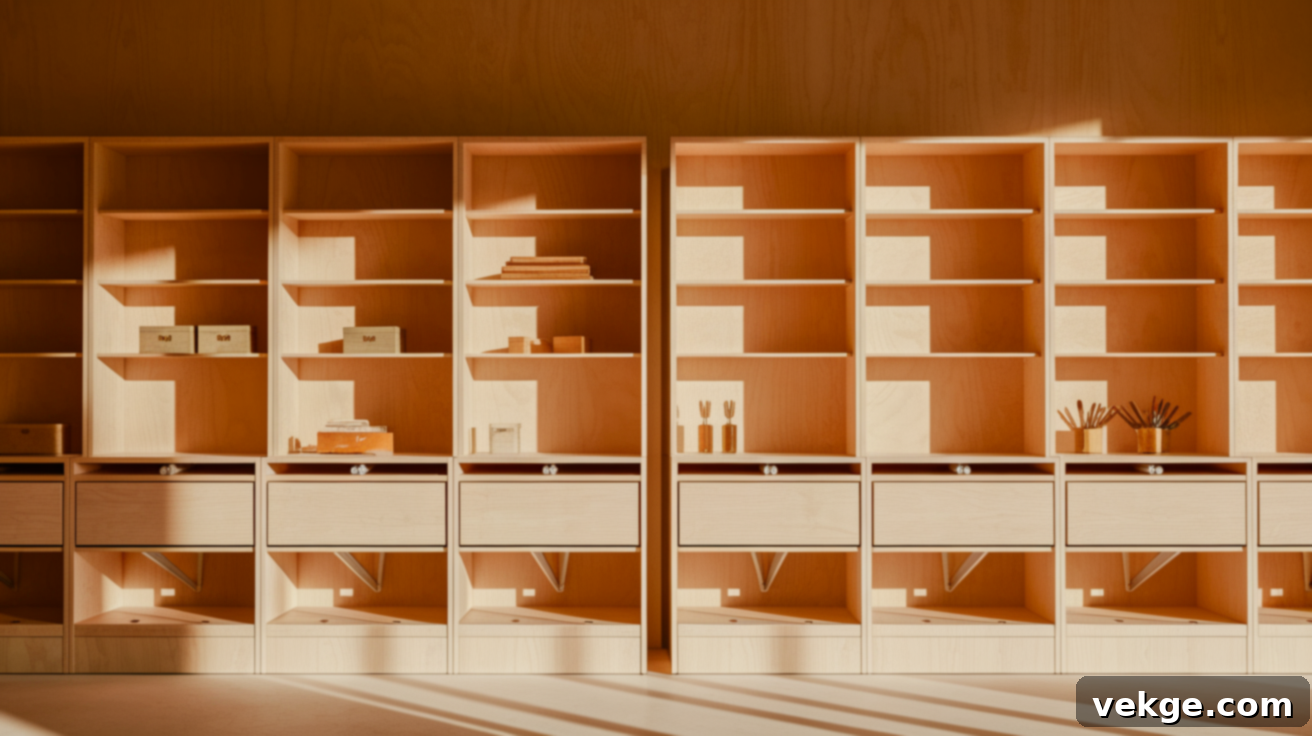
For a minimalist approach, or in spaces where immediate access and visual display are prioritized, open shelving cabinets are an excellent solution. This design eliminates doors and drawer fronts entirely, leaving the cabinet’s contents openly visible. Open shelving is particularly well-suited for workshops, craft rooms, laundry areas, or as an accent in kitchens to showcase decorative dishes, cookbooks, or glassware. Building open shelving is often quicker and more economical due to the absence of doors, hinges, and drawer slides. However, because everything is exposed, meticulous attention to the finish of all visible surfaces and the thoughtful organization of contents is crucial. Ensure shelves are sufficiently robust to prevent sagging, especially for heavy items, and consider adding discreet support brackets for longer spans.
Common Mistakes and Expert Tips to Avoid Them
Even experienced woodworkers occasionally encounter challenges. Being aware of common pitfalls before you begin can significantly reduce frustration, save materials, and ensure a higher-quality final product. Diligence in these areas is key to a successful cabinet build.
- Inaccurate Measurements and Cuts: This is the most frequent source of errors. Always double-check every measurement, use a high-quality tape measure, and utilize a straight edge or cutting guide for all cuts. Small errors here compound quickly, leading to ill-fitting parts.
- Insufficient Joinery: Skimping on the number of pocket holes or relying solely on glue without screws can result in weak joints that fail over time. Always use ample screws in conjunction with wood glue for maximum strength and rigidity.
- Neglecting to Check for Square: As highlighted in the assembly steps, an out-of-square cabinet will cause endless headaches when installing doors, drawers, or fitting multiple cabinets together. Regularly check and adjust for squareness at various stages of assembly.
- Using Warped or Wet Wood: Plywood that is warped or has a high moisture content can cause your cabinet to twist, cup, or deform as it dries or acclimates. Source good quality, flat plywood from a reputable supplier and allow it to acclimate indoors for several days before cutting.
- Poor Sanding or Finishing Preparation: Rushing the sanding process or failing to properly clean surfaces before applying paint or stain will result in a patchy, uneven, and unprofessional finish. Invest time in meticulous prep work for a truly refined appearance.
- Skipping Test Fits: Before committing with glue and screws, it’s always wise to “dry fit” your components. This allows you to identify and correct any fit issues or misalignments without the mess and difficulty of dried glue.
- Incorrect Pocket Hole Settings: Ensure your pocket hole jig is set to the exact thickness of your material (e.g., ¾”). Incorrect settings can lead to screws poking through, weak joints, or splintering. Test on scrap wood first.
Maintaining Your Custom Cabinets for Lasting Beauty and Functionality
Once your beautiful, custom cabinet boxes are built and installed, a little ongoing care and attention will ensure they remain functional and aesthetically pleasing for many years to come. Proactive maintenance is key to preventing minor issues from escalating into major problems and preserving your investment.
- Prompt Spill Cleanup: Liquids, especially acidic or oily substances, can quickly penetrate and damage wood finishes. Always wipe up spills immediately with a soft, damp cloth to prevent staining or finish deterioration.
- Gentle Regular Cleaning: For routine cleaning, use a soft cloth dampened with mild dish soap and water. Avoid abrasive cleaners, harsh chemical sprays, or excessive water, which can strip finishes, cause swelling, or leave a residue. Dry thoroughly after cleaning.
- Inspect and Tighten Hardware: Periodically, perhaps every six to twelve months, inspect all screws, particularly those in hinges, drawer slides, and critical cabinet box joints. Tighten any that have loosened from normal use to maintain structural integrity and proper function.
- Touch-Up Finishes: Keep a small amount of your original paint or stain on hand. Minor chips, scratches, or areas of wear can be easily touched up, maintaining the cabinet’s pristine appearance and protective layer.
- Protect from Moisture and Heat: Avoid placing hot appliances directly on cabinet surfaces without protective mats or trivets. Address any plumbing leaks or excessive humidity promptly to prevent water damage, swelling, or mold growth on your cabinet boxes.
- Interior Cleaning: At least once a year, empty your cabinets completely and wipe down all interior surfaces to remove crumbs, dust, and any accumulated grime. This also provides an excellent opportunity to reorganize and declutter.
- Periodic Refinishing: For wood cabinets, a fresh coat of clear finish or stain every few years, especially in high-traffic areas like kitchens, can significantly extend their life, refresh their appearance, and bolster their protective barrier against wear and tear.
Conclusion: Empowering Your DIY Cabinetry Journey
Building your own cabinet boxes is a profoundly rewarding DIY project that offers immense value, customization, and personal satisfaction. As we’ve explored throughout this comprehensive guide, it’s a process that is far more accessible than many imagine, requiring fundamental tools, quality materials, and a systematic, step-by-step approach.
By carefully planning your design, making precise cuts, utilizing strong joinery methods like pocket holes, and diligently checking for squareness at every stage, you can construct durable, beautiful, and perfectly tailored storage solutions for any space in your home. Whether you opt for the sleek lines of frameless cabinets, the classic appeal of face-frame designs, or the practical accessibility of open shelving, the ability to choose and execute your vision is truly empowering.
Remember that attention to detail, especially in the planning and assembly phases, will lead to the most successful and professional-looking outcomes. Coupled with regular maintenance, your handcrafted cabinet boxes will not only serve their functional purpose efficiently but also stand as a proud testament to your skill, dedication, and personal touch for years to come. Now, armed with this guide, you are exceptionally well-equipped and ready to embark on your next custom cabinet box building adventure!
