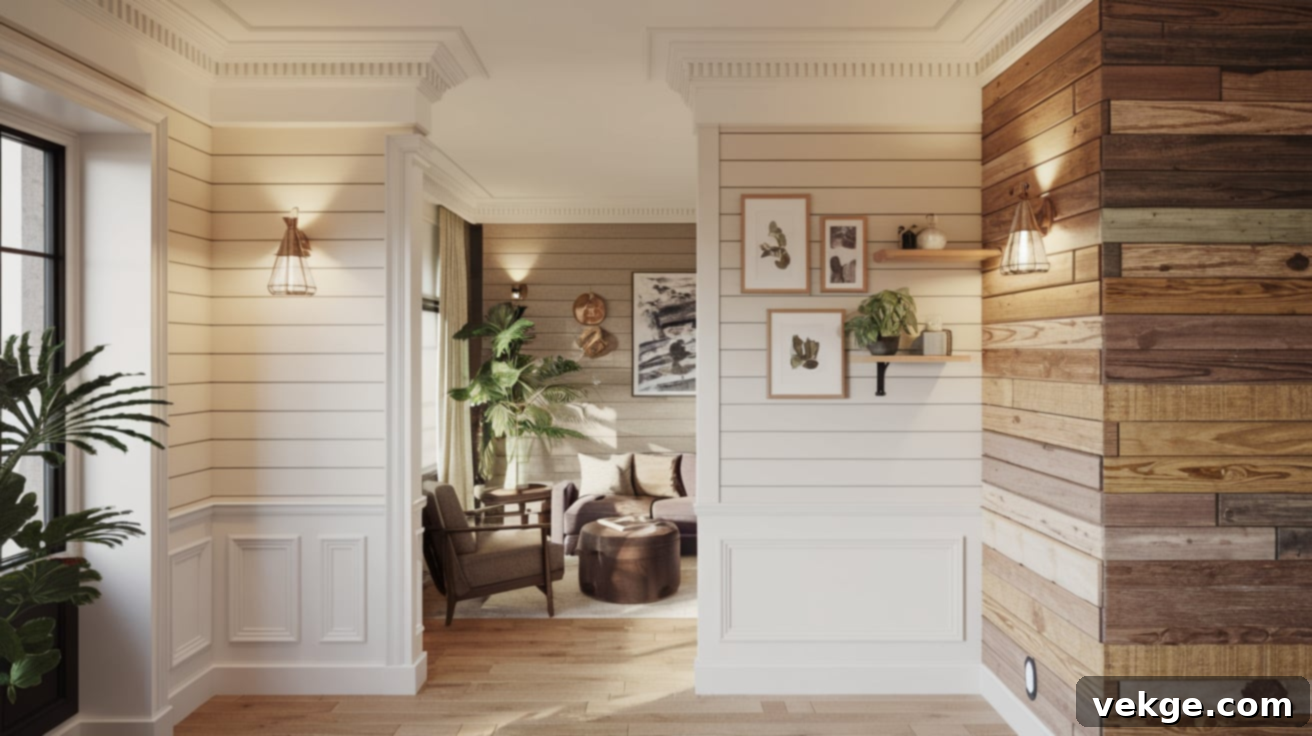
Transform Your Home: 9 Modern Wood Paneling Makeover Ideas & DIY Guide
Do you have outdated wood paneling in your home that’s making your space feel stuck in the past? Don’t worry – bringing those old wood panels into the modern era doesn’t require a costly or complex renovation. In fact, with a few clever tricks and a touch of DIY spirit, you can completely revitalize your rooms, making them feel fresh, bright, and perfectly aligned with contemporary design trends.
This comprehensive guide will walk you through a variety of innovative wood paneling makeover ideas, ensuring there’s an option to suit every style and budget. From simple paint transformations to adding architectural details and texture, we’ll explore how to breathe new life into your walls without tearing them down. Get ready to discover how easy and rewarding it can be to update your wood paneling and create a home environment you truly love again!
Top Wood Paneling Makeover Ideas for a Modern Home
Ready to give your wood paneling a stunning new look? These simple yet impactful ideas will help you transform those dated panels into a stylish focal point. Let’s dive into some creative ways to update your space and enhance its aesthetic appeal.
1. Paint for an Instant Refresh
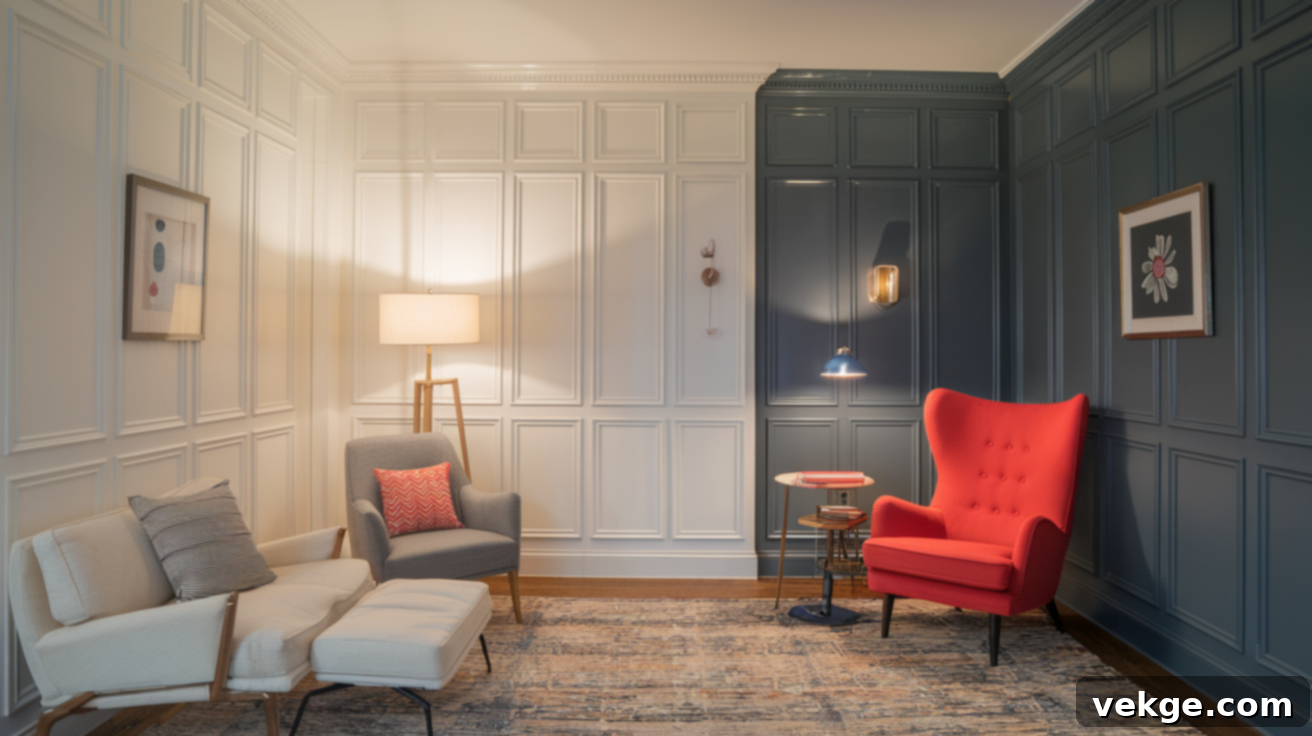
Painting is arguably the fastest, most effective, and most budget-friendly way to dramatically change the appearance of wood paneling. It instantly modernizes any room, covering imperfections and offering a fresh canvas for your decor. Selecting the right color is crucial: deep navy can create a bold, sophisticated statement, while a rich forest green introduces natural warmth and tranquility. For those seeking a sleek, contemporary vibe, charcoal gray offers a chic backdrop.
If your goal is to make a small room feel larger and brighter, classic white or soft off-white hues are excellent choices, reflecting light and expanding the visual space. Consider a semi-gloss or satin finish, as these are easier to clean and add a subtle sheen that can make painted paneling look more polished. Remember to properly prepare the surface with cleaning and priming for optimal paint adhesion and a long-lasting finish.
2. Add Trim and Molding for Architectural Interest
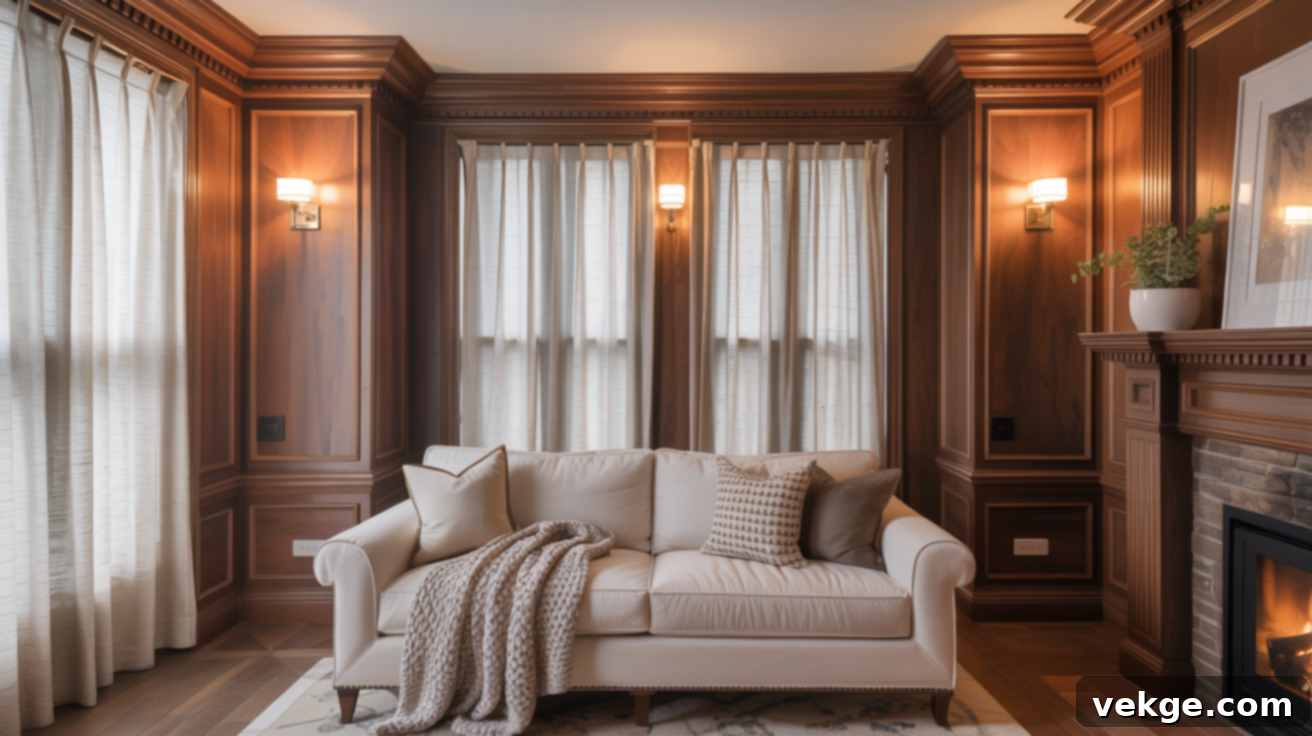
Transform plain wood paneling by incorporating strategic trim and molding. This technique adds depth, character, and a touch of elegance, making your walls feel more custom and luxurious. Crown molding, installed where the walls meet the ceiling, can make ceilings appear higher and give rooms a beautifully finished look, elevating the entire space.
Baseboards create a clean, crisp line between walls and floors, defining the room’s perimeter. For added visual interest, consider adding chair rails, picture rails, or even creating faux wainscoting effects by adding rectangular trim pieces directly onto the paneling. Quarter-round molding can subtly enhance corners and edges, while beadboard trim adds a charming, cottage-like feel. You can paint trim white for a classic contrast or match it to your wall color for a seamless, cohesive appearance that makes the room feel more cohesive and intentionally designed.
3. Create a Trendy Shiplap Effect
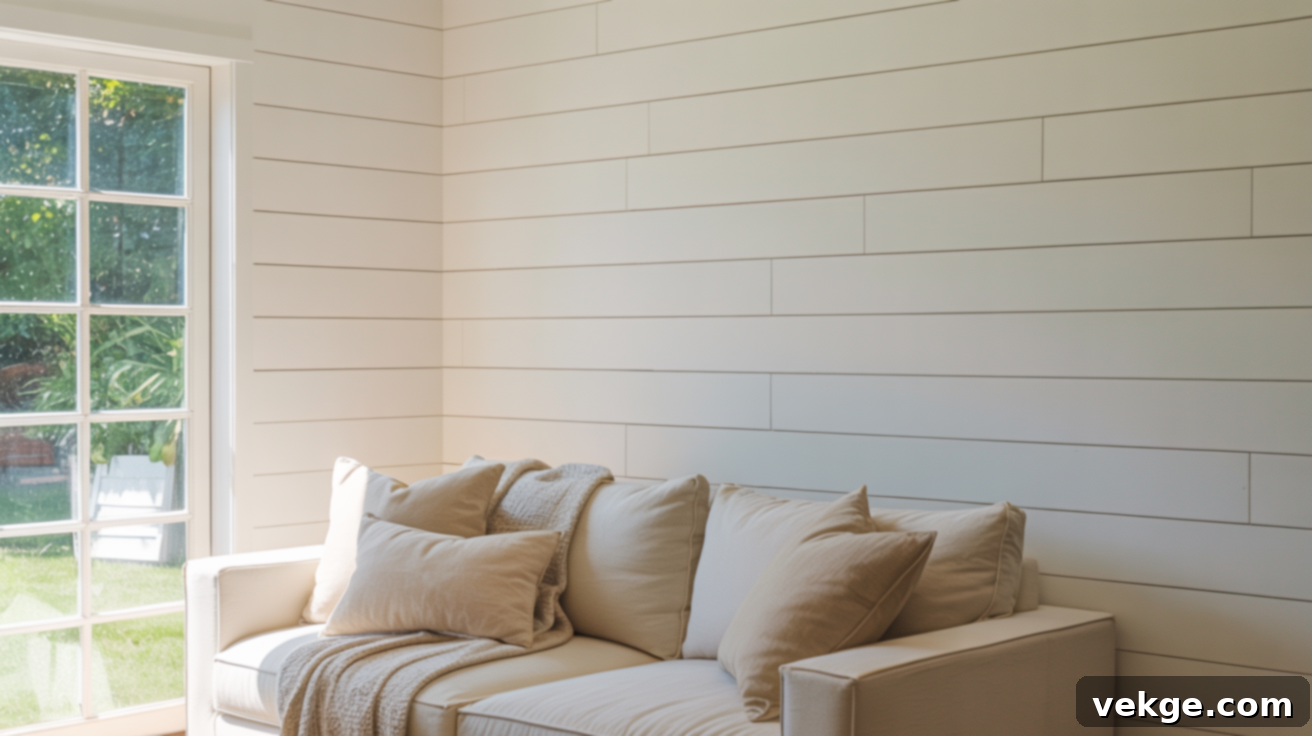
If you love the popular farmhouse or coastal aesthetic, transforming traditional wood paneling into a trendy shiplap design is an excellent idea. This technique works wonders in a variety of interiors, from rustic farmhouses to modern coastal retreats. The key is to create the characteristic horizontal lines that define shiplap. You can achieve this by adding thin strips of plywood or MDF over existing paneling, spacing them slightly apart to mimic authentic shiplap planks. Alternatively, if your existing paneling has grooves, you can enhance them or fill them partially to create a wider gap effect.
Once installed, paint the panels a crisp white or a soft neutral color to truly capture the shiplap charm. Precise measurements and the use of a level are essential to ensure straight, professional-looking lines. Wood filler can be used to smooth any imperfections or to create uniform gaps between the newly added planks, resulting in a polished and authentic look that adds texture and visual appeal.
4. Install Wall Panels or Wallpaper for New Texture
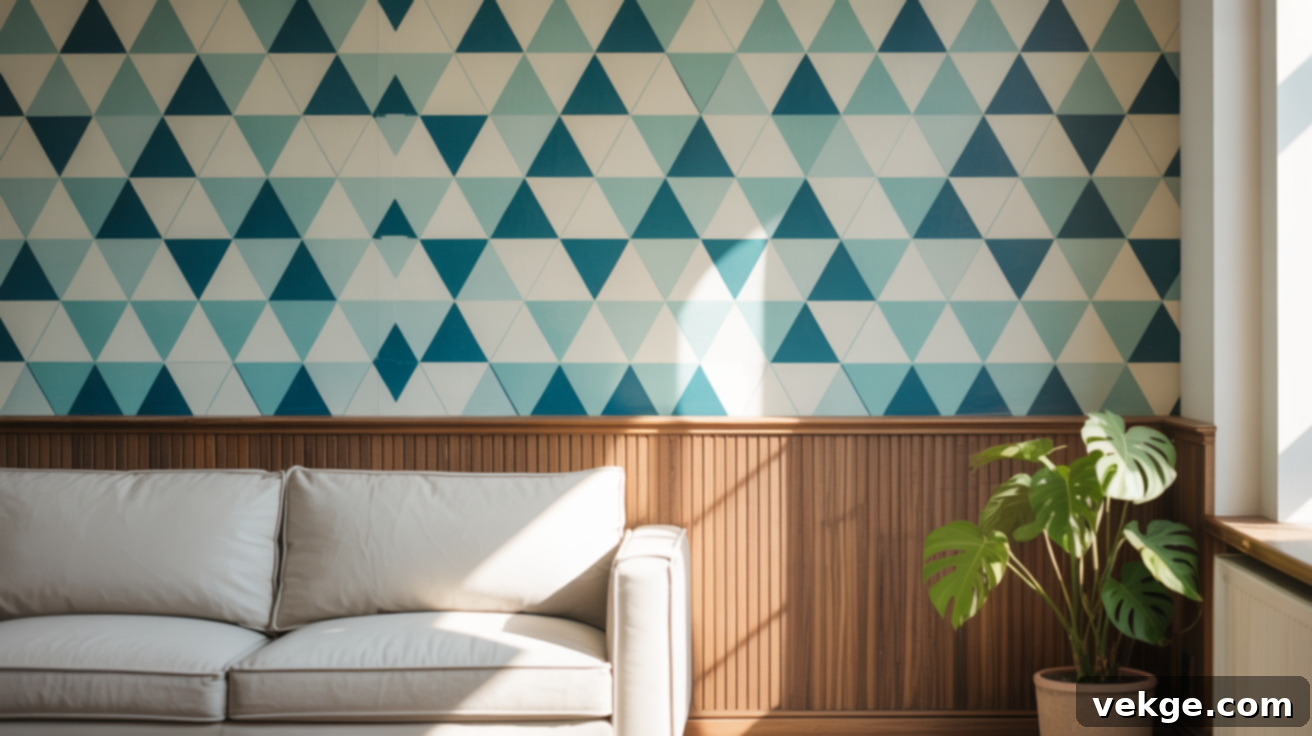
For a complete stylistic departure, consider installing new wall panels or covering your existing wood paneling with wallpaper. Modern peel-and-stick options have made covering surfaces incredibly simple and quick, without the mess of traditional wallpaper paste. Choose textured wallpapers, such as grasscloth or linen weaves, to add natural warmth, interesting depth, and a luxurious feel to your walls. Geometric patterns can work exceptionally well with the existing wood textures, creating a dynamic and contemporary look.
Before committing, always test samples of wallpaper or decorative panels in an inconspicuous area to ensure the adhesive works effectively with your specific paneling. Some older or glossier paneling surfaces may require additional preparation, such as light sanding or a specific primer, to ensure proper adhesion. This method is fantastic for introducing new patterns, colors, and tactile elements that can completely transform the room’s atmosphere, hiding the old paneling entirely.
5. Use Strategic Lighting to Highlight Texture
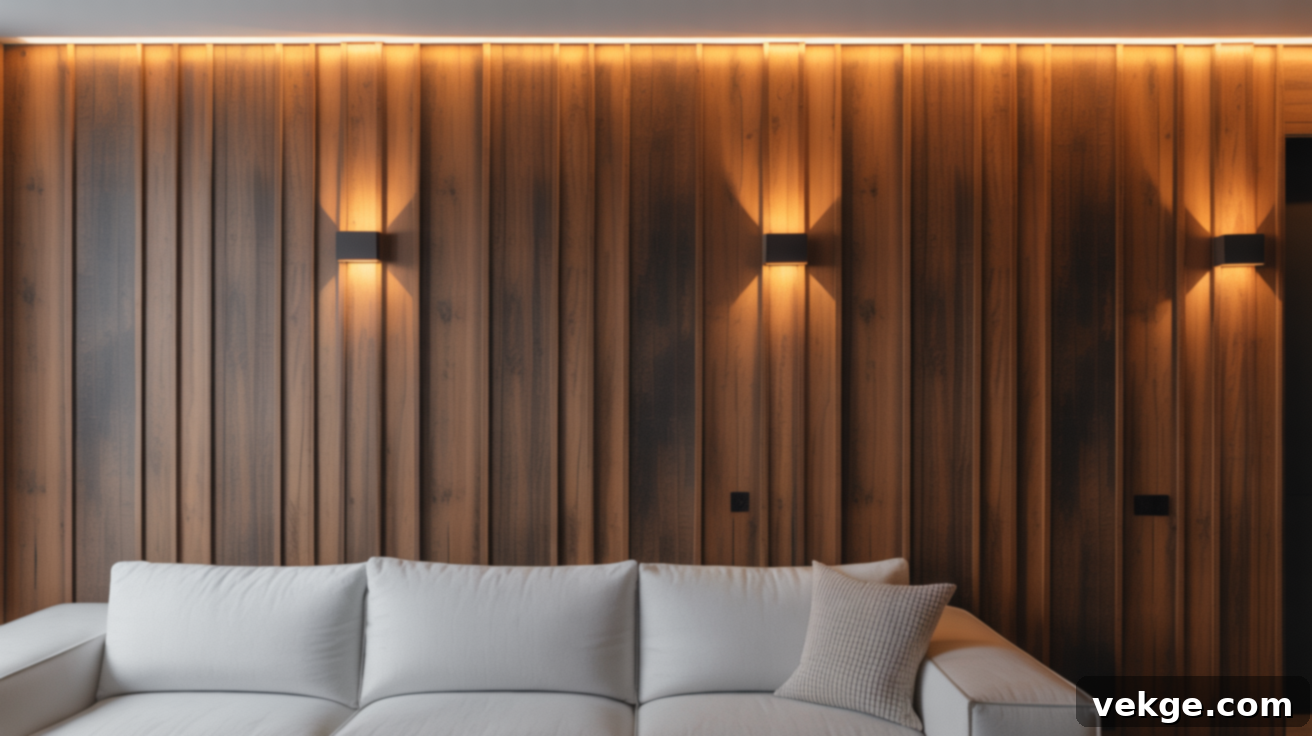
The right lighting can completely transform the appearance of wood paneling, turning it from dated to dramatic. Instead of just general room lighting, consider how strategic illumination can highlight the wood’s natural grain and texture, or create interesting shadows. Wall sconces, especially those with an upward and downward cast, can create dramatic shadows and emphasize the vertical lines or the relief of the paneling, adding architectural interest.
LED strip lights, tucked behind trim or along the top edge of paneling, offer soft, indirect illumination that washes the wall with a gentle glow, enhancing its texture without harsh glare. Track lighting provides flexibility, allowing you to direct light precisely to highlight specific wall areas, artwork, or decorative objects. Experiment with different light temperatures: warm lights (2700K-3000K) enhance wood’s natural, cozy tones, while cooler lights (3500K-4500K) create a more modern, crisp feel, perfect for a contemporary update. This approach adds mood, depth, and sophistication to your refreshed paneling.
6. Hang Art and Decorative Elements
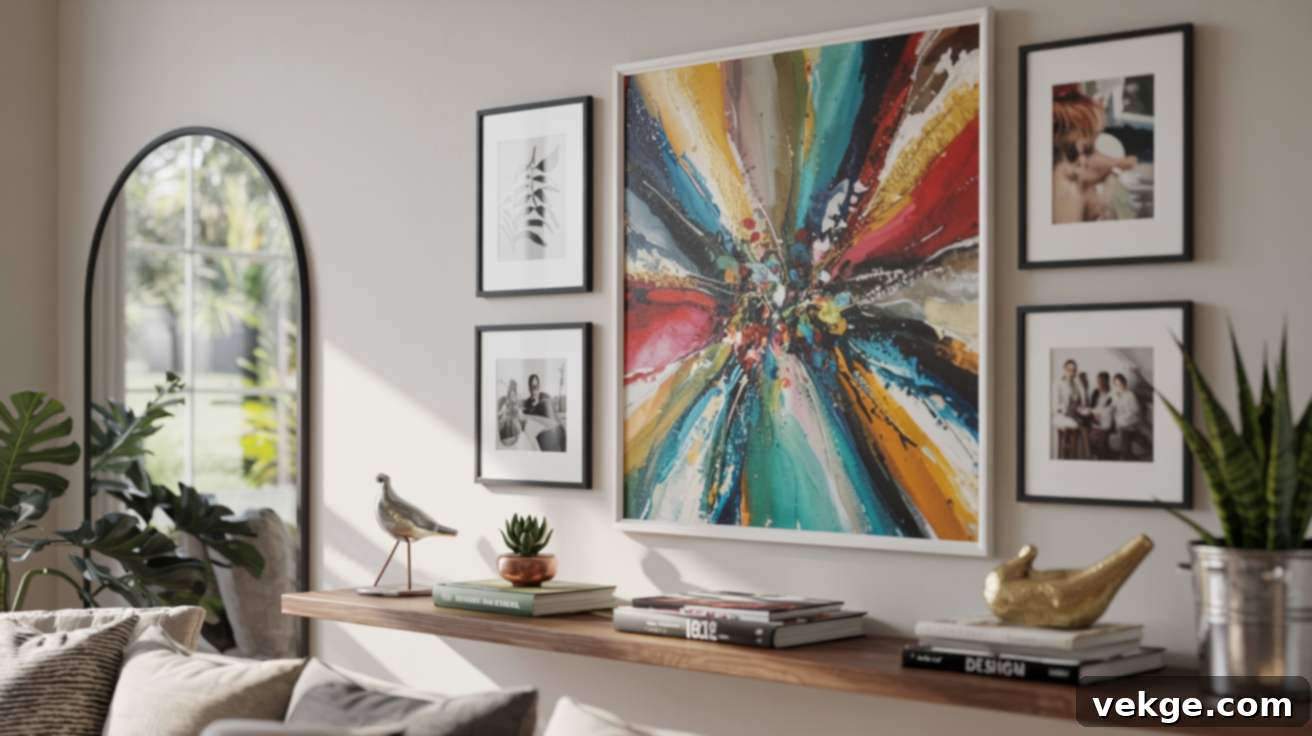
Even if you choose not to alter the wood paneling itself, strategically placed art and decorative elements can completely change a room’s perception. A single large piece of artwork can become a powerful focal point, drawing the eye and diverting attention from the paneling itself. Alternatively, create dynamic gallery walls using frames of varying sizes, shapes, and styles. Mix metal and wooden frames for added visual interest and a curated look that feels personal and artistic.
Oversized mirrors are another excellent option, reflecting light and making spaces feel larger, brighter, and more open. They also add a touch of elegance and glamour. Floating shelves are perfect for breaking up the monotony of large expanses of wood paneling. Use them to display personal items, small decorative objects, potted plants, or books, adding layers of personality and warmth to your newly refreshed walls. This method allows you to embrace the existing paneling while making it feel more intentional and integrated into your updated decor.
7. Install Faux Stone or Brick Overlay
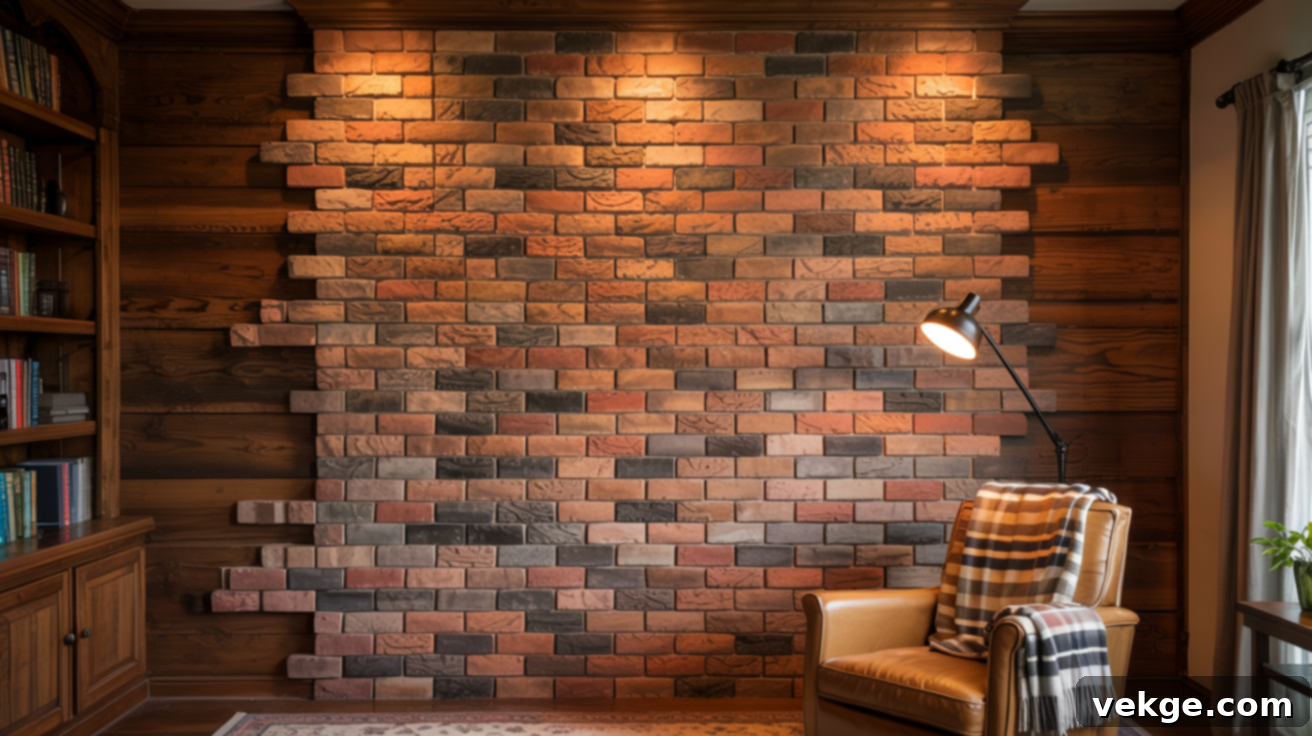
For a dramatic and rustic or industrial transformation, consider installing faux stone or brick panel overlays directly over your existing wood paneling. These lightweight and often easy-to-install panels offer a quick way to introduce significant texture and an entirely different aesthetic. You can choose from a wide variety of styles, including natural slate, rustic limestone, classic red brick, or modern white-washed brick, to match your desired look.
Faux stone or brick overlays work exceptionally well as an accent wall in living rooms, home offices, or even dining areas, creating a captivating feature. Select colors and textures that complement your existing furniture and overall room decor to ensure a harmonious design. While many faux panels are designed for DIY installation, it’s crucial to measure carefully and plan the layout before beginning. Some panels might require specific adhesives or even professional installation for the best results, ensuring a durable and convincing finish that completely disguises the original paneling.
8. Change Panel Orientation
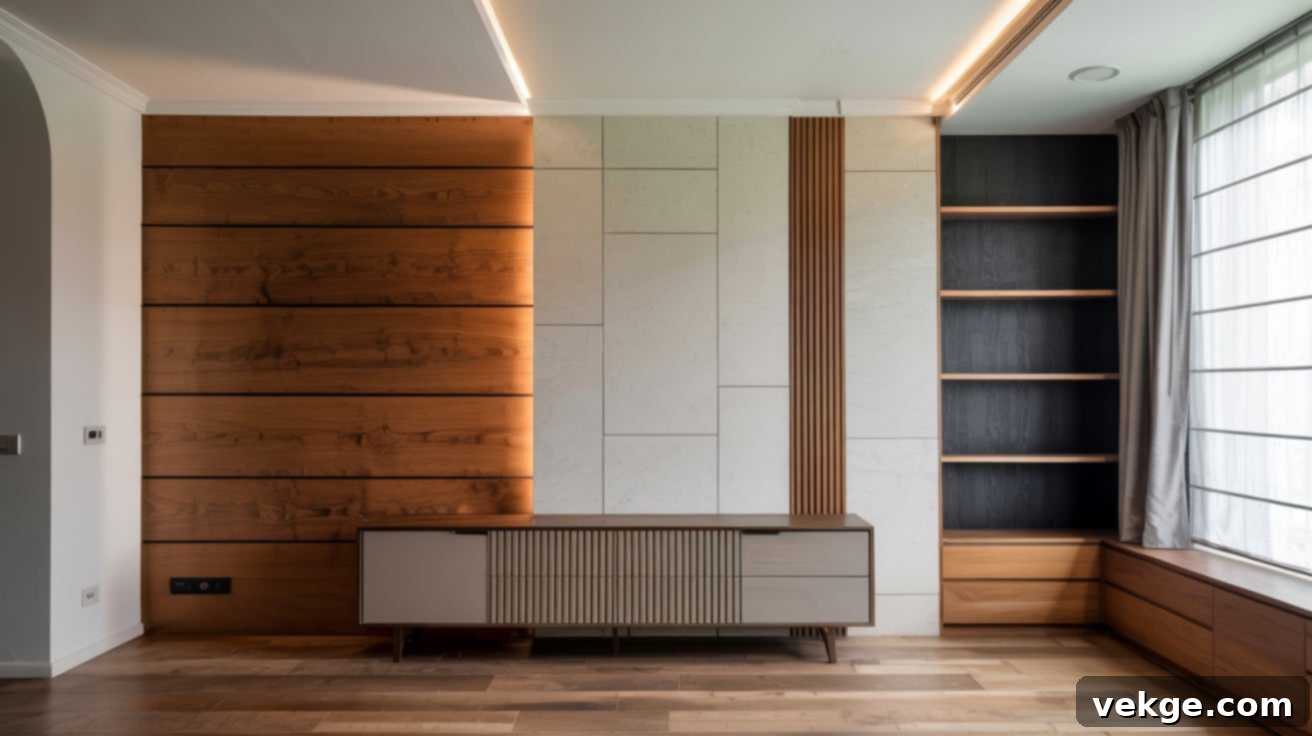
If your wood paneling consists of individual planks, or if you’re adding new panels, switching their orientation can dramatically alter a room’s perception and feel without requiring a full wall replacement. Horizontal panels tend to make rooms appear wider and more spacious, drawing the eye across the room. This can be particularly effective in narrower rooms or hallways to create an illusion of greater breadth.
Conversely, vertical panels create an illusion of higher ceilings, drawing the eye upwards. This simple, often overlooked change can be far less expensive and labor-intensive than a full structural renovation. When choosing an orientation, consider your room’s existing dimensions, ceiling height, and natural light sources. Experimenting with different directions can surprisingly redefine the room’s proportions and overall atmosphere, giving it a fresh, intentional design.
9. Replace with Reclaimed Wood for Rustic Charm
For a truly unique and character-rich update, consider replacing sections of your existing paneling, or even an entire wall, with reclaimed wood. Reclaimed wood brings unparalleled warmth, history, and texture to a space, making it ideal for rustic, industrial, or modern farmhouse designs. The beauty of reclaimed wood lies in its imperfections – nail holes, saw marks, and variations in color tell a story and add authentic charm.
You can mix different wood tones, species, and finishes to create a stunning, layered effect that adds immense depth and visual interest. Source reclaimed wood from local salvage yards, architectural antique shops, or specialty wood suppliers to ensure quality and sustainability. Before installation, it’s crucial to ensure the wood is properly cleaned, treated for pests, and sealed to prevent moisture damage and ensure its longevity. This option offers a premium, eco-friendly way to create a feature wall that becomes a true conversation piece in your home.
Steps on How to Update Wood Paneling: A DIY Guide
Now that you’re brimming with inspiring ideas, let’s break down the process into a simple, step-by-step guide to help you update your wood paneling with confidence. This practical walkthrough will ensure you achieve professional-looking results efficiently and effectively.
Tools and Materials Required
Before you begin, gather these essential items to ensure a smooth and safe project:
- Ladder (for reaching high areas)
- Sandpaper (various grits, e.g., 120-220 for prep)
- Paint brushes (angled for edges, flat for larger areas)
- Rollers (with appropriate nap for textured surfaces)
- Paint trays
- High-quality primer (wood-specific, possibly oil-based for knotty paneling)
- Paint or stain (chosen according to your style)
- Polyurethane or other protective finish (matte, satin, or glossy)
- Painter’s tape (high-quality for clean lines)
- Drop cloths or old sheets (for floor and furniture protection)
- Safety glasses
- Work gloves
- Wood filler or spackle
- Mild detergent and sponges for cleaning
- Screwdriver (for removing outlet covers)
- Utility knife (for trimming wallpaper, etc.)
- Level (for trim or shiplap installation)
Step 1: Planning and Preparation
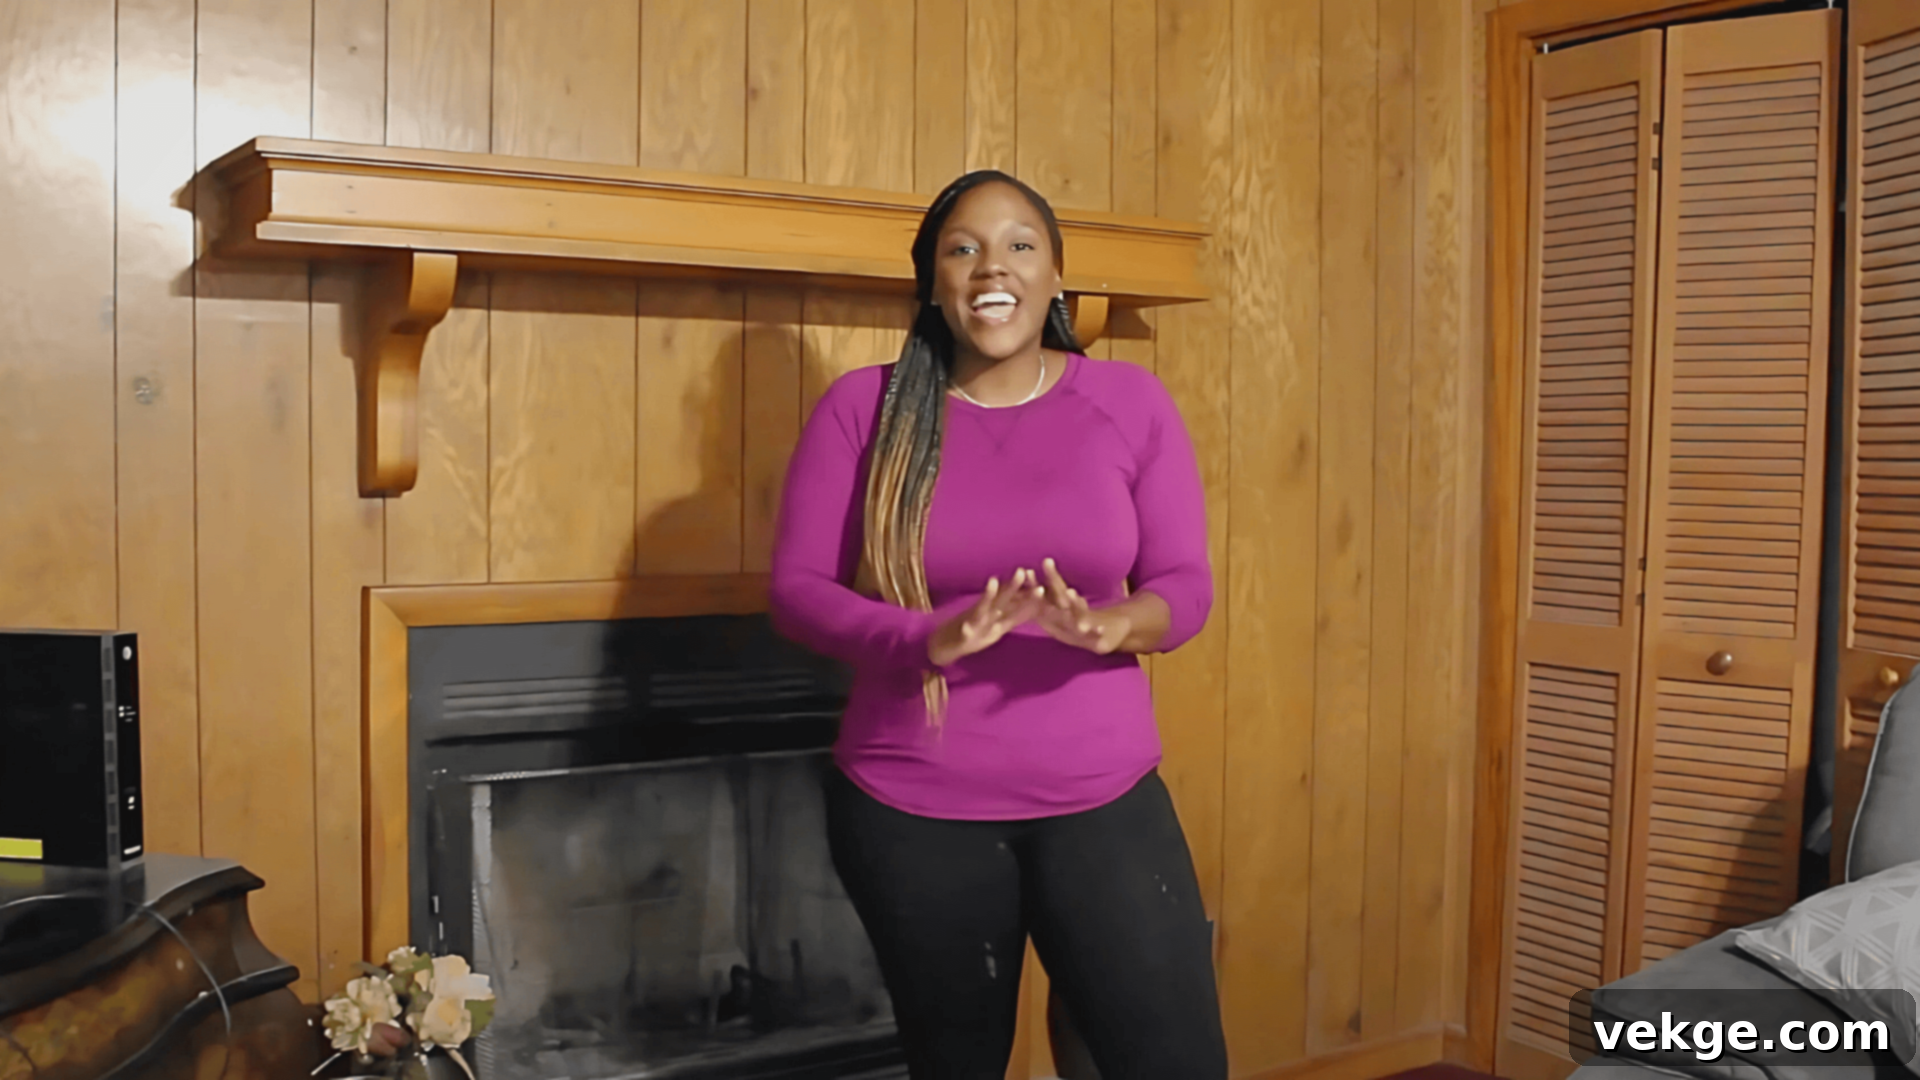
The success of your wood paneling makeover hinges on careful planning. Begin by thoroughly measuring your walls to accurately calculate the amount of paint, primer, or materials needed. Assess the current condition of the paneling – look for loose panels, significant damage, or areas requiring extra attention. Set a realistic budget that covers all supplies, including tools you might not already own. Browse design websites, Pinterest, or magazines for inspiration, and create a simple mood board to visualize your desired outcome.
Once you have a clear vision, gather all essential items like drop cloths, painter’s tape, sandpaper, brushes, rollers, and safety gear. Move furniture away from the walls and cover anything that cannot be moved. Remove all outlet covers, light switch plates, and any wall decor. A thoughtful and comprehensive approach in this initial stage will make the entire project smoother, less stressful, and ultimately more enjoyable, ensuring you’re prepared for every step ahead.
Step 2: Surface Preparation
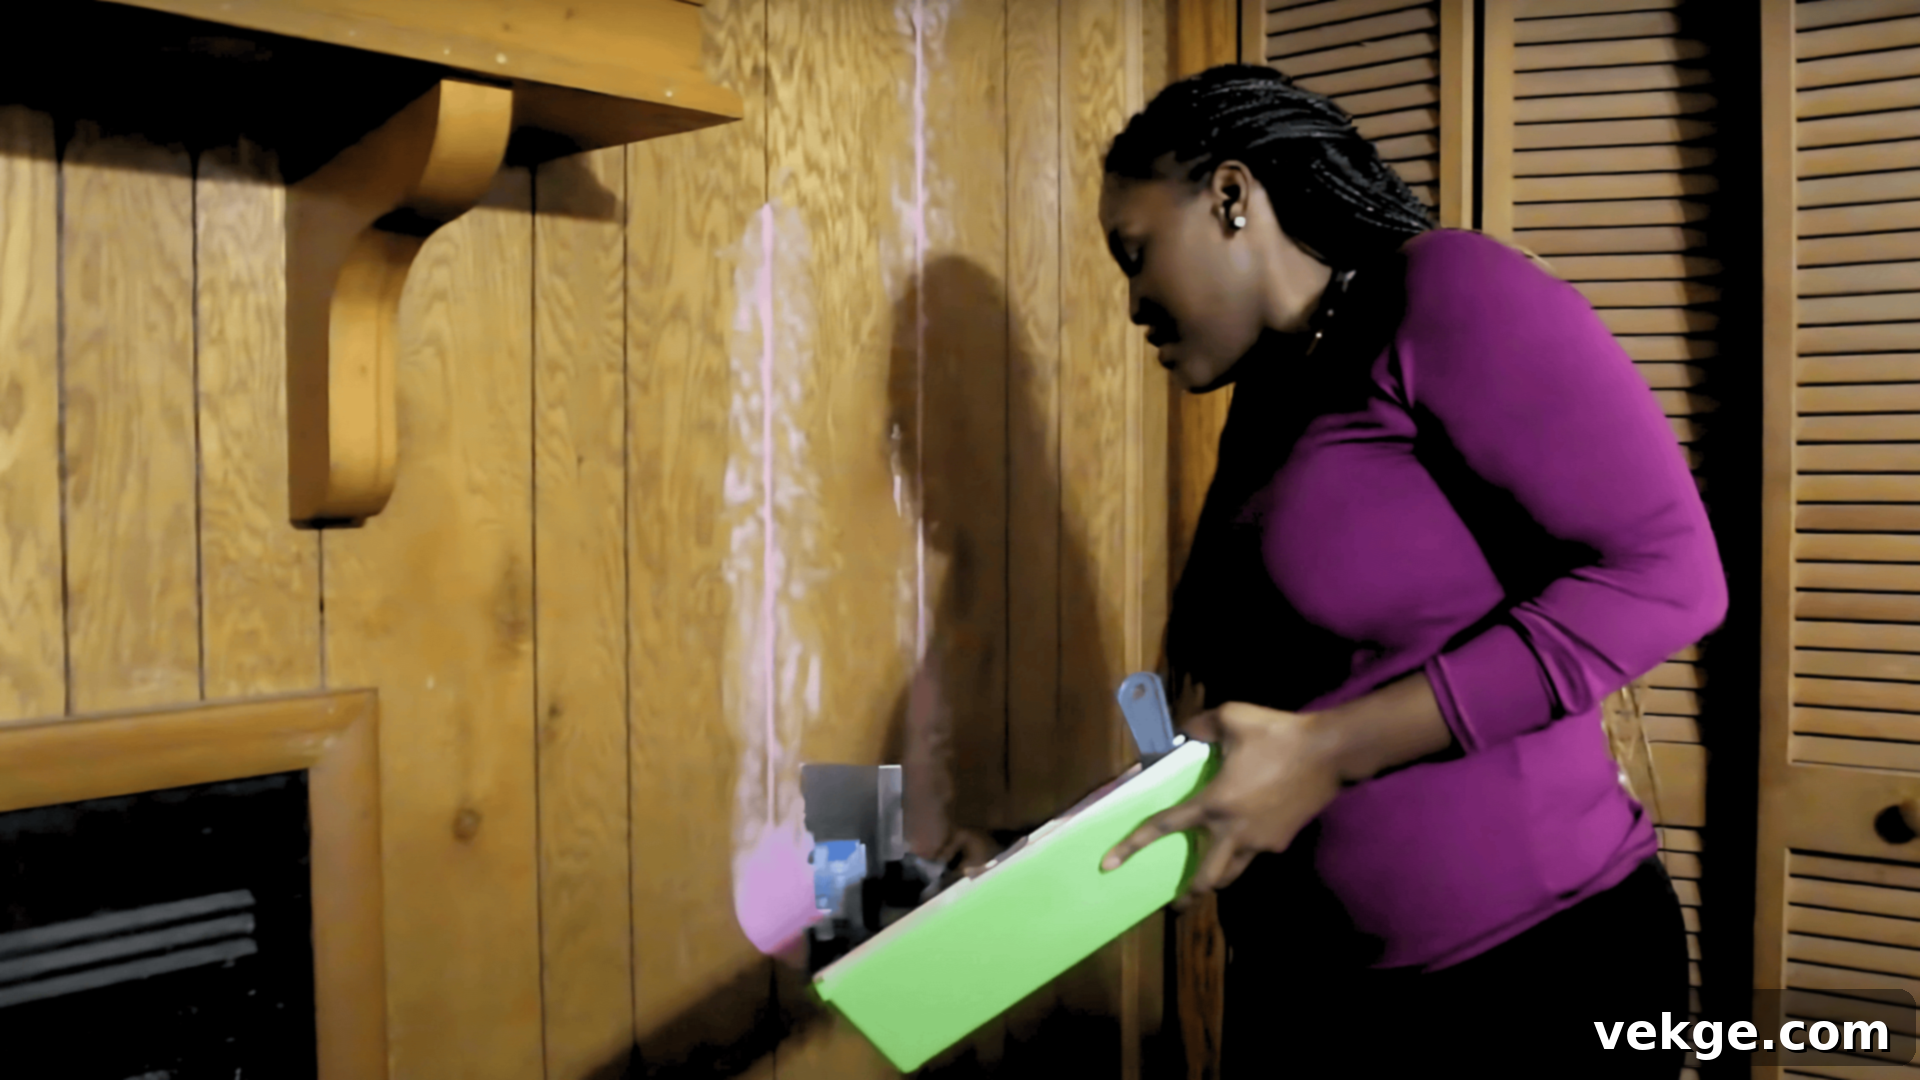
Proper surface preparation is crucial for a stunning and long-lasting finish. Start by thoroughly cleaning the wood panels. Use a mild detergent mixed with warm water and a sponge to remove all dirt, grime, grease, and dust. For stubborn spots, a degreaser might be necessary. Rinse the panels with clean water and allow them to dry completely, typically for several hours or overnight.
Next, carefully inspect the surface for any imperfections. Fill any holes, dents, or cracks with wood filler, ensuring it’s flush with the panel surface. Once the filler is dry, sand the entire paneling surface gently but thoroughly. Use a medium-grit sandpaper (e.g., 120-grit) to scuff the glossy finish, creating a better “tooth” for the primer and paint to adhere to. Follow up with a finer grit (e.g., 220-grit) for a smooth finish, paying extra attention to any uneven areas or filled spots. Finally, wipe down the sanded panels with a damp cloth or tack cloth to remove all sanding dust. This meticulous preparation ensures better paint adhesion and a professional-looking, flawless finish.
Step 3: Apply Primer
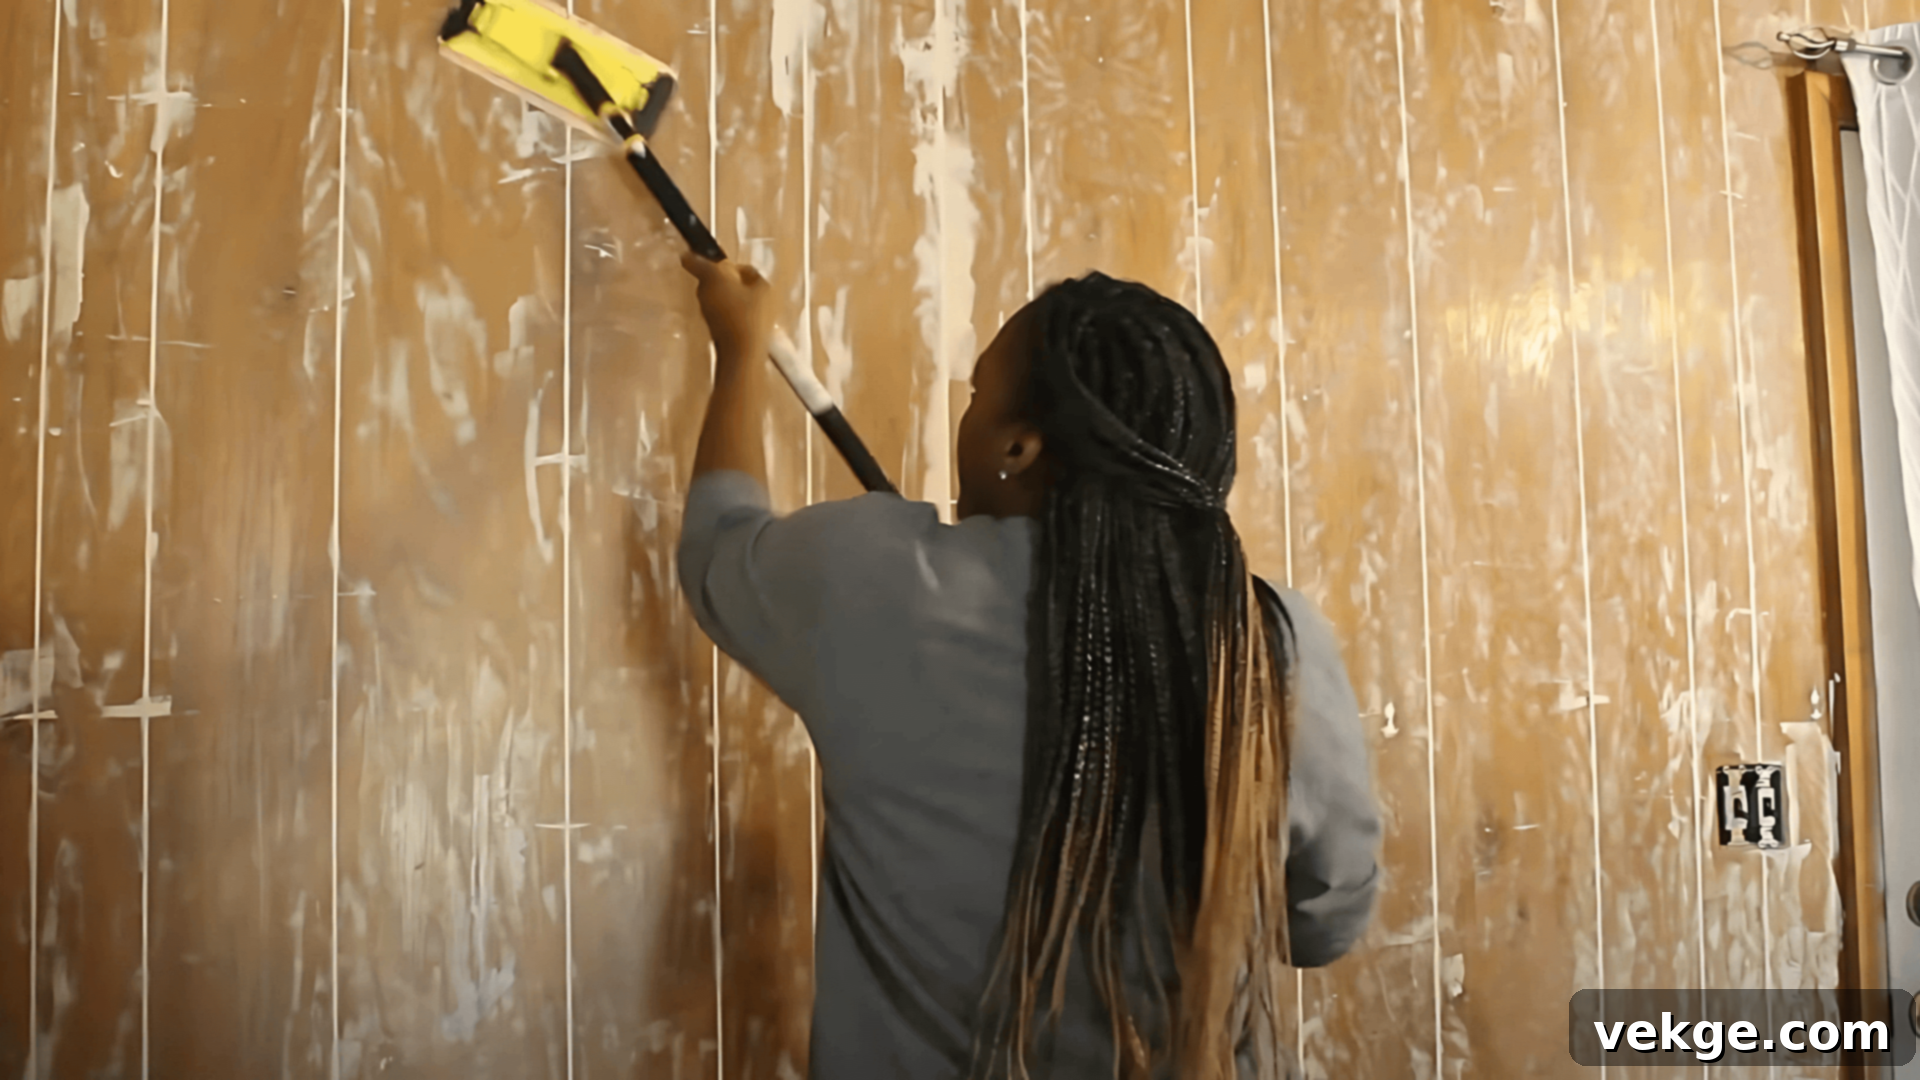
Applying a high-quality primer is a non-negotiable step when updating wood paneling, especially if you’re painting. Primer serves multiple critical functions: it seals the wood, blocks stains (like tannins or knots from bleeding through light paint colors), and provides a uniform surface for the topcoat to adhere to smoothly. For older, darker, or knotty wood paneling (like knotty pine), an oil-based or shellac-based primer is highly recommended as it excels at blocking stains and odors.
Apply the primer in thin, even coats using a brush for the grooves and edges, and a roller for the flat surfaces. Follow the manufacturer’s instructions for drying times between coats. Often, two coats of primer are beneficial, especially when transitioning from a very dark to a very light color. Allow the final primer coat to dry completely and lightly sand it with fine-grit sandpaper (220-grit) if needed, then wipe off any dust. This step creates the perfect foundation for your chosen paint or stain, ensuring vibrant color and lasting durability.
Step 4: Painting or Staining
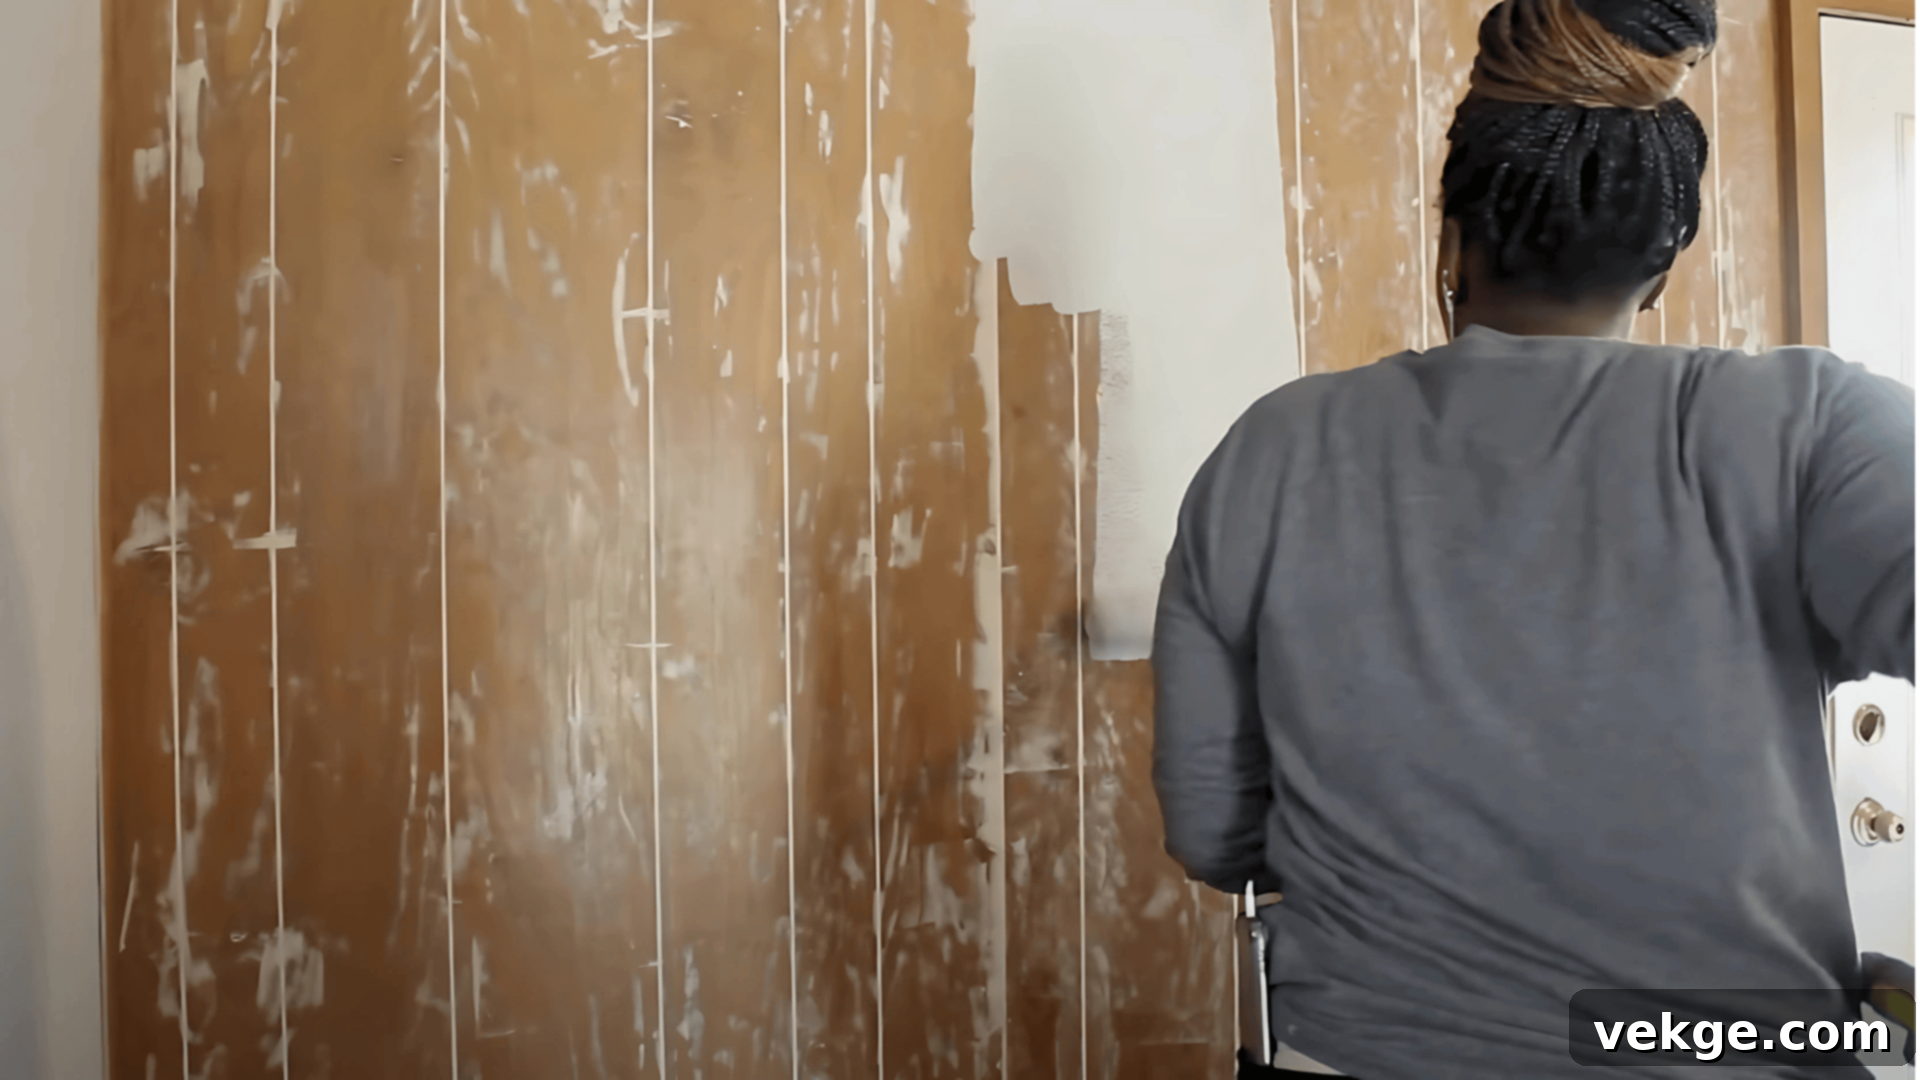
Now for the exciting part: applying your chosen paint or stain! If painting, use angled brushes for cutting in along edges, around trim, and within the panel grooves. For larger, flat areas, use a high-quality roller with an appropriate nap for your surface (a shorter nap for smooth surfaces, a longer nap for textured paneling). Apply paint in thin, consistent coats using a “W” or “M” pattern, then fill it in, ensuring even coverage and avoiding drips. Always allow each coat to dry completely according to the manufacturer’s instructions before applying the next. Typically, two coats of paint provide the best coverage, color depth, and durability.
If you’re opting for stain, work with the wood grain, applying it evenly. Use a clean cloth to wipe away any excess stain shortly after application to prevent blotchiness and achieve a uniform look. Test the stain on an inconspicuous area first to ensure you like the color. Remember that staining wood paneling requires a slightly different preparation, often emphasizing sanding to allow the stain to penetrate evenly. Take your time with both painting and staining; patience is key to achieving a smooth, professional, and beautiful finish that will completely redefine your space.
Step 5: Protective Finishing and Styling
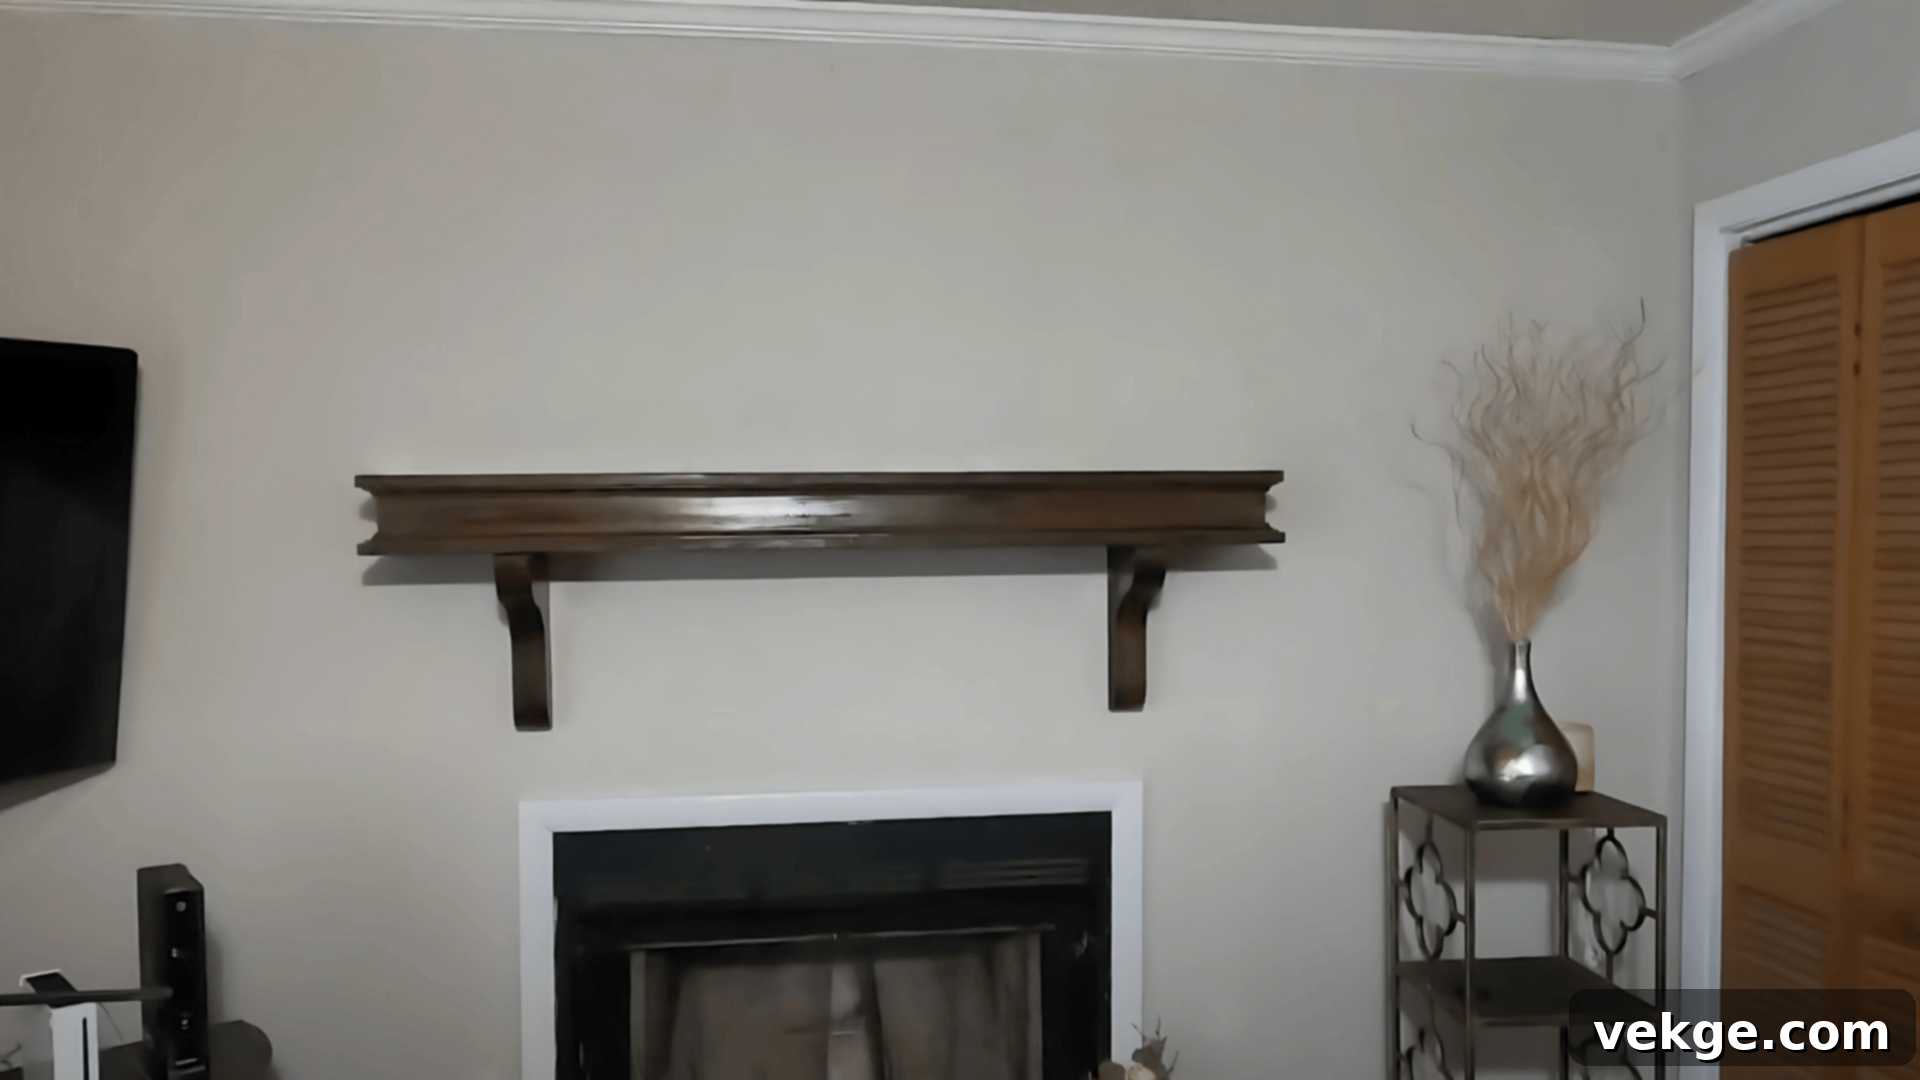
Once your paint or stain has fully cured (which can take a few days, not just dry to the touch), it’s time to apply a protective finish, if desired. For painted surfaces, a clear protective finish like polyurethane can add an extra layer of durability and make the surface easier to clean. Select from matte, satin, or glossy polyurethane based on your preferred look – satin is a popular choice for a subtle sheen and good protection. Apply thin coats with a foam or synthetic brush, using long, smooth strokes, and always allowing each coat to dry completely before applying the next. Lightly sanding with fine-grit sandpaper between coats can create an incredibly smooth, professional finish.
Finally, bring your wood paneling makeover to life with thoughtful styling. Carefully reinstall any removed trim, baseboards, and outlet covers. Hang artwork, mirrors, or decorative elements that complement the new wall color and style, integrating the refreshed paneling into your overall decor. Step back and appreciate your transformation – your hard work has resulted in a beautiful, personalized feature in your home. To maintain the new finish, clean gently with a soft cloth and mild cleaner, and touch up any scuffs or marks as needed. Enjoy your revitalized space!
For a more detailed visual overview of wood paneling makeovers, check out this YouTube video:
Mistakes to Avoid While Updating Wood Paneling
While updating wood paneling can be a rewarding DIY project, certain common mistakes can hinder your efforts. Be aware of these pitfalls to ensure your makeover is a resounding success:
- Don’t oversand the panels: Sanding too aggressively or with too coarse a grit can damage the wood veneer, create deep scratches, and make it harder for paint or stain to adhere properly and evenly. Aim for light scuffing to create a surface for primer adhesion.
- Always use primer before painting: Skipping this crucial step is a common error. Without primer, paint may not adhere well, leading to uneven results, peeling paint, visible wood grain, or stains bleeding through the topcoat over time. Invest in a good quality, wood-specific primer.
- Fill all gaps and cracks completely: Neglecting to fill holes, dents, and the grooves between panels can result in a messy, unprofessional finish. These imperfections will become more pronounced once painted, undermining the smooth, polished look you’re aiming for.
- Take your time and don’t rush the process: Rushing through any step – whether it’s cleaning, sanding, priming, or painting – significantly increases the likelihood of mistakes, drips, uneven coats, and a less-than-perfect, rushed result. Patience is truly a virtue in DIY projects.
- Avoid using the wrong paint: Not all paints are created equal, and some are better suited for wood paneling than others. Using a cheap or incorrect type of paint (e.g., flat interior wall paint directly on glossy paneling without primer) can lead to poor adhesion, lack of durability, and an unsatisfactory finish. Choose a high-quality interior latex or oil-based paint designed for trim or cabinets, often with a satin or semi-gloss finish.
- Don’t skip the finishing coat (if applicable): For projects involving stain or where extra durability is desired, a protective topcoat (like polyurethane or a clear sealer) is essential. It helps protect your hard work from everyday wear and tear, makes the surface easier to clean, and prolongs the life of your updated paneling.
Conclusion
A wood paneling makeover offers a surprisingly simple, budget-friendly, and incredibly effective way to refresh your home and infuse it with modern style. As we’ve explored, with just a few strategic steps and a touch of creativity, you can transform dated, uninspiring walls into a space you’ll genuinely adore.
Whether you choose the immediate impact of a fresh coat of paint, the architectural elegance of added trim, the rustic charm of shiplap, or the textural delight of new wallpaper, each method provides a unique opportunity to make your room feel fresh, new, and perfectly reflective of your personal aesthetic. Remember, the key to success lies in careful preparation, patience, and attention to detail.
Take your time, follow these proven steps, and soon you’ll be enjoying a beautifully updated space that not only matches your style but also enhances your home’s overall appeal and value. If you’re looking for more inspiring ideas, detailed tips, or guidance for your next home improvement venture, I encourage you to explore my other blogs and resources to help bring your design dreams to life!
If you’ve got wood paneling in your home, you might be feeling like it’s a bit outdated. But don’t worry – updating those old wood panels doesn’t have to be hard or expensive.
In fact, with just a few simple tricks, you can change your space and make it feel fresh and modern.
In this blog, I’m going to show you how to give your wood paneling a makeover, ideas that’ll match your style, and breathe new life into your walls.
From painting to adding decorative touches, there are plenty of ways to update your panels without a major renovation.
So, let’s get in and see how easy it can be to turn your space into something you love again!
Top Wood Paneling Makeover Ideas
Want to give your wood paneling a new look? There are lots of simple and fun ways to make those old panels feel fresh. Let’s check out some easy ideas to update your space.
1. Paint for an Instant Refresh

Painting is the fastest way to change wood paneling. Select colors that match your room’s mood and style. Deep navy creates a bold statement, while forest green adds natural warmth.
Charcoal gray offers a sleek, modern touch for contemporary spaces. White paint can make small rooms feel larger and brighter.
2. Add Trim and Molding

Transform plain wood paneling by adding strategic trim. Crown molding can make ceilings appear higher and rooms more finished.
Baseboards create a clean line between walls and floors. Quarter-round molding adds subtle depth and visual interest to your space.
Consider mixing different trim styles for a custom look. Paint trim white or match it to your wall color for a seamless appearance.
3. Create a Shiplap Effect

Turn traditional wood paneling into a trendy shiplap design. This technique works wonders in farmhouse, coastal, and modern interiors.
Space wooden planks slightly apart for an authentic look. Paint the panels white or choose a soft neutral color.
Measure carefully and use a level to ensure straight lines. Wood filler can help create smooth, professional-looking gaps between panels.
4. Install Wall Panels or Wallpaper

Peel-and-stick options make covering wood paneling simple and quick. Choose textured wallpapers that add dimension to your walls. Geometric patterns work well with wood textures.
Grasscloth wallpapers bring natural warmth and interesting depth.
Test samples first to ensure the adhesive works with your specific paneling. Some walls may need additional preparation before application.
5. Use Lighting to Highlight Texture

Lighting can completely transform wood paneling’s appearance. Wall sconces create dramatic shadows and highlight wood grain. LED strips work great for soft, indirect illumination.
Track lighting offers flexibility for highlighting specific wall areas.
Experiment with different light temperatures. Warm lights enhance wood’s natural tones, while cool lights create a modern feel.
6. Hang Art and Decorative Elements

A large artwork can completely change a room with wood paneling. Create gallery walls using frames of different sizes and styles. Mix metal and wooden frames for added visual interest.
Consider oversized mirrors to reflect light and make spaces feel larger.
Floating shelves work well to break up wood panel monotony. Display personal items or decorative objects to personalize the space.
7. Install Faux Stone or Brick Overlay

Faux stone panels offer a quick way to update wood paneling. Choose from various styles like slate, limestone, or brick.
These overlays work great in living rooms, home offices, and accent walls. Select colors that complement your existing furniture and decor.
Measure carefully and plan the layout before installation. Some panels require special adhesives or professional installation.
8. Change Panel Orientation

Switching panel direction can dramatically alter a room’s feel. Horizontal panels make rooms appear wider and more spacious.
Vertical panels create an illusion of higher ceilings. This simple change costs less than a full wall replacement.
Consider your room’s dimensions and natural light when choosing orientation. Narrow rooms benefit most from vertical panel lines.
9. Replace with Reclaimed Wood
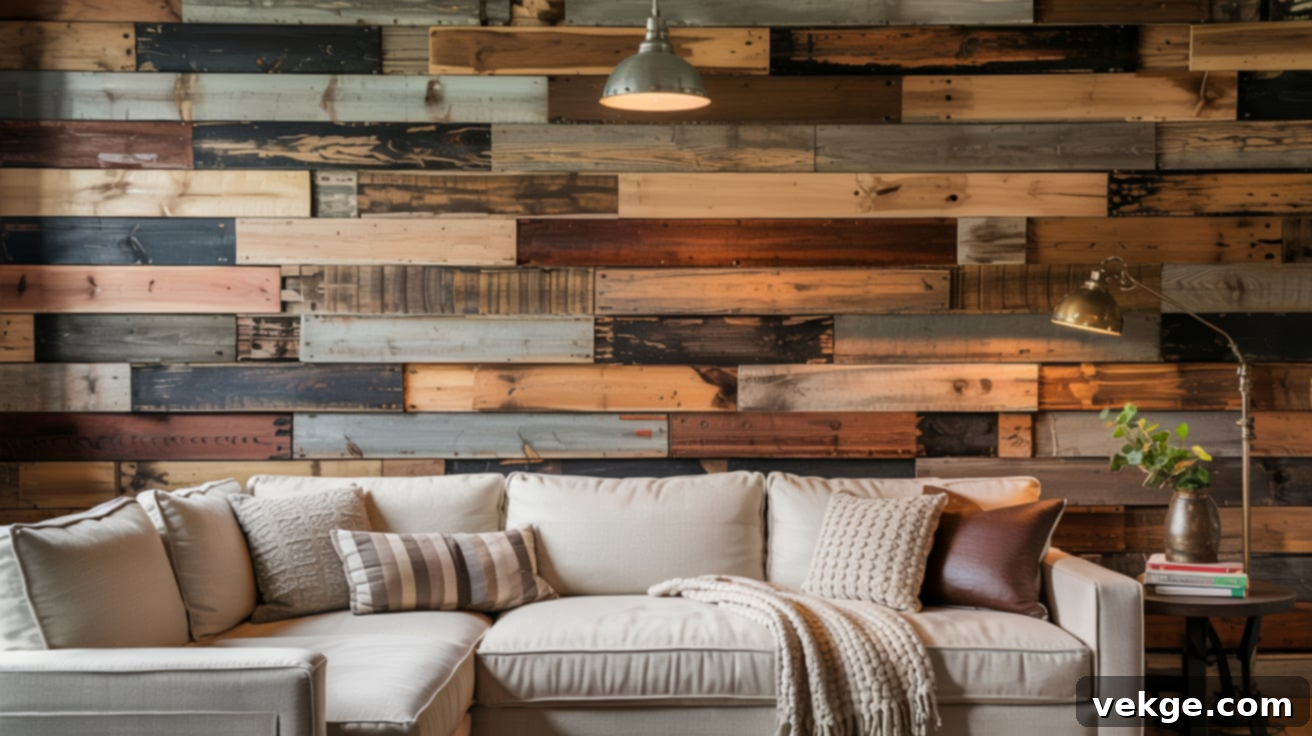
Mix different wood tones for added depth and interest. This option works especially well in rustic, industrial, or modern farmhouse designs.
Source wood from local salvage yards or specialty wood suppliers. Ensure proper treatment and sealing to prevent moisture damage.
Steps on How to Update Wood Paneling
Now that you have some ideas, let’s walk through a simple step-by-step guide to help you update your wood paneling. This guide will make the process easy and help you get great results.
Tools and Materials Required
- Ladder
- Sandpaper
- Paint brushes
- Rollers
- Paint trays
- Primer
- Paint/stain
- Polyurethane
- Painter’s tape
- Drop cloths
- Safety glasses
- Work gloves
Step 1: Planning and Preparation

Transform your wood paneling by starting with careful planning. Measure your walls and assess the current paneling condition. Set a realistic budget for supplies like paint, primers, and tools.
Browse design websites for inspiration and create a simple mood board.
Gather essential items like drop cloths, painter’s tape, sandpaper, brushes, and safety gear. A thoughtful approach will make the entire project smoother and more enjoyable.
Step 2: Surface Preparation

Prepare your wood paneling for a stunning makeover by thoroughly cleaning and repairing it. Wash the panels with a mild detergent to remove dirt and grime.
After drying, inspect the surface carefully and fill any holes or cracks with wood filler. Sand the panels gently to create a smooth base, paying attention to uneven areas.
This crucial step ensures better paint adhesion and a professional-looking finish.
Step 3: Protective Finishing

Protect your hard work with a clear protective finish. Select from matte, satin, or glossy polyurethane based on your preferred look. Apply thin coats with a foam or synthetic brush, using long, smooth strokes.
Allow each coat to dry completely, lightly sanding between applications for a smooth finish. This final step not only enhances the appearance but also guards against everyday wear and tear.
Step 4: Painting or Staining

Choose a paint or stain that complements your room’s style and lighting. For painting, use angled brushes for edges and rollers for larger areas.
Apply paint in thin, consistent coats using W or M patterns. If staining, work with the wood grain and wipe away excess for a uniform look.
Two coats typically provide the best coverage and color depth. Take your time to ensure even application.
Step 5: Styling and Completion

Bring your wood paneling makeover to life with thoughtful styling. Reinstall trim and outlet covers carefully. Hang artwork that complements the new wall color and style.
Add decorative elements that enhance the room’s updated look. Step back and appreciate your transformation.
Maintain the new finish by cleaning gently and touching up as needed. Your refreshed wood paneling now stands as a beautiful, personalized feature in your home.
Check out the YouTube video for a more detailed overview:
Mistakes to Avoid While Updating Wood Paneling
Watch out for these pitfalls during your wood paneling makeover:
- Don’t oversand the panels: Sanding too much can damage the wood and make it harder for paint or stain to stick properly.
- Always use primer before painting: Skipping primer can lead to uneven results and peeling paint over time.
- Fill all gaps and cracks completely: Leaving gaps can result in a messy finish that won’t look smooth or polished.
- Take your time and don’t rush the process: Rushing through the steps can lead to mistakes and a less-than-perfect result.
- Avoid using the wrong paint: Not all paints work well on wood paneling, so make sure to pick one that’s meant for the job.
- Don’t skip the finishing coat: A good topcoat helps protect your work and makes the finish last longer.
Conclusion
A wood paneling makeover is a simple and budget-friendly way to refresh your home. With just a few steps, you can change your space into something you’ll love.
If you choose to paint, add trim, or use wallpaper, each method gives you the chance to make your room feel fresh and new.
Take your time, follow the steps, and soon you’ll have a space that matches your style. If you’re looking for more ideas or tips, I encourage you to check out my other blogs to help with your next project!
