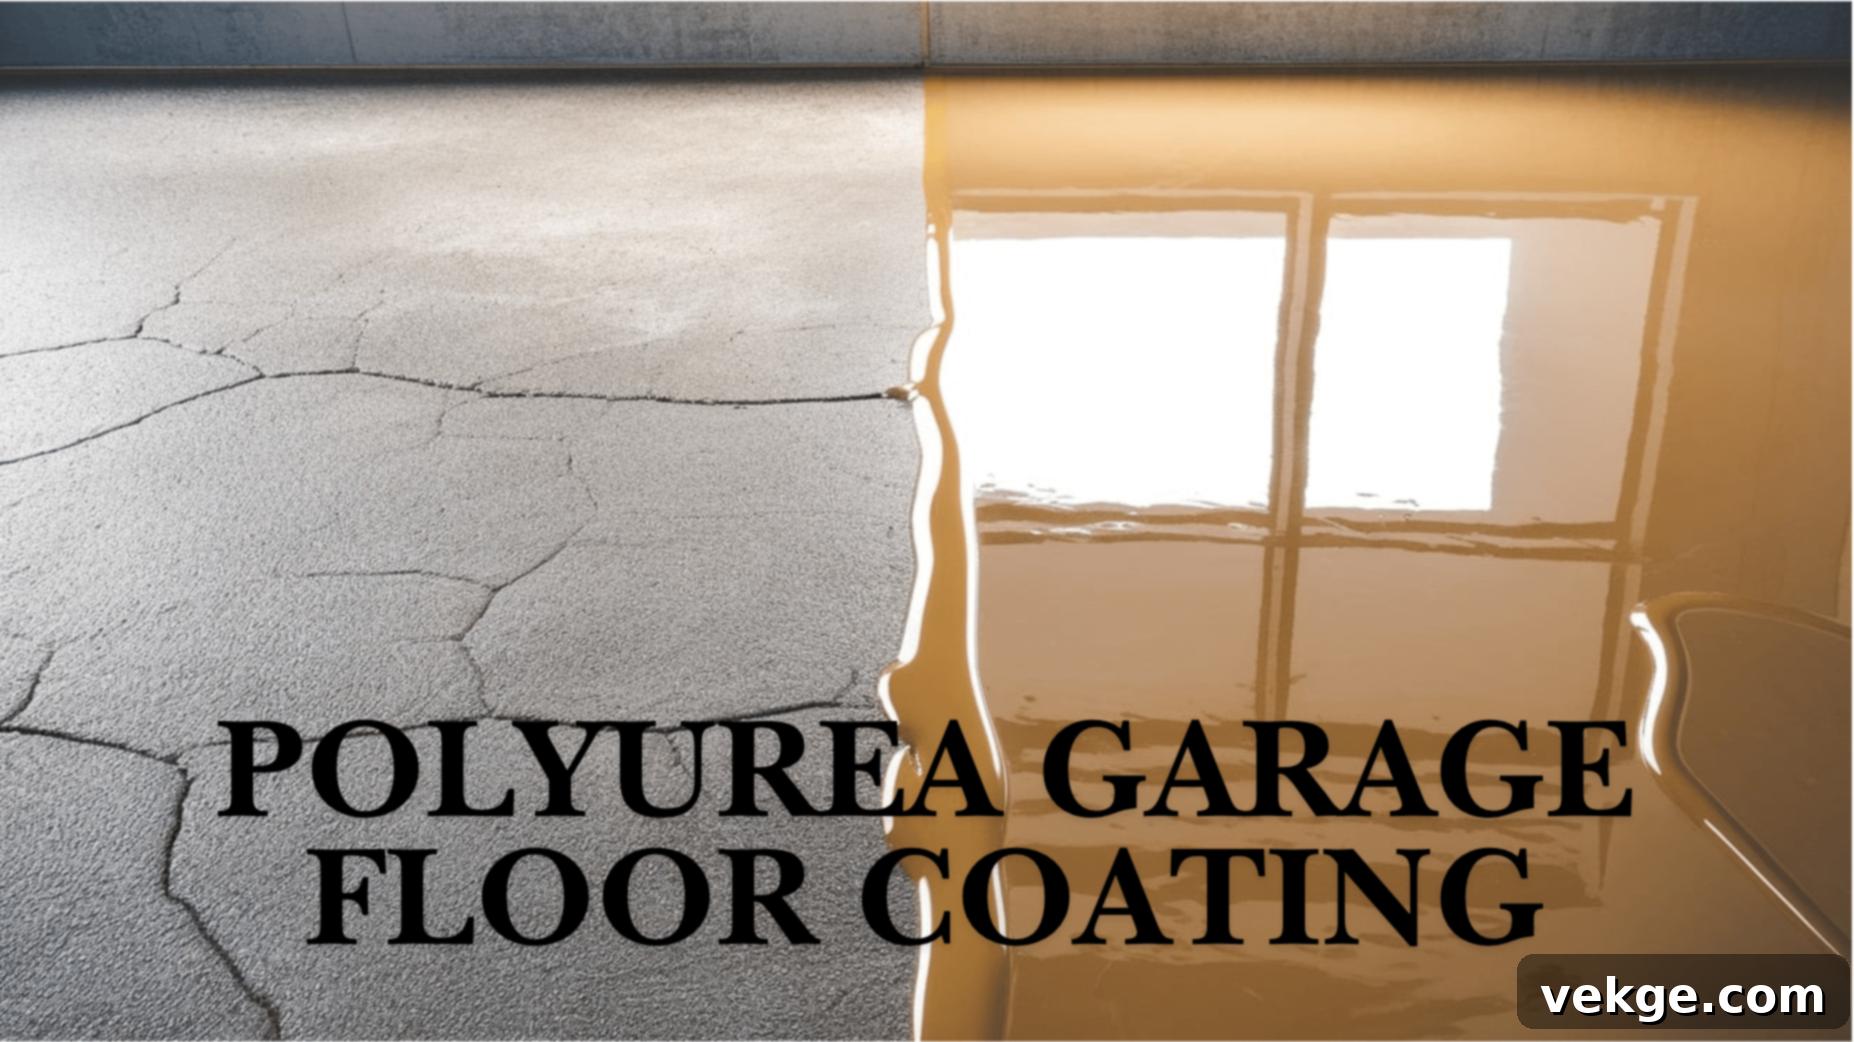
Ultimate Guide to Polyurea Garage Floor Coatings: Durability, Benefits & Installation
Your garage floor endures constant punishment from vehicle traffic, oil spills, chemical leaks, and the daily grind of tools and heavy equipment. Without adequate protection, concrete surfaces can quickly degrade, leading to unsightly cracks, stains, and erosion. For homeowners seeking a robust, long-lasting solution, the quest for superior floor protection has become a priority.
Enter polyurea garage floor coatings – a revolutionary answer to modern concrete floor protection challenges. These advanced coatings create an incredibly strong, seamless barrier that not only shields your concrete from virtually all forms of damage but also elevates the visual appeal and functionality of your garage space. Unlike traditional options, polyurea offers a high-performance alternative designed for the toughest environments.
In recent years, more and more homeowners are choosing polyurea over conventional alternatives like standard concrete paint or older epoxy systems. The reasons are compelling: significantly faster installation times, unmatched resistance to chemicals and abrasion, and exceptional durability that translates into decades of reliable service. This shift reflects a growing demand for premium, high-value home improvements that stand the test of time.
This comprehensive guide is designed to provide you with everything you need to know about polyurea garage floor coatings. From understanding the core chemistry and comparing it to other popular options, to exploring the myriad benefits, potential drawbacks, installation processes, and critical cost considerations, we’ll help you determine if this cutting-edge solution is the perfect fit for your home and lifestyle. Let’s delve into why polyurea has rapidly become the top choice for ultimate garage floor protection.
What is Polyurea? The Science Behind Superior Floor Protection
Polyurea is a cutting-edge synthetic compound derived from the reaction of an isocyanate component and a synthetic resin blend (which can include amines or hydroxyl-terminated resins). This sophisticated chemical combination creates an elastomeric, exceptionally strong protective layer that forms an incredibly strong molecular bond with concrete surfaces. Its unique formulation allows it to cure rapidly, creating a tough yet flexible surface that outperforms many traditional coating materials.
The material’s outstanding properties stem from its molecular structure, which grants it remarkable elasticity and tensile strength. When applied to garage floors, polyurea doesn’t just sit on the surface; it integrates with the concrete, creating a shield-like layer that prevents damage from a wide range of sources, including impacts, abrasions, hot tires, and corrosive chemicals. This high-performance coating is engineered to withstand extreme conditions, making it ideal for high-traffic and heavy-duty environments like residential garages.
The coating process involves a swift chemical reaction known as polymerization, which quickly transforms the liquid components into a solid, firm, yet slightly flexible surface. This unique characteristic allows polyurea to expand and contract with the concrete as temperatures fluctuate, preventing common issues like cracking and peeling that often plague more rigid coatings. The result is a durable, long-lasting surface coating that offers vastly superior protection compared to standard concrete paint or basic sealers.
How Polyurea Coatings Work: Forming an Indestructible Barrier
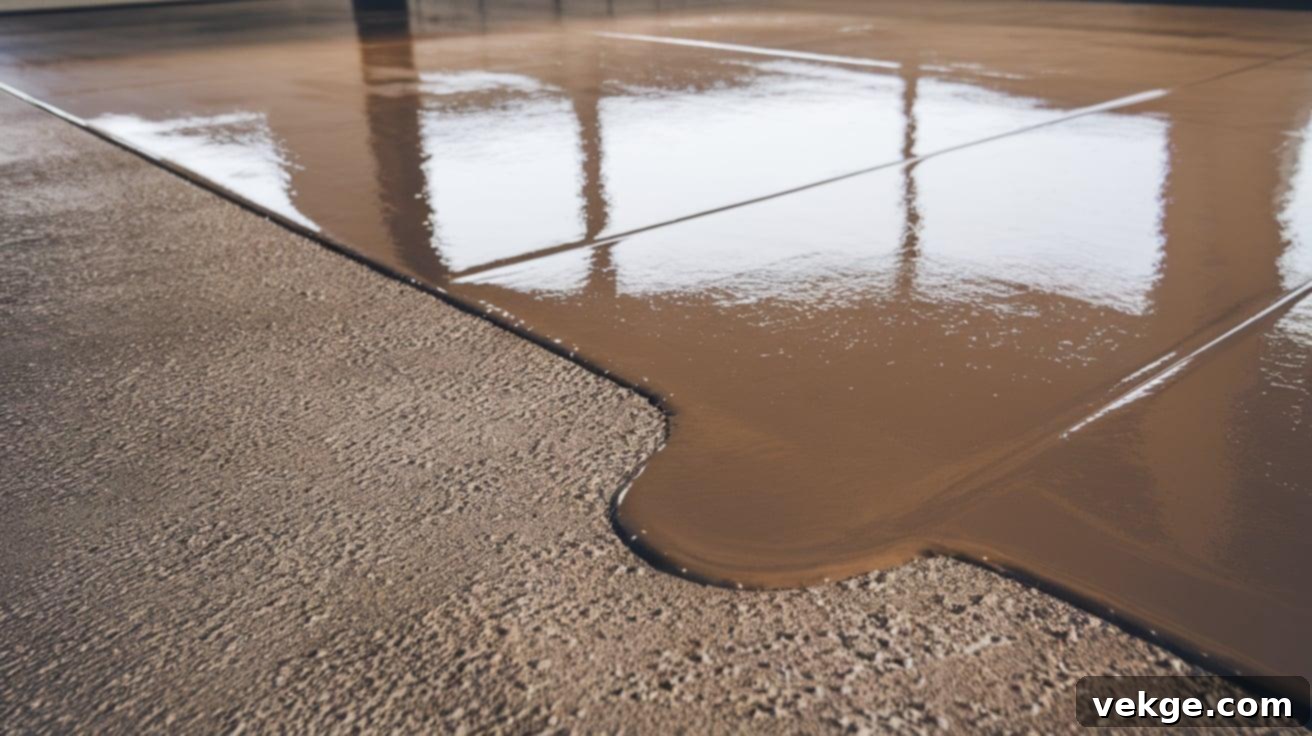
At its core, polyurea creates a powerful, impenetrable barrier through advanced molecular bonding. When applied to a properly prepared concrete surface, the polyurea resin actively penetrates the microscopic pores and capillaries of the concrete, establishing a chemical bond that is stronger than a mere adhesive connection. This deep penetration ensures that the coating becomes an integral part of the concrete, rather than just a layer sitting on top.
This robust bond creates a truly protective layer that actively prevents water, oil, gasoline, chemicals, road salts, and other harmful substances from reaching the concrete below. By sealing off the porous nature of concrete, polyurea effectively eliminates the common problems of staining, moisture absorption, and chemical degradation, which are prevalent in unprotected garage floors.
As it cures, the coating meticulously fills tiny pores, hairline cracks, and imperfections in the concrete surface. This crucial filling action not only creates a smooth, even finish but also helps prevent future damage by denying harmful elements entry points into the concrete’s subsurface. This proactive protection significantly extends the life of your garage floor, keeping it structurally sound and aesthetically pleasing for many years.
Furthermore, polyurea creates a completely non-porous surface. This means that liquids cannot seep into the concrete, allowing spills to remain on the surface where they can be easily wiped away without leaving permanent stains or causing damage. This unparalleled protection is absolutely vital in garage environments where oil, gas, antifreeze, and other automotive fluids are frequently present, providing homeowners with peace of mind and significantly reducing maintenance efforts.
Polyurea vs. Epoxy: A Detailed Comparison for Your Garage Floor
While both polyurea and epoxy are popular choices for concrete coatings, polyurea offers several distinct advantages in terms of performance, durability, and application characteristics that make it a superior choice for garage floors. Understanding these differences is key to making an informed decision for your investment.
The most significant difference lies in the curing time. Polyurea coatings are renowned for their rapid setting nature, typically drying and hardening within a matter of hours (often as little as 1-2 hours for foot traffic, 24 hours for vehicle return). In stark contrast, traditional epoxy coatings require several days, sometimes up to a week, to fully cure and achieve their maximum hardness. This extended downtime can be a major inconvenience for homeowners who rely on their garage space daily.
Temperature resistance and flexibility also set polyurea apart. Polyurea is far more resistant to extreme temperature fluctuations, capable of maintaining its integrity in both freezing cold and intense heat. Its inherent flexibility allows it to expand and contract with the concrete, preventing the common issues of cracking, chipping, and delamination that epoxy often experiences during significant temperature shifts. Epoxy, being more rigid, is prone to becoming brittle and failing under such stress.
Regarding cost, polyurea typically has a higher upfront price tag per square foot compared to epoxy. However, this initial investment is often offset by polyurea’s vastly longer lifespan and significantly reduced need for repairs or reapplication. Over a 10-15 year period, the total cost of ownership for polyurea can prove to be more cost-effective due to its superior durability and minimal maintenance requirements.
UV stability is another critical differentiator, especially for garage floors exposed to sunlight. Epoxy coatings are known to “amber” or turn yellow when exposed to ultraviolet light, requiring more frequent maintenance or even reapplication to maintain their aesthetic appeal. Polyurea, conversely, is inherently UV stable, meaning it maintains its original color, clarity, and aesthetic appeal even with regular and prolonged sun exposure, resisting fading and chalking.
Furthermore, polyurea offers superior chemical resistance against a wider range of aggressive substances found in garages, including brake fluid, battery acid, and harsh cleaning agents, without staining or degrading. It also boasts excellent abrasion resistance, standing up better to scuffs, scratches, and impacts from tools or heavy items. Finally, polyurea completely eliminates “hot tire pickup,” a common problem with some epoxy coatings where hot tires can soften the coating and lift it from the concrete.
Exceptional Benefits of Polyurea Garage Floor Coatings
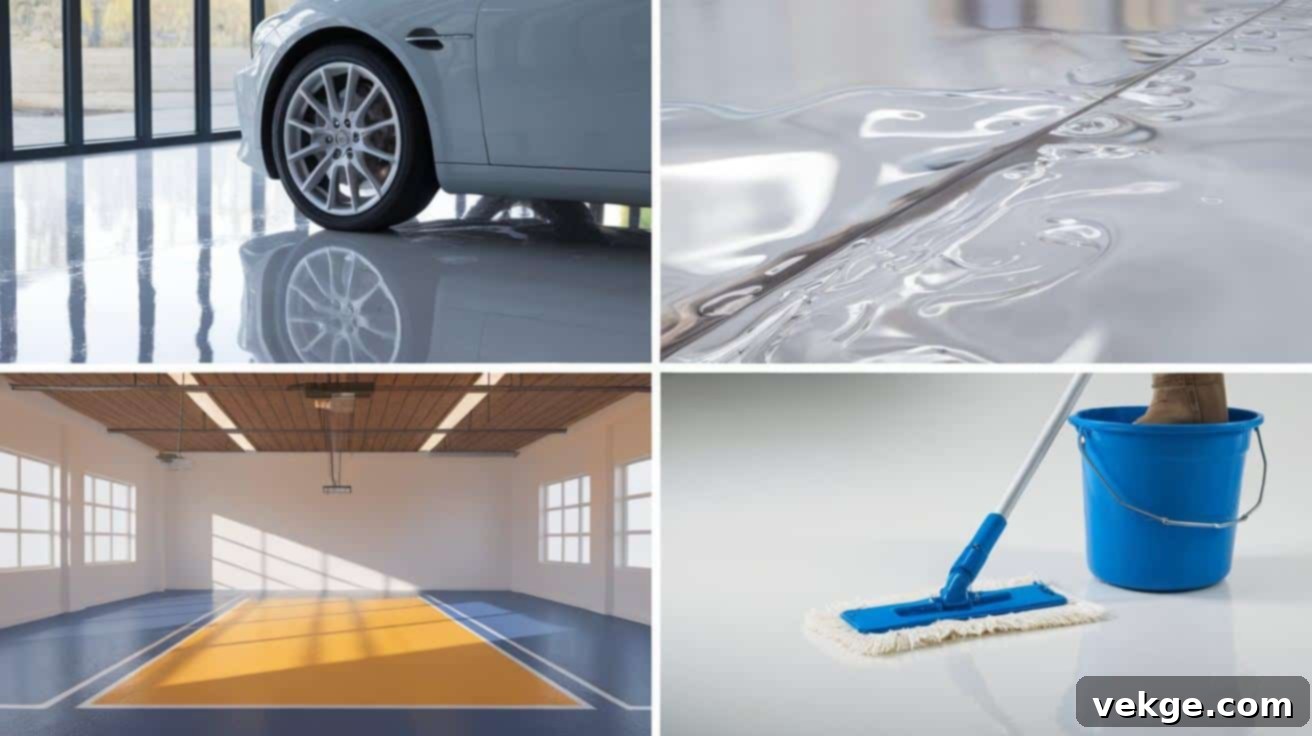
1. Superior Durability and Unrivaled Flexibility
Polyurea coatings are engineered for extreme durability, making them highly resistant to the daily wear and tear from vehicles, heavy tools, dropped items, and constant foot traffic. The material’s exceptional strength proactively prevents common issues like peeling, chipping, and surface wear that frequently compromise the integrity and appearance of garage floors over time. This robust nature ensures your floor maintains its pristine condition for years.
A key advantage of polyurea is its inherent flexibility. Unlike rigid coatings, polyurea possesses elastomeric properties, meaning it can bend and stretch slightly in response to temperature fluctuations and concrete movement without cracking or breaking. This flexibility is crucial in preventing the unsightly and damaging cracks that often appear in more brittle floor coatings during seasonal shifts, where concrete expands in heat and contracts in cold.
These advanced coatings also provide remarkable impact resistance. They are designed to absorb and distribute the force of heavy items dropped on the floor – from wrenches and jacks to engine parts. Unlike bare concrete or inferior coatings, a polyurea-coated surface handles such impacts without showing marks, dents, or structural damage, preserving both its appearance and protective qualities.
Moreover, polyurea’s resilience against abrasion means it can withstand constant friction from tires, rolling carts, and dragging equipment without wearing thin. This level of durability ensures a long-lasting, high-performance surface that continues to protect and enhance your garage for decades.
2. Rapid Cure Time and Minimal Downtime
One of polyurea’s most celebrated benefits is its exceptionally fast cure time. Polyurea coatings typically dry to the touch and harden enough for light foot traffic within just a few hours of application, often within 1-2 hours. This quick-setting feature means you can walk on your newly coated floor the very same day it’s installed, dramatically reducing disruption to your daily routine.
For most residential applications, vehicles can return to the garage within a mere 24 hours of the coating’s completion. This rapid turnaround makes polyurea an ideal choice for busy households or commercial spaces that cannot afford extended periods of downtime. You regain full use of your garage space almost immediately, without the multi-day waiting period often associated with other coating types.
The speedy curing process also plays a vital role in the quality of the final finish. By hardening quickly, polyurea significantly reduces the risk of airborne dust, dirt, insects, or other debris becoming embedded in the wet coating. This clean curing process results in a smoother, more pristine, and aesthetically superior final result, enhancing the overall appearance of your garage floor.
3. UV Stability, Aesthetic Versatility, and Enhanced Appeal
Unlike many other floor coatings (especially epoxy), polyurea is inherently UV stable. This means it maintains its original color, clarity, and structural integrity even after years of continuous sun exposure. The coating doesn’t yellow, fade, chalk, or degrade under ultraviolet light, ensuring your garage floor looks as vibrant and fresh as the day it was installed, even in sunny environments.
Polyurea coatings offer extensive aesthetic options to match any design preference or home décor. They are available in a wide array of solid colors, allowing you to create a sleek, uniform look. Beyond solid colors, you can choose from various decorative flake patterns, quartz blends, or even metallic finishes to create a truly unique and personalized look for your garage. This versatility allows you to customize your space to complement your home’s style.
Adding decorative chips or flakes during installation not only creates a unique, speckled, and visually appealing appearance but also provides practical benefits. These chips can significantly enhance the floor’s grip, providing additional traction for improved safety, especially in areas prone to moisture or spills. Anti-slip additives can also be incorporated for maximum safety without compromising aesthetics.
4. Effortless Low Maintenance Requirements
Maintaining a polyurea-coated floor is remarkably simple, requiring only basic tools and methods. Its seamless, non-porous surface prevents dirt, dust, and grime from accumulating in crevices or pores, making cleanup a breeze. Simple sweeping with a broom or blowing with a leaf blower is usually sufficient for daily upkeep, keeping the surface looking fresh and clean with minimal effort.
Spills, including oil, gasoline, antifreeze, and other automotive fluids, wipe up effortlessly from the smooth, non-porous surface. Properly installed polyurea coatings are highly resistant to permanent staining, meaning even aggressive chemicals won’t leave lasting marks. This makes it an ideal solution for active garages where spills are common, ensuring a clean and pristine environment.
The coating’s inherent resistance to dirt, dust, and grime buildup significantly reduces the need for aggressive or deep cleaning. Occasional mopping with a mild detergent and water is typically all that’s required to maintain the floor’s immaculate appearance and hygienic qualities, allowing you to spend less time cleaning and more time enjoying your transformed garage space.
Polyurea Garage Floor Coating Drawbacks and Key Considerations
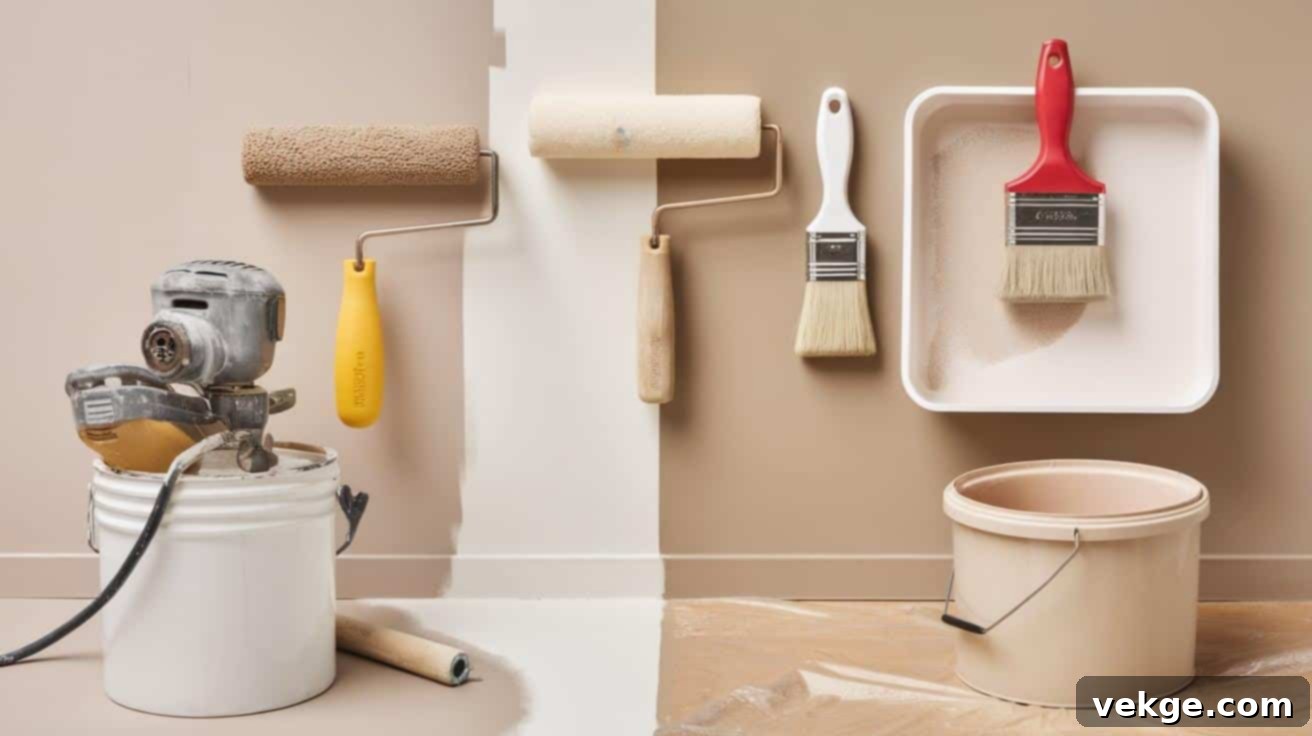
1. Higher Initial Costs Compared to Alternatives
One of the primary considerations for polyurea garage floor coatings is their higher upfront cost compared to basic concrete sealers, paints, or even standard epoxy systems. Depending on your geographic location, the complexity of your garage floor (e.g., condition, size, repairs needed), and the specific product and finish chosen, a typical professional polyurea coating project might cost anywhere from $6 to $12 per square foot, or even higher for premium systems or complex designs.
The total cost encompasses several components: the high-performance materials themselves (primers, base coats, decorative chips, topcoats), the specialized labor required for expert application, and the extensive surface preparation work. These expenses accumulate, making polyurea a more substantial initial investment than simpler, less durable coating options. It’s crucial to view this as a long-term investment rather than just a one-time expense.
However, the higher price tag is justified by the superior performance, unmatched durability, and long-term benefits that polyurea provides. Its extended lifespan (often 15+ years), minimal maintenance requirements, and reduced need for costly repairs or reapplication often result in a lower total cost of ownership over time when compared to cheaper alternatives that require more frequent maintenance or replacement.
2. Application Sensitivity and Professional Expertise Required
The application of polyurea coatings is a highly sensitive process that demands precision and expertise. The mixing process for multi-component polyurea systems requires exact measurements and precise timing for the chemical reaction to occur correctly. Even minor deviations in the mixture ratios can severely compromise the coating’s performance, durability, and aesthetic outcome, leading to premature failure or an inconsistent finish.
Environmental conditions play an absolutely critical role during application. Temperature and humidity levels must fall within very specific ranges for the polyurea to cure properly and achieve its optimal properties. Applying polyurea outside these parameters can lead to issues such as bubbling, delamination, improper curing, or a weak bond with the concrete. Professionals use specialized equipment to monitor and manage these conditions.
Given these complexities, professional installers require extensive training and specialized experience to handle these sensitive materials effectively. The entire coating process follows strict, multi-step protocols that must be executed flawlessly—from meticulous surface preparation and crack repair to precise mixing, application techniques, and post-application care. Attempting to deviate from these steps without proper knowledge dramatically increases the risk of a failed application, which can be costly to rectify.
3. Limited Accessibility and High Difficulty for DIY Enthusiasts
For the average homeowner, performing a DIY polyurea coating installation presents significant challenges. Most high-quality, professional-grade polyurea products are not readily available at typical home improvement stores. They are often sold exclusively through authorized dealers, specialized industrial suppliers, or directly to certified contractors, limiting accessibility for DIY projects.
The application process itself requires specialized equipment and advanced skills that go beyond basic painting knowledge. Tools such as commercial-grade diamond grinders for concrete profiling, industrial vacuum systems, moisture meters, specialized mixing paddles, spiked shoes, and specific application squeegees are often expensive and rarely used in other home projects, making the upfront equipment investment substantial for a one-time use.
Furthermore, attempting a DIY installation often carries significant risks regarding product warranty coverage. Most reputable manufacturers explicitly prefer or even require professional, certified installation to guarantee their product’s performance and uphold the warranty. A botched DIY job can void the warranty, leaving the homeowner responsible for costly repairs or reapplication.
The intense time pressure during polyurea application is another major hurdle for DIY efforts. Due to the material’s rapid pot life and quick setting time, beginners might struggle to mix, spread, and apply the coating evenly and correctly before it begins to harden. This leaves very little room for error and demands a high level of coordination, speed, and precision that only experienced professionals typically possess.
Comprehensive Cost Analysis of Polyurea Garage Floor Coatings

1. Detailed Breakdown of Costs
Understanding the components of the total cost can help homeowners budget effectively for a polyurea garage floor coating. The base materials for polyurea coatings, which include the primer, the main base coat, and the durable topcoat for proper coverage and protection, typically constitute about 40-50% of the overall project cost. These are high-performance, specialized resins that are more expensive than conventional paints or sealers.
Labor costs usually account for a significant portion, generally ranging from 30-35% of the total expense. This covers the highly skilled work performed by professional installation teams, whose charges are based on factors such as the total square footage of the garage, the complexity of the layout, and the extent of surface preparation required. Their expertise ensures a flawless, long-lasting application.
Equipment rental or purchase also adds to the overall cost. Specialized tools like industrial floor grinders (often diamond grinders), high-powered vacuum systems, commercial-grade mixers with calibrated paddles, and specific application squeegees and rollers factor into the final price. Professional companies amortize these costs over many jobs, but a DIYer would face these as upfront expenses.
Additional materials, such as crack repair compounds, patching materials, moisture mitigation solutions (if needed), and decorative elements like color flakes or quartz chips, further affect the total. These extra items typically comprise about 15-20% of the project budget, depending on the desired aesthetic and the condition of the existing concrete.
2. Cost Comparison with Epoxy and Other Coatings (Total Cost of Ownership)
While polyurea has a higher initial price point, it’s crucial to consider the “total cost of ownership” over the lifespan of the coating. Basic epoxy coatings might cost about half as much as a professional polyurea system initially. However, epoxy often requires more frequent maintenance, touch-ups, and eventual reapplication (typically every 3-5 years due to issues like hot tire pickup, UV degradation, and brittleness), significantly increasing long-term expenses.
Standard concrete paint offers the lowest upfront cost, often just a fraction of polyurea. But this option typically provides minimal protection and requires yearly touch-ups or complete reapplication every 1-2 years due to chipping, fading, and peeling. These regular repairs and replacements make paint a far more expensive and less effective option over time than polyurea.
Polyurea’s exceptionally longer lifespan (typically 10-20 years with proper care) fundamentally offsets its higher initial price. With its superior durability, chemical resistance, and UV stability, polyurea significantly reduces the yearly cost of ownership, providing better value and performance in the long run. It represents a single, lasting investment compared to recurring expenses with cheaper alternatives.
3. Financing and Budgeting Tips for Your Investment
To manage the initial costs of a polyurea coating, many reputable contractors offer various payment plans and financing options. These plans can help split the total amount into more manageable monthly payments, making the premium solution more accessible to homeowners.
A proactive approach to budgeting involves setting aside money each month well in advance of the project. A dedicated savings plan over 6-12 months can often provide enough time to accumulate the necessary budget for this significant home improvement investment, avoiding the need for high-interest credit.
Always obtain multiple, detailed quotes from different qualified contractors. This allows you to compare prices, understand what’s included in each package, and find the best value for your money. Be wary of quotes that are significantly lower than others, as they might indicate cutting corners on materials or preparation.
Some home improvement credit cards or personal loans may offer interest-free periods or competitive rates. This option can help spread the cost over time without adding substantial extra expenses, provided you pay off the balance within the promotional period. Carefully review all terms and conditions before committing to any financing.
DIY Polyurea Coating Installation Guide: Is It Right for You?
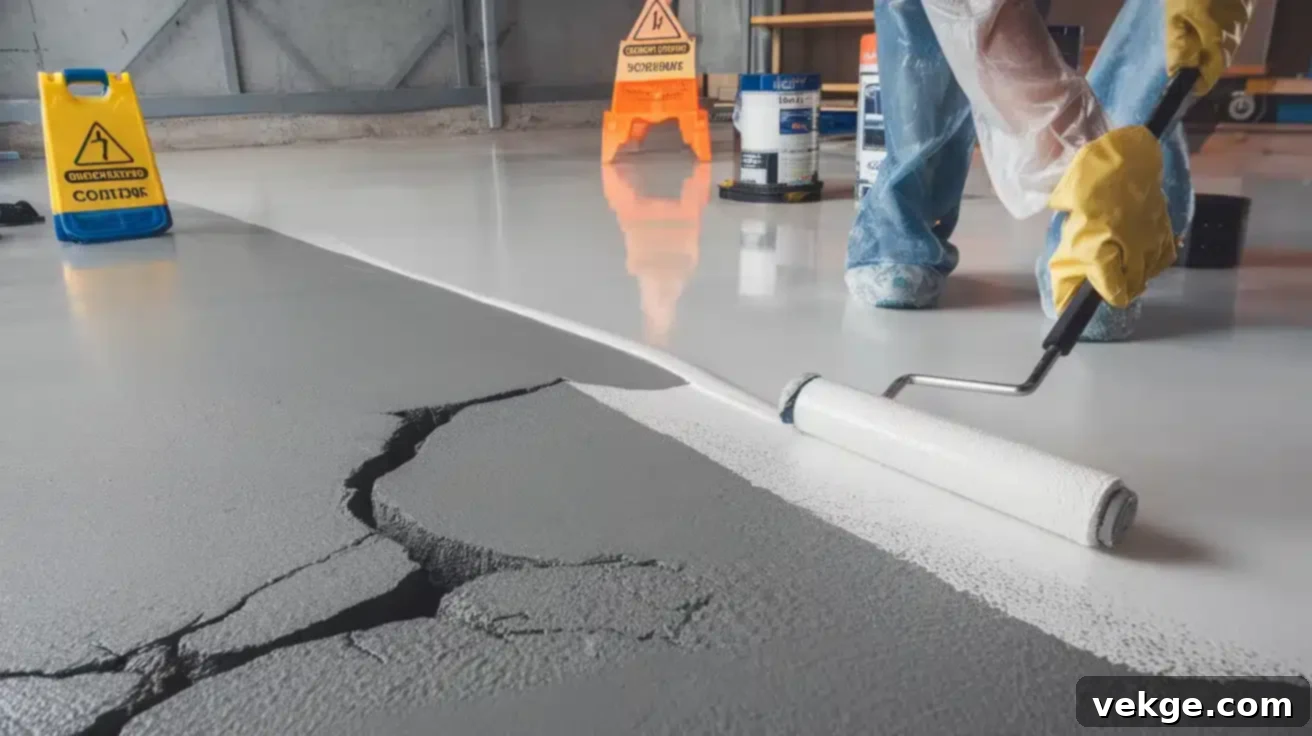
While the allure of saving money on labor can be tempting, attempting a DIY polyurea coating installation is a highly challenging endeavor that demands significant skill, specialized equipment, and careful planning. It’s crucial to approach this with a realistic understanding of its complexities.
1. Assessing DIY Feasibility: A Realistic Self-Evaluation
The ultimate success of a DIY polyurea project hinges heavily on your prior experience with concrete work and coating applications. You need more than just basic home improvement skills; a fundamental understanding of concrete preparation, material mixing ratios, and application techniques for fast-setting materials is essential to even consider this project. The fast cure time of polyurea leaves virtually no room for error during application.
Technical skills are paramount when working with materials that have a short pot life. The rapid chemical reaction means you must work quickly, methodically, and precisely. Any hesitation or mistake can lead to an uneven finish, missed spots, or even premature hardening of the material before it’s properly applied. You must honestly evaluate your physical stamina, attention to detail, and ability to complete each step flawlessly and under pressure.
Poor installation, often a result of inadequate surface preparation or improper application, can lead to costly coating failure, requiring extensive repairs or complete removal and reapplication. This can result in wasted materials, lost time, and frustration, often exceeding the cost of professional installation in the long run.
2. Essential Tools and Materials Needed for DIY Success
Should you choose to proceed, gathering the right tools is non-negotiable. Basic supplies include a commercial-grade floor grinder with diamond tooling (not just an acid etch kit) for proper concrete profiling, a high-powered shop vacuum for dust extraction, a pressure washer for thorough cleaning, and various application rollers, squeegees, and brushes. A digital moisture meter is critical for checking if the concrete is sufficiently dry for coating.
Safety equipment is paramount for working with polyurea. You will need a high-quality respirator with appropriate cartridges (for organic vapors), chemical-resistant gloves, eye protection, and durable protective clothing. Proper ventilation tools, such as industrial fans and open garage doors, are essential to maintain safe air quality in the work area during application and curing.
Mixing tools include precisely calibrated measuring containers, a powerful drill with a specialized mixing paddle, and clean buckets. Accurate measuring tools ensure the correct material ratios are maintained, which is vital for the polyurea’s chemical reaction and ultimate performance.
3. Meticulous Surface Preparation: The Foundation of Success
Surface preparation is the most critical step and accounts for over 80% of the coating’s success. Start by thoroughly testing the concrete for existing moisture content (using a moisture meter) and any previous sealers, paints, or contaminants. The surface must be completely clean, dry, and adequately profiled (roughened) to accept the new coating and ensure proper adhesion. Mechanical diamond grinding is the preferred method for creating the necessary concrete surface profile (CSP 1-3).
Use appropriate industrial-strength cleaners and degreasers to remove all oil spots, grease stains, and other contaminants. Follow this with a thorough pressure washing to clear all residues and allow the concrete to dry completely for several days, re-checking moisture levels before proceeding.
Repair all cracks, spalls, and holes with proper concrete repair compounds specifically designed for coatings. Allow all repairs to cure fully according to product instructions. Any imperfections left unaddressed will likely telegraph through the new coating, compromising both aesthetics and durability.
4. Precise Application Steps (Requires Speed and Skill)
Begin by applying the primer coat evenly across the entire prepared surface, ensuring complete coverage. Use consistent rolling techniques, maintaining a wet edge, to avoid lap marks and missed spots. The primer is crucial for establishing a strong bond between the polyurea and the concrete.
Next, meticulously mix the base coat materials according to the manufacturer’s exact specifications, paying close attention to the pot life. Apply this coat quickly and evenly within the suggested temperature and humidity range, often using a squeegee followed by back-rolling for a uniform finish. Work in small, manageable sections to avoid the material hardening before you can finish.
If desired, add decorative chips or flakes immediately while the base coat remains wet. Spread them evenly by broadcasting them from a distance to create a balanced, aesthetic appearance and ensure uniform coverage.
Finally, apply the clear topcoat after the base layer has set within the manufacturer’s recommended recoat window. This clear topcoat provides additional UV protection, chemical resistance, and abrasion resistance. Again, maintain wet edges during application to prevent visible lap marks and ensure a seamless finish.
5. Curing and Post-Application Care
Ensure adequate ventilation during the entire curing process by leaving the garage door open and using fans to promote air circulation. It is absolutely critical to keep all foot traffic, vehicles, and heavy items off the floor during the manufacturer’s recommended waiting period, which is typically 1-2 hours for foot traffic and 24 hours for vehicle return.
Continuously monitor the ambient temperature and humidity levels throughout the curing process. These environmental factors significantly affect how well the coating hardens and achieves its maximum strength and durability. Deviations can lead to an improper cure.
Always start with light foot traffic only after the specified time. Gradually reintroduce heavier use, strictly following the manufacturer’s timeline for different types of access and vehicle parking. Premature use can damage the still-curing coating.
6. Non-Negotiable Safety Precautions
Always work in a well-ventilated area with continuous, proper air movement. Use powerful fans to maintain airflow and expel fumes throughout the entire application and initial curing process. Polyurea components can release strong, potentially harmful VOCs (Volatile Organic Compounds).
Wear all required personal protective equipment (PPE) from start to finish, including a high-quality respirator, chemical-resistant gloves, safety glasses or goggles, and long-sleeved clothing. Change respirator filters as needed during the project, especially if you notice chemical odors. Have an emergency eye wash station nearby.
Keep children and pets strictly away from the work area during preparation, application, and curing to prevent accidental chemical exposure. Post clear warning signs to ensure no one enters the hazardous zone. Store all chemicals safely and dispose of waste materials according to local regulations.
Professional Polyurea Coating Installation: The Expert Advantage
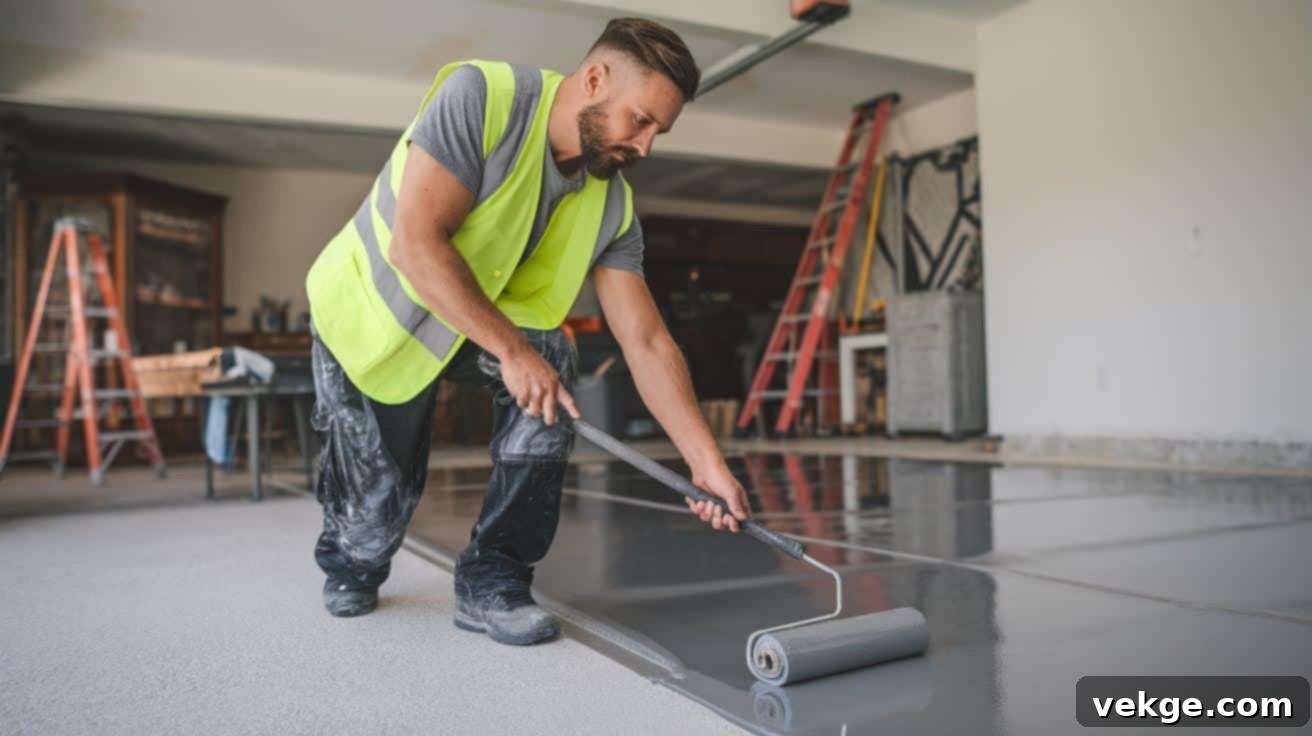
When to Consider Professional Services for Your Garage Floor
While DIY attempts can be tempting, there are several compelling reasons to opt for professional polyurea coating installation. Complex garage layouts, such as those with multiple columns, uneven surfaces, or intricate designs, often require expert handling that far exceeds typical DIY skill levels and available tools. Similarly, old or severely damaged concrete floors with extensive cracks, spalling, or moisture issues demand specialized repair and preparation techniques best performed by seasoned professionals.
For peace of mind and long-term assurance, professional installation often comes with a robust warranty. Most manufacturers only back their product warranties when installed by approved, certified contractors. This means if an issue arises, you have a professional team to address it, safeguarding your investment. Large projects, especially in multi-car garages or those with integrated workshops, often exceed the capabilities and time commitment a homeowner can realistically dedicate, making professional services the most efficient and reliable choice.
How to Choose a Qualified Polyurea Installer
Selecting the right professional is crucial for a successful polyurea coating project. Look for contractors with proven, specific experience in polyurea coating applications, not just general painting or epoxy work. Ask for a portfolio of their past work, including high-resolution photos, and request contact information for previous clients to check references.
Before hiring, verify that the contractor is fully licensed and adequately insured (liability and worker’s compensation). This protects you from potential legal and financial liabilities in case of accidents or damage during the project. Always obtain detailed, written quotes that clearly list all costs, materials to be used (including brand and product specifics), and the scope of work. A transparent quote indicates a professional and trustworthy business.
A reputable installer should also provide a clear timeline for the project, communicate effectively, and be willing to answer all your questions thoroughly. Look for certifications from polyurea manufacturers, indicating they have undergone specific training for the products they install.
What to Expect During a Professional Installation
A professional polyurea installation typically follows a structured, multi-day process to ensure optimal results and durability:
- DAY 1: Comprehensive Surface Preparation and Concrete Repairs. The professional team will begin with aggressive diamond grinding of the entire concrete surface to create the ideal profile for adhesion and remove any existing coatings or contaminants. They will then meticulously check for moisture content and address all concrete issues, including repairing cracks, spalls, and divots with high-quality repair compounds. The floor is then thoroughly vacuumed to remove all dust and debris, followed by the application of a specialized primer if required by the system.
- DAY 2 (or same day depending on system): Complete Coating Application. With the surface impeccably prepared, the team will efficiently apply the polyurea base coat. Given polyurea’s rapid cure time, they work quickly and methodically. If decorative flakes or chips are desired, they are broadcast evenly into the wet base coat. After the base coat has cured sufficiently (often within an hour or two), the final clear polyurea topcoat is applied. This topcoat provides enhanced chemical resistance, UV stability, and abrasion protection, sealing in the flakes and creating a smooth, durable finish.
Upon completion, the professionals will provide you with detailed care instructions and a clear timeline for light foot traffic and, crucially, when you can safely park vehicles back in your garage. They will also advise on cleaning routines and any specific maintenance requirements to ensure the longevity of your new floor.
A Product Selection Guide: Choosing the Right Polyurea for Your Garage
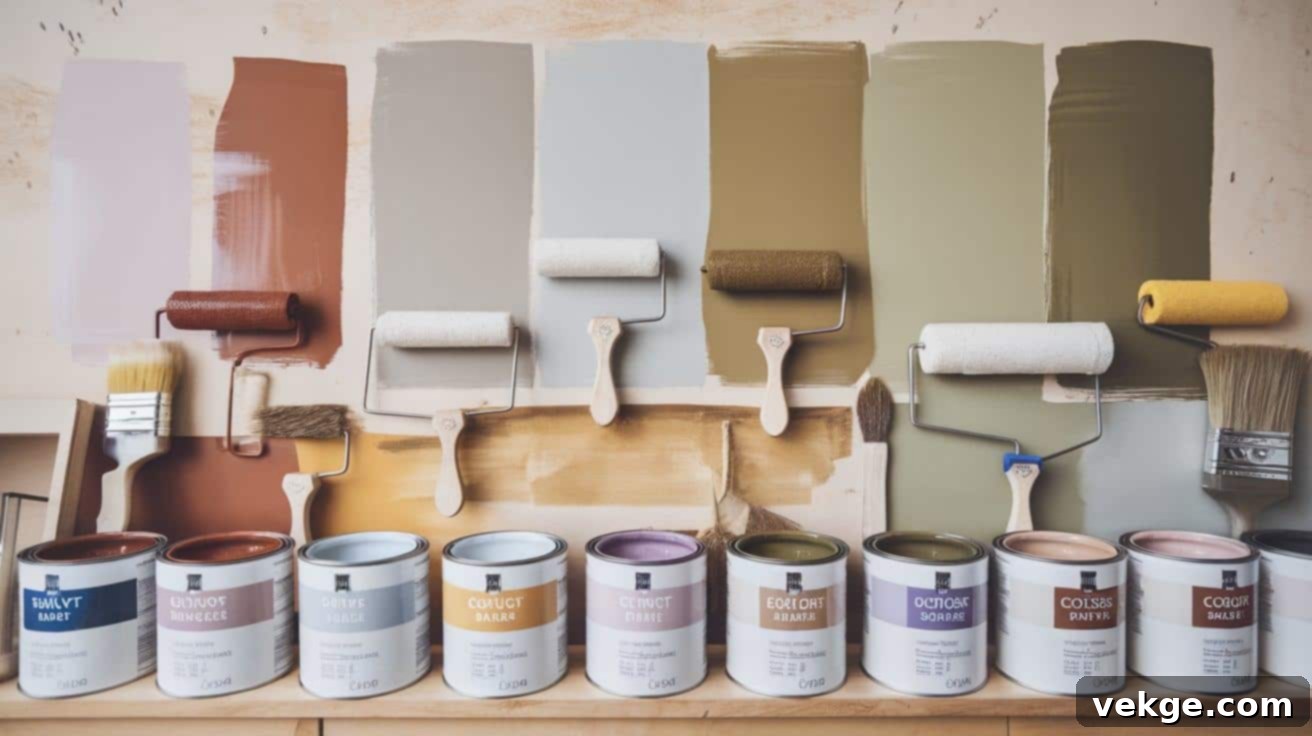
Top Polyurea Products and Brands (Professional vs. Retail)
When selecting polyurea, it’s vital to differentiate between professional-grade products and those marketed for retail DIY. Professional-grade products, often from industry-leading brands, offer superior quality, higher solids content, and formulations designed for maximum durability and performance. These are typically not found in big-box stores. Leading brands include trusted names that specialize in high-performance concrete coatings and often offer various polyurea and polyaspartic polyurea hybrid formulas tailored for specific applications and environments.
Each reputable brand offers different product lines and formulas to address specific needs, such as enhanced chemical resistance, superior flexibility, or specific aesthetic finishes. Quality and performance can vary significantly even within a brand, between their basic and premium product lines. Always research the specific product being offered.
Key Features to Look For in Polyurea Coatings
When evaluating polyurea products, several key features indicate quality and performance:
- Solids Content: Check the “solids by volume” percentage. Higher percentages (e.g., 98% or 100% solids) mean less solvent evaporation, resulting in a thicker, more durable coating with better coverage per coat. Lower solids content means more VOCs and a thinner cured film.
- Cure Times and Temperature Requirements: Ensure the product’s cure times and specified application temperature/humidity ranges are suitable for your local climate and project timeline. A product designed for warm climates may not perform optimally in cooler conditions, and vice versa.
- VOC Levels: Look for products with low Volatile Organic Compound (VOC) levels. Lower VOC numbers indicate a safer application process with fewer harmful fumes and compliance with environmental regulations. Many professional-grade polyureas are 100% solids, meaning zero VOCs.
- Abrasion and Chemical Resistance: Review the technical data sheets for specific ratings on abrasion resistance (e.g., Taber Abraser values) and chemical resistance against common garage substances like oil, gasoline, brake fluid, and road salts.
- UV Stability: Confirm that the product is indeed UV stable (non-yellowing), especially if your garage gets significant sunlight.
- Warranty: Understand the manufacturer’s warranty for the product itself, and if using a professional, inquire about their labor warranty.
Where to Purchase High-Quality Polyurea Products
For genuine, high-quality polyurea coatings, it is best to purchase from authorized dealers or distributors of reputable brands. These suppliers can guarantee the authenticity of the product and often provide technical support. Local concrete supply stores or specialized industrial coating suppliers are good places to start your search, as they frequently stock professional-grade brands.
If purchasing online, ensure the seller is an authorized dealer and can provide proper certification or documentation for the products. Be extremely cautious of general online marketplaces that might sell generic or unbranded “polyurea” kits at suspiciously low prices, as these often contain inferior materials or aren’t true polyurea.
Work with sellers who offer excellent technical support and are knowledgeable about their products. Good suppliers can answer your questions, provide detailed application advice, and help you troubleshoot potential issues. For larger jobs, factory-direct purchases or buying in bulk from authorized distributors might qualify for better pricing, especially for contractors.
Final Words: Investing in Your Garage Floor with Polyurea
Polyurea garage floor coatings represent a significant advancement in concrete surface protection, offering unparalleled durability, rapid return to service, and aesthetic versatility. While they do come with a higher upfront cost compared to conventional options, their superior performance, extended lifespan, and exceptionally low maintenance needs often translate into a more cost-effective and valuable investment in the long run. Choosing polyurea means choosing a solution that truly withstands the test of time and heavy use.
The success and longevity of your polyurea garage floor ultimately depend on two critical factors: proper installation and the selection of high-quality products. Whether you embark on a carefully planned DIY project (with a full understanding of its challenges) or opt for the expertise of professional installers, meticulous surface preparation and the use of genuine, high-performance materials are non-negotiable for achieving the best results.
As you consider transforming your garage, remember to:
- Research Products and Installers Carefully: Invest time in understanding the differences between products and thoroughly vetting any professional contractors you consider.
- Plan Your Budget for Long-Term Value: Focus on the total cost of ownership rather than just the initial price, recognizing polyurea as a lasting investment.
- Follow Maintenance Guidelines: Adhere to the manufacturer’s and installer’s recommendations for cleaning and care to maximize your floor’s lifespan and appearance.
- Consider Professional Installation for the Best Results: For optimal performance, warranty protection, and peace of mind, professional application is highly recommended.
With the right approach, a polyurea coating can transform your garage into a cleaner, more functional, and visually appealing space, providing you with a long-lasting, high-performance floor that gracefully withstands the rigors of daily use for decades to come. It’s an investment that enhances both the utility and value of your home.
