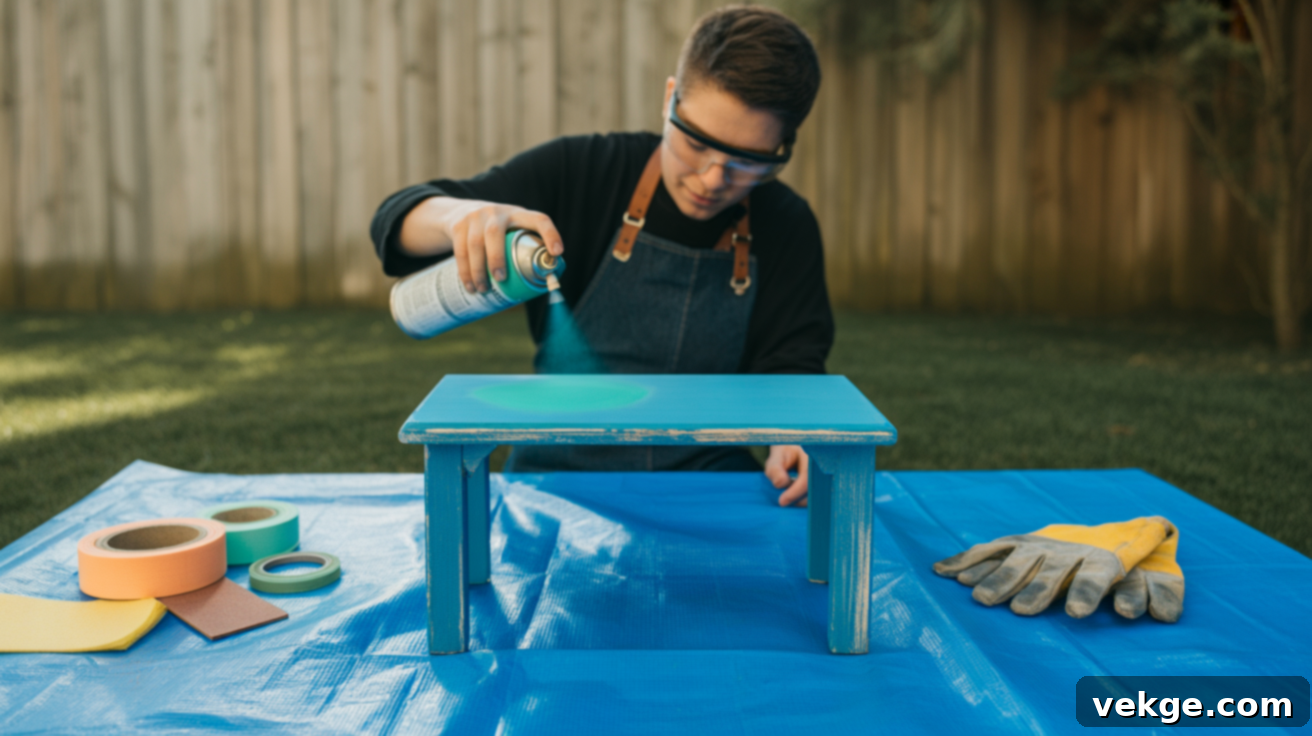
Mastering Spray Painting Wood: Your Comprehensive Guide to Flawless Finishes and Lasting Results
Are you looking to revitalize old wood furniture or give new wood projects a professional, smooth finish without the hassle of brushes and roller marks? You might be wondering, “Can I spray paint wood?” The answer is a resounding yes, and it’s far easier and more effective than you might imagine, provided you follow the right steps.
This comprehensive guide is designed to transform your approach to wood finishing, helping you achieve impeccable results every time. We’ll delve into the essential techniques, the best products to use, and crucial preparation methods that prevent common issues like drips, peeling, or uneven coverage. Get ready to discover the secrets to giving your wooden items a stunning, durable makeover that truly lasts.
Can You Spray Paint Wood for a Professional Finish?
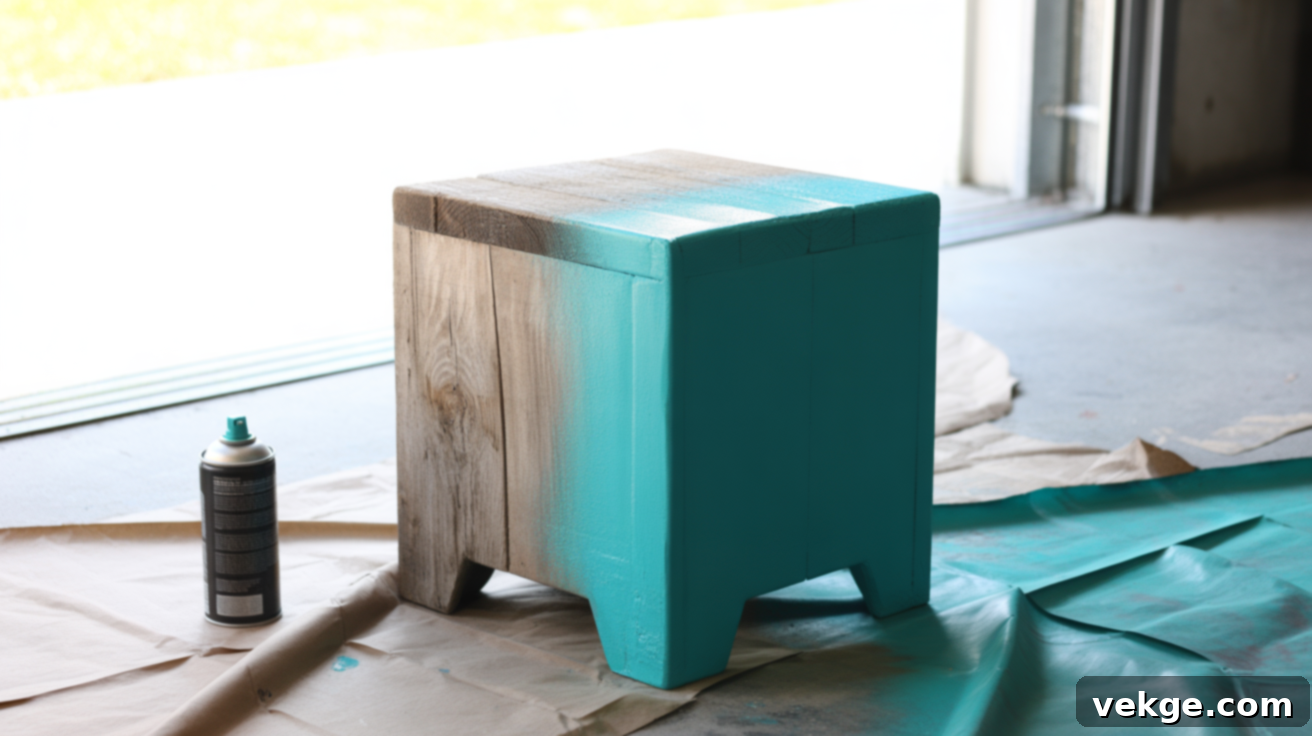
Spray painting wood is an excellent method for achieving a smooth, factory-like finish that is often difficult to replicate with traditional brushes. It works beautifully on a wide array of items, from intricate furniture pieces and decorative accents to simple trim and cabinets. The key to success lies in understanding the material and meticulously preparing the surface.
Proper surface preparation—including thorough cleaning, sanding, and the application of a suitable primer—is non-negotiable. Combined with choosing the right type of paint, spray painting wood can be a remarkably simple and highly effective way to achieve a durable and aesthetically pleasing outcome. This technique excels at providing consistent color and texture, especially on surfaces with varying contours.
Understanding Wood Types and Their Impact on Spray Painting
The type of wood you’re working with significantly influences the preparation needed and the final result. Different woods have varying porosity and surface treatments, which affect paint adhesion and absorption. Knowing these differences will help you avoid frustrating issues like peeling, streaks, or wasted paint.
| Wood Type | Ease of Painting | Prep Needed | Paint Adhesion Characteristics |
|---|---|---|---|
| Unfinished/Raw Wood | Generally Easier | Light sanding (120-220 grit) to open pores and remove imperfections, optional primer for consistent absorption and color depth. | Highly absorbent, allows for strong mechanical bond with paint. Primer helps prevent uneven absorption and “wood bleed.” |
| Previously Treated/Finished Wood | More Challenging | Thorough sanding (80-150 grit for initial removal, then 220 for smoothness) to remove old finishes and create a profile. Requires a bonding primer to ensure paint adheres to the remaining smooth surface. | Existing finishes (varnish, stain, paint) can resist new paint adhesion. Proper sanding and a high-quality bonding primer are crucial for a lasting finish. |
For treated wood, taking those extra preparation steps, such as using a specialized bonding primer, can make all the difference between a project that peels within weeks and one that stands the test of time. Understanding the inherent properties of your wood will set the foundation for a successful spray painting venture.
Indoor and Outdoor Wood Furniture: Tailoring Your Approach
The environment where your finished piece will reside dictates specific choices in paint and protective measures. Spray painting indoor furniture offers greater flexibility, allowing you to prioritize aesthetic finishes and diverse color palettes, as these items are protected from harsh environmental elements.
For outdoor pieces, durability is paramount. You must select spray paints specifically formulated to withstand moisture, harsh UV rays, extreme temperature fluctuations, and potential mildew growth. These paints often contain UV inhibitors and are designed to be more flexible, resisting cracking and peeling under stress. If your outdoor item includes metal components, consider an additional rust-inhibiting primer and a durable topcoat or sealant to prevent fading, peeling, or corrosion. Proper surface preparation and the correct choice of outdoor-grade products are essential for ensuring longevity.
Situations Where Spray Painting Wood Works Best
Spray painting wood excels in various scenarios where precision, speed, and a flawless finish are desired. It’s particularly advantageous for objects with intricate designs, large surfaces, or when you need to achieve a uniform look across multiple items.
1. Large or Detailed Surfaces Requiring Seamless Coverage
One of spray paint’s greatest strengths is its ability to evenly coat surfaces that are challenging to paint with a brush. Think about furniture with intricate carvings, chairs with multiple spindles, louvered doors, or ornate trim. The fine mist of spray paint reaches into every nook, cranny, and crevice, ensuring complete and uniform coverage without leaving behind brush marks, drips, or missed spots. This method dramatically reduces the time and effort required for such detailed work, preventing the thick, uneven layers that can accumulate in tight areas with traditional application methods.
2. When a Flawlessly Smooth Finish is Preferred
If you desire a finish that’s silky smooth to the touch and visually uniform, spray paint is your ideal solution. Unlike brushes, which can leave behind tell-tale streaks or subtle textures, spray paint lays down an atomized, self-leveling coat that dries to an incredibly even appearance. This makes it the perfect choice for high-visibility items like tabletops, cabinet doors, or any surface where a clean, modern, and professional result is paramount. The consistent application minimizes the need for sanding between coats, contributing to an effortlessly sleek look.
3. Ideal for Quick Projects or Painting Multiple Items Efficiently
Time is often a critical factor in DIY projects, and spray paint shines in this regard. Its rapid application allows you to coat several pieces or a large surface area much faster than brushing. This efficiency is invaluable when tackling sets of chairs, multiple shelving units, or large panel boards. Furthermore, the quick-drying nature of spray paint means less waiting time between coats, accelerating your project timeline. The ease of achieving uniform coverage across multiple items ensures a cohesive and professional appearance without significant effort or cleanup between batches.
4. Best Used Outdoors or in Well-Ventilated Areas for Safety and Quality
Due to the fine mist and solvent fumes associated with spray paint, proper ventilation is crucial for both safety and optimal results. Working outdoors on a calm day or in a garage with open windows and a fan ensures that overspray dissipates quickly and fumes don’t accumulate. This not only makes the painting process more comfortable and safer by minimizing exposure to VOCs but also aids in faster, more consistent drying. Always wear appropriate personal protective equipment (PPE), including a respirator mask and gloves, and protect surrounding areas from paint drift with drop cloths, tarps, or cardboard barriers.
What You Need Before You Start Your Spray Painting Project
Successful spray painting begins long before the first coat is applied. Gathering the correct supplies and setting up your workspace properly are foundational steps that will simplify the job, enhance paint adhesion, and minimize mess. A little foresight in preparation can prevent many common painting mishaps.
Essential Supplies List for Spray Painting Wood
Having the right tools at hand ensures a smooth workflow, from surface preparation to the final protective layer. These basic items are indispensable for achieving professional results.
- Spray Paint Designed for Wood: Choose high-quality aerosol cans or bulk paint for a cordless sprayer. Ensure it’s suitable for indoor or outdoor use, depending on your project. Brands often offer all-in-one paint and primer formulas for convenience.
- Sandpaper: A variety of grits (e.g., 120-grit for initial sanding, 180-220 grit for smoothing) is essential. Sanding creates a “tooth” for the paint to grip onto, preventing peeling.
- Tack Cloths: These specially treated cloths are invaluable for picking up fine dust particles after sanding, which ordinary rags might leave behind. A dust-free surface is critical for smooth adhesion.
- Primer (Optional but Recommended): A quality primer provides a uniform base, enhances paint adhesion, blocks stains from bleeding through, and can improve paint coverage, especially on raw or previously stained wood. Consider a bonding primer for treated surfaces.
- Clear Coat/Sealer (Optional but Recommended): A protective topcoat, such as polyurethane or acrylic clear coat, adds durability, scratch resistance, and can enhance the chosen sheen, making your finished piece last longer.
- Painter’s Tape: High-quality painter’s tape is crucial for masking off areas you don’t want painted, ensuring crisp, clean lines.
- Drop Cloths or Tarps: Essential for protecting floors, surrounding objects, and your workspace from overspray. Use heavy-duty plastic or canvas for best results.
- Personal Protective Equipment (PPE): A respirator mask (N95 or higher), safety glasses, and chemical-resistant gloves are vital for protecting yourself from paint fumes and particles.
Optional Add-ons for Enhanced Results and Efficiency
These additional items can significantly improve the quality of your finish and streamline your workflow, especially for larger projects or heavily soiled wood.
- Furniture Cleaner/Degreaser (e.g., Crud Cutter, TSP substitute): Removes grease, grime, wax, and residue that simple sanding might miss, ensuring a perfectly clean surface for superior paint adhesion.
- Cordless Sprayer: For large projects or multiple items, a cordless handheld sprayer offers consistent, even coverage and significantly faster application than aerosol cans, often with adjustable spray patterns.
- Stir Sticks and Paint Strainers: If using a bulk sprayer, stir sticks are for mixing, and strainers remove any small particles that could clog the sprayer.
Steps to Successfully Spray Painting Wood for Durable Results
Achieving a professional-looking finish with spray paint on wood involves a systematic approach. By following these steps diligently, you can ensure a smooth, lasting result free from common imperfections.
1. Thorough Surface Preparation: The Foundation of Success
This is arguably the most critical step. Start by thoroughly cleaning the wood surface. Use a mild detergent and water, or a specialized furniture cleaner/degreaser to remove all dirt, grease, and grime. Rinse thoroughly and allow to dry completely. Next, sand the entire surface. For raw wood, a light sanding with 180-220 grit sandpaper will suffice to open the wood grain. For previously finished wood, start with a coarser grit (80-120) to remove old finishes, then follow with 180-220 grit for smoothness. The goal is to create a slightly textured surface that paint can adhere to. After sanding, meticulously wipe down the surface with a tack cloth to remove all dust. Mask off any areas you don’t want painted using painter’s tape.
For raw or previously problematic wood, apply a thin, even coat of primer according to the manufacturer’s instructions. This step is crucial for blocking stains, ensuring consistent color, and providing an optimal base for the topcoat.
2. Apply Thin, Even Coats
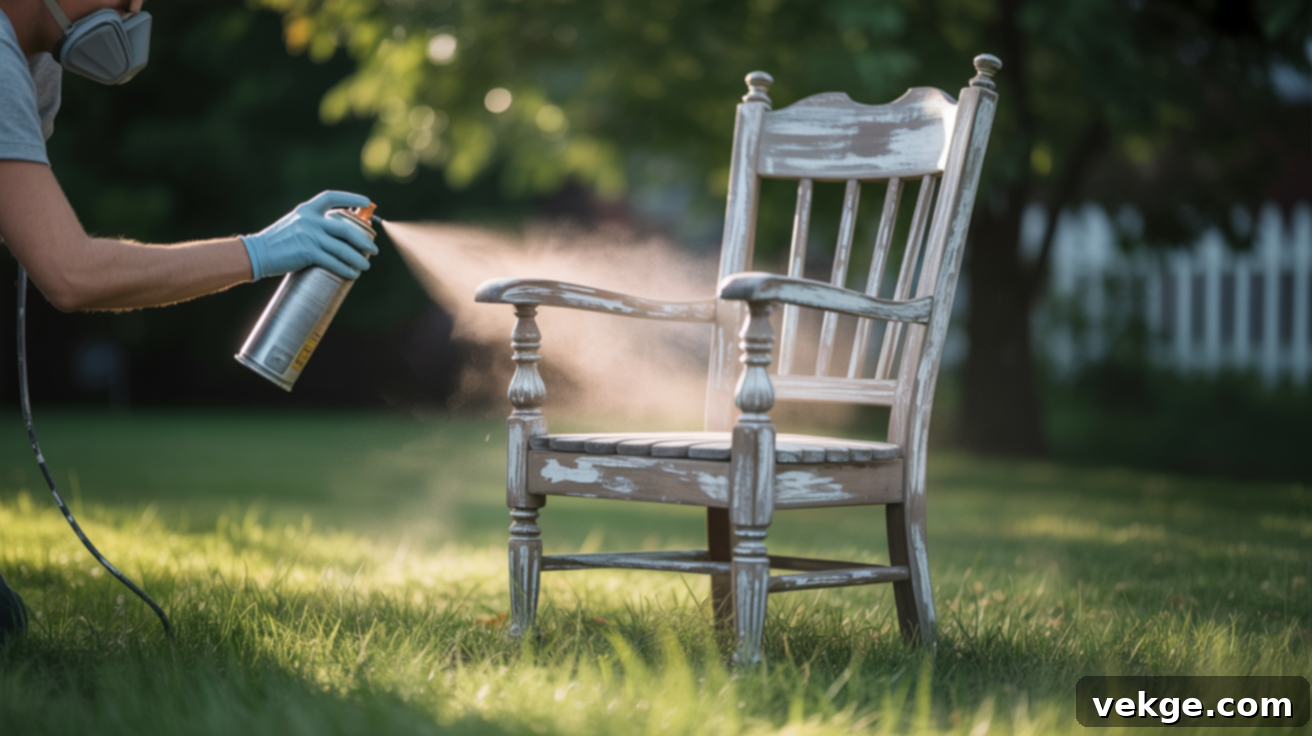
The secret to preventing drips, runs, and achieving a smooth finish lies in applying multiple thin coats rather than one thick one. A heavy single coat is almost guaranteed to sag or create uneven pooling. Instead, use several light passes, allowing each coat to dry slightly before applying the next. This layered approach builds coverage gradually, ensuring a uniform appearance without the common pitfalls of over-application. Always shake your spray can vigorously for at least one minute before and periodically during use to ensure the paint is well mixed and flows smoothly.
3. Maintain Proper Distance for Uniform Application
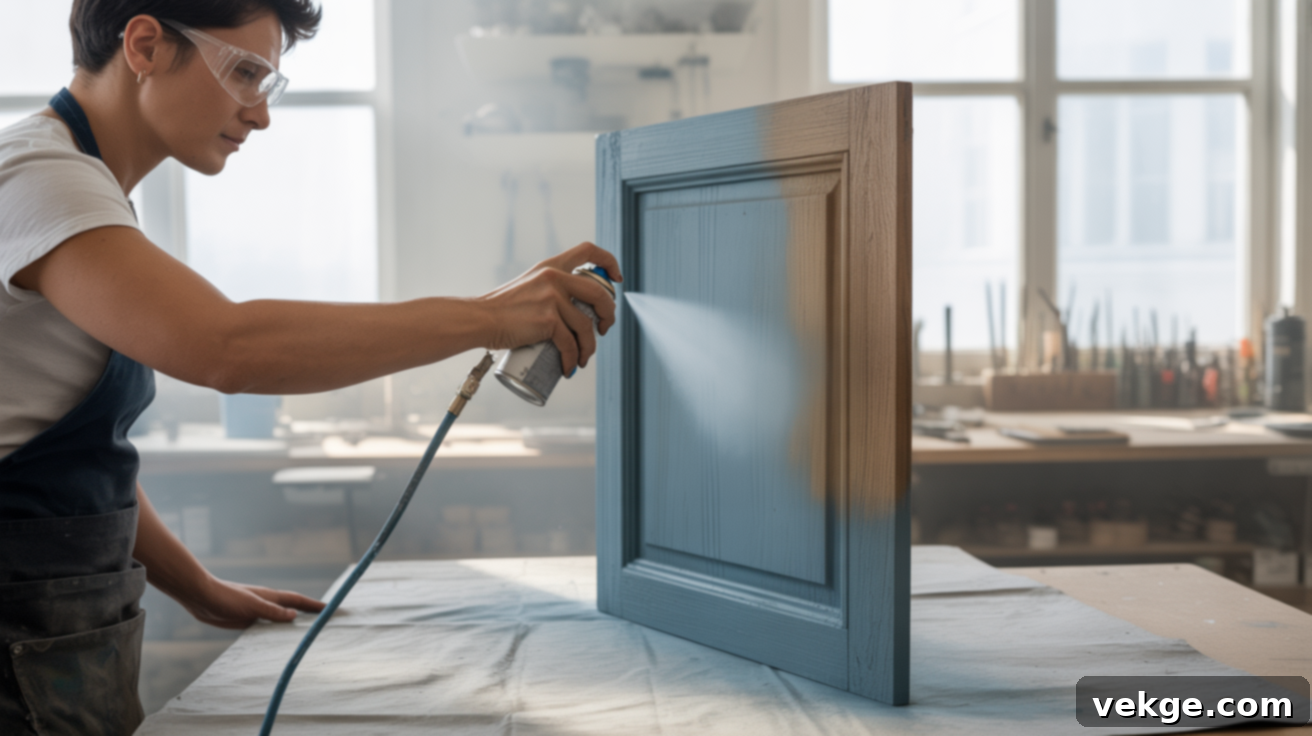
Hold the spray can at a consistent distance of 6 to 12 inches away from the surface you are painting. This distance is critical for achieving an even spray pattern and preventing heavy spots. Spraying too close can lead to paint buildup, drips, and bubbling, while spraying too far away can result in a textured, “sandy” finish due to paint drying in the air before hitting the surface. Practice maintaining a steady hand and a uniform distance throughout your spray strokes.
4. Use Even, Steady Strokes with Overlap
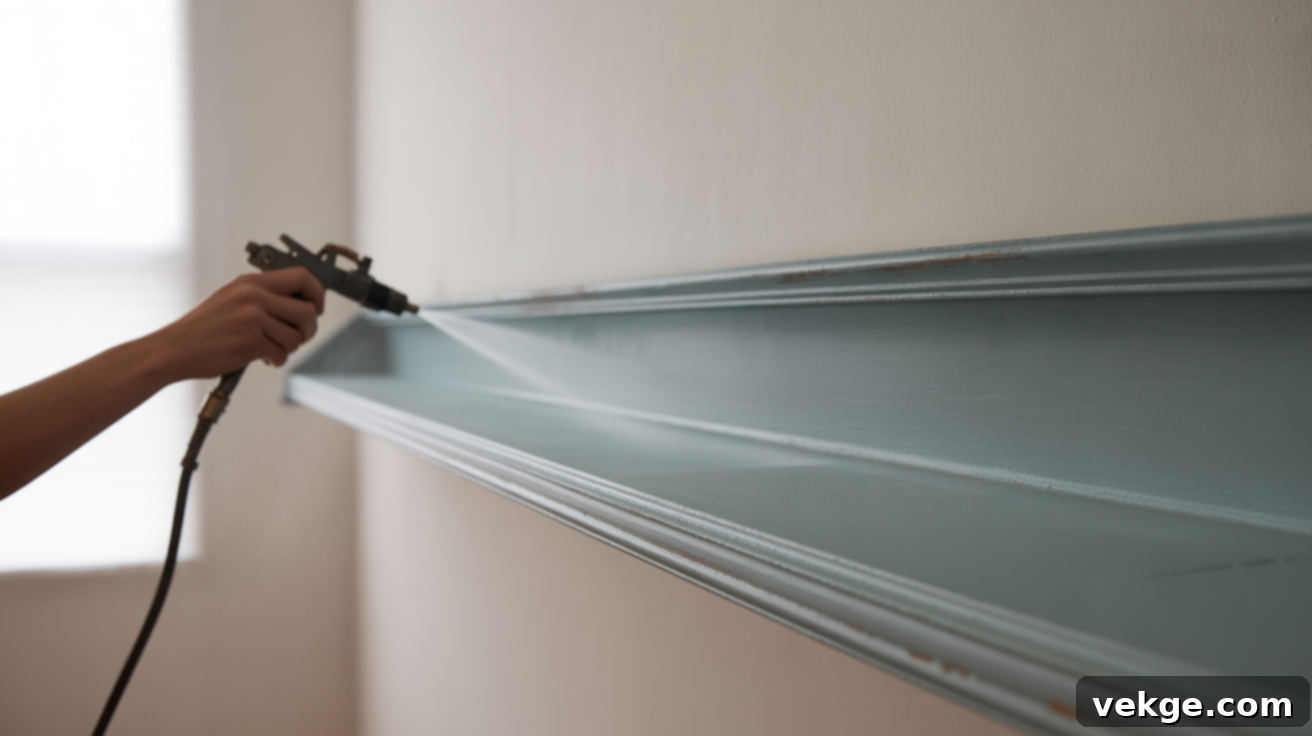
Begin spraying just off the edge of your project, move in slow, steady, straight lines across the surface, and release the nozzle only after you’ve passed the opposite edge. Each subsequent pass should slightly overlap the previous one (by about 30-50%) to ensure continuous coverage and prevent stripes. Avoid stopping your spray in the middle of a pass, as this can create concentrated, thick patches or drips. Use your entire arm to move the can, rather than just your wrist, to maintain a consistent angle and distance.
5. Allow Adequate Drying Time Between Coats
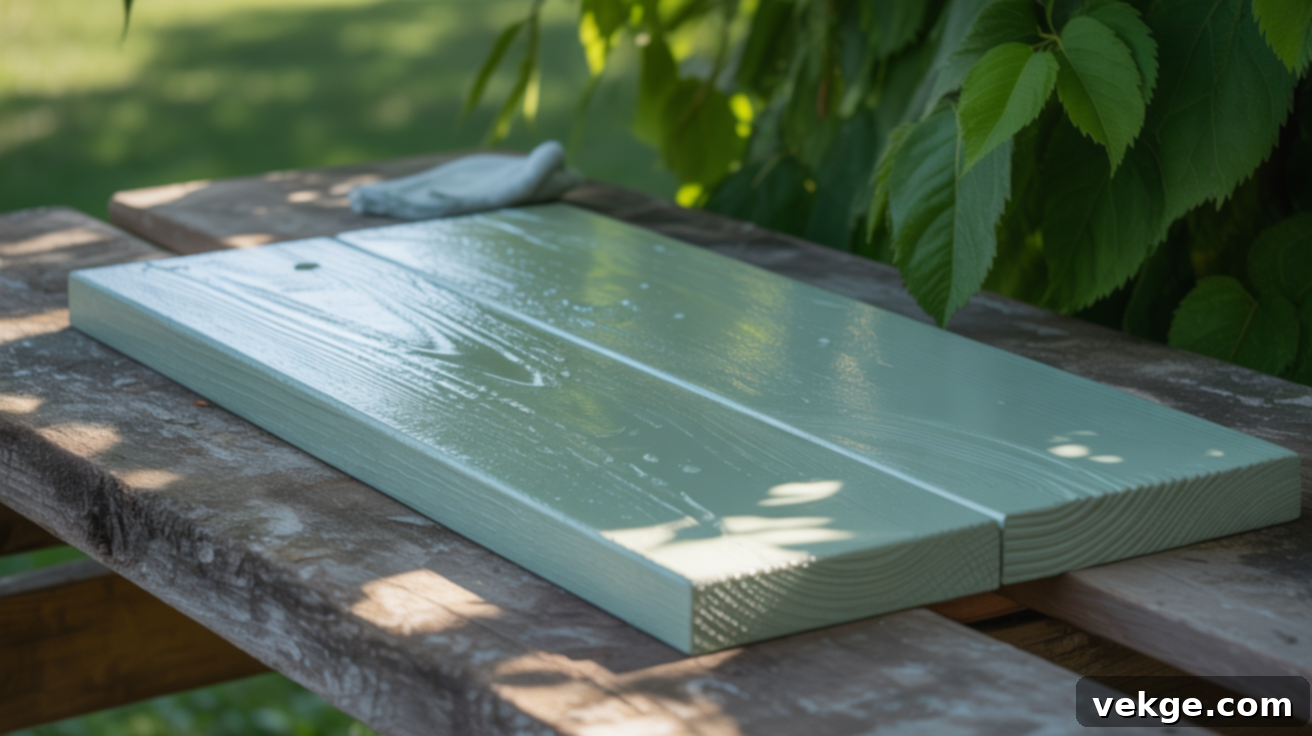
Patience is key. The drying time between coats can vary significantly based on the type of paint, ambient temperature, and humidity levels. Most spray paints typically require at least 15 to 30 minutes between coats to become “tack-free” or “dry to the touch.” Always refer to the specific instructions on your spray can for precise recommendations. In damp or cold weather, allow extra time for each layer to dry thoroughly. Applying a new coat too soon can lead to smudging, wrinkling, or trapping solvents, which can cause cracking later. Always test a small, inconspicuous area to ensure it’s dry before proceeding.
Choosing the Right Spray Paint for Your Wood Project
The type of spray paint you select profoundly impacts the durability, appearance, and suitability of your finished wood project. Different formulations offer unique characteristics in terms of drying time, resilience, and finish quality. Your choice should align with where the item will be used (indoors/outdoors), the expected level of wear and tear, and your desired aesthetic.
Understanding the distinctions between common spray paint types—lacquer, enamel, and acrylic—will empower you to make an informed decision for optimal results.
| Paint Type | Key Characteristics | Drying Time | Durability & Use | Common Sheen Levels |
|---|---|---|---|---|
| Lacquer | Solvent-based, dries by evaporation. Creates a very hard, smooth film. | Extremely Fast (minutes) | Moderate; produces a beautiful, high-gloss finish. Best for interior decorative items, instruments, or furniture not subjected to heavy use. Can be brittle. | Typically High-Gloss, but satin and matte are available. |
| Enamel | Oil-based or water-based, cures to a hard, protective shell. Often very durable. | Slower (hours to fully cure) | High; excellent for outdoor furniture, high-traffic indoor pieces, or surfaces needing resistance to chipping, scratching, and moisture. Oil-based enamels are extremely tough. | Gloss, Semi-Gloss, Satin, Matte |
| Acrylic | Water-based, low odor, flexible, and versatile. Environmentally friendlier. | Quick (15-30 mins between coats) | Moderate to High (especially with a clear coat); good for indoor wood projects, crafts, and items where low VOCs are preferred. Some acrylics are formulated for outdoor use with UV protection. | Wide Range (Flat, Eggshell, Satin, Semi-Gloss, Gloss) |
By considering the end-use environment and the level of protection required, you can confidently select a spray paint that will perform beautifully and withstand the test of time.
Understanding Finish Types: Matte, Satin, and Gloss
The finish, or sheen, you choose dramatically impacts the final look and feel of your painted wood. Each offers distinct advantages:
- Matte Finish: Offers a flat, non-reflective appearance that effectively hides minor surface imperfections and provides a modern, understated aesthetic. It’s often chosen for rustic or casual pieces.
- Satin Finish: Provides a soft, subtle sheen that’s neither too dull nor too shiny. It’s highly versatile, easy to clean, and works well on most furniture and decorative items, offering a balanced, elegant look.
- Gloss Finish: Delivers a bright, highly reflective, mirror-like surface. Gloss finishes are very durable, easy to clean, and make colors appear vibrant. They are often used on items where you want to highlight details or create a striking, contemporary statement. However, they also tend to show surface imperfections more readily.
Maintenance and Long-Term Care Tips for Spray-Painted Wood
Once your spray-painted wood project is complete, a small amount of ongoing care will significantly extend its beauty and lifespan. Following these simple maintenance tips helps protect the finish and keeps your piece looking fresh and vibrant for years to come.
- Allow Full Curing Time: Even if your piece feels dry to the touch, it may not be fully cured. Most spray paints require several days, sometimes up to a week or more, to achieve maximum hardness and durability. Avoid heavy use, placing heavy objects, or rigorous cleaning during this critical curing period to prevent dents, scratches, or premature wear.
- Gentle Cleaning Practices: For general cleaning, use a soft, damp cloth and a mild, non-abrasive soap (like diluted dish soap). Avoid harsh chemical cleaners, abrasive sponges, or scrubbing tools, as these can dull the finish, scratch the paint, or even remove it over time. Gentle cleaning preserves the integrity and sheen of your painted surface.
- Strategic Touch-Ups: Keep leftover spray paint for quick and easy fixes. If minor scratches, chips, or scuffs appear, lightly clean the affected area, then apply a very thin, controlled burst of paint to blend it in. This targeted approach prevents the need to repaint the entire piece and keeps your item looking pristine.
- Protect Surfaces from Wear: Implement preventative measures to protect your painted wood. Use felt pads or furniture glides under items placed on the surface to prevent scratching. For high-traffic areas or tabletops, consider adding a clear, protective topcoat (like a polyurethane sealer) or using placemats and coasters to shield the paint from spills, heat, and impacts. For outdoor pieces, ensure they have adequate UV protection and consider periodic re-application of a protective sealant.
Common Mistakes to Avoid When Spray Painting Wood
While spray painting wood is generally straightforward, certain common mistakes can quickly undermine your efforts and lead to frustrating results. Being aware of these pitfalls and understanding how to avoid them will save you time, reduce mess, and ensure a more satisfying, long-lasting finish on every project.
- Spraying Too Close or Applying Thick Coats: This is a leading cause of drips, runs, bubbling (often called “orange peel”), and uneven spots. The paint has nowhere to go but to accumulate. Always maintain the recommended 6-12 inch distance and apply multiple thin, even layers. If you notice a drip, let it dry completely, then lightly sand it down before applying another thin coat.
- Skipping Surface Preparation (Sanding or Cleaning): A dirty, greasy, or unsanded surface is a recipe for poor adhesion. Paint will not stick properly to smooth, slick, or contaminated surfaces, leading to peeling, flaking, and an uneven finish. Always clean and degrease the wood thoroughly, and sand it lightly to create a mechanical bond for the paint.
- Not Waiting Adequate Time Between Coats: Impatience can result in smudging, wrinkling, or a sticky, soft finish. If the previous layer hasn’t properly flashed off or dried, applying another coat can trap solvents, leading to a compromised, weaker finish prone to damage. Always adhere to the manufacturer’s recommended drying times between coats, and check for tackiness.
- Using the Wrong Type of Paint for the Environment: Applying indoor-grade paint to outdoor items or vice versa is a common error. Indoor paints lack UV protection and moisture resistance, leading to rapid fading, cracking, and mildew outdoors. Conversely, outdoor paints might be too rigid or have a strong odor for indoor applications. Always choose paint specifically formulated for the intended use environment.
- Lack of Ventilation and Personal Protective Equipment (PPE): Spray paint fumes contain volatile organic compounds (VOCs) that can be harmful if inhaled. Failing to work in a well-ventilated area and not wearing a respirator mask, safety glasses, and gloves can lead to respiratory issues, eye irritation, and skin contact with chemicals. Prioritize your health and safety.
Conclusion: Empowering Your Wood Spray Painting Projects
Spray painting wood is not just a viable option, but a superior technique for achieving professional-grade finishes on a wide variety of projects. From intricate details to expansive surfaces, you’ve now learned the essential roadmap: meticulous preparation, selecting the right products, and mastering the application techniques that ensure a smooth, durable, and beautiful outcome. This guide has equipped you with the knowledge to confidently tackle any wood spray painting task, whether you’re working with brand-new lumber or giving a cherished antique a new lease on life.
By understanding and avoiding common pitfalls, you’re now poised to create finishes you’ll be genuinely proud of. The satisfaction of transforming a wooden piece with your own hands is immensely rewarding, and with these insights, you don’t need to stress about achieving perfection. We encourage you to explore your creativity and continue honing your skills. For more innovative ideas, advanced techniques, and detailed project guides, be sure to check out our other blogs. There’s always something new to learn that can make your next DIY endeavor even more enjoyable and successful!
