How to Make Puffy Paint at Home: Easy DIY Recipes & Fun Craft Ideas for Kids
Puffy paint adds a wonderful, tactile dimension to art projects, transforming flat creations into captivating, touchable masterpieces. There’s an undeniable joy in watching vibrant colors rise off the page, and the excitement in children’s eyes when their drawings puff up into something they can actually feel is truly priceless. It’s more than just a craft; it’s an engaging, hands-on journey into creativity and sensory exploration.
If you’ve ever wondered how to make puffy paint at home, you’ll be delighted to discover just how simple it is. You only need a few common items already found in your kitchen or bathroom cupboards. Forget expensive trips to the craft store or searching for specialized supplies; with these simple ingredients, you can unlock a world of creative fun right at home.
In this comprehensive guide, we’ll walk you through three incredibly easy and effective recipes for homemade puffy paint. Beyond the mixing, we’ll share essential drying tips, a collection of inspiring project ideas, and straightforward solutions for common challenges. Get ready to embark on a colorful, textured adventure!
What is Puffy Paint and Why Kids Love It?
Puffy paint is a unique textured craft paint that distinguishes itself by drying with a raised, foamy, and delightful finish. Unlike traditional flat paints, when applied to paper, cardstock, or fabric, it creates an invitingly bumpy surface that children adore touching. This tactile quality is what makes it a favorite among kids and educators alike.
This versatile paint excels in various applications, from vibrant art projects and engaging sensory activities to festive seasonal crafts. Teachers frequently incorporate it into classroom settings due to its safety, affordability, and surprisingly easy cleanup. The most magical aspect is its ability to transform ordinary flat drawings into textured masterpieces, offering a multi-sensory experience that standard paints simply can’t match. Kids can truly feel the difference, enhancing their understanding of textures and dimensions.
Beyond the fun, puffy paint offers significant developmental benefits. It encourages fine motor skill development as children squeeze bottles or manipulate brushes, strengthens hand-eye coordination, and provides a rich sensory experience through touch. It’s a fantastic medium for exploring colors, shapes, and imaginative expression in a way that feels playful and engaging.
How to Make Puffy Paint: Step-by-Step Instructions and Recipes
Crafting your own puffy paint is incredibly straightforward. With just a few everyday household items, you can mix up soft, foamy paint that’s a joy to use and dries with a wonderfully raised texture. Below, you’ll find three simple yet effective recipes, along with essential tips on how to apply and store your homemade paint for the best results.
Recipe 1: The Classic Shaving Cream Puffy Paint
This is arguably the most popular and easiest puffy paint recipe, known for its airy, cloud-like texture. It’s perfect for beginners and yields fantastic results.
- Gather Ingredients: You’ll need equal parts shaving cream (any inexpensive foaming variety will do, avoid gel types), and white school glue (like Elmer’s). Food coloring is essential for vibrant hues.
- Mix the Base: In a small bowl, combine equal parts shaving cream and white glue. For example, start with half a cup of each.
- Achieve Smoothness: Gently mix them together until you achieve a smooth, creamy, and uniform texture. Over-mixing can deflate the shaving cream, so be mindful.
- Add Color: Incorporate 2-3 drops of your chosen food coloring. Stir well, adding more drops until you reach your desired shade. Remember, the color might appear slightly lighter when dry.
- Optional Boost: For an extra boost of puffiness and a subtle texture, sprinkle in a pinch of salt or baking soda (about half a teaspoon per cup of mixture). Stir once more gently.
- Ready to Use: Your shaving cream puffy paint is now ready for creative endeavors!
This recipe provides a wonderfully fluffy and vibrant paint that’s perfect for creating textured landscapes, fluffy clouds, or even snow scenes.
Recipe 2: The Flour-Based Puffy Paint
This recipe offers a slightly different texture, often described as more substantial, and it’s particularly excellent for microwaving to achieve maximum puff.
- Gather Ingredients: You’ll need 1 cup of self-rising flour (the leavening agents are key here), 1 cup of water, 2 tablespoons of white school glue, and food coloring. If you only have all-purpose flour, add 1 teaspoon of baking powder to it.
- Create the Paste: In a bowl, whisk together the flour and water until you have a smooth, lump-free paste. Persistence is key to avoiding clumps.
- Enhance Adhesion: Add 2 tablespoons of white glue to the mixture and mix thoroughly. The glue is crucial as it helps the paint adhere better to various surfaces and provides flexibility once dry.
- Color It Up: Drop in your food coloring and blend until the color is evenly distributed throughout the mixture. Feel free to create multiple batches with different colors.
- Paint Away: Your flour-based puffy paint is prepared and eager to be transformed into imaginative art!
This version tends to hold its shape well and is exceptionally satisfying to watch puff up in the microwave.
Recipe 3: Edible Puffy Paint for Young Kids
For the youngest artists who might be inclined to taste their creations, an edible version offers peace of mind without sacrificing the fun.
- Gather Ingredients: You will need 1 cup of heavy cream (or plain yogurt), 3 tablespoons of flour (any kind), natural food coloring (derived from fruits/vegetables for extra safety), and a drop of vanilla extract (optional, for scent).
- Combine and Whisk: In a bowl, combine the heavy cream and flour. Whisk until the mixture thickens slightly and is smooth. The consistency should be like a thick batter.
- Add Color and Scent: Incorporate natural food coloring to achieve desired shades. A drop of vanilla extract can be added for a pleasant aroma, enhancing the sensory experience.
- Safe Play: This version is entirely safe if little ones decide to put their fingers (or the paint) in their mouths, making it ideal for toddlers and preschoolers.
- Storage: Due to its dairy content, this edible puffy paint should be stored in the refrigerator and used within 2-3 days for optimal freshness and safety. Make small batches to avoid waste.
This recipe ensures that even the tiniest artists can explore textures and colors safely.
Application Techniques for Best Results
Once your puffy paint is mixed, knowing how to apply it can make all the difference in your artwork:
- Paintbrushes: Ideal for detailed designs, smooth strokes, and filling in larger areas. Choose brushes with firmer bristles for better control over the thick paint.
- Squeeze Bottles: These are perfect for creating precise lines, dots, swirls, writing letters, numbers, or even signing names. Clean condiment bottles or empty glue bottles work wonderfully. This method is excellent for developing fine motor skills and hand strength.
- Finger Painting: A guaranteed hit with younger children! Finger painting with puffy paint is a wonderfully messy, fun, and sensory-rich experience that encourages tactile exploration and free expression. Lay down plenty of newspaper first!
- Best Surfaces: Always opt for sturdy surfaces like cardstock, poster board, cardboard, or canvas. Avoid using thin paper, as the moisture from the paint can cause it to warp, tear, or even fall apart as it dries.
Drying and Storage Tips for Puffy Paint
Proper drying and storage are key to enjoying your puffy paint creations and ensuring your efforts don’t go to waste:
- Air Drying: Most puffy paint projects will air dry in approximately 2–4 hours, though this can vary depending on the thickness of the paint application and the humidity of your environment. Thicker layers will naturally take longer.
- Microwave Magic: For quicker results and an extra-puffy effect, microwave the artwork. Start with 30–60 seconds on high power. Keep a close eye on it, as microwaving times can vary greatly based on the oven’s wattage and the paint’s thickness. You’ll see it literally puff up!
- Prevent Burning: When microwaving, always supervise closely to prevent burning the paper or paint, especially with thicker applications. Stop the microwave as soon as the desired puffiness is achieved.
- Flour Power: The flour-based recipe works exceptionally well in the microwave, often yielding the most dramatic puff.
- The “Wow” Factor: Microwaving makes the paint puff up significantly, a process that kids absolutely love to watch! It adds another element of excitement to the crafting experience.
- Use While Fresh: For the best texture and most vibrant results, it’s highly recommended to use the paint while it’s fresh.
- Limited Shelf Life: Avoid storing mixed puffy paint for more than a day, as it tends to lose its fluffy texture and might separate or dry out. The shaving cream will eventually deflate, and the flour-based mixture can become clumpy.
- Batch Control: To minimize waste, always make small batches of paint. You can always mix more as needed for your next creative session.
Puffy Paint Creative Project Ideas for Endless Fun
Once your puffy paint is mixed and ready, the real fun truly begins! Whether you’re crafting with your children on a lazy afternoon, planning a themed activity for a party, or simply looking to unleash some creative energy, puffy paint offers a world of possibilities. Its unique texture adds an exciting element to any art project.
Here are some easy, engaging, and incredibly fun ideas to try with your homemade puffy paint:
1. Craft Charming Puffy Pumpkins for Fall

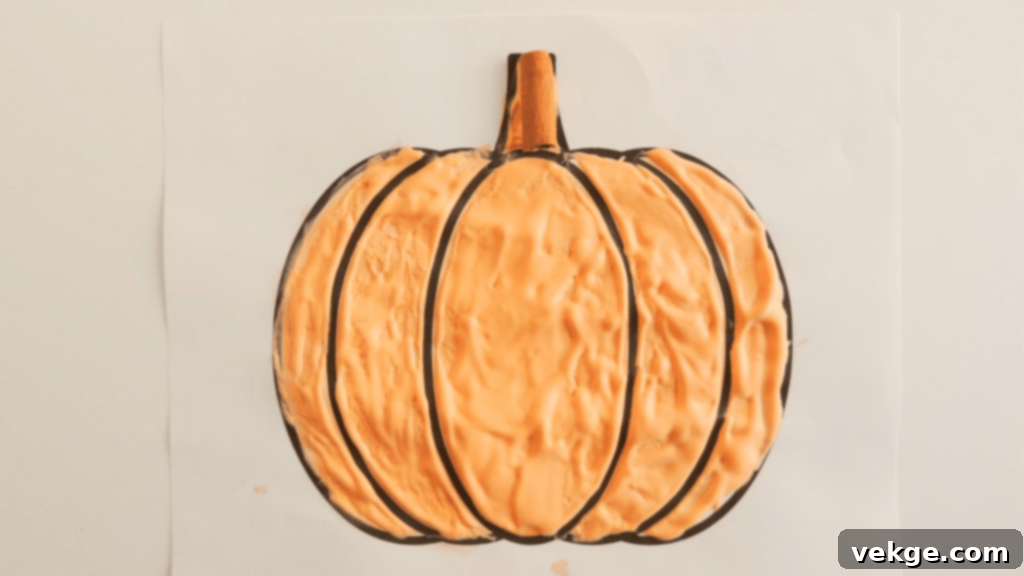
Embrace the autumn spirit by creating delightful puffy pumpkins! Grab some orange puffy paint and draw various pumpkin shapes onto sturdy cardstock or paper plates. As the paint dries (or better yet, when gently microwaved), it will create a wonderfully textured, bumpy surface that mimics the feel of real pumpkin skin. Kids can then add intricate details like faces, curly green vines, or sturdy brown stems using green or black paint (either regular or more puffy paint). This seasonal craft is not only simple and hands-on but also wonderfully tactile and allows for a little glorious mess, making it a perfect fall activity.
2. Practice Letters and Numbers with Tactile Puffy Paint

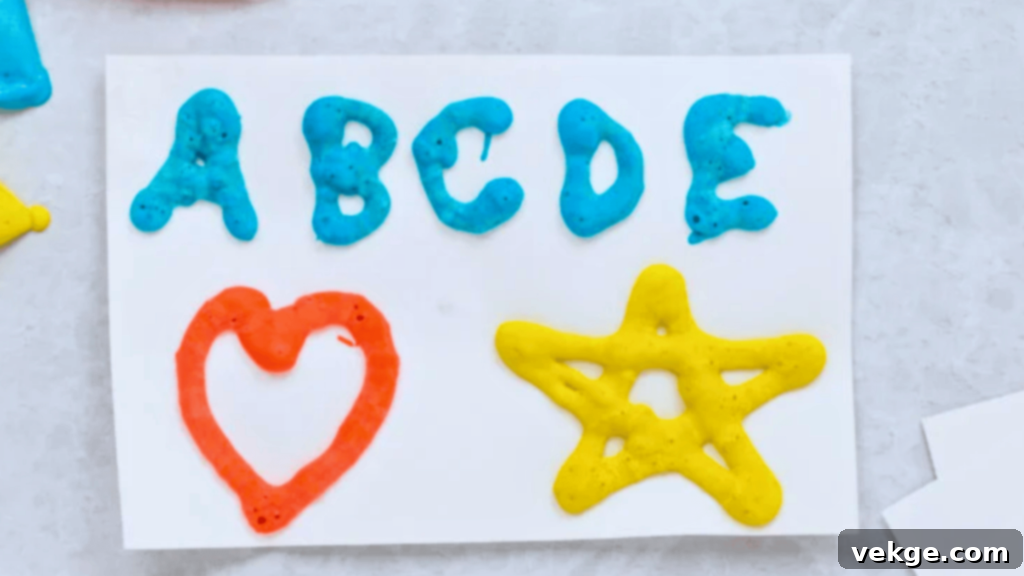
Transform early learning into a captivating tactile activity by having children write letters, numbers, or even their names with puffy paint. Once the paint has dried and puffed up, kids can trace each raised letter or number with their fingers. This multi-sensory approach helps them recognize shapes through both sight and touch, reinforcing learning in a memorable way. It’s an exceptionally effective method for preschoolers and early learners who are working on alphabet recognition, number formation, and pre-writing skills. You can also print out large letters and have them fill them in with paint, or draw outlines for them to trace.
3. Design Unique Greeting Cards with Textured Charm

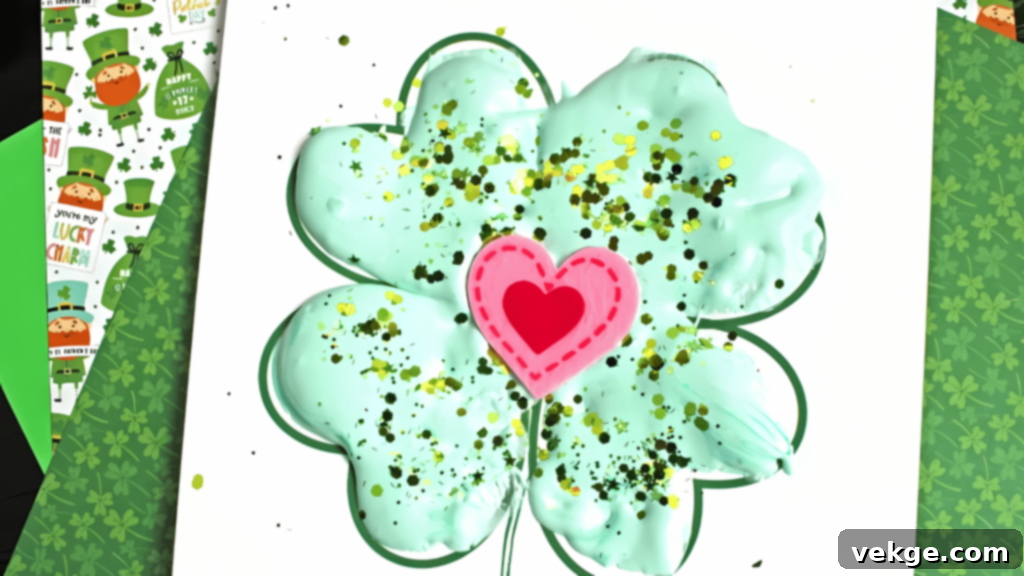
Elevate homemade greeting cards from simple to spectacular with the addition of raised messages and colorful, textured designs. Children can use puffy paint to write names, heartfelt messages, draw cheerful hearts, create intricate borders, or even design abstract patterns. It’s a wonderfully engaging way to personalize birthday cards, thank-you notes, holiday greetings, or just-because cards for loved ones. The textured finish not only makes the cards feel extra special and luxurious but also adds a memorable sensory element that recipients will surely appreciate.
4. Create Fluffy Cloud Art or Snow Scenes
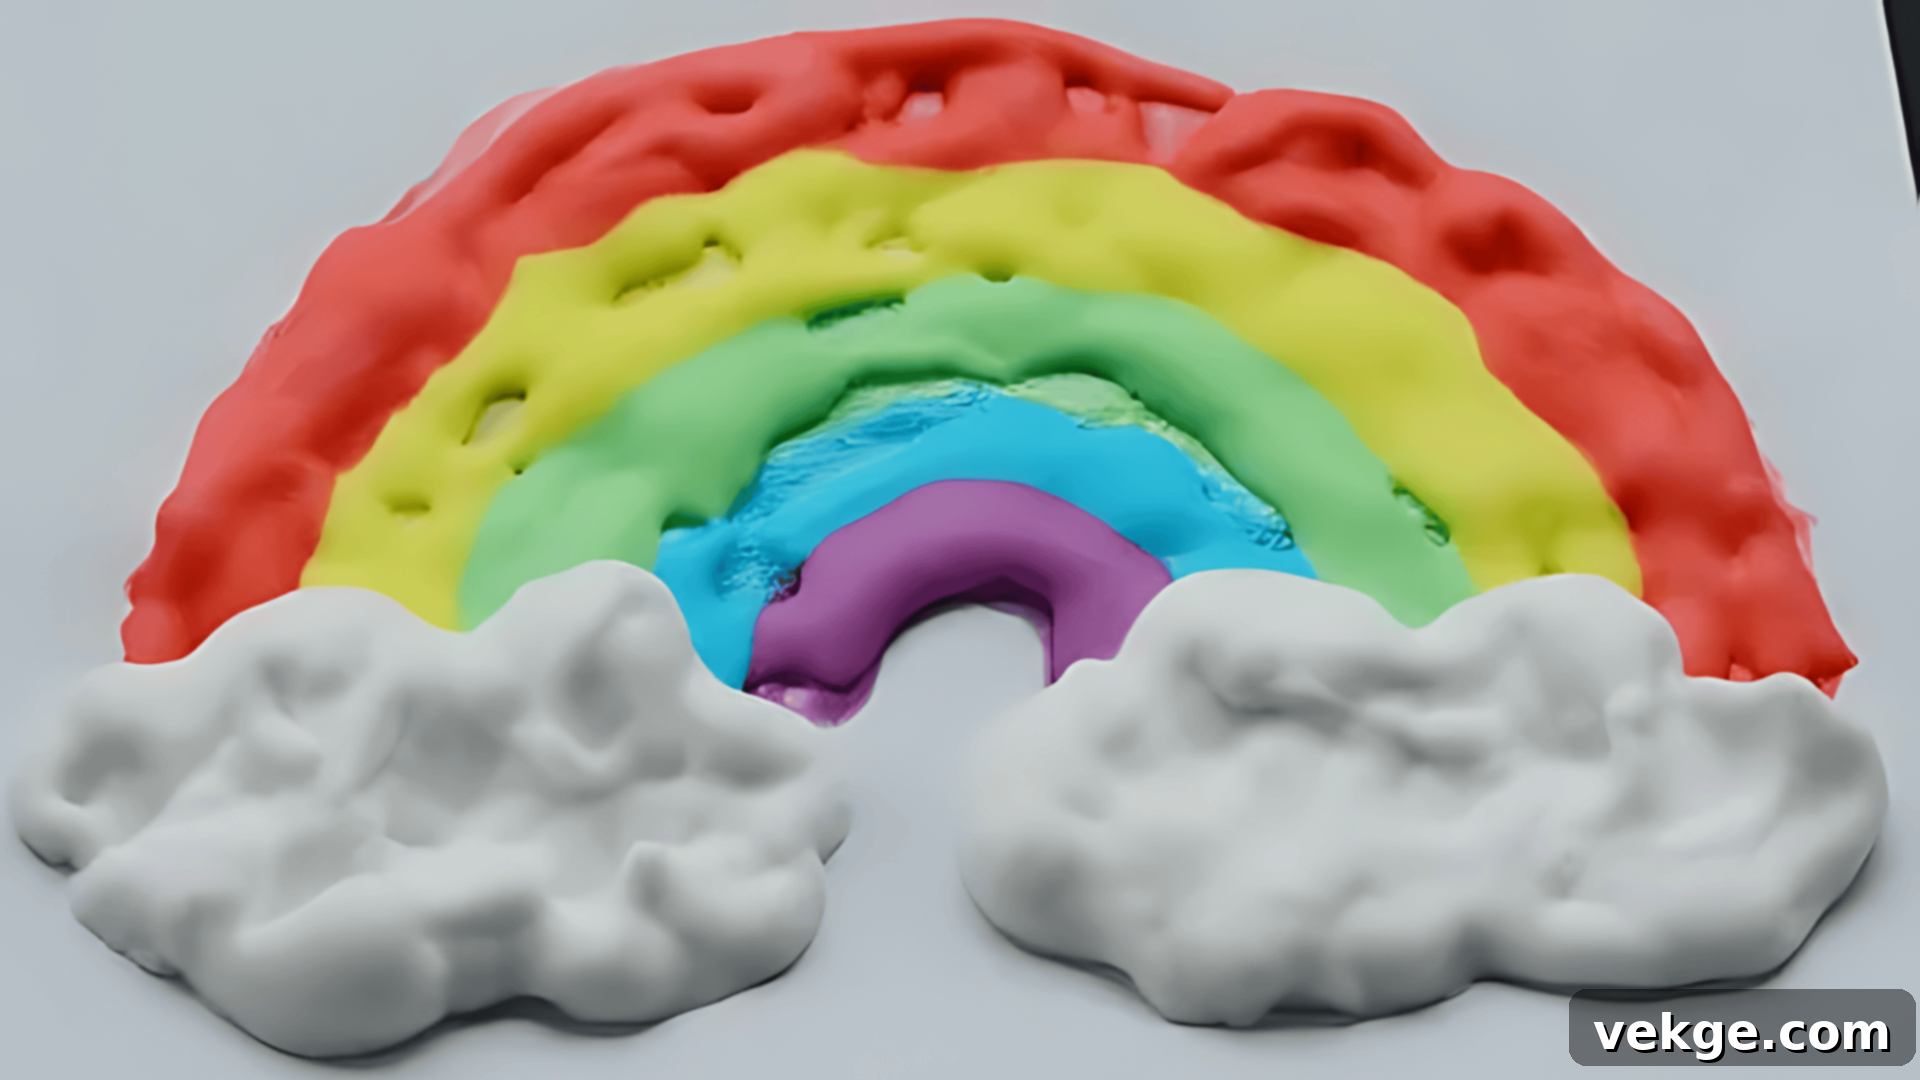
Puffy paint is uniquely suited for creating fluffy clouds in a blue sky or soft, pillowy snow in winter landscapes. Use white puffy paint to draw cloud shapes or layer it for snowdrifts. Once dry, these elements will truly stand out and invite touch. Kids can add little details like tiny trees or animals underneath their puffy snow.
5. Explore Abstract Textured Art
Sometimes, the best art comes from simply experimenting! Provide various colors of puffy paint and let children create abstract designs, swirls, and patterns without any specific subject matter. This encourages pure creative expression and an exploration of how different colors and textures interact. The final piece will be a vibrant, tactile artwork that’s unique and expressive.
The Science Behind Puffy Paint: Why It Works
There’s a fascinating bit of science happening behind the magic of puffy paint, explaining why these simple ingredients come together to create such a unique texture:
- Shaving Cream’s Role: Foaming shaving cream contains countless tiny air bubbles trapped within its structure. These bubbles are the primary reason for the light, airy, and fluffy texture of the paint. When the paint dries, these microscopic air pockets remain trapped, giving the paint its signature raised appearance.
- Glue as a Binder: Whether it’s white school glue in the shaving cream or flour-based recipes, glue acts as a critical binder. It’s the adhesive agent that holds all the ingredients together, ensuring the paint sticks effectively to your chosen surface. Without glue, the colored foam or flour mixture wouldn’t adhere or maintain its shape once dry.
- Flour’s Structure: In the flour-based recipe, the flour (especially self-rising flour, which contains leavening agents) provides a thicker, more substantial base. When heated, the proteins and starches in the flour, along with the leavening, contribute to the paint’s ability to puff up and hold its form.
- Microwave Expansion: This is where the magic really happens for microwavable versions! When you heat the paint in a microwave, the water molecules within the mixture rapidly turn into steam. This steam expands the trapped air bubbles (from shaving cream) or creates new air pockets (in flour-based paints), causing the paint to dramatically rise and “puff up.”
- Salt/Baking Soda’s Contribution: Adding a pinch of salt or baking soda, particularly to the shaving cream recipe, can introduce tiny crystals that create additional subtle texture. Baking soda, when combined with an acidic component (even slight acidity in glue or food coloring), can produce small carbon dioxide bubbles, further aiding in the puffing effect. These ingredients also help the paint hold its elevated shape more effectively as it dries.
Troubleshooting Common Puffy Paint Issues
Even with simple recipes, you might encounter a few common hiccups. Here’s how to quickly resolve them:
- Paint Too Runny: If your mixture seems too liquid or doesn’t hold its shape, it likely needs more body. Gradually add small amounts of flour (for flour-based recipes) or glue (for shaving cream recipes) to thicken the mixture. Mix well after each addition until you reach a desirable, creamy consistency.
- Not Puffy Enough: If your paint dries flat or lacks the desired puff, try adding more shaving cream (for shaving cream recipe) or a pinch more baking soda. Most importantly, if your recipe is microwavable (like the flour-based one), microwaving is the most reliable way to achieve significant puffiness. Ensure your paint is applied thick enough to give it room to rise.
- Colors Look Muddy: This usually happens when colors are mixed improperly or when brushes aren’t cleaned between different colors. To avoid muddy colors, use less food coloring initially, and mix each color in a separate bowl. Always clean your brush thoroughly when switching between hues.
- Paint Won’t Stick to the Surface: First, ensure your crafting surface is clean, dry, and not too glossy or oily. If adhesion is still an issue, try adding a bit more white school glue to your recipe. Glue is the primary adhesive, and increasing its proportion can significantly improve stickiness.
- Drying Takes Too Long: If your puffy paint art is taking an age to dry, consider a few factors. Thicker paint applications will always require more time. Try spreading the paint thinner next time. Alternatively, utilize the microwave method (if applicable to your recipe) for a rapid dry and enhanced puff. Good air circulation in your drying area can also help speed up the process.
Summing Up: The Joy of DIY Puffy Paint
You’ve now mastered the art of making puffy paint using simple, accessible ingredients and easy-to-follow steps. From classic shaving cream recipes that yield cloud-like textures to flour-based versions perfect for microwaving, and even edible options for the littlest artists, everything shared here is designed to help you create something truly fun and memorable without stress or excessive cost.
Whether you’re pulling together a quick craft for a rainy afternoon, planning a engaging activity with your kids, or setting up a creative session for students, homemade puffy paint brings a unique and exciting element to the table. It’s incredibly easy to mix, immensely fun to use, and honestly, watching it magically puff up as it dries (especially in the microwave!) is a cool experience in itself.
We hope this guide has sparked countless ideas and inspired you to dive into the wonderful world of textured art. If you’ve enjoyed these creative insights, we encourage you to stick around and explore more of our hands-on projects, activity ideas, and painting tips. You’re sure to find something new and exciting to try, often with just the supplies you already have at home. Happy crafting!
