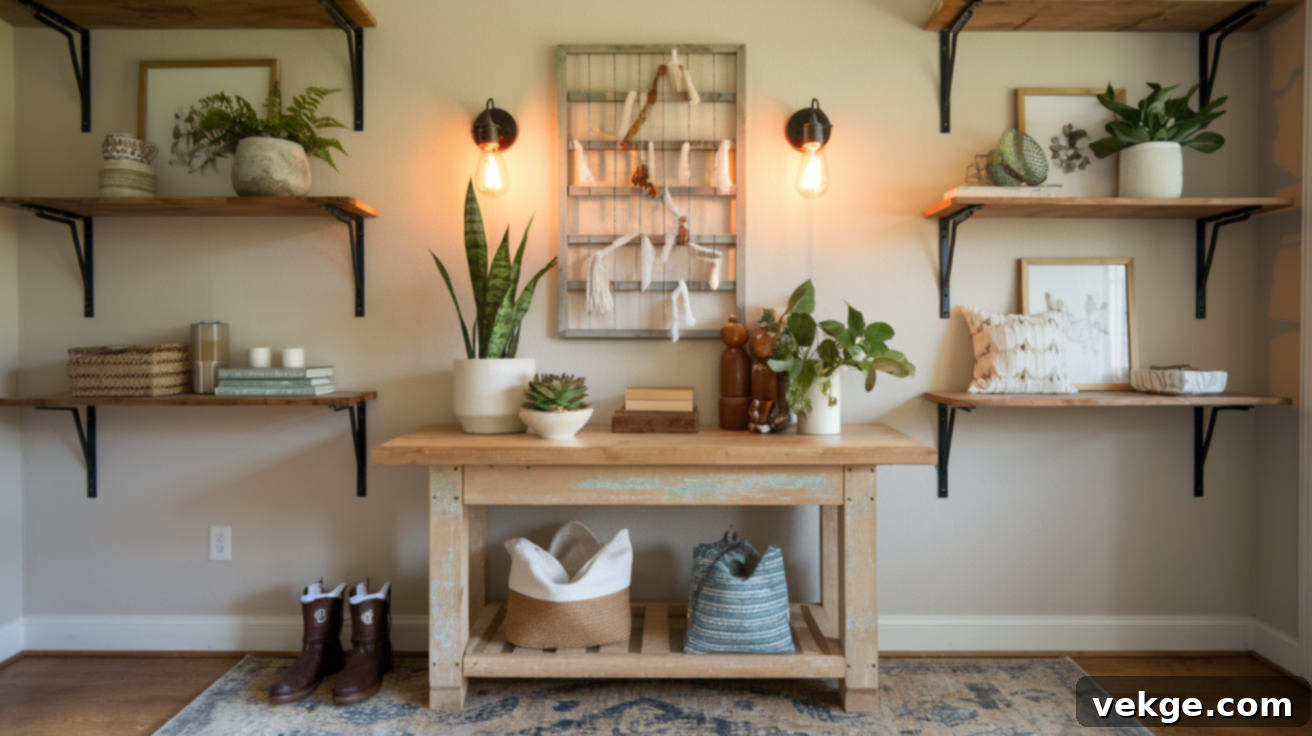
DIY Entry Table: Build Your Custom Console for a Stunning First Impression
The entryway is more than just a transition space; it’s your home’s welcoming embrace, setting the tone for what lies beyond. A beautifully styled and functional entry table plays a crucial role in creating this vital first impression. It provides a convenient spot for keys, mail, and decorative accents, grounding the space with purpose and elegance. However, finding a high-quality, perfectly sized, and stylish entry table that aligns with your aesthetic can often come with a surprisingly hefty price tag, leaving many homeowners compromising on their vision or budget.
The good news? You don’t have to settle. The most satisfying and often most economical solution is to build one yourself! This comprehensive guide empowers you to create a beautiful, custom entry table that not only fits your space and style flawlessly but also carries the unique satisfaction of a handcrafted piece.
We’ll walk you through every essential step, from the initial spark of inspiration and selecting the right wood and tools, to following detailed assembly instructions, and adding those personalized finishing touches that make your table truly one-of-a-kind. Whether your heart yearns for modern minimalism, the cozy charm of rustic farmhouse, or the raw edge of industrial design, you’ll discover how to craft a piece that perfectly complements your home’s unique character. Beyond the significant practical savings, you’ll experience the profound sense of accomplishment and pride that comes from greeting guests with a functional work of art you built with your own hands.
Why Build Your Own DIY Entry Table?
Embarking on a DIY entry table project offers a multitude of benefits, delivering three distinct wins that transcend simply acquiring a piece of furniture.
- Significant Cost Savings: Furniture stores often mark up console tables considerably. By building your own, you bypass retail premiums and material sourcing is often far cheaper than a finished product. Many DIY enthusiasts report constructing stunning, high-quality tables for less than sixty dollars in raw materials, while comparable store-bought versions frequently retail for hundreds, or even thousands, of dollars. This means more money stays in your pocket for other home improvement projects or essential needs.
- Unmatched Customization and Perfect Fit: When you build your table, you are the designer. You gain complete control over every single aspect – from the precise height, width, and depth to the wood species, color, and overall style. This freedom allows you to create a console table that is not only perfectly proportioned for your specific entryway but also flawlessly matches your existing decor and personal aesthetic, rather than forcing you to compromise with limited off-the-shelf options.
- Deep Sense of Accomplishment and Skill Development: There’s an unparalleled satisfaction that comes from creating something tangible with your own hands. Every time you walk past your custom-built entry table, you’ll feel a surge of pride knowing you crafted it. This isn’t just about saving money; it’s about gaining new skills, understanding the construction process, and building confidence for future DIY endeavors around your home. The experience itself is incredibly rewarding, proving that with a little effort, you can transform raw materials into a beautiful, functional centerpiece.
Materials and Tools You’ll Need
Before you dive into cutting and assembling, gathering all your necessary supplies is crucial. A well-prepared workspace with all tools and materials readily accessible ensures a smoother building process, minimizing interruptions and helping you stay on track to successfully complete your project.
Wood Selection: Choosing the Right Foundation
The type of wood you choose will significantly impact your table’s appearance, durability, and the ease of the building process. Consider your skill level, budget, and desired final look:
- Pine: An excellent starting point for beginners, pine is widely available, relatively inexpensive, and easy to cut and sand. It takes paint and stain well, offering versatility in finishes. However, it’s a softer wood, making it more prone to dents and scratches.
- Oak: For greater durability and a distinct, beautiful grain pattern, oak is a fantastic choice. It’s a harder wood, which means it will withstand more wear and tear, but it also costs more and can be slightly more challenging to work with, especially for cutting and drilling.
- Poplar: A good middle-ground option, poplar is harder than pine but softer than oak. It’s affordable, paints exceptionally well, and is relatively easy to work with, making it a popular choice for painted furniture projects.
- Reclaimed Wood: If you’re looking to add unparalleled character, history, and a touch of eco-friendliness to your project, reclaimed wood (such as old barn wood, pallet wood, or salvaged timbers) is ideal. It often comes with unique imperfections, weathered textures, and rich patinas, but it might require more preparation, such as cleaning, de-nailing, and careful sanding.
- Plywood (Cabinet Grade): For tabletops or shelves, high-quality cabinet-grade plywood can be a cost-effective and stable alternative to solid wood. Edge banding can be applied to hide the ply layers for a finished look.
Essential Tools for Your Workshop
Having the right tools makes all the difference in a woodworking project. Here’s what you’ll typically need:
- Saw: For cutting wood to size. Options include a circular saw (versatile for straight cuts), miter saw (excellent for precise crosscuts and angles), or even a hand saw for smaller projects or if power tools aren’t accessible.
- Drill: With various bits for pre-drilling holes to prevent splitting and driving screws. A cordless drill offers greater flexibility.
- Measuring Tools: A reliable tape measure, a carpenter’s square (for ensuring 90-degree angles), and a pencil are indispensable for accuracy.
- Sanding Equipment: Sandpaper (various grits from coarse to fine) or an electric sander (orbital sander is highly recommended for efficiency) to achieve smooth surfaces.
- Clamps: Essential for holding pieces securely in place while gluing, drilling, or screwing, ensuring joints are flush and stable.
- Safety Gear: Always prioritize safety. Eye protection (safety glasses or goggles) to shield from flying debris, and work gloves to protect your hands, are absolutely essential. Consider hearing protection when using loud power tools.
Other Crucial Materials
- Wood Screws: In various lengths to securely fasten your pieces together. Pocket hole screws are specifically designed for pocket hole joinery, offering strong, concealed connections.
- Wood Glue: Adds significant strength and permanence to joints. Apply sparingly but consistently for the best bond.
- Wood Filler: To fill screw holes, nail holes, and minor imperfections, creating a seamless surface before finishing.
- Finish: Choose a finish that suits your style and offers protection. Clear polyurethane protects while showcasing natural wood grain, stain enhances wood color, while paint offers endless color options to match any decor. Wax or shellac can also be considered for different looks and levels of protection.
- Optional Hardware: Consider adding metal brackets for reinforcement, particularly at leg joints, or decorative hardware like handles or knobs if you integrate drawers or shelves into your design.
DIY Entry Table: Step-by-Step Guide
Building your custom entry table is a rewarding project that is often more straightforward than you might anticipate. This detailed guide will walk you through the process of creating a sturdy, beautiful, and personalized console table for your home.
Step 1: Design and Planning – The Blueprint for Success
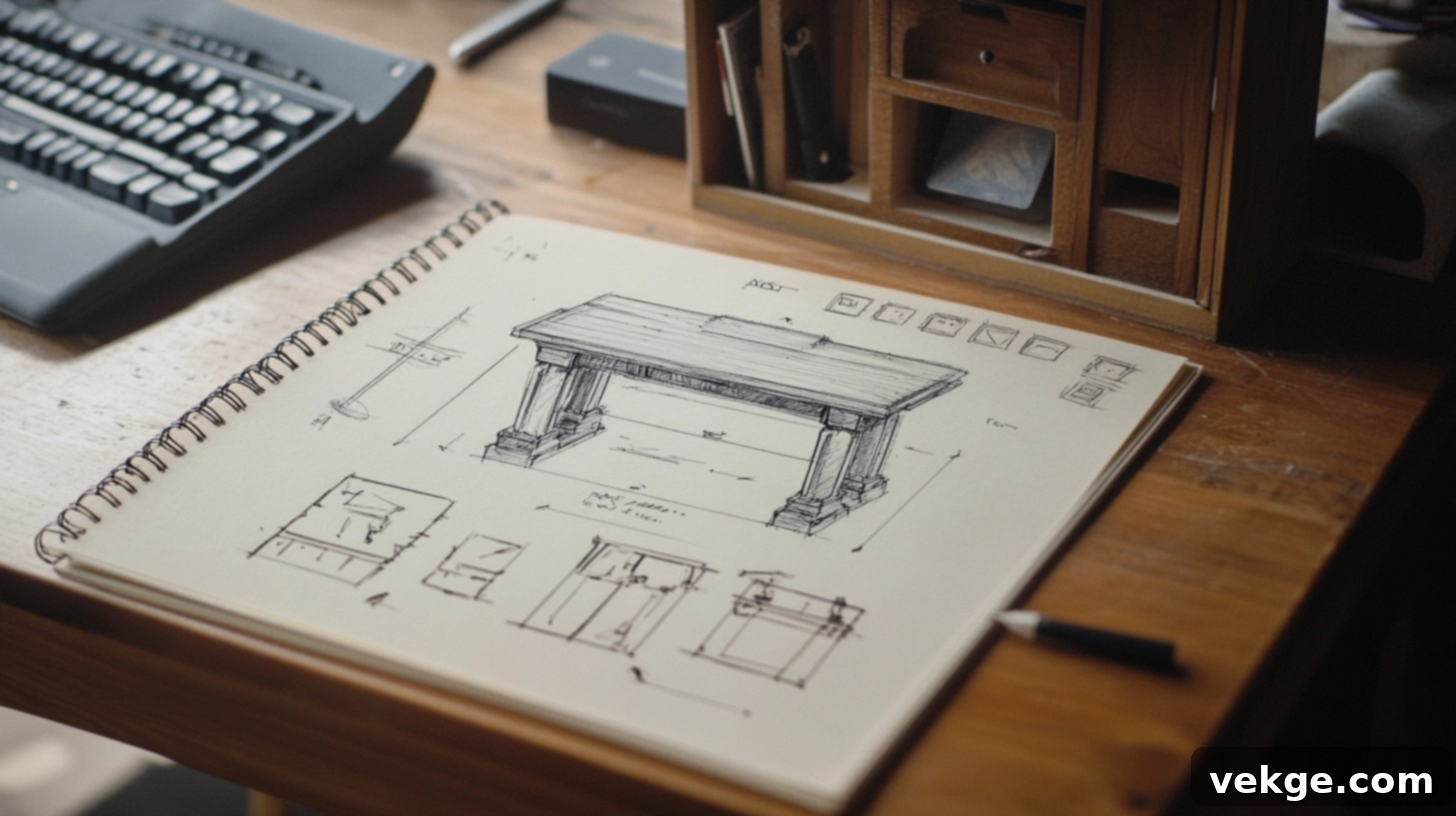
Before you even think about buying materials or making a single cut, dedicate ample time to carefully plan your project. This initial phase is critical for success and avoiding costly mistakes.
- Measure Your Space: Precisely measure the area where your entry table will reside. Determine the ideal height (typically 30-36 inches for a standard console, but adjust based on your needs), width, and depth. Consider existing furniture, wall outlets, and foot traffic flow to ensure your table fits functionally and aesthetically.
- Choose Your Style: Decide on a style that perfectly complements your home décor. Are you aiming for modern sleekness, rustic charm, classic elegance, or industrial chic? Visualizing the end result will guide all subsequent decisions.
- Gather Inspiration: Browse websites like Kreg Tool, Pinterest, or home decor magazines. Look for design ideas, color palettes, and even free plans that you can adapt. Create a mood board to solidify your vision.
- Create a Detailed Plan & Materials List: Based on your chosen design and measurements, sketch out your table, noting all dimensions. Then, create a comprehensive materials list, detailing every wood piece (species, dimensions, quantities), hardware (screws, glue, brackets), and tools you’ll need. Don’t forget consumables like sandpaper and wood filler.
- Set a Budget: Price out all your materials at local hardware stores or lumberyards. This helps you stay within your financial limits and allows for adjustments to your design or material choices if necessary. Consider getting quotes from a few different suppliers.
Step 2: Cutting and Preparing the Wood – Precision is Key
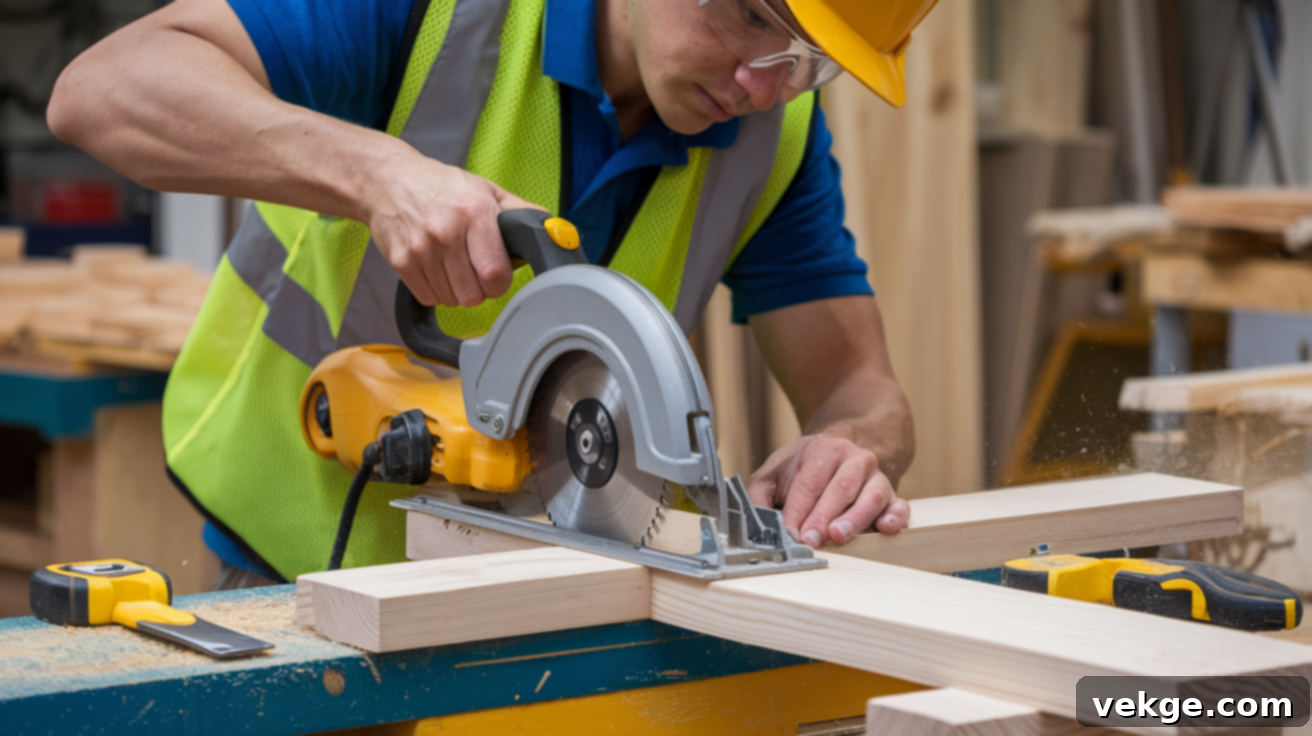
Accuracy in this stage will ensure a smooth assembly and a professional-looking finished product. Always measure twice and cut once, and prioritize safety when operating power tools.
- Prepare the Legs: For a robust console table design, begin by cutting your leg pieces. Start with 2×8 boards and rip them down to 7 inches wide. This creates beefy, substantial supports for your table.
- Cut Spacers: Next, cut the necessary spacers. These will be attached to the inside of the legs, creating a recessed channel for your side panels later. The precise length of these spacers will depend on your chosen side panel width.
- Assemble Side Panels: For each side panel, cut 2×6 and 2×2 boards to your desired length. Utilize pocket hole joinery for strong, concealed connections: drill 1¼-inch pocket holes along the center board and join the pieces using pocket hole screws and wood glue. Use clamps extensively to ensure the boards remain perfectly flush during the joining process and while the glue dries. Repeat for both side panels.
- Prepare the Tabletop: Cut a 2×12 board, ripping it down to 10 inches wide for your primary tabletop plank. Ensure this piece is perfectly straight and free of major defects.
- Create Apron Pieces: From 2×8 boards, rip down pieces to 7 inches wide for your aprons. These will provide structural support beneath the tabletop and frame the base.
- Sanding All Components: Before assembly, sand all cut wood pieces thoroughly. Start with medium-grit sandpaper (e.g., 100-120 grit) to remove saw marks and initial imperfections, then finish with fine-grit sandpaper (e.g., 180-220 grit) for a beautifully smooth surface, preparing the wood for staining or painting. Wipe away all dust after sanding.
Step 3: Assembling the Table – Bringing Your Design to Life
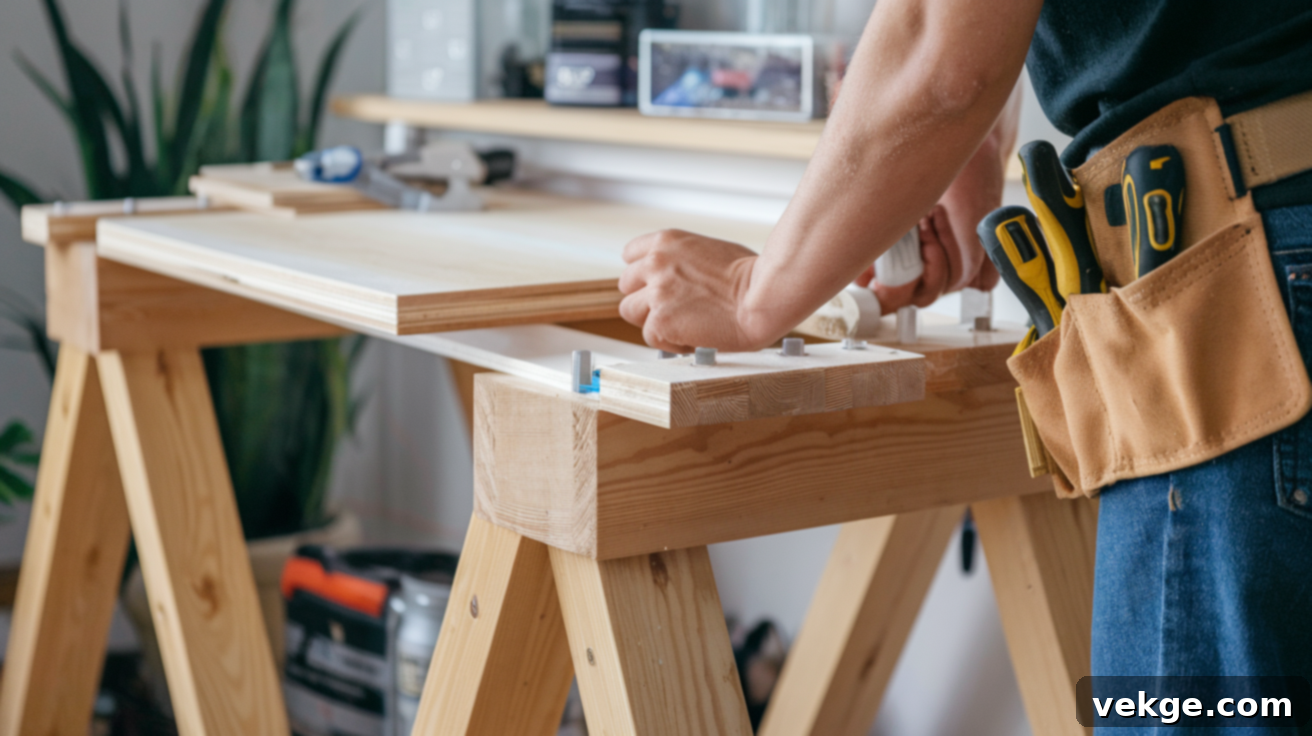
Putting together your entry table follows a logical, sequential process, building the structure piece by piece. This assembly process not only creates a sturdy framework but also incorporates the design’s appealing elements, such as the illusion of a beam running through the middle. Ensure your workspace is clear and you have plenty of clamps at hand. Follow these steps carefully and in order:
- Attach Spacers to the Legs: Apply a generous amount of wood glue to one side of each spacer. Position the spacers precisely at your pre-marked locations on the inside surface of each leg. Secure them firmly with 2-inch nails, ensuring they are flush and square. Wipe away any excess glue.
- Join Side Panels: Take your pre-assembled side panels. Connect the end pieces to the outside panels using 2½-inch pocket hole screws. Carefully align them to create the desired beam illusion effect. Use clamps to hold them tightly while screwing.
- Connect Top Plank: Position the long, central tabletop plank. Attach it to the outside panels using 2½-inch pocket hole screws, driving them through your pre-drilled pocket holes. Continuously check for squareness and ensure the plank is perfectly level with the side panels.
- Add Legs to the Structure: Carefully slide the leg assemblies (with the attached spacers) against the side panels. Apply wood glue generously to the spacers that will contact the side panels. Secure the legs firmly to the side panels using 2-inch nails. Ensure a tight, flush fit.
- Insert Inside Panels: Slide the prepared inside panels into the channels created by the legs and spacers. Apply wood glue to the contacting surfaces of the spacers and panels. Fasten these panels securely with 2-inch nails, ensuring they are flush and stable.
- Attach Trim Pieces: Connect the 2×2 trim pieces to the middle plank. Use wood glue for a strong bond and secure them further with 2-inch screws, ensuring they are evenly spaced and perfectly aligned.
- Install Aprons: For each apron piece, drill 1½-inch pocket holes at both ends. Apply wood glue to the ends where they will meet the legs. Attach the aprons to the legs using 2½-inch pocket hole screws, ensuring the assembly is square and sturdy. These aprons provide crucial support for the tabletop.
Step 4: Adding Decorative Touches – Personalizing Your Creation
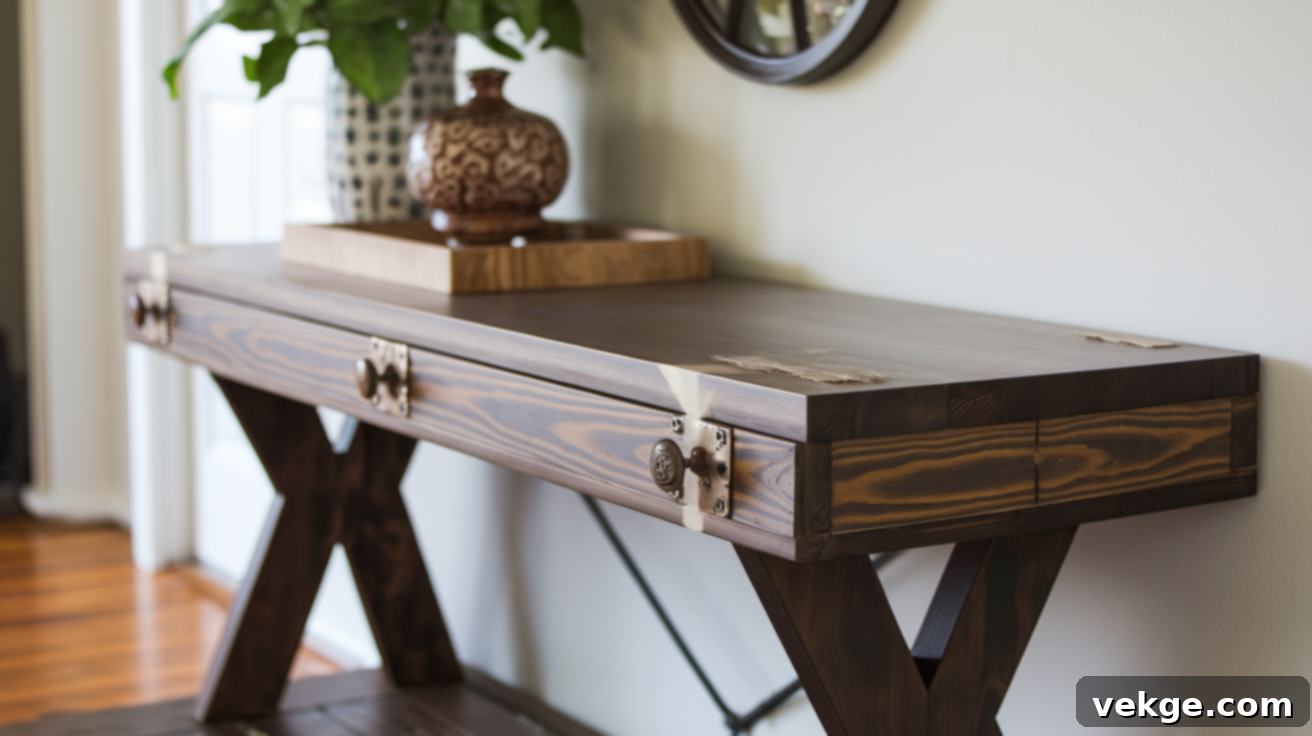
Once the basic structure of your table is complete and all glue has dried, it’s time to refine and personalize it. This stage truly brings your design vision to life.
- Fill and Sand: Use wood filler to meticulously cover any visible screw holes, nail holes, or minor imperfections. Allow the filler to dry completely according to the manufacturer’s instructions. Once dry, sand the entire piece one final time with fine-grit sandpaper (220 grit or higher) to achieve a flawlessly smooth surface. Remove all dust with a tack cloth or vacuum.
- Apply Your Chosen Finish:
- Paint: If painting, apply a high-quality primer first for optimal adhesion and an even finish. Then, apply 2-3 thin coats of your chosen paint color, allowing adequate drying time between coats. Lightly sand with very fine grit sandpaper (e.g., 320 grit) between coats for a silky smooth finish.
- Stain: For stained wood, first apply a wood conditioner, especially if using a softer wood like pine, to ensure even stain absorption and prevent blotchiness. Then, apply your desired stain color, wiping off excess according to instructions. You may apply multiple coats for a deeper color.
- Distressing: To create an aged or vintage look, after painting or staining, employ distressing techniques. Lightly sand edges, corners, or high-traffic areas to reveal the wood or a base coat underneath. You can also add small dents or wormholes with a hammer, chain, or awl for character.
- Attach Decorative Hardware (Optional): If desired, attach decorative hardware. This could include stylish metal brackets at the corners for an industrial or farmhouse touch, or elegant knobs and pulls if your design incorporated drawers or cabinet doors. Ensure hardware is aligned and secured properly.
Step 5: Finishing Touches – Protection and Presentation
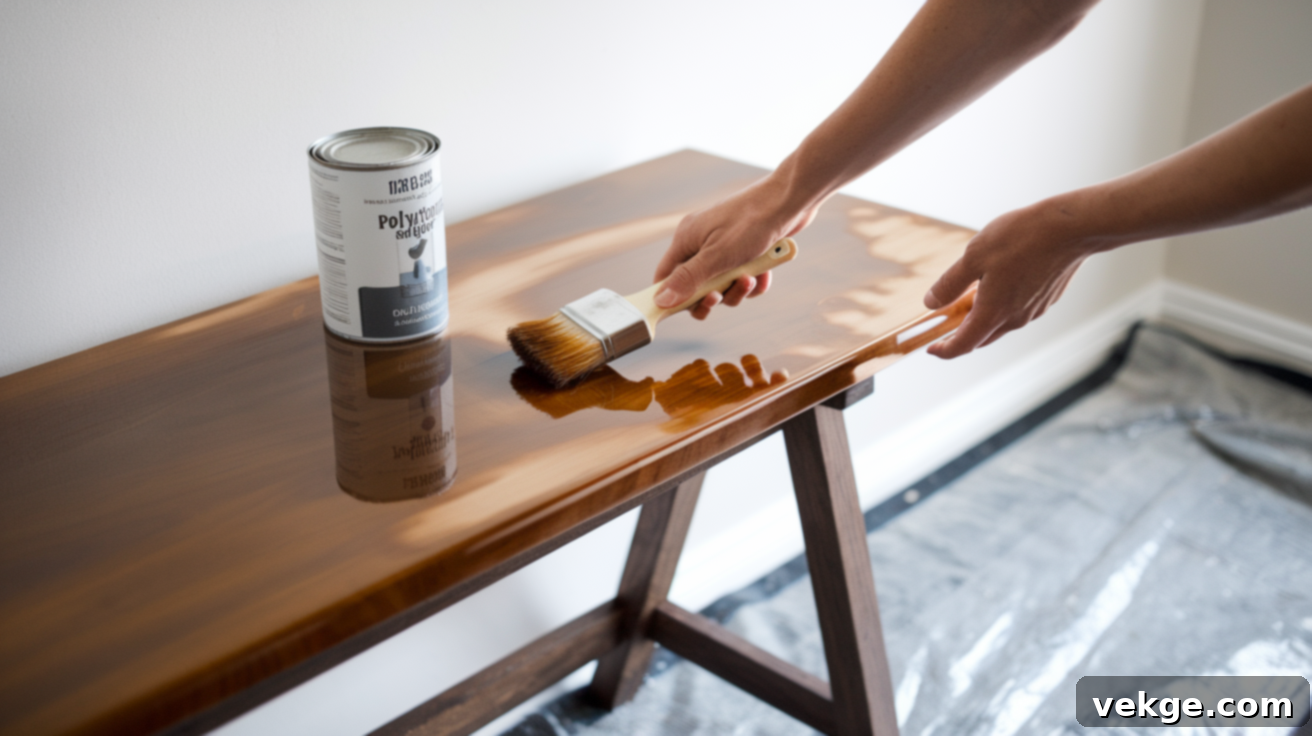
The final steps are crucial for protecting your masterpiece and ensuring it looks its best for years to come.
- Apply a Protective Coating: To shield the wood from spills, scratches, and daily wear, apply a durable protective coating.
- Polyurethane: For stained or natural wood, apply 2-3 thin coats of clear polyurethane (oil-based for maximum durability, water-based for faster drying and less odor). Lightly sand with very fine sandpaper (320-400 grit) between coats to ensure a smooth finish, wiping away dust before the next coat.
- Clear Topcoat for Paint: For painted wood, consider a clear topcoat like polycrylic for extra durability and chip resistance, especially on the tabletop.
- Wax or Shellac: For a more natural feel or specific aesthetic, wax or shellac can also be used, though they typically offer less protection than polyurethane.
- Allow Ample Drying Time: Let the finish dry and harden completely. This typically takes 24-72 hours, depending on the product and humidity. Resist the urge to place items on the table too soon, as this can mar the finish.
- Protect Your Floors: To prevent scratches on your floors, add felt pads or furniture glides to the bottom of each leg.
- Final Inspection: Carefully check for any rough spots, missed areas, or touch-ups that might be needed. Make any minor corrections.
- Style Your Entry Table: Move your freshly built table to its final location in your entryway. Now comes the fun part: styling! Add a table lamp for inviting ambiance, a decorative bowl for keys and mail, framed photos of loved ones, or a small plant to bring life into the space. A mirror above the table can also create a sense of depth and serve as a quick last-minute check before heading out.
Remember that woodworking projects often require patience and adjustments. Don’t be discouraged if you encounter minor challenges or need to problem-solve during the build—that’s an integral part of the rewarding DIY experience. The skills you gain will serve you well in many future home projects.
For a more detailed visual walkthrough of the entire process, watch the video below:
Style Options for Your DIY Entry Table
The style of your entry table is a powerful statement, setting the tone for your entire home and offering guests a glimpse into your personal taste. By thoughtfully choosing the right design approach, you can create a welcoming piece that not only reflects your aesthetic but also seamlessly complements your existing decor. Here are three popular styles to consider for your DIY project, each with distinct characteristics and finishing techniques:
1. Modern Designs: Sleek and Minimalist
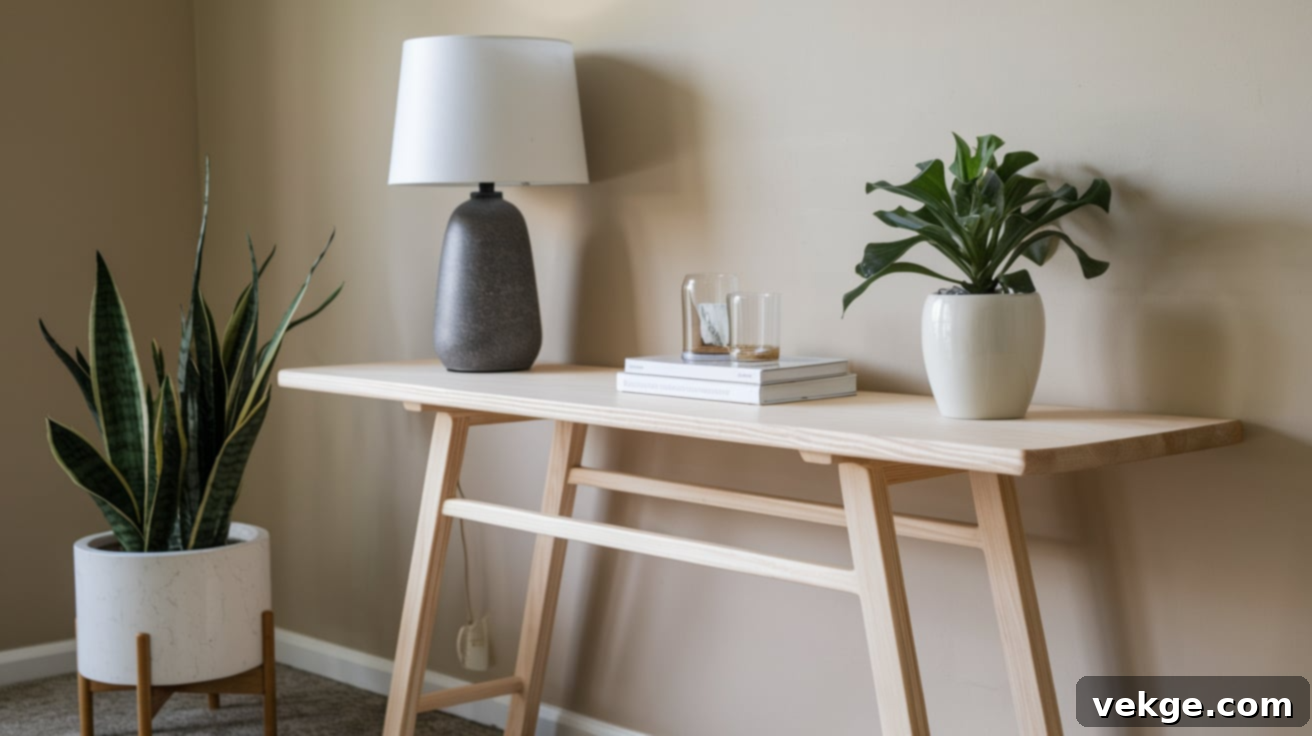
Modern design emphasizes clean lines, simplicity, and functionality. For a contemporary entry table, focus on:
- Materials: Choose smooth, straight-cut lumber like maple, birch, or even high-quality plywood. The key is a flawless finish, free of knots or imperfections. Alternatively, integrate materials like metal (chrome, brushed steel), glass, or acrylic for accents.
- Finish: Opt for solid neutral colors such as crisp white, matte black, or cool gray. A high-gloss lacquer or a smooth, clear polyurethane finish over light wood can enhance the sleekness.
- Design Elements: The design should be simple and uncluttered. Think thin, straight legs; a clean, flat top; and minimal ornamentation. Geometric shapes and asymmetrical balance can also work well.
- Styling: Pair with abstract art, sculptural objects, and minimalist lamps to complete the modern aesthetic.
2. Rustic & Farmhouse: Warm and Inviting
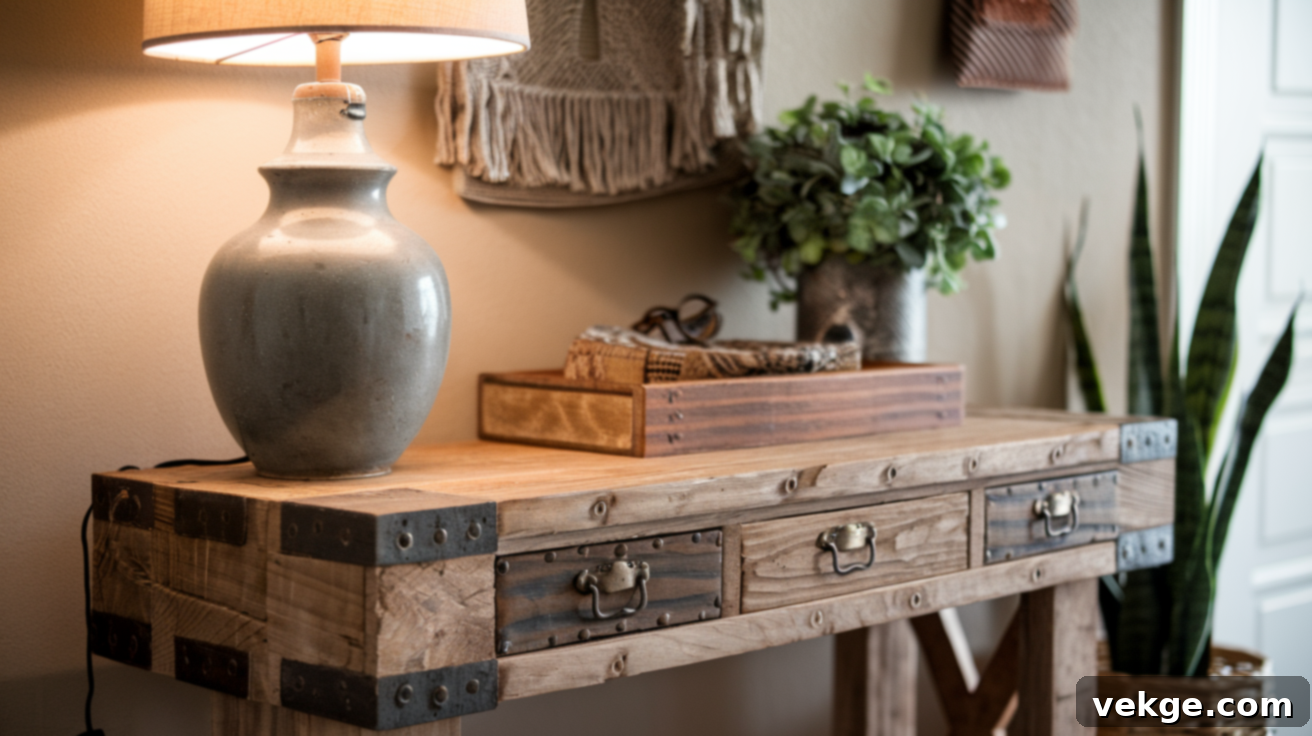
Rustic and farmhouse styles evoke a sense of warmth, history, and comfort. These designs celebrate natural materials and a slightly weathered look:
- Materials: Pine, oak, or reclaimed barn wood with visible knots, grain patterns, and natural imperfections are perfect. Leave edges slightly rough or rounded rather than perfectly straight and sharp.
- Finish: Consider techniques like whitewashing, milk paint, or chalk paint for an authentic aged look. Distress the wood by gently sanding edges unevenly, adding small dents with a hammer or chain, or applying a subtle glaze to highlight texture.
- Design Elements: Sturdy, turned legs, X-braces, or planked tops are common. Open shelving or simple drawers with cup pulls fit well.
- Styling: Complement with black iron hardware, woven baskets for storage, galvanized metal accents, and natural textiles.
3. Industrial: Raw and Edgy
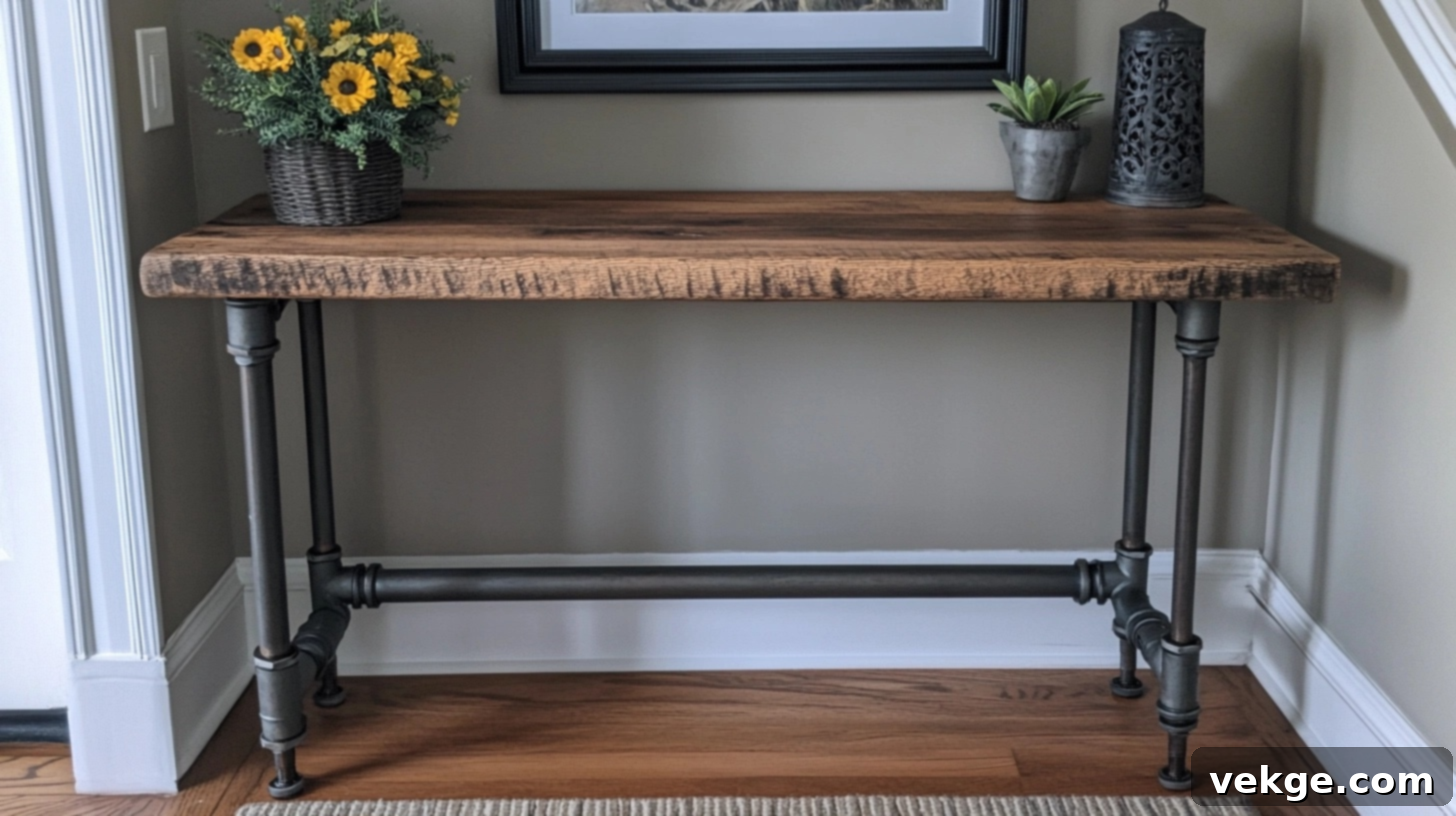
Industrial design blends utilitarian aesthetics with a raw, unfinished charm, often featuring a mix of wood and metal:
- Materials: Combine warm, robust wood tones (such as a thick, substantial wood top) with black, silver, or copper metal elements. Rough-sawn lumber or wood with a visible history works well.
- Finish: Darker stains like walnut, espresso, or ebony complement the metal elements beautifully. A matte or satin clear coat over the wood can protect it while maintaining a natural, slightly unfinished look.
- Design Elements: Consider using metal pipes or square steel tubing as table legs. Add exposed hardware like large bolts, metal corner brackets, or visible welding marks for an authentic industrial feel.
- Styling: This style works particularly well in lofts, urban apartments, or homes with exposed brick walls or concrete elements. Accessorize with vintage industrial lighting, wire baskets, or mechanical-inspired decor.
Advanced DIY Entry Table Projects
Once you’ve successfully completed a basic entry table, you might find yourself eager to challenge your woodworking skills with more complex projects. These advanced techniques not only allow you to create truly unique, heirloom-quality pieces but also deepen your understanding and mastery of woodworking, showcasing your growing craftsmanship and personal style.
Incorporating Complex Design Features
Elevate your table’s aesthetic with intricate details:
- Cabriole Legs: Try crafting elegant cabriole legs, characterized by their graceful S-curve. This involves using a bandsaw to cut curved shapes from thick wood stock, then refining them with rasps, files, and sandpaper until smooth and symmetrical.
- Decorative Inlays: Add visual interest with decorative inlays. This technique involves cutting shallow recesses into your tabletop (or other surfaces) and precisely fitting and gluing contrasting wood species, metal, or other materials (like shell or stone) into the void to create intricate patterns or designs.
- Curved Aprons: Instead of straight aprons, create a curved apron for a softer, more refined look. This often involves laminating thin strips of wood over a custom-made form, allowing them to dry in the desired curve before attaching them to the table.
- Beadboard Panels: Incorporate beadboard panels on the sides or back of your table using a router with a beading bit. This adds a classic, cottage-style texture and visual depth.
- Dentil Molding: For a traditional or neoclassical appearance, integrate dentil molding along the top edge of your apron or tabletop. This involves creating a series of small, rectangular blocks that resemble teeth, often hand-cut or bought as pre-fabricated strips.
Upcycling Furniture for a Custom Look
Give new life to old pieces by creatively upcycling elements into your entry table design:
- Salvaged Ornate Legs: Search antique stores or flea markets for old dining tables with ornate, beautifully carved legs. Carefully remove them from the original table, clean up the cut edges, and adapt them to support your new tabletop, instantly adding a vintage, high-end feel.
- Vintage Drawer Repurpose: Convert a vintage drawer into a hidden storage compartment or a functional pull-out shelf. Reinforce its structure and integrate it seamlessly beneath your table for discreet organization.
- Repurposed Window Display Top: Find an old window pane (ensure it’s safe and lead-free). Secure the glass and add a sturdy wooden frame beneath it to repurpose it as a unique display top, allowing you to showcase keepsakes or decorative items within the table itself.
- Antique Corbels as Brackets: Transform antique corbels (decorative architectural brackets) into elegant supports for your tabletop. These often come with intricate carvings and a distressed patina, adding instant character.
- Salvaged Trim Accents: Use salvaged trim pieces, such as crown molding or decorative baseboards, to add instant character and architectural detail to plain surfaces of your table.
Adding Custom Details and Artistic Finishes
Infuse artistic flair and unique finishing techniques:
- Woodburning Designs: Use a woodburning tool to carefully etch patterns, motifs, or even your family name or a meaningful quote into the wood surface, creating a truly personalized and rustic touch.
- Crackle Finish: Apply a crackle finish to painted surfaces for an authentically aged appearance. This involves applying specific crackle mediums between paint layers, causing the top coat to break and reveal the color underneath.
- Color Washing: Experiment with color washing by applying a diluted paint mixture (or glaze) and then wiping most of it off, allowing the natural wood grain to show through while imparting a soft hint of color.
- Hand-Painted Details: For an artistic touch, use artist’s acrylic paints to add hand-painted details, such as floral motifs, geometric patterns, or a custom mural, directly onto your table. Once dry, seal it with a clear coat for protection.
- Resin River Techniques: For a striking modern look, create a “river” effect in your tabletop. This involves routing a channel in the wood and then filling it with colored epoxy resin, often incorporating natural elements like pebbles or small branches for visual interest.
Conclusion
Building your own entry table is a project that delivers a trifecta of valuable rewards: you’ll achieve significant cost savings compared to store-bought options, create a piece perfectly matched to your unique space and personal style, and experience the profound pride and genuine satisfaction that comes from your own craftsmanship. This isn’t just about making furniture; it’s about making a statement with a piece that tells your story.
Whether you choose to embark on a simple, straightforward design or challenge yourself with something more intricate and complex, the process is deeply satisfying. Start by gathering inspiration, meticulously measuring your space, and carefully selecting quality materials. Don’t be intimidated by the learning curve; every small flaw or unexpected adjustment along the way adds character and becomes part of your creation’s unique narrative. So, gather your tools, embrace the creative journey, and begin building; your entryway is waiting for that personal, handcrafted touch that only you can provide.
