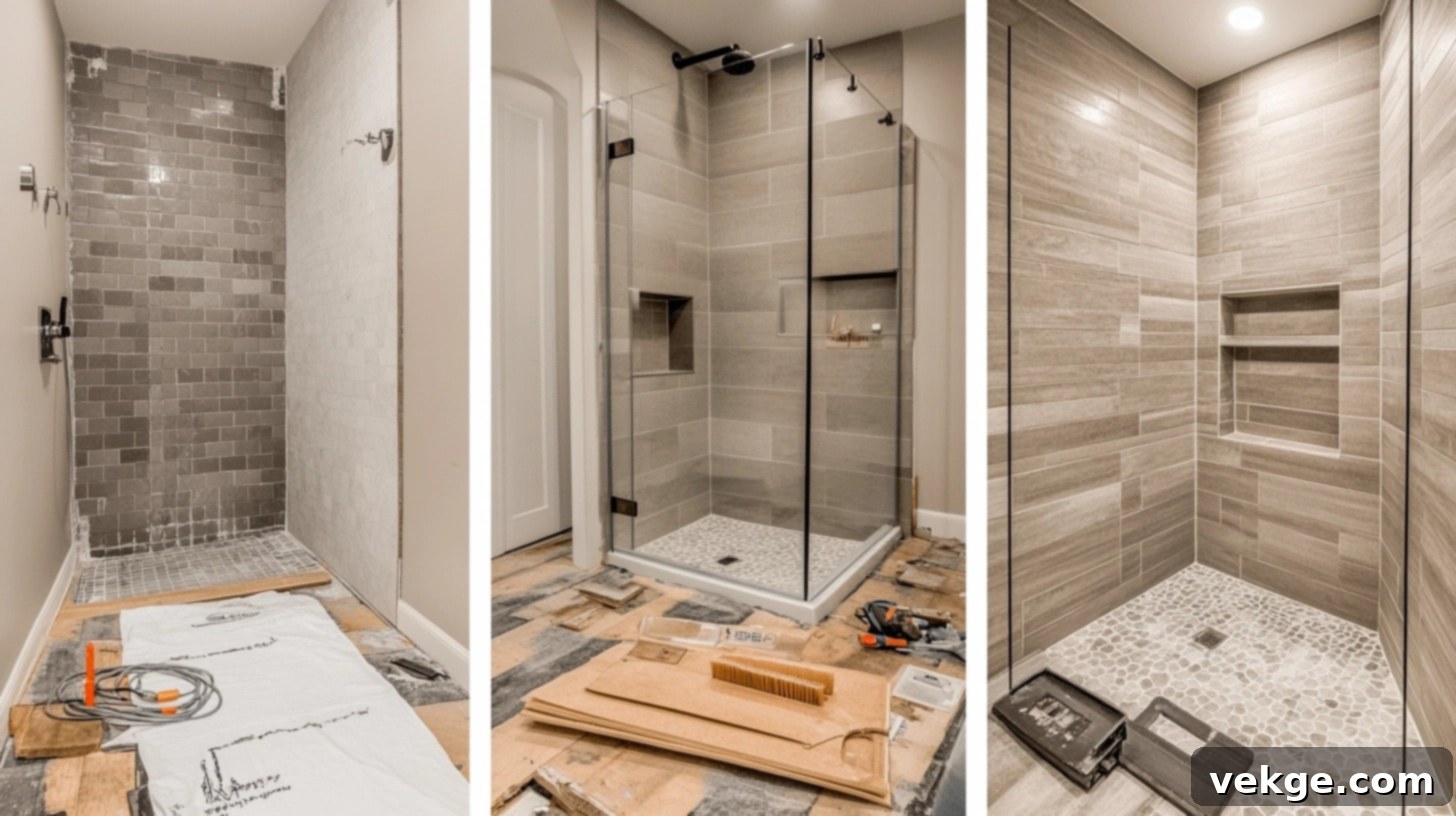
Transform Your Bathroom: The Ultimate DIY Shower Remodel Guide for a Stunning Upgrade
Do you ever find yourself gazing at your outdated shower, dreaming of a fresh, modern, and inviting space? Many homeowners do. The thought of a complete bathroom overhaul, especially a shower remodel, can feel overwhelming. Visions of hefty contractor fees and complex tasks often deter even the most enthusiastic DIYers.
However, what if we told you that taking on a shower remodel yourself is not only achievable but also incredibly rewarding? Imagine saving a significant amount of money while also basking in the pride of having created a truly unique and personalized sanctuary right in your home. This guide is your ultimate companion on that journey.
We’re thrilled to share a wealth of knowledge, tips, and tricks gathered from extensive experience in transforming showers from dull to dazzling, all without draining your bank account. We will meticulously walk you through each step, offering practical advice and insights that will simplify the process more than you might imagine.
So, dust off your ambition, grab your toolbox, and prepare to turn your ordinary bathroom into the luxurious oasis you’ve always envisioned. Let’s embark on this exciting DIY adventure together and unlock the potential of your home!
DIY Shower Remodel: Essential Materials and Tools Checklist
A successful shower remodel begins long before the first swing of a hammer. Careful planning and the right collection of materials and tools are paramount to ensuring a smooth, efficient, and high-quality outcome. This section will guide you through everything you need to gather, from foundational components to the safety gear that keeps you protected.
1. Materials Checklist for Your Shower Upgrade
Selecting the right materials is critical for durability, aesthetics, and moisture protection. Here’s a detailed breakdown of what you’ll need:
- Shower Base Components: This foundational element can be a pre-fabricated shower pan (acrylic or fiberglass are popular for their affordability and durability) or materials to construct a custom base. Don’t forget the essential drain assembly, including the drain body, grate, and any necessary gaskets. A well-chosen base ensures proper water drainage and prevents leaks.
- Waterproofing Supplies: This is arguably the most crucial step. You’ll need a high-quality waterproofing membrane (liquid-applied or sheet membrane like Schluter Kerdi), mesh tape for seams, and silicone caulk designed for wet environments. These materials create an impenetrable barrier against water, protecting your home from costly damage and preventing stubborn mold and mildew growth.
- Wall Materials: Cement backer boards are the industry standard for shower walls due to their excellent moisture resistance and stable surface for tiling. You’ll also need corrosion-resistant screws to securely attach the backer boards to your wall studs, ensuring a solid, long-lasting structure.
- Tile Installation Materials:
- Tiles: Choose tiles specifically rated for wet areas, considering both wall and floor applications. For floor tiles, prioritize slip resistance. Always calculate about 10-15% extra for cuts, breakage, and future repairs.
- Tile Adhesive (Thin-set Mortar): Select a high-quality thin-set mortar appropriate for your chosen tiles and the waterproofing system.
- Grout: Available in sanded (for wider joints) and unsanded (for narrower joints) varieties, and a vast array of colors to complement your tiles. Consider epoxy grout for superior stain and mold resistance.
- Grout Sealer: An essential step to protect your grout lines from moisture penetration and staining, extending the life and appearance of your tile work.
- Plumbing Fixtures: This includes your chosen showerhead, faucet handles, mixing valve, and any additional features like a handheld sprayer or body jets. Opting for water-saving fixtures, such as low-flow showerheads, not only contributes to environmental sustainability but also leads to significant long-term savings on your water bill.
- Finishing Materials: You’ll need additional silicone caulk for final sealing, painter’s tape for clean lines, and plastic sheeting or drop cloths to protect surrounding surfaces throughout the remodel.
Eco-Friendly Considerations: For those interested in sustainable remodeling, explore options like recycled glass tiles, low-VOC (Volatile Organic Compound) adhesives and grouts, and sustainably sourced lumber for any framing needs. Water-saving fixtures are always a smart, environmentally conscious choice.
2. Essential Tools for a Successful Remodel
Having the right tools is half the battle. They enable precision, efficiency, and professional-looking results. Here’s what you’ll need:
- Basic Hand Tools: A reliable measuring tape, a long level (at least 2-4 feet), a utility knife, a hammer, various screwdrivers (Phillips and flathead), a caulk gun, and a drill/driver set are indispensable for almost every step.
- Specialized Tile Tools:
- Tile Cutter or Wet Saw: A manual tile cutter is suitable for straight cuts on ceramic or porcelain tiles. For intricate cuts, natural stone, or large-scale projects, a wet saw is invaluable for its precision and dust control.
- Notched Trowels: Different notch sizes are required for various tile sizes and types to ensure proper adhesive coverage.
- Grout Float: A rubber-bottomed tool designed to press grout into tile joints effectively.
- Sponges and Buckets: For cleaning grout haze and mixing materials.
- Safety Equipment: Never compromise on safety. Protect yourself with safety glasses or goggles to shield against debris, sturdy gloves to prevent cuts and chemical exposure, a dust mask or respirator for dust-heavy tasks (especially during demolition or cutting cement board), and knee pads for comfort during tiling.
Tool Acquisition Tip: Consider whether renting specialized tools like a wet saw or a large tile cutter is more cost-effective than buying, especially if you anticipate infrequent use after this project. For basic tools, investing in quality ones will serve you well for many future DIY endeavors.
3. Savvy Shopping Tips for Your Materials
Smart shopping can significantly impact your budget and the quality of your remodel:
- Where to Shop: Home improvement superstores (e.g., Lowe’s, Home Depot) offer a broad range of options. Specialty tile shops provide expert advice and unique selections. Online retailers can offer competitive pricing and convenience. Don’t overlook discount outlets or reclaimed material centers, where you might find unique, high-quality items at a fraction of the cost, adding character to your space.
- Evaluating Quality: Always inspect materials for defects, consistency in color/texture, and read product reviews. Request samples when possible to see how materials look in your bathroom’s lighting and to test their durability. Higher quality materials often lead to a more durable and aesthetically pleasing finish.
- Saving Money: Look for bulk discounts on tiles and other consumables. Keep an eye out for seasonal sales, clearance items, and inquire about price matching policies. Understanding return policies is also crucial; buying a little extra of certain materials is wise, but ensure you can return unopened packages to avoid unnecessary waste and expense.
Step-by-Step DIY Shower Remodeling Guide
With your materials and tools at the ready, it’s time to roll up your sleeves and dive into the transformation. Each step in this guide is designed to build upon the last, ensuring a structurally sound, waterproof, and visually stunning shower. Follow these instructions carefully, and you’ll be showering in your new, self-made oasis in no time!
1. Preparing the Work Area: Laying the Groundwork for Success
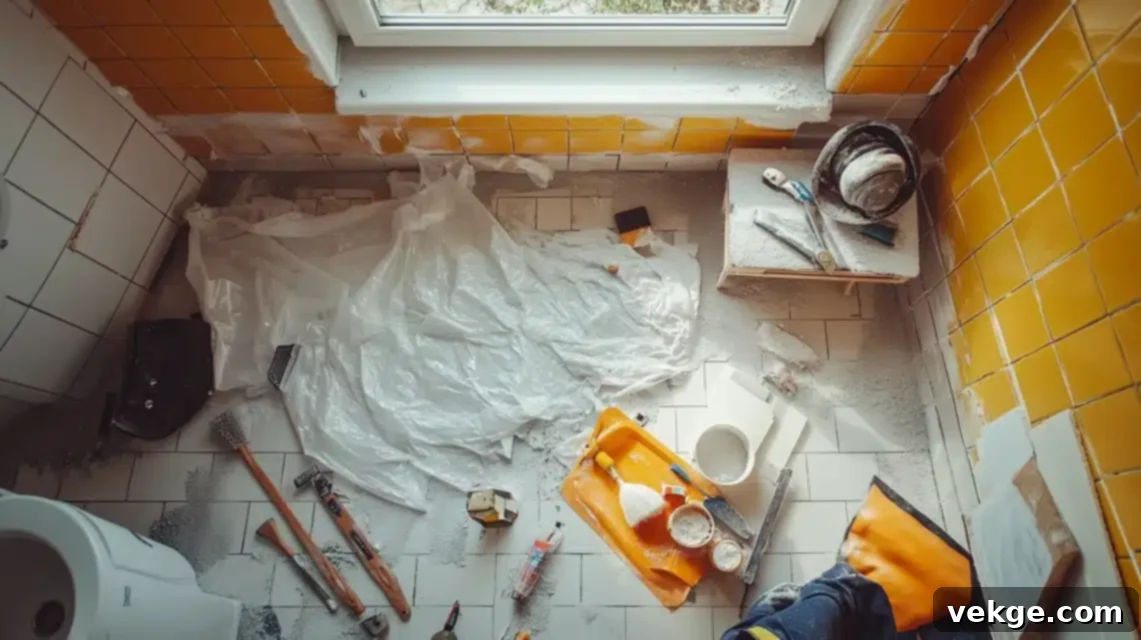
Before any demolition begins, a meticulous setup of your workspace is non-negotiable. This phase protects the rest of your home and ensures your safety. Start by completely clearing out the bathroom of all personal items, including towels, toiletries, rugs, and decorative pieces, to prevent them from getting damaged or covered in dust. Next, protect all non-removable fixtures like the toilet and vanity, as well as the bathroom floor, with sturdy drop cloths or thick plastic sheeting, taped securely in place to form a dust barrier. Safety remains paramount: always don your protective gear – safety glasses, gloves, and a dust mask or respirator – especially when anticipating significant dust or the presence of mold. Crucially, turn off the main water supply to the shower to prevent accidental leaks or floods. If your remodel involves any electrical work, such as moving a light fixture or fan, switch off the power at the circuit breaker to ensure electrical safety.
2. Demolition: Clearing the Way for New Beginnings
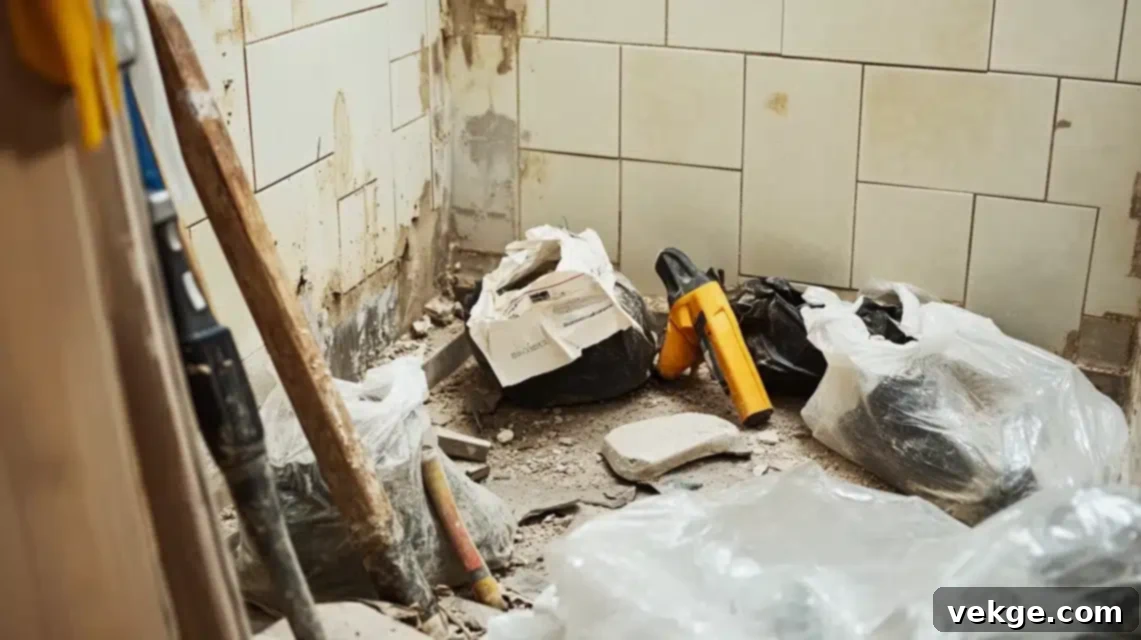
With the workspace thoroughly prepped, it’s time to systematically remove the old shower components. Begin by carefully dismantling all fixtures: the showerhead, faucet handles, mixing valve trim, and any attached shelves or soap dishes. Using labeled bags or containers for screws and small parts can be a lifesaver for organization. For tile removal, patience is a virtue. Employ a hammer and chisel (or a pry bar) to gently chip away at the grout lines, then carefully pry the tiles from the wall. Starting from the top and working downwards minimizes the risk of falling debris damaging lower surfaces. If you encounter stubborn tiles or adhesive, a heat gun can often soften the bond, making removal easier. Finally, responsible disposal of all demolition debris is essential. Use heavy-duty contractor bags and secure trash cans. Always check local waste disposal regulations, as certain materials like old drywall or tiles might require specific disposal methods.
3. Plumbing Adjustments: Ensuring a Solid Foundation
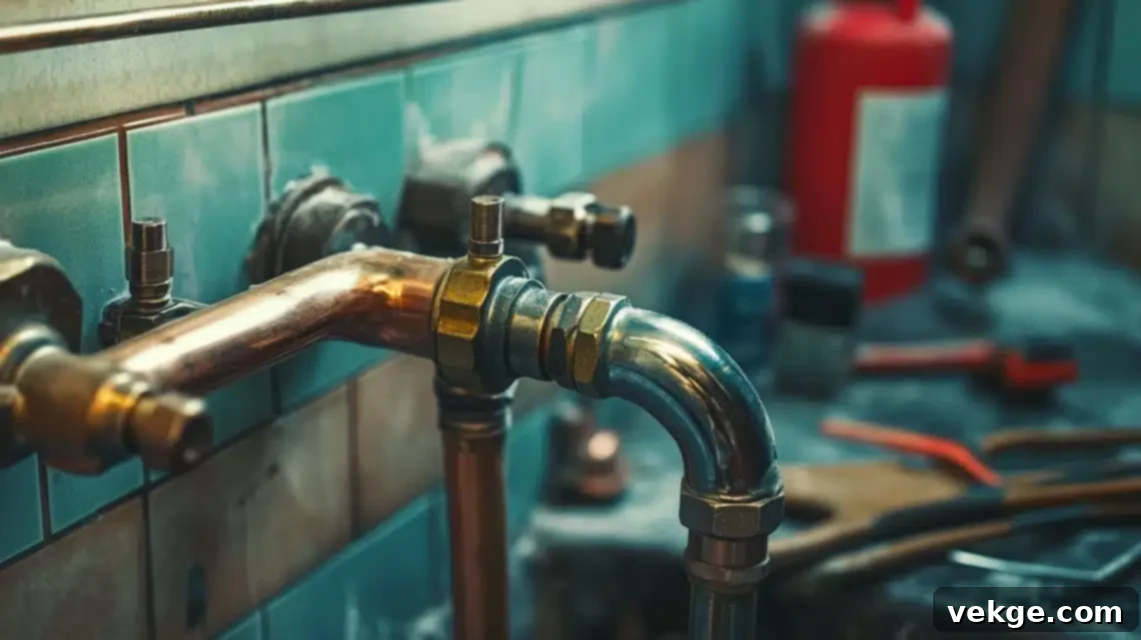
This stage is crucial for the long-term functionality and safety of your new shower. Begin by thoroughly assessing your existing plumbing. Look for any signs of corrosion, leaks, or outdated piping materials. If you’re changing the shower’s layout or upgrading to different fixtures, adjustments to the hot and cold water lines, as well as the drain, will be necessary. Replacing old galvanized steel pipes with modern PVC or copper can significantly improve water flow and prevent future issues. When relocating pipes or installing new valves, precise measurements are key; mark new locations on the studs and drill holes with care. For soldering copper pipes, always use a heat shield to protect surrounding framing and have a fire extinguisher on hand. If you encounter complex plumbing tasks that make you uncomfortable, such as rerouting main lines or dealing with pressure regulators, do not hesitate to consult or hire a licensed plumber. Investing in professional help now can prevent costly and damaging mistakes later.
4. Installing the Shower Base: The Foundation of Your Shower
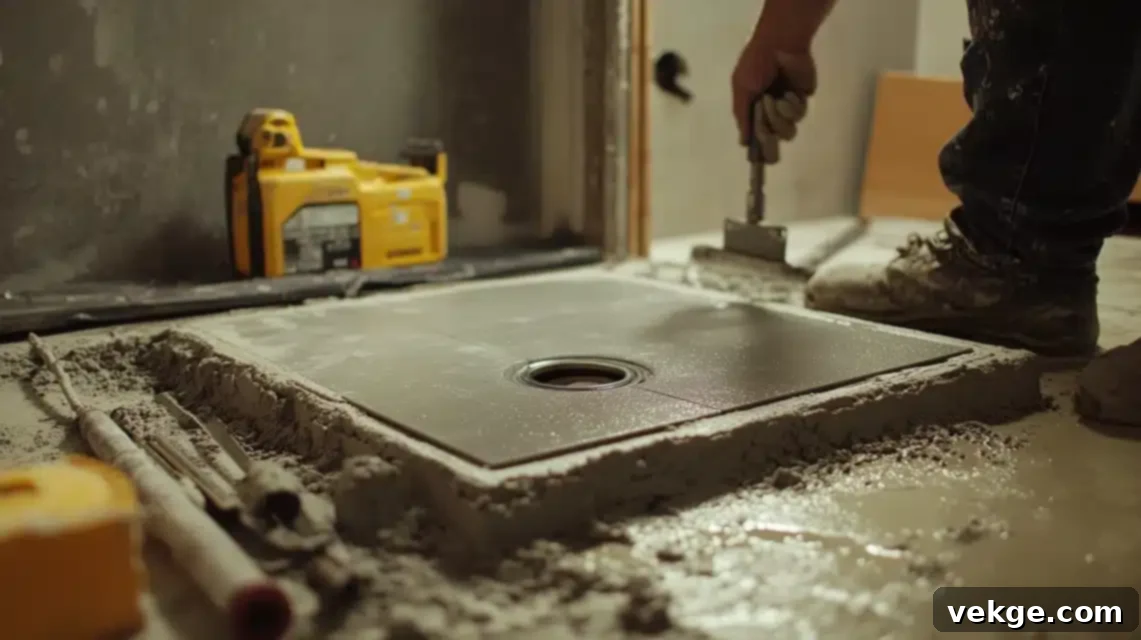
The shower base is the critical foundation that directs water to the drain and prevents leaks. Your choice between a pre-made shower pan and a custom-built base will depend on your design preferences, budget, and DIY skill level. For a pre-made pan (acrylic or fiberglass), ensure the subfloor is clean, level, and structurally sound. Apply a bed of mortar (often thin-set or a specialized pan setting compound) evenly across the subfloor where the pan will rest; this fills any minor imperfections and provides solid support, preventing creaking or cracking. Carefully lower the pan onto the mortar bed, aligning it perfectly with the drain hole. Press down firmly and use a spirit level to ensure it’s perfectly level. For a custom-built base, you’ll first construct a sturdy frame using pressure-treated lumber, securely attaching it to the subfloor. The most important aspect of a custom base is creating the correct slope for drainage. A sloped mortar bed, typically a quarter-inch per foot towards the drain, is essential. Use a screed or a straight edge to form this slope accurately, ensuring no water puddles after installation.
5. Waterproofing the Shower: The Ultimate Protection Against Leaks and Mold
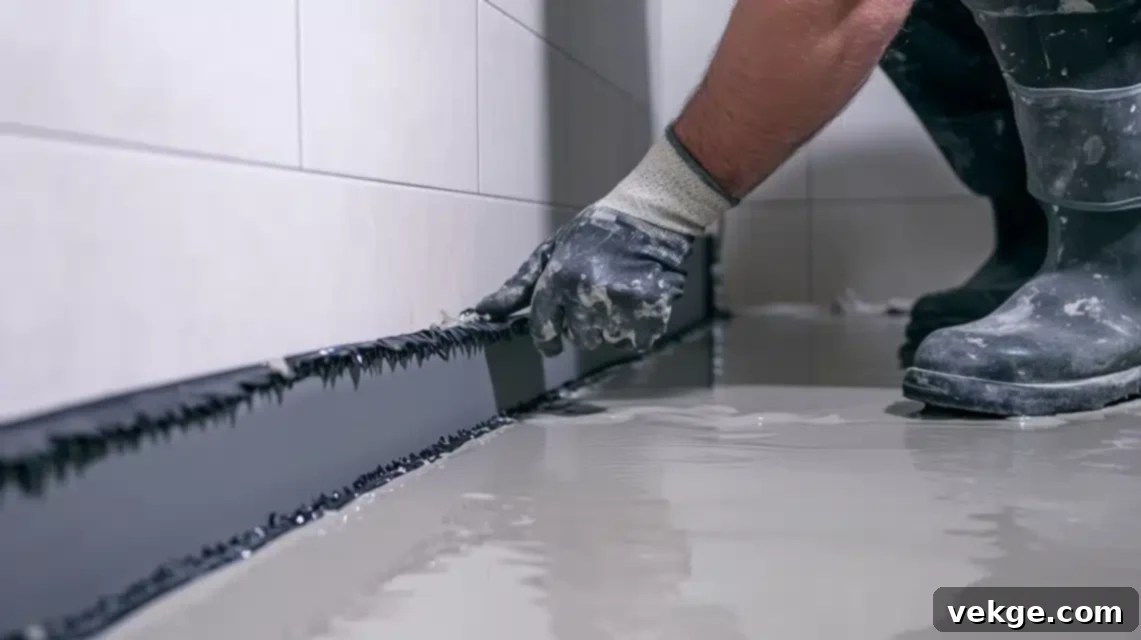
Waterproofing is arguably the most critical step in a shower remodel; it’s what prevents insidious water damage, mold growth, and structural issues down the line. Do not cut corners here. Choose a reliable waterproofing system, such as a liquid-applied membrane that paints on, or a sheet membrane system like Schluter Kerdi, which adheres with thin-set mortar. Application involves meticulous attention to detail. Cut your chosen membrane to fit the walls and floor, ensuring generous overlaps at all seams. Using a notched trowel, spread a consistent layer of thin-set mortar (if using a sheet membrane) or apply the liquid membrane evenly. Press the membrane firmly into place, smoothing out any air bubbles with a flat trowel or roller. Pay special attention to corners, joints, and around the drain; these are prime areas for leaks. Use pre-formed corner pieces or carefully fold the membrane to ensure continuous coverage. Seal all pipe penetrations with specialized seals or collars, creating a watertight barrier around the faucet and showerhead pipes. Before proceeding, perform a flood test: plug the drain, fill the shower base with water to just below the threshold, and let it sit for at least 24 hours (48 hours is even better). Any drop in the water level indicates a leak that must be found and sealed before moving forward.
6. Wall Installation: Building a Solid Surface for Tiling
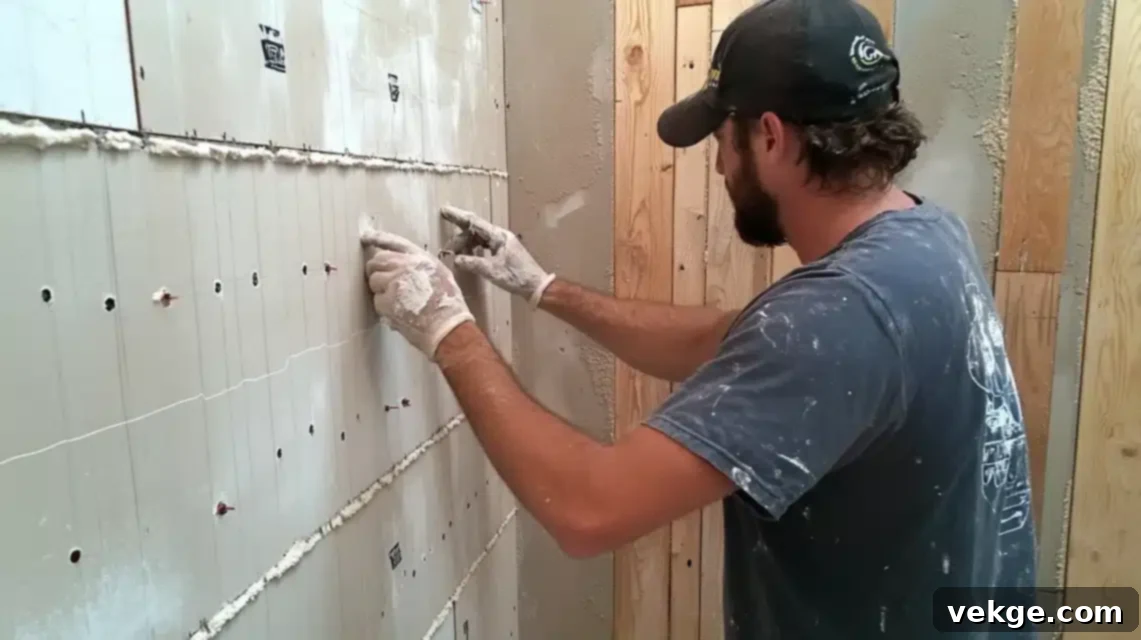
Once your base is fully waterproofed and cured, the next step is to install the wall substrate. Cement backer boards are the preferred choice for their exceptional moisture resistance and stability, providing an ideal surface for tiling in wet areas. Begin by accurately measuring and cutting the backer boards to fit your shower walls. You can achieve clean cuts using a carbide-tipped scoring knife and breaking the board, or for faster and more precise cuts, a circular saw with a masonry blade (wear a respirator for dust). When attaching the boards to the wall studs, use corrosion-resistant screws (specifically designed for cement board) spaced every eight inches along the studs, ensuring the screw heads are flush with the board’s surface but not over-tightened. It’s crucial to leave a small gap (⅛ inch) between the bottom edge of the backer board and the shower pan to prevent wicking moisture. Sealing the seams between the boards is essential for structural integrity and a smooth tiling surface. Apply fiberglass mesh tape over all joints and cover them with a thin, even layer of thin-set mortar, smoothing it out with a trowel.
7. Tiling the Shower: Bringing Your Vision to Life
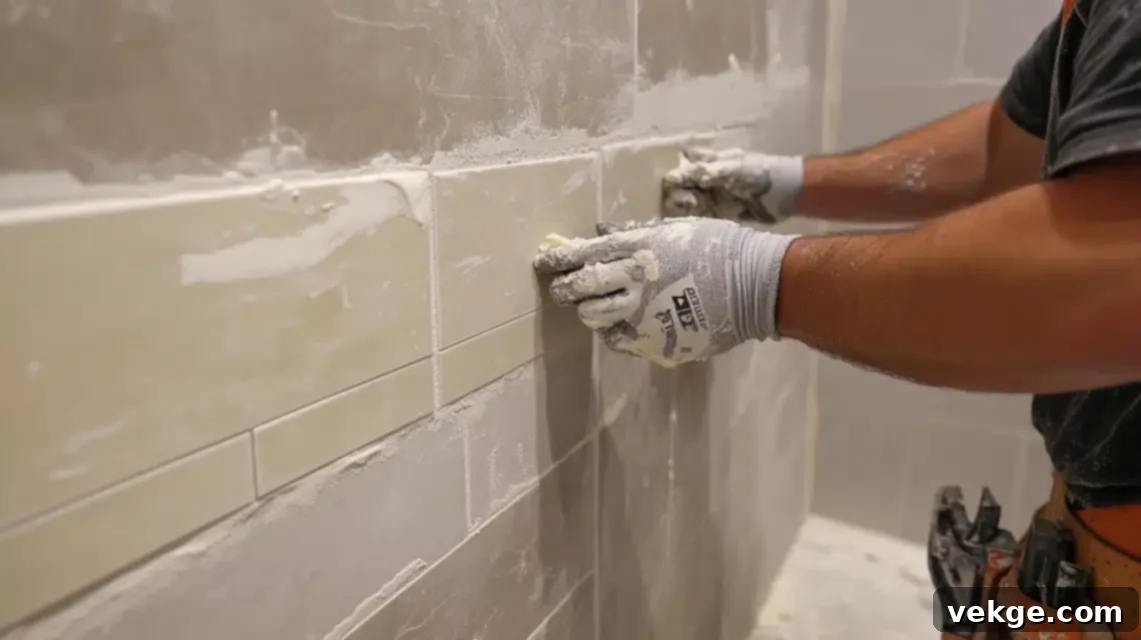
Tiling is where your shower truly begins to take shape, combining both aesthetic appeal and crucial functionality. Begin by selecting tiles specifically rated for wet environments, paying close attention to the slip resistance rating for floor tiles. Before applying any adhesive, perform a “dry fit” by laying out your tiles on the floor to plan the layout. Starting from the most visible wall (often the back wall) and working outwards or from a central point helps achieve a balanced and professional appearance, allowing you to anticipate and plan for any necessary cuts. Mix your thin-set mortar to the right consistency – it should be smooth, like peanut butter, and hold a ridge without being runny. Using a notched trowel appropriate for your tile size, spread the mortar onto small sections of the wall or floor at a time to prevent it from drying prematurely. Press each tile firmly into the mortar, twisting it slightly to ensure excellent adhesion. Use tile spacers to maintain perfectly consistent grout lines throughout. For tiles that require cutting around fixtures, corners, or edges, a wet saw provides clean, precise cuts. After all tiles are set and the mortar has cured (typically 24 hours, or as per manufacturer instructions), it’s time to grout. Mix the grout to the manufacturer’s specifications. Using a rubber float, apply the grout diagonally across the tiles, pressing it firmly into the joints. Remove excess grout immediately with the edge of the float. Once a slight haze forms (usually 15-30 minutes), use a damp sponge to wipe the tiles clean, rinsing the sponge frequently. After the grout fully cures (check product instructions, usually 48-72 hours), apply a high-quality grout sealer to protect against stains and moisture, enhancing its longevity.
8. Installing Fixtures and Doors: The Finishing Functional Elements
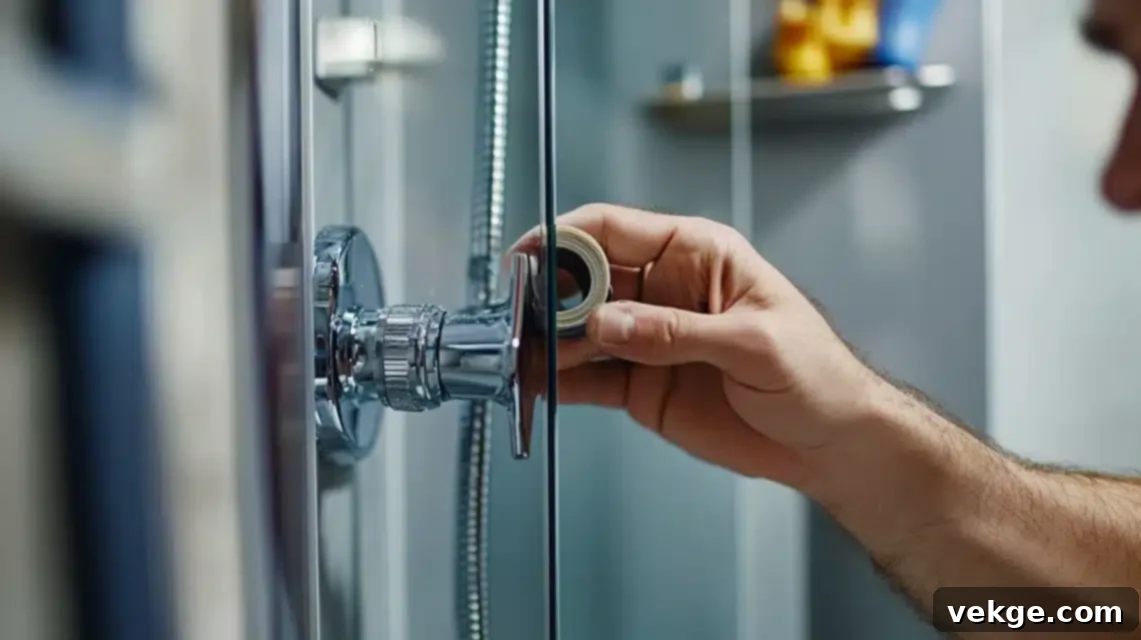
With the tiling complete, it’s time to bring functionality back to your shower by installing the fixtures and an enclosure. Carefully attach your chosen faucet handles, showerhead, and any other controls (like a diverter or handheld sprayer). Always use plumber’s tape (Teflon tape) on all threaded connections to create a watertight seal and prevent leaks. Tighten connections firmly but avoid overtightening, which can damage fixtures or pipes. If you’re installing a glass shower door, precise measurements are absolutely crucial; even a small error can make installation impossible or compromise the seal. Follow the manufacturer’s guidelines carefully for mounting brackets and hinges, double-checking that everything is perfectly level and plumb before securing. Handling glass panels requires extreme caution; they are heavy and fragile. Enlist help to safely maneuver and secure them to avoid injury or breakage. For a simpler, more budget-friendly option, a shower curtain setup requires installing a tension rod or a wall-mounted rod. Choose a shower curtain that complements your new tile design and bathroom decor to enhance the overall aesthetic.
9. Finishing Touches: Polishing Your New Shower
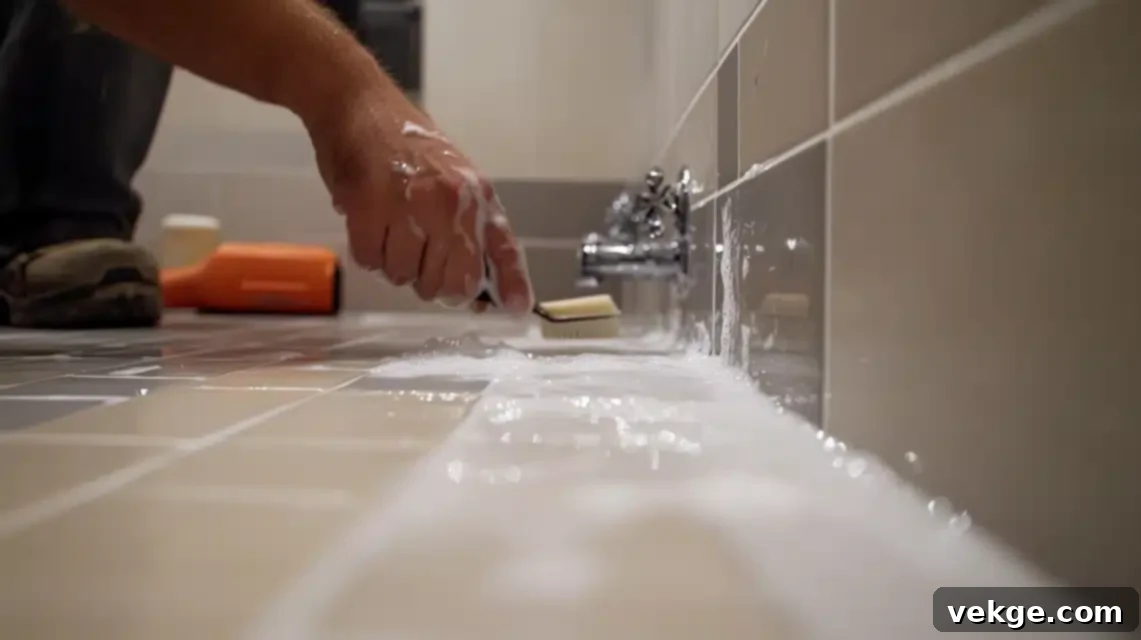
The final steps are all about refinement, ensuring a pristine look and watertight performance. Apply a bead of high-quality silicone caulk along all crucial edges: where the tiles meet the shower base, at vertical corners, and around all fixtures and the shower door frame. This creates a secondary watertight seal and gives a clean, finished appearance. Use a caulk smoothing tool or a wet fingertip to achieve a neat, professional-looking bead. After the caulk has cured (check product instructions for drying times), thoroughly clean the entire shower area. Remove any remaining construction debris, dust, and grout haze with a non-abrasive cleaner. Polish all new fixtures with a soft cloth to make them sparkle. Finally, enhance the functionality and aesthetics with accessories. Install towel hooks, shelves, or soap dispensers. When drilling into tiled surfaces for these accessories, it’s always best to drill into the grout lines rather than directly into tiles to minimize the risk of cracking. Step back and admire your handiwork – your newly remodeled shower is now ready to enjoy!
Final Thoughts: Celebrate Your DIY Achievement
A DIY shower remodel is far more than just a home improvement project; it’s a profound journey of creativity, problem-solving, and personal accomplishment. By meticulously planning, rolling up your sleeves, and immersing yourself in each step of the process, you’ve done more than merely upgrade a bathroom. You’ve significantly enhanced your home’s value, created a space perfectly tailored to your needs, and, most importantly, crafted a sanctuary that beautifully reflects your unique style and effort.
Every challenge overcome, every new skill learned, and every precise cut made adds to the immense satisfaction you’ll feel each time you step into the shower you built yourself. This newly transformed space is a testament to your determination and capability.
As you enjoy the comfort and beauty of your new oasis, remember that your success can be a powerful source of inspiration for others to embark on their own DIY adventures. Share your story, recount the lessons learned, and proudly display your handiwork. This fosters a vibrant community of confident, capable homeowners, empowering more individuals to tackle projects they once deemed impossible.
With the right guidance and unwavering determination, transforming your bathroom isn’t just possible—it’s an incredibly rewarding experience that is truly within your grasp. Here’s to celebrating your hard work and enjoying the exquisite fruits of your labor every single day!
Frequently Asked Questions About DIY Shower Remodels
What Is the Cheapest Way to Redo a Shower?
The cheapest way to refresh a shower involves cosmetic updates that avoid major demolition or plumbing changes. Consider painting existing tiles with specialized waterproof tile paint, applying adhesive shower panels over old surfaces, or regrouting and recaulking for a clean look. Replacing only the showerhead and faucet can also provide a significant visual upgrade without extensive work. Reusing existing fixtures if they are in good condition, shopping for discounted or salvaged materials, and performing all the labor yourself are key strategies to keep costs at an absolute minimum. Focus on high-impact, low-cost changes to achieve a fresh look inexpensively.
Can I Replace My Shower Myself?
Absolutely, yes! Replacing your shower yourself is a highly achievable DIY project for homeowners who are comfortable with general construction tasks and have access to the necessary tools. Many aspects, from demolition to tiling and fixture installation, can be successfully handled with detailed guides and a commitment to learning. However, it’s crucial to pay meticulous attention to critical steps like plumbing adjustments and waterproofing, as mistakes here can lead to significant future problems. For complex plumbing changes or if you feel unsure about any particular stage, do not hesitate to consult or hire a professional for that specific task. Understanding your limits ensures a high-quality and safe outcome.
How Much Does It Cost to Remodel a Shower DIY?
The cost of a DIY shower remodel can vary widely, typically ranging from $500 to $2,500, depending heavily on the scope of the project and your material choices. This estimate primarily covers materials such as new tiles, thin-set mortar, grout, waterproofing supplies, a shower pan (if replacing), and new fixtures (showerhead, faucet). If you opt for basic, affordable ceramic tiles and standard fixtures, your costs will be on the lower end. Choosing more luxurious options like natural stone tiles, custom glass doors, or high-end rain shower systems will push the cost towards the upper end of this range. The biggest saving comes from eliminating labor costs by doing the work yourself, making DIY remodeling a highly economical option compared to professional installation, which can easily double or triple these figures.
How Much Does It Cost to Redo a Walk-In Shower?
Redoing a walk-in shower as a DIY project generally falls within a price range of $1,000 to $5,000. This wider range reflects the potential for larger dimensions, more extensive tiling, and often more specialized waterproofing systems required for a curbless entry. Costs will fluctuate significantly based on several factors: the type and quality of tiles chosen (e.g., subway tiles vs. large format porcelain or natural stone), the complexity of the shower pan (custom-built requires more materials and skill), the type of shower door or enclosure (frameless glass is typically more expensive than semi-framed), and any custom features like built-in benches or niches. Opting for budget-friendly yet durable materials, planning carefully, and handling all the labor yourself are the most effective ways to manage expenses and keep your walk-in shower remodel within an economical budget.
