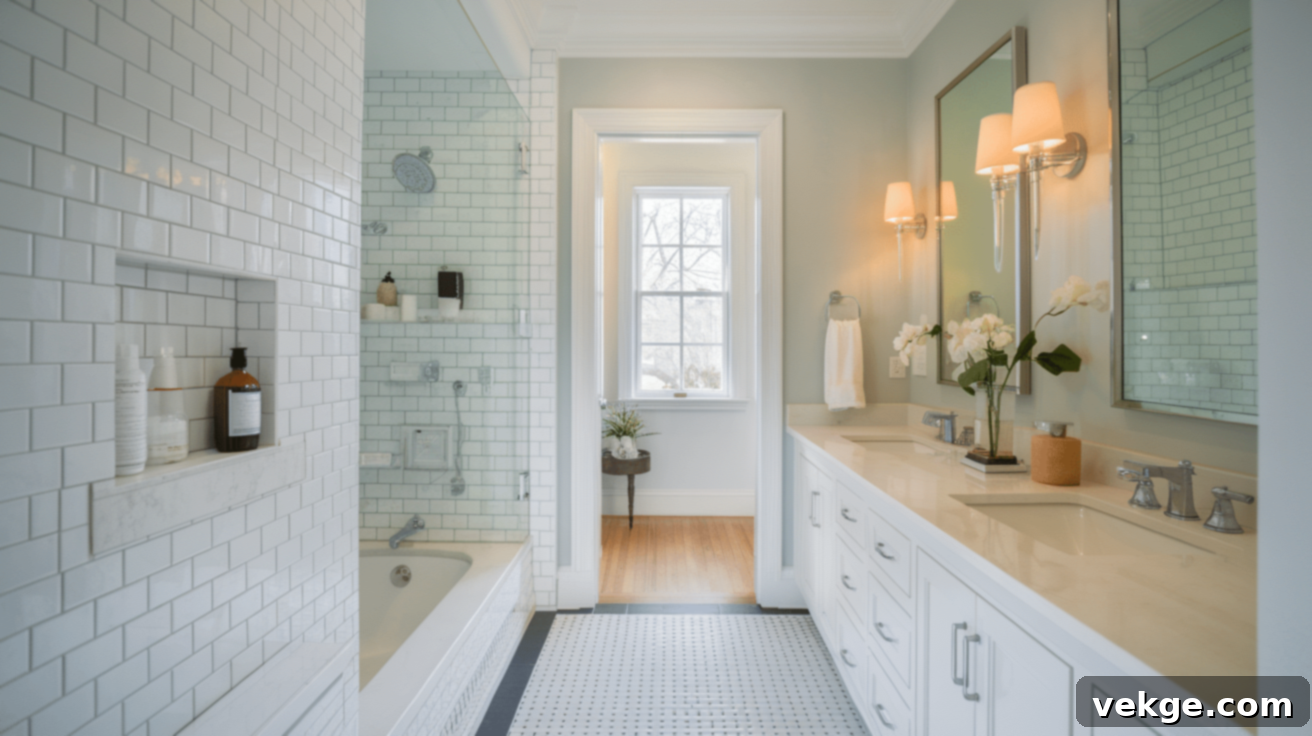
Transform Your Small Bathroom: The Ultimate DIY Guide to a Budget-Friendly Renovation
Are you tired of starting your day in a cramped, outdated bathroom that feels more like a burden than a blessing? You’re certainly not alone. Many homeowners face the challenge of a small, tired bathroom space that lacks both functionality and aesthetic appeal. The good news is, transforming this frustrating area into a clean, comfortable, and inviting sanctuary doesn’t have to be an expensive or stressful ordeal. With the right approach and a clear plan, you can revitalize your small bathroom and create a space you genuinely love to use.
This comprehensive guide is designed to empower you with easy-to-follow steps for every stage of your bathroom renovation journey. We’ll cover everything, from initial planning and decluttering to essential tasks like painting, installing new fixtures, and adding those crucial final touches. You won’t need specialized tools or advanced skills; just a willingness to learn and a desire for a more beautiful and useful bathroom.
Ready to discover how a few thoughtful changes can make a monumental difference in your home’s most essential room? Let’s dive in and turn that “blah” bathroom into a space that reflects your style and enhances your daily routine.
Planning Your Small Bathroom Renovation
A successful bathroom makeover always begins with meticulous planning. Taking the time to accurately measure your space and envision its potential is crucial for making smart, cost-effective decisions. This initial phase helps you set clear goals for both design and budget, ensuring your project stays on track and delivers the results you desire.
Measuring Your Space for Optimal Design
Your tape measure will be your most valuable tool during this stage. Walk through your bathroom and carefully measure every dimension: width, length, and height of the room. Don’t forget to measure the placement and size of existing features like windows, doors, electrical outlets, and plumbing connections. These fixed elements are important constraints and opportunities that will influence your new layout.
As you measure, pay close attention to the current flow of movement. Does the vanity feel too large, obstructing easy access? Is the shower or toilet area uncomfortably tight? Identify these pain points, as your renovation aims to resolve them. Sketch a rough floor plan on graph paper or utilize a smartphone app to create a digital layout. This visual representation will help you experiment with different arrangements and ensure that new fixtures fit perfectly without creating new bottlenecks.
Think about how light enters the room and where new lighting fixtures could enhance the space. Consider the placement of ventilation if you plan to upgrade it. Understanding these details will not only guide your design choices but also help you anticipate potential challenges and create a bathroom that is perfectly tailored to your needs and lifestyle.
Budget Breakdown: Managing Your Renovation Finances
Establishing a realistic budget early on is paramount to a stress-free renovation. This financial roadmap will help you stay in control and make informed decisions about material choices, fixtures, and potential labor costs. A detailed budget breakdown ensures you allocate funds effectively, avoiding unexpected expenses down the line.
Consider these common expenditure categories when planning your budget:
- Demolition & Waste Removal: Costs associated with tearing out old fixtures and disposing of debris.
- Flooring: Tiles, vinyl, laminate, or other materials, plus adhesive and grout.
- Walls & Paint: Primer, paint, wall repairs, and any decorative wall coverings.
- Fixtures: Toilet, sink, faucet, showerhead, bathtub (if applicable).
- Vanity & Storage: Cabinetry, countertops, shelving.
- Lighting: Ceiling lights, vanity lights, electrical upgrades.
- Accessories: Mirror, towel bars, shower curtain, decorative elements.
- Tools & Supplies: Any new tools you might need, caulking, sealant, safety gear.
- Contingency Fund: Always allocate 10-15% of your total budget for unforeseen issues.
Remember that actual expenses can vary significantly based on your bathroom’s size, your chosen material quality, and regional labor rates if you decide to hire professionals for certain tasks. It’s not about doing everything at once but about making steady, manageable progress within your financial means. Prioritize the most impactful changes first and research thoroughly to find the best value for your money.
Step-by-Step Bathroom Transformation for Small Spaces
Turning your small bathroom into a highly functional and aesthetically pleasing space is an achievable goal with a structured approach. This step-by-step section will guide you through the entire process, from preparing the existing space to installing the final decorative elements. Each stage builds upon the last, helping you maintain focus and stay on track. You don’t need expensive tools or expert skills; just clear instructions and a bit of dedication.
Step 1: Thorough Preparation
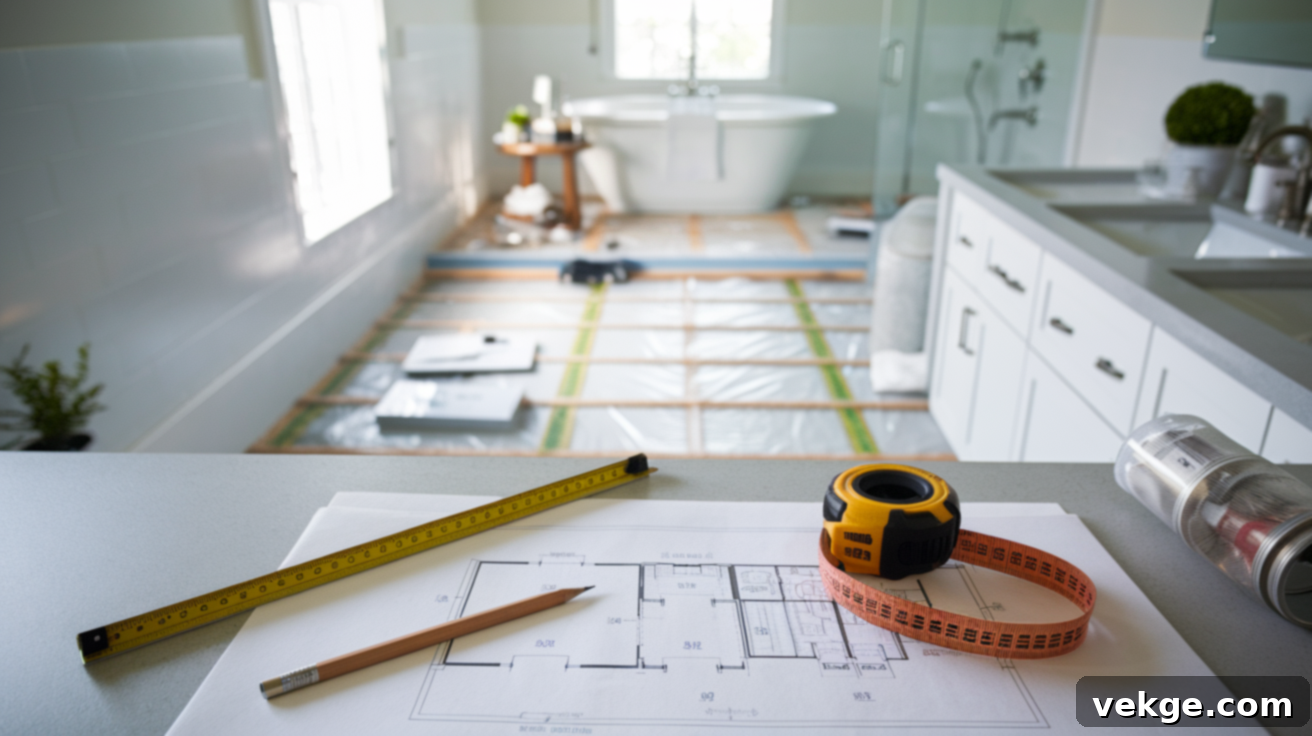
Effective bathroom renovation always begins with meticulous preparation. Start by accurately measuring your space and sketching its current layout, noting the position of all fixtures and utilities. Next, select a design style and color palette that resonates with your personal taste and fits your budget. Before you lift a single tool, take plenty of “before” photos – these will be incredibly satisfying to look back on! Gather all necessary tools and materials, ensuring everything is on hand to prevent delays.
Completely empty the bathroom, removing all personal items, linens, and small decor. If you plan to keep any fixtures or elements, carefully protect them. Lay down protective coverings, such as drop cloths or cardboard, on surrounding floors and doorways to prevent damage from debris or spills during the construction phases. This initial groundwork is crucial; it sets the stage for a smooth, efficient, and successful renovation project.
Step 2: Careful Demolition
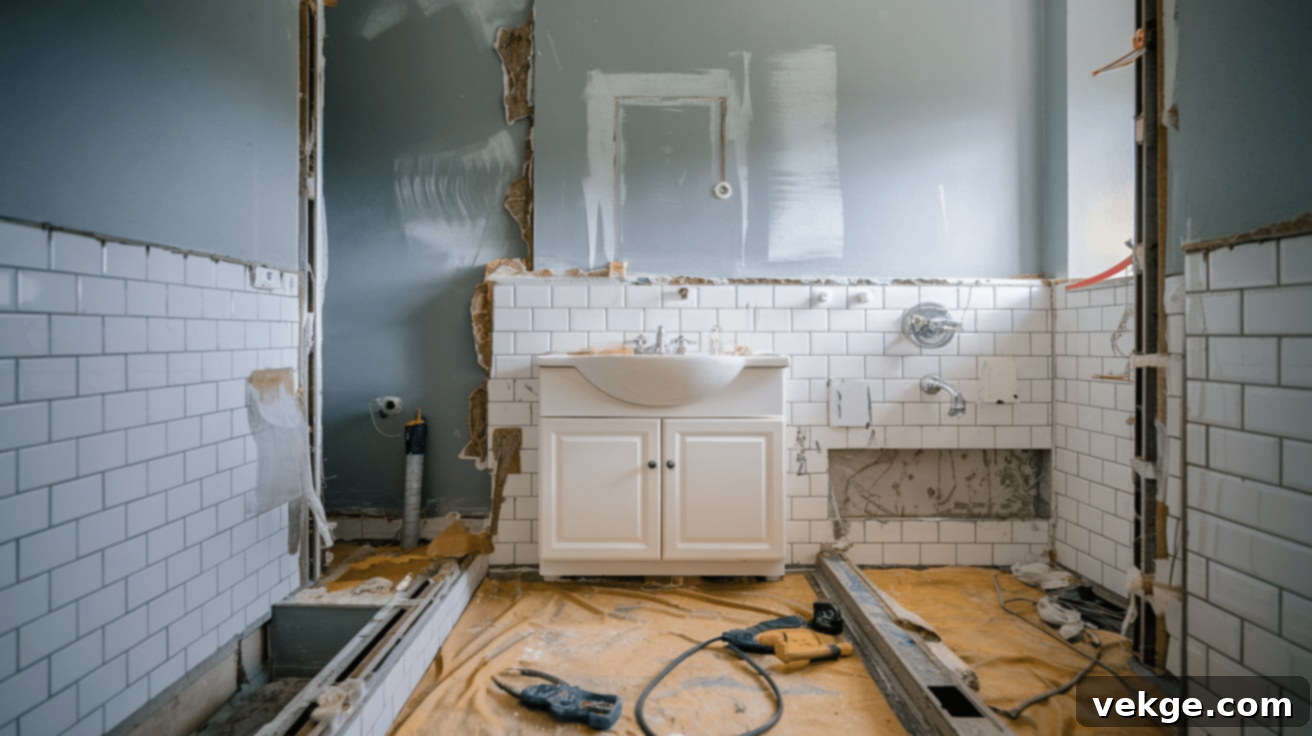
The demolition phase is essential to create a blank canvas for your new bathroom design. Before starting, always shut off the main water supply to the bathroom to prevent any leaks or accidental flooding. If you’re working near electrical outlets or lighting, consider turning off the corresponding circuit breaker for safety.
Begin by carefully removing all existing fixtures: the toilet, sink, shower components, and any old cabinetry or vanity units. Work methodically to avoid damaging walls or plumbing that will remain. Once the fixtures are out, strip away all outdated tiles from both floors and walls. Use appropriate tools like pry bars and chisels, always wearing safety goggles and gloves.
Don’t forget to remove any old wall trim, baseboards, or ceiling elements that are being replaced. After removing these components, it’s vital to inspect the exposed areas thoroughly for any signs of water damage, mold, or structural issues. Addressing these problems now will prevent bigger headaches later. Conclude this stage with a comprehensive cleanup, sweeping away all dust, debris, and residual adhesive to prepare for the new installations.
Step 3: Flawless Flooring Installation
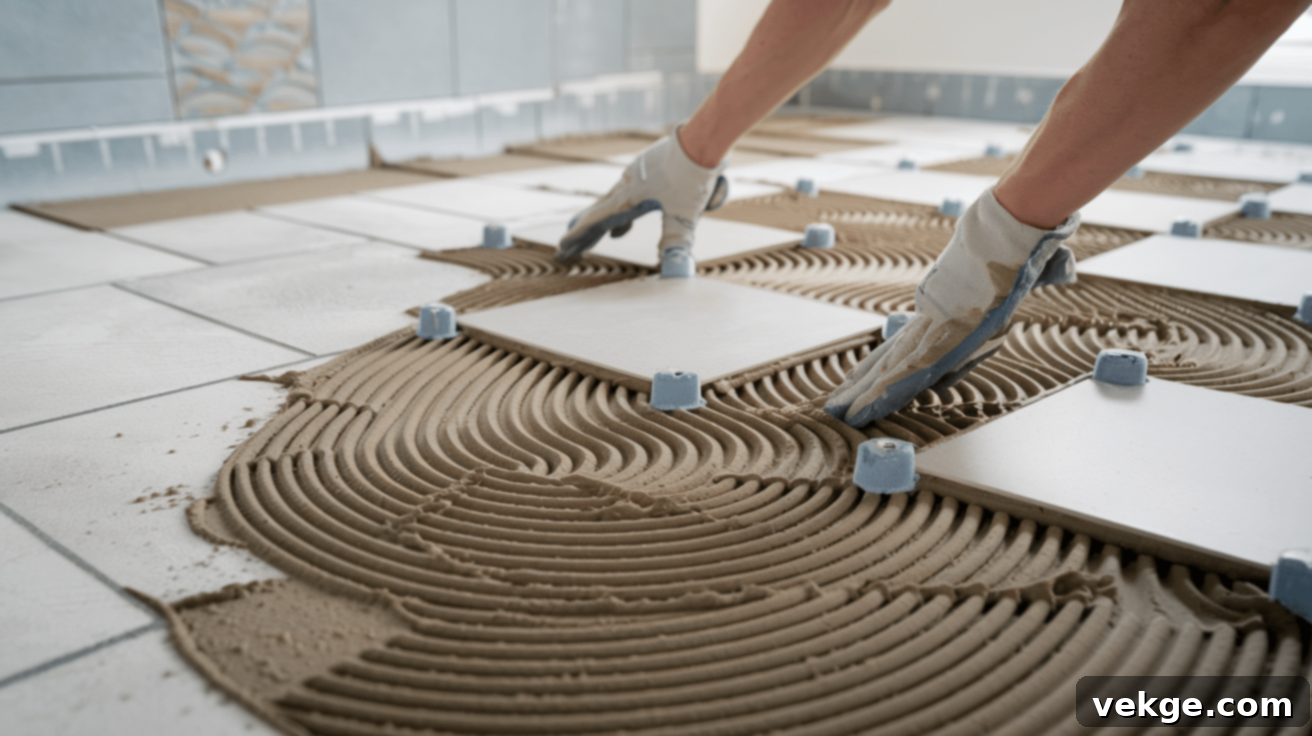
The third crucial phase involves installing your new bathroom floor. Start by ensuring you have a clean, dry, and perfectly level subfloor. If necessary, use a self-leveling compound to smooth out any imperfections. For moisture-prone areas like bathrooms, adding a waterproof underlayment or membrane is highly recommended to protect against water damage and extend the life of your flooring.
Before mixing any adhesive, carefully plan your tile or flooring layout. Dry-fit the tiles to determine the best starting point and minimize cuts, especially in visible areas. Once you’re satisfied with the layout, mix your adhesive according to the manufacturer’s instructions and apply it evenly. Place your chosen tiles or flooring pieces precisely, using spacers to ensure consistent gaps. Allow sufficient drying time, typically 24-48 hours, before proceeding.
After the adhesive has fully cured, mix and apply grout to fill all the spaces between your tiles. Wipe off excess grout with a damp sponge as you go. Finally, once the grout has dried, apply a quality grout sealant to protect against stains, mold, and moisture penetration. This meticulous process ensures a durable, attractive, and long-lasting floor surface for your refreshed bathroom.
Step 4: Walls and Trim Refinement
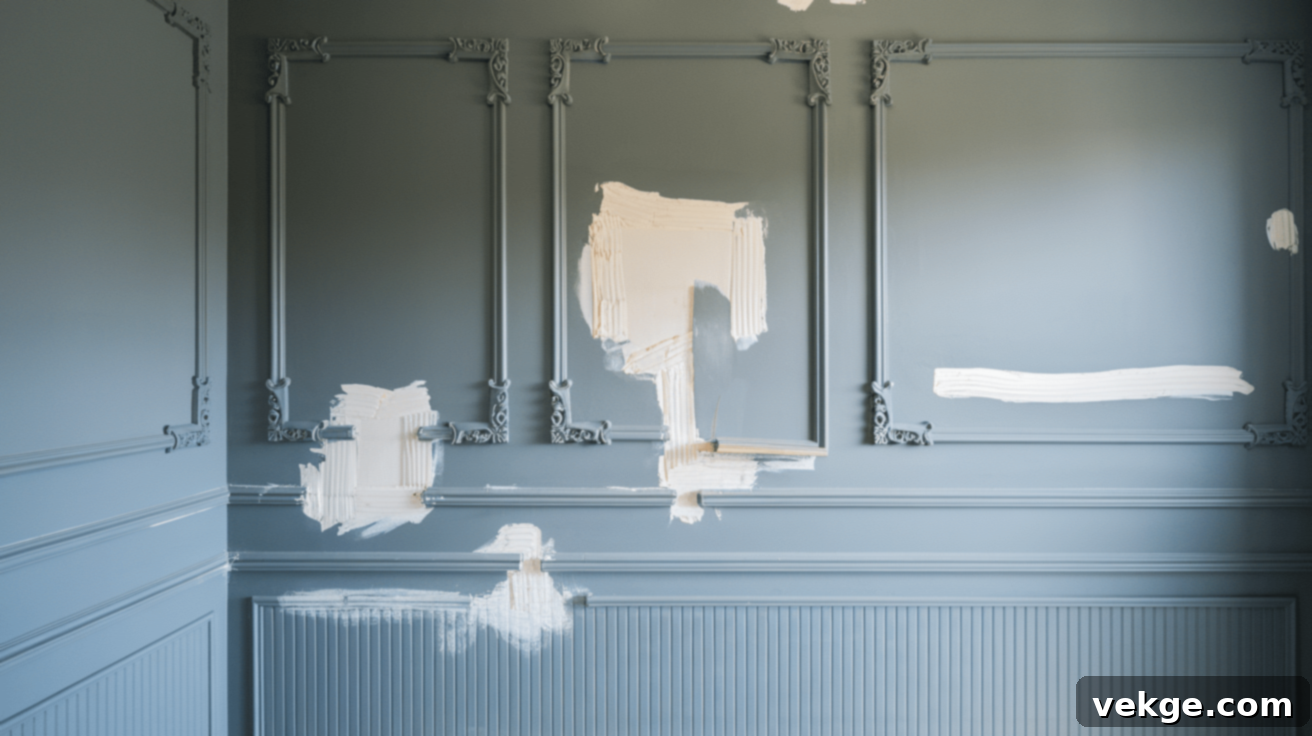
The fourth phase focuses on preparing and beautifying your bathroom walls and trim. Begin by sanding all wall surfaces until they are smooth and free of any bumps or old paint drips. Patch any holes or cracks with spackle or joint compound, sanding again once dry to achieve a seamless finish. Apply a high-quality primer; this step is essential for creating a uniform base, ensuring better paint adhesion, and often requiring fewer coats of your final paint color.
Next, it’s time for the trim. Measure and install any new wall molding or baseboards you’ve chosen. Carefully cut and attach these trim pieces, ensuring all corners meet cleanly. Use a nail gun for efficiency or hammer for a more traditional approach, countersinking nail heads for a smooth finish. Fill any nail holes or small gaps with wood filler or caulk, then sand lightly once dry.
Finally, apply your chosen paint colors to both the walls and trim. For bathrooms, opt for a mold-resistant paint with a satin or semi-gloss finish, as these are more durable and easier to clean. Apply multiple thin coats as needed, allowing proper drying time between each, to achieve a clean, professional, and vibrant look that will instantly brighten your small space.
Step 5: Install Essential Fixtures
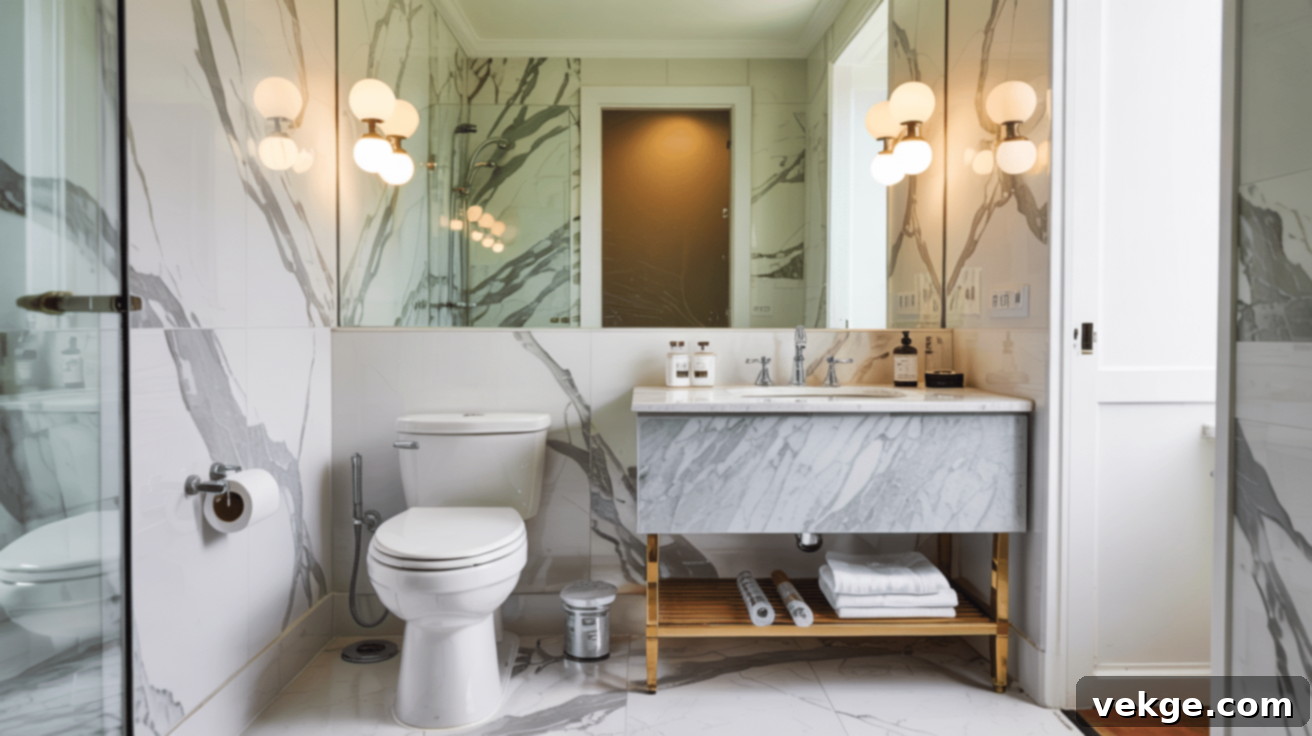
The fifth phase is about bringing your bathroom to life by installing all the essential components. To ensure stability and proper function, begin by positioning and securely fastening the new toilet. Connect the water supply line and test for leaks immediately. Next, attach your new vanity to the wall, making certain it is perfectly level and firmly anchored – especially crucial for safety and durability.
Following this, install the sink and connect the water lines to the faucet, verifying that all connections are tight and leak-free. Pay close attention to the manufacturer’s instructions for each fixture. Install the lighting fixtures according to electrical codes and manufacturer’s specifications, double-checking that all electrical connections are safe and functioning properly before closing up any access panels.
Carefully position and affix the mirror at an appropriate and comfortable height on the wall, ensuring it’s level and secure. Finally, install towel bars and toilet paper holders in convenient, easily accessible locations around the bathroom. This stage transforms the empty space into a fully functional and ready-to-use bathroom, bringing your vision to reality.
Step 6: Adding the Final Touches
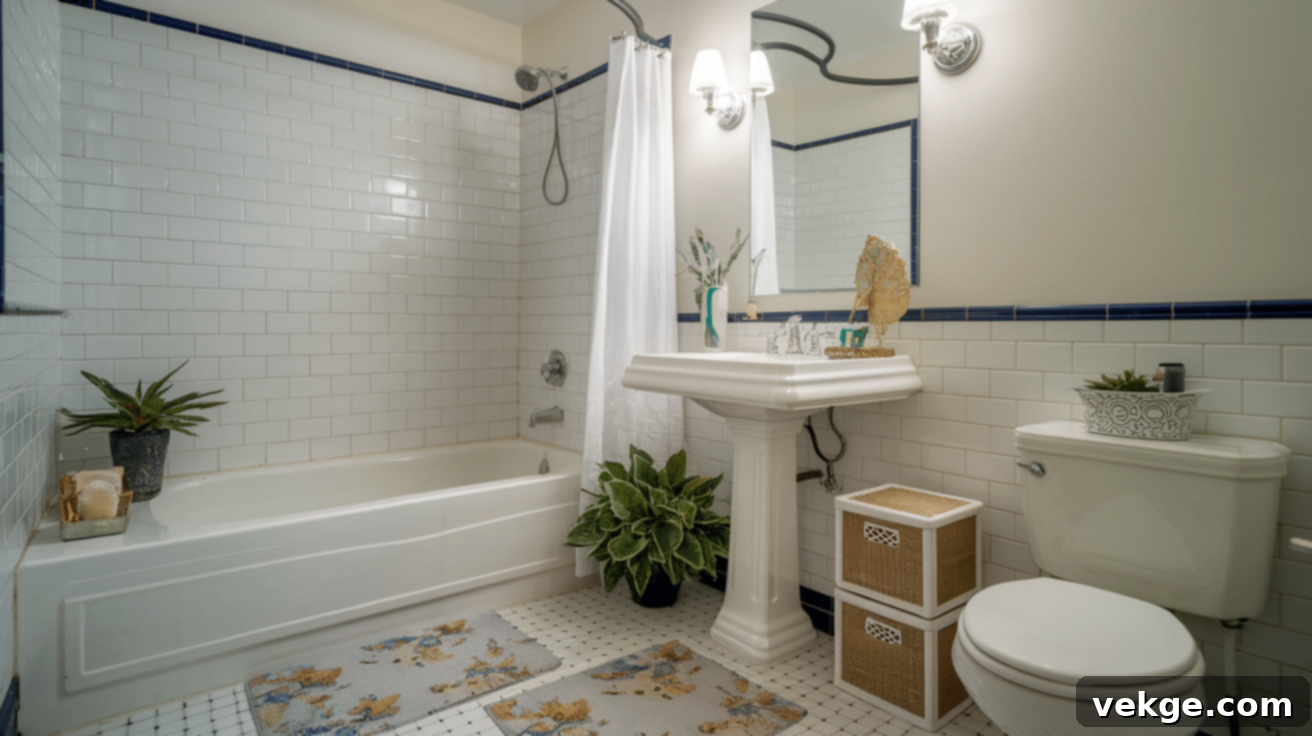
The last phase of your bathroom update focuses on the details that truly make the space feel complete and personalized. Start by installing your shower curtain or shower door to provide privacy and effectively contain water splashes. Choose a design that complements your overall aesthetic.
Next, tackle organization. Arrange your bathroom essentials – toiletries, cleaning supplies, and linens – using appropriate storage containers, baskets, or drawer dividers. This step is vital for a small bathroom, as effective organization reduces clutter and maintains tidiness, making the space feel larger and more serene. Consider vertical storage options like wall-mounted shelves or over-the-toilet units to maximize space.
Position a soft, absorbent bath mat strategically outside the shower or tub for comfort and to absorb moisture, preventing slips. Finally, add a few carefully selected decorative elements to enhance the overall appearance of your space without overwhelming it. This could include a small plant, a piece of artwork, scented candles, or unique soap dispensers. These thoughtful accents infuse personality and warmth into your newly renovated bathroom. Conclude the entire process with a thorough cleaning of all surfaces, fixtures, and floors to ensure your refreshed bathroom is spotless, sparkling, and ready for you to enjoy.
Budget-Friendly Renovation Strategy for Small Bathrooms
Embarking on a bathroom renovation, especially for a small space, doesn’t mean you have to compromise on quality or style. Smart planning and strategic choices are the key to any successful home update that respects your financial limits. With careful consideration and diligent research, your financial resources can be stretched further, allowing you to achieve a beautiful space without exceeding your budget.
Top Budget-Winning Tips for Your Bathroom Renovation:
- Meticulously Track Every Dollar: Use a spreadsheet or an app to log all expenses, ensuring you stay within your allocated budget.
- Hunt for Sales and Discounts: Keep an eye out for seasonal sales on tiles, fixtures, and paint at various home improvement stores.
- Prioritize “Must-Have” Items: Focus your budget on the most essential or impactful changes first, like a new toilet or functional vanity.
- Shop at Discount Stores and Outlets: Explore discount home goods stores, liquidation sales, or even online outlets for great deals on basics like mirrors, accessories, or tiles.
- Check Online Marketplaces: Websites like Craigslist, Facebook Marketplace, or local classifieds can be excellent sources for gently used vanities, mirrors, or decorative items.
- Look for Clearance Items: Often, home stores have clearance sections with perfectly good items that are discontinued or overstocked.
- Embrace DIY Whenever Possible: Tasks like painting, tiling, or installing basic fixtures can often be done yourself with a little research, saving significant labor costs.
- Refinish or Repurpose Existing Elements: Instead of buying a new vanity, consider painting or refacing your current one. Give an old mirror a new frame.
- Choose Cost-Effective Materials: Opt for high-quality vinyl flooring or ceramic tiles instead of expensive natural stone. Look for laminate countertops instead of granite if budget is a concern.
- Improve Lighting, Don’t Overhaul: Sometimes, simply upgrading to brighter, energy-efficient LED bulbs or adding a new vanity light can dramatically improve the feel of a small bathroom.
Extensive research helps you uncover the best deals and value available. Watch tutorial videos to learn how to complete tasks yourself, expanding your DIY skillset. Compare prices between different suppliers and stores, both online and in person. Understand which materials provide the most value for your specific needs, balancing cost with durability and aesthetic appeal.
With thoughtful planning and smart execution, you can create a beautiful and highly functional small bathroom that not only meets your needs but also impresses without exceeding your budget. The results can be truly transformative while keeping costs comfortably manageable.
Conclusion: Your Dream Small Bathroom Awaits
Wrapping up your small bathroom makeover doesn’t have to be a source of stress or a significant financial burden. By following a clear plan and embracing a few smart strategies, you possess the power to transform even the most cramped and outdated space into a refreshing, clean, and highly efficient sanctuary that you’ll genuinely enjoy. From the critical initial steps of meticulous measuring and budgeting to the satisfying final touches that personalize your space, each part of this renovation process brings you closer to achieving a bathroom you’ll love.
Remember to start with what you can manage, proceed at your own comfortable pace, and take immense pride in every bit of progress you make. A small bathroom renovation is a rewarding journey that enhances your home’s functionality and aesthetic appeal, proving that big changes don’t always require big budgets.
Looking for more smart, budget-friendly ideas to elevate other areas of your home? Explore our other blog posts for a wealth of practical tips and expert advice on making the most of your living spaces without spending a fortune. Your next home improvement project is just a click away!
