The Ultimate Guide to Cleaning & Restoring Your Dry-Erase Whiteboard: Say Goodbye to Ghosting!
Is your whiteboard looking less like a pristine canvas and more like a battleground of faded marks, stubborn smudges, and ghostly remnants of past ideas? You’re not alone. Many of us have spent countless minutes scrubbing, only to be left with a dull, messy surface that hinders productivity and clarity.
A clean, vibrant dry-erase board is essential for effective communication, brainstorming, teaching, and planning. When your board is covered in lingering ink or discolored patches, it becomes a distraction, making it harder to focus on the task at hand. This comprehensive guide is designed to help you reclaim your whiteboard’s original brilliance, transforming it from dingy to dazzling.
In this guide, we’ll walk you through everything you need to know about cleaning your dry-erase board properly and making it look as close to new as possible. We’ll cover easy-to-follow methods that genuinely work, highlight the best products to use (and crucial ones to avoid), and provide essential tips to keep your board clean longer. You’ll also discover simple DIY cleaner recipes, expert tricks for tackling the toughest stains, and advice on restoring a worn-out board. If you’re ready to banish that dull, uninspiring look, you’re in precisely the right place.
Let’s get your whiteboard sparkling again!
Dry-Erase Board: Basic Cleaning in 5 Minutes (Quick Refresh)
Sometimes, you just need a quick clean to remove recent marks and light ghosting. This method is perfect for a fast refresh between deep cleans and for boards that are used daily but not heavily stained. It’s effective, fast, and uses a common household item.
- Grab your solution: Lightly mist a clean microfiber cloth with 70% isopropyl alcohol. Avoid spraying directly onto the board, as this can cause streaks and allow liquid to seep into the board’s edges.
- Wipe the surface: Using gentle circular motions, wipe down the entire whiteboard surface. Microfiber cloths are ideal because they are lint-free and non-abrasive, ensuring they won’t scratch the delicate surface.
- Buff dry: Immediately follow with a separate, clean, and dry microfiber cloth to buff the surface until it’s completely dry and streak-free. This prevents any residue from the alcohol from settling and causing new marks.
- Always test first: If you’re unsure about your board’s material or sensitivity, always test this method on a small, inconspicuous area first to ensure no damage or discoloration occurs.
This quick alcohol wipe is excellent for removing most surface residue and light ghosting, providing a clearer writing surface without requiring special products or extensive time.
How to Clean a Dry-Erase Board: Step-by-Step Deep Cleaning Methods
For more persistent stains, ghosting, or simply a thorough clean, a deeper, step-by-step approach is best. Keeping your whiteboard pristine doesn’t have to be a complicated chore. With just a few common household supplies and the right technique, you can effectively remove even the most stubborn stains, smudges, and leftover ink with ease. This section provides a detailed breakdown of the most effective ways to deeply clean your dry-erase board from start to finish.
Materials Required for Deep Cleaning
Before you begin, gather these essential cleaning supplies:
- White vinegar (diluted with water): A natural, acidic cleaner excellent for breaking down ink residues. Use a 1:1 ratio with water.
- Isopropyl alcohol (70% or higher concentration): Highly effective for dissolving stubborn dry-erase ink and ghost marks.
- Mild dish soap mixed with warm water: A gentle, all-purpose cleaner that can tackle light grime and grease. Use a few drops in a bowl of warm water.
- Microfiber cloths (lint-free and non-abrasive): Crucial for effective cleaning without leaving streaks or scratches. Have several on hand – one for applying cleaner, one for rinsing, and one for drying.
- Commercial whiteboard cleaners: Specially formulated sprays designed for dry-erase surfaces, offering convenience and effective results.
- Magic Eraser (optional): For extremely tough stains, used with caution.
Safety Note: Always work in a well-ventilated area, especially when using alcohol-based cleaners. Wear gloves to protect your hands from drying or irritation.
Step 1: Erase the Surface Thoroughly
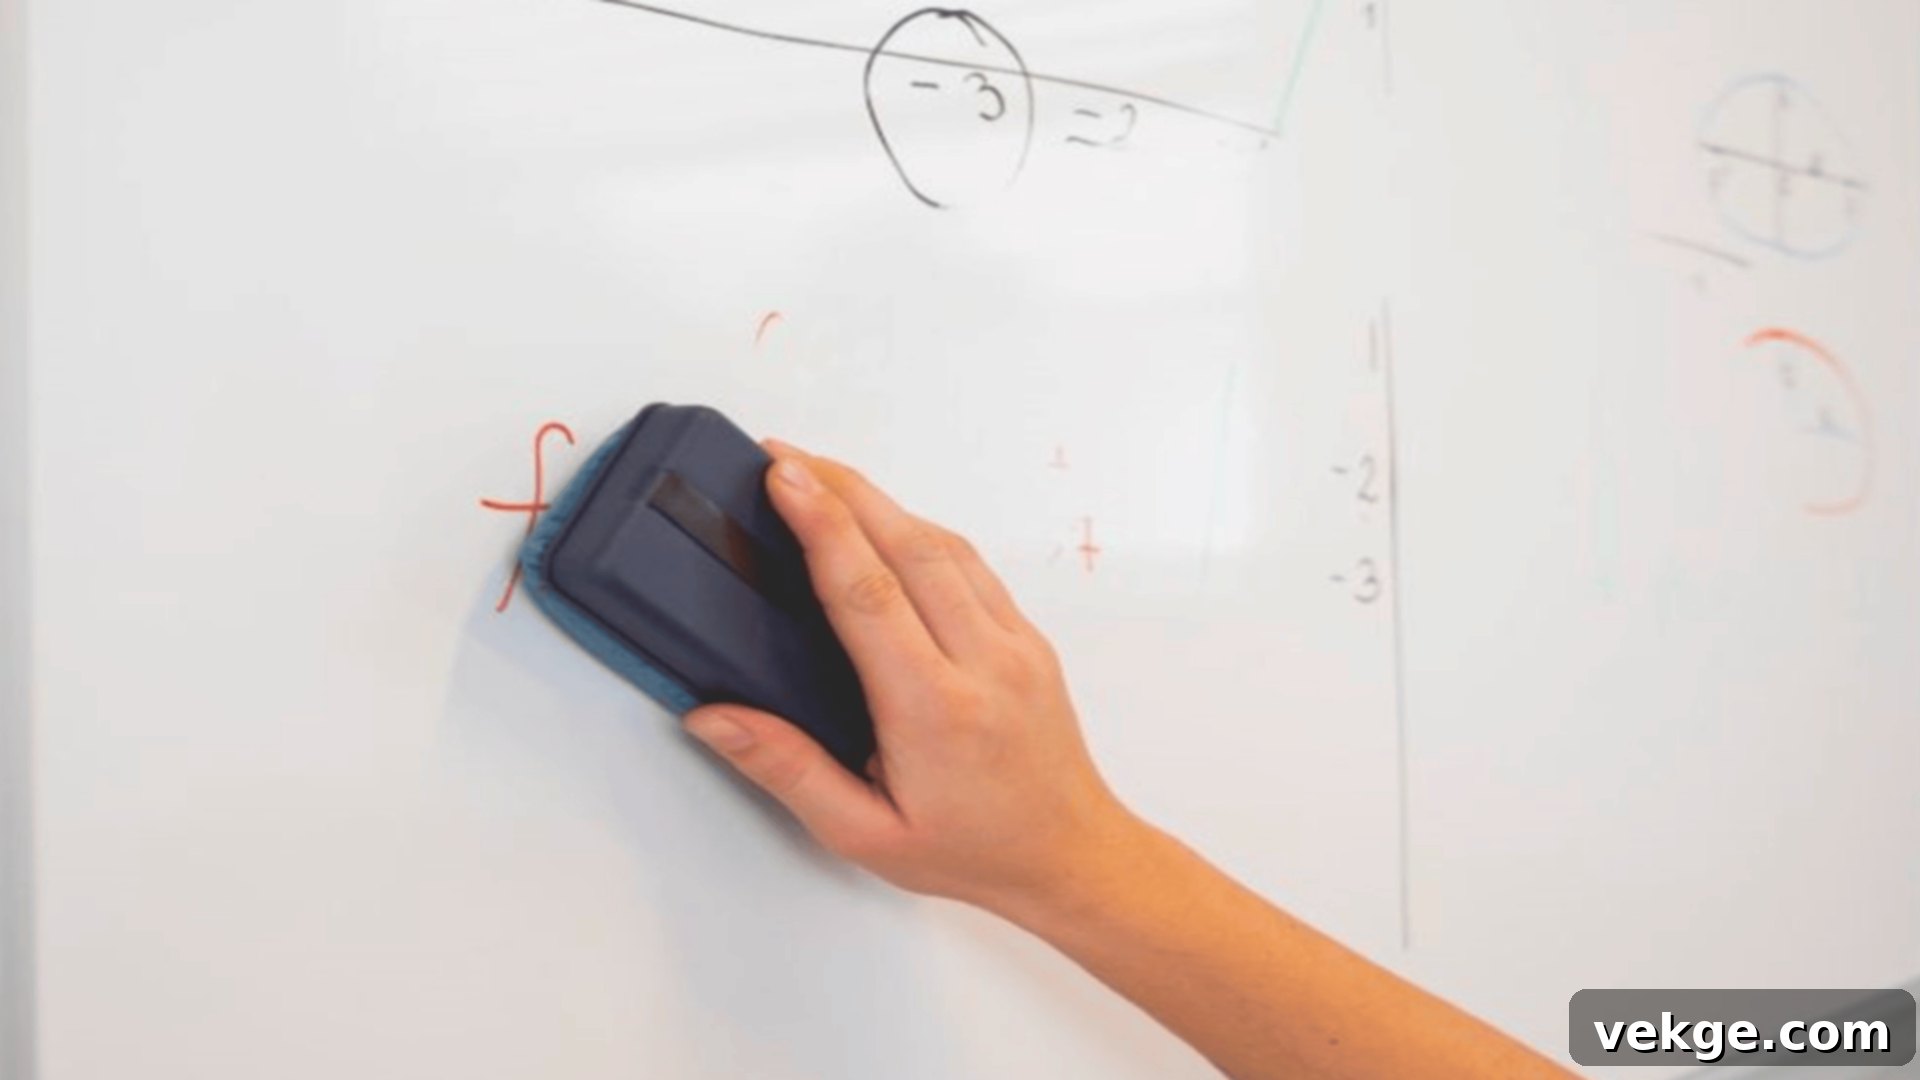
Before applying any cleaning solutions, use a clean, dry dry-erase eraser to remove all visible writing and marks. It’s crucial to use an eraser that isn’t already saturated with ink, as this will only spread the residue further across your board. If your eraser looks dirty, clean it by tapping it against a waste bin or gently washing it if it’s designed for it.
This initial erasing step lifts the top layer of ink, making it much easier for your chosen cleaning solution to penetrate and dissolve any remaining ghost marks and smudges. Work methodically across the entire board surface.
Step 2: Pick a Cleaning Solution for Your Whiteboard
Based on the severity of the stains and what you have readily available, choose an appropriate cleaning agent:
- For general grime and light ghosting: A 1:1 mixture of white vinegar and water is an excellent, eco-friendly option. It’s gentle yet effective.
- For stubborn ink stains and deeper ghosting: Isopropyl alcohol (70% or higher concentration) is your best bet. It quickly dissolves the pigments in dry-erase ink.
- For everyday dirt and finger oils: A few drops of mild dish soap diluted in warm water creates a gentle, effective solution.
- For all-around convenience: A commercial whiteboard cleaner specifically designed for dry-erase surfaces will offer reliable results and often contains conditioners to protect the board.
Important: Always apply your chosen cleaning solution to a microfiber cloth first, then wipe the board. Directly spraying liquids onto the whiteboard can lead to streaking, uneven cleaning, and potential damage to the board’s surface or frame over time.
Step 3: Wipe the Board Gently but Thoroughly
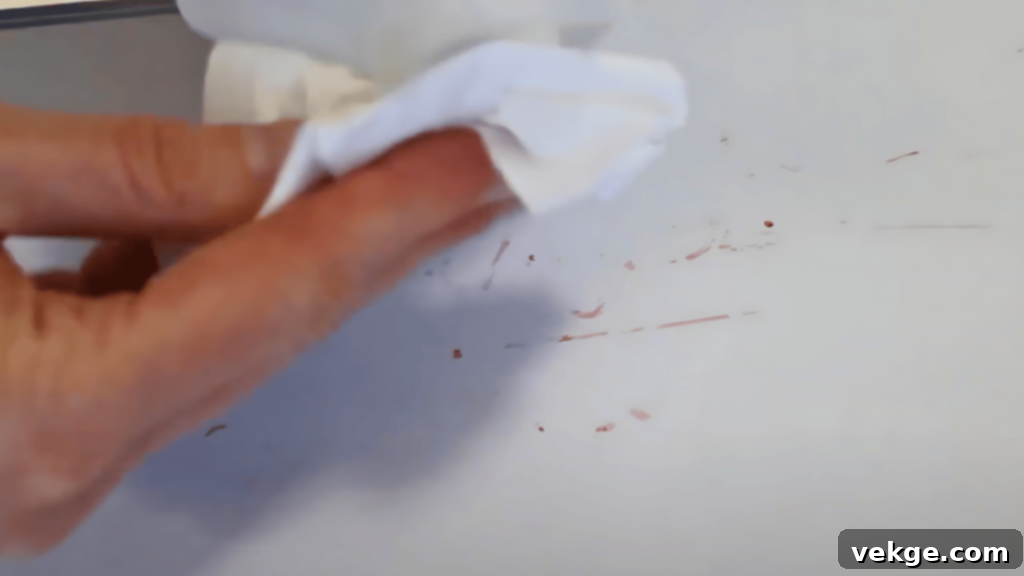
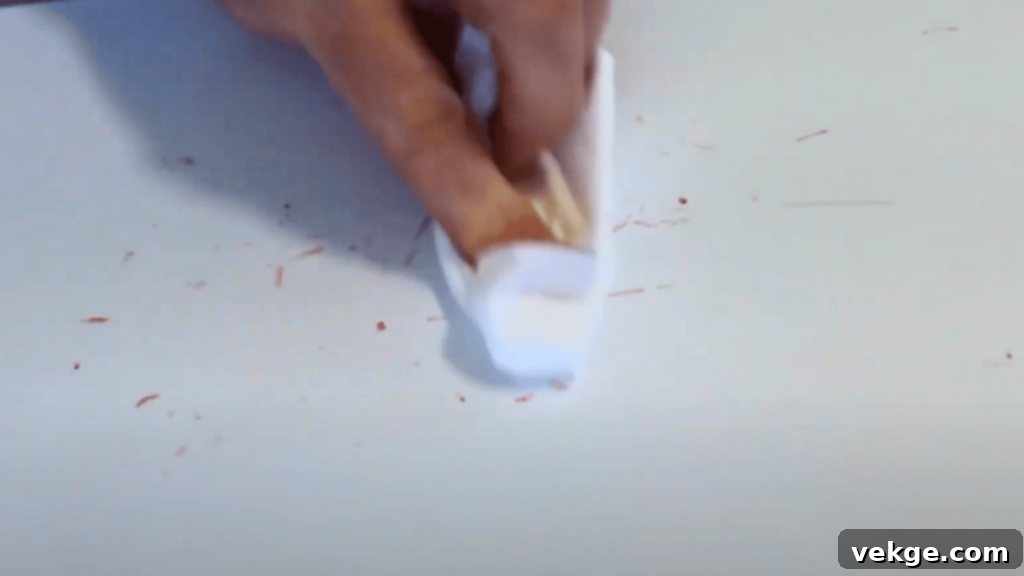
Once your microfiber cloth is dampened with the chosen cleaner, begin wiping the board. Start from the top corner and work your way down, using overlapping circular motions. This technique ensures that you cover every inch of the board and prevents streaking by lifting ink residue consistently.
Pay extra attention to any shadowy spots, ghost marks, or areas with heavy ink buildup. If a single pass doesn’t completely remove these areas, apply a little more solution to a clean part of your cloth and go over them a second or even third time. You might need to apply a bit more pressure, but always avoid harsh scrubbing which could damage the board’s surface.
Step 4: Remove Stubborn Stains (Including Permanent Marker)
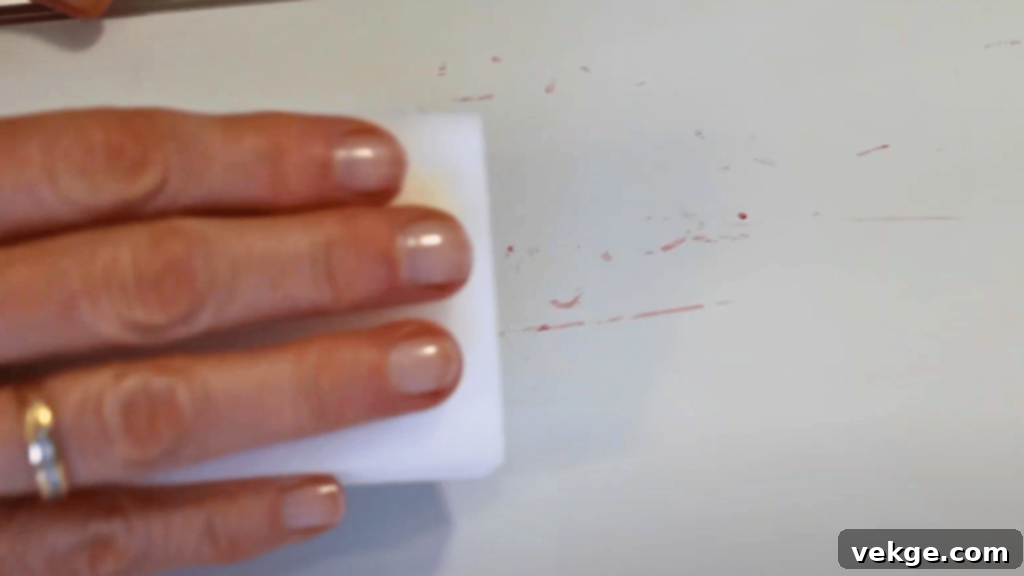
For those persistent, set-in stains or frustrating ghost marks that simply won’t budge, you might need to bring out the big guns:
- Rubbing Alcohol: For deep ghosting and ink that has sat on the board for days or weeks, dampen a corner of a microfiber cloth with 90%+ isopropyl alcohol. Gently rub the stained area in small circles. The higher concentration is very effective at dissolving dried-on dry-erase ink.
- Dry-Erase Marker Trick (for permanent marker): Accidentally used a permanent marker? Don’t panic! Write over the permanent ink with a dry-erase marker. The solvents in the dry-erase ink will reactivate the permanent ink, allowing you to wipe both away with a dry eraser or microfiber cloth. Repeat if necessary.
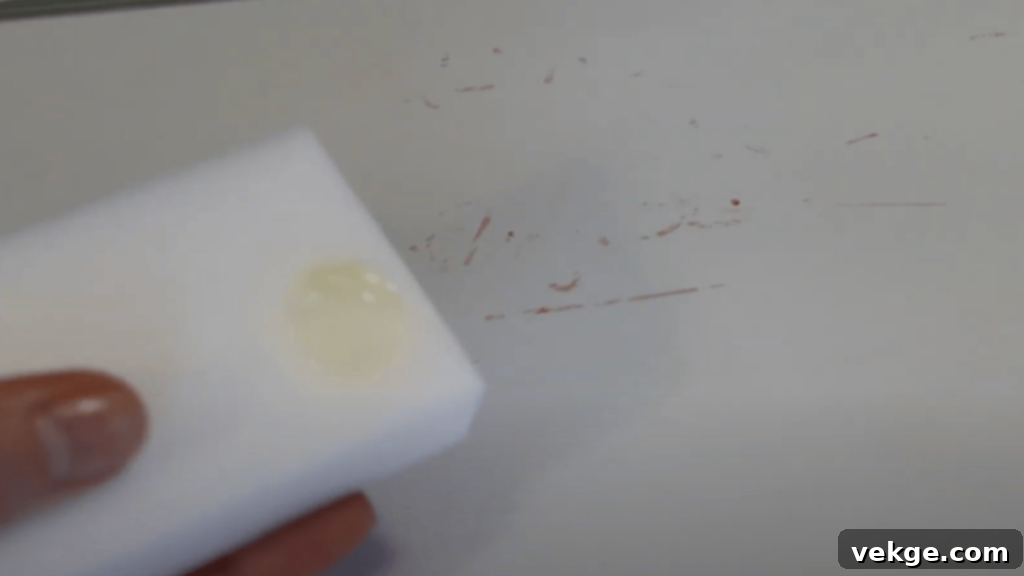
- Magic Eraser (with caution): For extremely tough spots, a Mr. Clean Magic Eraser (or similar melamine foam sponge) can be effective. *Only use this method sparingly and very gently*, as the abrasive nature of the Magic Eraser can potentially remove the board’s protective coating over time. Dampen the Magic Eraser with water (or a small amount of rubbing alcohol for extra power), and lightly scrub the stained area.
- Murphy’s Oil Soap: While the original content mentioned applying Murphy’s Oil Soap to a Magic Eraser, it’s generally the abrasive texture of the Magic Eraser that does the work. Murphy’s Oil Soap is a mild cleaner, but for dry-erase surfaces, alcohol or dedicated whiteboard cleaners are usually more effective for ink removal. If you opt for Murphy’s, ensure you rinse thoroughly.
Remember, patience is key. Don’t press too hard. Let the cleaning agent do the work.
Step 5: Rinse and Dry for a Streak-Free Finish
Once all the stains and ink residues have been lifted, it’s essential to properly rinse the board. Dampen a separate, clean microfiber cloth with plain water (distilled water is ideal to prevent mineral deposits, but tap water is usually fine). Wipe down the entire surface again to remove any leftover cleaning solution. This step is crucial to prevent residue buildup, which can attract more dust and make future erasing more difficult.
Finally, grab another fresh, dry microfiber cloth and thoroughly dry the board. Buff the surface until it’s completely dry and gleaming. This final buffing helps prevent streaks, water spots, and lint buildup. Avoid using paper towels or rough fabrics, as these can leave behind lint or even micro-scratches on the board’s delicate surface, making it more prone to ghosting over time.
Here is a helpful YouTube video for a visual overview of whiteboard cleaning:
How to Clean a Whiteboard Without Commercial Cleaner: DIY Solutions
Don’t have a specialized commercial whiteboard cleaner on hand? No problem! You can still achieve a remarkably clean board using a few simple, inexpensive items you likely already have around your home. These DIY solutions are not only effective but also budget-friendly and easy to mix, providing a great alternative for everyday cleaning or tackling unexpected stains.
1. Basic Vinegar Solution: Natural Everyday Cleaner
This gentle, natural option is perfect for routine cleaning and removing light ghosting. White vinegar’s mild acidity helps break down dry-erase ink components without being too harsh on the board’s surface.
What you’ll need:
- 1 cup warm water
- 1 cup white vinegar
- A clean spray bottle
- Microfiber cloths
How to use: Combine the water and white vinegar in a spray bottle. Shake well to mix thoroughly. Lightly spray the solution onto a clean microfiber cloth until it’s damp, then wipe the whiteboard surface in overlapping motions. Avoid spraying directly onto the board to prevent streaks and potential damage to the frame. For best results, follow up with a quick wipe with a clean, water-dampened cloth, then dry thoroughly with a separate dry microfiber cloth.
2. Alcohol-Based DIY Cleaner: For Tougher Stains
When you need more cleaning power for stubborn ink marks and deeper ghosting, an alcohol-based DIY cleaner is highly effective. Isopropyl alcohol is a strong solvent for dry-erase ink.
What you’ll need:
- 2 cups water
- ½ cup isopropyl alcohol (70% or higher)
- 2–3 drops of essential oil (optional, for a pleasant scent, e.g., lemon or tea tree oil)
- A clean spray bottle
- Microfiber cloths
How to use: Pour the water, isopropyl alcohol, and essential oil (if using) into a spray bottle. Shake gently to combine the ingredients. Mist a microfiber cloth lightly with the solution and clean the whiteboard in circular motions, paying special attention to areas with heavy ink or ghosting. The essential oil helps mask the alcohol smell and can even add a touch of extra cleaning power (like lemon oil’s degreasing properties). Always dry the board completely after cleaning.
3. Emergency Toothpaste Method: For Extreme Stains
This might sound unusual, but plain white toothpaste can be a surprisingly effective last resort for extremely stubborn marks when other options are unavailable. The mild abrasives in toothpaste can help lift embedded ink without severely damaging the surface – but it must be used with caution.
What you’ll need:
- Plain white toothpaste (crucially, avoid gel, colored, or highly abrasive varieties with microbeads)
- A soft cloth or sponge
- Warm water for rinsing
- Microfiber cloths for drying
How to use: Apply a very small amount of plain white toothpaste directly onto the stained area of the whiteboard. Using a soft, damp cloth or sponge, gently rub the toothpaste into the stain in small, circular motions. Do not scrub harshly. The mild abrasive action helps to gently lift the stubborn residue. Once the stain begins to loosen, thoroughly wipe off all toothpaste residue with a clean, damp cloth. Rinse the cloth and wipe again to ensure no toothpaste remains. Finally, dry the area completely with a clean microfiber cloth. Use this method sparingly and only for localized, tough stains.
How to Restore a Worn-Out Whiteboard: Extending Its Life
Even with meticulous cleaning, the surface of your dry-erase board can degrade over time, leading to persistent ghosting, dullness, or difficulty erasing. When standard cleaning methods no longer yield satisfactory results, it might be time to consider restoration techniques or, in some cases, replacement. Understanding these options can help you prolong your whiteboard’s usability and maintain its functionality.
Polishing Options for Surface Renewal
If your whiteboard’s surface feels rough or looks dull, a polish can sometimes revitalize it by filling in microscopic scratches and restoring a smoother finish, which helps prevent ink from seeping into the pores.
- Carnauba-Based Car Wax: Believe it or not, a thin layer of car wax can work wonders. Carnauba wax is a natural, durable wax that provides a slick, protective coating.
- First, ensure your whiteboard is thoroughly cleaned and completely dry.
- Apply a very thin, even layer of car wax (ensure it’s carnauba-based and free of abrasives) over the entire board using a soft, clean cloth.
- Allow the wax to dry to a haze for a few minutes, as per the product instructions.
- Using a separate clean, dry microfiber cloth, buff the surface vigorously until it shines and feels incredibly smooth. This new, slick surface will make erasing much easier and reduce ghosting significantly.
Important: Always test any polishing product on a small, inconspicuous corner of your whiteboard first to ensure it doesn’t cause discoloration or damage to your specific board material.
When to Replace Your Whiteboard
While restoration can extend a whiteboard’s life, there comes a point when replacement is the most practical solution. Consider replacing your board if:
- Deep scratches: The writing surface has deep, permanent scratches that cannot be buffed out. These scratches trap ink, making them impossible to clean.
- Heavy, irreversible ghosting: Even after deep cleaning and polishing, a persistent “ghost” image of previous writing remains, making new writing unclear and distracting. This often indicates the protective coating has worn away.
- Difficulty erasing: If dry-erase markers consistently leave behind significant residue, even immediately after writing, and require excessive scrubbing, the surface has likely become porous and compromised.
- Permanent ink damage: If permanent marker was left on for an extended period and has stained the core material beyond repair, or if harsh chemicals have irreversibly damaged the surface.
With proper care and maintenance, most quality whiteboards (e.g., porcelain or glass) can last 10 to 15 years or even longer. Melamine boards typically have a shorter lifespan of 1-3 years before showing significant wear.
Surface Coating Products & Resurfacing Options
If your board is structurally sound but its writing surface is compromised, you have alternatives to full replacement:
- Whiteboard Resurfacing Film: These are large, thin adhesive sheets designed to be applied directly over the existing whiteboard surface. They effectively give you a brand-new writing surface without having to remove the entire board. They are a cost-effective, good short-term to medium-term fix and can restore excellent writing and erasing quality. Installation requires careful alignment to avoid bubbles and wrinkles, so follow instructions precisely.
- Whiteboard Paint: Another option is specialized dry-erase paint that can transform almost any smooth surface into a whiteboard. While not exactly a “resurfacing film,” it offers a similar effect, giving you a new dry-erase surface. This can be a more permanent solution if applied correctly.
- Professional Resurfacing Services: For larger or more valuable whiteboards, some companies offer professional resurfacing, which involves applying a new durable coating. This can be less costly than full replacement, but ensure the service is reputable and offers a warranty for their work.
Dry-Erase Board Regular Maintenance Tips for Longevity
The key to a pristine whiteboard that lasts for years is consistent, proactive maintenance. By incorporating a few simple habits into your routine, you can prevent stubborn stains, minimize ghosting, and extend the lifespan of your dry-erase board significantly.
Weekly Cleaning Schedule: A Routine for Success
Establishing a regular cleaning schedule is the best way to keep your whiteboard in top condition:
- Daily: Erase Fully After Each Use: This is the most critical step. Never leave ink on the board longer than necessary. Dry-erase ink is designed to be easily wiped off when fresh, but the longer it sits, especially in humid conditions, the more likely it is to bond with the surface and cause ghosting.
- Monday (or once a week): Dry Wipe: Use a clean, dry microfiber cloth or a dedicated whiteboard eraser to wipe the entire board. This removes loose dust and any easily erased residual ink from the week.
- Wednesday (or mid-week): Alcohol-Based Solution: Perform a quick clean with an alcohol-based solution (either commercial or your DIY mix). This helps remove any early signs of ghosting and ensures the surface remains slick.
- Friday (or end of week): Vinegar and Water Mix for Deeper Cleaning: At the end of the week, give your board a more thorough clean using the vinegar and water mix. This not only cleans but also helps sanitize the surface and remove any lingering oils or grime.
Proper Marker Storage and Care
Your markers play a huge role in your whiteboard’s cleanliness. Poor marker quality or storage can contribute to hard-to-erase marks and ghosting:
- Store Markers Horizontally: This simple tip helps distribute the ink evenly within the marker barrel, preventing the tips from drying out. When stored vertically (tip up or down), gravity can cause ink to pool or dry out unevenly, affecting performance.
- Always Recap Markers Immediately After Use: Exposure to air causes the ink solvent to evaporate, leading to dry tips and faint, difficult-to-erase lines. A good seal keeps them fresh.
- Replace Markers That Are Drying Up: Old, nearly dry markers are a primary culprit for ghosting. They leave behind more pigment and less solvent, making the marks stick stubbornly to the board. Replace them as soon as you notice them fading or becoming hard to erase.
- Use High-Quality Dry-Erase Markers: Invest in markers from reputable brands that specify they are low-odor and designed for specific whiteboard types (e.g., porcelain vs. melamine). Quality markers generally contain better solvents and pigments that erase cleanly.
Prevention Strategies: Avoiding Common Mistakes
A little prevention goes a long way in maintaining your whiteboard:
- Regular Cleaning is Key: Even if your board *looks* clean, a quick wipe with a damp microfiber cloth (water or a mild solution) can remove invisible residues that accumulate over time.
- Use the Right Markers: Always ensure you are using dry-erase markers. Never use permanent markers, wax crayons, or other non-dry-erase writing tools.
- Avoid Pressing Too Hard While Writing: Excessive pressure can create indentations or microscopic scratches on the surface, making it easier for ink to get trapped and harder to erase.
- Never Use Abrasive Cleaners or Tools: Harsh chemicals like window cleaner, kitchen sprays, or abrasive sponges (unless specifically a Magic Eraser used with extreme caution) can strip the protective coating of your whiteboard, leading to permanent damage and making it highly susceptible to ghosting. Stick to recommended solutions.
- Clean Your Eraser: A dirty eraser just spreads old ink around. Regularly clean your eraser by tapping it against a waste bin or washing it if it’s a washable type.
Wrapping Up: Your Path to a Pristine Whiteboard
A clean, easy-to-write-on whiteboard free from distracting ghost marks and smudges is more than just aesthetically pleasing; it’s a vital tool for clear communication and effective productivity. You now have a comprehensive toolkit, from simple daily maintenance routines to powerful deep-cleaning methods for stubborn stains, and even strategies for restoring a worn-out board.
We’ve explored how to leverage common household items like vinegar and alcohol for effective cleaning, tackled the dreaded permanent marker dilemma, and discussed when to consider polishing or resurfacing your beloved board. By implementing these tips and maintaining a consistent cleaning schedule, you can significantly extend the life and usability of your dry-erase board, ensuring it remains a clear and inspiring canvas for all your ideas.
Whether you’re teaching, planning, brainstorming, or simply staying organized, a well-kept whiteboard allows you to focus on your content, not the mess. If you’ve been searching for the ultimate guide on how to clean a dry-erase board, we hope this article has provided you with the clear steps and confidence you needed to achieve a sparkling clean result.
Give these proven tips a try and experience the remarkable difference for yourself. A clean whiteboard isn’t just about appearance; it’s about optimizing your workspace and enhancing your creativity. And if you found this guide helpful, be sure to explore our blog for more practical cleaning and care tips, home organization hacks, and fresh ideas to enhance your daily life.
