Mastering French Top Stove Installation: A Comprehensive DIY Guide for Your Kitchen
Moving into a new home is an exhilarating journey, filled with the promise of fresh beginnings and the joy of personalizing your space. Among the many exciting tasks, setting up your kitchen stands out as particularly rewarding. It’s the heart of your home, after all, where culinary adventures unfold and cherished memories are made. While the idea of installing major kitchen appliances, especially a stove, might seem daunting, it’s often more straightforward than you’d imagine. With the right guidance, you can confidently set up your new French top stove, transforming your kitchen into a functional and stylish sanctuary.
If you’ve recently moved or are upgrading your kitchen and find yourself faced with the distinctive design of a flat stove top, specifically a French top, you’ve come to the perfect place. This comprehensive guide will walk you through every step of installing your French stove, ensuring a smooth and safe setup process.
Demystifying the French Top Stove: What It Is and Why You’ll Love It
Before diving into the installation process, it’s crucial to understand what distinguishes a French top stove. In your kitchen, if you observe a robust, flat cooking surface crafted from cast iron and steel rods, resembling a sleek, modular design, then you likely have a French Top or French Stove. Unlike traditional open-burner gas ranges, French tops offer a continuous, even heating surface, making them a favorite among professional chefs and home cooks alike.
If this is your first encounter with a French top stove, there’s no need for apprehension. These appliances are renowned for making the cooking process easier, more efficient, and incredibly enjoyable. Their design facilitates exceptional heat distribution, allowing for precise temperature control across the entire surface. This means you can easily simmer delicate sauces on one side while bringing a pot to a rolling boil on the other, all without adjusting individual burner flames. This versatility and even heating capability make French tops an excellent cooking option, even for beginners eager to explore new culinary techniques.
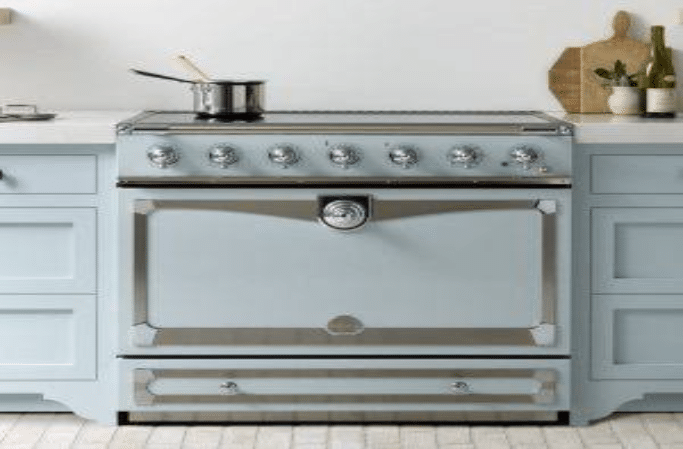
The image above illustrates the elegant and functional design of a typical French Top Stove, characterized by its solid, flat cooking surface.
Preparing for Installation: Tools and Safety First
The primary hurdle in enjoying your new French stove is often the initial installation. However, with our detailed, step-by-step guide, you’ll find the process manageable and quick. Before you begin, gather the necessary tools and prioritize safety to ensure a smooth setup.
Essential Tools You’ll Need:
- Adjustable wrenches (two, for tightening connections)
- Pipe joint compound (pipe dope) or PTFE thread seal tape (Teflon tape) for gas connections
- Leak detection solution (or a soap and water mixture)
- Screwdriver set
- Level
- Work gloves
- Your French stove’s owner’s manual (invaluable for specific instructions and gas connector requirements)
Crucial Safety Pre-checks:
Always ensure the main gas supply to your home is turned OFF before starting any work on gas lines. This is non-negotiable for your safety. Locate your home’s main gas shut-off valve and turn it to the “off” position. Additionally, ensure the area is well-ventilated and free of any flammable materials or open flames.
Step-by-Step Guide: How to Install Your French Top Stove
1. Locating and Preparing the Appliance Space
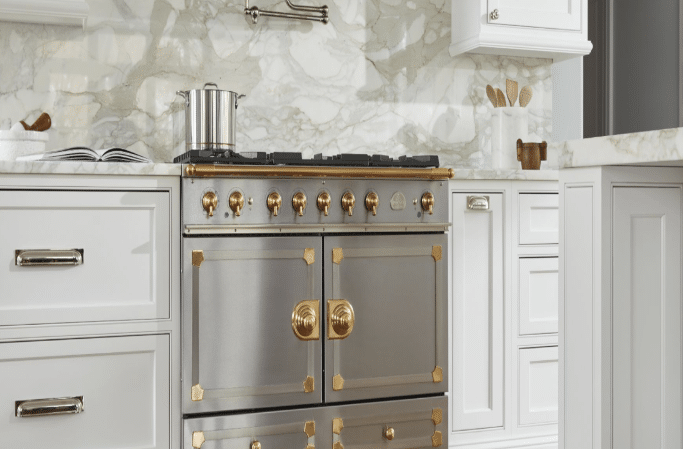
The first critical step is to identify the accurate and dedicated space for your appliance. Most modern kitchens are designed with a specific cutout or panel for a stove, which simplifies placement. However, if your kitchen lacks this, or if you’re undertaking a renovation, you might need to have a professional design and create a suitable space, ensuring it meets the dimensions specified in your stove’s manual. Verify that the area has adequate ventilation and the necessary gas line connection point is easily accessible. Use a level to ensure the surface where the stove will sit is perfectly even. Proper leveling prevents spills and ensures even cooking.
2. Selecting the Correct Gas Connector
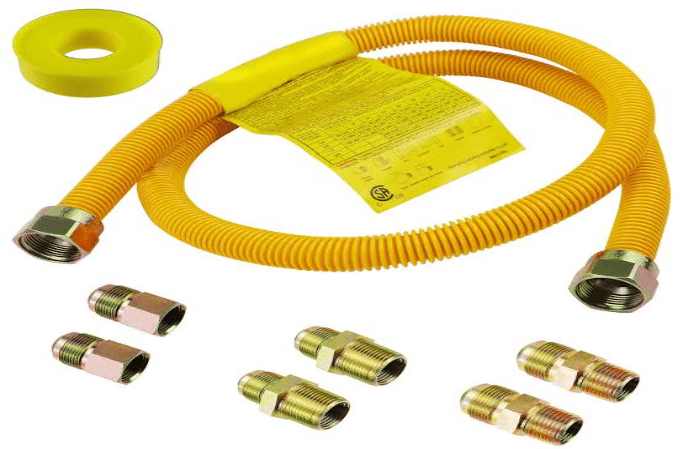
Once your stove is positioned correctly, the next step involves connecting it to your home’s gas supply. Each stove requires a specific type of gas connector or flexible tube, typically made of stainless steel. Refer to your French stove’s owner’s manual to confirm the exact specifications. It is highly recommended to use a brand-new, CSA-approved flexible gas connector, especially when installing a new appliance. Reusing old gas connectors is a significant safety risk and should always be avoided.
Important Tip: Always choose a gas connector that is long enough to allow you to pull the stove out from the wall for cleaning or service without disconnecting the gas line. This added length also reduces stress on the connection points.
3. Connecting the Gas Line to the Stove
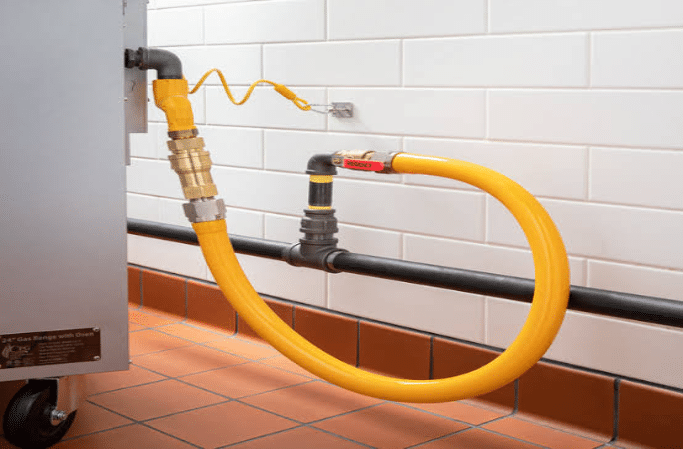
Now it’s time to physically connect the flexible gas connector to the gas valve port on your French stove. This step requires precision and careful attention to detail.
- Step 1: Prepare the Connector. Your new gas connector comes with protective caps on both ends. Carefully remove these caps.
- Step 2: Apply Thread Sealant. This is a critical safety measure. Apply a generous amount of pipe joint compound (pipe dope) specifically designed for gas lines, or wrap PTFE thread seal tape (Teflon tape, yellow for gas lines) clockwise around the threads of the gas valve port on the stove. This creates an airtight seal and prevents leaks.
- Step 3: Make the Connection. Carefully align the flare nut of the gas connector with the threaded port on the stove’s gas valve. Hand-tighten it first to ensure it’s properly threaded and not cross-threaded.
- Step 4: Tighten Securely. Use two adjustable wrenches: one to hold the stove’s gas valve steady, and the other to tighten the flare nut on the gas connector. Tighten until snug, but avoid overtightening, which can strip threads or damage the connector.
Crucial Reminder: All work involving open gas connectors and valves must be performed with the main gas supply turned off. Double-check that you have confirmed the gas is off before proceeding.
4. Securing the Gas Connector Nuts
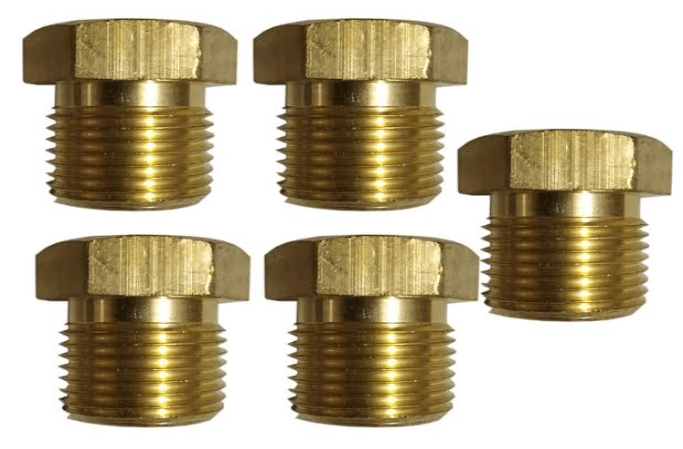
With the connector now attached to the stove, it’s time to connect the other end to your home’s main gas supply line. Apply thread sealant to the threads of your home’s gas shut-off valve, then carefully attach the other end of the flexible gas connector. Again, use two wrenches to tighten this connection securely. Ensure both ends of the gas connector are firmly tightened to prevent any leaks and guarantee a smooth, safe gas flow to your appliance. Once both connections are secure, gently slide the stove back into its dedicated space, being careful not to kink or stress the gas line.
5. Turning on the Gas and Leak Testing
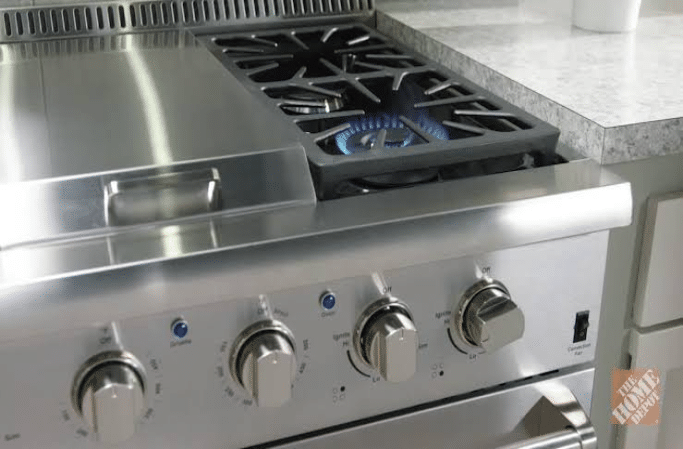
You’ve successfully completed the physical installation! The final, and most critical, step is to test for gas leaks. Slowly turn the main gas valve back on, allowing gas to flow into the newly installed line. Immediately after, apply a leak detection solution (or a mixture of dish soap and water) to all gas connections you just made. Look for bubbles forming around the connections. If you see bubbles, this indicates a gas leak.
If you detect any leaks: Immediately turn off the main gas valve, ventilate the area, and re-tighten the connections. Re-apply thread sealant if necessary. If the leak persists, do not proceed; turn off the gas and call a certified professional for assistance. Your safety is paramount.
Once you’ve confirmed there are no leaks, you have successfully installed your French Stove! You are now ready to ignite the burners and begin your culinary journey.
Important Safety Precautions: A Comprehensive Checklist
Working with gas appliances carries inherent risks, but with proper diligence and adherence to safety protocols, you can ensure a safe installation. Please review this comprehensive checklist:
- Always Turn Off Gas: Before beginning any work, locate and turn off the main gas supply to your home.
- Ventilate Properly: Ensure the kitchen area is well-ventilated during and after installation.
- Use New Connectors: Always use a new, CSA-approved flexible gas connector for a new appliance. Never reuse old ones.
- Apply Thread Sealant: Utilize pipe joint compound or yellow PTFE tape (specifically for gas) on all threaded connections to create airtight seals.
- Test for Leaks Thoroughly: After turning the gas back on, meticulously check all connections with a soap and water solution. Bubbles indicate a leak.
- Never Use Open Flames for Leak Detection: This is extremely dangerous. Use only approved leak detection solutions.
- Address Leaks Immediately: If a leak is found, shut off the main gas supply, re-tighten connections, re-test, or call a professional immediately. Do not use the stove until the leak is resolved.
- Clear the Area: Remove any obstacles around the gas connector and ensure no flammable substances are near the stove or connections during installation and operation.
- Read the Manual: Always consult your specific French stove’s owner’s manual for detailed installation and safety instructions unique to your model.
- Professional Help: If you are ever unsure or uncomfortable with any step of the installation, do not hesitate to contact a qualified and licensed gas appliance installer or plumber.
Begin Your Culinary Journey with Your New French Top Stove!
The French stove is an exceptional cooking setup, widely admired by culinary professionals and home cooks across the globe. Its even heat distribution, precise control, and robust construction make it an ideal choice for a wide array of cooking styles. Beyond its unparalleled efficiency and performance, you’ll undoubtedly appreciate its timeless aesthetics, which seamlessly integrate with and elevate any kitchen design.
French stoves are available in various models, offering diverse features to cater to different cooking preferences and kitchen sizes. Now that your French stove is expertly installed and safely connected, you’re all set to embark on countless culinary adventures. Prepare to cook the most delectable spaghetti, rich curries, gourmet sauces, and exquisite pastries that will impress every one of your loved ones.
Here’s to many years of happy, safe, and inspired cooking with your beautiful new French top stove!
