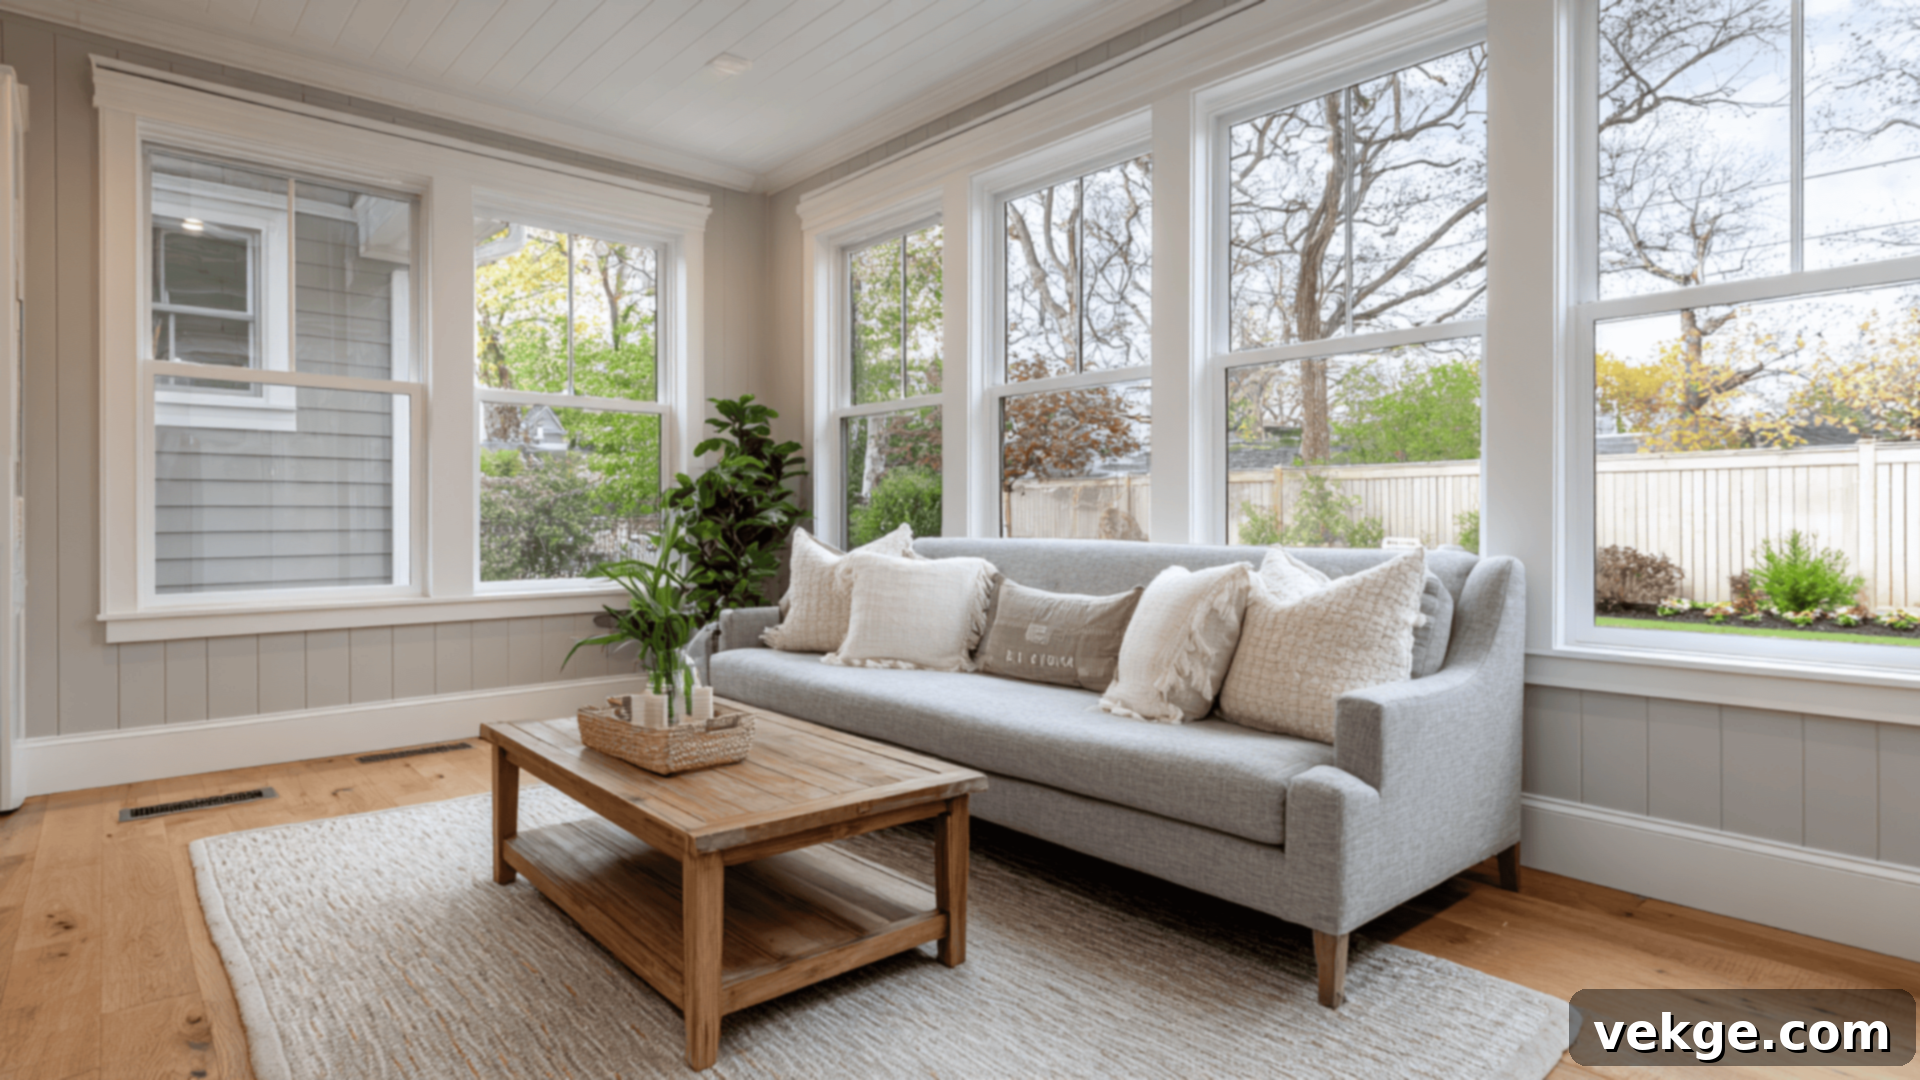
Transform Your Home: The Ultimate Guide to Porch Conversion Projects
Many homeowners look at their existing porch and wonder, “How can I make this space more useful and enjoyable?” If you’ve ever had this thought, a dedicated porch conversion might be the perfect solution for your home.
Turning an underutilized porch into a vibrant, functional room – whether it’s a cozy sunroom, a productive home office, or a versatile mudroom – can dramatically enhance your home’s comfort, expand your living area, and significantly increase its market value. It’s an investment that pays dividends in daily enjoyment and long-term property appreciation.
In this comprehensive guide, we’ll walk you through everything you need to know: from understanding the various types of porch conversions and clear steps to get your project started, to smart strategies for avoiding common pitfalls, and a wealth of inspiring ideas tailored to various styles and budgets.
If you’re ready to reimagine your porch and transform it into a space you’ll genuinely use and love, keep reading. This guide is packed with practical advice and creative insights to help you make the most of your home’s outdoor potential.
Why Consider a Porch Conversion for Your Home?
I’ve always believed that every square foot of your home should serve a purpose, contributing to your lifestyle rather than simply existing. If your current porch mostly serves as a dusty storage area or a rarely-used spot for a couple of chairs, it’s time to unlock its full potential.
Porch conversions offer an incredible opportunity to transform that quiet, often-ignored space into an integral part of your daily life. Imagine having a peaceful nook to enjoy your morning coffee, a sun-drenched area for your hobbies, or much-needed extra room for work or family activities. Your porch could seamlessly become that essential space.
The beauty of a porch conversion is that it often doesn’t require the extensive structural changes of a full home addition. With thoughtful planning and the right updates, your existing porch structure can be revitalized to offer greater functionality, improved aesthetics, enhanced comfort, and a real boost to your home’s overall appeal and livability.
Types of Porch Conversions to Explore
A porch conversion can dramatically alter how you interact with and utilize your home’s exterior space. Understanding the different types available is crucial for planning a project that perfectly aligns with your needs, climate, and budget. Here are some of the most common and popular options:
3-Season Rooms
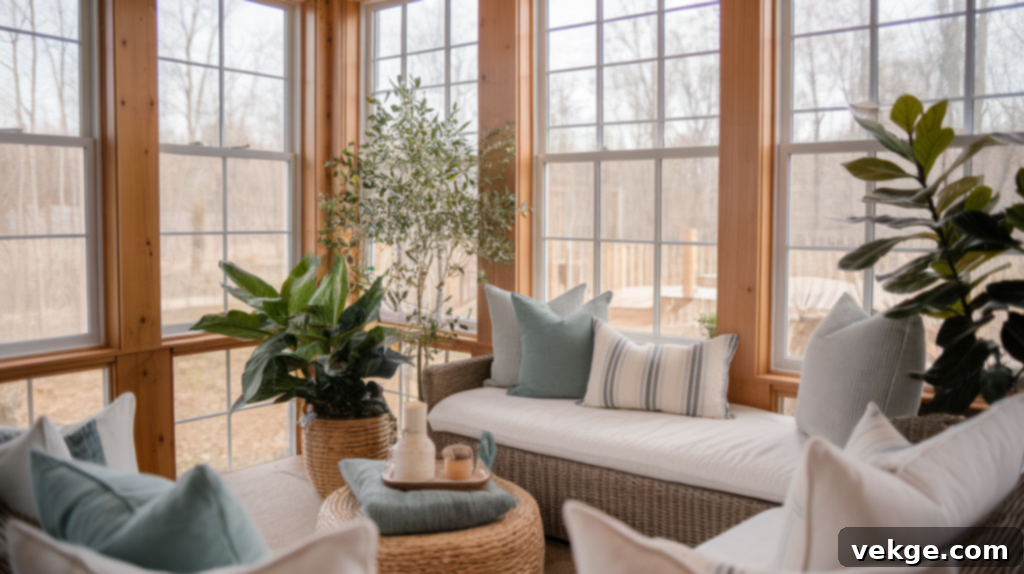
3-season rooms are thoughtfully designed to extend your enjoyment of the outdoors through spring, summer, and fall. These popular enclosures typically feature insulated walls and single-pane or double-pane windows, providing a comfortable shelter from the elements without the need for extensive heating or cooling systems. They bridge the gap between indoor and outdoor living.
They are an excellent and more affordable choice for homeowners in mild to moderate climates, offering a dedicated space to relax, dine, or entertain while remaining protected from rain, wind, and bothersome pollen and insects. While not designed for harsh winter conditions, a 3-season room provides ample opportunity to connect with nature for a significant portion of the year.
4-Season Rooms
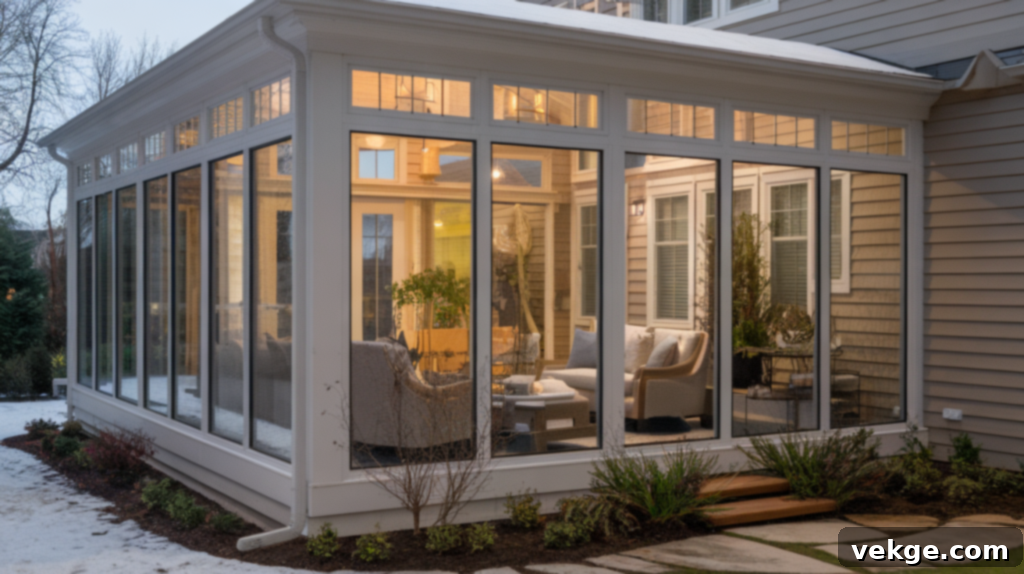
For true year-round enjoyment, 4-season rooms are the ultimate choice. These spaces are fully insulated in their walls, floors, and ceilings, and feature energy-efficient double or triple-pane windows, allowing for seamless integration with your home’s existing heating and cooling systems. This ensures a comfortable climate, no matter the exterior temperature.
They are ideal for homes in regions with cold winters or hot summers, or for homeowners who desire a complete extension of their indoor living space through all seasons. With superior insulation and robust HVAC options, a 4-season room offers all the comfort and convenience of a traditional indoor room, combined with the expansive views and natural connection of an outdoor space, allowing you to enjoy your surroundings without compromise.
Sunrooms
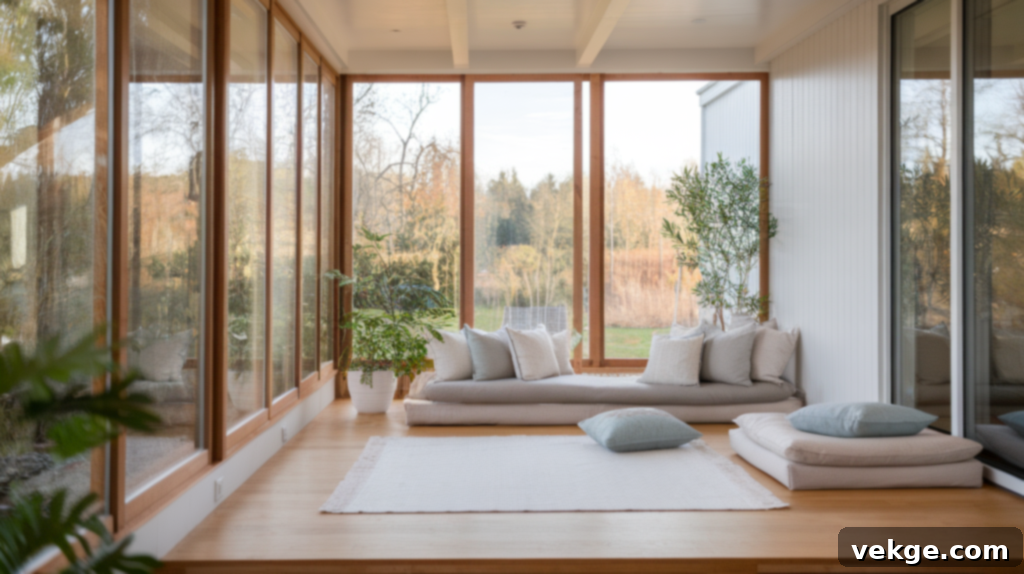
Sunrooms, also known as solariums or conservatories, are specifically designed to maximize natural light and offer expansive outdoor views through their extensive use of glass. These rooms create a bright, airy atmosphere, allowing you to feel immersed in nature while being fully protected from weather and pests.
Often featuring glass ceilings or numerous large windows, sunrooms are particularly fantastic for cultivating indoor plants or simply basking in sunlight. While particularly well-suited for warmer climates, modern sunrooms can be adapted for cooler regions with appropriate insulation and glazing. They provide an open, inviting feel, truly bringing the beauty of the outdoors into your home.
Screen Porches
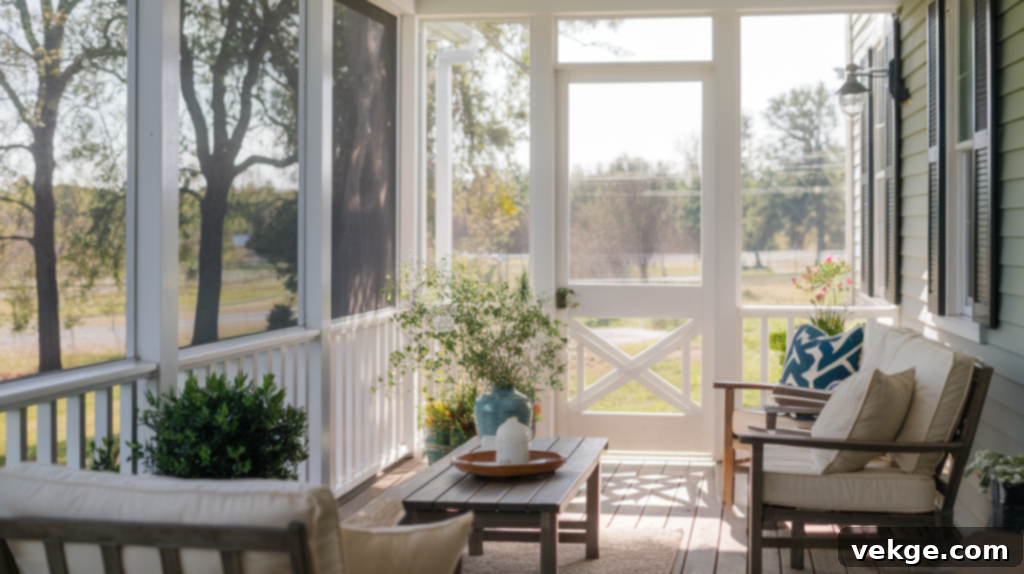
A screen porch offers the quintessential open-air experience, allowing you to revel in fresh breezes and the sounds of nature while remaining protected from annoying insects, leaves, and pollen. This type of porch conversion is an ideal choice for enjoying mild weather, whether it’s for casual relaxation, outdoor dining, or simply unwinding.
While not providing protection from extreme temperatures or heavy rain, a screen porch strikes a perfect balance, offering the comfort of being outdoors without the common inconveniences. It’s a wonderfully breezy and relaxing option for those who want a strong connection to their natural surroundings.
Porch Enclosures (Full Home Addition)
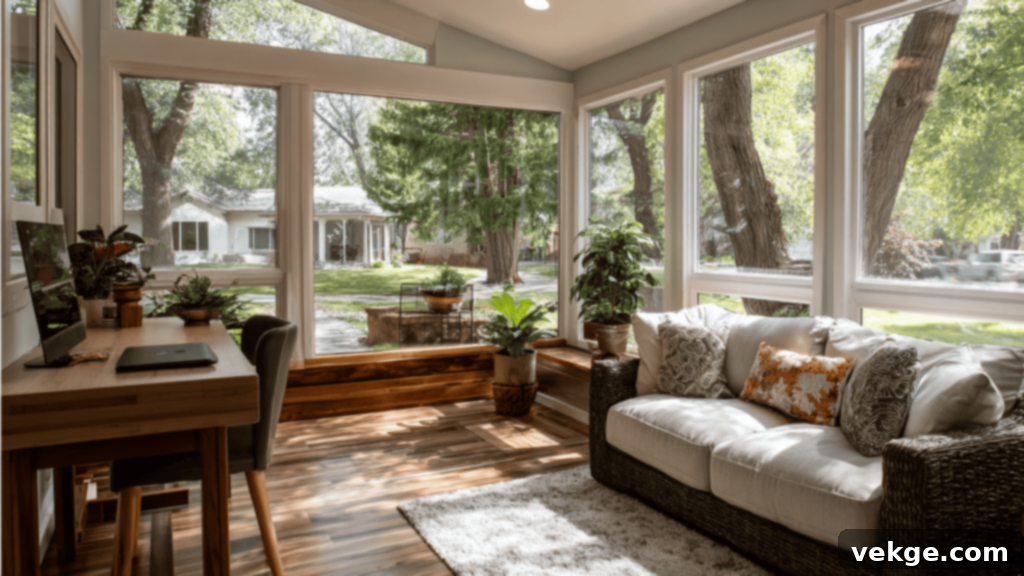
When “enclosure” means integrating the porch fully into your home’s existing footprint, this becomes more of a home addition than a simple conversion. This involves significant structural changes, extensive insulation, and tying into your home’s HVAC, electrical, and plumbing systems. It transforms an underused porch into a completely new, heated and cooled room – such as an additional living room, a dedicated office, an extra bedroom, or a large mudroom.
This type of conversion typically requires extensive permits and professional design and construction, but it offers the most substantial increase in your home’s usable square footage and overall value. If you’re expanding your family, seeking permanent additional space, or looking to maximize your property’s potential, a full porch-to-room addition is a significant and rewarding investment.
Step-by-Step Guide to Converting Your Porch
Transforming an existing porch into a highly functional and beautiful extension of your home requires careful planning and smart material selections. When I undertook my own porch conversion, I discovered that a structured, step-by-step approach made the entire process significantly smoother and more manageable. Here’s a detailed guide to help you achieve similar success:
Tools and Materials Required for Your Porch Conversion
Before you even begin the physical work, having all your necessary tools and materials on hand is crucial. This helps prevent frustrating delays and ensures a more efficient project flow. While specific requirements will vary based on your chosen conversion type, here’s a comprehensive general list:
- Measurement & Layout: Tape measure, carpenter’s square, level (long and torpedo), chalk line.
- Cutting Tools: Circular saw, miter saw (for precise angle cuts), utility knife (for insulation), tin snips (for flashing).
- Fastening Tools: Hammer, screwdriver set (manual and electric), power drill/driver, staple gun (for insulation/vapor barrier), nail gun (for trim).
- Safety Gear: Safety glasses/goggles, work gloves, dust mask, hearing protection.
- Structural & Framing: Dimensional lumber (pressure-treated for ground contact), fasteners (screws, nails appropriate for outdoor use).
- Enclosure Elements: Windows (vinyl, aluminum, wood; single/double/triple pane, or screen panels), door (pre-hung exterior door, sliding glass door, French door).
- Insulation: Fiberglass batts, foam board insulation, spray foam (for gaps), vapor barrier.
- Flooring Materials: Subfloor plywood (if needed), finished flooring (vinyl plank, ceramic tile, engineered wood, outdoor-rated carpet).
- Finishing Touches: Trim boards (baseboards, window/door casings), caulk and sealant (exterior grade), weatherstripping, paint or stain, drywall/paneling (if applicable).
- Miscellaneous: Putty knife, trowel (for patching/tile), shop vacuum, broom, cleaning supplies.
Ensure you have these items ready and easily accessible before you embark on your project to save valuable time and avoid unnecessary trips to the hardware store.
Step 1: Planning the Conversion – Vision, Design & Permits
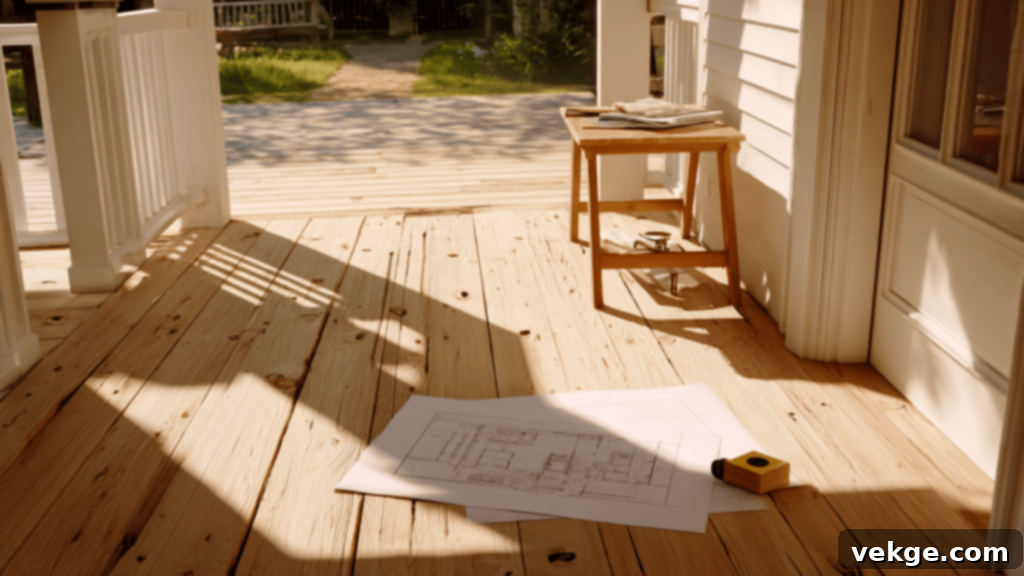
The foundation of any successful porch conversion lies in meticulous planning. Start by clearly defining your vision: do you envision a tranquil sunroom, a vibrant reading nook, a productive home office, or perhaps a functional dining area? Consider how this new space will integrate with your existing home and lifestyle.
Next, carefully measure your porch’s exact dimensions – width, length, and height. Document these measurements thoroughly. Sketch a detailed layout on graph paper or use a simple online design application. This visual representation will help you strategically place windows, doors, electrical outlets, and furniture, ensuring optimal flow and functionality. Crucially, research and acquire all necessary building permits from your local authorities before any physical work begins. Planning effectively at this stage will streamline the entire construction process and prevent costly rework down the line.
Step 2: Prepare the Space – Demolition & Foundation Work
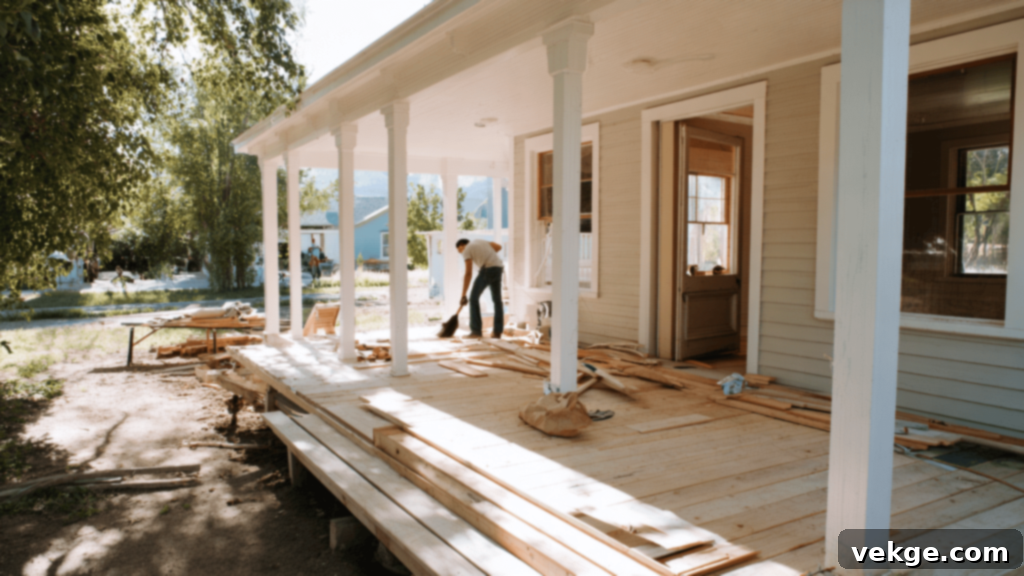
Begin the physical transformation by clearing the porch entirely. Remove all existing furniture, railings, screens, old flooring, and any decorative elements. Use a crowbar, screwdriver, and pry bar to carefully dismantle and remove old materials, disposing of them responsibly. After demolition, thoroughly clean the space using a broom, shop vacuum, and even a power washer if necessary, to remove all dirt, dust, and debris. This creates a clean slate for your new construction.
Critically, inspect the existing porch foundation and floor for any signs of damage, rot, or unevenness. Use a long level to confirm that the floor is perfectly even. Repair any cracks in concrete with patching material and a putty knife, or reinforce/replace damaged wood joists and subflooring. A solid, clean, and level foundation is paramount for the structural integrity and aesthetic appeal of your newly converted space.
Step 3: Install Windows and Doors for Your Porch Enclosure
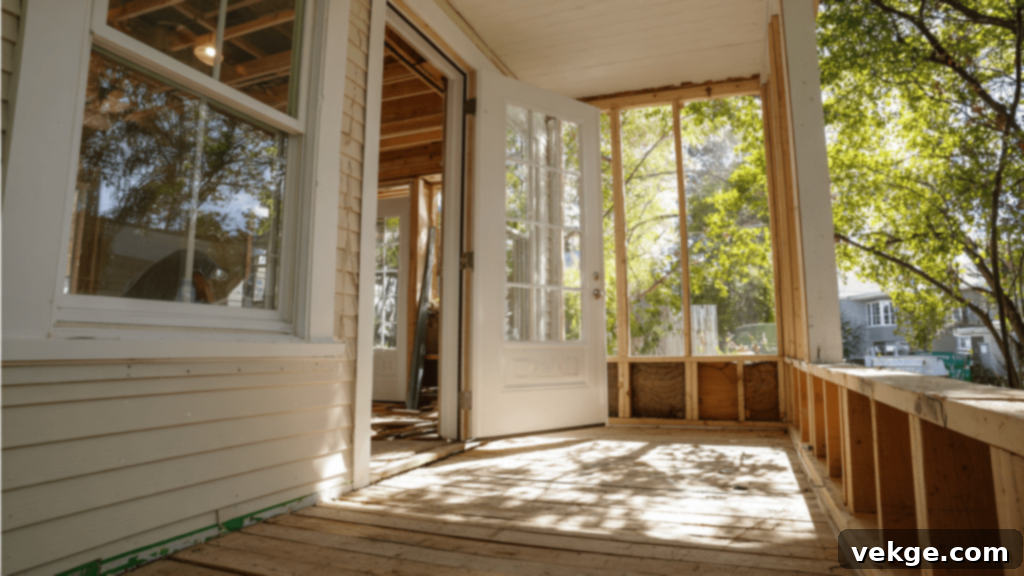
This critical step brings your vision to life by enclosing the space. Select the type of windows that best align with your conversion goals: screen panels for a breezy feel, durable vinyl 4-track systems for flexibility, or insulated glass windows for a more permanent enclosure. Carefully fit and secure the window frames into their prepared openings using shims to ensure they are plumb and level, then fasten them with screws or nails as per manufacturer instructions. Use a level extensively throughout this process to guarantee proper installation and operation.
For your door, opt for a pre-hung exterior door that fits your framed opening, or a sliding glass door for an expansive view. Install the door frame securely, ensuring it operates smoothly without sticking. Once windows and doors are in place, meticulously seal all edges and gaps with high-quality exterior-grade caulk and apply weatherstripping. This creates an airtight and watertight seal, preventing drafts, moisture infiltration, and maximizing energy efficiency.
Step 4: Add Insulation for Comfort and Energy Efficiency
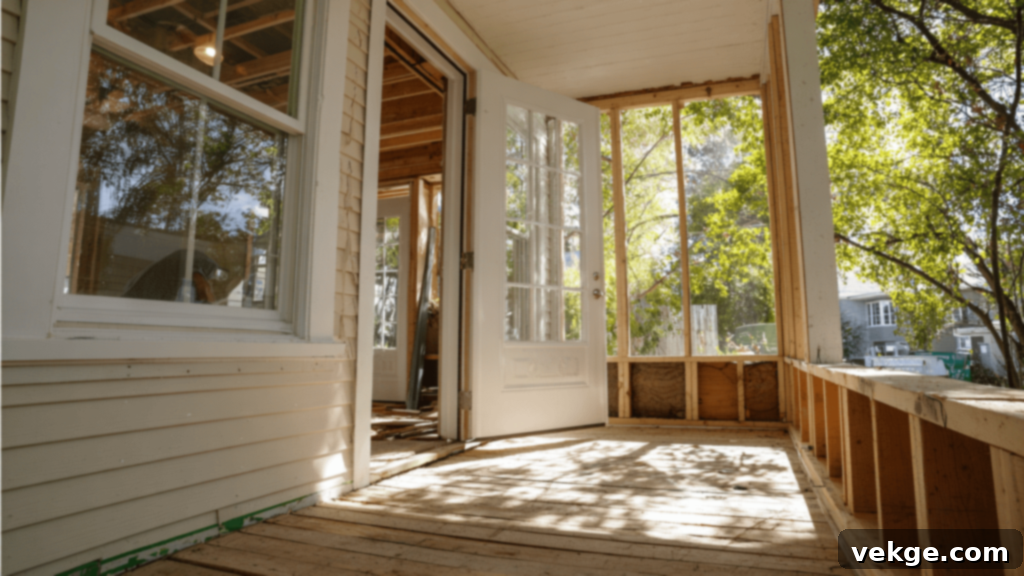
If your goal is a true 4-season room or even a highly comfortable 3-season space, adding proper insulation is an absolute imperative. This step is crucial for maintaining a comfortable indoor temperature and ensuring energy efficiency throughout the year. Common insulation materials include fiberglass batts, rigid foam boards, or blown-in cellulose.
Carefully cut insulation pieces to precisely fit between wall studs, ceiling joists, and floor joists, minimizing any gaps. Secure batt insulation with a staple gun, and use adhesive spray or specific fasteners for foam boards. In colder climates, a vapor barrier should also be installed on the warm side of the insulation to prevent moisture buildup. Effective insulation will significantly reduce heat loss in winter and heat gain in summer, making your new room a truly comfortable and usable space regardless of the weather outside.
Step 5: Finish with Flooring and Trim for a Polished Look
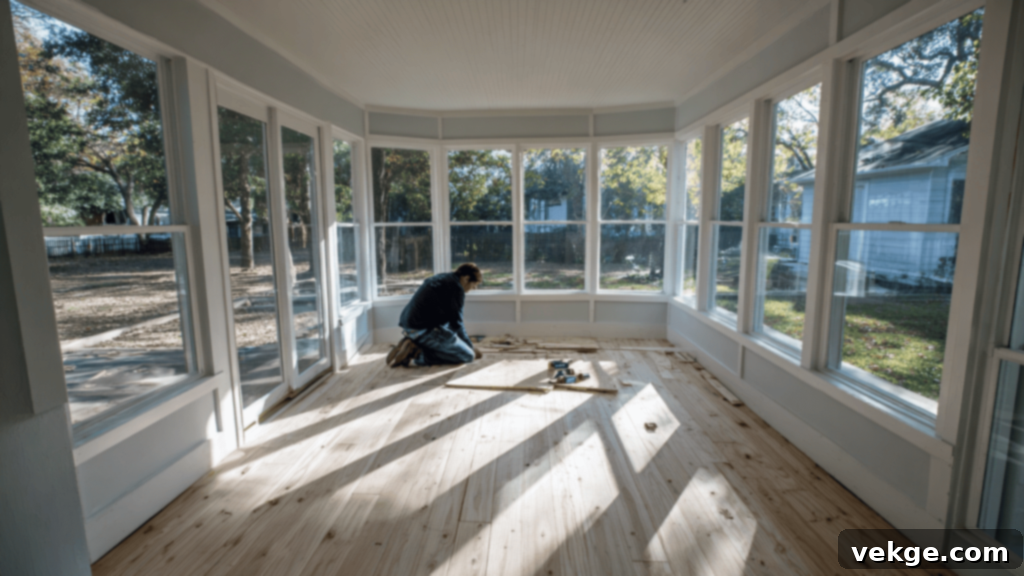
With the structure and insulation complete, it’s time to focus on the interior aesthetics. Choose a durable flooring type that is suitable for a sun-exposed or semi-outdoor environment. Excellent options include resilient vinyl plank, classic ceramic or porcelain tile, or pressure-treated engineered wood specifically designed for these conditions. Use a circular saw or tile cutter to precisely cut your chosen flooring material as needed. Install it according to the manufacturer’s instructions, using appropriate adhesives, nails, or screws for a secure and lasting finish.
Once the flooring is installed and cured, add trim around all windows, doors, and along the baseboards. Cut trim pieces accurately using a miter saw to achieve clean, professional-looking angles. Attach the trim using a nail gun for efficiency or a hammer and finish nails for precision, ensuring all joints are tight and seamless. This final detailing step meticulously ties the entire space together, providing a refined, finished look that truly transforms your porch into a cohesive and inviting room.
Step 6: Style and Enjoy Your New Space
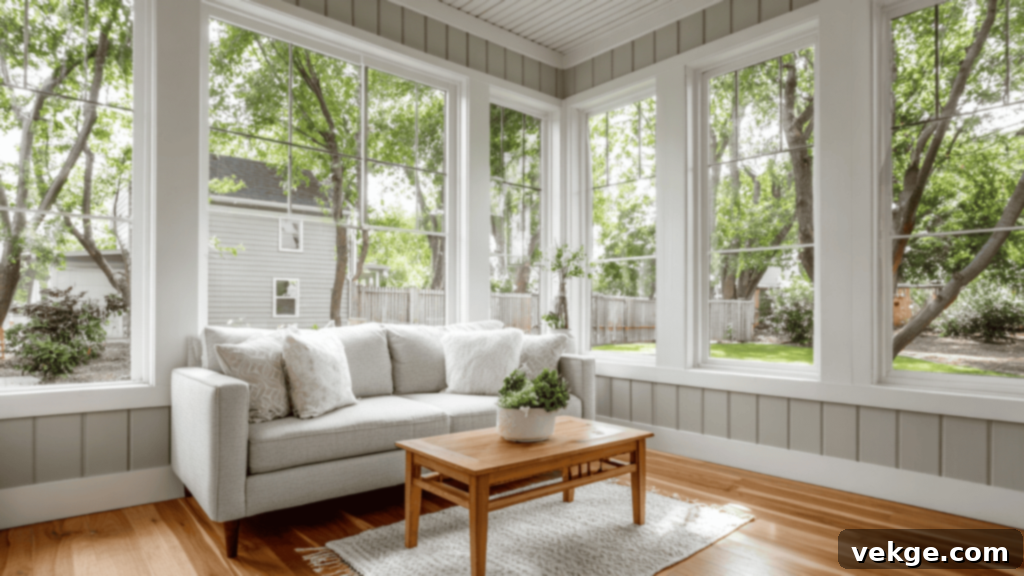
Now that the construction phase of your porch conversion is complete, the exciting part begins: transforming it into a personalized space that you truly love and will utilize daily. This step is all about thoughtful furnishing, strategic decor, and adding those final touches that make it feel like home.
Start by selecting furniture that perfectly fits the room’s size and intended purpose. For a relaxing sunroom, consider a comfortable sofa, a couple of armchairs, and perhaps an ottoman. If it’s a dining nook, a small, elegant table with complementary benches or chairs would be ideal. For a home office, a functional desk, an ergonomic chair, and smart storage solutions are key.
Enhance comfort and inject color with soft rugs, decorative throw pillows, and light-filtering curtains or blinds. Integrate indoor plants to bring in natural charm and warmth, or install ambient lighting like string lights or floor lamps to create a cozy evening atmosphere. Ensure that furniture is arranged to maintain clear walkways and facilitate easy movement throughout the space. This is your ultimate opportunity to infuse your personal style and ensure your newly converted porch feels calming, inviting, and truly integral to your home.
Inspiring Porch Conversion Ideas to Ignite Your Imagination
When I envisioned my own porch transformation, I aimed for a space that was both highly practical and deeply inviting. If you’re seeking to achieve a similar balance, these creative ideas can serve as a fantastic starting point, helping you plan the perfect conversion to complement your lifestyle and personal aesthetic.
1. The Serene 3-Season Relaxing Sunroom
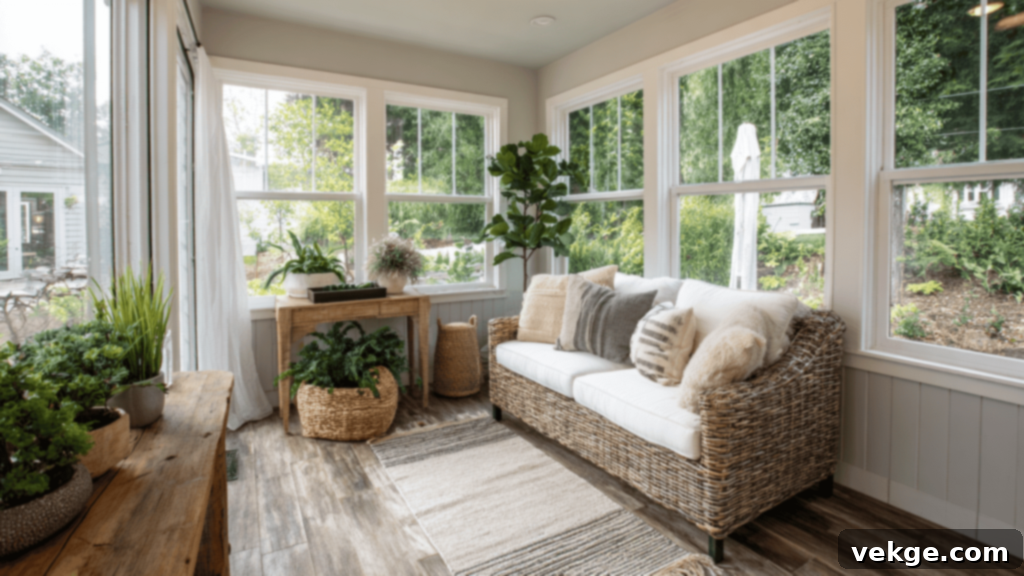
Transform your porch into a light-filled 3-season oasis. Utilize expansive vinyl or insulated glass windows to maximize natural light and views, then furnish with plush, comfortable seating, soft throws, and an abundance of indoor plants. Add sheer, light curtains and inviting rugs to create an airy yet exceptionally cozy atmosphere. This type of enclosed porch is ideal for enjoying the beauty of spring, summer, and fall, providing a peaceful sanctuary protected from insects, wind, and sudden showers.
2. The Productive Home Office with an Inspiring View
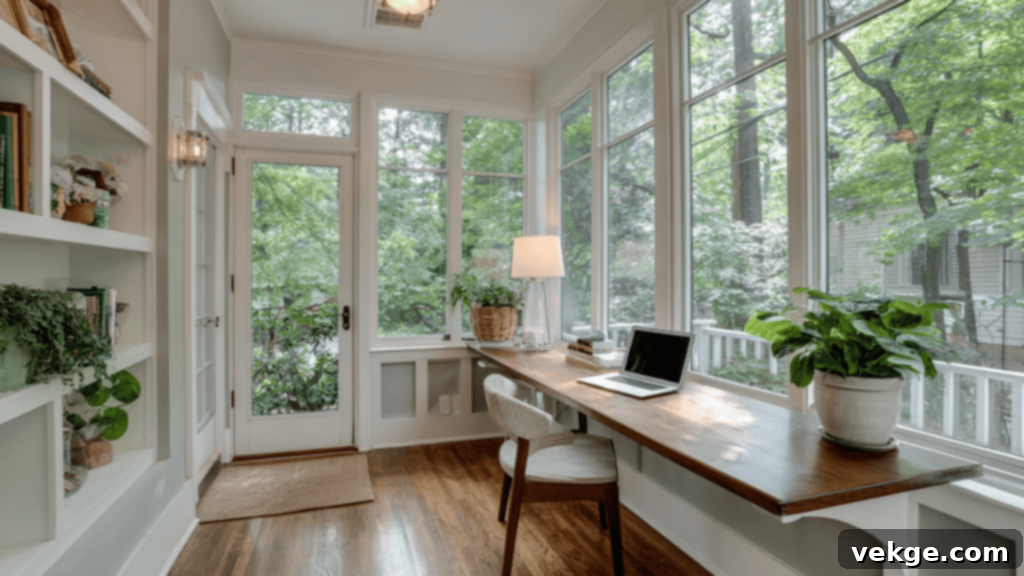
Convert your once-unused porch into a quiet, sunlit workspace. Install a functional desk, ample bookshelves for organization, and large, insulated windows to provide an inspiring outdoor view while ensuring year-round comfort. Incorporate simple blinds or shades to manage glare and maintain focus during work hours. For those who work remotely, this type of porch conversion offers a dedicated, distraction-free environment that significantly enhances productivity without sacrificing a bedroom or main living area.
3. The Inviting Dining Porch with Abundant Natural Light
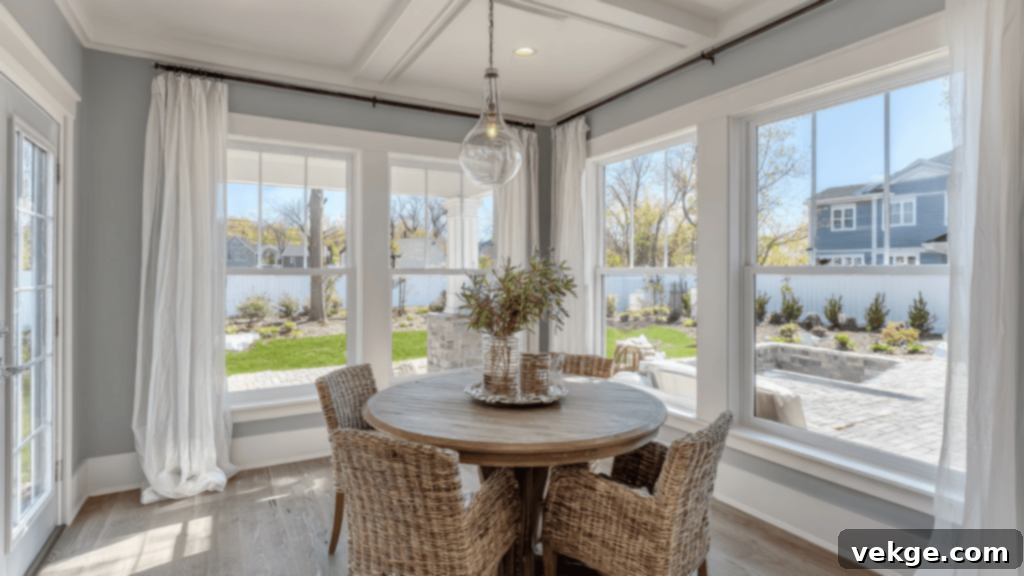
Create a charming and casual dining experience by converting your porch into a brightly lit dining area. Add a small yet elegant dining table, comfortable chairs, and perhaps some overhead pendant lighting or a stylish ceiling fan. Utilize screens, vinyl 4-track windows, or insulated glass to enjoy meals al fresco, free from pests and inclement weather. This idea is particularly fantastic for families who cherish sharing meals in a fresh, bright setting, or for those who love to host casual gatherings with a connection to the outdoors.
4. The Organized Mudroom and Essential Storage Zone
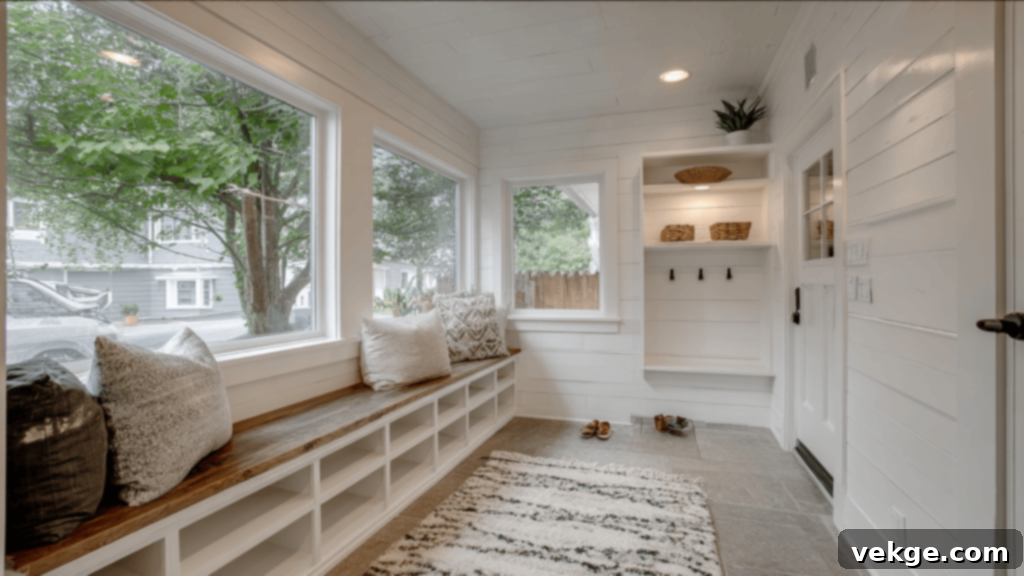
Enclose your front or side porch to create a highly functional drop zone that captures clutter before it enters your main living areas. Install sturdy wall hooks for coats, built-in benches with hidden storage for shoes and bags, and easy-to-clean, durable flooring like tile or vinyl plank. A mudroom porch conversion is an incredibly practical addition that keeps your primary entryways clean, organized, and free from everyday messes, enhancing the functionality of your home year-round, especially in homes with active families or pets.
5. The Cozy Reading and Game Nook
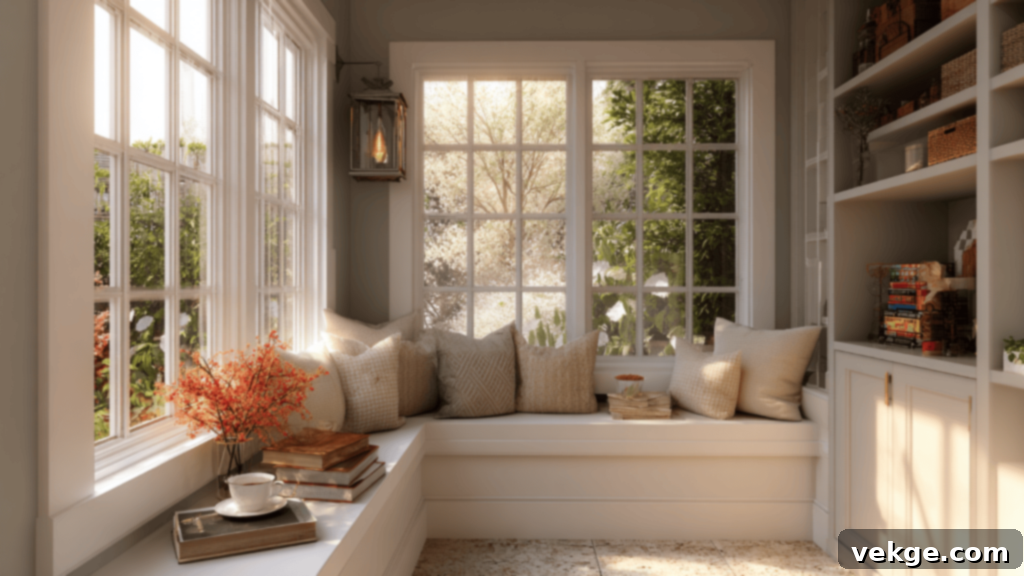
Craft a warm and inviting retreat by transforming your porch into a dedicated reading or game nook. Fill the space with a comfortable built-in bench or a chaise lounge, adorned with soft cushions and an abundance of pillows. Install low shelving or cubbies to neatly store books, board games, and blankets. Utilize dimmable lighting and a palette of neutral, calming colors to foster a peaceful and relaxed atmosphere. This intimate small porch conversion is absolutely perfect for quiet evenings spent unwinding, cozy morning reads, or friendly board game sessions with loved ones.
Each of these porch conversion ideas can be thoughtfully adapted to perfectly suit your specific space, budget constraints, and desired lifestyle. Start by envisioning the possibilities and then meticulously plan to make it uniquely your own.
DIY vs. Professional Porch Conversions: Making the Right Choice
When contemplating a significant home improvement project like a porch conversion, one of the first and most critical decisions you’ll face is whether to undertake the project yourself (DIY) or to engage a professional contractor. This choice significantly impacts cost, time, and the quality of the final result. Here’s a detailed comparison to help you weigh both options:
| Aspect | DIY Porch Conversion | Hiring a Contractor |
|---|---|---|
| Cost | Significantly lower initial cost as you save on labor expenses, but potential for costly mistakes or re-dos. | Higher overall cost due to professional labor, contractor fees, and project management. |
| Time Commitment | Requires a substantial personal time investment, taking longer depending on your skill level, tools, and experience. | Faster project completion as professionals manage timelines, skilled labor, and efficient workflows. |
| Skill & Expertise | Requires a good understanding of construction principles, carpentry, electrical (if applicable), and attention to detail. | No specialized skills required on your part; the contractor brings expertise, licenses, and experience to the project. |
| Control Over Design | Full creative control; you can make real-time adjustments and changes during the project as you see fit. | Limited control once plans are approved; changes often involve additional costs and may require re-approvals. |
| Material Sourcing | You are responsible for researching, purchasing, and transporting all materials, which can be time-consuming. | The contractor sources and often gets better pricing on materials due to volume purchasing power. |
| Quality & Precision | Quality can be excellent with proper planning and skill, but may lack the precision or specialized finishes of a pro. | High-quality finish with expert knowledge, specialized tools, and extensive experience in similar projects. |
| Permits & Regulations | You are fully responsible for understanding, applying for, and adhering to all local permits, codes, and regulations. | A reputable contractor typically handles all necessary permits, inspections, and ensures compliance with building codes. |
Whether you ultimately decide to embark on a DIY adventure or opt for the expertise of a professional, both avenues present their unique advantages. Carefully weigh the financial implications, the time commitment involved, and the level of expertise required to determine the best approach for your specific porch conversion project. Your decision will be key to a successful and satisfying outcome.
Cost Breakdown of Porch Conversions: What to Expect
When I first started exploring the possibility of converting my porch, I quickly realized the immense importance of understanding the potential costs upfront. If you’re planning a similar project, gaining a clear financial perspective is crucial for effective budgeting and decision-making. Here’s a detailed breakdown of what you can anticipate in terms of potential expenses:
Material Costs for Your Porch Conversion
The cost of materials for a porch conversion can fluctuate significantly based on your choices and the scope of the project. Here’s a look at common components:
- Windows: The national average for window installation, including labor, is around $1,047 per window. However, basic vinyl or single-pane glass windows might range from $500 to $700 each, while high-efficiency, insulated, or custom architectural windows can easily cost between $900 and $1,400 per unit, or even more for larger sizes or advanced features.
- Doors: Patio or French doors, which are common for porch conversions, typically run between $1,500 and $4,000, including professional installation. Simpler interior-style doors or basic screen doors will be less expensive.
- Insulation: For a comfortable and energy-efficient space, insulation is key. Material costs range from $0.30 to $4 per square foot, depending on the type (fiberglass batts, rigid foam, spray foam). Professional installation can bring the total insulation cost for a typical porch conversion to somewhere between $1,000 and $2,400.
- Flooring: Flooring options present a vast range of prices, from as little as $1 per square foot for basic vinyl or laminate to over $20 per square foot for premium hardwoods, natural stone, or high-end ceramic tiles. Your choice here heavily influences the overall material budget.
- Framing & Roofing: If your porch requires new framing or a roof extension, expect additional costs for lumber, roofing materials (shingles, metal, etc.), and associated fasteners.
Cost of Hiring a Professional Contractor
Engaging a professional contractor means you’re paying for expertise, efficiency, and peace of mind. Their fees typically encompass both labor and material procurement. Professional labor rates for porch conversions can range from $50 to $140 per hour, depending on the contractor’s experience, location, and the complexity of the job. For a complete porch conversion project, overall contractor costs often fall between $3,000 and $15,000 for a standard 3-season room, and significantly higher for a full 4-season addition, potentially reaching $20,000 to $70,000+ depending on size and finishes.
This range generally includes all labor, materials, and the contractor’s overhead and profit. The exact cost will primarily depend on the size and complexity of your project, whether you are converting into a 3-season or a fully insulated 4-season room, the quality of materials chosen, and the contractor’s reputation and experience.
Additional Costs to Factor In
Beyond the core materials and labor, several other expenses can arise during a porch conversion:
- Permits: Building permits are almost always required for structural changes or additions. These can range from $50 to $500, depending on your local municipality and the project’s complexity.
- Structural Work: If your existing porch foundation or framing needs significant reinforcement or repairs to support the new enclosure, anticipate costs between $1,000 and $3,000, or more for extensive structural modifications.
- HVAC & Electrical: Converting to a 4-season room usually requires extending your home’s heating, ventilation, and air conditioning (HVAC) system, and adding new electrical outlets and lighting. These additions can range from $1,500 to $5,000+ depending on the scope.
- Site Preparation & Cleanup: Demolition, debris removal, and site preparation can incur costs, especially if heavy machinery is needed.
- Design & Architectural Fees: If you require custom plans or a structural engineer’s assessment, these professional fees can add to your budget.
These additional costs are essential to keep in mind and budget for, as they are crucial components of a complete and compliant porch conversion.
Budget-Friendly Options for Porch Conversions
If you’re working with a tighter budget, there are several strategies to help you manage costs without compromising too much on your vision:
- DIY Approach: Handling the labor yourself is the most significant way to save, eliminating professional contractor fees. However, be realistic about your skills and time.
- Material Choices: Opt for more economical materials like vinyl windows instead of high-end wood, or laminate flooring over expensive tile. Research reclaimed materials if they fit your aesthetic.
- Simpler Design: A 3-season room is generally more affordable than a 4-season room, as it requires less insulation and less extensive HVAC integration.
- Phased Project: Consider breaking the project into phases. For instance, enclose the porch first, then add insulation and finishings later when budget allows.
- Negotiate with Contractors: Get multiple quotes and don’t be afraid to negotiate. Ask if they have access to discounted materials or can offer value engineering suggestions.
By thoroughly understanding these potential costs and planning ahead, you can effectively keep your porch conversion project within budget while still achieving the beautiful and functional results you desire.
Legal and Permit Information for Your Porch Conversion
Embarking on a porch conversion project involves more than just construction; it also requires navigating local regulations and obtaining necessary approvals. In most parts of the U.S., you will undoubtedly need a building permit, especially if your plans involve significant structural alterations, adding walls and windows, or integrating HVAC and electrical systems. Failing to secure the proper permits can lead to significant fines, project delays, and even complications when you eventually sell your home.
When Permits Are Typically Required
It’s always best to assume a permit is needed, but here are common scenarios where they are almost certainly mandatory:
- Structural Changes: Any alteration to the fundamental structure of your porch, such as adding or removing walls, modifying the roof, or enclosing a previously open area.
- Electrical Work: Installing new wiring, outlets, switches, or light fixtures, or extending existing electrical circuits into the new space.
- HVAC or Plumbing Extensions: Connecting the new room to your home’s heating, ventilation, and air conditioning system, or adding any plumbing (e.g., for a wet bar).
- Converting to Year-Round Living Space: Transforming a porch into a fully insulated, heated/cooled room that becomes part of your home’s conditioned living area.
- Changes to Exterior Dimensions: Any expansion of the porch’s footprint or changes to its height.
Minor cosmetic upgrades, such as simply painting, replacing old screens with new ones, or updating light fixtures without rewiring, generally do not require permits. However, the golden rule is always to check directly with your local building department or planning office to confirm requirements for your specific project.
How the Permit Process Works
The permit application process typically involves submitting detailed plans of your proposed porch conversion to your city or county’s permitting department. You’ll pay an application fee (usually ranging from $50 to $500, sometimes more for larger projects). These plans will often need to include drawings, a clear layout, structural details, and specifications for materials, especially for enclosed or insulated rooms. Once approved, you’ll then be required to schedule inspections at various key stages of the project (e.g., foundation, framing, electrical, insulation, and final inspection) to ensure compliance with all local building codes.
Key Codes and Compliance to Be Aware Of
While specific rules vary by jurisdiction, most areas adhere to a version of these general codes:
- Energy Codes: Particularly relevant for 4-season rooms, these codes dictate insulation R-values, window U-factors, and overall thermal performance to ensure energy efficiency.
- Zoning Regulations: These rules govern the size, setback from property lines, and overall placement of structures on your property.
- Egress Requirements: If your converted porch is intended to be used as a bedroom or includes sleeping areas, it will need to meet specific egress (emergency exit) window or door requirements.
- Structural Standards: Codes ensure that the added weight of new walls, windows, insulation, and roofing is adequately supported by the existing foundation and framing.
- Electrical and Fire Codes: These govern the safe installation of electrical systems and ensure fire safety standards are met.
If you choose to hire a professional contractor, they typically handle all aspects of the permit application, plan submission, and inspection scheduling on your behalf. However, if you’re undertaking a DIY porch conversion, the responsibility for all paperwork, compliance, and scheduling rests entirely with you.
Why Permit Compliance Matters
Skipping necessary permits is a common mistake with potentially severe consequences. It can lead to substantial fines, legal action, forced demolition of unpermitted work, significant delays, and major headaches when you attempt to sell your home. Crucially, permits ensure that your porch conversion is built safely, legally, and to all current building codes, protecting your investment and the safety of your family.
Finding a Reputable Porch Conversion Company
When you decide that a professional touch is needed for your porch conversion, selecting the right company is paramount for a successful outcome. It’s essential to approach this decision with careful consideration. Start your search by researching well-regarded contractors in your area known for porch and sunroom additions. Reputable companies like Porch Conversion Sunrooms in Wilmington, NC, or nationwide providers like Patio Enclosures, offer a good starting point for exploring options and understanding industry standards.
Once you’ve identified a few potential candidates, make sure to request detailed quotes from each. Don’t simply focus on the bottom-line price; instead, thoroughly compare each company’s experience, review their portfolios of past projects, read customer testimonials and online reviews (on platforms like Google, Yelp, or Angie’s List), and assess their overall value proposition. Look for companies that offer transparent pricing, clear communication, warranties on their work, and demonstrate a strong understanding of local building codes and permitting processes. Asking for references and speaking with previous clients can also provide invaluable insights into their reliability and quality of work.
Investing a little extra time and due diligence during this selection phase can go a very long way in helping you find a contractor you can truly trust, ensuring your porch conversion project is completed to the highest standards and meets all your expectations.
Common Mistakes to Avoid in Your Porch Conversion
During my own porch conversion journey, I encountered a few unexpected hurdles and learned valuable lessons about what to anticipate. To help you navigate your project smoothly and avoid similar frustrations, here are some common pitfalls that homeowners often encounter and how you can steer clear of them:
- Choosing the Wrong Materials: Selecting materials that aren’t appropriate for your local climate or the specific conditions of your porch (e.g., direct sun exposure, high humidity) can lead to premature wear, maintenance issues, and discomfort. Always research and choose durable, weather-resistant materials that are rated for indoor/outdoor use, and consider energy efficiency for windows and insulation.
- Skipping Necessary Permits and Inspections: This is perhaps the most critical mistake. Failing to obtain required building permits before starting work can result in fines, forced demolition of completed work, difficulties with insurance claims, and complications when selling your home. Always consult your local building department early in the planning process.
- Underestimating Costs and Forgetting a Contingency Fund: Projects rarely go exactly as planned. Many homeowners underestimate the total cost, especially when unexpected issues arise (like discovering structural damage or needing additional electrical work). Always budget for unexpected expenses by adding a contingency fund of at least 10-20% to your initial estimate.
- Not Considering Future Use and HVAC Needs: Think long-term. Will the space truly meet your needs years down the line? If you plan for a 4-season room, neglecting proper insulation and a dedicated heating/cooling solution will make the space uncomfortable and unusable during extreme weather, defeating its purpose.
- Neglecting Proper Drainage and Water Management: Porches are exposed to the elements. Failing to ensure proper flashing, sealing, and drainage can lead to water infiltration, rot, and mold issues in your new room. Pay close attention to how water will be diverted away from the structure.
- Ignoring the Existing Home’s Aesthetics: While you’re converting the porch, ensure the new addition complements the architectural style and color palette of your existing home. A mismatched addition can detract from your home’s curb appeal and overall value.
From my personal experience, thorough planning, realistic budgeting, and proactively addressing potential issues are paramount. By being mindful of these common mistakes, you’ll be well-positioned to create a porch conversion that is both beautiful, highly functional, and a true asset to your home.
Conclusion: Unlock Your Porch’s Potential
Converting my porch was a transformative decision that completely reshaped how I interact with and enjoy my home. It provided a cozy, versatile, and immensely practical space that I hadn’t even realized was missing. If you currently have an underused or neglected porch, embarking on a porch conversion project is an exceptionally smart and rewarding way to expand your usable living area without the extensive undertaking of a full-scale home addition.
Throughout this guide, we’ve explored the most popular types of porch conversions, from sunny 3-season rooms to fully integrated 4-season additions, detailing the essential step-by-step process of planning and building. We’ve also broken down the potential costs involved, provided budget-friendly alternatives, and shared simple yet inspiring ideas to help you personalize your new space. Whether your goal is enhanced comfort, much-needed extra storage, a dedicated workspace, or a tranquil retreat, there’s a porch conversion solution perfectly suited to your needs and aspirations.
If you’re now feeling inspired and ready to get started on your own home transformation journey, I encourage you to delve deeper. You’ll find more easy-to-follow home improvement guides, practical tips, and creative ideas in my other blogs, all designed to empower you in continuously building a home that truly works for you and enhances your daily life.
