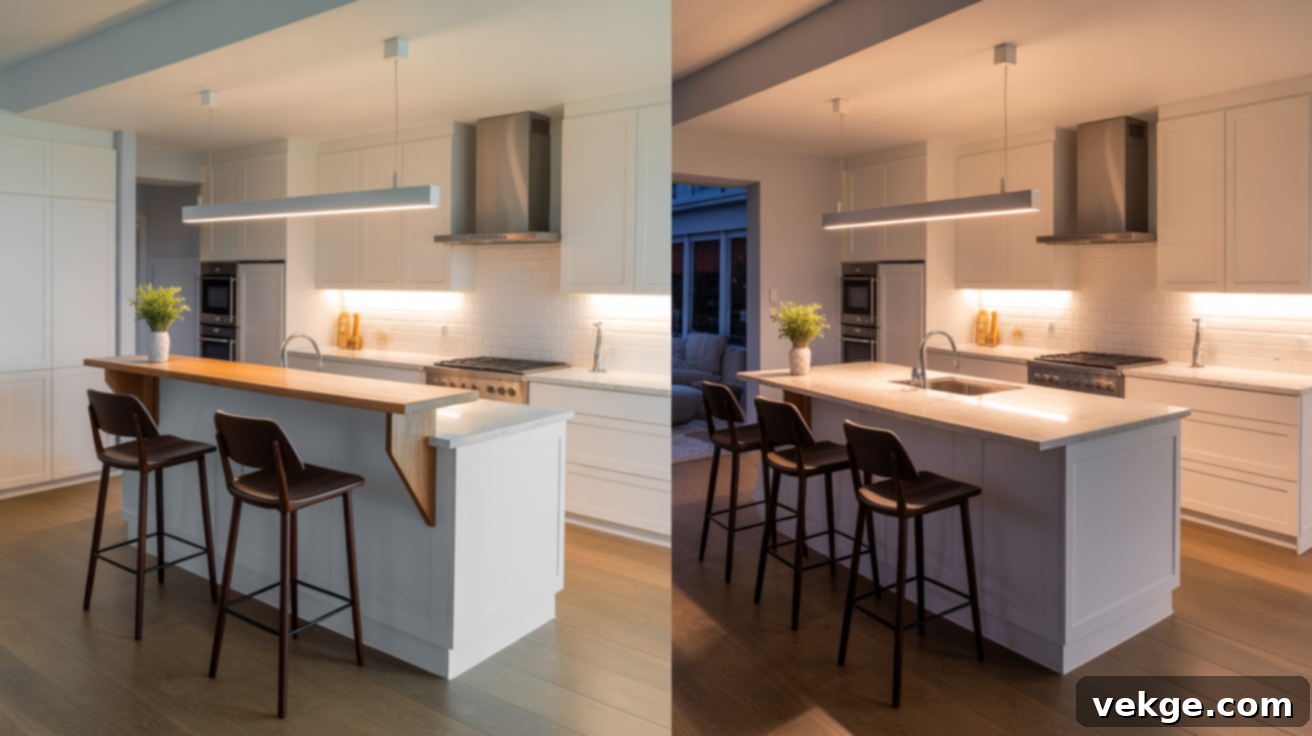
Transform Your Kitchen: A Comprehensive Guide to Lowering a Raised Breakfast Bar to Counter Height
Many homeowners find themselves looking at their raised breakfast bar and feeling a sense of disconnect. It often acts as a visual barrier, cutting off the kitchen from the rest of the living space, blocking precious natural light, and making the entire area feel smaller and less inviting. For me, that feeling was a daily reality. The raised bar simply didn’t align with our lifestyle, hindering open communication and efficient use of space. So, I took the plunge and decided to lower it to a uniform counter height, and the transformation has been truly remarkable.
This comprehensive guide is designed to empower you to achieve a similar transformation in your own home. I’ll share the precise steps I followed, complete with illustrative before-and-after insights, a detailed list of the tools I utilized, and practical tips to streamline the entire process. Beyond the practicalities, I’ve also included valuable cost-saving strategies and a selection of design inspirations that helped me finalize the space, ensuring it perfectly suits our family’s needs and aesthetic preferences.
If you’re contemplating this popular kitchen upgrade, this guide will serve as your essential resource. It meticulously breaks down what the project entails, provides realistic timeframes, and highlights the significant impact such a change can have on your home’s functionality and visual appeal. It’s a truly achievable project that offers immense rewards, opening up your kitchen and enhancing its flow.
Should You Lower Your Raised Breakfast Bar to Counter Height?
The decision to lower a raised breakfast bar is a popular and impactful home improvement choice, and for excellent reasons. While a raised bar might offer a subtle visual division, often its drawbacks outweigh the benefits, especially in modern living spaces. That extra elevated ledge frequently serves to visually chop up an otherwise continuous space, impedes the flow of natural light, and can make your kitchen feel surprisingly enclosed and isolated.
By lowering the breakfast bar to a standard counter height, you immediately achieve a seamless, expansive surface. This unified countertop is not only aesthetically pleasing but also significantly more functional for a multitude of daily activities. Imagine a larger, unobstructed area perfect for meal preparation, casual dining, hosting gatherings, or even as a spacious workspace for homework or remote tasks. This transformation is particularly beneficial in smaller kitchens or homes with open-concept layouts, where it dramatically enhances the perception of space and connection between rooms. The kitchen no longer feels like a separate entity but an integrated part of your home’s living area.
However, before committing to this change, it’s wise to consider a few factors. A raised bar does inherently create a subtle visual boundary, which some homeowners appreciate for defining the kitchen zone without completely walling it off. Furthermore, this elevated lip can be quite useful for concealing minor kitchen clutter from immediate view, especially when entertaining guests. If you frequently use the raised ledge for quick drop-offs like keys and mail, serving appetizers during parties, or as an informal drink station, losing that specific height might require a slight adjustment in your daily routines or entertaining habits. Weighing these functional and aesthetic pros and cons against your specific lifestyle and design goals is crucial for making the right decision.
Choosing the Right Countertop for Your New Counter-Height Bar
Once you’ve decided to lower your breakfast bar, you’re presented with an excellent opportunity to revitalize your kitchen’s aesthetic by selecting a new countertop. This choice is pivotal, as the countertop will define the look, feel, and durability of your transformed space. Some of the most popular and versatile options available include quartz, butcher block, and laminate, each offering distinct advantages.
Quartz: Known for its exceptional durability, non-porous surface, and wide array of colors and patterns, quartz is a premium choice. It’s highly resistant to scratches, stains, and heat, making it ideal for busy kitchens. Maintenance is minimal, requiring only simple cleaning.
Butcher Block: Offering a warm, organic aesthetic, butcher block countertops bring natural beauty and a rustic charm. Made from solid wood, they are incredibly durable and can be sanded and re-sealed to refresh their look over time. They are, however, more susceptible to scratches and water damage if not properly maintained.
Laminate: An economical and versatile option, laminate countertops come in an astonishing variety of finishes that can mimic natural stone or wood at a fraction of the cost. They are relatively easy to clean and maintain but are less heat and scratch-resistant than quartz or granite.
Granite: A classic and timeless choice, granite is a natural stone known for its unique patterns and robust durability. It’s highly resistant to heat and scratches, making it a favorite for many. It does require periodic sealing to maintain its stain resistance.
Other Considerations: When selecting your countertop, consider your daily cooking habits, cleaning preferences, and overall kitchen aesthetic. If you plan to add stools to your new counter-height bar, pay close attention to the required overhang. A comfortable overhang, typically 10-12 inches, ensures ample legroom for those seated. You’ll also want to decide on the edge profile – whether you prefer crisp, straight lines for a modern look or softer, rounded corners for a more traditional or family-friendly feel, ensuring it complements the existing elements of your kitchen. The goal is to choose a surface that is not only visually appealing but also highly functional, durable, and easy to clean, integrating seamlessly into your newly opened kitchen design.
How to Lower a Breakfast Bar: A Step-by-Step DIY Guide
Embarking on a kitchen renovation project can initially feel overwhelming, but by breaking it down into manageable, clear steps, the process becomes much more approachable. This section provides a detailed, easy-to-follow walkthrough of lowering your raised breakfast bar, making it accessible even if you have limited experience with home improvement tasks. Safety and precision are paramount, so take your time with each stage.
Tools and Materials You’ll Need for This Project
Having the right tools and materials on hand before you start will significantly streamline your project. Here’s a comprehensive list to help you plan and gather everything necessary:
- Circular Saw or Hand Saw: Essential for precise cuts through wooden framing. A circular saw offers speed and accuracy, while a hand saw is suitable for smaller cuts or if power tools are not an option.
- Reciprocating Saw (Sawzall) or Pry Bar and Hammer: Used for demolition, specifically for removing existing studs, tile, and drywall. A reciprocating saw makes quick work of cutting through wood and nails, while a sturdy pry bar and hammer are excellent for manual demolition.
- Utility Knife: For scoring caulk, silicone, and drywall before removal. A sharp blade is key for clean cuts.
- Tape Measure: Crucial for accurate measurements, especially when marking new heights and cutting materials. “Measure twice, cut once!” is a golden rule.
- Screwdriver or Drill (with appropriate bits): For removing existing screws and fasteners, and for securing new framing and drywall. A cordless drill offers convenience and power.
- Drywall and Screws: To patch up the wall section where the raised bar structure was removed. Ensure you use drywall screws for secure fastening.
- Joint Compound (Mud) and Sanding Block (or electric sander): For finishing drywall seams and screw holes, creating a smooth, paint-ready surface.
- Primer and Paint: To match your existing wall color, giving your newly modified area a seamless, professional finish.
- Paint Brushes and Rollers: For applying primer and paint evenly.
- Safety Gear: Gloves, a Dust Mask, and Eye Protection: Non-negotiable for protecting yourself from sharp edges, dust, and debris.
- Drop Cloths or Cardboard: To protect your flooring and furniture from dust, debris, and paint splatters.
- Level: Absolutely vital for ensuring all cuts and installations are perfectly straight and plumb.
- Stud Finder: To locate existing studs within the wall, which is critical for structural integrity when reframing.
If you’re new to power tools or anticipate only occasional use, consider renting them from a local hardware store. This can significantly reduce your initial project costs compared to purchasing new equipment.
Step-by-Step Instructions for a Lowered Breakfast Bar Installation
With your tools and workspace meticulously prepped, it’s time to dive into the primary task. Lowering a raised breakfast bar might appear complex, but by following these clear, incremental steps, the process becomes manageable and rewarding.
Step 1: Prepare the Area Thoroughly
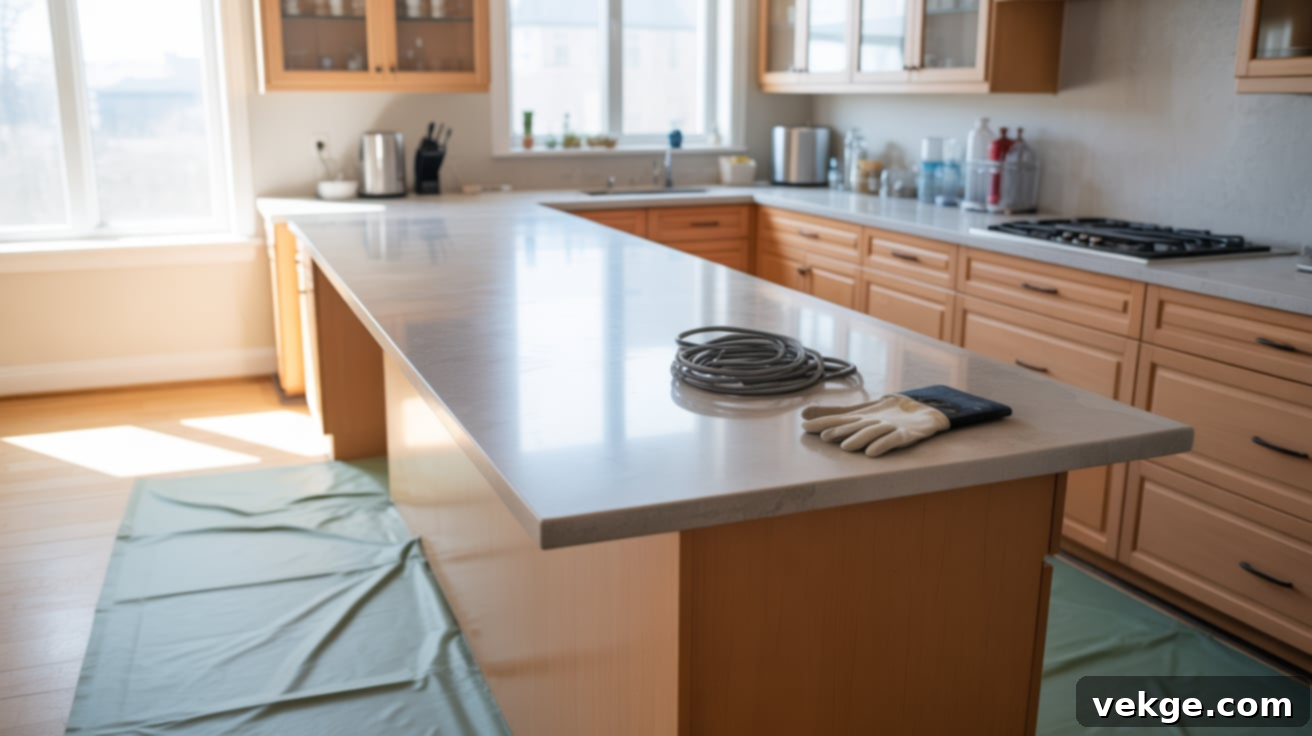
Begin by meticulously clearing all items from and around the breakfast bar. This includes stools, small appliances, decorative pieces, and any other objects that could obstruct your work or risk damage. Safety is paramount, so if there are any electrical outlets or switches on or near the breakfast bar, locate your home’s main electrical panel and turn off the power to that circuit. Confirm the power is off using a voltage tester before proceeding. Next, protect your flooring and nearby furniture from potential scratches, dust, and debris by covering them generously with drop cloths or sturdy cardboard. A clean, unobstructed, and safe workspace is the foundation for a smooth and successful project.
Step 2: Carefully Remove the Existing Countertop
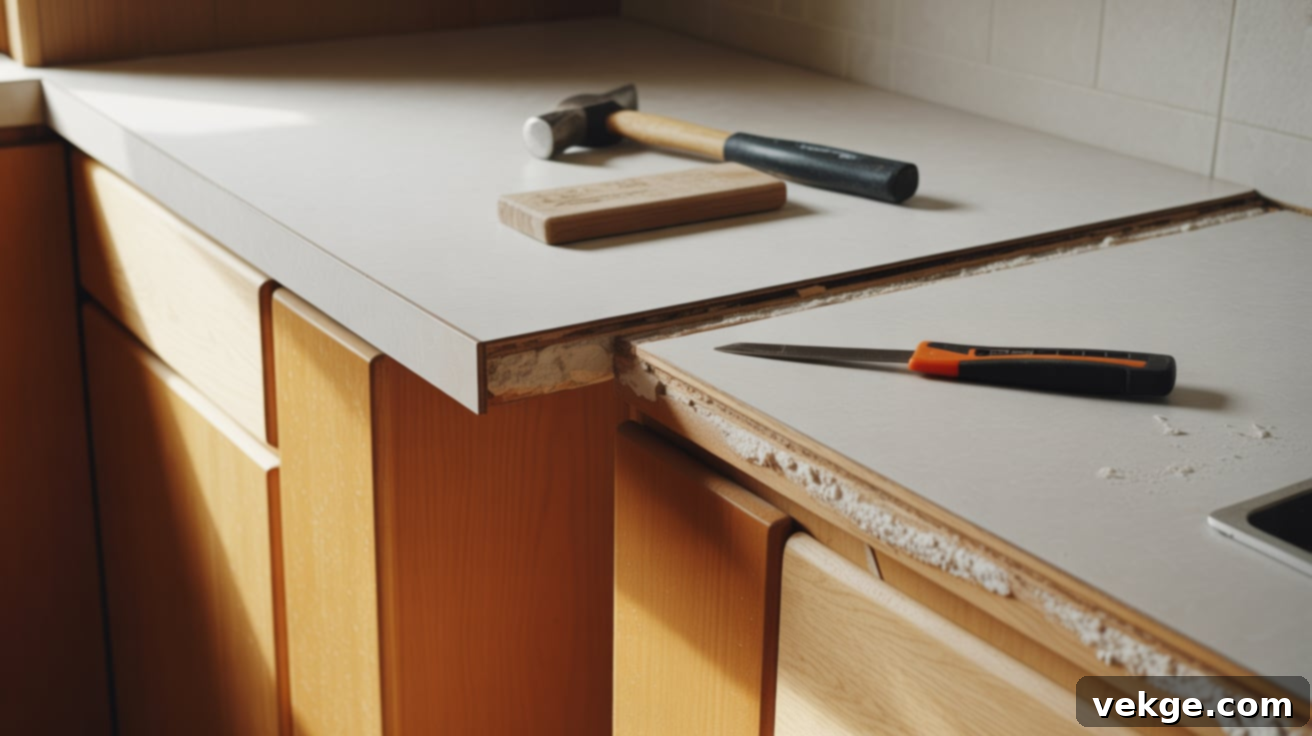
Using a sharp utility knife, meticulously score along all edges where the existing countertop meets the wall, cabinets, or any adjacent surfaces. This action severs any seals created by silicone, caulk, or adhesive, making removal much easier. For solid surfaces like Corian, granite, or laminate, carefully check underneath for any screws or clips holding it in place and remove them. Then, gently tap from underneath the countertop using a rubber mallet or a hammer with a block of wood to distribute pressure evenly. Work slowly and apply consistent pressure to avoid cracking or damaging the countertop, especially if you intend to reuse or repurpose it. With a bit of luck and careful effort, the countertop may lift off in a single piece. Set it aside in a safe place.
Step 3: Take Off the Tile and Drywall
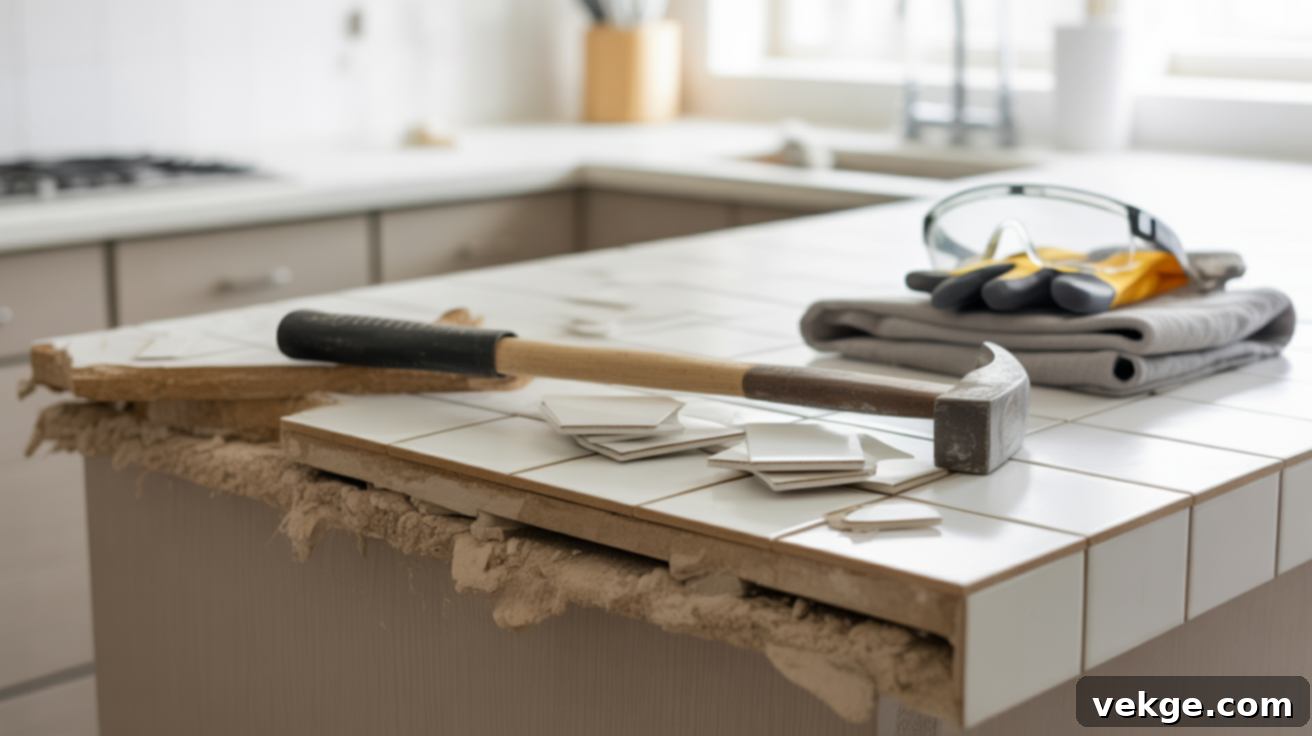
Don your safety gloves and eye protection. If your raised bar has a tiled surface or backsplash, use a flat pry tool, chisel, or hammer to carefully loosen and remove the tiles. Work systematically, starting from an edge if possible, and be mindful of flying fragments. Once the tiles are off, you’ll expose the drywall underneath. Use a drywall saw or a hand saw to cut the drywall into more manageable sections. This method prevents damage to the underlying studs and makes it easier to pull out each piece without excessive force. If any decorative trim or framing pieces are still in good condition after removal, carefully salvage them; reusing these components can save you both time and the cost of purchasing new materials.
Step 4: Precisely Cut Down the Framing
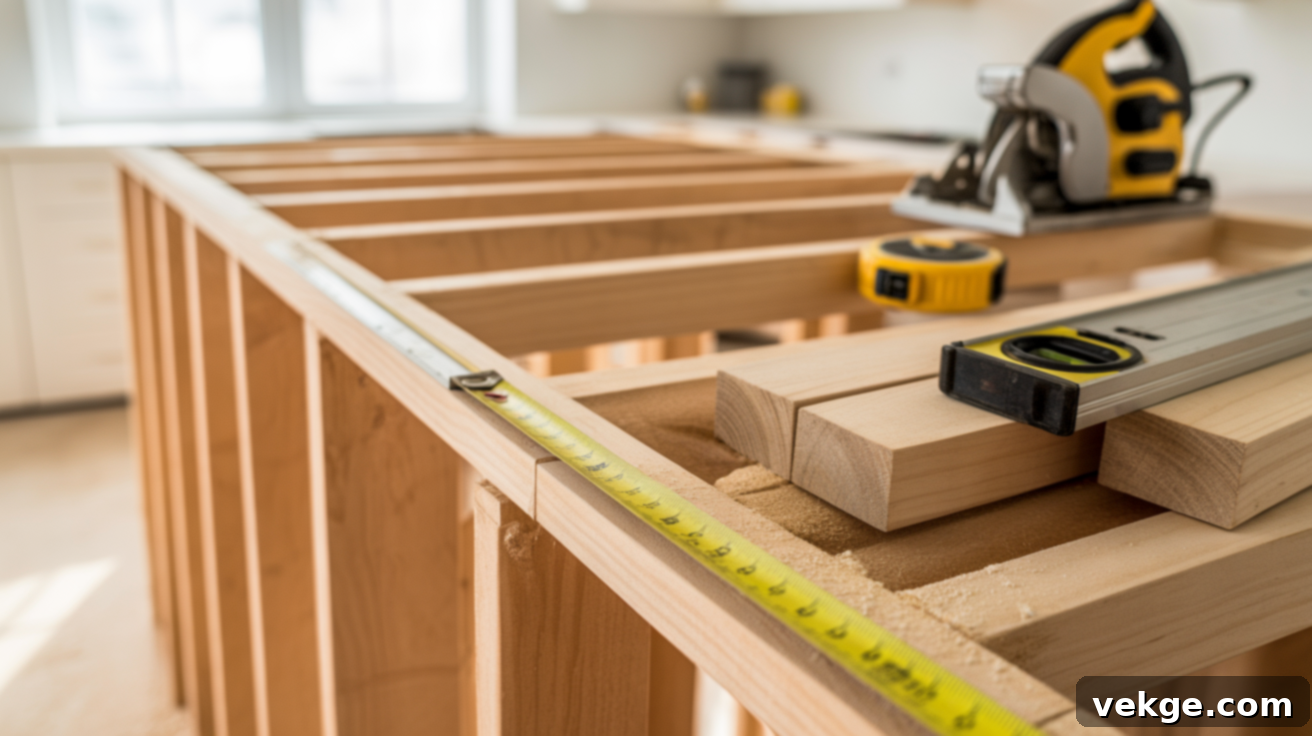
This is a critical step that dictates the final height of your new counter. First, measure and mark your desired new height from the floor. Standard kitchen counter height is typically around 36 inches (91 cm), but ensure it aligns with your existing kitchen counters. Use a reliable level to draw a perfectly straight, continuous line across each vertical stud or framing piece that needs to be shortened. Accuracy here is crucial for a level countertop later. Before cutting, double-check your measurements and lines. Then, using your circular saw (for speed and accuracy) or a hand saw, carefully trim the vertical framing pieces along your marked lines. Ensure each cut is clean and straight. Once all the framing is trimmed, place a long level across the tops of the newly cut studs to confirm that the entire surface is perfectly level. This meticulous attention to detail at this stage will greatly simplify the installation of your new countertop.
Step 5: Reframe, Apply Drywall, and Refinish the Area
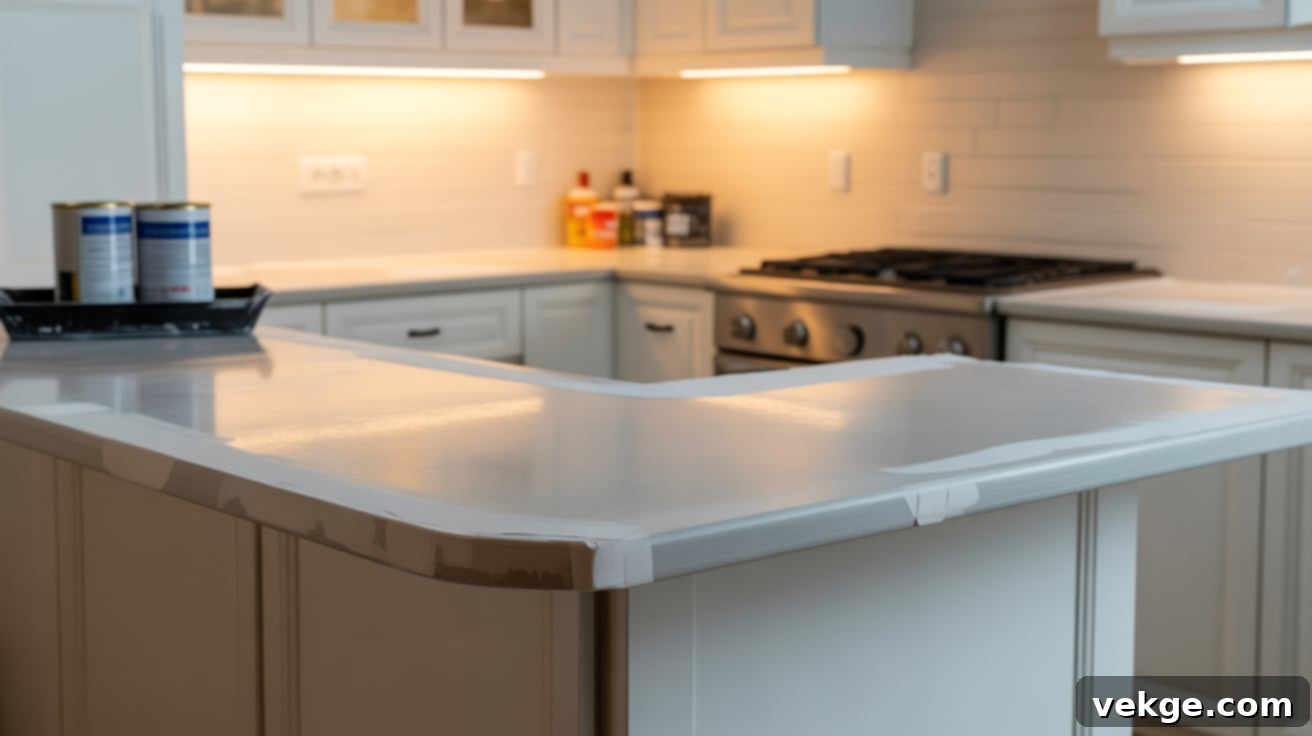
After the existing framing has been accurately cut down, it’s time to rebuild the support structure for your new counter-height bar. Reattach any previously removed structural pieces, ensuring they are flush and securely fastened with screws. If additional supports are needed, cut new lumber to fit and screw them into the existing studs for maximum stability. Next, measure and cut new drywall sheets to precisely fit the open section where the raised bar once stood. Carefully screw the drywall into the newly adjusted framing, ensuring the screw heads are slightly recessed but do not break through the paper surface. Apply joint compound (often called “mud”) over all screw holes and seams between the new and existing drywall. For strong, seamless joints, embed drywall tape over the seams before applying the compound. Allow each coat of compound to dry thoroughly as per manufacturer instructions, then sand it smooth. You’ll likely need two to three thin coats for a perfectly smooth finish. Once satisfied with the smoothness, apply a high-quality primer to the patched area, followed by at least two coats of paint that precisely match the rest of your wall. This comprehensive reframing and refinishing process ensures the lowered bar integrates flawlessly into your kitchen, appearing as if it was always part of the original design.
See the full process in the YouTube video:
Lowering Your Breakfast Bar to Counter Height: Inspiring Before and After Results
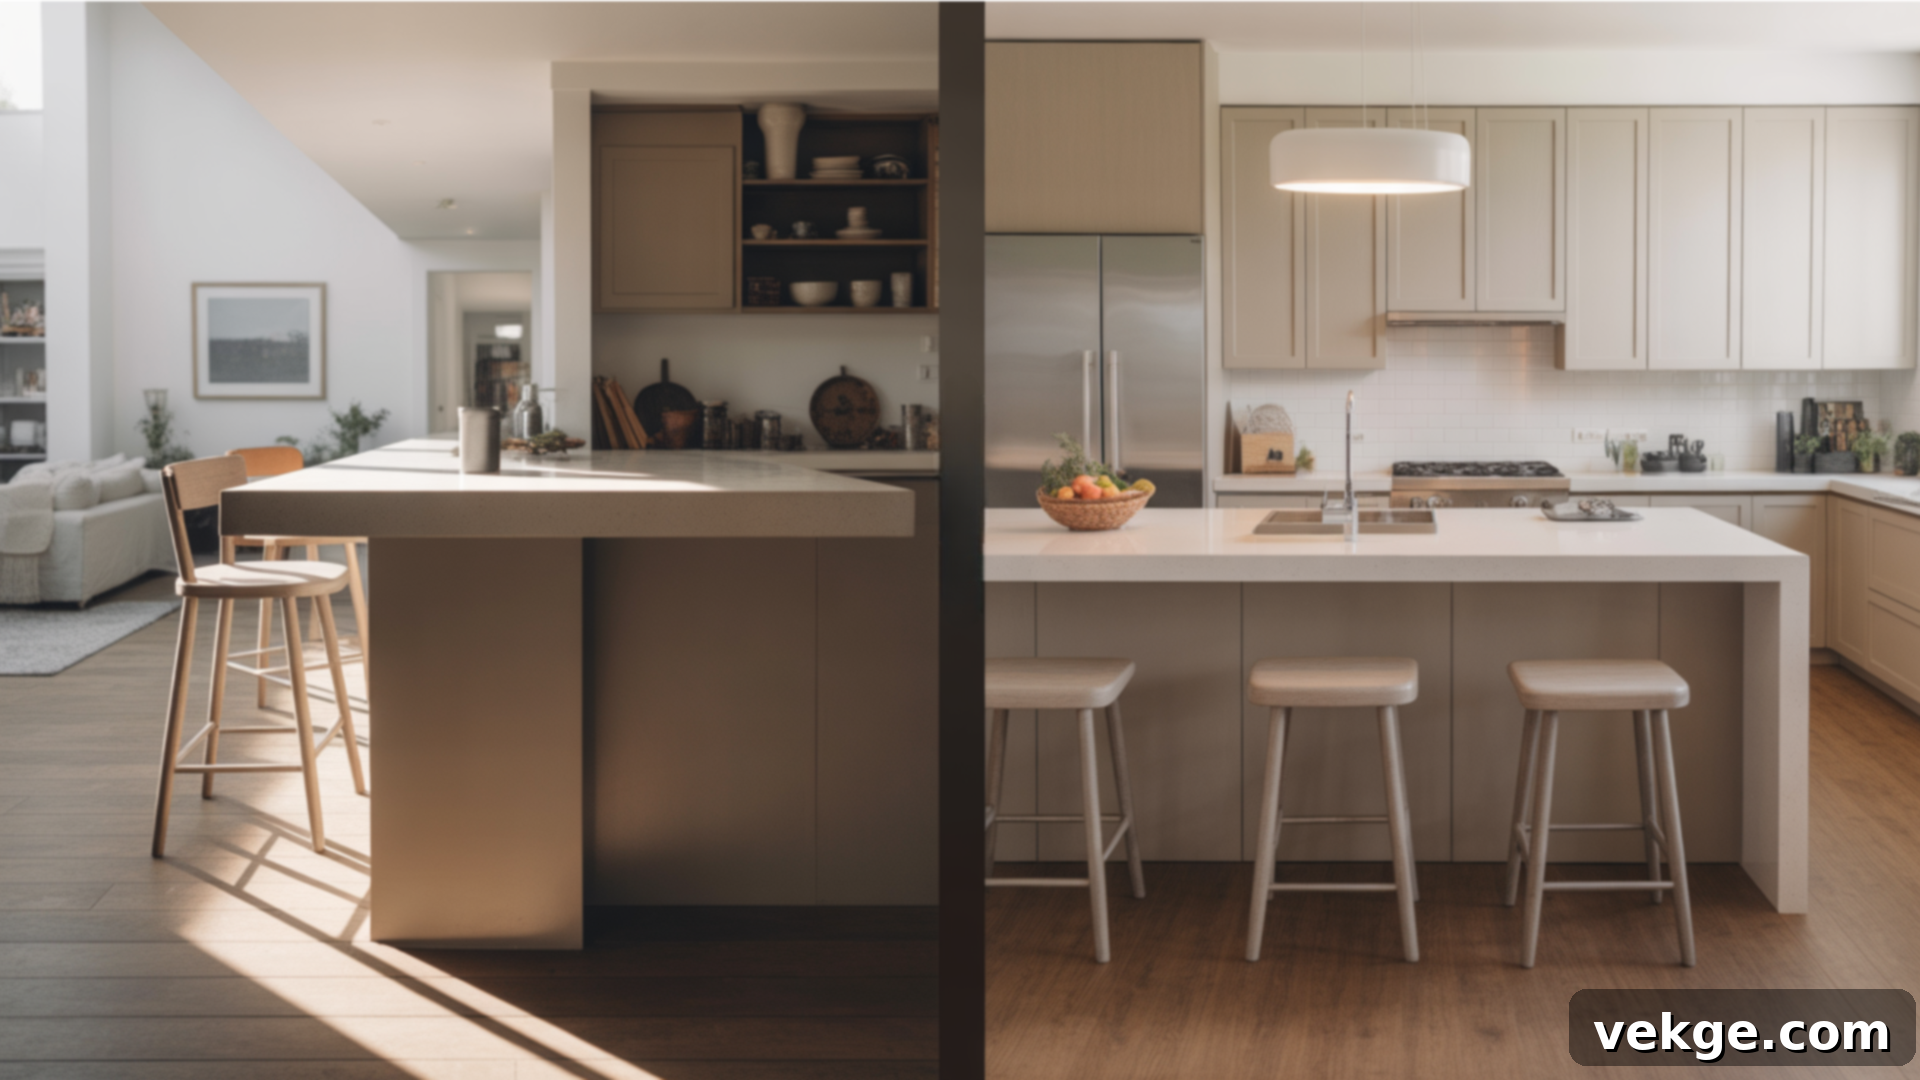
Visualizing the impact of a home renovation project can be challenging, but reviewing real-life before-and-after examples offers invaluable insight into what’s truly possible. The transformation achieved by lowering a raised breakfast bar is often dramatic and immediately noticeable, profoundly altering the perception and functionality of a kitchen space.
In homes with smaller kitchens, this modification frequently makes the entire area feel significantly brighter, more expansive, and considerably less cramped. The removal of the visual barrier allows light to flow uninterrupted, creating an airy and open atmosphere that can make a modest kitchen feel considerably larger than its actual dimensions. Clutter feels reduced, and the sense of being enclosed is replaced by a refreshing openness.
For open-concept layouts, the change is equally striking. Lowering the bar creates a smooth, continuous line that gracefully connects the kitchen with adjacent living or dining areas. This seamless transition fosters a greater sense of unity and flow between spaces, enhancing interaction and making entertaining much more effortless. The kitchen no longer stands as an isolated zone but integrates harmoniously into the broader living environment, encouraging conversation and family activities.
Dedicate some time to meticulously study before-and-after photographs of similar projects. Pay close attention to how the space visibly opens up, how natural light diffuses more evenly throughout the room, and how the overall layout feels more natural and inviting. Observing these side-by-side comparisons can be incredibly helpful in allowing you to vividly picture the potential impact within your own home. This visual research will be instrumental in confirming if this particular kitchen transformation aligns perfectly with your personal style, functional requirements, and long-term vision for your living space.
How Much Does It Cost to Lower a Breakfast Bar? A Budget Breakdown
Before you enthusiastically pick up your tools or even consider calling a professional contractor, understanding the potential costs involved in lowering a breakfast bar is a crucial first step. The overall expenditure can fluctuate considerably based on several factors, primarily how much of the work you plan to undertake yourself and what materials you already possess or intend to reuse. This simple breakdown aims to help you formulate an accurate budget and determine the most cost-effective approach for your specific situation.
1. The DIY Approach: Taking Control of Your Project
If you possess a reasonable level of DIY confidence and are willing to invest your own time and effort, tackling this project yourself can be remarkably cost-effective. The expenses in a DIY scenario are primarily limited to basic tools and essential building supplies. This includes items such as drywall, drywall screws, joint compound, sandpaper, primer, paint, and potentially new trim pieces or lumber for reframing. Depending on what tools you might already own (like a drill, saw, or level) and the quality of materials you choose, your costs for these consumables and rentals can typically range from approximately $100 to $300. For instance, many homeowners have successfully documented projects where they managed to lower their breakfast bar by ingeniously reusing existing trim, countertop materials (if feasible), and performing all the labor themselves, which dramatically reduces the financial outlay.
2. Hiring a Professional: Expert Execution and Peace of Mind
Opting to engage a professional contractor for this task will undoubtedly increase the overall cost, but it also provides the benefits of expert execution, guaranteed quality, and significant time savings. Professional fees can vary quite widely based on several factors: your geographical location (labor rates differ significantly), the specific complexity of your kitchen’s existing structure (e.g., presence of electrical wiring or plumbing within the bar), and the individual contractor’s rates and reputation. While specific figures are highly dependent on these variables, it’s reasonable to anticipate expenses ranging from $500 to $2,500 or even more for labor alone, not including the cost of new countertops. This figure would cover demolition, reframing, drywall repair, and basic finishing. If you’re adding a new, high-end countertop (like granite or quartz), this would be an additional cost, potentially adding another $500 to $2,000+ depending on the material and size.
3. Smart Cost-Saving Tips for Any Approach
- Reuse Existing Materials: Before demolition, carefully assess if you can salvage and reuse existing trim, structural lumber, or even the countertop itself (if it’s in good condition and can be recut or repurposed). This can significantly cut down on material expenses.
- Borrow or Rent Tools: Instead of purchasing new, expensive power tools that you might only use once, consider borrowing them from friends or family. Alternatively, local hardware stores often offer tool rental services at reasonable daily or weekly rates.
- Shop for Sales on Supplies: Keep an eye out for sales on drywall, paint, primer, and other finishing materials at your local home improvement stores. Buying during promotions can lead to considerable savings.
- Plan Ahead Meticulously: Thorough planning can prevent costly mistakes and rework. Having a clear plan, detailed measurements, and a comprehensive list of materials will ensure efficient use of resources and minimize unexpected expenses.
- Get Multiple Quotes: If you’re hiring a professional, always obtain at least three detailed quotes from different contractors. This allows you to compare pricing, scope of work, and timelines, ensuring you get the best value for your investment.
By carefully assessing your needs, evaluating your resources, and applying these cost-saving strategies, you can choose the most economically viable and efficient approach to successfully lowering your breakfast bar.
Common Mistakes to Avoid When Lowering Your Breakfast Bar
Even seemingly straightforward home improvement projects can lead to unexpected complications if not approached with caution and foresight. Before you embark on your breakfast bar transformation, it’s incredibly helpful to be aware of common pitfalls that others often overlook. These practical tips can save you from unnecessary extra work, wasted materials, and, most importantly, potential safety hazards.
- Forgetting to Check for Load-Bearing Walls: This is arguably the most critical mistake. Cutting into a load-bearing wall without proper support can compromise the structural integrity of your entire home. Always use a stud finder and, if unsure, consult a structural engineer or experienced contractor. The raised bar structure itself is usually not load-bearing, but the wall it attaches to might be.
- Neglecting Electrical or Plumbing Lines: The original raised bar might conceal electrical outlets, light switches, or even plumbing lines for a sink or dishwasher on the other side. Failing to identify and safely disconnect or reroute these before demolition can lead to dangerous electrical shocks or serious water damage. Always turn off power at the breaker and, if plumbing is present, shut off the water supply.
- Rushing the Job and Making Uneven Cuts or Messy Seams: Haste is the enemy of quality. Rushing through demolition or reframing can result in crooked cuts, uneven surfaces, and sloppy drywall finishes. This not only looks unprofessional but can also make installing the new countertop a nightmare. Take your time, measure repeatedly, and strive for precision at every step.
- Measuring Once Instead of Double-Checking Your Lines: The adage “measure twice, cut once” exists for a reason. Incorrect measurements lead to wasted materials, extra trips to the hardware store, and frustration. Always verify your marks with a level and tape measure before making any cuts, especially for the critical framing.
- Reusing Damaged Wood, Trim, or Drywall: While reusing materials can save money, using components that are warped, cracked, water-damaged, or otherwise compromised will undermine the quality and durability of your finished project. It’s often more cost-effective in the long run to use new, sound materials for structural elements and visible finishes.
- Skipping Safety Steps Like Turning Off the Power Near Outlets: As mentioned, electrical safety is paramount. Never assume power is off. Always use a non-contact voltage tester to confirm that circuits are dead before working near any wiring or outlets. Similarly, always wear appropriate personal protective equipment (PPE) like gloves, eye protection, and a dust mask.
- Inadequate Support for the New Countertop: When lowering the bar, you’re creating a larger, uninterrupted surface. Ensure that your new framing provides robust and adequate support for the entire length and width of your chosen countertop material, especially if it’s heavy (like granite or quartz) or has a significant overhang for seating.
By taking a little extra time for planning, careful execution, and mindful adherence to these cautionary points, you can significantly reduce the likelihood of encountering problems and ensure your breakfast bar lowering project progresses smoothly and successfully, resulting in a beautiful and functional kitchen transformation.
Conclusion: Embrace Your Open, Functional Kitchen
You’ve now journeyed through the complete process of transforming your kitchen, from the initial conceptualization and preparation to the final, refined touches of lowering your raised breakfast bar. Each section of this guide has been carefully crafted to provide you with clear, actionable, and immensely useful information – whether it’s planning your budget, selecting the perfect materials, or executing each step of the renovation with confidence. The goal has been to demystify a project that can initially seem daunting.
If you’ve felt uncertain about where to begin, I sincerely hope this detailed walkthrough has instilled in you a newfound sense of confidence and readiness. I understand that making significant changes to your kitchen, the heart of your home, can feel like a monumental decision. However, remember that you don’t need to tackle everything at once. By approaching this project one deliberate step at a time, you can achieve remarkable results without feeling overwhelmed. The reward is an open, brighter, and more functional kitchen that perfectly aligns with your modern lifestyle.
If you found this guide helpful and are eager for more home improvement inspiration, I encourage you to explore our other posts. We offer a wealth of simple ideas, step-by-step instructions, and practical tips on various kitchen updates and engaging DIY projects designed to empower you in enhancing your home.
