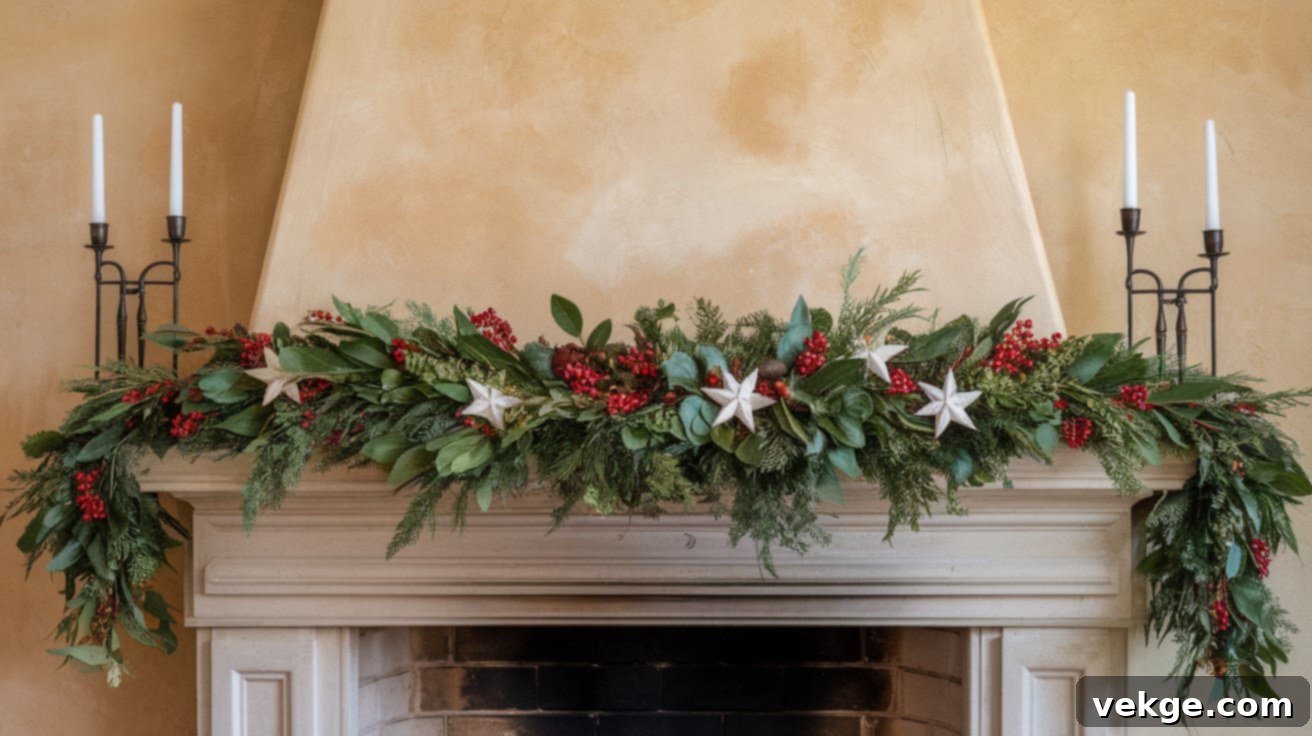
How to Hang Garland on a Mantel Without Damage: The Ultimate Guide to Festive Decor
The holidays are a magical time, and a beautifully decorated mantel often serves as the heart of festive home decor. It’s where stockings hang, cherished ornaments twinkle, and the warmth of the season truly comes alive. We all dream of that perfectly draped garland, overflowing with greenery and sparkling accents, transforming our living spaces into a cozy winter wonderland. However, the joy of decorating can quickly turn to dread when faced with the prospect of nail holes, sticky residue, or damaged surfaces once the festivities conclude.
Trust me, I’ve experienced the frustration of trying to secure garland without leaving a permanent mark. It’s a common dilemma: how to achieve stunning holiday decor without compromising the integrity or finish of your precious mantelpiece. But here’s the good news: you don’t have to sacrifice your mantel’s pristine condition for holiday cheer. There are numerous clever, damage-free methods that allow you to deck your halls—or rather, your mantel—with lush, festive garland that looks professional and impressive.
In this comprehensive guide, I’ll walk you through simple yet effective techniques to hang garland on your mantel, ensuring a beautiful display that leaves no trace behind. We’ll cover everything from choosing the right materials and understanding different mantel types to step-by-step installation, creative decorating ideas, and essential storage and safety tips. Get ready to embrace the festive spirit with confidence, knowing your mantel will be adorned flawlessly and returned to its original state once the season is over. Let’s dive in and transform your mantel into a stunning focal point!
Types of Mantels and Their Impact on Hanging Methods
Before you begin hanging your garland, it’s crucial to consider the type of mantel you have. Different materials and styles require specific approaches to ensure both stability for your decorations and protection for your surfaces. Understanding your mantel’s characteristics will guide your choice of hanging methods and materials.
- Wood Mantels: These classic and popular mantels offer a warm, inviting look. While they are often sturdy enough, the primary concern is protecting their finish from scratches, chips, or adhesive residue. For wood, aim for methods that grip or adhere without puncturing the surface. Specialized mantel clips with soft pads or felt-backed designs are excellent choices, as are high-quality adhesive hooks like Command hooks that are designed for clean removal. Avoid nails, tacks, or anything that could mar the wood.
- Stone or Brick Mantels: These robust, often textured surfaces can be challenging because adhesives might not stick well, and drilling is usually out of the question. For stone or brick, you’ll need to get creative. Look for heavy-duty mantel clips that extend over the edge and use gravity or tension to stay in place. Weighted garland ties or even draping the garland over objects already on the mantel (like heavy candlesticks or statues) can work. Some specialized adhesive products exist for rough surfaces, but always test a small, inconspicuous area first.
- Marble or Granite Mantels: Elegant and smooth, these polished surfaces are beautiful but delicate. They are prone to scratching and can be sensitive to certain adhesives or chemicals that might stain them. The best approach here is to use non-abrasive, non-staining methods. Soft-lined mantel clips are ideal. Clear, high-quality adhesive hooks are also an option, provided they are applied and removed precisely according to manufacturer instructions. Avoid anything that might drag across the surface or leave a mark.
- Metal Mantels: While less common, metal mantels can sometimes be magnetic, opening up unique and damage-free options. Magnetic hooks can be incredibly convenient for lighter garlands. If your metal mantel isn’t magnetic, treat it similarly to marble or granite, focusing on gentle, non-scratching methods like soft-backed clips or high-quality adhesive hooks.
- Floating Mantels: These modern, minimalist shelves are mounted directly into the wall, often with hidden brackets. The key concern with floating mantels is to avoid putting undue stress on their mounting, which could compromise their stability. Opt for lightweight garlands and hanging methods that don’t pull excessively on the mantel’s edge. Adhesive hooks on the top or front surface are usually the safest bet, ensuring the garland’s weight is supported evenly.
By understanding your mantel’s material and style, you can select the most appropriate and damage-free hanging method, ensuring your festive garland looks fantastic without any long-term consequences for your beautiful mantelpiece.
Step-By-Step Guide on How to Hang Garland on a Mantel Damage-Free
Creating a stunning garland display on your mantel is simpler than you might think, especially when using damage-free methods. Below is a detailed guide, along with an estimated cost breakdown for essential materials. Remember, costs can vary based on quality and where you shop.
| Material | Purpose | Estimated Cost |
|---|---|---|
| Garland (Artificial or Natural) | Primary decorative element | $15 – $50 (per 6-9 ft strand) |
| Command Hooks (3M) or Mantel Clips | For securing the garland to the mantel without damage | $5 – $15 (pack of 6-12 hooks/clips) |
| Rubbing Alcohol | For cleaning the mantel surface to ensure adhesion | $1 – $3 (small bottle) |
| Floral Wire or Green Twist Ties | To secure multiple garlands together and attach accents | $3 – $7 |
| Extra Greenery (Sprays, Picks, or Branches) | For adding volume, texture, and dimension to the garland | $10 – $30 |
| Decorative Accents (Ornaments, Ribbons, Berries) | To enhance the look with seasonal decorations and personal style | $10 – $40 |
| Dust Cloth or Microfiber Towel | For cleaning the mantel surface before decorating | $2 – $5 |
| Optional: LED String Lights (battery operated) | For adding a warm, enchanting glow | $10 – $25 |
- Total Estimated Cost: $61 – $200 (depending on the number of garlands and accessories)
Step 1: Prepare Your Materials and Plan Your Design
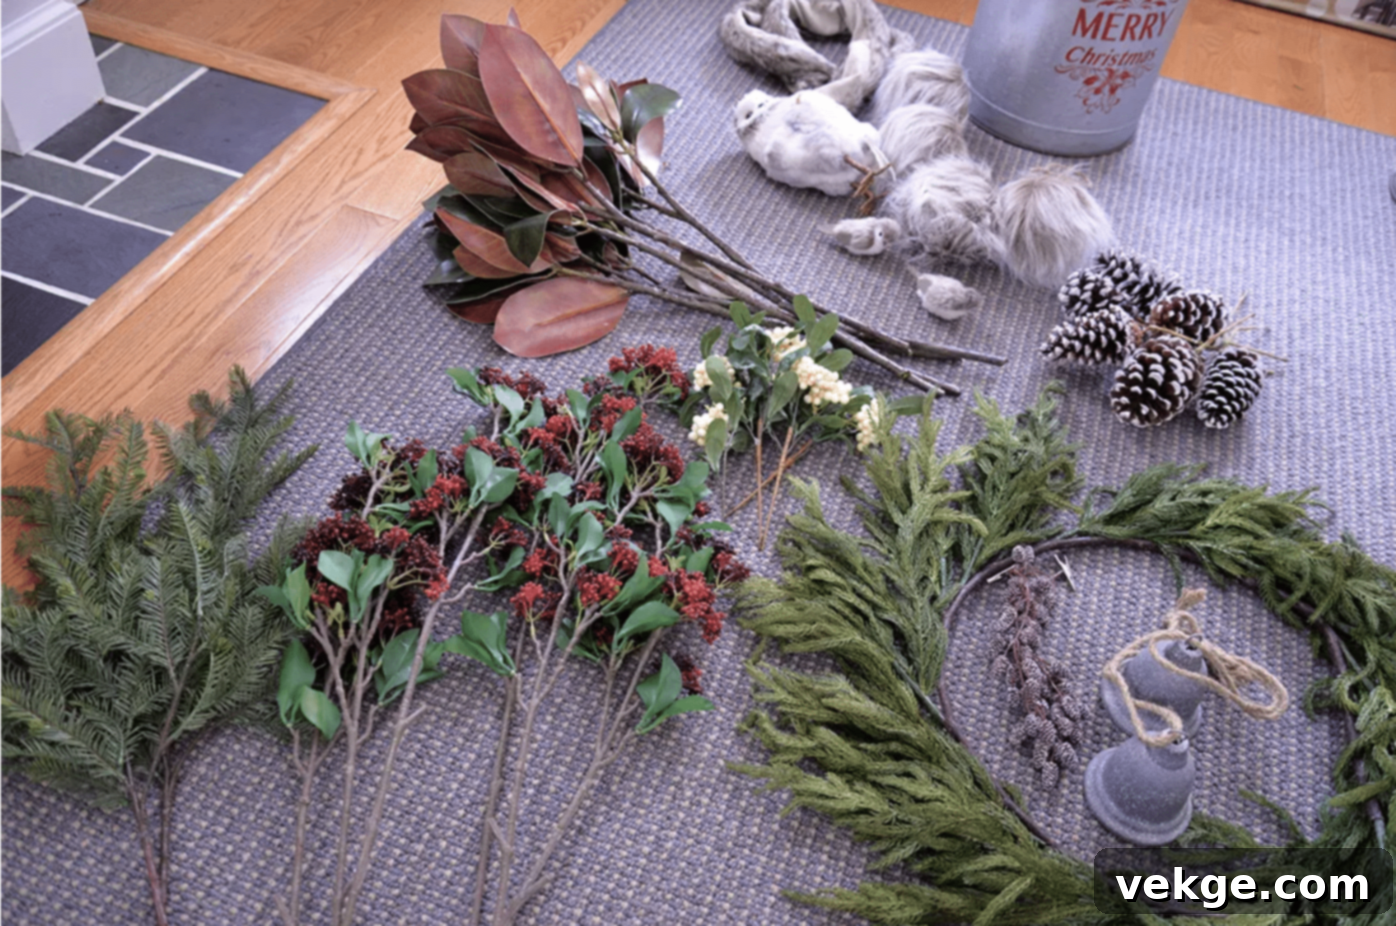
- Gather all your garlands, lights, ornaments, ribbons, and any extra greenery you plan to use. Lay them out so you can easily see everything.
- Mentally (or even sketch) your desired look: Do you want a dramatic swag, a straight elegant line, or a lush, full cascade? Planning ahead helps prevent mistakes and ensures a cohesive design.
- Consider the weight of your garland. If it’s very heavy, you’ll need more hooks or stronger clips to support it adequately.
Step 2: Ensure a Clean Mantel Surface
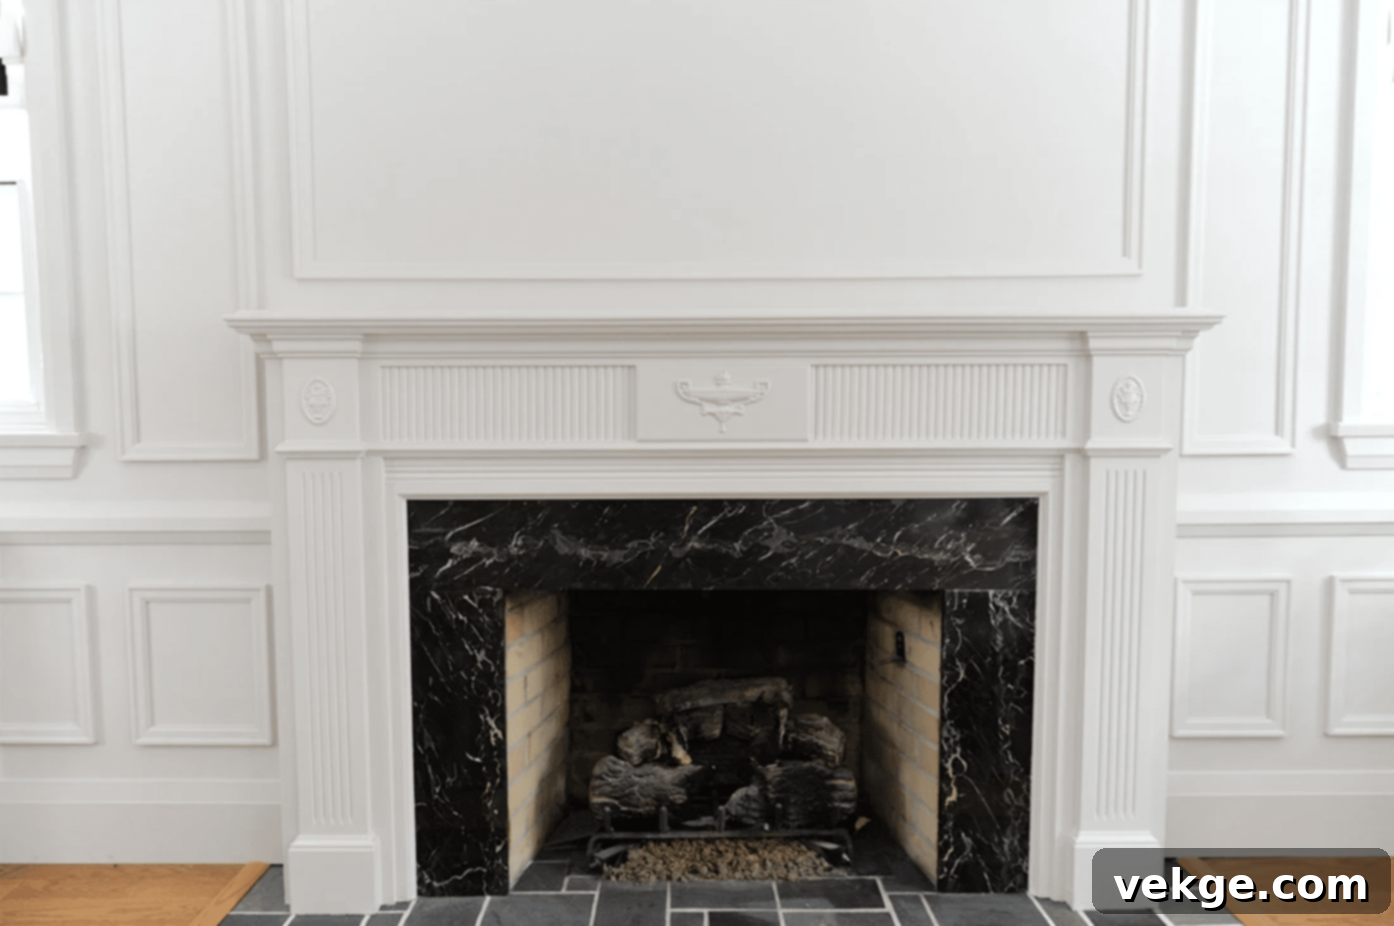
- This step is crucial for damage-free hanging, especially if using adhesive hooks. Dust and wipe down your entire mantel thoroughly with a clean, dry cloth.
- If using Command Hooks or similar adhesive products, follow up by wiping the areas where the hooks will be placed with rubbing alcohol. This removes any invisible grease or residue, ensuring the adhesive strips bond strongly to the surface. Let the alcohol dry completely before proceeding.
Step 3: Set Up Your Damage-Free Hooks or Clips
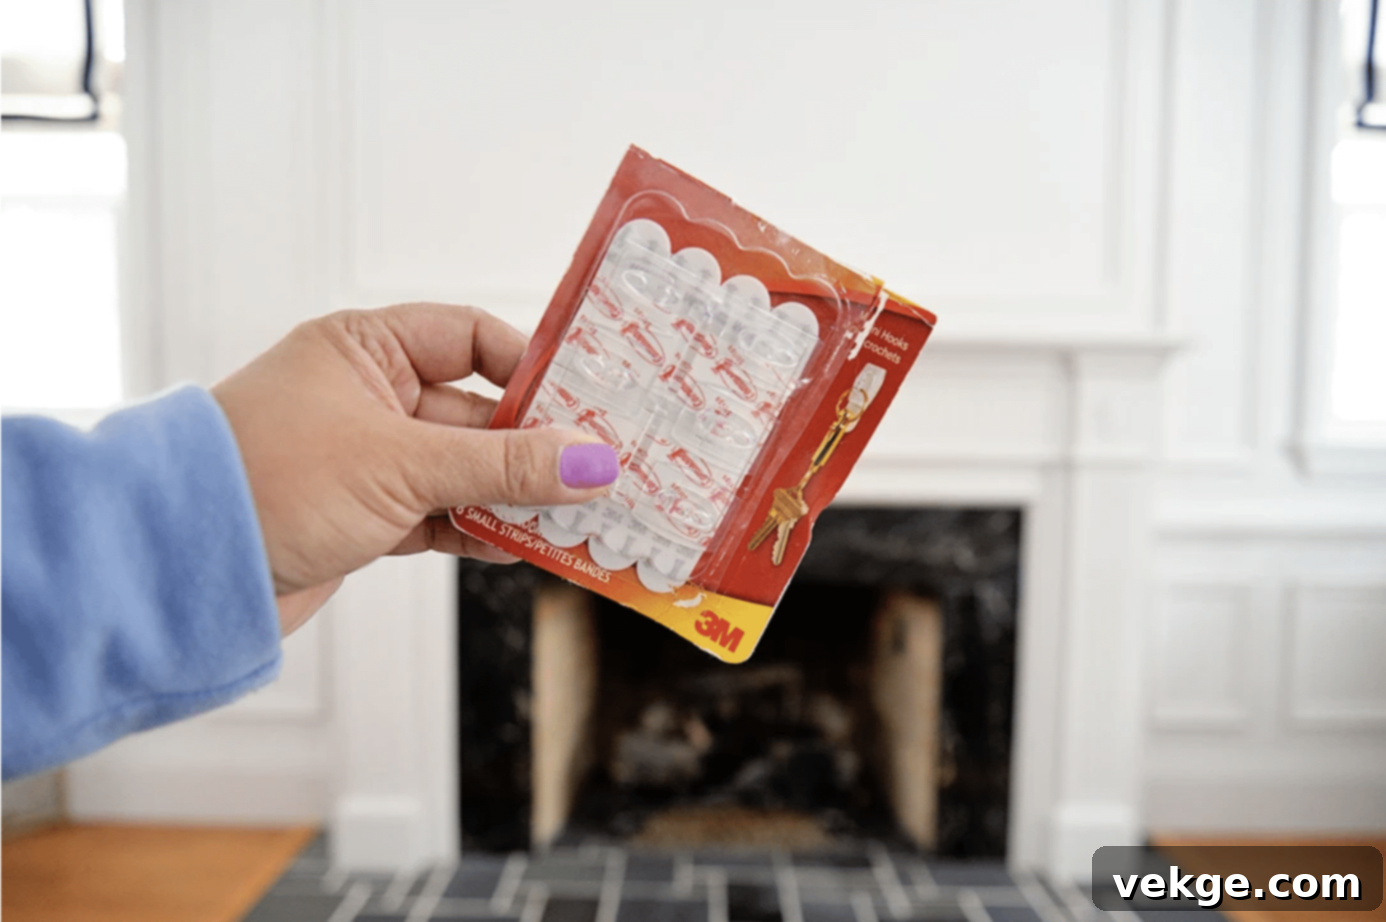
- If using Command Hooks: Carefully peel off the backing and press each hook firmly onto the cleaned mantel surface. For best results, press for 30 seconds and then wait at least an hour before hanging anything to allow the adhesive to fully bond. Choose clear hooks for discreet placement.
- If using Mantel Clips: These simply slide over the top or front edge of your mantel. Space them evenly, typically every 18-24 inches, or closer if your garland is particularly heavy or you desire a deep swag. Ensure they are secure and don’t wobble.
- The number and spacing of your hooks/clips will depend on the length and weight of your garland, as well as your desired draping style. For a traditional swag, you might place hooks at the corners and one or two in the middle. For a straight, full look, hooks should be more evenly spaced.
Step 4: Measure and Position Your Garland
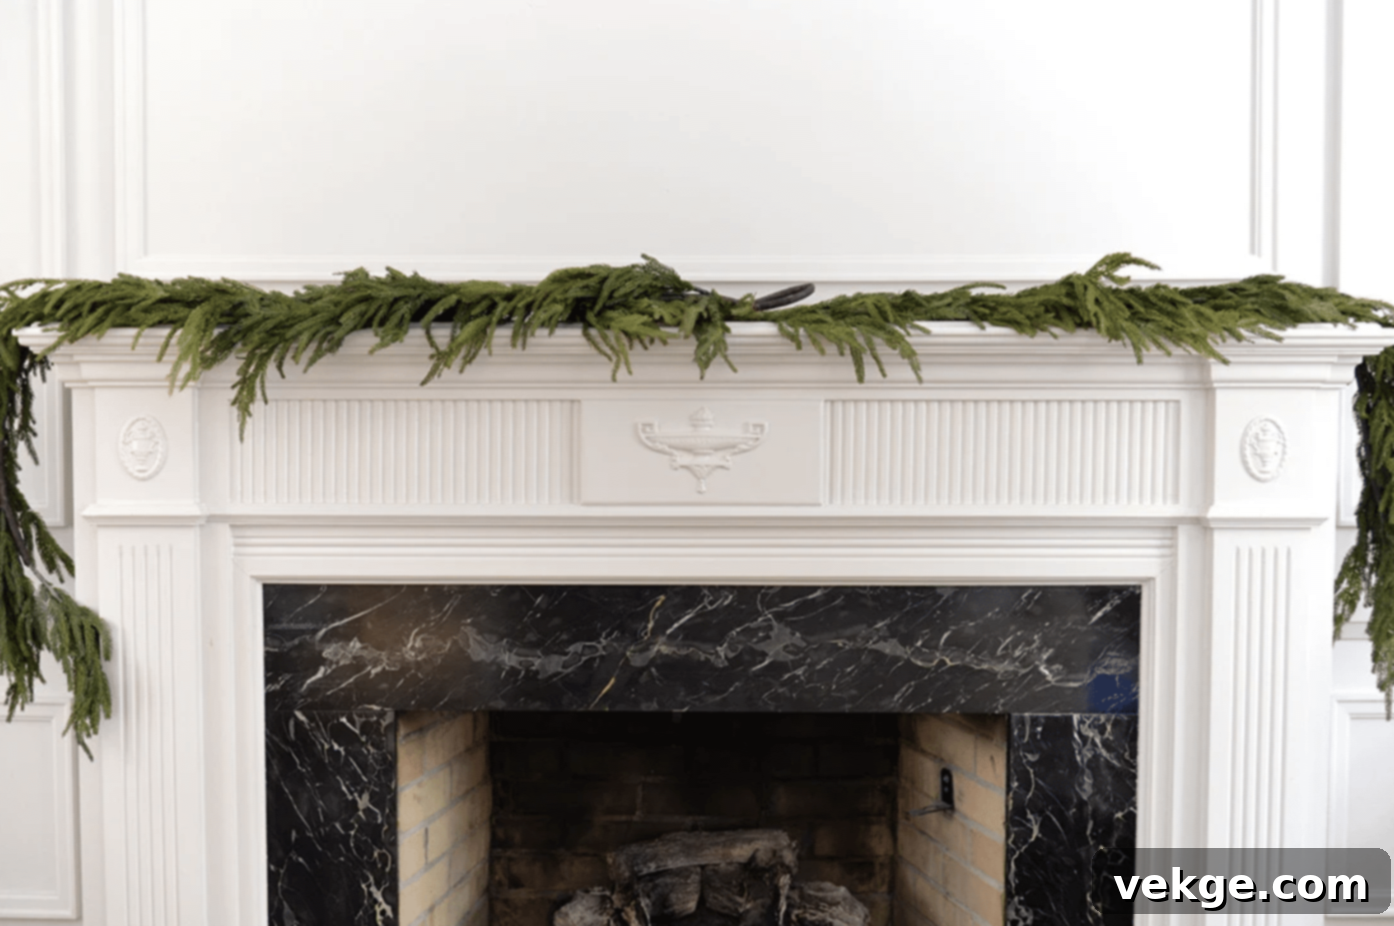
- Lay your garland across the mantel to get a preliminary idea of the length needed. You generally want the garland to extend a few inches (or even a foot) past each end of the mantel, especially if you plan for a draped look.
- Adjust the garland to achieve your desired style. If you want a classic swag, let it dip between the hooks. For a fuller, more substantial look, you might need two garlands or a very dense single one.
Step 5: Combine Garlands (If Necessary)
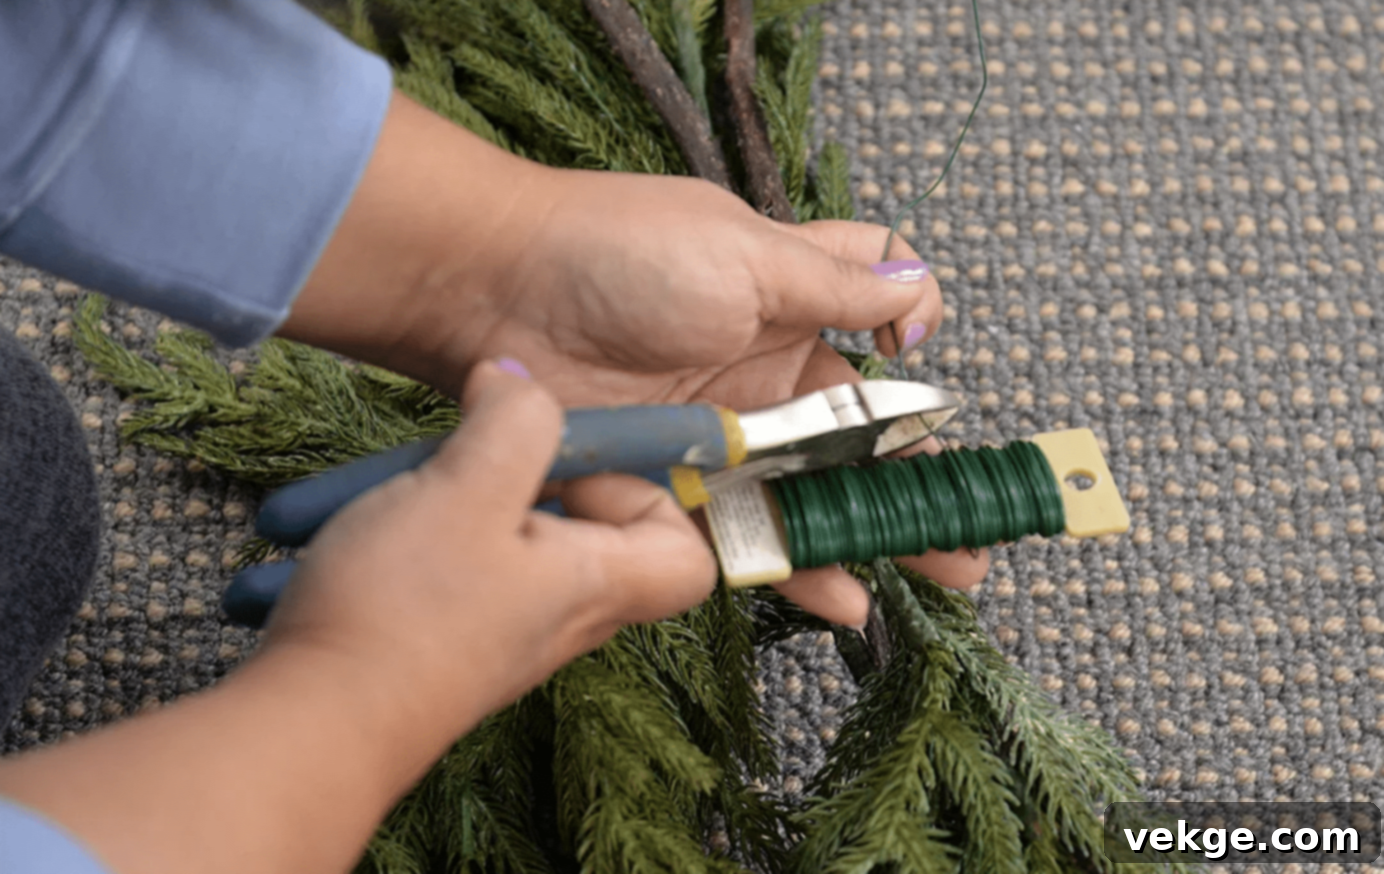
- If one garland isn’t long or full enough, or if you’re layering different types of greenery, gently combine them. Use floral wire or green twist ties to securely connect the ends of multiple garlands.
- Strategically intertwine the branches of different garlands to create a cohesive, lush base. This makes your display look more natural and prevents gaps.
Step 6: Attach the Garland to the Mantel
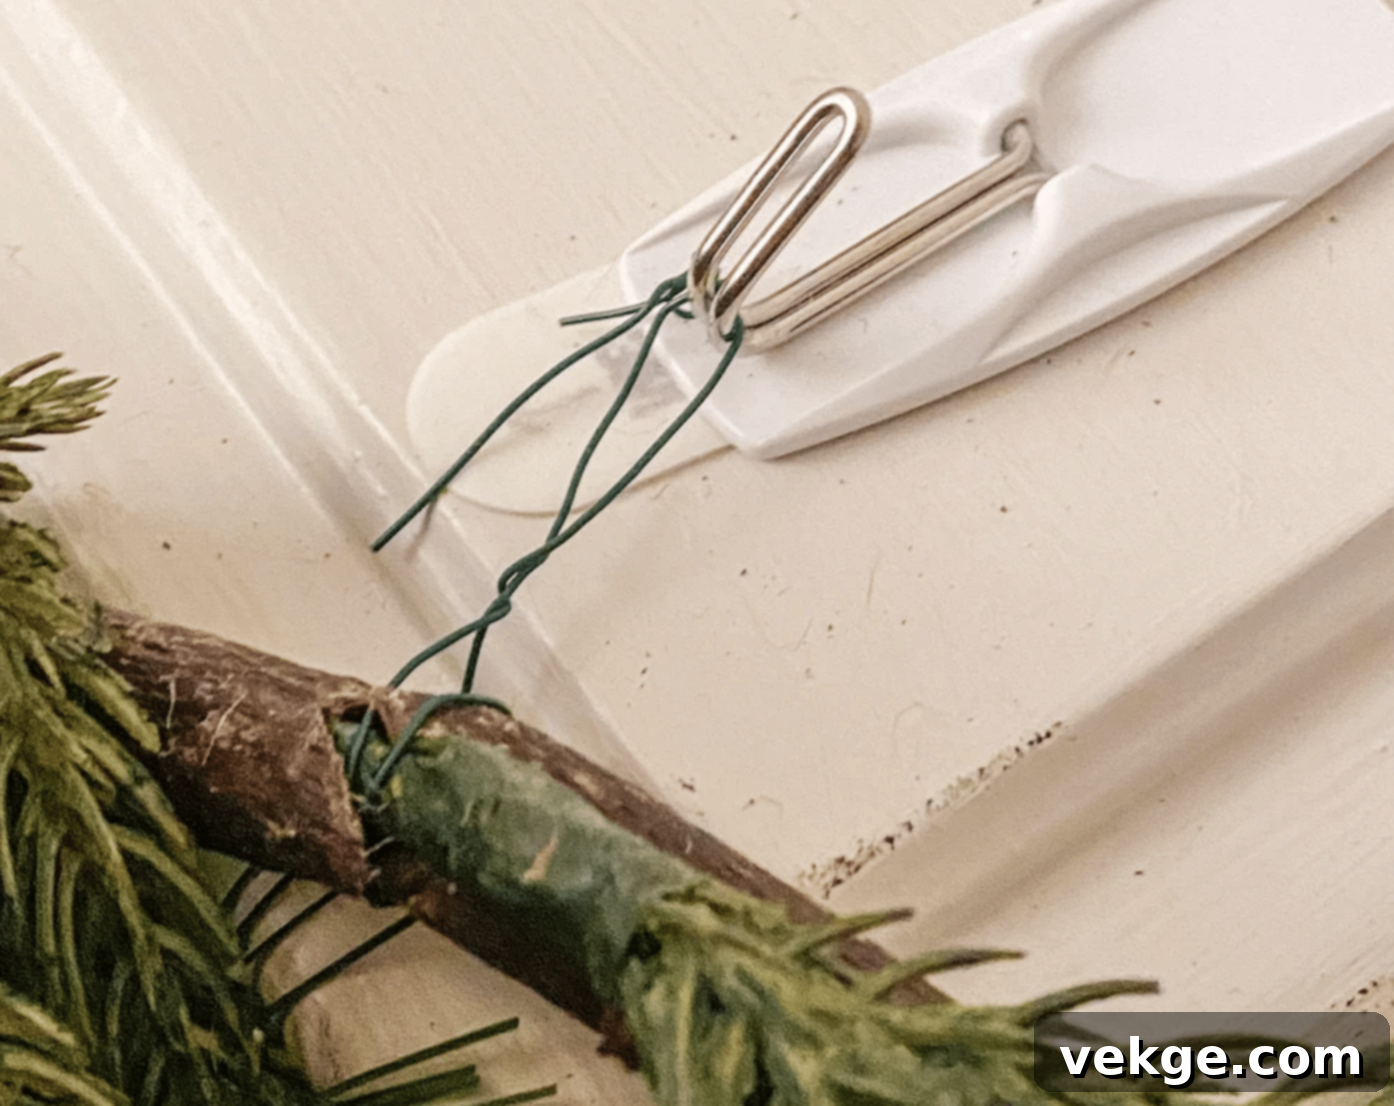
- Carefully lift your garland and rest it onto the installed Command hooks or clips. Ensure the garland is securely nestled in each hook or resting firmly in each clip.
- Distribute the weight evenly across all attachment points. This prevents any single hook from bearing too much strain and ensures your garland remains stable throughout the season. You may need to use floral wire to loosely tie the garland to the hooks if it’s prone to slipping.
Step 7: Shape and Adjust the Garland for Volume
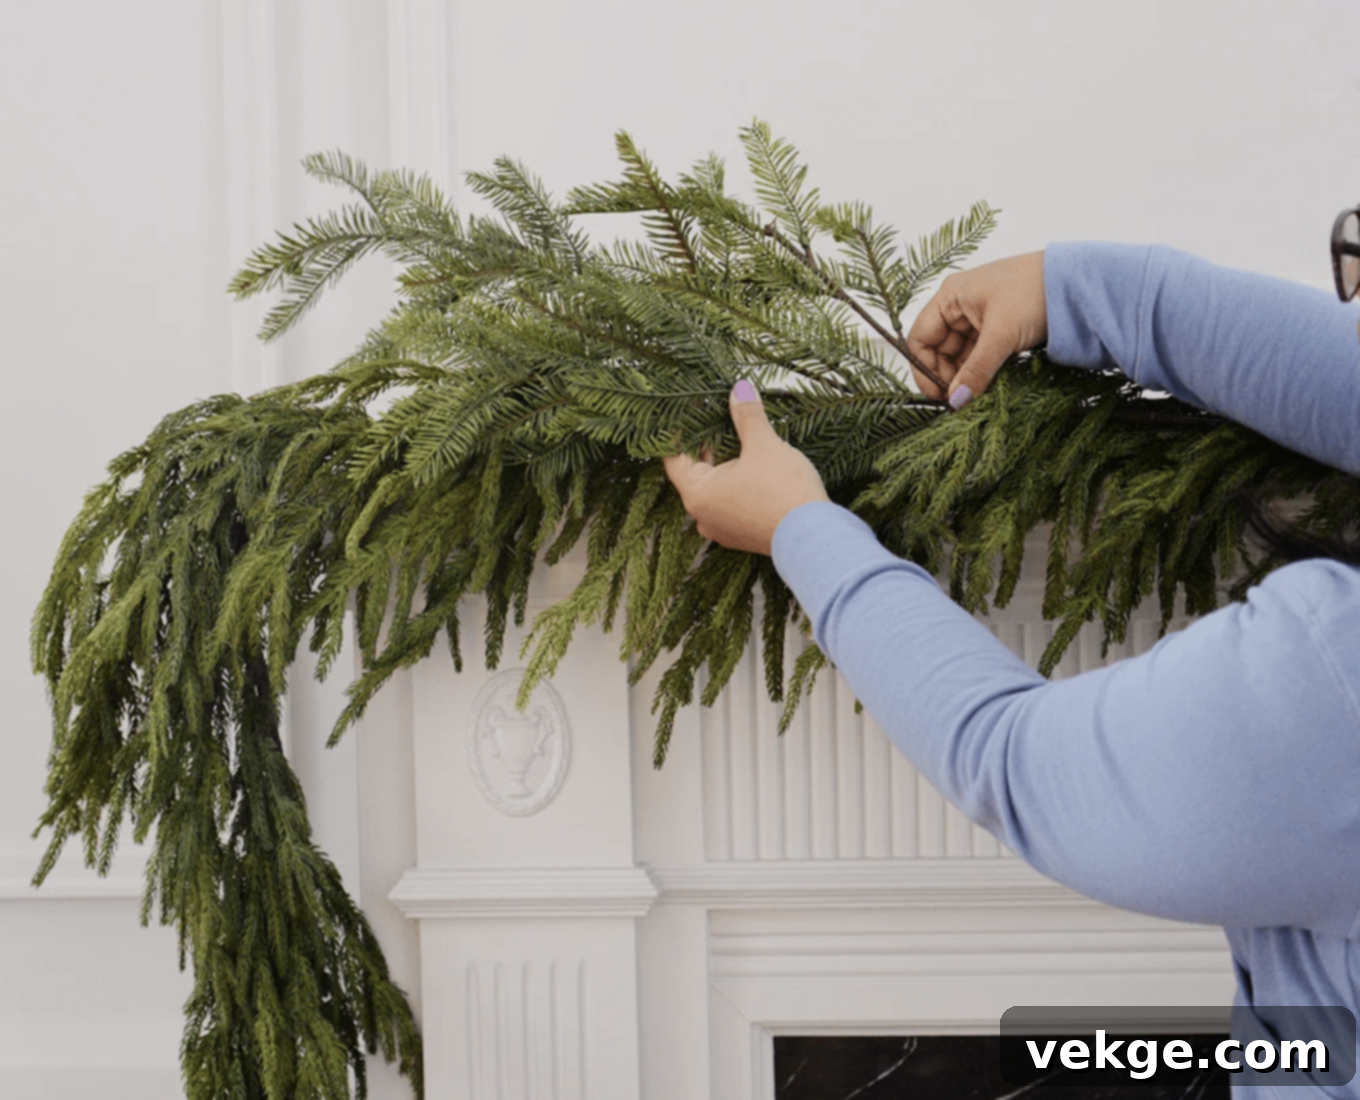
- Now it’s time to fluff and shape your garland. Gently pull apart and bend the individual branches and needles of the garland. This makes it look much fuller and more natural, concealing the underlying wire or plastic structure.
- Work from one end to the other, ensuring there are no sparse areas. Bend branches upwards, downwards, and outwards to create a rich, three-dimensional effect.
Step 8: Incorporate Additional Greenery and Filler
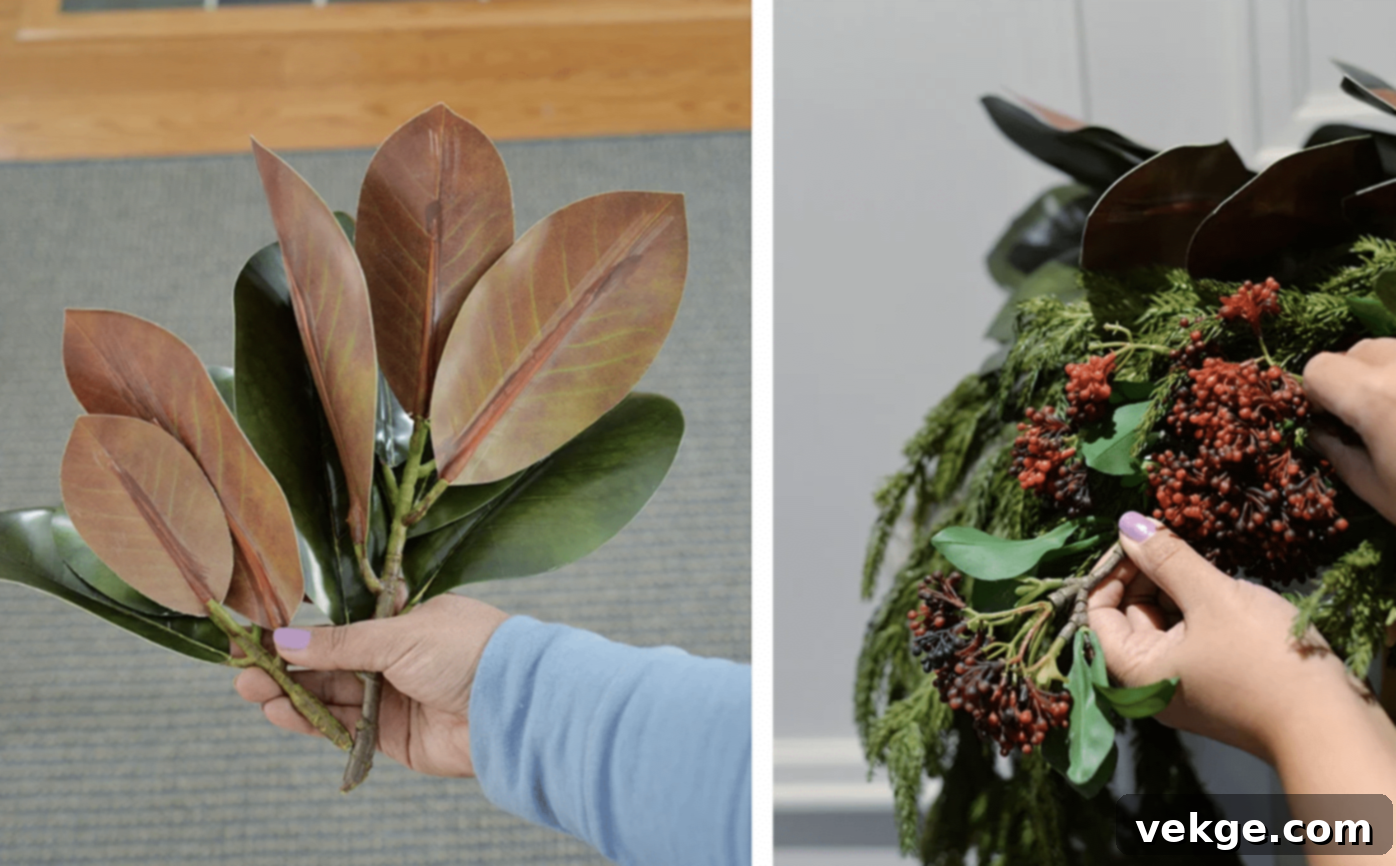
- To add depth, texture, and a more custom look, tuck in extra branches, sprays, or picks of different types of greenery (e.g., eucalyptus, frosted pine, cedar). This can also help fill any remaining gaps.
- Secure these additional pieces by gently weaving them into the existing garland, or using small pieces of floral wire or twist ties if they feel loose. This layering technique gives your garland a designer touch.
Step 9: Decorate with Ornaments and Ribbons
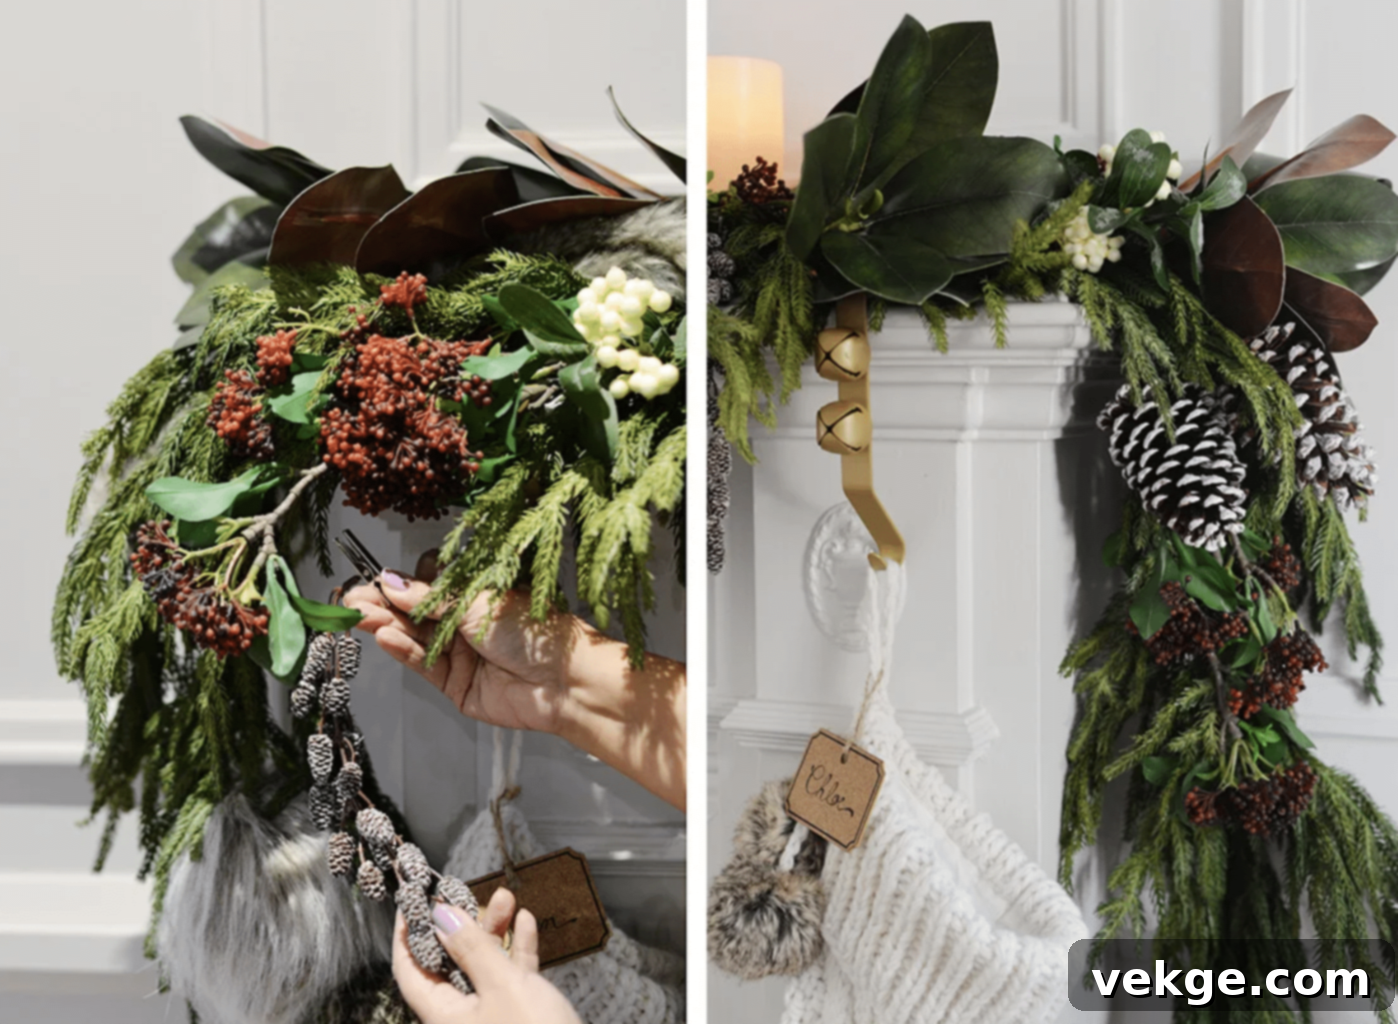
- Now for the fun part! Begin adding your decorative elements such as ornaments, ribbons, faux berries, pinecones, or even small battery-operated fairy lights.
- Distribute your decorations evenly for a balanced look, or cluster them for a focal point. Use floral wire, ornament hooks, or small twist ties to securely attach them to the garland branches, ensuring they don’t fall off.
Step 10: Add Finishing Touches and Complementary Decor
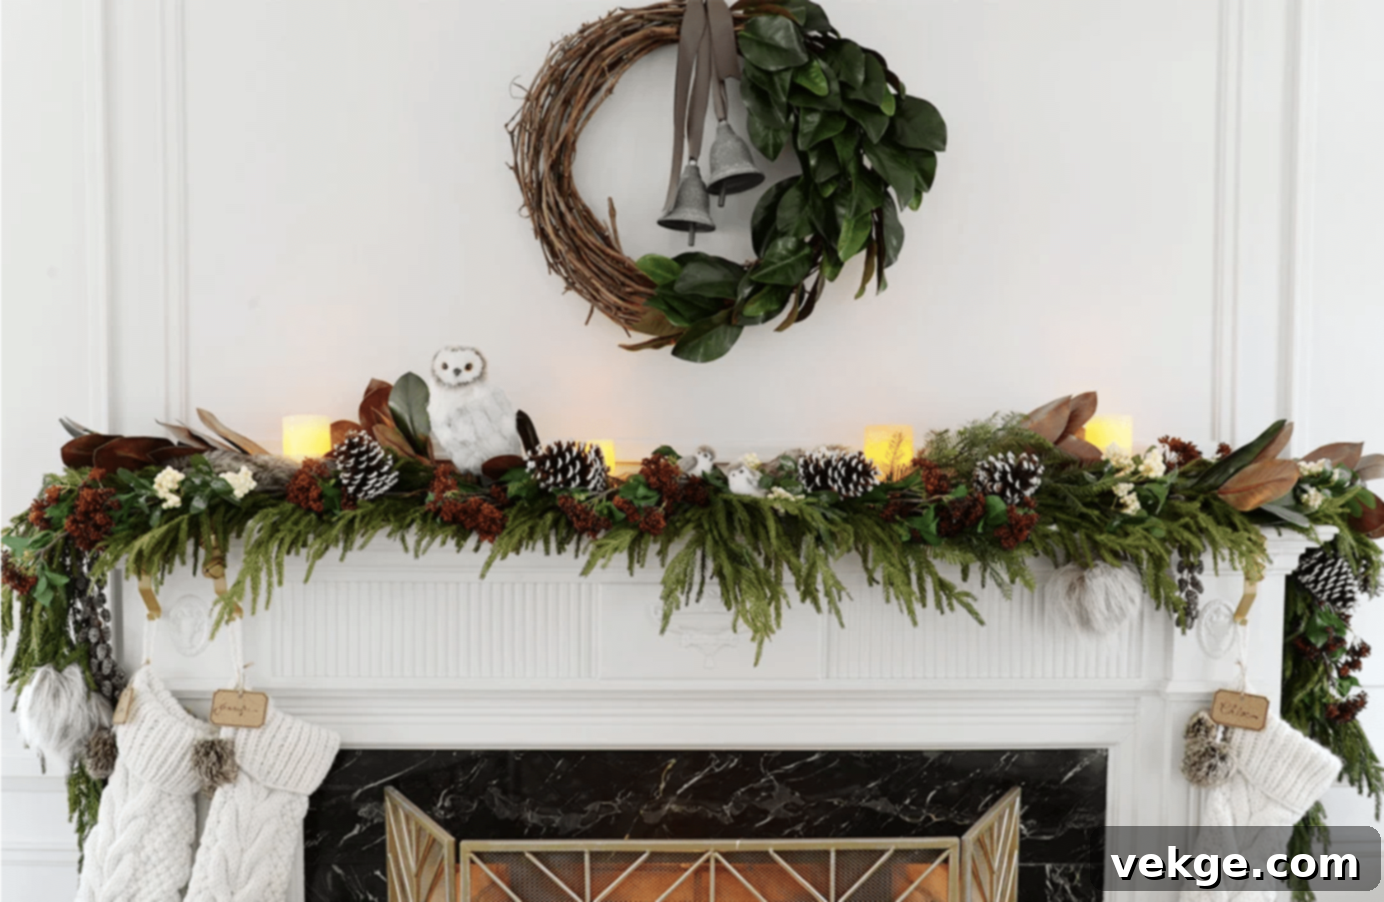
- Complete your mantel display by arranging complementary items on top of the mantelpiece. This might include candles (LED candles are safer near greenery), decorative figurines, framed photos, or a beautiful mirror or artwork above.
- Hang stockings from additional mantel clips or hooks. Step back and assess the overall balance and harmony of your display. Make any final adjustments to ensure everything looks perfect and ready for the holiday season!
How to Decorate Your Mantel Garland for Every Season
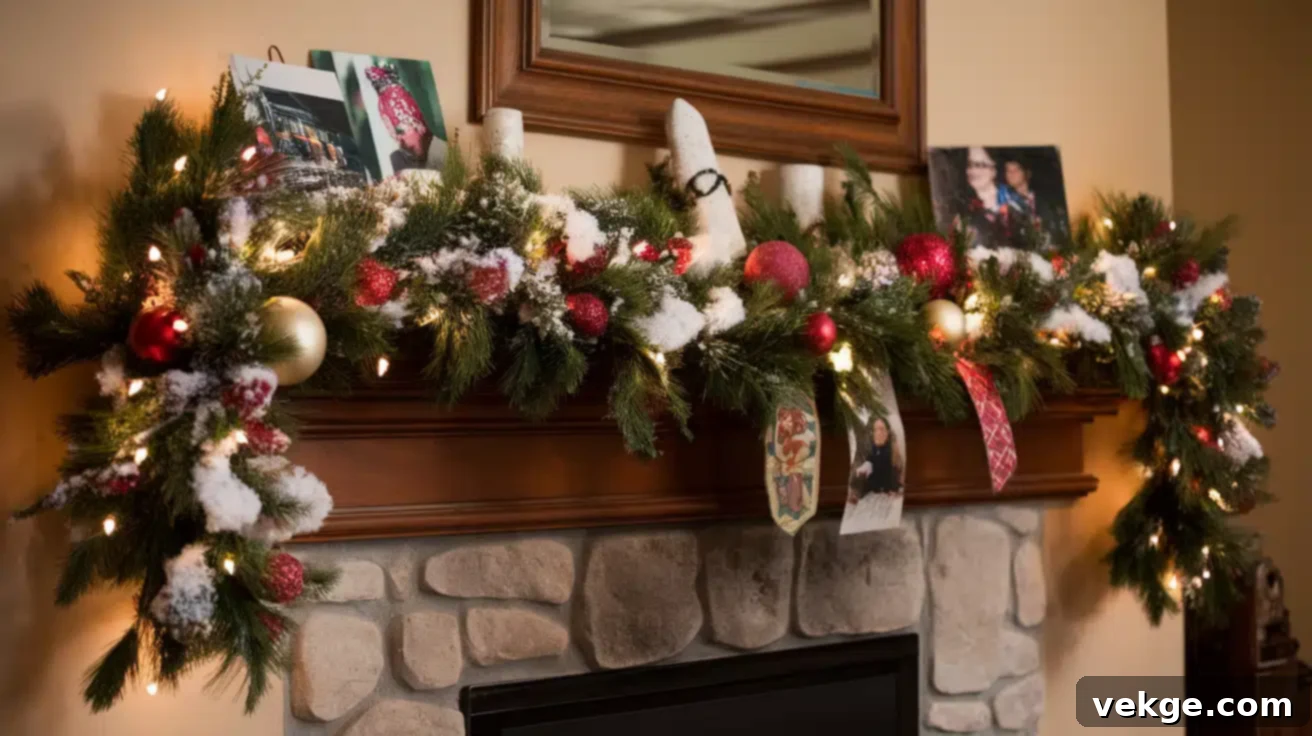
Once your garland is securely hung, the real fun begins: personalizing it! A well-decorated garland can become a stunning focal point in any room. Here are some inspiring ideas to make your mantel garland truly shine, not just for the holidays, but for various seasons and occasions:
- Add Dazzling Lights: Weave string lights through your garland for an enchanting glow. Battery-operated LED lights are perfect if you don’t have an outlet nearby, offering flexibility in placement. Choose warm white for a classic, cozy feel, or multi-colored for a playful, vibrant look. Micro-LED lights are discreet and add a delicate sparkle.
- Incorporate Ornaments and Baubles: Hang small, shatterproof ornaments or delicate baubles from the garland branches for extra sparkle and visual interest. Mix different sizes, textures, and finishes (matte, glossy, glittery) to add depth. Consider a specific color scheme or theme (e.g., woodland creatures, vintage glass) to create a cohesive look.
- Embellish with Ribbon: Ribbon adds elegance and can define your garland’s style. Thread wide ribbon through the length of the garland, or tie bows at regular intervals for a classic, polished touch. You can also let longer lengths of ribbon cascade down the sides of the mantel for a dramatic effect. Velvets, satins, or burlap ribbons can dramatically change the feel.
- Include Natural Elements: Bring the outdoors in with natural touches. Tuck in real or faux pinecones, clusters of berries (red for winter, orange for fall), dried orange slices, or small twigs. Sprigs of eucalyptus, dried lavender, or cinnamon sticks not only look beautiful but can also add a delightful fragrance.
- Personalize with Photos or Cards: For a truly unique and heartwarming touch, use small clips or miniature clothespins to attach family photos, holiday cards, or small, printed messages to your garland. This turns your decor into a sentimental display.
- Create a Wintry Wonderland with Faux Snow: For an instant winter wonderland effect, lightly dust your garland with artificial snow spray or sprinkle on some faux snow flakes. This adds a charming, frosted look, especially when combined with cool-toned lights.
- Integrate Seasonal Items: Don’t limit your garland to just Christmas! For fall, add small decorative pumpkins, gourds, or autumn leaves. For Valentine’s Day, incorporate heart-shaped decorations or faux roses. In spring, delicate pastel eggs or small floral blooms can transform your greenery.
- Use Scented Elements: Enhance the sensory experience. Beyond cinnamon sticks, consider using scented pinecones (available pre-scented or by adding a few drops of essential oil), or real evergreen branches that release a fresh aroma.
Remember to balance your decorations and avoid overloading the garland. The key is to enhance its inherent beauty without overwhelming it. With these creative tips, your mantel garland will become a stunning focal point that perfectly complements your home’s aesthetic, changing with the seasons and delighting all who see it.
Storing and Safety Tips for Your Mantel Garland
Once the festive season concludes, proper care for your garland ensures it remains beautiful and ready for many celebrations to come. Additionally, safety during the display period is paramount. Here’s how to store and use your mantel garland safely and effectively:
Storing Your Garland for Longevity
- Clean Before Storage: Before packing away, gently remove any dust, debris, or artificial snow from your garland. For artificial garlands, a soft cloth or a vacuum cleaner with a brush attachment on a low setting can work wonders. If it’s a natural garland (unlikely for reuse), compost it.
- Preserve the Shape: To prevent your garland from flattening, kinking, or losing its lush shape, store it in large, flat boxes or specialized garland storage bags. These containers are designed to maintain the garland’s form and protect it from being crushed by other decorations. Rolling it loosely can also work for some types.
- Wrap Delicate Elements: If your garland features fragile elements like glass beads, delicate ornaments, or fine ribbons, wrap these sections in acid-free tissue paper or bubble wrap before placing them in storage. This extra layer of protection helps prevent tangling, scratching, and breakage.
- Choose a Suitable Location: Find a cool, dry, and dark spot for storage. Basements can often be damp, leading to mold or mildew, while hot attics can cause materials to degrade, plastics to warp, or colors to fade over time. A climate-controlled closet or dedicated storage room is ideal.
- Organize and Label: Clearly label your storage containers with the contents (e.g., “Mantel Garland,” “Christmas Garland with Lights”) and any special care instructions. This saves valuable time and frustration when you’re preparing to decorate next year.
- Handle Lights Separately (If Possible): If your garland has detachable string lights, consider removing and storing them separately. This prevents tangling, makes it easier to test or replace burnt-out bulbs, and can prolong the life of both the garland and the lights.
Safety Tips for Mantel Garland Display
When decorating your mantel with garland, always keep these essential safety measures in mind to protect your home and loved ones:
- Fire Safety: If you have a working fireplace, ensure your garland, especially natural or faux flammable types, is kept a safe distance—at least 12 inches—from the firebox opening. Opt for fire-resistant or flame-retardant artificial garlands whenever possible. Never leave an open flame (like real candles) unattended near garland. Consider using LED flameless candles as a safer alternative.
- Electrical Precautions: If using lit garlands, always check the cords for any signs of fraying, damage, or exposed wires before plugging them in. Ensure lights are rated for indoor use and are UL-approved. Avoid overloading electrical outlets; use power strips with surge protectors if necessary. Route cords discreetly to prevent tripping hazards.
- Secure Hanging: Double-check that your garland is firmly and securely attached to your mantel using the chosen damage-free methods. A falling garland can not only damage itself and other decor but also pose a tripping hazard or cause injury, especially if it’s heavy or falls on someone.
- Child and Pet Safety: Be mindful of small decorations (like tiny ornaments, faux berries, or pinecones) that could be choking hazards for young children or pets. Some natural plants often used in garlands, such as holly berries, mistletoe, or certain evergreens, can be toxic if ingested. Position these elements out of reach or opt for pet-safe artificial alternatives.
- Allergen Awareness: If anyone in your household suffers from allergies, particularly to natural materials like pine, cedar, or certain pollens, it’s best to use high-quality artificial garlands. These can mimic the look and feel of natural greenery without triggering allergic reactions.
- Weight Distribution: Do not overload your mantel with excessively heavy decorations. Ensure the weight of the garland and all its adornments is evenly distributed across your hooks or clips. An overloaded mantel can lead to falling objects, potentially causing damage or injury.
- Ventilation: Ensure your garland or any other mantel decor does not block any heating or air conditioning vents, which could impede proper air circulation and affect your home’s temperature regulation.
By diligently following these storage and safety tips, you can enjoy a beautifully decorated, safe, and worry-free mantel display throughout the season, and preserve your beloved decorations for many cherished years to come.
Wrapping It Up: Embrace Damage-Free Mantel Decor!
Decorating your mantel with garland for the holidays or any special occasion truly doesn’t have to be a source of stress or concern about damaging your home. As we’ve explored, achieving that picture-perfect, festive display is entirely possible without leaving behind any nail holes, sticky residue, or lasting marks. With the right techniques and a little planning, you can transform your mantel into a stunning focal point, time and time again, completely damage-free.
The key to success lies in understanding your mantel’s material and selecting the appropriate damage-free hanging method, whether it’s robust Command hooks, versatile mantel clips, or even creative draping. Remember to prepare your surface, space your attachment points thoughtfully, and take the time to fluff and arrange your garland for maximum impact. And, of course, the fun truly begins when you personalize your garland with lights, ornaments, ribbons, and natural elements, making it uniquely yours.
Once the season of celebration is over, a little care in storing your garland will ensure it remains beautiful and ready to spread joy for many years to come. And always prioritize safety: be mindful of fire hazards, electrical precautions, and potential risks to children and pets. By following these guidelines, you’re not just decorating; you’re creating lasting memories and beautiful traditions without any of the headaches.
Now, it’s your turn to get creative and bring your mantel decor vision to life! Don’t hesitate to experiment with different styles and themes. We’d love to hear about your damage-free garland hanging experiences or any unique tips you’ve discovered. Share your ideas in the comments below, and happy decorating!
Frequently Asked Questions About Hanging Garland on a Mantel
How Do I Hang Heavy Garland without Damaging My Mantel?
For heavier garlands, the best damage-free options are strong, clear Command Hooks (ensure they are rated for the garland’s weight) or sturdy, padded mantel clips. Command Hooks provide excellent adhesion to various surfaces when applied correctly, while mantel clips use gravity and tension to hold the garland without needing adhesive. Ensure you use enough hooks/clips, spaced closely, to distribute the weight evenly and prevent any single point from being overloaded.
Will Adhesive Hooks Ruin My Wooden Mantel Finish?
When used correctly, high-quality adhesive hooks like 3M Command Hooks are specifically designed to be removed cleanly without damaging surfaces, including most wooden mantel finishes. The key is proper application (cleaning the surface with rubbing alcohol first) and, most importantly, correct removal. Always follow the manufacturer’s instructions for removal, typically by slowly pulling the tab straight down, parallel to the surface, which stretches the adhesive strip thin and releases the bond without leaving residue or pulling off paint/finish.
Can I Use Nails or Screws if I’m Willing to Repair Later?
While you certainly can use nails or screws, it is strongly advised against for mantel decoration. Even if you’re prepared to repair, these methods create permanent holes that can be challenging to patch seamlessly, especially on ornate or valuable mantels. Repairs can be costly, visible, and may devalue your mantel. With so many effective damage-free alternatives available today, there’s rarely a need to resort to invasive methods. Prioritize non-damaging solutions to keep your mantel in pristine condition.
What if My Mantel Is Made of Brick or Stone?
Brick or stone mantels present unique challenges due to their uneven and porous surfaces. Traditional adhesive hooks may struggle to stick reliably. For these types, consider adjustable mantel clips that can grip varying thicknesses of stone or brick. Alternatively, you can use specialized brick clips (if your mantel has exposed brick courses) which attach to the mortar joints. For surfaces where clips aren’t suitable, you might need to get creative with draping the garland over weighted objects already on the mantel, or using fishing line tied to heavy items on top to create subtle anchors.
