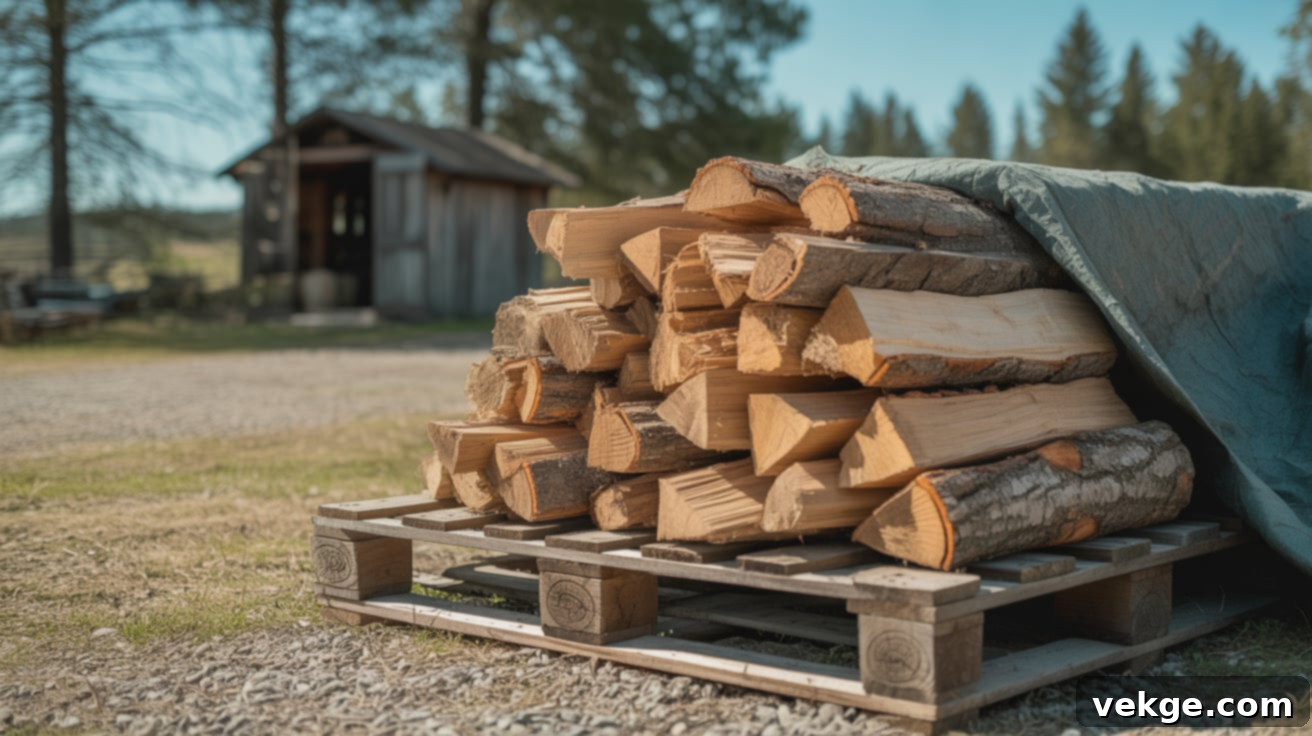
Mastering Firewood Seasoning: Your Complete Guide to Dry, Efficient Burning
For years, I made the same mistake many first-time wood burners do: I thought freshly cut wood was ready to throw into the stove. The reality hit hard with smoky rooms, struggling fires, and a frustrating lack of warmth. It was a harsh but valuable lesson – firewood absolutely needs time to dry, a process known as seasoning.
If you’re looking to efficiently heat your home, enjoy a crackling fireplace, or simply make the most of your wood supply, understanding how to properly season firewood is not just helpful; it’s essential. This guide will walk you through the precise steps I now follow every season, from the moment I cut the wood to the day it’s perfectly ready for burning.
You’ll learn when to start the drying process, the best ways to stack and store your wood, and simple, actionable tips to speed things up. More importantly, I’ll help you avoid common mistakes that can waste your valuable time, effort, and fuel. Get ready to transform your firewood experience into one of efficiency, warmth, and satisfaction.
Understanding Why Firewood Needs Seasoning
Firewood seasoning is the crucial process of drying freshly cut wood to reduce its moisture content, significantly enhancing its burning performance in your stove or fireplace. This step is often overlooked by novices but is paramount for both efficiency and safety.
Green wood, fresh from the tree, holds an immense amount of moisture – sometimes up to 50% or more of its total weight. This high water content makes it incredibly difficult to light, and even if it does eventually catch fire, much of the wood’s energy is wasted boiling off the water rather than producing heat for your home. The result is a weak, sputtering fire, excessive smoke, and minimal warmth.
Beyond inefficiency, burning unseasoned wood creates a significant safety hazard. The moisture and unburnt gases released during combustion condense in your chimney, forming a tar-like substance called creosote. This sticky, highly flammable buildup is a leading cause of chimney fires if not cleaned out regularly. Seasoning your wood until its moisture content drops below 20% (ideally 15-20%) virtually eliminates this risk, making your burning experience much safer.
Once your wood is properly seasoned, it ignites easily, burns hotter and more completely, and emits dramatically less smoke. This not only makes for a more pleasant and effective heating source but also contributes to cleaner air. Seasoned firewood provides a steady, reliable heat output with far less effort from you. You won’t waste time struggling to get a fire going or dealing with a smoky, unpleasant room. For a warm, efficient, and safe fire all winter long, seasoning your firewood is, without a doubt, one of the most critical steps.
When to Start the Seasoning Process
The best time to start seasoning firewood is in early spring, ideally as soon as the ground thaws. This timing gives your wood the maximum benefit of several warm, dry months – spring, summer, and early fall – to dry thoroughly before the cold weather demands its use. Aim to have your wood cut and stacked by late spring to ensure it has ample time.
Different types of wood have varying drying times. Fast-drying softwoods, such as pine, fir, or cedar, might be ready in 6 to 12 months. However, denser hardwoods like oak, maple, or cherry often require a full year, or even up to two years, to reach optimal dryness. Weather conditions also play a significant role: humid air will slow down drying, while hot, dry, and breezy conditions will speed it up considerably.
Planning your firewood harvest and storage around your local climate and the specific types of wood you plan to burn is key. This strategic approach ensures your wood is perfectly seasoned and ready when you need it most, providing maximum warmth and efficiency throughout the heating season.
How to Season Firewood: A Step-by-Step Guide for Optimal Drying
Follow these meticulously detailed steps to properly dry your firewood. This method ensures it burns hotter, lights faster, and keeps your home safely and comfortably warm all season long.
Step 1: Split the Wood First
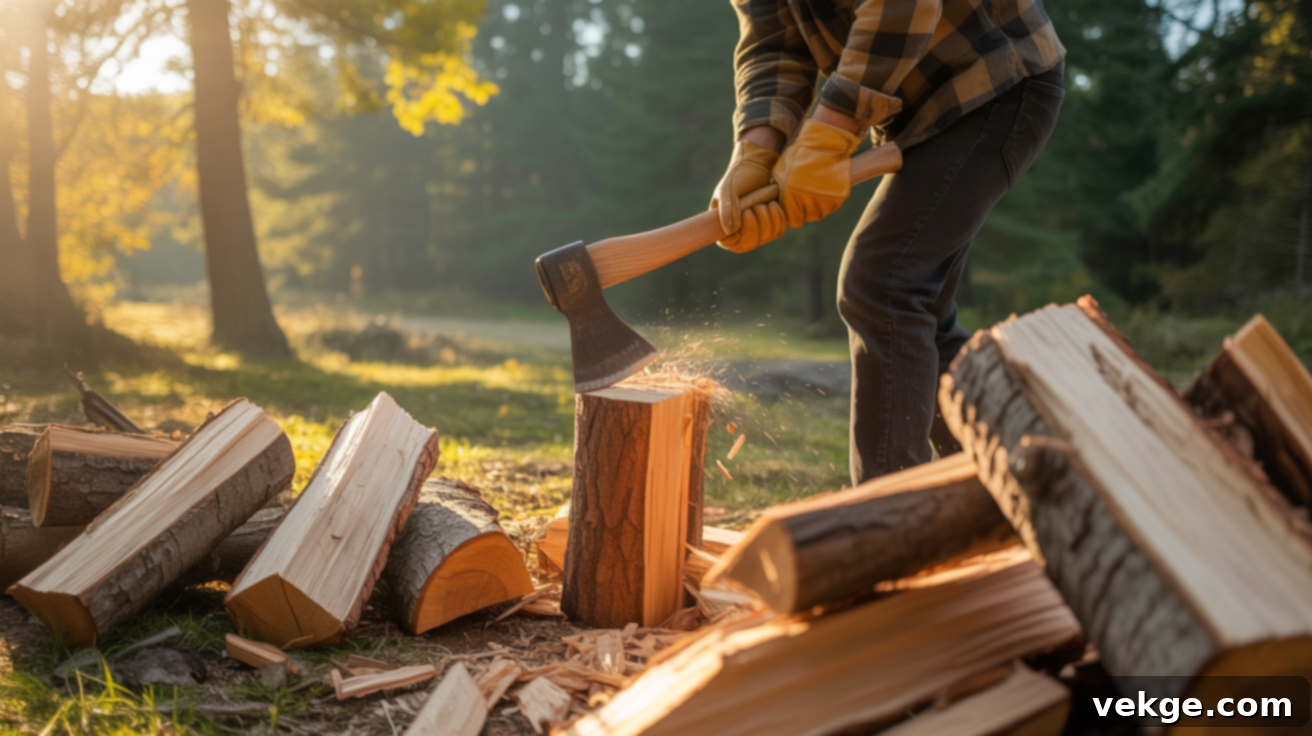
This is arguably the most crucial initial step in accelerating the drying process. As soon as you cut the logs, split them into manageable pieces. Green wood holds most of its moisture in its core and just under the bark. Splitting the logs immediately exposes the inner wood grain to air and sunlight, creating significantly more surface area for moisture to evaporate from.
Aim for split pieces that are roughly 3 to 6 inches in width. While larger pieces will eventually dry, they take considerably longer. Smaller pieces, on the other hand, can dry out too quickly and burn up too fast. Consistent, medium-sized splits not only dry more efficiently but also make stacking easier and promote a more even burn in your stove. Splitting early also helps prevent mold and fungal growth, which can start if whole logs are left sitting for too long.
Step 2: Stack in a Sunny, Open Area
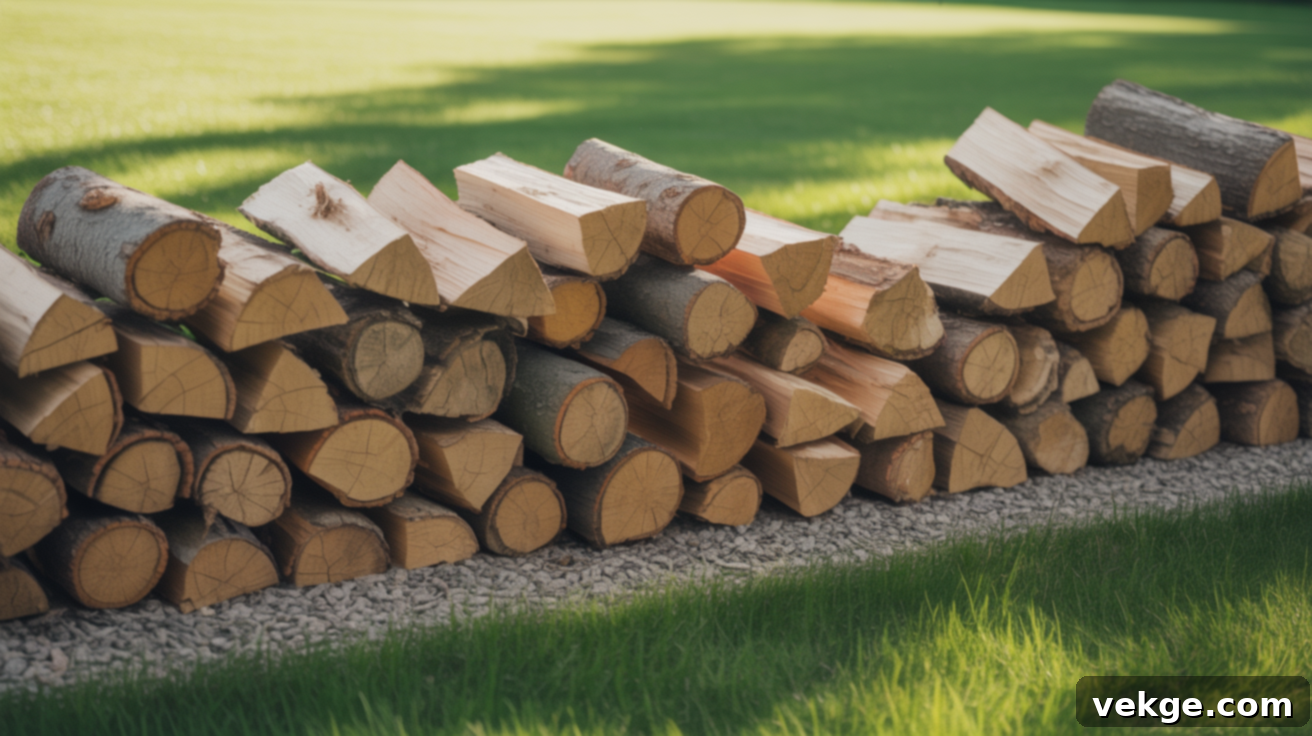
The location of your wood stack significantly impacts drying speed. Select a site that receives full, direct sunlight throughout the day and boasts excellent natural airflow. Ideal locations include a south-facing wall, an open field, or any area free from dense tree cover.
Conversely, avoid shaded, damp areas, or enclosed spaces like unventilated sheds or under thick tarps, as these conditions trap moisture and drastically slow down the drying process, potentially leading to mold or rot. The combination of dry air, warmth from the sun, and consistent breeze will actively pull moisture out of the wood, promoting quick and efficient seasoning. A well-ventilated woodshed with open sides or an open yard will support even and steady drying throughout the warm months.
Step 3: Elevate the Wood Stack
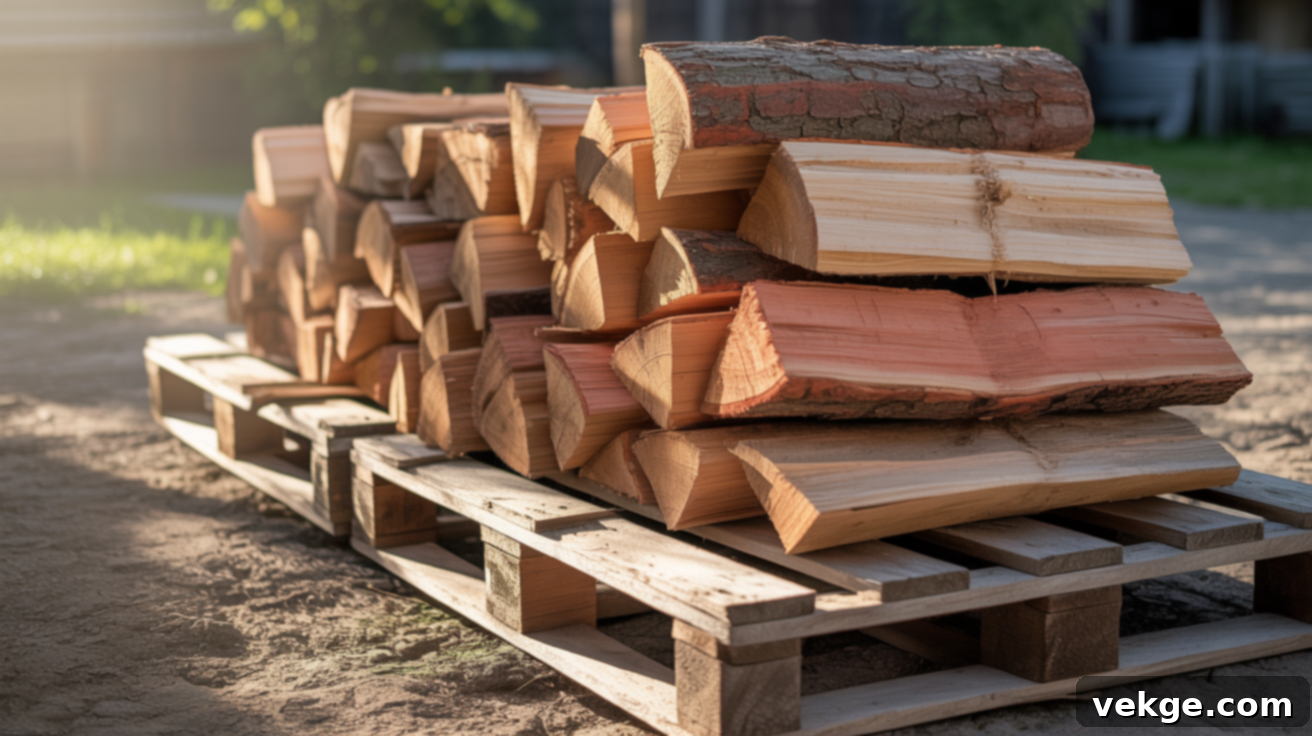
Never stack firewood directly on bare soil. The ground is a constant source of moisture, and direct contact will cause the bottom layers of your stack to absorb water, leading to slower drying, potential rot, and an increased risk of insect infestation. To prevent this, elevate your stack by at least 4-6 inches off the ground.
Common and effective methods include using discarded wooden pallets, concrete blocks, old tires, or purpose-built firewood racks. This elevation not only prevents ground moisture from wicking into the wood but also dramatically improves air circulation underneath the stack. Enhanced airflow is vital for consistent drying and helps deter pests, mold, and decay from ruining your valuable firewood supply.
Step 4: Stack for Maximum Airflow
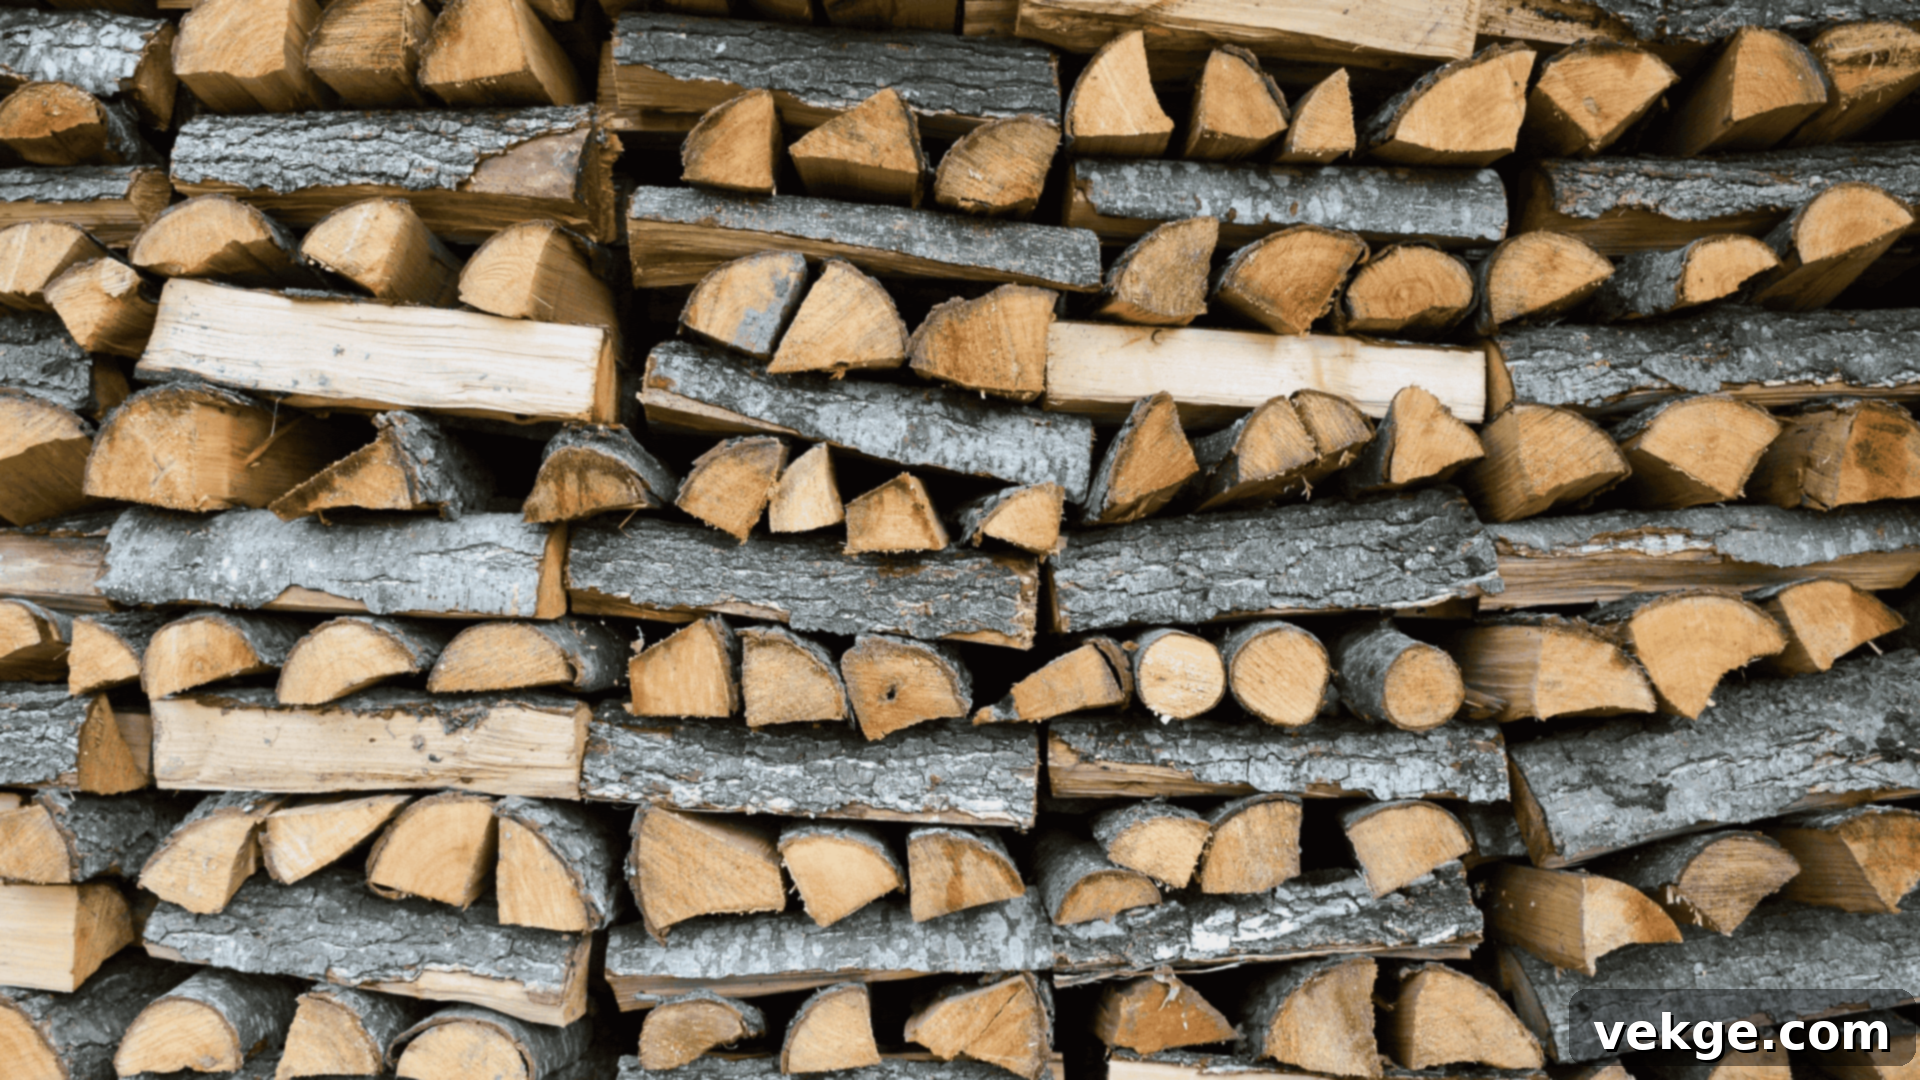
How you stack your wood is as important as where you stack it. The goal is to maximize airflow around each piece of wood. Avoid simply piling logs tightly together, as this traps moisture and creates stagnant air pockets, significantly hindering the drying process.
Instead, employ stacking methods that create deliberate spaces between logs. The “crisscross” or “log cabin” method involves alternating the direction of logs at the ends of the stack to form sturdy, open corners. Another effective method is building two single rows parallel to each other, creating a narrow gap in the middle. This allows air to move freely through the stack from all sides – top, bottom, front, back, and sides. Better airflow helps moisture escape more quickly and efficiently, making the seasoning process much faster and more effective.
Step 5: Cover the Top, Not the Sides
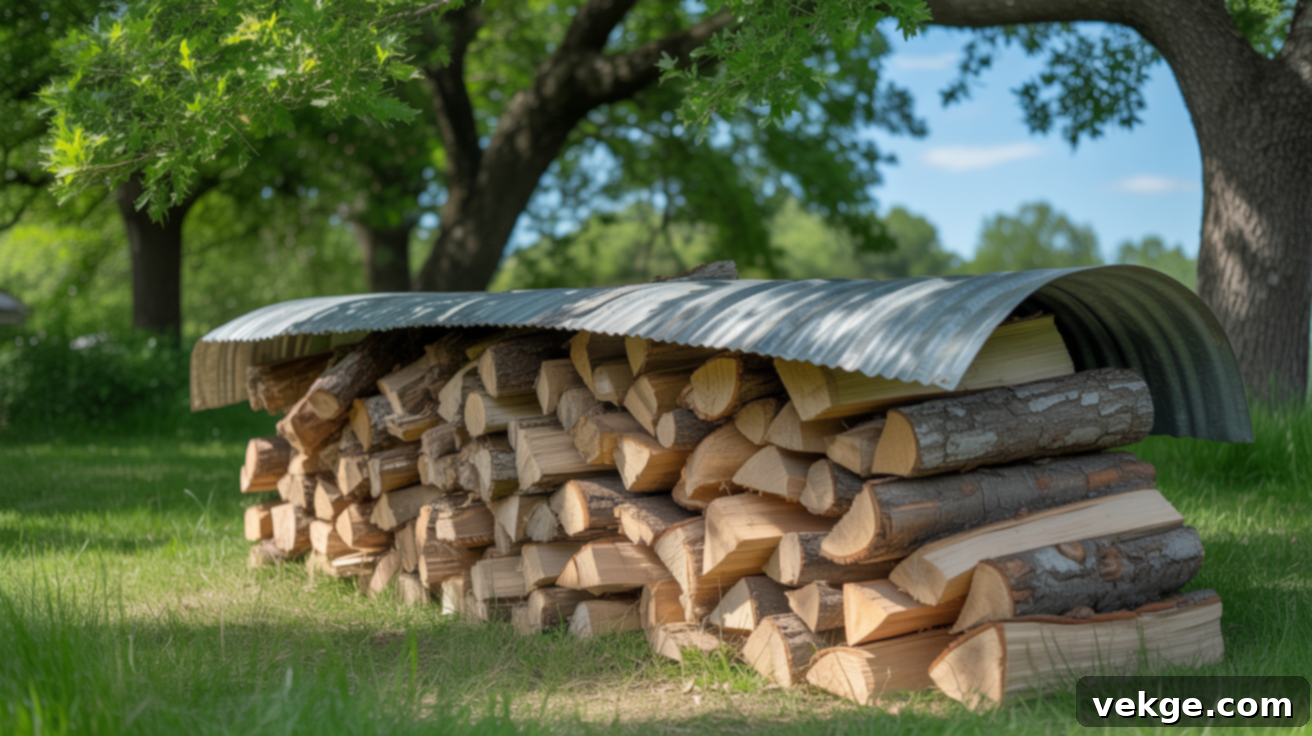
Protecting your firewood from rain and snow is crucial, but it’s important to do it correctly. Use a tarp, a specialized firewood cover, or a sheet of corrugated metal to cover only the very top of your stack. This protects the wood from precipitation while allowing the sides to remain completely open to the air.
A common mistake is covering the entire pile, which effectively turns your stack into a moisture trap. Covering all sides seals in humidity, creating a damp environment that slows down drying and can promote mold growth. A properly placed top cover acts like a roof, keeping rainwater out while allowing the sun and wind to penetrate the stack, facilitating continuous evaporation and optimal seasoning.
Step 6: Allow Enough Time to Dry
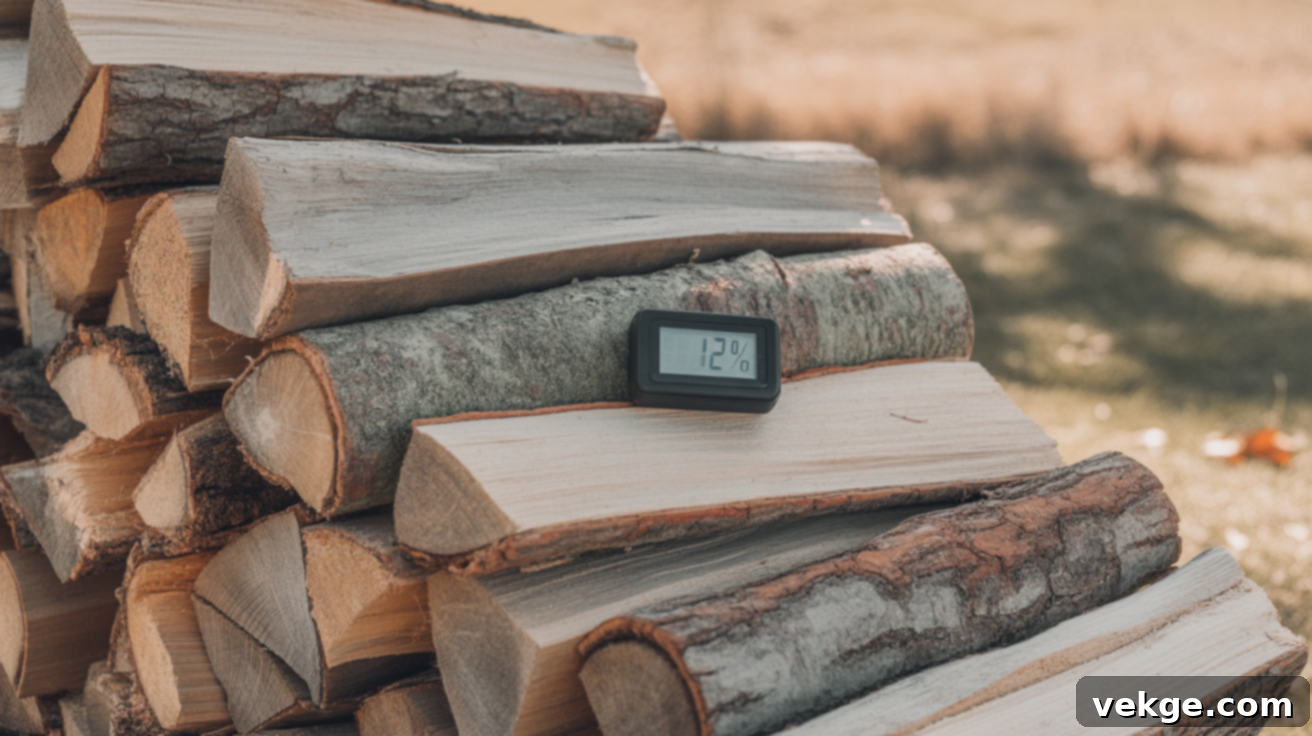
Patience is a virtue when it comes to firewood seasoning. While the previous steps accelerate the process, time remains a critical factor. As a general guideline: softwoods (like pine, fir, cedar) typically require 6–12 months to reach optimal dryness. Denser hardwoods (such as oak, maple, birch, cherry) need significantly longer, usually 12–24 months, sometimes even more in very humid climates.
Visible signs of dryness include cracked or “checked” ends, a faded or grayish color (as opposed to the vibrant fresh cut), and a noticeable reduction in weight as moisture evaporates. When two seasoned pieces are tapped together, they should produce a sharp, hollow “clink” rather than a dull thud. While these visual and auditory cues are helpful, the most reliable way to confirm your wood is ready is by using a moisture meter. Don’t rush the process – fully dried, well-seasoned wood burns far more efficiently, produces more heat, and is much safer to use.
How to Season Firewood Faster: Practical Tips for Quicker Drying
If you’re facing time constraints or simply want to accelerate the drying process, a few clever tricks can significantly speed up seasoning and get your firewood ready sooner.
1. Remove Bark on Some Logs
Bark acts as a natural protective layer for trees, and it continues to trap moisture even after the tree is felled. This is especially true for thicker, dense barks often found on hardwoods. Removing the bark, particularly from larger or slower-drying hardwood logs, exposes more of the wood’s surface directly to air and heat, allowing moisture to escape much more quickly.
You don’t need to strip every single piece; focus on the logs that seem densest or are taking the longest to dry. This method is particularly effective in humid environments or if you’re seasoning wood later in the year and need to catch up. A hatchet, drawknife, or even a sturdy peeler can be used to carefully peel sections of bark away. While not always necessary, strategic bark removal can noticeably reduce the overall drying time for stubborn pieces.
2. Use a Fan or Dehumidifier for Indoor Drying
If you have the option to dry wood indoors – perhaps in a garage, basement, or a dedicated woodshed – enhancing airflow and reducing ambient humidity can make a big difference. Set up an industrial fan or several smaller fans to maintain constant air movement through and around your stacked wood. Stagnant air allows moisture to linger, slowing evaporation.
Additionally, placing a dehumidifier nearby can actively pull moisture from the air, creating a drier environment that encourages the wood to release its own internal moisture faster. Ensure the indoor space is well-ventilated to prevent the buildup of mold or mildew, which can thrive in damp conditions. Always keep wood stacked loosely to allow proper circulation around each log. A critical safety note: never store or dry firewood near active heaters, furnaces, or open flames, as this presents a serious fire hazard. While these tools won’t dry wood overnight, they can significantly expedite the process, especially during cold, damp, or rainy months when outdoor drying is less efficient.
3. Build a DIY Solar Kiln
A solar kiln is an ingenious, low-cost solution for drastically accelerating firewood drying. This passive system harnesses the sun’s energy to create a miniature greenhouse effect, trapping sunlight and heat to raise the internal temperature, which in turn speeds up moisture evaporation from the wood.
A basic solar kiln can be constructed with a simple wooden frame, clear plastic sheeting (like greenhouse film or heavy-duty tarps) to allow sunlight in, and a vented base or side to allow humid air to escape. Position the kiln in a sunny spot, ideally with its longest side facing south. You can also add a small, solar-powered fan or even a basic electric fan for enhanced airflow if desired. The elevated temperatures inside the kiln can reduce typical drying times by weeks or even months, making it an excellent energy-free way to get your firewood ready sooner, especially for larger batches.
How to Tell if Firewood is Seasoned: Reliable Checks for Ready-to-Burn Wood
Before you commit your firewood to the flames, it’s absolutely crucial to confirm it’s fully dry. These simple yet effective checks will help you determine when your wood is perfectly seasoned and ready for safe, efficient use.
Signs of Dry Wood
Seasoned firewood exhibits several distinct characteristics that differentiate it from freshly cut logs. Learning to recognize these visual, auditory, and tactile cues is an invaluable skill:
- Appearance: Properly seasoned wood will typically have a duller, more faded appearance, often turning gray or yellowish-brown, unlike the vibrant, fresh color of green wood. The ends of the logs will show visible cracks or “checks” radiating from the center, indicating that the wood has dried and shrunk.
- Weight: Dry wood feels noticeably lighter than green wood of the same size. A significant amount of moisture has evaporated, reducing its density. If a piece still feels surprisingly heavy, it likely needs more time to dry.
- Sound: When two pieces of seasoned firewood are sharply knocked together, they should produce a clear, crisp, hollow “clink” sound. Unseasoned wood, still dense with water, will produce a dull, muffled thud.
- Smell: Seasoned wood loses its strong, sappy, or “green” smell, instead emitting a subtle, earthy, or even slightly sweet aroma.
Always check several pieces from different parts of your stack – top, middle, and bottom – to get a comprehensive understanding of the overall dryness. If any pieces still look fresh, feel heavy, or make a dull thud, your entire stack probably needs more time.
Use a Moisture Meter
While visual and auditory cues are helpful, a moisture meter offers the most accurate and reliable assessment of your firewood’s readiness. This small, handheld device is specifically designed to measure the moisture content percentage within wood.
To use it, simply press the two metal pins firmly into the center of a freshly split log. The meter will provide a digital reading in seconds. For safe, efficient, and clean burning, the moisture content should ideally be 20% or less. Many experts recommend aiming for 15-20% for optimal performance. Any reading above 20-25% indicates that the wood still retains too much moisture and will burn poorly, produce excessive smoke, and contribute to creosote buildup.
Moisture meters are affordable, easy to use, and far more reliable than relying solely on appearance or feel. They are particularly useful for testing different types of wood in mixed stacks or for double-checking wood that has been seasoning for a long time. Investing in one can save you a lot of frustration and ensure you’re always burning top-quality fuel.
Firewood Maintenance Tips During Seasoning
Proper upkeep and attention during the drying process can make a significant difference in the quality and speed of your firewood seasoning. These easy-to-follow tips help protect your stack and keep the seasoning process effectively on track.
- Check the stack regularly: Make it a habit to periodically inspect your firewood stack. Look for any signs of mold growth, insect infestation (like ants or termites), or shifting wood that could compromise stability. If you notice sections leaning or becoming unstable, restack them immediately to maintain steady airflow and prevent potential safety risks from collapsing wood.
- Rotate logs if needed: While a well-stacked pile should dry fairly evenly, some pieces, especially those in shadier spots or at the very bottom, might dry slower than others. If you observe certain logs are noticeably wetter or heavier than their neighbors, consider rotating them. Move the wettest pieces to sunnier or breezier spots within the stack, or even to the top, to help even out the drying process. This ensures all your wood reaches optimal dryness around the same time.
- Keep the area clean: Maintain a clear perimeter around your firewood stack. Regularly remove any fallen leaves, weeds, grass, or other debris that accumulates around the base. This vegetation can trap moisture, block crucial airflow, and provide an inviting habitat for unwanted bugs, rodents, or other animals that could infest or damage your firewood. A clean area promotes better airflow and reduces pest attraction.
- Re-secure the cover: Your top cover is vital for protecting the stack from rain and snow. High winds or heavy storms can dislodge or damage tarps and covers. Periodically check that your tarp or metal cover remains securely in place. A loose or displaced cover can allow rain to soak your wood, negating weeks of drying effort, or it could blow away entirely, leaving your stack exposed. Ensure it’s taut and firmly tied down.
Common Firewood Seasoning Mistakes to Avoid
Even with the best intentions, simple errors can significantly slow down the drying process, lead to mold, or even ruin your firewood. Being aware of these common mistakes will help you get the best burn and keep your wood in excellent condition.
- Leaving wood in rounds: This is one of the most frequent mistakes. Whole, unsplit logs (often called “rounds”) dry agonizingly slowly because most of their moisture is trapped within the dense core and beneath the bark. The exposed surface area is minimal. Always split your wood into smaller, manageable pieces before stacking. This exposes the interior grain, allowing moisture to evaporate much more rapidly and effectively accelerating the entire drying process.
- Storing directly on soil: As mentioned, direct contact with the ground is detrimental. Bare soil is constantly moist, and the bottom layer of your firewood stack will quickly absorb this ground moisture, making those pieces incredibly difficult, if not impossible, to dry properly. This also creates a perfect breeding ground for mold, fungus, and insects. Always use pallets, concrete blocks, old tires, or a purpose-built rack to keep your entire stack elevated off the ground, ensuring constant airflow underneath and preventing moisture wicking.
- Stacking too tightly: While it might seem efficient to pack as much wood as possible into a small space, a tightly packed pile is counterproductive for seasoning. When logs are stacked too close together, they trap moisture and severely restrict airflow. Air needs to circulate freely around every piece of wood to carry away evaporating moisture. Instead, use methods like the crisscross or log cabin stack, or ensure there are deliberate gaps between parallel rows, to allow air to move freely through the stack from all sides.
- Covering the entire stack: Another common but harmful mistake is completely covering your firewood stack with a tarp or plastic sheeting, extending all the way to the ground. While this protects against rain, it also seals in humidity and prevents any meaningful air circulation. The trapped moisture creates a damp, stagnant environment that slows down drying, promotes mold and mildew growth, and can even cause the wood to rot. Only cover the very top of your stack to protect against precipitation, leaving all sides open to allow for maximum ventilation and air movement.
Wrapping Up Your Firewood Journey
The moment I truly grasped and implemented the principles of proper firewood seasoning, everything changed. No more smoky rooms or struggling fires. My fires lit faster, burned hotter, and actually warmed my home instead of merely filling it with smoke and frustration. It transformed a chore into a deeply satisfying part of preparing for winter.
Now that you’re equipped with this comprehensive guide – understanding the timing, the precise steps for splitting, stacking, elevating, and covering, along with tips for speeding things up and avoiding common pitfalls – you’re ready to achieve the same results. The key is patience; allow your wood to dry out fully. Trust me, you’ll feel the significant difference once those chilly nights begin to roll in, and your well-seasoned wood delivers consistent, powerful warmth.
Make it a habit to regularly check your stack and test for dryness. This ongoing attention will ensure your wood is always in peak condition. If this guide has helped illuminate the path to better fires and a warmer home, I encourage you to explore other blogs on our website for more easy, real-life tips designed to keep your home comfortable, efficient, and perfectly prepared for every season.
