Essential Guide: How to Prepare for Professional Dryer Vent Cleaning
Dryer vent cleaning is a fundamental yet often overlooked aspect of home maintenance. Over time, lint, dust, and other debris accumulate in your dryer’s ventilation system, creating a significant fire hazard, diminishing appliance efficiency, and potentially shortening its lifespan. Regular, professional dryer vent cleaning is not just about keeping your appliance running; it’s a critical safety measure for your home and family.
Preparing adequately before professionals arrive can significantly streamline the cleaning process, reduce disruptions, and ensure the job is done thoroughly. This comprehensive guide will walk you through the essential steps to prepare for your scheduled dryer vent cleaning, providing practical tips for a seamless and effective experience.
1. Understand the Critical Importance of Dryer Vent Cleaning
Before diving into preparation, it’s vital to fully grasp why dryer vent cleaning is indispensable. The primary culprit behind clogged vents is lint – tiny fibers shed from clothes during drying. This highly flammable material, combined with restricted airflow, can cause your dryer to overheat, leading to a potential fire. The U.S. Fire Administration reports that clothes dryers are responsible for approximately 2,900 home fires annually, resulting in substantial property damage, injuries, and even fatalities.
Beyond safety, a clogged vent forces your dryer to work harder and longer to dry clothes. This inefficiency translates directly into higher energy bills and increased wear and tear on your appliance, potentially leading to costly repairs or premature replacement. Regular cleaning ensures optimal airflow, allowing your dryer to operate efficiently, dry clothes faster, and consume less energy, ultimately saving you money and extending your dryer’s life.
By investing in professional cleaning, you’re not just performing maintenance; you’re safeguarding your home and optimizing your appliance’s performance for the long term.
2. Schedule Your Appointment Strategically
Choosing the right time for your dryer vent cleaning appointment is more important than it seems. Select a day and time when you can easily accommodate the cleaning and won’t require your dryer. Depending on the extent of the lint buildup and the complexity of your vent system, the process can take anywhere from one to several hours. Planning ahead avoids the inconvenience of needing to do laundry while your dryer is temporarily out of service.
Furthermore, ensure that someone over 18 will be home to grant the technicians access to the dryer and the vent system, which may exit through various locations like a wall, roof, or crawl space. Being present allows you to answer any questions the technician might have and ensures a smooth workflow, especially if the vent is in a less accessible area.
3. Create Clear Access Around Your Dryer
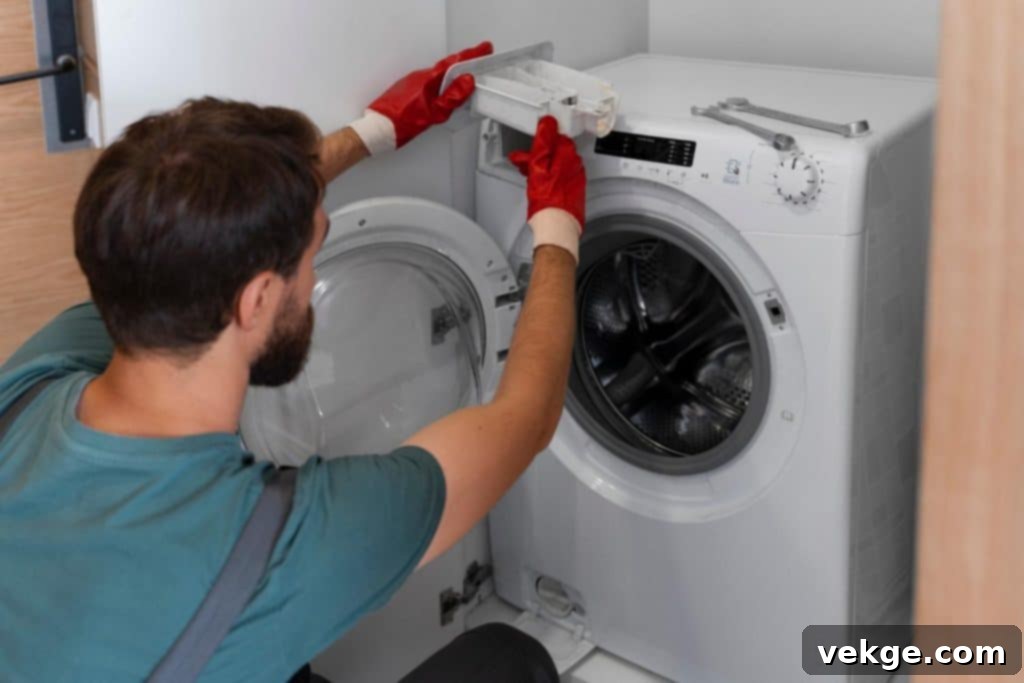
One of the most crucial preparatory steps is to clear the immediate area surrounding your dryer. Professional technicians will typically need to move the appliance away from the wall to access the vent connection located behind it. Remove any obstacles such as laundry baskets, cleaning supplies, pet beds, or other clutter that might impede their path or movement.
This simple act not only facilitates easy access for the technician but also prevents accidental damage to your belongings and expedites the cleaning process. Aim to create a generous workspace, moving any delicate or valuable items to a safe, separate location until the cleaning is fully completed. A clear path ensures efficiency and safety for everyone involved.
4. Understand Dryer Disconnection Requirements
In many cases, technicians will need to disconnect your dryer from its power source to safely access and clean the vent. If your dryer is electric, you might consider unplugging it in advance, especially if you are comfortable with its setup. However, if you are unsure or uncomfortable with unplugging or moving the appliance, it is always best to leave this step to the trained professionals.
For gas-powered dryers, turning off the gas valve is an absolute necessity before moving the appliance to prevent any gas leaks. While reputable cleaning companies are equipped to handle these procedures safely, it’s beneficial to be aware of your dryer’s type and be prepared for these steps, perhaps even identifying the gas shut-off valve beforehand if you know where it is located.
5. Assess Your Vent Duct’s Length and Condition
Before your appointment, take a moment to consider the length and general condition of your dryer vent duct. Vent systems vary significantly based on house design; some are short and direct, exiting through an exterior wall, while others may be lengthy, extending through attics, basements, or even the roof. Having an idea of your vent’s configuration can be helpful information for the technician.
Additionally, visually inspect any accessible portions of the vent for signs of wear or damage, such as visible cracks, holes, kinks, or rust. Damaged vents can compromise cleaning effectiveness and may require repair or replacement. Notifying the technician of any observed issues beforehand allows them to come prepared with the necessary tools or materials, ensuring the vent is fully functional and secure after cleaning.
6. Secure Your Pets in a Safe Area
The dryer vent cleaning process can involve significant activity, including moving the dryer, using powerful vacuum equipment, and potentially creating some noise. For the comfort and safety of your pets, it is highly recommended to secure them in a separate, quiet room or their designated safe space for the duration of the appointment.
Technicians often need to keep doors open as they bring in and out specialized equipment, which could create an escape opportunity for curious pets. Keeping pets contained prevents them from getting in the way, minimizes their stress from unfamiliar noises or people, and ensures a safer working environment for the cleaning crew.
7. Inspect the Outdoor Vent Cap for Blockages
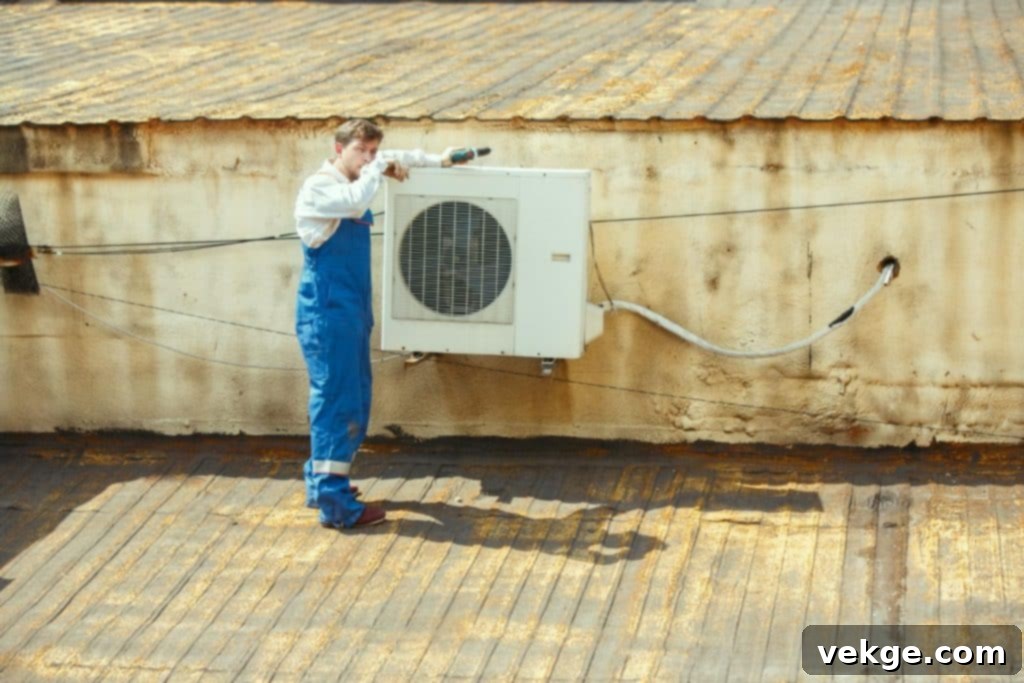
Many homeowners overlook the exterior component of their dryer vent system: the outdoor vent cap. This is where the dryer’s exhaust exits your home. Before the professionals arrive, take a moment to visually inspect this cap. It’s common for lint, leaves, spiderwebs, or even nesting materials from birds and rodents to accumulate around or within this cap, causing significant blockages.

Ensure that the vent cap’s flaps open and close freely and are not obstructed. If you can safely reach it, gently clear any visible debris. Notifying the technician of any existing damage or blockages at the outdoor cap will allow them to give it proper attention during the cleaning. These caps are also susceptible to weather-related wear and tear, so regular inspection is a key preventative measure.
8. Be Aware of Clogged Dryer Vent Warning Signs
Being able to describe specific issues to your technician can help them focus their efforts. Familiarize yourself with the common indicators of a clogged dryer vent. These warning signs include:
- Extended Drying Times: Clothes take noticeably longer than usual to dry, often requiring multiple cycles.
- Burning Odor: A distinct burning smell, often likened to burning lint, emanating from the dryer or laundry area.
- Overheating Appliance: The exterior of your dryer feels unusually hot to the touch during or after a cycle.
- Excessive Lint Buildup: More lint than usual collects in the lint trap, or lint appears around the dryer opening.
- Exterior Vent Flap Stays Shut: The exterior vent flap on your home’s wall or roof does not open when the dryer is running, indicating poor airflow.
- Hot Laundry Room: The laundry room feels excessively hot and humid during dryer operation.
If you’ve experienced any of these symptoms, share this information with your technician; it provides valuable insight into the severity and location of potential blockages.
9. Inquire About Additional Related Services
Many professional dryer vent cleaning companies offer a range of supplementary services that can enhance your home’s air quality and appliance performance. Before your appointment, consider whether you might want to take advantage of these offerings.
For instance, some companies also provide internal dryer cleaning (beyond just the vent) to remove lint buildup from the appliance’s heating element and other components. An inspection of your entire ductwork for damage or proper installation might also be available. Air duct cleaning, a service that can significantly improve indoor air quality, particularly for those with allergies or respiratory sensitivities, is another common offering. Discussing these options beforehand can help you optimize your service visit.
10. Consider Upgrading Your Dryer Vent System
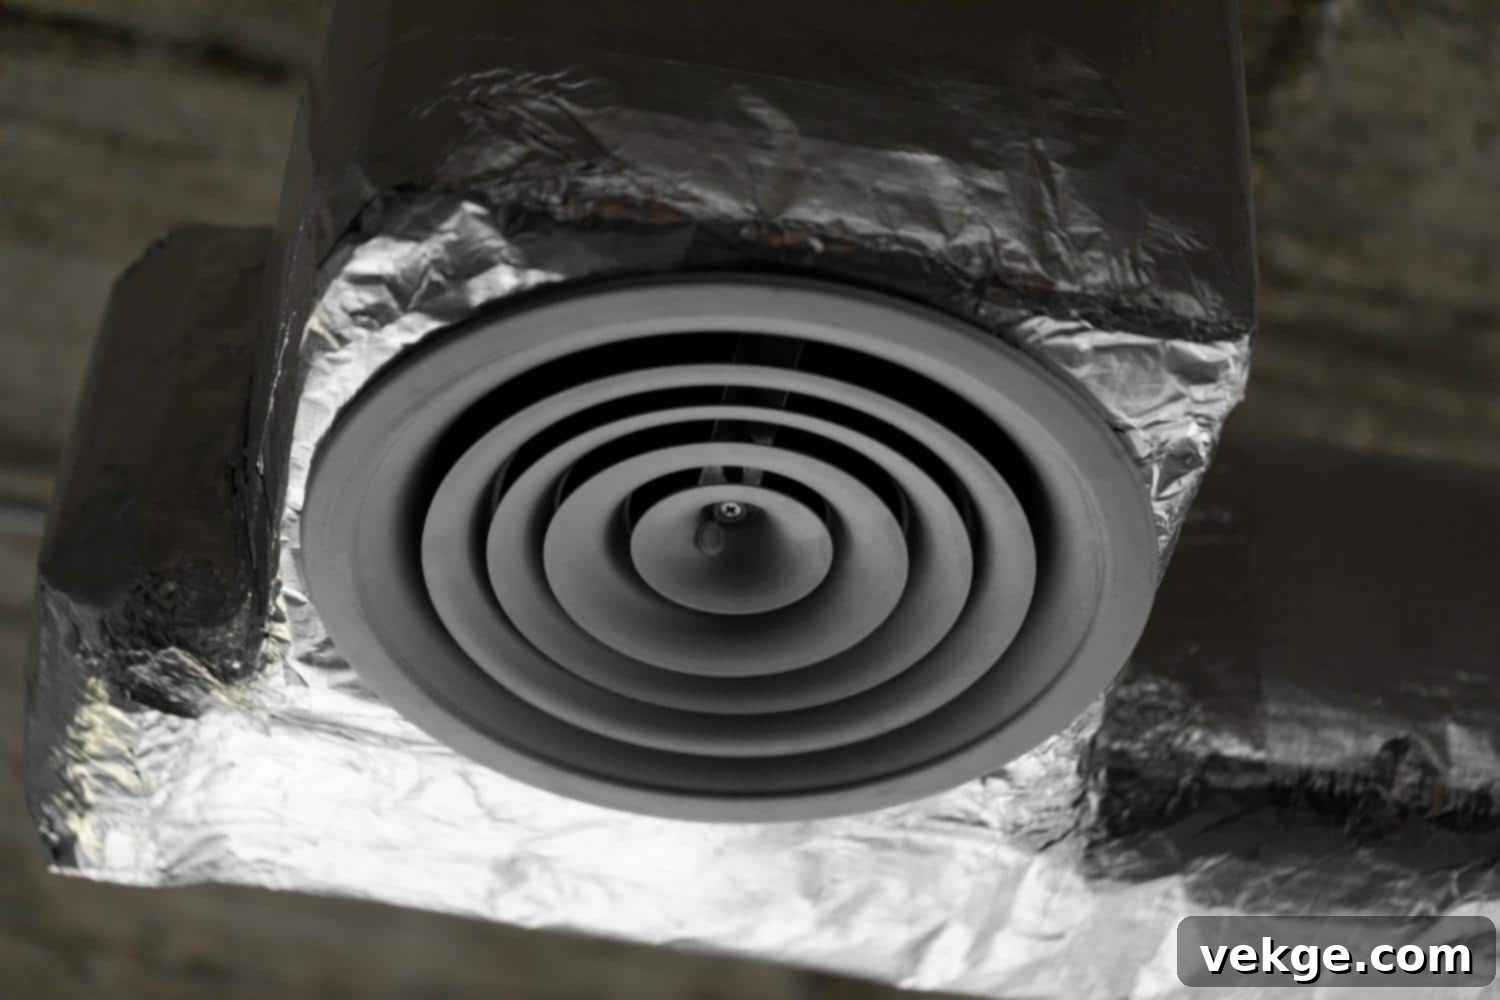
If you have an older home or an existing dryer vent system that uses flexible plastic or foil ducting, this cleaning appointment presents an excellent opportunity to discuss an upgrade. These older materials are highly susceptible to kinks, sagging, and easy accumulation of lint, making them less efficient and increasing fire risk.
Modern dryer vents are typically constructed from rigid metal (galvanized steel or aluminum) ducting. This material offers superior airflow, is far less prone to blockages, kinking, or crushing, and significantly reduces fire hazards. While an upgrade involves an additional investment, the long-term benefits in terms of safety, energy efficiency, and appliance longevity are substantial and well worth considering for your home’s overall well-being.
11. Engage with the Technician: Ask Questions and Seek Advice
Don’t hesitate to engage with your dryer vent cleaning technician. They are experts in their field and a valuable resource for maintaining your home’s safety and efficiency. Ask questions about the cleaning process, what they found, and recommendations for future maintenance. Inquire about how often your specific dryer and usage patterns suggest future cleanings, the best type of lint traps, or any other preventative measures you can implement.
The more informed you are about your dryer vent system, its maintenance, and its optimal operation, the better equipped you will be to ensure its longevity and maintain a safe environment. Their professional advice can help you avoid future problems and extend the life of your appliance.
12. Verify Credentials and Insurance of the Service Provider
Before any work commences, it’s prudent to confirm the credentials and insurance of the dryer vent cleaning company and its technicians. Reputable and professional cleaning services should be licensed, bonded, and fully insured. This provides critical protection for you in the unlikely event of any accidents, damages, or unforeseen issues during the cleaning process.

Additionally, inquire if the company holds certifications from recognized professional organizations, such as the National Air Duct Cleaners Association (NADCA). Such certifications indicate that the technicians have undergone rigorous training, adhere to industry best practices, and are committed to high standards of service and safety.
13. Prepare for Potential Household Disruptions
While professional dryer vent cleaning is a relatively quick process, it can sometimes entail temporary disruptions within your home. The equipment used, particularly powerful vacuums, can generate noticeable noise. If your vent runs through shared walls or floors, these vibrations might be perceptible in adjacent rooms. Depending on the vent system’s layout, technicians may also need to move certain furniture or access areas that are typically out of sight, such as closets or utility rooms.
To minimize inconvenience, inform all household members about the scheduled appointment and the potential for temporary noise or limited access to certain areas. If you work from home or have young children or pets sensitive to noise, consider planning activities in quieter parts of the house or scheduling the cleaning during a time when disruption will be minimal.
14. Conduct a Thorough Post-Cleaning Inspection
Once the cleaning is complete, take the time to perform a post-cleaning inspection alongside the technician. They should be able to show you the cleaned vent, discuss any specific findings, such as areas of heavy buildup, damage, or concerns about the vent’s integrity. A visual confirmation ensures the job has been completed thoroughly and that the vent is clear of obstructions.
During this review, pay attention to any recommendations the technician provides for ongoing maintenance, such as optimal lint trap cleaning frequency or suggested repairs or upgrades. This final step is crucial for confirming satisfactory service and understanding how to maintain your dryer vent’s efficiency and safety moving forward.
15. Establish a Regular Dryer Vent Maintenance Schedule
After your dryer vent has been professionally cleaned, the final and perhaps most crucial step is to establish a consistent maintenance schedule to prevent future blockages. The ideal frequency for cleaning depends on several factors, including how often you use your dryer, the size of your household, and the types of fabrics you typically dry (e.g., pet owners or those who frequently dry bulky items may need more frequent cleanings).
As a general guideline, most households benefit from professional dryer vent cleaning at least once a year. However, homes with heavy dryer usage (multiple loads per day) or long vent runs might require cleaning every six months. Setting a recurring reminder for this service will not only dramatically reduce the risk of fire but also ensure your dryer continues to run at peak efficiency, saving you money on energy bills and significantly extending the lifespan of this essential appliance.
Conclusion
Preparing for your scheduled professional dryer vent cleaning is a straightforward yet profoundly impactful task. By diligently following the preparatory steps outlined in this guide, you can significantly contribute to a smoother, faster, and more effective cleaning process. These proactive measures not only assist the technicians in performing their job thoroughly but also serve as crucial steps in safeguarding your home and prolonging the life of your valuable appliances.
Remember, prioritizing dryer vent cleaning goes beyond mere appliance maintenance; it is an essential component of your home’s overall safety strategy. Whether it involves ensuring clear access around the dryer, being aware of common warning signs, or engaging in a post-cleaning review, each preparatory action contributes to a more efficient cleaning and, ultimately, a safer living environment for your family.
Setting up a regular maintenance schedule after the initial cleaning is paramount. This simple habit will prevent future lint accumulation, keeping your dryer running at its most efficient, saving you money on energy costs, and extending the appliance’s operational life. Ultimately, these mindful steps provide invaluable peace of mind, knowing your home is protected from potential fire hazards associated with a neglected dryer vent.
