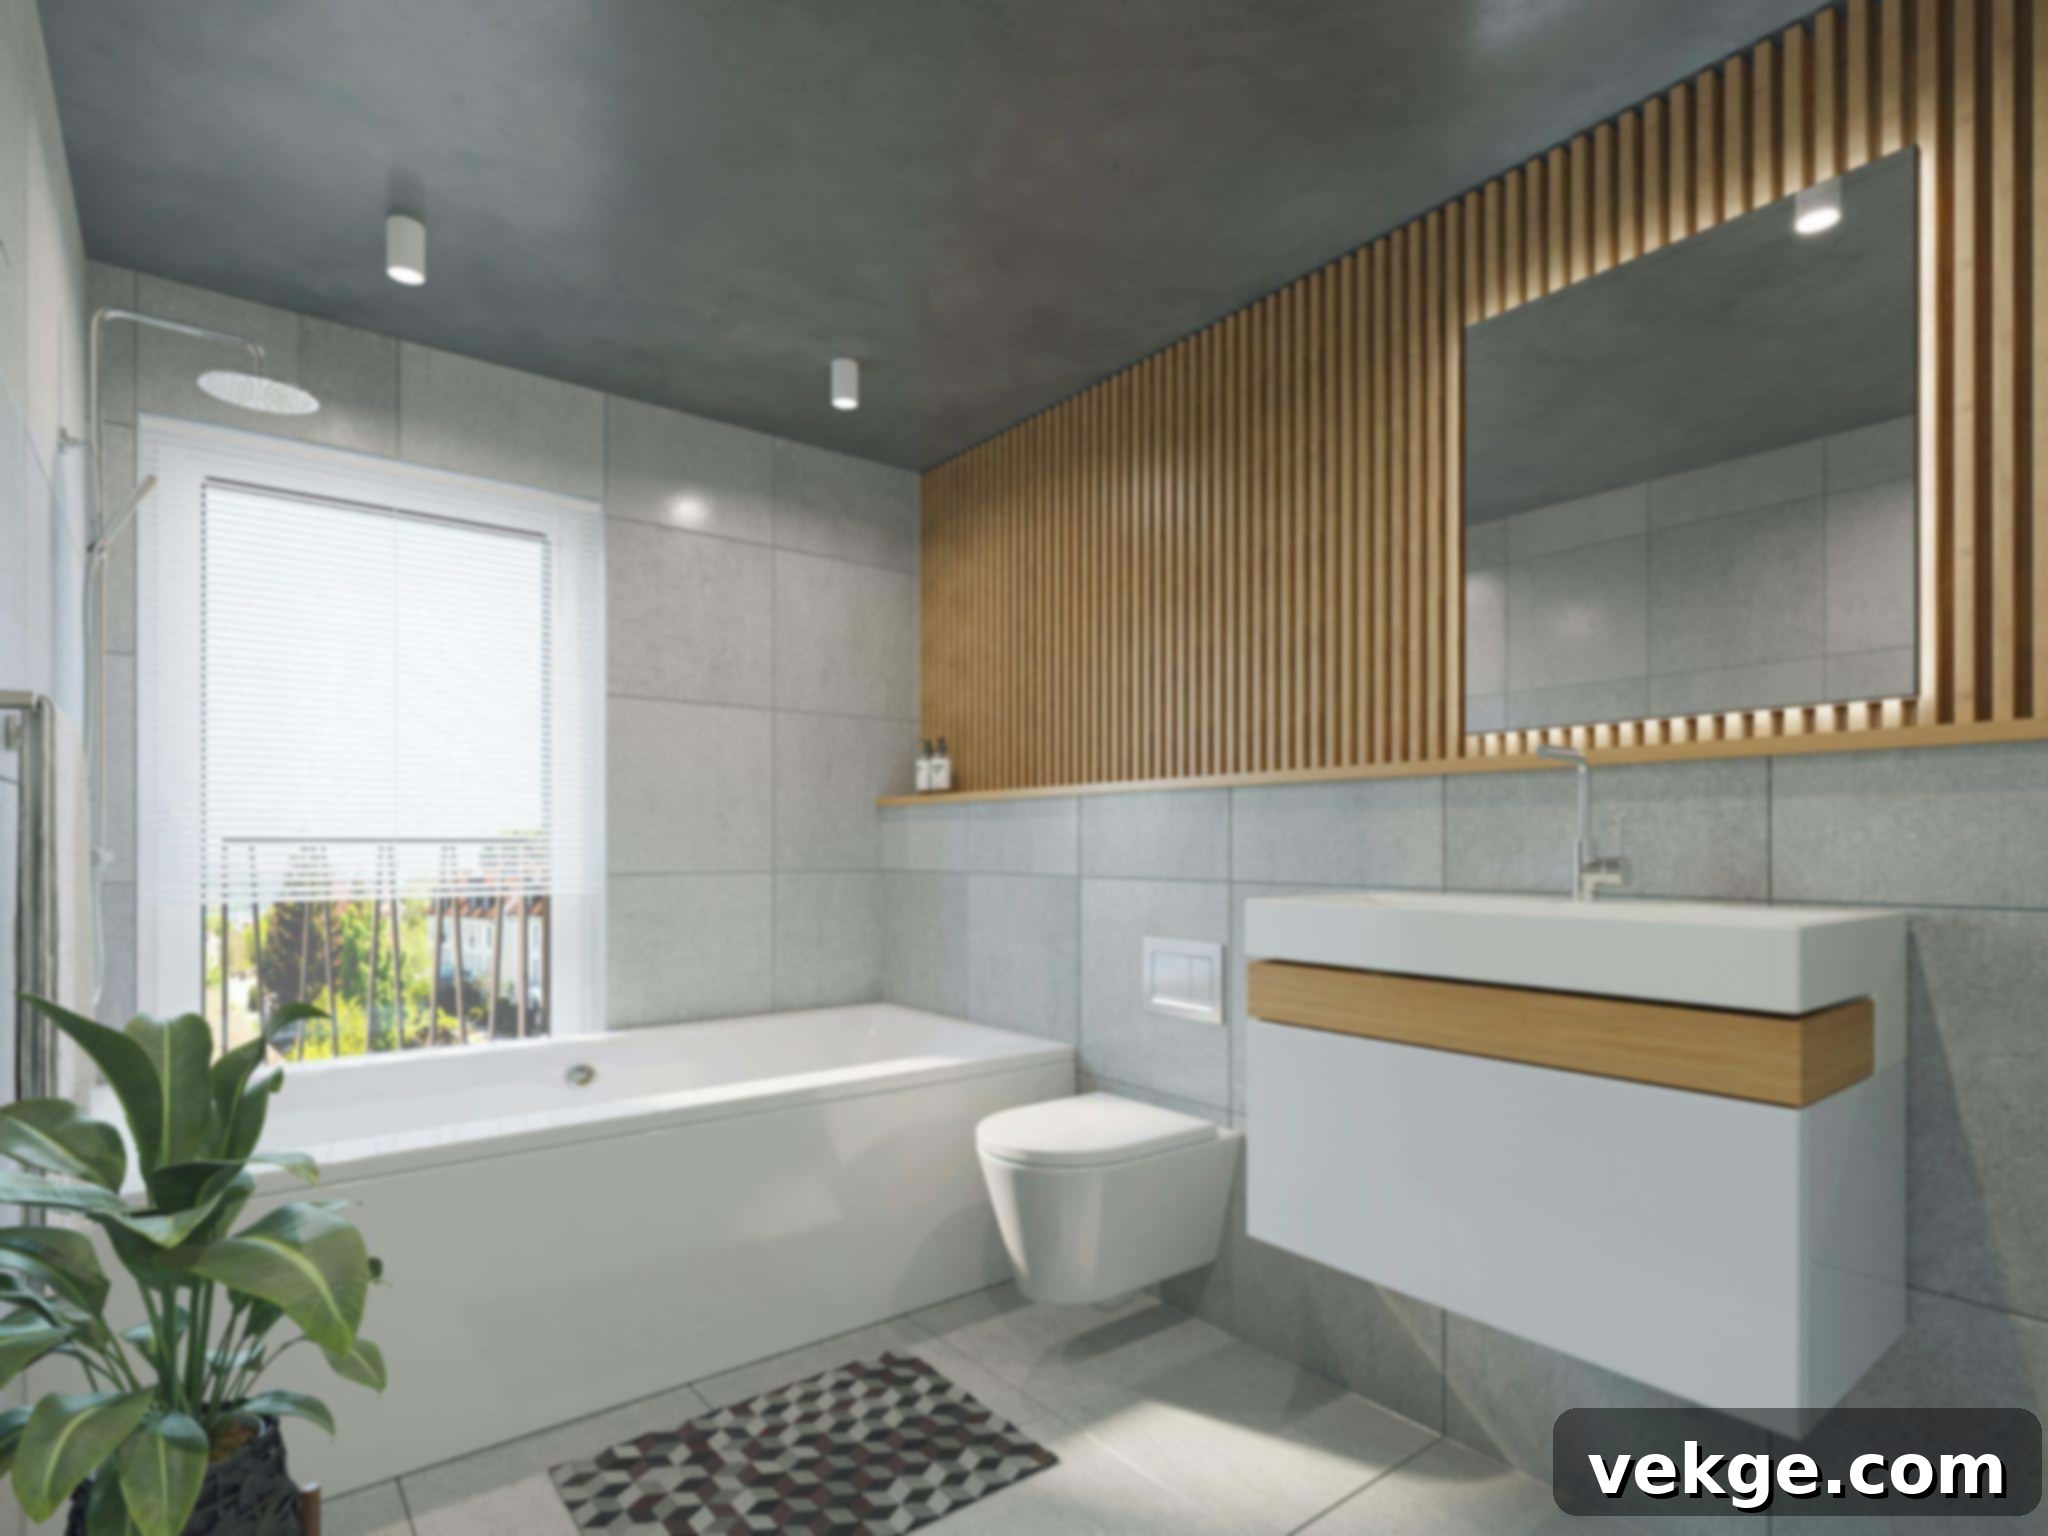
Transform Your Bathroom: 12 Easy DIY Projects for a Spa-Like Retreat
Are you dreaming of a bathroom that feels less like a functional space and more like a serene, spa-like retreat? Good news, DIY enthusiasts and homeowners! You don’t need a massive budget or a team of contractors to achieve that luxurious feel. With a bit of creativity, some elbow grease, and these straightforward DIY bathroom projects, you can transform your washroom into a sanctuary of relaxation and style. Get ready to roll up your sleeves; we’re about to dive into how you can spruce up your space quickly and affordably. Let’s make your dream bathroom a reality!
1. Craft a Modern Floating Vanity
Estimated Time: 6-8 hours
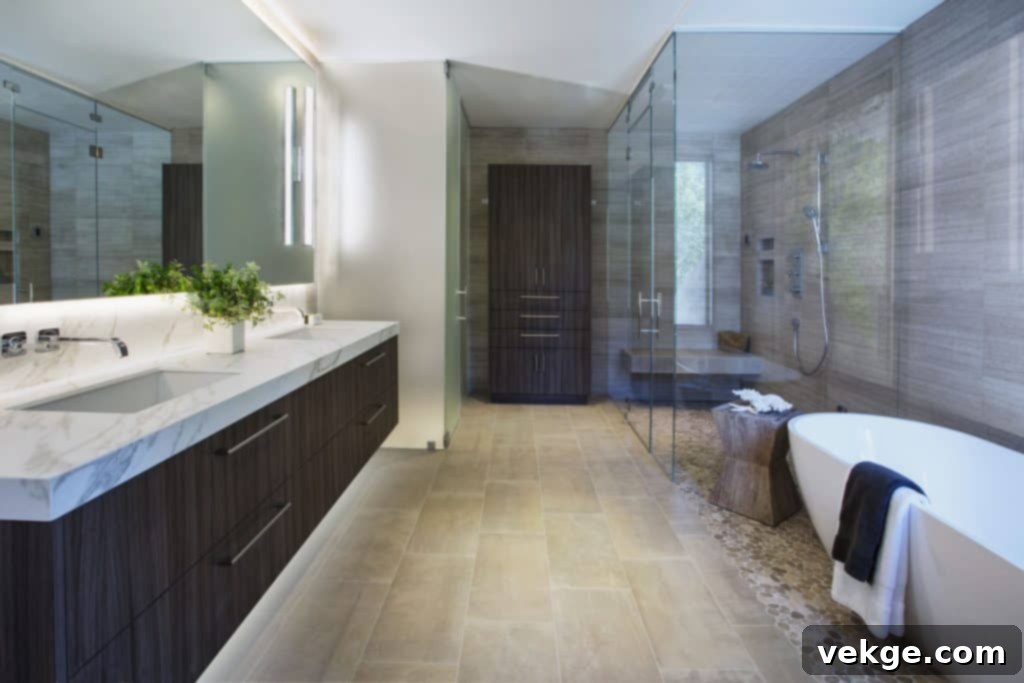
Feeling ambitious? Building your own floating bathroom vanity from scratch is a rewarding DIY project that adds a sleek, modern touch to any bathroom. A floating vanity frees up floor space, making your bathroom appear larger and easier to clean. To begin, accurately measure your bathroom dimensions to determine the ideal size for your vanity. Sketch out a detailed design, considering internal shelving, drawers, and plumbing cutouts. Gather your materials, which typically include high-quality, moisture-resistant plywood, lumber for the internal frame, screws, wood glue, and suitable heavy-duty wall brackets.
Use a circular saw to precisely cut the plywood to size for the top, sides, and bottom. Assemble the robust internal frame using lumber, securing joints with wood glue and screws for maximum stability. Then, attach the plywood panels to create the vanity’s structure. For installation, locate wall studs using a stud finder – this is crucial for securely mounting the vanity. Use heavy-duty toggle bolts or lag screws directly into the studs, ensuring the vanity is perfectly level and firmly attached to the wall. Take your time with this step, as security is paramount.
Pro Tip: Enhance the modern aesthetic by installing a stylish vessel sink atop your floating vanity. This creates a seamless, elegant look. You can also integrate open shelving or hidden drawers underneath for additional storage, making the space both beautiful and highly functional. Consider finishing the wood with a durable, waterproof sealant or paint to protect it from humidity and splashes.
2. Install Chic Floating Shelves
Estimated Time: 2-3 hours
Floating shelves are a versatile and practical addition that can elevate the style of any bathroom while offering valuable storage or display space. They are perfect for decluttering countertops and adding a touch of personality. To install them, first use a stud finder to locate the wall studs, as attaching shelves directly to studs provides the most secure hold. Mark the desired placement for your shelves, ensuring they are at a convenient height and symmetrically aligned if installing multiple. A level is indispensable here to guarantee perfectly straight shelves.
Drill pilot holes into the marked spots and insert appropriate wall anchors if studs aren’t available or if you need additional support. Finally, attach the brackets – whether visible decorative brackets or hidden ones for a truly ‘floating’ effect – and then secure the shelves themselves. Once installed, fill your new shelves with carefully curated decorative items. Think rolled guest towels, scented candles, small succulents, stylish baskets for essentials, or glass jars holding cotton balls and bath salts. These elements will add a chic finishing touch and contribute to that coveted spa-like ambiance.
Design Insight: For a particularly sleek and modern look, consider using glass shelves instead of traditional wooden ones. They reflect light and create an open, airy feel. To add a dramatic and luxurious effect, install LED strip lights subtly underneath the shelves. This ambient lighting can highlight your decorative items and provide a soft glow, perfect for evening relaxation.
3. Make a Statement with an Eye-Catching Mirror
Estimated Time: 1-2 hours
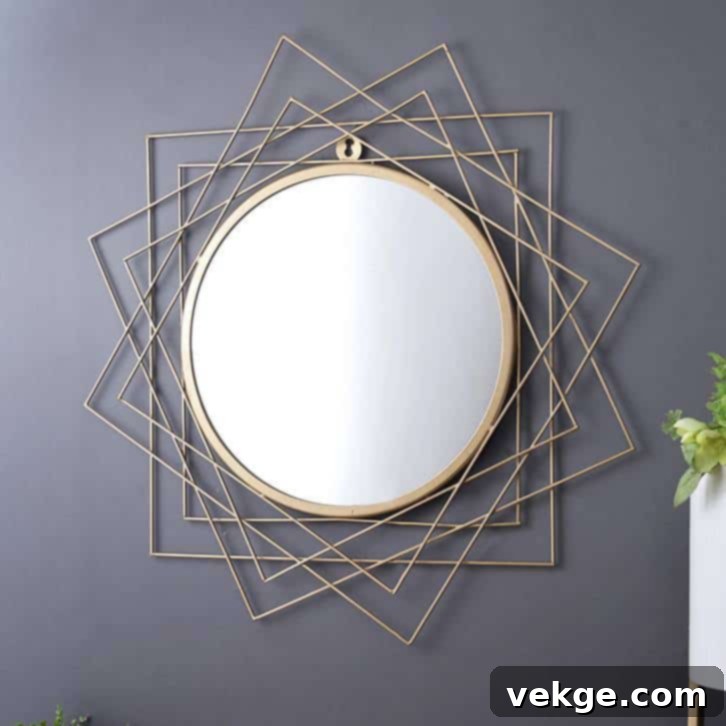
A carefully chosen mirror can do more than just reflect your image; it can become a powerful focal point, significantly improving your bathroom’s overall aesthetic and making the space feel larger and brighter. Begin by measuring the wall space available and considering the style you want to achieve. Look for a mirror with an interesting shape, an ornate frame, or unique dimensions that complement your existing decor. You can find beautiful pre-made mirror frames at most home improvement stores, or unleash your creativity by crafting your own using decorative molding, reclaimed wood, or even metallic trim.
If you’re framing an existing frameless mirror, carefully glue or nail the custom frame onto the mirror’s edges, ensuring a snug fit. For hanging, always use appropriate wall anchors and hardware designed to support the weight of the mirror. This custom piece will instantly add personality and a touch of bespoke design to your bathroom, elevating it from ordinary to extraordinary.
Expert Advice: To make a small bathroom appear significantly larger and more expansive, install a generously sized mirror that spans the entire width of your vanity. This strategic placement will bounce light around the room, creating the illusion of much greater depth and space. Additionally, consider mirrors with built-in LED lighting for a modern, functional, and flattering glow.
4. Refresh Your Walls with a New Coat of Paint
Estimated Time: 4-6 hours (including drying time)
Perhaps one of the most impactful yet affordable transformations, a fresh coat of paint can work absolute wonders in any room, and the bathroom is certainly no exception. A new color can instantly change the mood, brighten the space, and make it feel cleaner and more inviting. Before you even think about opening a paint can, proper preparation is key. Thoroughly clean the walls to remove any soap scum, dust, or grime. Then, fill in any holes or cracks with spackling paste and sand them smooth for a flawless finish. Protect fixtures, trim, and floors with painter’s tape and drop cloths.
After preparing the walls, apply a high-quality primer, especially important in bathrooms to ensure better adhesion and prevent mildew. Once the primer is dry, apply your chosen paint color. For bathrooms, opt for semi-gloss or satin finishes, as they are more durable, washable, and resistant to moisture. For a cohesive and stylish look, consider painting the ceiling the same color as the walls. Once the paint is completely dry, step back and admire your handiwork. You’ll be amazed at how much a fresh coat of paint can revitalize and transform your bathroom!
Creative Ideas: Don’t limit yourself to a single, flat color. Experiment with different painting techniques like sponging, ragging, or color washing to add subtle texture and depth to your walls. Alternatively, create a captivating focal wall by painting it a contrasting color or applying a chic stencil pattern. This instantly adds visual interest and a custom designer touch to your bathroom.
5. Create a Spa-Like Shower Niche

Estimated Time: 4-6 hours
A built-in shower niche is a game-changer for any bathroom, offering both valuable, clutter-free storage and a touch of luxurious design. Say goodbye to flimsy shower caddies! First, carefully measure and plan the exact size and placement of your desired niche. Mark the area on your shower wall using painter’s tape. Using a tile saw, meticulously cut out the niche opening, always ensuring you wear safety goggles and gloves. This step requires precision to ensure a clean, professional look.
Once the opening is cut, prepare the area for tiling. This includes installing a waterproof backer board and applying a waterproofing membrane to protect against moisture intrusion. Then, install your chosen tiles within the niche using a thin-set mortar, ensuring all edges are perfectly level and flush with the surrounding wall. Pay close attention to corners for a polished finish. Conclude the project by grouting the tiles and then sealing all edges with a high-quality silicone caulk for a truly professional, watertight finish. This elegant addition will instantly make your shower feel more organized and high-end.
Design Trick: For a seamlessly cohesive look, use the same tile for the shower niche as you have for the rest of your shower walls. Alternatively, to make the niche truly stand out as a design feature, incorporate a decorative accent tile, perhaps a mosaic or a contrasting color, on the back wall of the niche. This creates a beautiful focal point that enhances the spa-like atmosphere.
6. Update Your Lighting Fixtures for Enhanced Ambiance
Estimated Time: 2-4 hours
Good lighting is absolutely crucial in any bathroom, serving both functional and aesthetic purposes. Upgrading your lighting fixtures is an easy DIY project that can dramatically change the ambiance and functionality of your space, allowing you to make a stylish statement. Before starting any electrical work, always prioritize safety: turn off the power to the bathroom at your main circuit breaker and verify it’s off with a voltage tester.
Carefully remove the existing light fixtures, noting the wiring connections. If you’re adding new sconces or repositioning lights, use a stud finder to locate wall studs for proper and secure anchoring. Once the new fixtures are securely mounted, connect the wiring, ensuring that colors match (typically black to black, white to white, and ground to ground). Attach the cover plates, making sure everything is snug and neat. Finally, turn the power back on and admire your beautifully lit bathroom! The right lighting can make tasks easier and create a relaxing mood.
Lighting Innovation: For a contemporary and sophisticated touch, consider replacing traditional vanity bar lights with stylish pendant lights suspended above the mirror. This creates a modern focal point. Another fantastic idea for a soft, ambient glow is to install LED strip lighting underneath your floating vanity or behind mirrors. This indirect lighting adds depth and a truly luxurious, spa-like feel, perfect for unwinding after a long day.
7. Install a Luxurious Rainfall Showerhead
Estimated Time: 1-2 hours
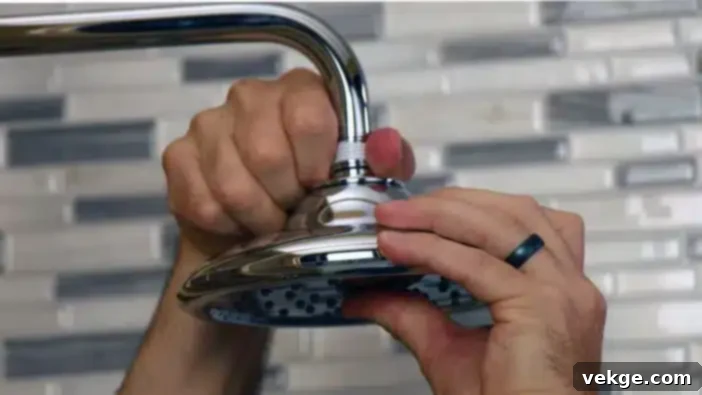
Elevate your daily shower routine from mundane to magnificent by installing a luxurious rainfall showerhead. This simple upgrade instantly transforms your shower into a spa-like escape, providing a soothing, wide cascade of water that mimics natural rain. Start by carefully removing your current showerhead using an adjustable wrench. Be gentle to avoid damaging the existing shower arm.
Once the old showerhead is off, clean any residue from the threads of the shower arm. Apply a layer of plumber’s tape (also known as PTFE tape) clockwise around the threads. This crucial step creates a watertight seal and prevents leaks. Now, carefully screw the new rainfall showerhead onto the shower arm, hand-tightening it first, then using the wrench for a final, gentle tightening – be careful not to overtighten, as this can damage the threads or the fixture. Turn on the water to test for any leaks. Adjust the angle of the showerhead to your liking, and then step back to anticipate enjoying the comforting sensation of a gentle rainfall every time you shower!
Ultimate Spa Experience: To achieve an even more immersive, multi-sensory spa experience, consider integrating multiple showerheads at different heights or a full shower panel system. You can also add a versatile handheld showerhead for greater flexibility and ease in rinsing or cleaning the shower. Explore options with various spray settings to truly customize your daily refresh.
8. Accessorize Your Bathroom with Calming Plants
Estimated Time: 1-2 hours
Bringing the outdoors in is a fantastic way to introduce a touch of nature, freshness, and tranquility into your bathroom. Accessorizing with plants not only adds vibrant color and texture but also improves air quality and helps create a serene, calming atmosphere perfect for relaxation. When choosing plants for your bathroom, select varieties that thrive in humid environments with low to moderate light, as these conditions are typical of most bathrooms. Excellent choices include ferns (like Boston or Kimberly Queen ferns), spider plants, peace lilies, ZZ plants, and pothos.
Strategically place your chosen plants on windowsills to catch natural light, on countertops to add a lively element, or on floating shelves to create visual interest. These green companions will instantly refresh your space, provide a sense of calm, and contribute to a healthier indoor environment. Plus, caring for them can be a meditative, mini-retreat in itself.
Clever Placement Ideas: To maximize counter space, consider hanging plants from the ceiling or using macrame hangers. For a truly unique and lush display, install a vertical garden on a bare wall, turning it into a living art piece. Alternatively, utilize elegant plant stands to elevate smaller potted plants off the floor, adding varying heights and dimensions to your botanical arrangement.
9. Install a Luxurious Towel Warmer

Estimated Time: 2-3 hours
For an undeniable touch of everyday luxury, installing a towel warmer is an excellent DIY project that elevates your bathroom experience. Beyond the sheer comfort of wrapping yourself in a warm, toasty towel after a shower, a towel warmer can also help reduce moisture in your bathroom, minimizing the risk of mildew growth and keeping your towels fresh longer. Most towel warmers are designed for relatively straightforward installation.
To install a wall-mounted towel warmer, use the provided hardware and ensure you mount it securely to wall studs for maximum stability. If it’s an electric model, you’ll need to connect the wiring according to the manufacturer’s instructions. For hardwired units, if you’re not comfortable with electrical work, it’s wise to consult a professional electrician. Once installed and connected, turn on the power, and you’ll soon be enjoying the comforting embrace of warm towels every time you step out of the shower. It’s a small change that makes a huge difference in comfort and luxury!
Smart Feature Suggestion: When selecting a towel warmer, look for models that include a built-in timer or programmable settings. This allows you to schedule it to warm your towels just before you need them, saving energy and ensuring maximum convenience. Consider both wall-mounted designs, which save floor space, and freestanding models, which offer flexibility in placement.
10. Create Your Own DIY Spa Bath Tray
Estimated Time: 1-2 hours
Imagine unwinding in a warm bath, with everything you need for ultimate relaxation perfectly within reach. You can transform your bathtub into a luxurious spa retreat with a simple, custom-made DIY bath tray. This project is both easy and incredibly satisfying. Begin by accurately measuring the width of your bathtub to ensure the tray spans it comfortably. Then, cut a piece of water-resistant wood (like cedar, teak, or even a sealed pine board) to size. Thoroughly sand all the edges smooth to prevent splinters and create a refined finish. Next, stain or paint the wood to match your bathroom decor, and seal it with a waterproof finish to protect against moisture.
To make the tray easy to lift and carry, attach stylish handles to each side. For added safety and to prevent the tray from sliding, add non-slip grips or rubber feet to the bottom. Finally, customize your tray with your favorite relaxation essentials: aromatic candles, a good book or tablet holder, a perfectly chilled glass of wine, or a cup of herbal tea. This personalized bath tray will instantly elevate your bathing experience into a truly indulgent and organized ritual.
Customization Ideas: Take your DIY bath tray to the next level by adding specialized features. Consider routing out a slot for a wine glass holder, integrating a secure smartphone or tablet stand, or even incorporating a small, waterproof speaker for soothing music. These thoughtful additions will make your bath time even more enjoyable and convenient, truly crafting the ultimate relaxation station.
11. Upgrade Your Toilet Seat for Comfort and Style
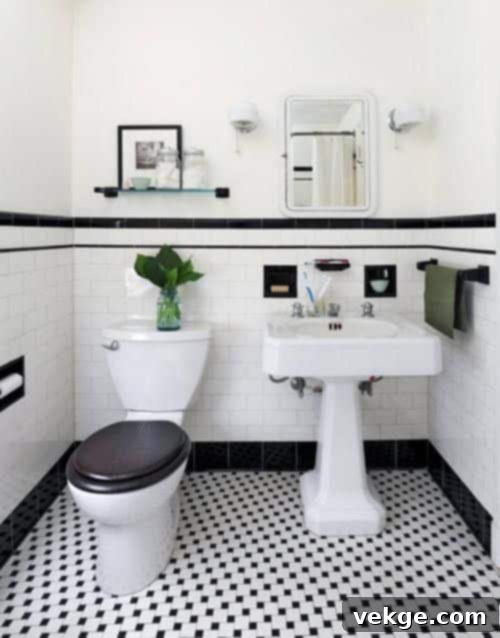
Estimated Time: 30 minutes
Sometimes, the simplest upgrades make the biggest difference in a bathroom’s overall feel and functionality. Replacing your old, worn-out toilet seat with a new one is a quick, inexpensive, and impactful DIY project that instantly freshens up your bathroom. You can choose a seat in a sleek, modern design, opt for a classic wood finish, or even select a vibrant color to complement or contrast with your bathroom decor. The wide variety of styles and materials ensures there’s a perfect match for every aesthetic.
Installing a new toilet seat is surprisingly easy and requires minimal tools, typically just a screwdriver. Begin by lifting the hinge caps on your existing toilet seat to expose the screws. Unscrew and remove the old seat. Then, position your new seat, align the bolt holes, and thread the new bolts through. Hand-tighten the nuts underneath the toilet bowl, then use your screwdriver to tighten them securely. This ensures the seat is stable and prevents any annoying wobbling or shifting during use. This small change will not only enhance the look of your toilet but also improve hygiene and comfort.
Feature Spotlight: When shopping for a new toilet seat, consider models with extra features that add comfort and convenience. Look for soft-close hinges that prevent loud slams, quick-release mechanisms for easy cleaning, antimicrobial coatings for enhanced hygiene, or even built-in nightlights for safe navigation in the dark. These thoughtful additions can significantly upgrade your daily routine.
12. Enhance Hygiene with a Bidet Attachment
Estimated Time: 1-2 hours
For a truly modern and hygienic bathroom upgrade, consider installing a bidet attachment on your existing toilet. Bidets provide a superior, gentler, and more thorough clean than toilet paper alone, offering a refreshing experience that’s increasingly popular. Beyond personal hygiene, bidets can significantly reduce your toilet paper consumption, leading to long-term cost savings and a more eco-friendly bathroom. This DIY project is surprisingly straightforward and doesn’t require complex plumbing knowledge.
Installation is simple: most bidet attachments come with all the necessary hardware. You’ll typically remove your existing toilet seat, place the bidet attachment plate underneath it, and then reattach your toilet seat. Next, you’ll connect the bidet to your toilet’s water supply line using a flexible hose and a T-adapter, usually provided in the kit. Ensure all connections are tight to prevent leaks. Once installed, adjust the pressure and, if applicable, the temperature settings to your liking. Embrace the benefits of a cleaner, fresher, and more hygienic bathroom experience!
Bidet Options: When choosing a bidet attachment, explore models that offer adjustable water pressure and temperature settings for a fully customized and comfortable clean. Some advanced non-electric and electric options also include features like self-cleaning nozzles, feminine wash settings, or even warm air dryers. Researching these options will help you select the bidet that best suits your needs and preferences, truly elevating your bathroom’s functionality.
Final Thoughts: Your Dream Spa Bathroom Awaits!
These twelve creative DIY bathroom projects are designed to be achievable on a weekend, leaving your bathroom not just refreshed but completely rejuvenated. From the sleek lines of a floating vanity to the soothing spray of a rainfall showerhead, and the calming presence of plants, each project offers a unique way to enhance both the beauty and functionality of your space. These updates aren’t just about aesthetics; they’re about creating a more comfortable, personal, and inviting environment where you can truly relax and unwind.
So, gather your tools, unleash your inner decorator, and get ready to turn your ordinary bathroom into a personal sanctuary of relaxation and style. With these budget-friendly and impactful DIY transformations, you’re well on your way to enjoying the spa-like retreat you’ve always dreamed of, right in your own home. Happy DIYing!
