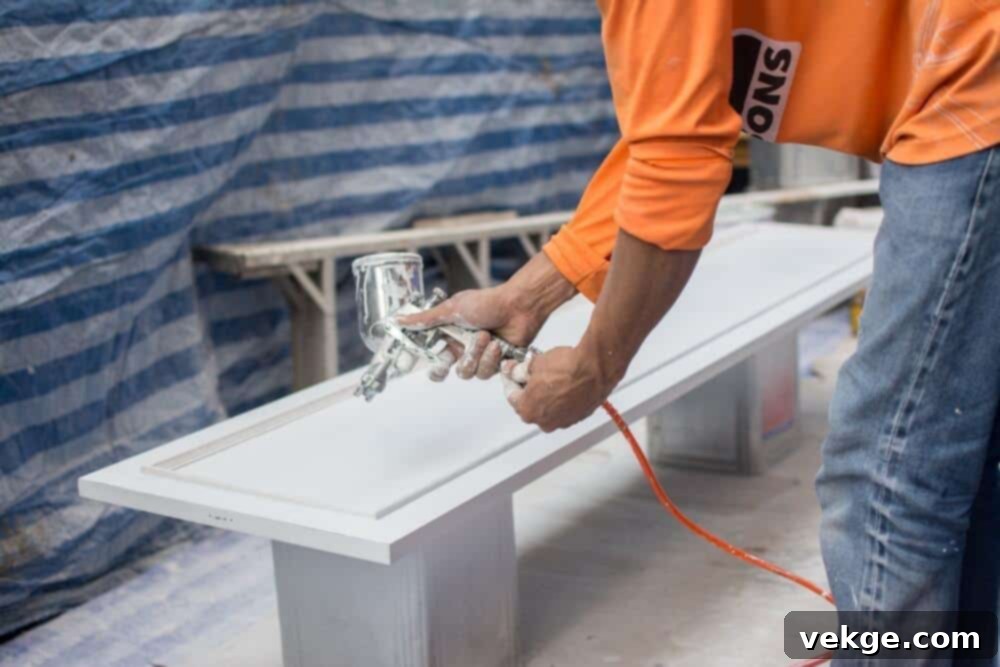
Transform Your Home: The Ultimate DIY Guide to Painting Cabinets with the Best Spray Paint
Are you dreaming of a home makeover but unsure where to begin? A surprisingly simple, yet incredibly impactful, project lies right within your grasp: painting your wardrobes and cabinets. This budget-friendly, quick, and hassle-free DIY endeavor can completely revolutionize the look and feel of any room – be it your kitchen, bathroom, living area, or dining space. A fresh coat of paint can breathe new life into old fixtures, creating a modern, cohesive, and inviting atmosphere without the expense of a full renovation.
You might be thinking, “How can painting be hassle-free?” The answer lies in the advancements of the 21st century: spray paints. These innovative products have made the job significantly easier, faster, and more accessible than ever before. In just a blink of an eye, the right spray paint can become the best cabinet paint for your project, delivering a smooth, professional-looking finish with minimal effort. This comprehensive guide will delve into the world of spray painting, illustrating why it’s not only a top choice for seasoned DIY enthusiasts but also the perfect starting point for beginners looking to refresh their home.
By the time you reach the end of this article, you will be equipped with all the essential knowledge about spray paints and the step-by-step process of cabinet painting. You’ll gain the confidence to pick up that spray can and transform your living spaces with stunning results. Let’s embark on this exciting journey, one step at a time, to unlock the full potential of your home with the best cabinet paint application method.
1. Choose the Right Color for Your Cabinet Painting Project
The initial and perhaps most crucial step in your cabinet painting journey is selecting the perfect color. This isn’t just about aesthetics; it’s about creating a harmonious environment that reflects your style and enhances the functionality of the space. You need to do your homework and research thoroughly to choose the best cabinet paint color that aligns with your vision. Here are some invaluable tips to guide your selection:
- Complement Existing Decor: Your chosen color must seamlessly complement the other furniture, wall paint, and even flooring in the room. Consider the overall palette and architectural style of your home to ensure a cohesive and balanced look.
- Consider Lighting: Natural and artificial light significantly impact how a color appears. If your room receives an abundance of natural light, you might comfortably opt for darker, richer paint shades that add depth and sophistication. Conversely, if the room is naturally darker, we highly recommend selecting a lighter shade. Lighter colors reflect light, making the space feel brighter, more open, and airier.
- Leverage Online Resources and Trends: Many reputable sites offer virtual color visualizers and expert recommendations. Pay close attention to industry leaders like Benjamin Moore, who often announce a “Color of the Year.” Following these trends can give your home a contemporary edge and keep your style current. However, always ensure the trend aligns with your personal taste and the long-term aesthetic of your home.
- Consult the Color Wheel: This fundamental tool is your best friend for understanding color relationships. It can expertly guide you toward colors that complement each other (opposite on the wheel), create a harmonious scheme (adjacent colors), or provide a bold contrast. Understanding the basics of color theory will empower you to make informed decisions that elevate your space.
- Evaluate Paint Finishes: Beyond color, the paint’s finish plays a vital role. Finishes range from flat (matte) to high-gloss, each offering different aesthetics and durability. Flat finishes hide imperfections well but are harder to clean. Eggshell and satin finishes are popular for cabinets due to their soft sheen, durability, and ease of cleaning. Semi-gloss and high-gloss are highly durable, easy to clean, and offer a more reflective, modern look, but they tend to highlight surface imperfections. Choose a finish that suits both your aesthetic preference and practical needs for a high-traffic area like cabinets.
2. Prep the Cabinet: The Foundation for a Flawless Finish
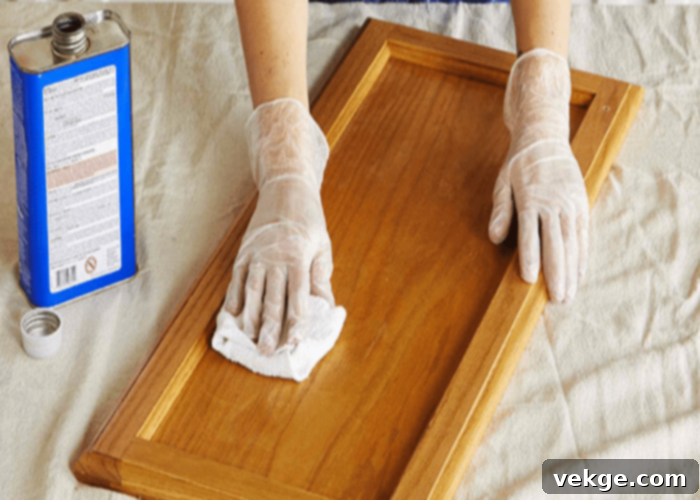
Proper preparation is arguably the most critical step in achieving a professional, long-lasting finish for your cabinet painting project. Rushing this stage will compromise the durability and appearance of your efforts. Before you even think about applying the best cabinet paint, ensure your cabinets are in prime condition. This involves checking for any necessary repairs and thoroughly cleaning the surfaces. If any repairs are needed, get them done promptly to ensure a smooth canvas for your paint.
- Disassemble with Care: Begin by carefully removing all cabinet doors, drawer fronts, and hardware such as hinges, handles, and knobs. It’s highly recommended to label each piece with masking tape (e.g., “upper left door,” “drawer 1”) to ensure a hassle-free reassembly. Disassembling the cabinets allows you to paint all surfaces evenly, leading to a much more professional and complete finish than trying to paint while everything is still attached.
- Inspect and Repair: Thoroughly inspect all surfaces for any nicks, dents, scratches, or holes. Fill these imperfections with wood putty or a suitable filler, allowing it to dry completely. Once dry, sand the repaired areas smooth with fine-grit sandpaper (e.g., 220-grit).
- Degrease and Clean Thoroughly: Cabinets, especially in kitchens and bathrooms, accumulate grease, grime, and dirt over time. These residues can prevent paint adhesion. The first and most vital cleaning layer should be an alkaline cleaner like Trisodium Phosphate (TSP). TSP is excellent at cutting through grease and preparing the surface for paint. Always follow the manufacturer’s instructions for dilution and wear protective gloves and eyewear. After cleaning with TSP, wipe down the cabinets with a clean, damp cloth to remove any residue, then allow them to dry completely. For lighter cleaning, a good quality degreaser or even dish soap and water can suffice, followed by a clean water rinse.
- Light Sanding for Adhesion: Even if your cabinets are clean and smooth, a light sanding with fine-grit sandpaper (around 180-220 grit) across all surfaces is crucial. This step, known as “scuff sanding,” creates a slightly abraded surface that allows the primer and paint to adhere better, preventing peeling and chipping in the future. After sanding, wipe away all dust with a tack cloth or a damp cloth, ensuring the surface is impeccably clean before priming.
3. Find the Right Place and Set Up Your Painting Zone
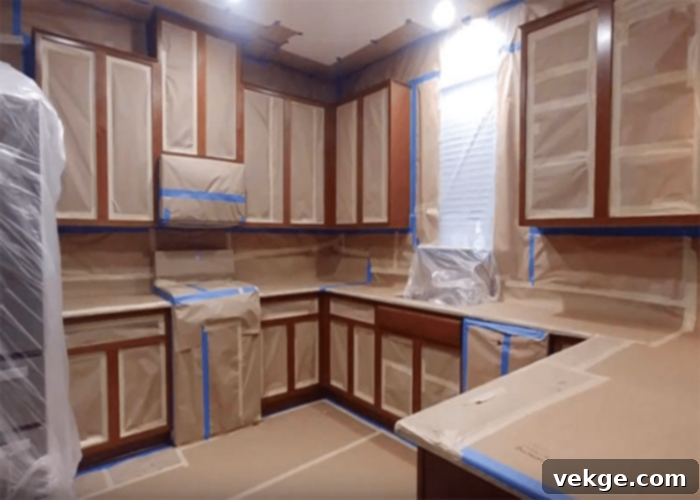
Selecting an appropriate painting environment is essential for a successful spray painting project. Spray paints, while convenient, release fine particles and fumes, requiring proper ventilation and protection for surrounding areas. This is where using spray paints as the best cabinet paint truly shines because it’s quick and minimizes the need for extensive equipment, keeping the process inexpensive. Here are vital tips for setting up your perfect painting zone:
- Ensure Ample Space and Ventilation: You will require a well-ventilated area with plenty of space to lay out all your cabinet parts without crowding. A garage with open doors, a workshop, or even an outdoor area on a calm, dry day is ideal. If painting indoors, ensure windows are open, and use fans to create airflow, directing fumes outside. Proper ventilation is critical for both your health and the paint’s drying process.
- Position Fixed Cabinet Frames: For fixed cabinet frames that cannot be easily moved, ensure they are not completely attached to the wall or other fixtures if possible. This allows you to comfortably paint the sides and edges that might otherwise be difficult to reach. If fixed, carefully mask off adjacent walls and countertops with painter’s tape and plastic sheeting.
- Protect Your Surroundings: Spread drop cloths, old newspapers, or large sheets of cardboard on the floor and any nearby surfaces. This will protect against overspray. For cabinet doors and drawer fronts, set them up on sawhorses or small risers (like small blocks of wood or painter’s pyramids) to elevate them. This allows you to paint the edges and both sides without them sticking to the protective covering, ensuring an even coat and preventing paint pooling.
- Mask Off Unwanted Areas: Use high-quality painter’s tape (like Frog Tape for sharp lines) to carefully mask off any portions you do not want to be painted. This includes the inside of hinges, the cabinet interior if you’re only painting the exterior, and any decorative elements you wish to preserve. Covering everything around with plastic sheeting or tarps will create a protective barrier against errant spray, avoiding mess and dirt in your home.
- Check Environmental Conditions: Ideal spray painting conditions typically involve moderate temperatures (60-80°F or 15-27°C) and low humidity. High humidity can prolong drying times and lead to an uneven finish, while extreme temperatures can affect paint flow and curing. Always consult the paint manufacturer’s recommendations for optimal temperature and humidity ranges.
4. Primer Coatings: The Secret to Professional Finish and Durability
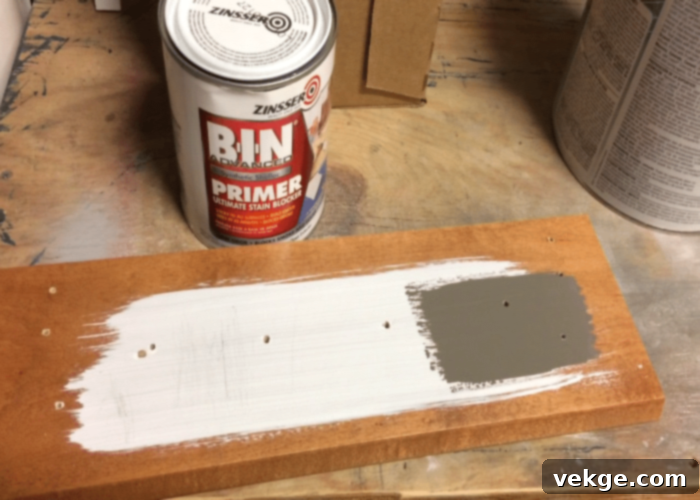
Applying a primer is a non-negotiable step for achieving a smooth, even, and durable finish, especially when transforming cabinets. Primer acts as a bonding agent between the raw or previously painted surface and your new topcoat, ensuring superior adhesion and longevity for your chosen best cabinet paint. It also helps block stains, covers minor imperfections, and creates a uniform base color, which is crucial for the true color of your topcoat to shine through.
- Why Primer is Essential:
- Adhesion: It creates a surface that paint can grip onto, preventing chipping and peeling.
- Uniformity: It evens out the surface porosity, ensuring the topcoat applies smoothly and consistently without patchy areas.
- Stain Blocking: Especially important for older cabinets, certain primers can prevent wood tannins or previous stains from bleeding through your new paint color.
- Coverage: Primer helps in covering the existing color, meaning you’ll need fewer coats of your more expensive topcoat paint.
- Choosing the Right Primer:
- Oil-Based Primers: Excellent for blocking stains and providing a hard, durable base. They offer superior adhesion, especially on glossy or tricky surfaces, but require mineral spirits for cleanup and have stronger fumes.
- Water-Based (Latex) Primers: Quicker drying, easier cleanup with water, and lower VOCs. They are versatile and a good general choice for most surfaces, though they might not block stains as effectively as oil-based options.
- Shellac-Based Primers: The best for stain-blocking and sealing odors. They dry incredibly fast and offer excellent adhesion to a variety of surfaces, but they are typically more expensive and require alcohol for cleanup.
- Application Tips for Primer: Apply a thin, even layer of your chosen primer. For spray-on primers, follow the same technique as you would for spray paint: consistent distance, overlapping passes, and a steady hand. You might notice some tiny particles or inconsistencies in the primer; it’s always a good idea to strain it before using if applying by hand, or ensure your spray can is well-shaken for aerosol versions. Allow the primer to dry completely according to the manufacturer’s instructions, which typically takes a few hours. Lightly sand with 220-grit or finer sandpaper after the first coat of primer for an ultra-smooth base, then wipe clean with a tack cloth before proceeding.
Pro Tip: Safety first! Please wear protective gloves before starting the priming and painting process. Chemical fumes from primers and paints can be irritating or harmful. Therefore, always wear a respirator or a high-quality face mask to protect your lungs. Covering your eyes with safety spectacles or goggles is also a good thought, as paint particles and fumes can irritate or damage your eyes. Ensure adequate ventilation throughout the entire process.
5. Time to Use the Best Cabinet Paint: Mastering the Spray Technique
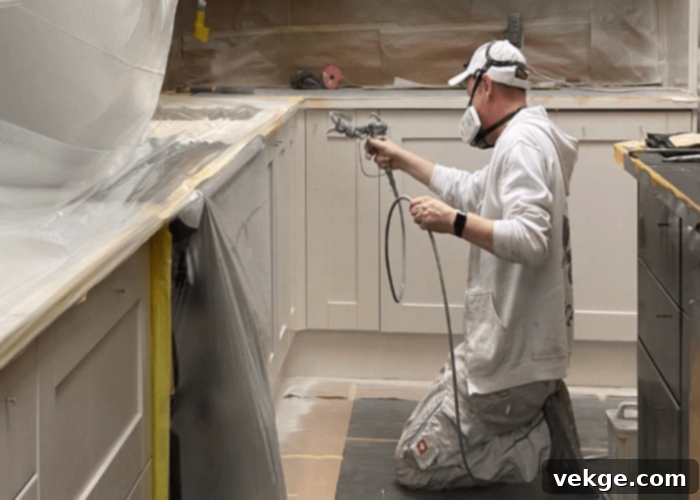
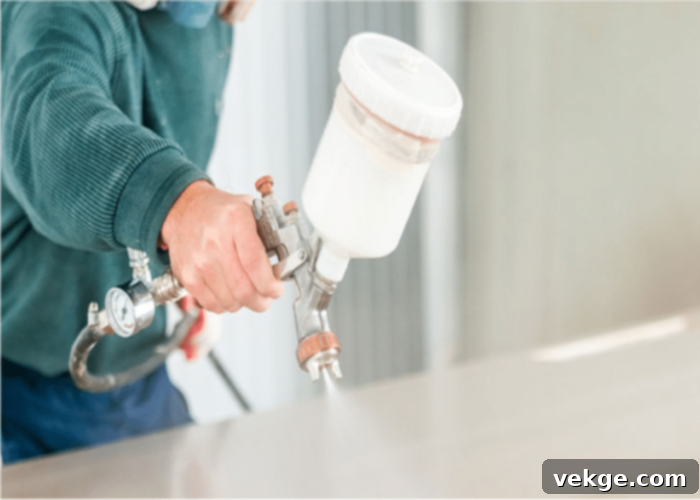
With all the preparation complete and your primer thoroughly dried, it’s finally time for the most anticipated part: applying the best cabinet paint. Get your chosen spray paint ready, but before you aim for your cabinet, a little practice can go a long way. Grab a spare piece of cardboard or wood and practice your technique to get a feel for the spray pattern and pressure. This will prevent mistakes on your actual cabinet pieces. Follow these essential rules for a flawless spray paint application:
- Ensure Dry and Clean Surfaces: Before you begin, double-check that your primer layer is completely dry and cured according to manufacturer specifications. Also, ensure all your cabinet parts are clean and free of any dust or debris from sanding. A tack cloth is excellent for this.
- Maintain Consistent Distance: Hold the spray paint can at a consistent distance of approximately 10-12 inches (25-30 cm) from the cabinet surface. Holding it too close will lead to drips and runs, while holding it too far will result in a dusty, uneven finish with poor coverage.
- Keep the Sprayer Perpendicular: Always keep your spray can perpendicular to the surface you are painting. This ensures an even, consistent spray pattern. Angling the can can lead to uneven coverage and lighter edges.
- Use a Sweeping Motion with Overlap: Begin spraying off the edge of the cabinet piece and move in a steady, sweeping motion across the surface. Release the spray button as you move off the other edge. Overlap each pass by about 50% to ensure full and even coverage, preventing streaking.
- Apply Thin, Even Coats: The key to a professional finish with spray paint is applying multiple thin coats rather than one thick one. A thick coat will almost always result in drips, runs, and an uneven texture. Patience is crucial here. Start with slower pressure for your first coat and then gradually move to higher pressure for subsequent coats if needed, to achieve the desired effect.
- Focus on Critical Areas, but Don’t Overreach: While aiming for perfection is good, stressing about painting every single millimeter of the top surface of an inside-facing cabinet panel, for example, might not be necessary if it won’t be visible. However, ensure visible edges and corners receive adequate, even coverage. Remember, only when the edges and the layer of paint are soft and smooth, you’ve done your job right!
- Address Rough Spots Carefully: If you notice any rough portions after a coat has dried, you can lightly sand them with very fine-grit sandpaper (e.g., 320-400 grit) to smooth them out, then wipe clean with a tack cloth before applying the next coat. DO NOT increase the spray pressure suddenly to cover rough spots; instead, apply another light, even coat slowly.
- Allow Proper Drying Time Between Coats: Always refer to the paint manufacturer’s instructions for drying times between coats (often called “flash off” time). Rushing this can lead to paint lifting, wrinkling, or an uneven finish.
- Always Go for a Second (or Third) Coat: For the perfect, durable, and rich finish, a second coat is almost always necessary. Depending on the color and type of paint, a third light coat might even be beneficial to achieve maximum color depth and protection.
Just One Step Away! Reassembly, Curing, and Enjoying Your Transformed Space
The exhilarating moment has arrived! All your hard work and meticulous attention to detail are about to pay off. Once your final coat of the best cabinet paint is dry to the touch, it’s time to carefully remove all the painter’s tape and plastic sheeting. Revel in the clean lines and fresh, new color of your transformed cabinets. But before you fully reassemble and start using your cabinets, there’s a crucial final step: allowing the paint to fully cure.
- Curing vs. Drying: While paint may feel dry to the touch within hours, “curing” is the process where the paint fully hardens and achieves its maximum durability. This can take anywhere from a few days to several weeks, depending on the paint type, humidity, and temperature. Using your cabinets too soon can lead to scratches, chipping, or sticky surfaces. Refer to your paint can’s instructions for specific curing times.
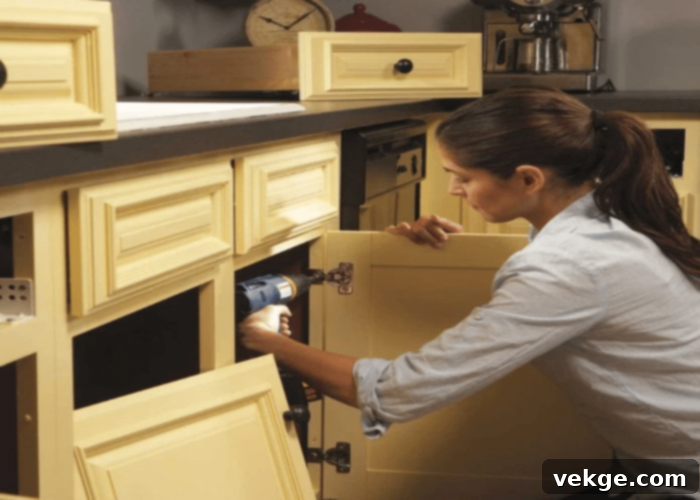
- Careful Reassembly: Once adequately cured, it’s time to reassemble. Using the labels you hopefully applied during disassembly, carefully reattach the cabinet doors, drawer fronts, hinges, and hardware. Handle the freshly painted surfaces with extreme care to avoid nicks or scratches.
- Consider New Hardware: This is an excellent opportunity to update your cabinet pulls and knobs. New hardware can significantly enhance the overall refreshed look, complementing your new paint color and adding a touch of modern elegance.
You’ve done it! You just painted your entire cabinet with the best cabinet paint yourself, achieving a professional-quality finish that will make your space feel brand new. Take a moment to appreciate your hard work and the stunning transformation.
Why Spray Paint is the Best Cabinet Paint for Your Home Makeover
Spray paint has undeniably earned its place as a go-to option for cabinet makeovers, and for very good reasons. Its ease of use, minimal hassle, and comfortable application make it an incredibly attractive and inexpensive solution for updating any part of your home. In fact, for achieving an extra-smooth and truly professional finish, many designers and DIY experts have increasingly begun to recommend spray paints over traditional brush and roller methods, especially for cabinetry.
One of the primary advantages of spray paint is its ability to reach every nook and cranny. If your cabinets feature raised panels, intricate details, or detailed trim, spray paint allows you to achieve complete and even coverage without the struggle that often accompanies brushes trying to get into tight corners or rollers leaving textured finishes. With a brush and roller combination, reaching the corners, edges, and recessed areas of a cabinet can be uncomfortable, time-consuming, and often results in an inconsistent finish with visible brush strokes or roller marks. Spray paint, on the other hand, provides a factory-like, glass-smooth finish that is simply hard to replicate by hand.
Beyond the flawless finish, spray paints offer incredible convenience. They are readily available in local hardware stores, come in a vast array of color options, and many varieties are formulated specifically for high-traffic surfaces like cabinets, offering excellent durability and adhesion. This accessibility, combined with the quick drying times typical of spray paints, means your project can be completed in a fraction of the time compared to traditional methods.
Now that you’ve mastered the art of cabinet painting, the possibilities for transforming your home are endless. The next stop could be your kitchen cabinets, breathing new life into the heart of your home. Or perhaps your living room wardrobes could benefit from a fresh, modern hue, or even the bathroom storage cabinets for a spa-like feel. With the techniques you’ve learned and the power of the best cabinet paint in a spray can, you are now equipped to tackle a multitude of home improvement projects. What’s next for you?
