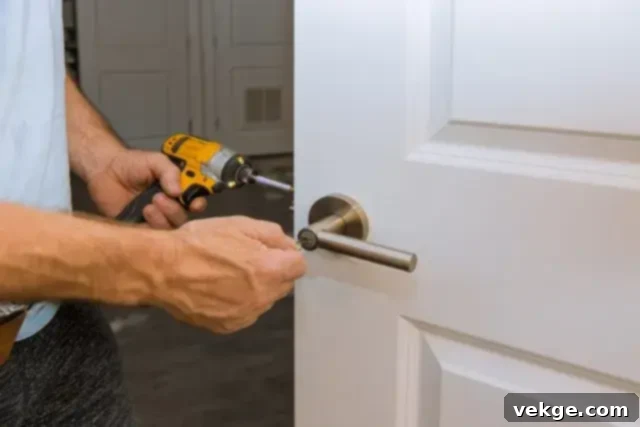
Elevate Your Home: The Ultimate DIY Guide to Door Hardware Installation and Maintenance
Door hardware, often overlooked, plays a pivotal role in both the security and aesthetic appeal of your home. Beyond its functional purpose, the right door hardware can significantly enhance your home’s interior design, offering a subtle yet impactful statement. Whether you’re undertaking a complete home renovation or simply looking to refresh your living spaces, upgrading or maintaining your door hardware is a DIY project that promises substantial returns. This comprehensive guide will walk you through every step, from selecting the perfect pieces to their meticulous installation and ongoing care, ensuring your doors are not just secure but also a testament to your home’s style.
Properly installed and well-maintained door hardware provides peace of mind through enhanced security, while also improving the daily functionality of your doors. This guide is designed to empower homeowners with the knowledge and confidence to tackle this project, transforming old, worn-out mechanisms into stylish, robust, and reliable fixtures. Get ready to give your doors the attention they deserve and elevate your home’s overall ambiance and safety.
The Unseen Benefits of Upgrading Your Door Hardware
While often seen as a minor detail, updating your door hardware offers a multitude of benefits that extend beyond mere aesthetics. Understanding these advantages can further motivate your DIY project and highlight its importance:
- Enhanced Security: Modern door hardware, especially deadbolts and sturdy handle sets, provides superior protection against forced entry. Upgrading to higher-grade locks is a crucial step in safeguarding your home and loved ones.
- Improved Functionality: Old hardware can become stiff, sticky, or difficult to operate. New hardware ensures smooth, effortless operation, making daily interactions with your doors a pleasure rather than a struggle.
- Elevated Aesthetics: Door knobs, levers, and escutcheon plates are like jewelry for your doors. Choosing hardware that complements your home’s architectural style and interior decor can dramatically update its look and feel. From sleek contemporary designs to classic vintage pieces, the right hardware can pull a room together.
- Increased Property Value: Small upgrades, like modern door hardware, contribute to the overall perceived value of your home. It signals attention to detail and a well-maintained property, which can be appealing to potential buyers.
- Energy Efficiency: While not a direct benefit, properly sealing and securing exterior doors with well-fitting hardware can help reduce drafts, contributing indirectly to better insulation and energy savings.
- Accessibility: For some, traditional door knobs can be challenging to operate. Upgrading to levers can significantly improve accessibility for individuals with limited hand strength or mobility issues, making your home more inclusive.
Choosing the Right Door Hardware
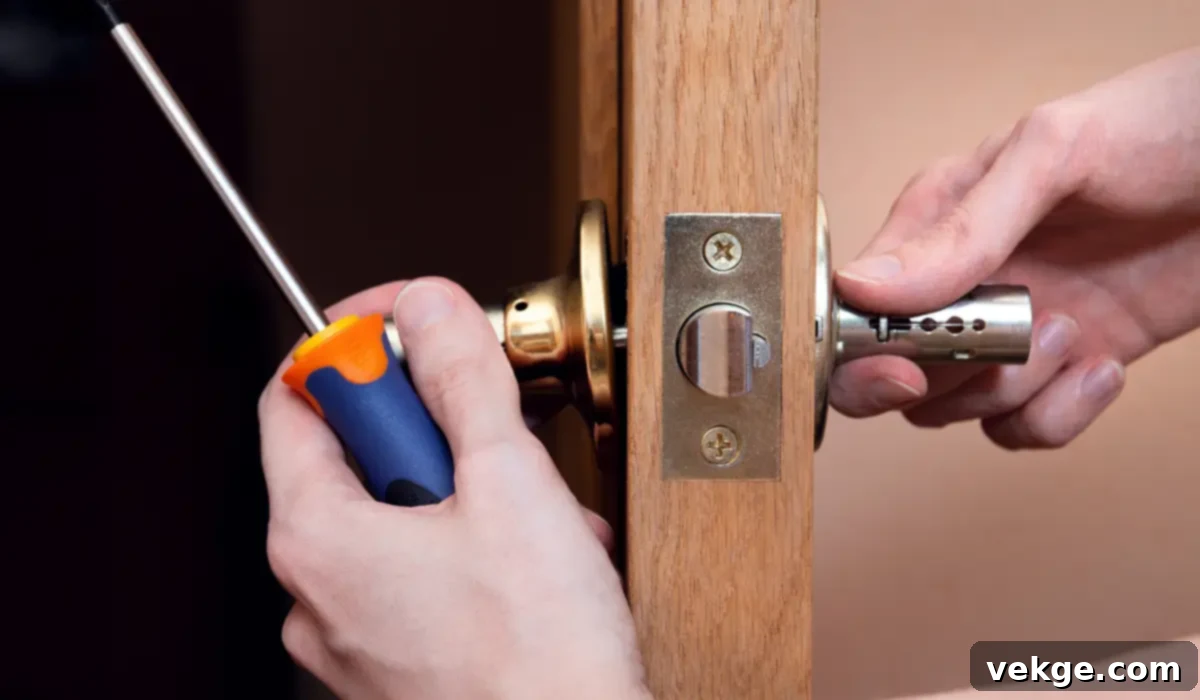
The first and arguably most crucial step in this DIY journey is selecting the appropriate door hardware. This decision isn’t solely about aesthetics; it encompasses functionality, security, and compatibility with your existing doors. Consider these factors carefully:
Style and Finish
The style of your door hardware should harmonize with your home’s architectural theme. Are you aiming for a classic, modern, rustic, or minimalist look? Finishes like brushed nickel, oil-rubbed bronze, polished chrome, matte black, or antique brass can dramatically alter the feel of a room. Aim for consistency across your home, or use varying styles to define different zones.
Types of Door Hardware
Door hardware comes in various forms, each serving a specific purpose:
- Knobs: Traditional and versatile, door knobs are suitable for most interior and exterior doors. They offer a classic appeal and come in numerous designs.
- Levers: Often favored for their ease of use, levers are ideal for those with limited hand strength or for commercial applications. They offer a more contemporary look and are ADA compliant.
- Handlesets: Typically used on entry doors, handlesets combine a stylish exterior handle with an interior thumb latch and a deadbolt for enhanced security and curb appeal.
- Deadbolts: Essential for exterior security, deadbolts offer a robust locking mechanism independent of the door handle. They are available in single-cylinder (key outside, thumb-turn inside) and double-cylinder (key both sides) configurations.
- Privacy Knobs/Levers: Common for bedrooms and bathrooms, these have a locking mechanism but no key, typically operated by a push-button or turn-button inside and an emergency release on the outside.
- Passage Knobs/Levers: Used for closets or hallways, these provide no locking function but keep the door latched shut.
- Dummy Knobs/Levers: These are non-functional and are used on cabinet doors or pantry doors that don’t require a latch, serving purely decorative purposes.
Security Requirements
For exterior doors, security is paramount. Look for hardware with a high ANSI/BHMA grade (Grade 1 being the highest) for superior resistance to forced entry. Consider adding a separate deadbolt even if your handleset includes one. Smart locks, which offer keyless entry, remote access, and integration with home automation systems, are also a popular and secure option for modern homes.
Door Type and Handing
Ensure the hardware is compatible with your door’s thickness and boring. For levers and handlesets, understanding door handing (whether the door is left-handed or right-handed, inswing or outswing) is crucial for correct installation. Most modern hardware is reversible, but it’s always good to double-check the manufacturer’s specifications.
Tools You Will Need
Having the right tools at your disposal makes the installation process smoother, more efficient, and ensures a professional finish. Before you begin, gather these essential items:
- Screwdriver (Phillips and flat-head): You’ll need both types to remove old hardware and install new components. A multi-bit screwdriver can be very convenient.
- Tape Measure: Crucial for verifying backset measurements (distance from the door’s edge to the center of the bore hole) and ensuring proper alignment.
- Drill with various bits: A power drill is indispensable, especially if you need to bore new holes or enlarge existing ones. Ensure you have wood bits of appropriate sizes for pilot holes and a hole saw if you’re installing hardware on a blank door.
- Level: Essential for ensuring strike plates and escutcheons are perfectly straight, contributing to both functionality and aesthetics.
- Pencil for marking: For marking screw hole locations, strike plate outlines, and other measurements before drilling or screwing.
- Chisel (optional but recommended): A sharp chisel is useful for mortising the latch plate and strike plate flush with the door and frame, respectively, for a clean, professional look.
- Utility Knife: Handy for scoring paint around old hardware to prevent chipping when removed, and for precise adjustments.
- Safety Glasses: Always protect your eyes, especially when drilling or chiseling.
Having these tools ready will streamline your installation, allowing you to focus on precision rather than scrambling for the right equipment.
Before You Begin: Safety and Preparation
A successful installation starts with proper preparation and safety awareness. Always wear safety glasses when drilling or chiseling. Read the manufacturer’s instructions for your specific door hardware, as there can be subtle variations in installation steps. Clear your workspace, ensure adequate lighting, and have all your tools organized and within reach.
Step 1: Removing Old Hardware
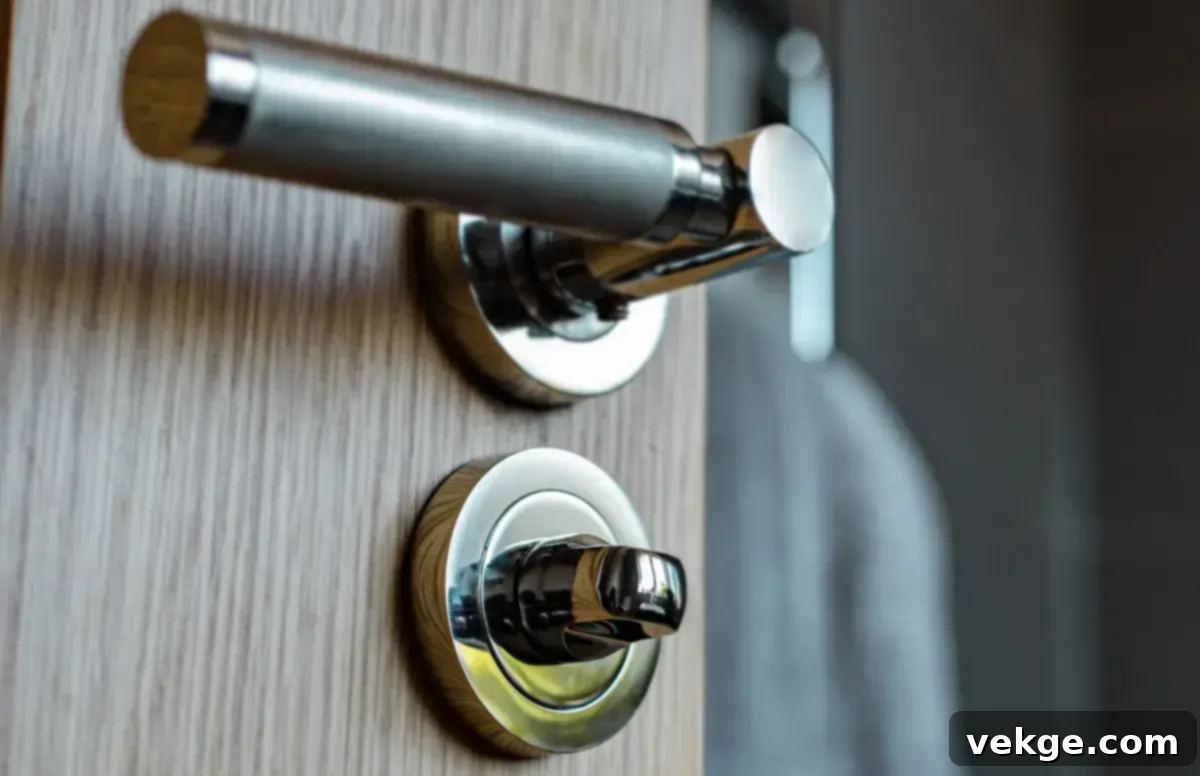
Before you can enjoy your new, sparkling door hardware, the old pieces must be carefully removed. This process is generally straightforward but requires attention to detail:
- Loosen the Screws: Begin by identifying and removing all visible screws on the old door hardware. For most knobs and levers, you’ll find screws on the interior side of the handle or on the escutcheon plate. Use the appropriate Phillips or flat-head screwdriver. Some older designs might have hidden screws or a small detent pin that needs to be depressed before the knob can be pulled off. Don’t forget to remove the screws holding the latch plate on the edge of the door and the strike plate on the door frame.
- Pull Out the Hardware: Once all screws are removed, gently pull the two halves of the knob or lever apart. You may need to wiggle them slightly or apply a little force if they are stuck due to paint or debris. The latch mechanism will then slide out from the edge of the door. Finally, use your screwdriver to carefully pry off the old strike plate from the door frame.
- Clean and Prepare the Surface: With the old hardware gone, thoroughly clean the surface areas on the door and frame. Use a damp cloth to wipe away dust, grime, and any accumulated debris. If there’s old paint build-up or rough edges, gently sand them down. This ensures that your new hardware sits flush and operates smoothly. Inspect the bore holes for any damage or splintering; repair with wood filler if necessary, allowing it to dry completely before proceeding.
Step 2: Installing the New Door Hardware
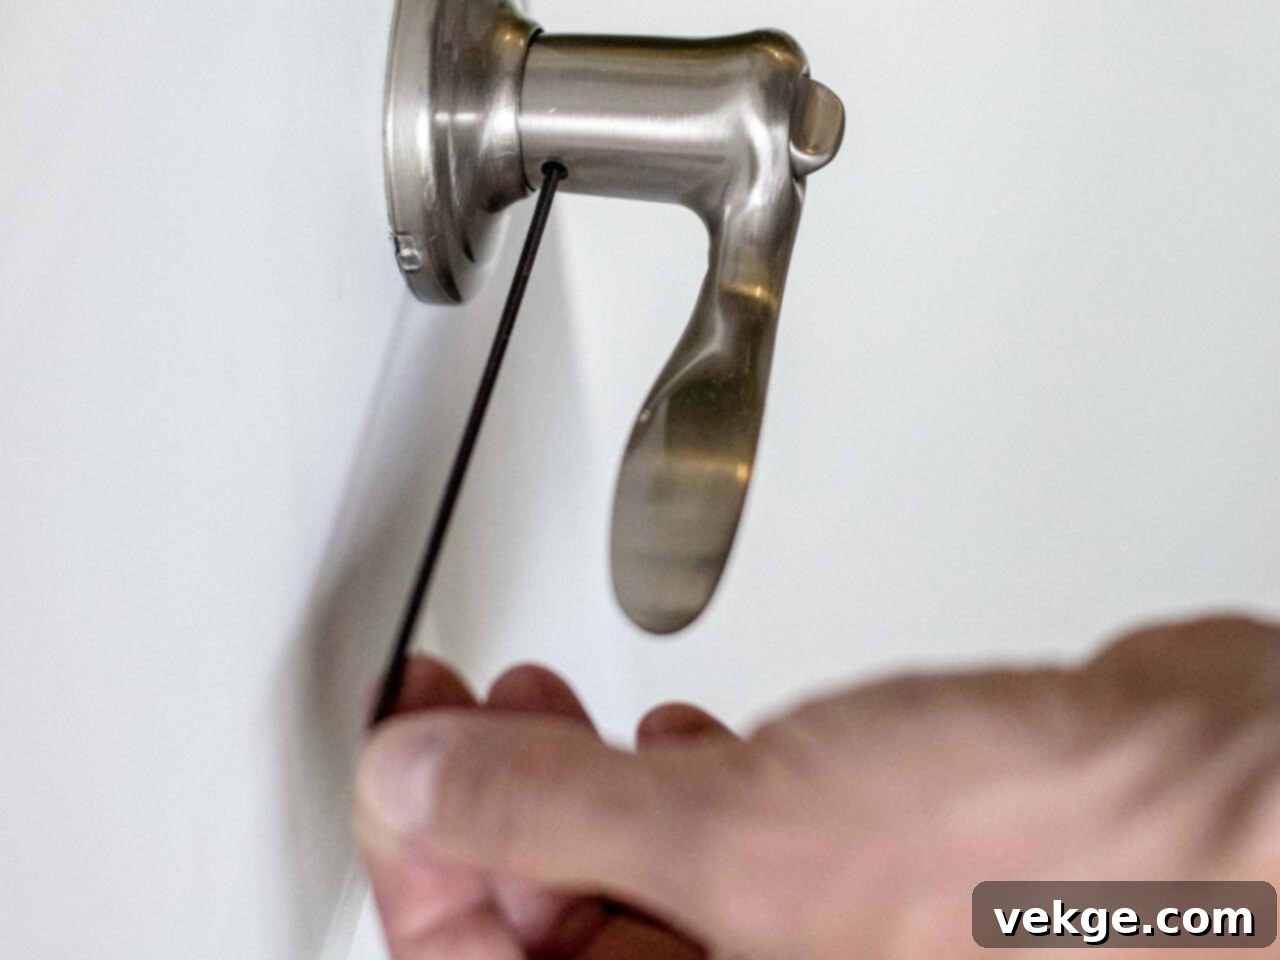
With the old hardware removed and the door prepared, it’s time for the exciting part: installing your new door hardware. Follow these steps meticulously for a perfect fit and seamless operation:
- Insert the Latch Mechanism: Take your new latch mechanism and slide it into the bore hole on the edge of the door. Ensure the tapered side of the latch bolt faces the direction the door closes – this allows it to retract smoothly into the strike plate when the door is shut. The latch plate should sit flush with the edge of the door. If it doesn’t, you might need to use a chisel to slightly deepen the mortise. Once aligned, secure the latch plate with the provided screws, taking care not to overtighten them, which could strip the wood.
- Attach the Handles or Knobs: This step involves connecting the two main components of your handle or knob set.
- For Knobs/Levers: Insert the exterior portion of the knob or lever through the latch mechanism first. On the opposite side of the door, align the interior portion, making sure the spindle (the square or rectangular shaft) engages with the latch mechanism. Many modern designs have mounting posts that align with corresponding holes. Secure the two halves together by inserting and tightening the connecting screws. These screws typically go through the interior escutcheon plate and thread into the exterior plate or posts.
- For Handlesets: For exterior handlesets, you’ll usually install the exterior handle first, ensuring the spindle engages with the latch. Then, install the interior thumb latch and the separate deadbolt mechanism, following the manufacturer’s specific instructions for alignment and screw placement.
Make sure the hardware is straight and level before fully tightening all screws.
- Install the Strike Plate: The strike plate is critical for the proper functioning and security of your door. Position the new strike plate on the door frame so that it perfectly aligns with the latch bolt. Close the door gently to confirm the alignment. Use a pencil to mark the locations for the screw holes. If the new strike plate’s dimensions differ from the old one, you might need to chisel out or fill in parts of the door frame for a flush fit. Once aligned and mortised (if necessary), drill small pilot holes to prevent splitting the wood, then secure the strike plate with the provided screws. Ensure it’s flush with the frame to prevent the latch from sticking or wearing prematurely.
Step 3: Checking and Adjustments
After installation, a thorough check and any necessary adjustments are vital to ensure your new door hardware functions flawlessly and securely. This step prevents future frustrations and maximizes the longevity of your investment.
- Test the Mechanism: Close the door slowly and test the knob or lever. It should turn smoothly, and the latch bolt should fully engage with the strike plate without resistance. Open the door again. The latch bolt should retract effortlessly when the handle is turned. Test any locking mechanisms (privacy buttons, deadbolts) to ensure they engage and disengage freely from both sides.
- Adjust as Necessary: If the hardware feels stiff, the latch doesn’t fully catch, or the door doesn’t close securely, small adjustments can usually resolve the issue.
- Alignment Issues: If the latch and strike plate aren’t perfectly aligned, the latch might bind. Loosen the strike plate screws slightly and try to adjust its position until the latch engages smoothly. You might need to move it up, down, or slightly inward/outward. Mark the new position, drill new pilot holes if needed, and re-secure. Sometimes, chiseling a tiny bit more from the strike plate recess can help.
- Stiffness: If the knob or lever is stiff, check that the connecting screws are not overtightened. Loosening them a quarter turn can sometimes free up the mechanism. Also, ensure no wires or components are pinched within the assembly.
- Door Sagging: If the door itself has sagged over time, this can cause alignment issues. While not a hardware issue, adjusting door hinges can sometimes correct this, bringing the latch back into proper alignment with the strike plate.
Repeat testing after each adjustment until the door hardware operates perfectly.
Maintaining Your Door Hardware
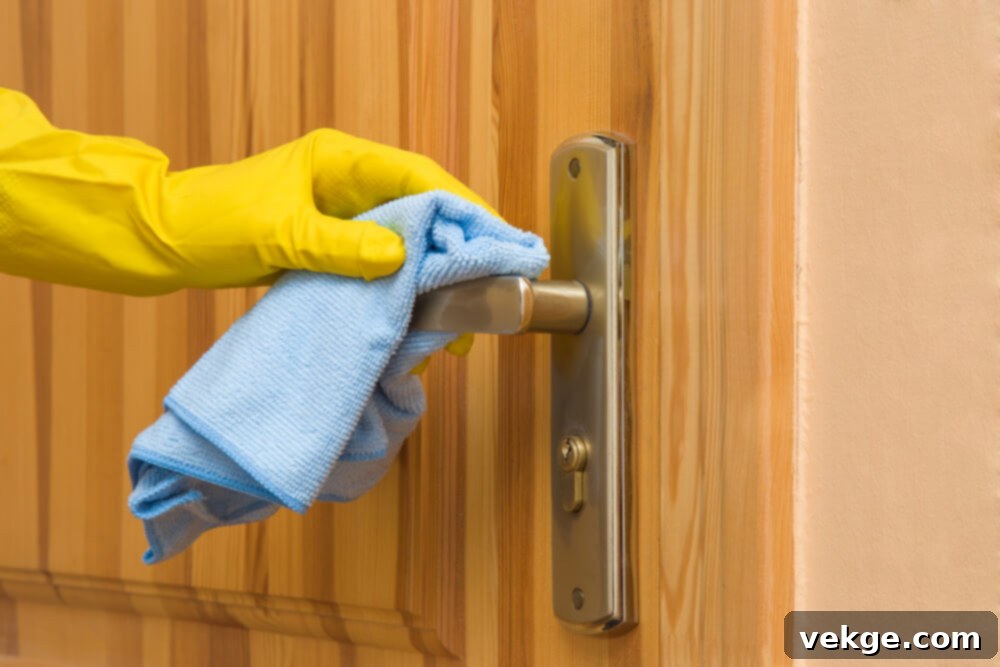
Just like any other component of your home, regular maintenance ensures the longevity, optimal performance, and continued aesthetic appeal of your door hardware. A little care goes a long way in preventing wear and tear, and keeping your doors functioning smoothly and securely for years.
- Lubricate the Lock Mechanism: Annually, or whenever you notice a lock mechanism becoming stiff or difficult to turn, apply a graphite-based lubricant (or a silicone-based spray for some types) to the keyway and other moving parts. Avoid using oil-based lubricants, as they can attract dust and grime, eventually leading to more severe sticking. Insert the key a few times after lubricating to work the product through the mechanism.
- Tighten Screws Periodically: Over time, repeated use and the natural movement of doors can cause screws to loosen. Periodically check all visible screws on your door knobs, levers, latch plates, and strike plates. Gently tighten any that feel loose. This prevents wobbling, ensures components stay aligned, and maintains security.
- Clean Regularly: The finish of your door hardware can be dulled or damaged by dirt, hand oils, and harsh cleaning agents. Wipe down your door hardware regularly with a soft, damp cloth and a mild soap solution (like dish soap). For specific finishes:
- Polished Brass/Chrome: Can be polished with a non-abrasive metal polish to restore shine.
- Oil-Rubbed Bronze/Matte Black: Avoid harsh chemicals; a damp cloth is usually sufficient. These finishes often develop a unique patina over time, which is part of their charm.
- Brushed Nickel/Satin Chrome: Clean with mild soap and water, then dry thoroughly to prevent water spots.
Always avoid abrasive cleaners, scouring pads, or solvents, as these can strip protective coatings and damage the finish.
- Address Minor Issues Promptly: Don’t wait for a small issue to become a major problem. If you hear squeaking, feel excessive play in the handle, or notice minor sticking, address it immediately. These early signs can often be resolved with lubrication or screw tightening before they escalate.
When to Call a Professional
While many door hardware installations and maintenance tasks are well within the scope of a DIY enthusiast, there are situations where calling a professional locksmith or handyman is the wisest course of action:
- New Door Installation (No Pre-drilled Holes): If you’re installing hardware on a brand new, undrilled door, precise drilling is required for the bore holes and latch mortise. If you’re not confident with these measurements and tools, a professional can ensure perfect alignment and a clean installation.
- Complex Security Systems: For advanced smart locks, integrated access control systems, or high-security commercial-grade hardware, professional installation ensures all features are properly configured and operational.
- Door or Frame Damage: If you encounter significant damage to the door itself (e.g., splintered wood around the bore hole that can’t be easily repaired with filler) or structural issues with the door frame, a professional can assess and repair the damage correctly before hardware installation.
- Persistent Malfunctions: If, after your best efforts, the hardware still isn’t functioning smoothly, or if a lock mechanism repeatedly jams, a professional can diagnose and fix the underlying problem efficiently.
- Safety Concerns: If at any point you feel unsafe or unsure about the process, especially when dealing with power tools or intricate mechanisms, don’t hesitate to seek expert help.
Conclusion
Installing and maintaining your door hardware is a rewarding DIY project that significantly impacts both the functionality and aesthetic appeal of your home. By carefully selecting the right hardware, preparing your workspace, and following these step-by-step instructions, you can achieve a professional-quality installation that enhances your home’s security and style.
Remember, the key to a successful outcome lies in precision, patience, and attention to detail. From the initial removal of old components to the final adjustments and ongoing maintenance, each step contributes to the longevity and smooth operation of your doors. Embrace this opportunity to personalize your living spaces, knowing that your efforts will result in doors that not only look great but also provide reliable security and effortless functionality for many years to come. With the right tools and this comprehensive guide, you’re well-equipped to transform your home, one door at a time.
