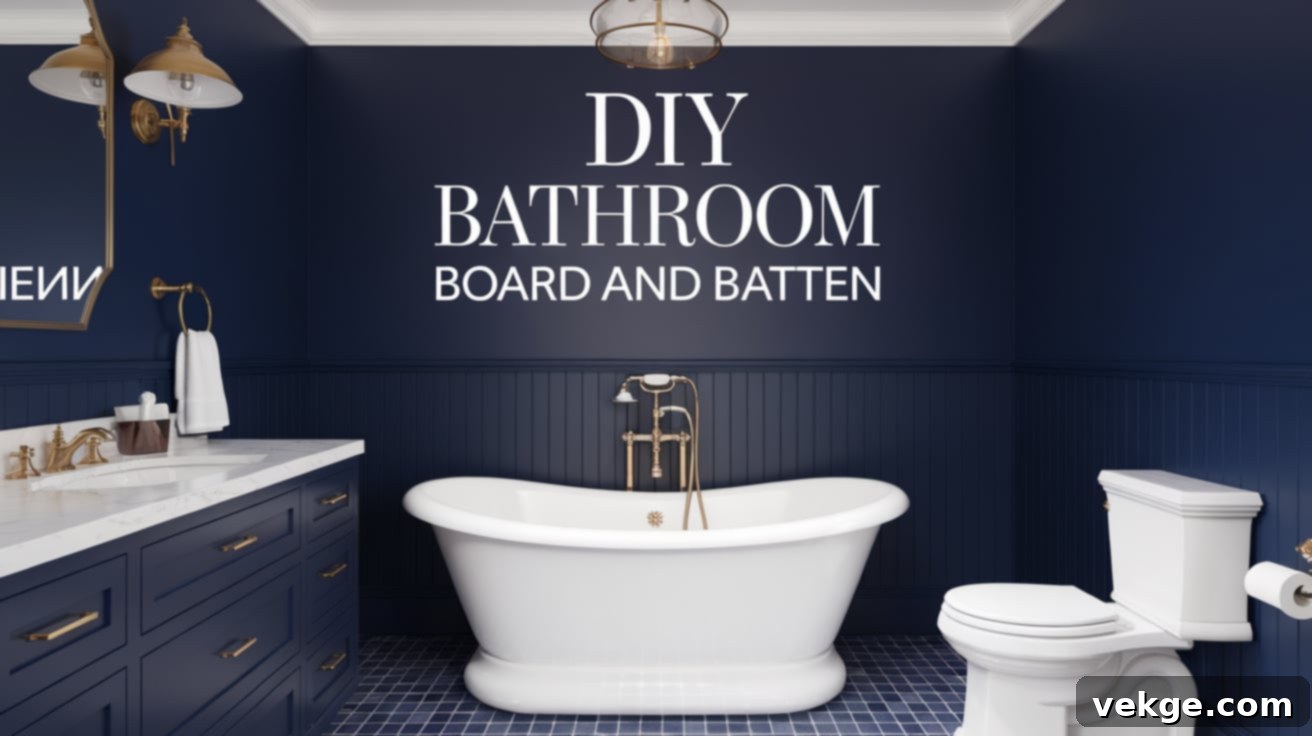
Transform Your Bathroom: The Ultimate DIY Guide to Installing Board and Batten
Are you looking to revitalize a plain, uninspiring bathroom without breaking the bank? In this comprehensive guide, I’ll walk you through the simple yet impactful process of adding board and batten to your bathroom walls. This popular wall treatment is a game-changer, transforming ordinary spaces into stunning, architecturally rich rooms that look professionally designed. I personally applied this exact method in my guest bathroom makeover, achieving a high-end aesthetic for less than $200 in materials and completing the entire project over a single weekend. Let’s dive in and discover how you can achieve similar results, step by step.
What is Board and Batten in Bathroom Design?
Board and batten is a timeless and versatile wall trim technique that infuses character and depth into otherwise flat walls. Originating from exterior siding, it has beautifully transitioned into interior design, becoming a favorite for homeowners seeking to add architectural interest. When I first encountered it, I was captivated by its ability to elevate basic bathroom walls into something truly special and inviting.
This design utilizes two primary components:
- Boards: These are wide, flat pieces typically installed directly against the wall. They form the primary, recessed panels of the design.
- Battens: These are narrow strips of wood or MDF that are applied over the seams where the boards meet, or at specific intervals on top of a flat wall to create a paneled effect.
Together, this arrangement creates a distinctive pattern of squares or rectangles, adding a tailored and sophisticated look to any room. In bathrooms, board and batten is frequently installed halfway up the wall, creating a classic wainscoting effect. However, its versatility allows for full-height installations extending all the way to the ceiling, offering a dramatic and cohesive statement. You’ll often see it painted in crisp whites, calming grays, or even bold accent colors, all complementing various interior styles. The most appealing aspect? Its installation is surprisingly straightforward, making it an accessible project for most DIY enthusiasts.
Benefits of Using Board and Batten in Bathrooms
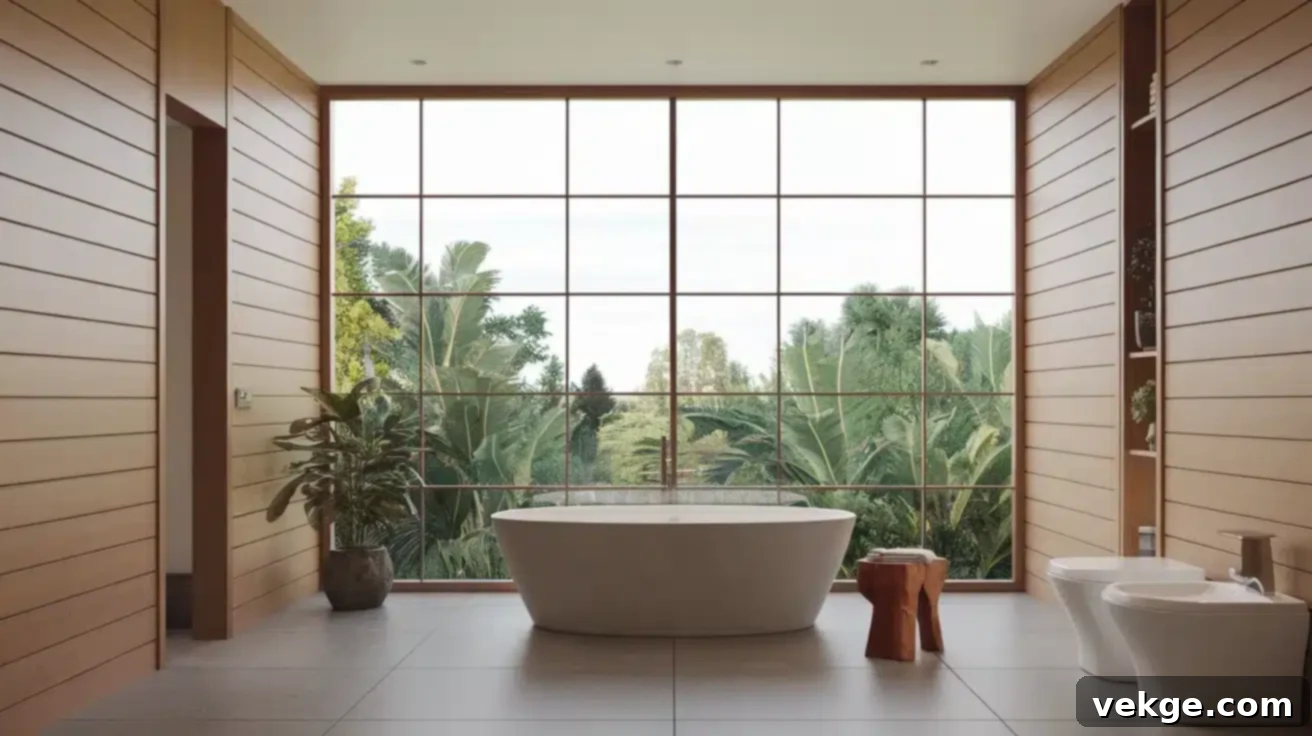
1. Enhanced Aesthetic Appeal
Adding board and batten to my bathroom walls made an immense difference, instantly elevating the space’s visual appeal. The clean lines and structured patterns transformed my previously plain walls into a captivating focal point. This simple addition introduces significant depth, texture, and visual interest that paint alone simply cannot achieve. It provides a sophisticated backdrop that complements various decor styles, from modern minimalist to classic farmhouse, making your bathroom feel more intentional and polished.
2. Superior Wall Protection
In my experience, board and batten proves exceptionally functional in bathrooms, providing a durable shield against the daily wear and tear that these high-traffic, moisture-prone areas endure. The robust wood or MDF trim creates a protective barrier, effectively guarding the lower half of your walls from splashes, bumps, and scuffs. This protective layer significantly helps in preventing water damage and keeps your walls looking fresh and pristine for much longer compared to standard painted drywall, making it a practical choice for long-term durability.
3. Unmatched Versatility in Design
One of the aspects I appreciate most about board and batten is its incredible design versatility. It seamlessly integrates with virtually any bathroom aesthetic. You can opt for classic white for a timeless, clean, and airy look, or experiment with bold, contemporary colors for a modern flair. The design possibilities extend to the dimensions of the panels as well – you can create wide, grand panels or narrow, intricate patterns, and adjust the height to suit your room’s proportions. This adaptability ensures that your board and batten treatment perfectly reflects your personal style and complements your home’s overall design.
4. Potential to Increase Home Value
Beyond aesthetics and protection, adding custom architectural details like board and batten can subtly increase the perceived value of your home. Potential buyers are often drawn to homes with unique, upgraded features, and a well-executed board and batten installation can signal attention to detail and quality, making your bathroom stand out in the market.
How Much Does It Cost to Install Board and Batten?
One of the most appealing aspects of a DIY board and batten project is its affordability. Let me break down the costs based on my own 8×10 bathroom project. Keep in mind that prices can fluctuate depending on your bathroom’s size, material choices, and local supplier rates, but here’s a general expenditure guideline:
Essential Materials (Approximate Costs):
- MDF Boards (1×4): $45 – $60 (MDF is highly recommended for bathrooms due to its stability and resistance to warping in humid conditions, and it’s more cost-effective than solid wood.)
- MDF Battens (1×2): $30 – $40
- Construction Adhesive: $8 – $12 (Look for moisture-resistant options for bathroom applications.)
- Caulk: $5 – $10 (Crucial for sealing gaps and ensuring a smooth, professional finish.)
- Paintable Wood Filler/Spackle: $8 – $12
- High-Quality Paint and Primer (for trim and walls): $35 – $50 (Choosing semi-gloss or satin paint offers durability and easy cleaning in bathrooms.)
- Screws and Brad Nails: $10 – $15
Optional Tools & Supplies (if not already owned):
- Miter Saw Rental: $40/day (for precise cuts, though a hand saw with a miter box can work for smaller projects.)
- Stud Finder: $15 – $25 (Essential for securely attaching boards to studs.)
- Level (2-4 ft): $10 – $20 (Accuracy is key for a professional look.)
- Paint Brushes/Rollers: $20 – $30
- Brad Nailer (can often be rented or purchased affordably for DIY use): $50 – $100 (if buying)
DIY vs. Professional Installation:
- DIY Total (materials only): Approximately $150 – $200
- Professional Installation: Expect to pay $500 – $800+ for the same bathroom size, as this includes labor, expertise, and overheads.
By tackling this project myself, I saved nearly $600. The cost can be further reduced if you already own some of the necessary tools or by scouting for sales and good deals at your local hardware store. This makes board and batten an incredibly cost-effective way to achieve a high-impact renovation.
Supplies Required for Your Board and Batten Project
Before you begin, gather all your necessary tools and materials. Having everything ready will ensure a smooth and efficient installation process.
| Tools | Materials |
|---|---|
| Measuring tape | MDF boards (3.5″ & 2.5″ wide recommended, or similar) |
| Level (long and short for accuracy) | Construction Adhesive (e.g., Total Tech, Liquid Nails) |
| Sandpaper (medium and fine grit) | Baseboard trim (existing or new) |
| Brad nailer (with appropriate length nails) | Spackle or wood filler |
| Paintbrush and small foam roller | Paint (primer, preferred wall color, and trim color) |
| Caulking gun | Waterproof Sealant (for moisture-prone areas) |
| Utility knife (optional, for cutting caulk tubes or tape) | Painter’s tape |
| Miter saw or hand saw with miter box | Stud finder |
| Safety glasses | Rags or cloths |
How to Install Board and Batten in Your Bathroom: A Step-by-Step Guide
Follow these steps carefully to achieve a flawless and durable board and batten installation in your bathroom.
Step 1: Prepare the Walls Thoroughly
- Clean and Repair: Begin by thoroughly cleaning your walls with a mild soap and water solution. Allow them to dry completely. Next, fill any existing holes, dents, or imperfections using spackle or wood filler. Ensure these repairs are completely dry before proceeding.
- Sand for Smoothness: Lightly sand the entire wall surface, paying extra attention to the repaired areas. A smooth surface is crucial for both paint adhesion and the seamless installation of your battens.
- Paint the Upper Section: Before installing any trim, paint the upper section of the wall above where your board and batten will be. Choose your desired color (e.g., a light gray). Apply two coats for even, opaque coverage, and let it dry completely according to paint manufacturer instructions.
- Mark Your Layout: Determine the desired height for your board and batten. A common height is around 56 inches from the floor, but you can adjust this to suit your bathroom’s proportions. Use a pencil and a level to draw a crisp, level line around the entire room at this height. This will serve as your guide.
Step 2: Install the Baseboard Trim
- Secure the Baseboard: If you are installing new baseboard trim, or using an existing one, ensure it is clean and ready. Apply a generous bead of strong construction adhesive (e.g., Total Tech, which offers excellent moisture resistance) to the back of the baseboard.
- Affix and Fasten: Press the baseboard firmly against the wall, aligning it perfectly with the floor. Use a few brad nails, angled slightly downwards, to secure it in place. The nails will hold it while the adhesive cures, typically taking about an hour to set, but allow more time for a full cure.
Step 3: Prepare and Attach Horizontal Battens
- Cut and Sand: For the top horizontal trim piece, cut your chosen underlayment strips (e.g., 3.5 inches wide MDF) to length. Use a miter saw for clean, precise cuts, especially at corners. Lightly sand the edges of each strip to remove any roughness or burrs, ensuring a smooth finish for painting.
- Apply and Level: Apply construction adhesive to the back of these horizontal strips. Carefully align them with the marked line from Step 1, ensuring they are perfectly level using your spirit level.
- Secure with Nails: Once aligned, secure the strips with brad nails, spaced every 12-16 inches and into studs where possible, to hold them firmly while the adhesive dries.
Step 4: Attach Vertical Battens for the Pattern
- Measure and Cut Verticals: Measure the exact distance between your baseboard and the newly installed top horizontal batten. Cut your narrower pre-cut strips (e.g., 2.5 inches wide MDF) to this length. Again, sand the edges.
- Plan Your Spacing: To achieve a balanced look, start by marking the center of each wall section. Then, measure outwards from the center, marking positions for uniform spacing (e.g., 9-12 inches apart). Use your level to draw vertical lines for each batten to ensure straight placement. Consistent spacing is crucial for a professional finish.
- Attach Vertical Strips: Apply construction adhesive to the back of each vertical strip. Carefully align each batten with your marked vertical lines, pressing firmly onto the wall. Double-check for plumb (perfect vertical alignment) with your level before securing with brad nails. Repeat this process for all vertical battens.
Step 5: Fill and Sand Gaps for a Seamless Look
- Fill Nail Holes and Seams: Once all battens are installed and the adhesive has dried, meticulously fill all nail holes with wood filler or spackle. Also, apply a thin bead of caulk to any small gaps where the battens meet the horizontal trim pieces or the wall.
- Smooth the Surface: Allow the filler and caulk to dry completely (as per product instructions). Then, sand all filled and caulked areas smoothly. The goal is to create a perfectly seamless transition between the battens and the wall, making it look like one continuous piece of trim.
Step 6: Paint and Seal for Durability
- Prime (Optional but Recommended): If using raw MDF, apply a coat of primer formulated for wood and MDF, especially in a bathroom environment. This helps with paint adhesion and provides an extra layer of moisture protection.
- Paint the Batten Area: Paint the entire board and batten area (including the lower wall and all trim pieces) with your chosen white (or desired trim) paint. Use a high-quality paintbrush for corners and edges to achieve crisp lines, and a small foam roller for flat surfaces to minimize brush marks. Apply two thin coats for uniform, durable coverage.
- Seal Gaps: Once the paint is fully dry, apply a bead of waterproof sealant along all edges where the board and batten meets the floor, the upper painted wall, and any corners. Smooth the sealant with a wet finger or a caulk tool for a polished, watertight finish. This step is critical for preventing moisture penetration in the bathroom.
For a more detailed visual tutorial on how to install bathroom board and batten, check out the video below:
Essential Tips for Painting Board and Batten in the Bathroom
Achieving a professional paint finish is key to making your board and batten look its best, especially in a moisture-rich environment like a bathroom. Follow these tips for optimal results:
- Pre-Paint Cleaning: Always clean all surfaces with a mild soap and water solution before painting to remove dust, grease, or grime that could affect paint adhesion.
- Fill and Sand Meticulously: Don’t skip filling nail holes with wood filler and sanding them smooth. This is crucial for a flawless, factory-like finish.
- Edge Preparation: Lightly sand all edges of the boards and battens. This helps the paint adhere better and creates a smoother, more refined appearance.
- Use a High-Quality Primer: Apply a good quality primer specifically designed for wood and for use in high-moisture areas. This prevents tannin bleed, improves paint adhesion, and adds a layer of moisture resistance.
- Caulk Before Painting: Apply a thin bead of paintable caulk along all seams where the battens meet the wall and each other. This seals small gaps and creates a seamless, built-in look before any paint is applied.
- Choose the Right Paint Finish: Opt for a semi-gloss or satin finish paint. These sheens are highly durable, easy to clean, and offer excellent moisture resistance, making them ideal for bathrooms.
- Strategic Painting Order: Paint the recessed wall sections (the “board” areas) first, using a brush or a small roller. Then, move to the trim pieces (the “battens” and baseboard) for a crisp finish.
- Utilize Small Foam Rollers: For the flat surfaces of the boards and battens, use a high-density foam roller. This helps achieve a smooth, even coat without visible brush marks.
- Keep a Detail Brush Handy: A small angled brush is indispensable for painting corners, tight spots, and along the edges for precise lines.
- Apply Thin, Even Coats: Avoid the temptation to apply thick coats. Thin, even layers dry faster and prevent drips, runs, and an uneven finish.
- Allow Ample Drying Time: Ensure each coat of paint dries fully in a well-ventilated space before applying the next. This prevents tackiness and ensures proper curing.
- Consider a Final Protective Coat: For bathrooms with particularly high moisture, an additional clear protective topcoat (like a polyurethane meant for painted surfaces) can add extra durability and moisture resistance.
- Cure Time: Allow at least 24-48 hours after the final coat before using the bathroom normally to ensure the paint has adequately cured and hardened.
Trending Board and Batten Style Ideas for Your Bathroom
Board and batten is incredibly versatile, adapting to a multitude of design aesthetics. Here are some trending ideas to inspire your bathroom transformation:
1. Farmhouse Bathroom Board and Batten
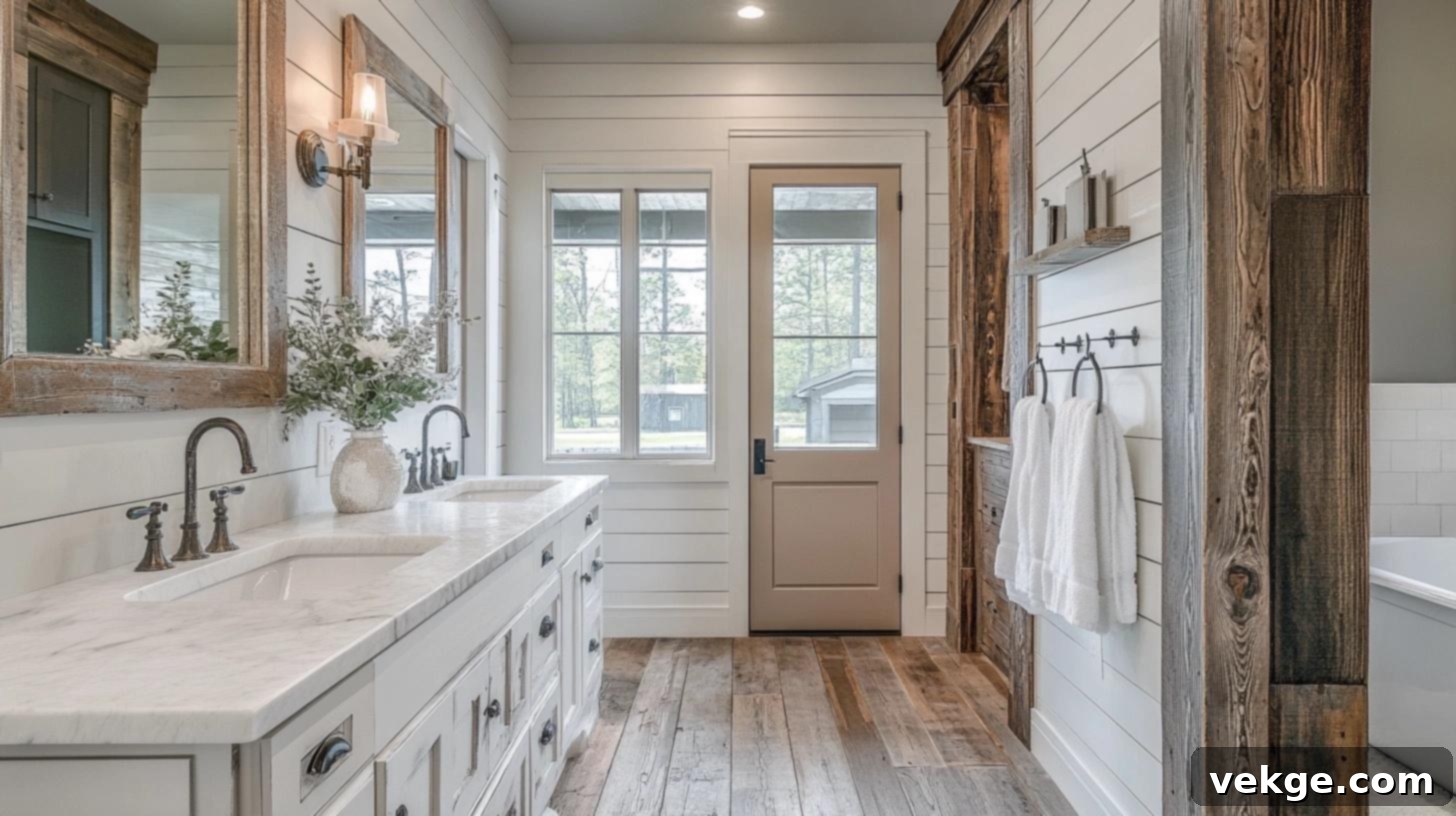
- Design Features: Characterized by rustic finishes, distressed wood textures, or a combination of horizontal battens with vertical panels to evoke a charming, old-world feel.
- Color Ideas: Embrace classic farmhouse palettes with warm whites, creamy beiges, or muted light grays to create a cozy, country-inspired atmosphere.
- Applications: This style pairs beautifully with shiplap for an authentic farmhouse bathroom. Consider a half-wall application for a more traditional look.
- Enhancements: Integrate rustic wooden shelves, vintage-inspired hooks, or distressed metal accents for added storage and decorative charm.
- DIY Friendly? Absolutely! The forgiving nature of this style and its straightforward techniques make it ideal for DIY enthusiasts.
2. Modern Bathroom Board and Batten
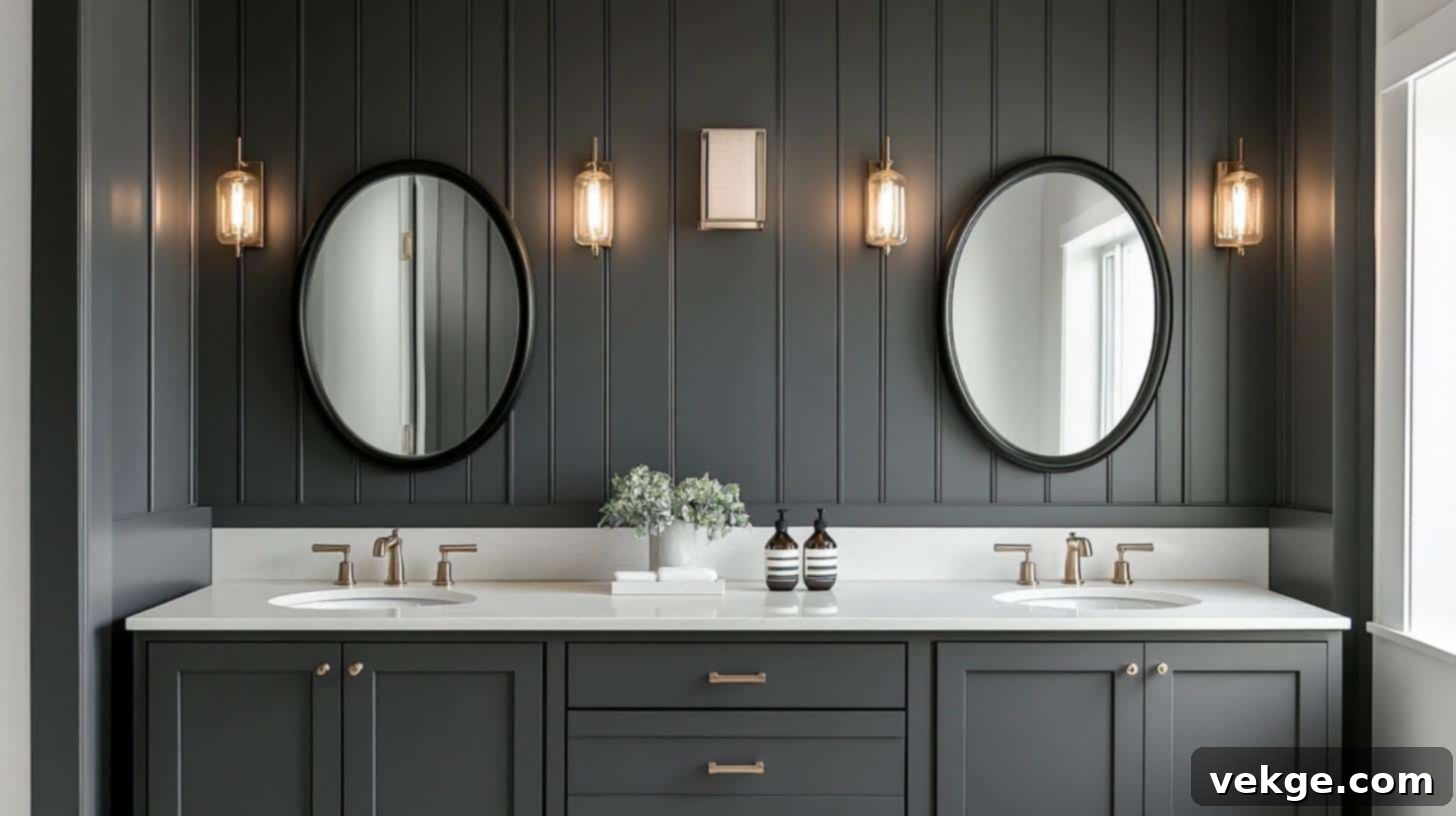
- Design Features: Focuses on wider or asymmetrically spaced battens, often with a sleek, minimalistic design. Clean lines and sharp angles are paramount.
- Color Ideas: Opt for bold, sophisticated tones such as charcoal gray, deep black, or rich navy, frequently paired with contemporary light fixtures and monochromatic schemes.
- Applications: A full-height board and batten installation can create a dramatic accent wall, particularly effective in modern bathrooms striving for a high-impact statement.
- Enhancements: Complement the look with frameless mirrors, metallic accents (like matte black or brushed nickel), and minimalist hardware for a chic, refined aesthetic.
- DIY Friendly? Moderately; this style demands precise alignment and meticulous cuts to achieve its characteristic clean and sharp finish.
3. Textured Bathroom Board and Batten
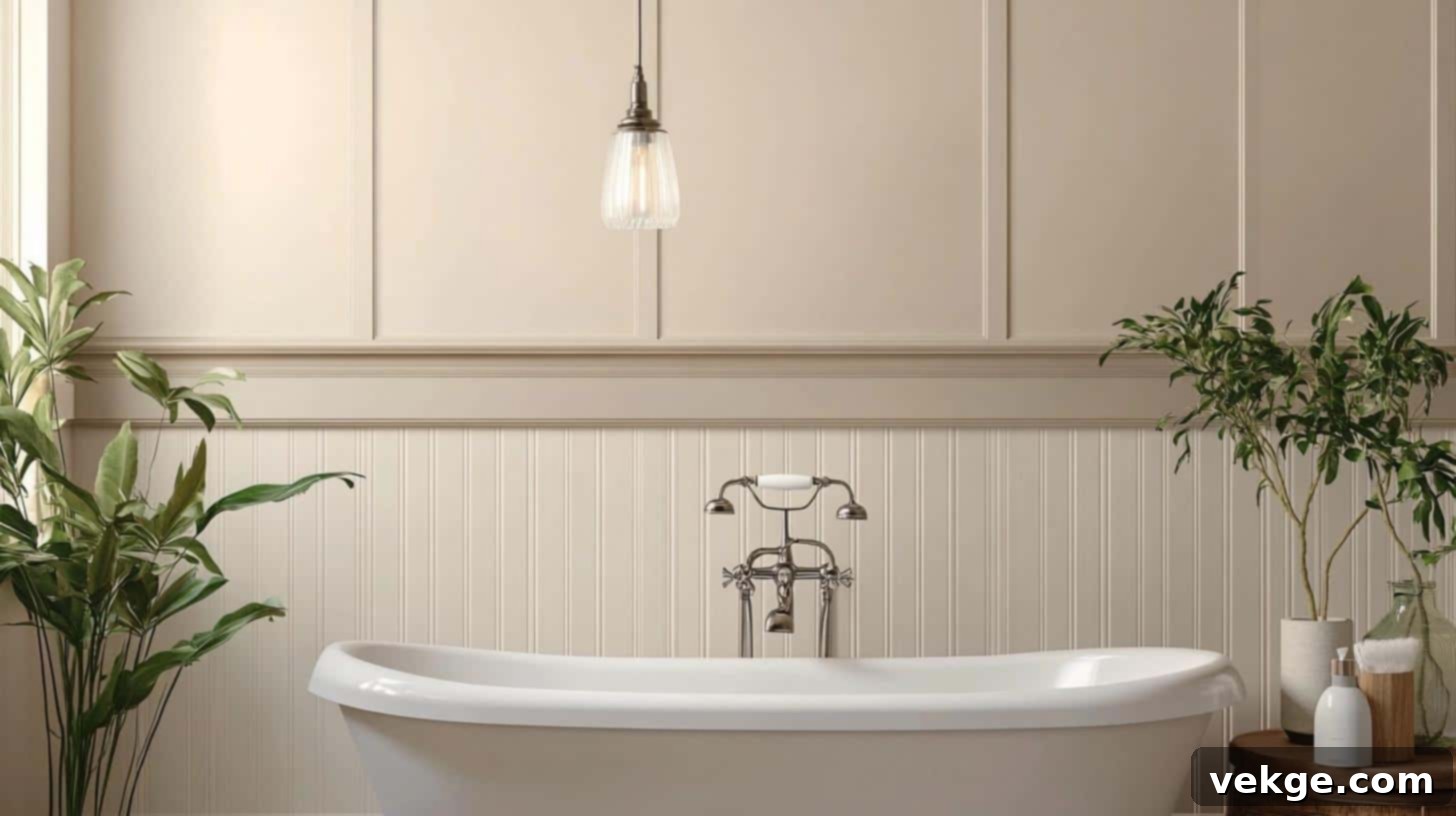
- Design Features: Involves battens with added grooves, subtle patterns, or even a textured wallpaper applied in the recessed areas to introduce depth and visual intrigue.
- Color Ideas: Utilize neutral matte tones like warm beige, sophisticated taupe, or subtle muted jewel colors to allow the texture to shine through without overpowering.
- Applications: This style is particularly effective in bathrooms with high ceilings, where it can create a stunning focal wall that draws the eye upward.
- Enhancements: Incorporate textured wallpaper in the recessed panels for an elevated level of sophistication and tactile interest.
- DIY Friendly? Yes, especially if you opt for pre-textured materials or use basic tools to create simple grooves.
4. Two-Tone Bathroom Board and Batten
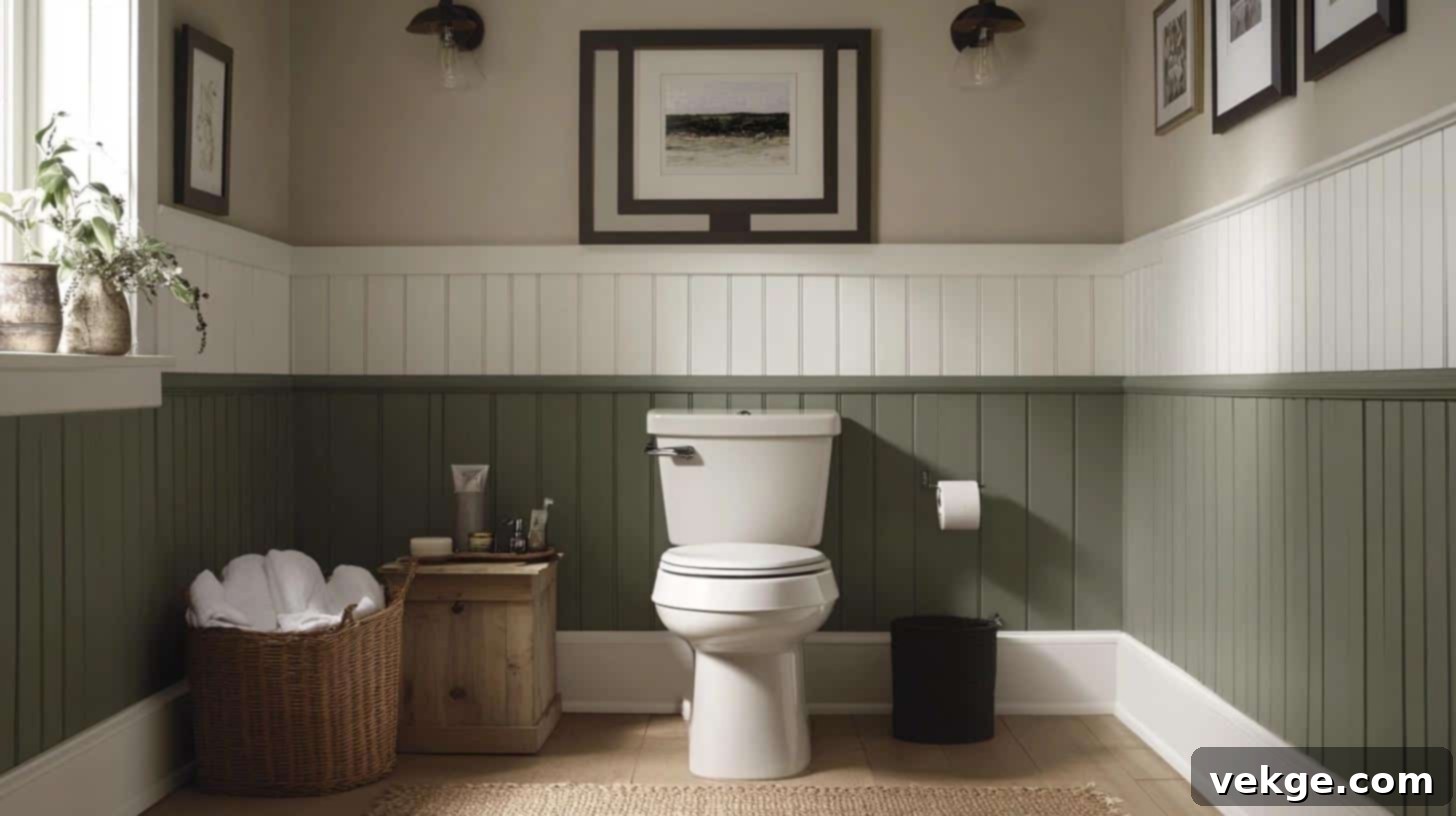
- Design Features: A striking combination where a bold upper wall color is paired with a neutral (often white or light gray) board and batten below, creating a distinct visual break.
- Color Ideas: Experiment with high-contrast pairings like classic navy and crisp white, earthy green and warm beige, or sophisticated black and light gray for dramatic effect.
- Applications: Ideal for half-wall designs, as it effectively breaks up dark colors in smaller bathrooms, preventing them from feeling enclosed, and adds a dynamic element.
- Enhancements: Frame the division with eye-catching artwork or install statement lighting that complements both color zones for extra flair.
- DIY Friendly? Yes, this style is quite straightforward, requiring careful masking for clean paint lines and standard batten installation.
5. Corner Feature Board and Batten
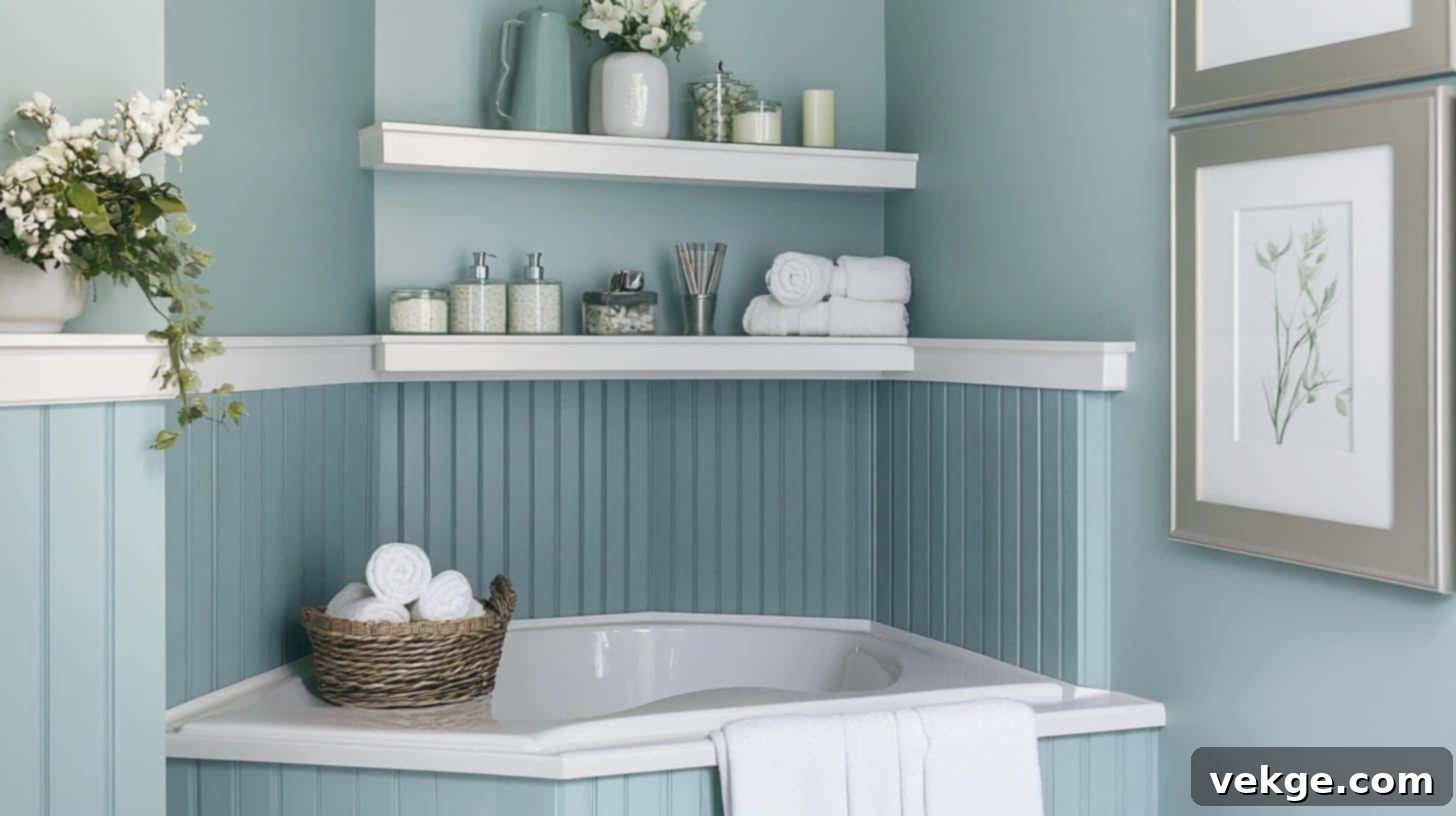
- Design Features: The board and batten design extends seamlessly around corners, creating a continuous, cohesive, and architectural appearance that wraps the room.
- Color Ideas: Choose complementary hues for a subtle flow or a single unifying tone to enhance the continuous effect.
- Applications: Works exceptionally well in bathrooms with alcoves, built-in features, or designs where you want a truly wraparound, integrated look.
- Enhancements: Add integrated shelves or corner mirrors within the batten framework to emphasize the wrapped design and provide functional elegance.
- DIY Friendly? Moderately; it requires precise measurement and careful alignment at corners to maintain continuity and a professional finish.
6. Mid-Century Modern Bathroom Board and Batten
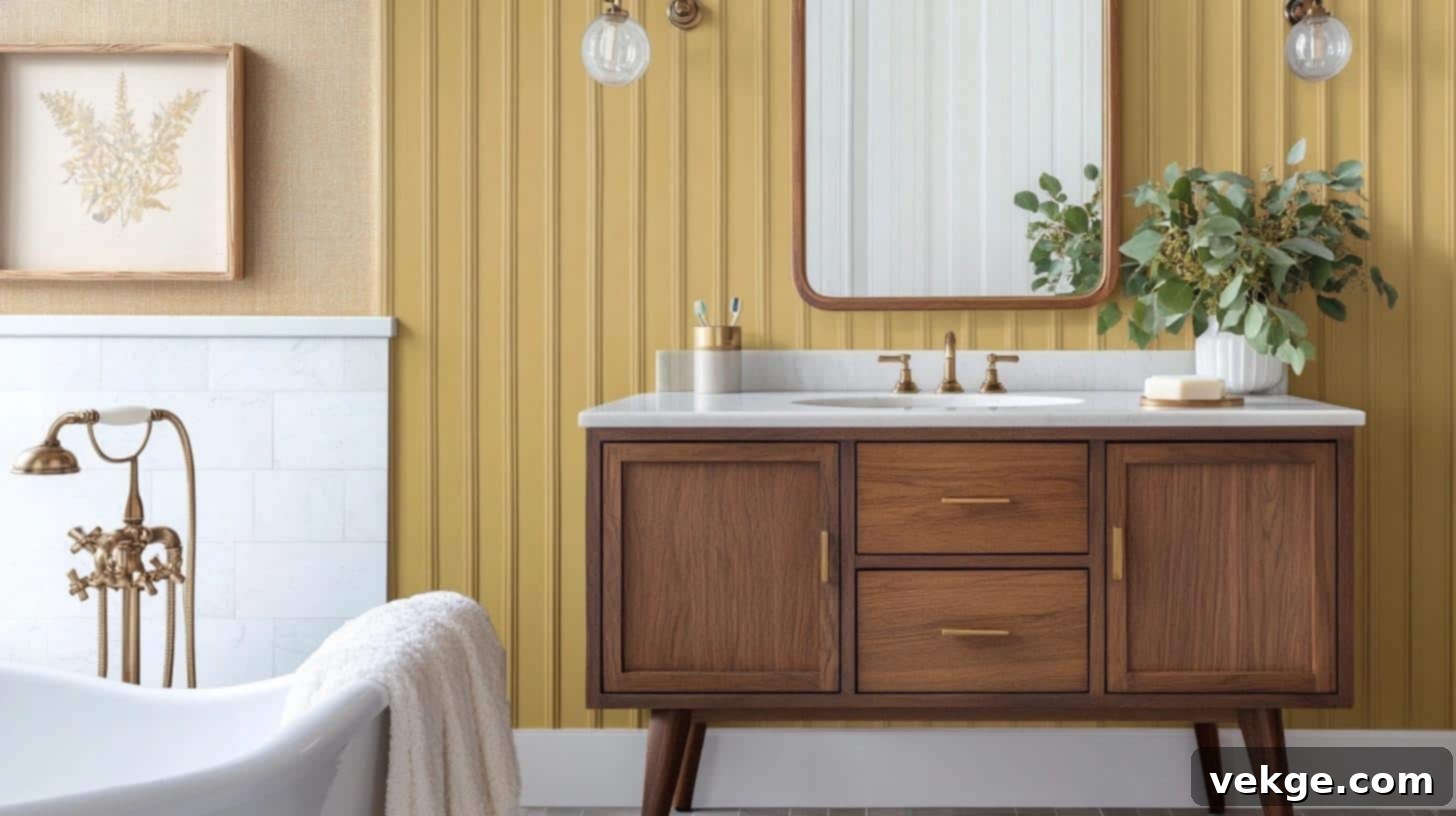
- Design Features: Characterized by thin, sleek battens arranged in geometric or vertical patterns, often with an emphasis on wood tones or simple, uncluttered lines.
- Color Ideas: Embrace a retro palette with mustard yellow, olive green, warm walnut brown, or teal, reflecting the iconic colors of the era.
- Applications: Perfect for creating a distinctive accent wall in a small bathroom or powder room, adding a vintage yet fresh vibe.
- Enhancements: Pair with authentic mid-century modern fixtures, brass or gold hardware, and perhaps a starburst mirror to complete the look.
- DIY Friendly? Yes, provided you measure carefully for symmetrical spacing and precise cuts to achieve the characteristic clean lines.
7. Craftsman Style Bathroom Board and Batten
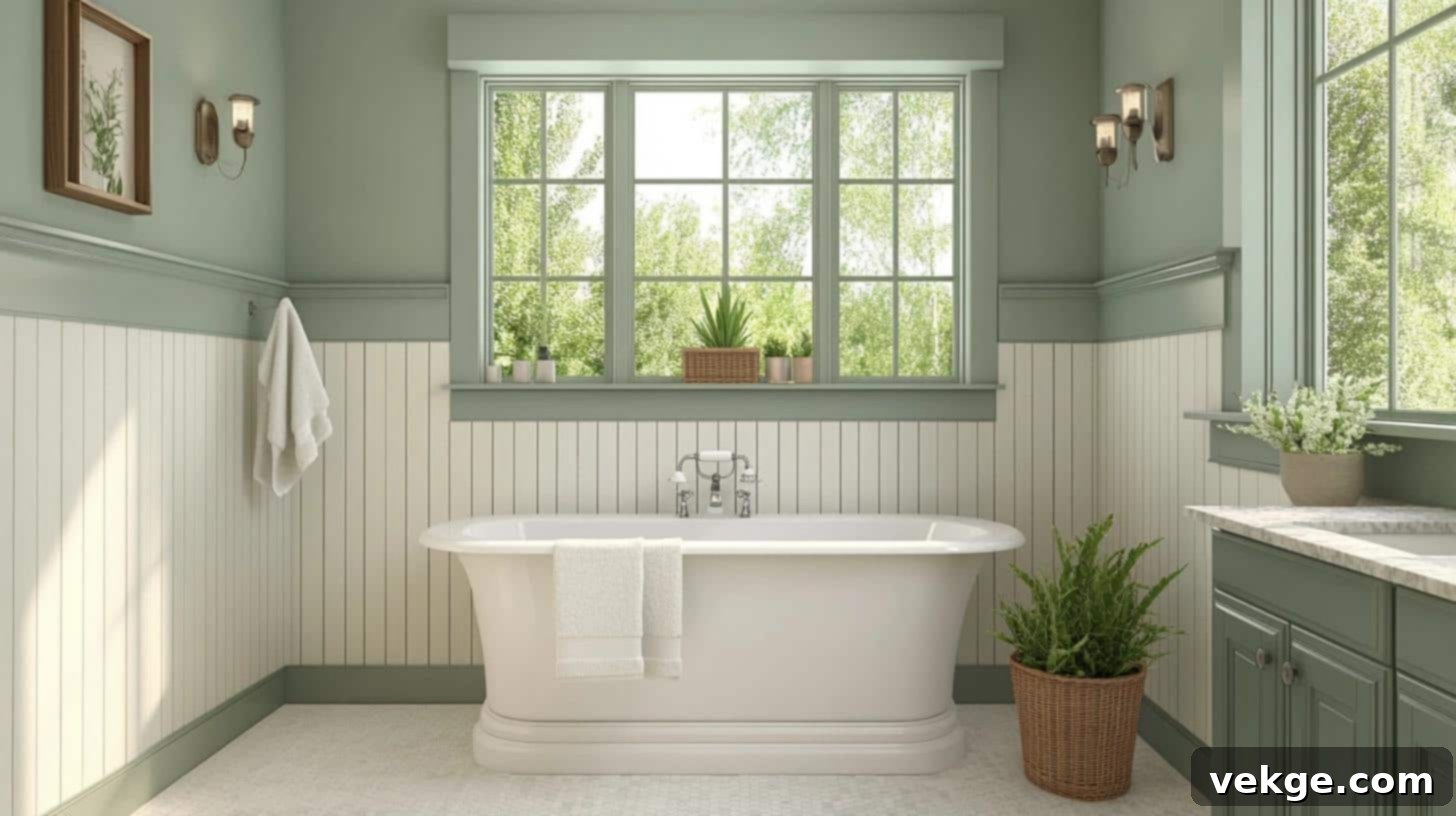
- Design Features: Distinguished by taller battens, robust wide baseboards, and often incorporates decorative wainscoting elements or a more substantial cap rail.
- Color Ideas: Utilize earthy tones like soft sage green, muted blues, or warm tan and natural wood finishes to highlight the craftsmanship.
- Applications: Excellent for bathrooms with ample natural light, as these colors and textures enhance warmth and create a grounded, inviting atmosphere.
- Enhancements: Include stained wood cabinetry, window trim, or a prominent built-in for an authentic craftsman feel that celebrates natural materials and artisanal details.
- DIY Friendly? Moderately; this style may require more advanced measuring and cutting techniques due to its emphasis on substantial trim and intricate details.
8. Single Color Statement Board and Batten
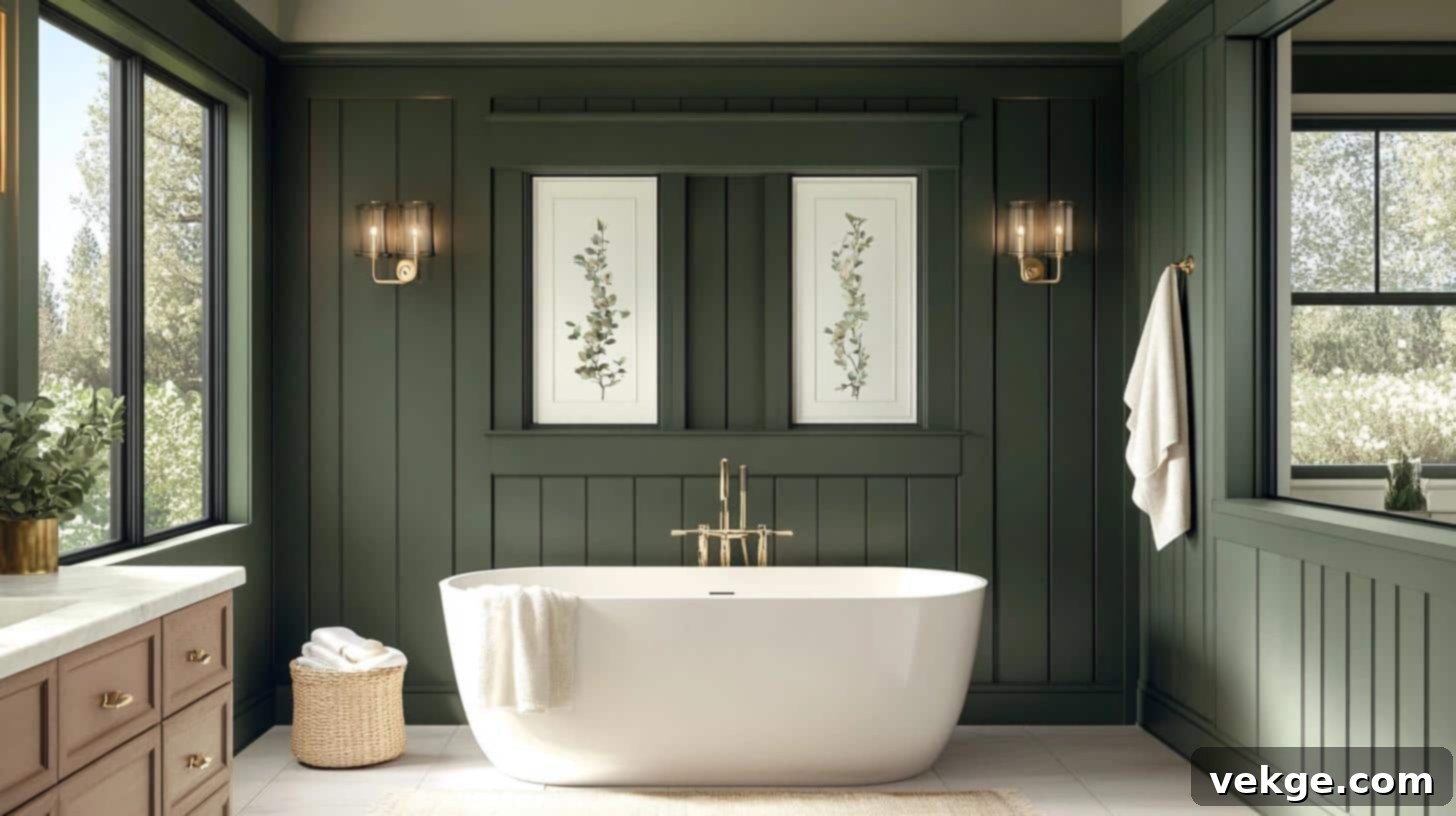
- Design Features: The entire board and batten treatment, including both the walls and the battens, is painted the same bold, striking color for a seamless, high-impact, monochromatic look.
- Color Ideas: Choose luxurious and dramatic hues such as deep navy blue, rich forest green, or sophisticated charcoal gray to create an opulent, high-end ambiance.
- Applications: Ideal for guest bathrooms or powder rooms where you want to make a powerful, memorable design statement without overwhelming the main living spaces.
- Enhancements: Pair with contrasting metallic fixtures like gold or brass to add a touch of elegance and visual pop against the single-color backdrop.
- DIY Friendly? Yes, this is one of the most straightforward painting and batten installation methods, as it simplifies the color selection and masking process.
Maintenance Tips for Your Board and Batten Bathroom Walls
Proper maintenance is essential to ensure your beautiful board and batten walls remain pristine and durable for years to come, especially in the humid environment of a bathroom.
Regular Care Tips:
- Weekly Dusting: Dust the ledges and corners of your board and batten weekly to prevent buildup that can be harder to clean later.
- Monthly Wipe-Down: Use a soft, damp cloth with a mild, all-purpose cleaner to gently wipe down all surfaces monthly. This helps remove soap residue, splatters, and general grime.
- Caulk Line Inspection: Every 3-4 months, visually inspect all caulk lines for any signs of shrinkage, cracks, or peeling. Early detection allows for quick repairs, preventing moisture from seeping behind the boards.
- Ventilation Check: Regularly test your bathroom fan to ensure it’s functioning effectively. Proper ventilation is critical for controlling moisture levels and preventing mold and mildew growth on your walls.
Problem Prevention:
- Immediate Chip & Scratch Repair: Address small chips or scratches promptly with wood filler and touch-up paint. Delaying repairs can allow moisture to penetrate the MDF, leading to swelling or damage.
- Monitor for Water Stains: Keep an eye out for any discoloration or water stains on or around your board and batten. These are clear indicators of moisture issues that need immediate investigation and repair, such as a leaky shower seal or excessive humidity.
- Inspect Seams: Periodically check the seams where boards and battens meet for any separation. These small gaps can widen over time if not addressed.
- Consistent Fan Usage: Always run the bathroom fan during showers and for at least 30 minutes afterward. This dramatically reduces humidity and condensation, protecting your walls.
Long-Term Care Tips:
- Yearly Paint Touch-Ups: Plan to touch up any minor paint spots, scuffs, or faded areas annually. This keeps the board and batten looking fresh and new.
- Caulk Replacement: If caulk lines show significant deterioration, completely remove the old caulk and apply a fresh bead. This is vital for maintaining a waterproof seal.
- Gentle Cleaning Agents: Always use gentle, non-abrasive cleaners specifically designed for painted surfaces. Harsh chemicals can strip paint, damage the finish, or discolor your walls over time.
- Check for Loose Boards: During your regular cleaning routine, gently press on the boards and battens to check for any looseness. Re-nail or re-glue any detached sections immediately to prevent further damage.
Wrapping It Up: Your Beautiful New Bathroom Awaits!
Board and batten is more than just a wall treatment; it’s a transformative design element that can elevate any bathroom beyond your imagination. From selecting the right moisture-resistant materials to the precise steps of installation and the final flawless paint job, I’ve shared every detail to empower you to confidently tackle this rewarding project. The most impressive part? You can achieve a sophisticated, custom-built look that others might assume cost thousands, all for under $200 and completed over a single weekend.
Remember, the key to its longevity and lasting beauty lies in proper care. Regular cleaning, prompt fixes for minor imperfections, and diligent moisture management will ensure your board and batten continues to enhance your bathroom’s appeal for many years to come.
Are you ready to embark on this exciting DIY journey? Grab your measuring tape, head to your local hardware store, and get started! Once you experience the satisfaction of transforming your first bathroom, you might find yourself eager to incorporate the charm of board and batten into every room of your home.
Share your stunning results and any insights from your project with me in the comments below!
